Tag Archive for: diy

I’ve been busy updating our 1978 dutch colonial house and I can’t wait to share all the updates, but today I’m here to show you how we added a window to the side of our existing house.
A Desire to Add a Window to Our House

Do you have a room in your house that you wish you had a window in? Whether it be for natural light or to be have a better view, I get it! Our home office was always one of the darkest rooms in our house. It didn’t help that there were only two windows on a north facing wall and that was it for natural light. For some reason, most of the houses in our neighborhood do not have side facing windows. No, we don’t live in a new community where you can barely drive a truck between you and your neighbor’s house. Our houses are on wooded 1/2 – 1 acre lots with a decent amount of space between houses. But, we don’t have windows on the sides of the house! Strange, I know. Maybe in the 1970’s they didn’t add windows on the side of houses? Anyway, I want to share how I added a window to our house where there wasn’t one before.

Being a licensed general contractor, I knew that adding a window to the side of our house wasn’t super difficult as home improvement projects go. Yes, I’d have to frame the opening and remove some of the siding, but as projects go, this one was not super difficult. The hardest step in adding a new window was deciding how big of a window to install. (If this is your first time framing or installing a new window, you might want to seek the help of a professional contractor.)

Back Story on Our Home Office

If you’ve been around for a while (a decade or more) you may remember that this home office has been a constant struggle for me. I’ve been trying to lighten up this room since we moved into the house.
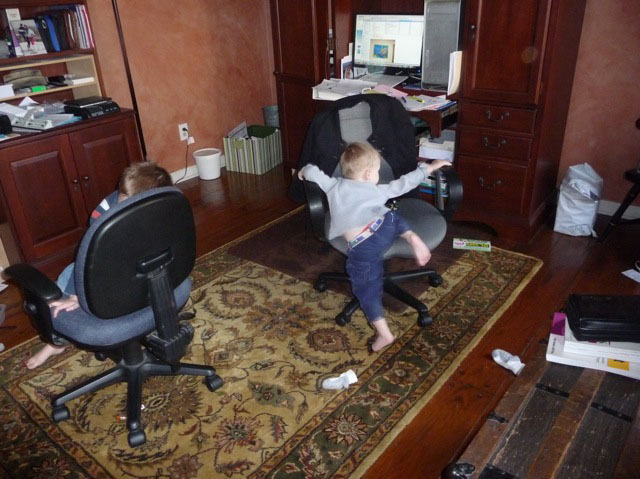
When we moved in, this room had dark orange mottled walls. There were zero ceiling lights, only a switch that controlled the wall outlets. Obviously this didn’t bother the two little boys who just liked to spin on our office chairs. I can’t believe those two monkeys are now in college and over six feet tall now! WHAT?!!!

Attempts to Lighten Up the Dark Office
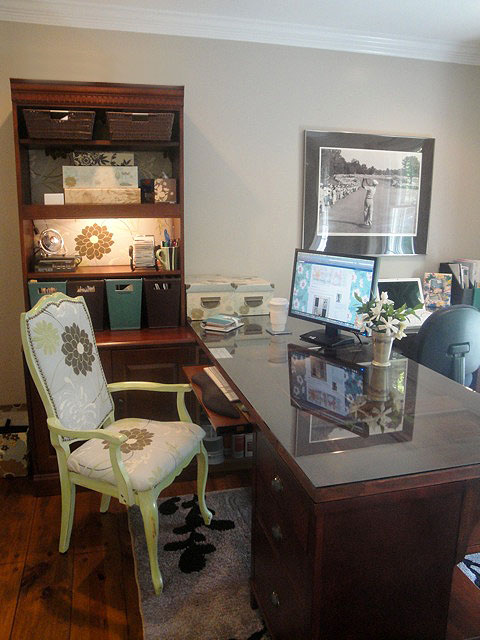
For the first makeover we scraped the ceilings and repainted the entire room a lighter color. I had my electrician add four can lights, and a center ceiling mounted light. This helped brighten the space up a lot at night.

But, the room still felt darker than the rest of the house, especially on overcast days. After several years, I added a cheery rug and put fabric into the back of the shelving unit. Can you tell I was really trying to find budget solutions? On a sunny day, the light wasn’t too bad, especially in the winter when the tree outside the window had no leaves.
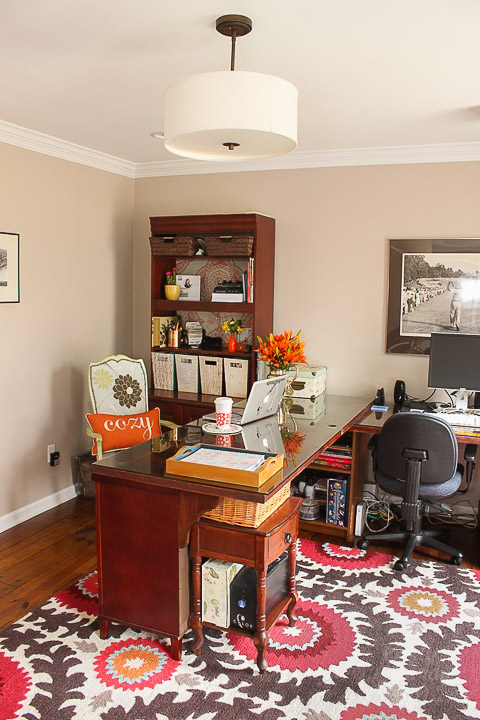
But, ultimately no amount of updates were going to make up for the lack of natural light coming in the windows. The answer was to add a window on the west side of our house. The bonus of adding a window, meant we got to look out the window and see our veggies growing in my new raised garden beds with arched trellis (now with downloadable build plans!) And admire the shed I built.

Before running out to order your new window, you need to consider a number of factors. 

Ordering Your New Window:

Believe it or not, there are a lot of decisions you need to make when ordering a new window.

Location of Your New Window

First, you need to decide where the window will be installed on the outside of your home. Are there windows on a second floor or adjacent to the new window? If so, you may want to line it up with your existing windows and make sure it doesn’t stand out from the others. Make sure your new window won’t interfere with exterior features like pipes, electrical conduit, gas appliances, etc. If you have any questions, it’s a good idea to discuss adding a new window with a licensed general contractor in your area. Also, be aware there are a lot of building codes that pertain to windows. And they will vary by your geographical location and the room the window is being installed in.

Type of Window to Order:

When you’re ordering a new window for the exterior wall, you’ll want to order a new construction window that has a nailing flange. The opposite type of window would be a replacement (or insert) window made to fit inside an existing window frame. By the way, DON’T EVER put replacement windows in your house without reading this article.

Note: We have a wood framed house with exterior siding. If you have a brick house, adding a new window is going to involve brick work and a different style of window.
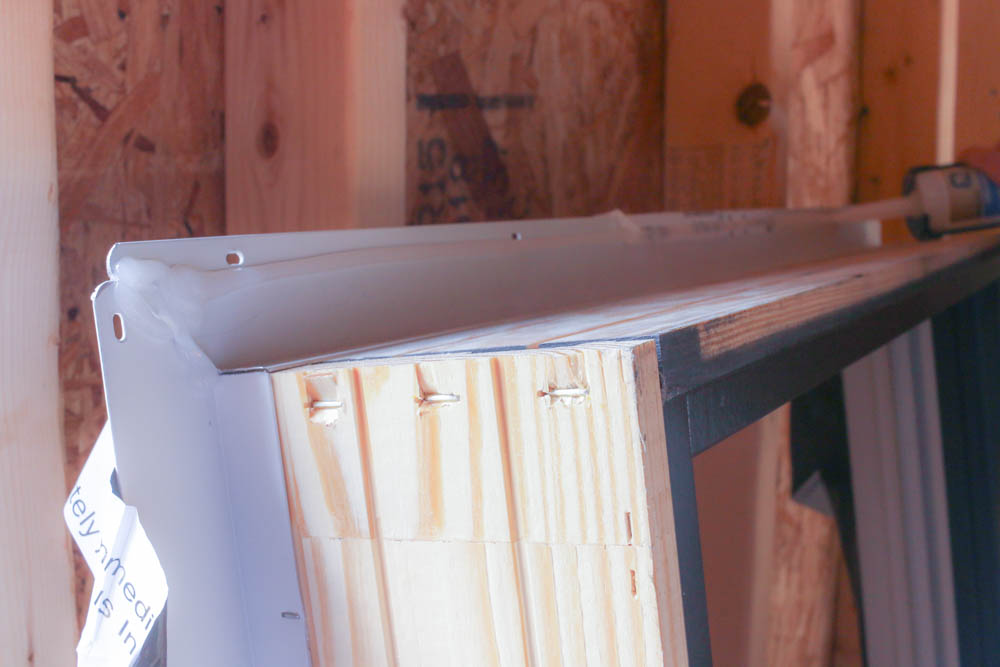
Luckily, I already knew the window manufacturer and model I wanted for our house. You may remember when I was working on the Saving Etta house, I chose beautiful Plygem Mira windows for the new windows. They have the look of historic windows with simulated divided light grille profiles, but with modern features such as double-pane glass with argon gas between the layers. Low-E coating on the glass helps deflect heat in the summer and keeps warmed air inside during the winter. Plus, wood interior parts and extruded aluminum features on the exterior provide better durability.

Disclaimer: Plygem has been a long time sponsor of this website, and they agreed to work with me on installing a new window into our home office.

What Size Window Do I Order?

From the inside, look at existing windows in your room and try to match the width and style of the existing windows. Ideally, you want all the tops of windows to be even in the room. If the window will be the same functional style as the other windows (i.e. double hung windows or casement windows), you will probably want them to be the same width.
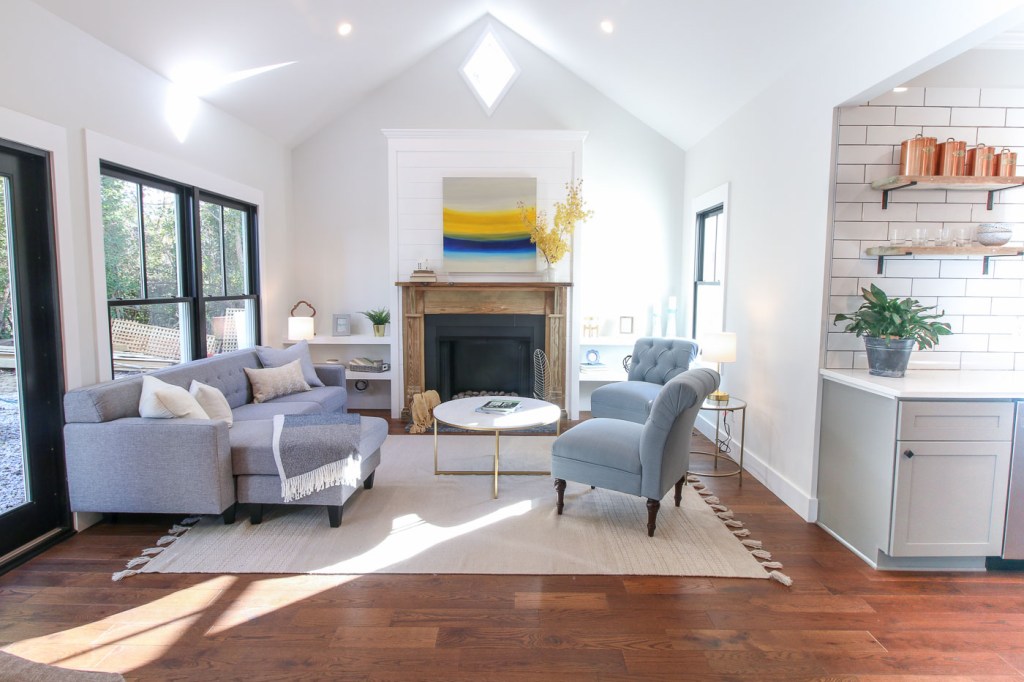
Next, ask yourself if you have a desk, bed, cabinet, or furniture that needs be in front of that window? If so, you may want a window that’s bottom is located higher on the wall. For our home, I used the existing windows as a guide for the width and style for the new window.
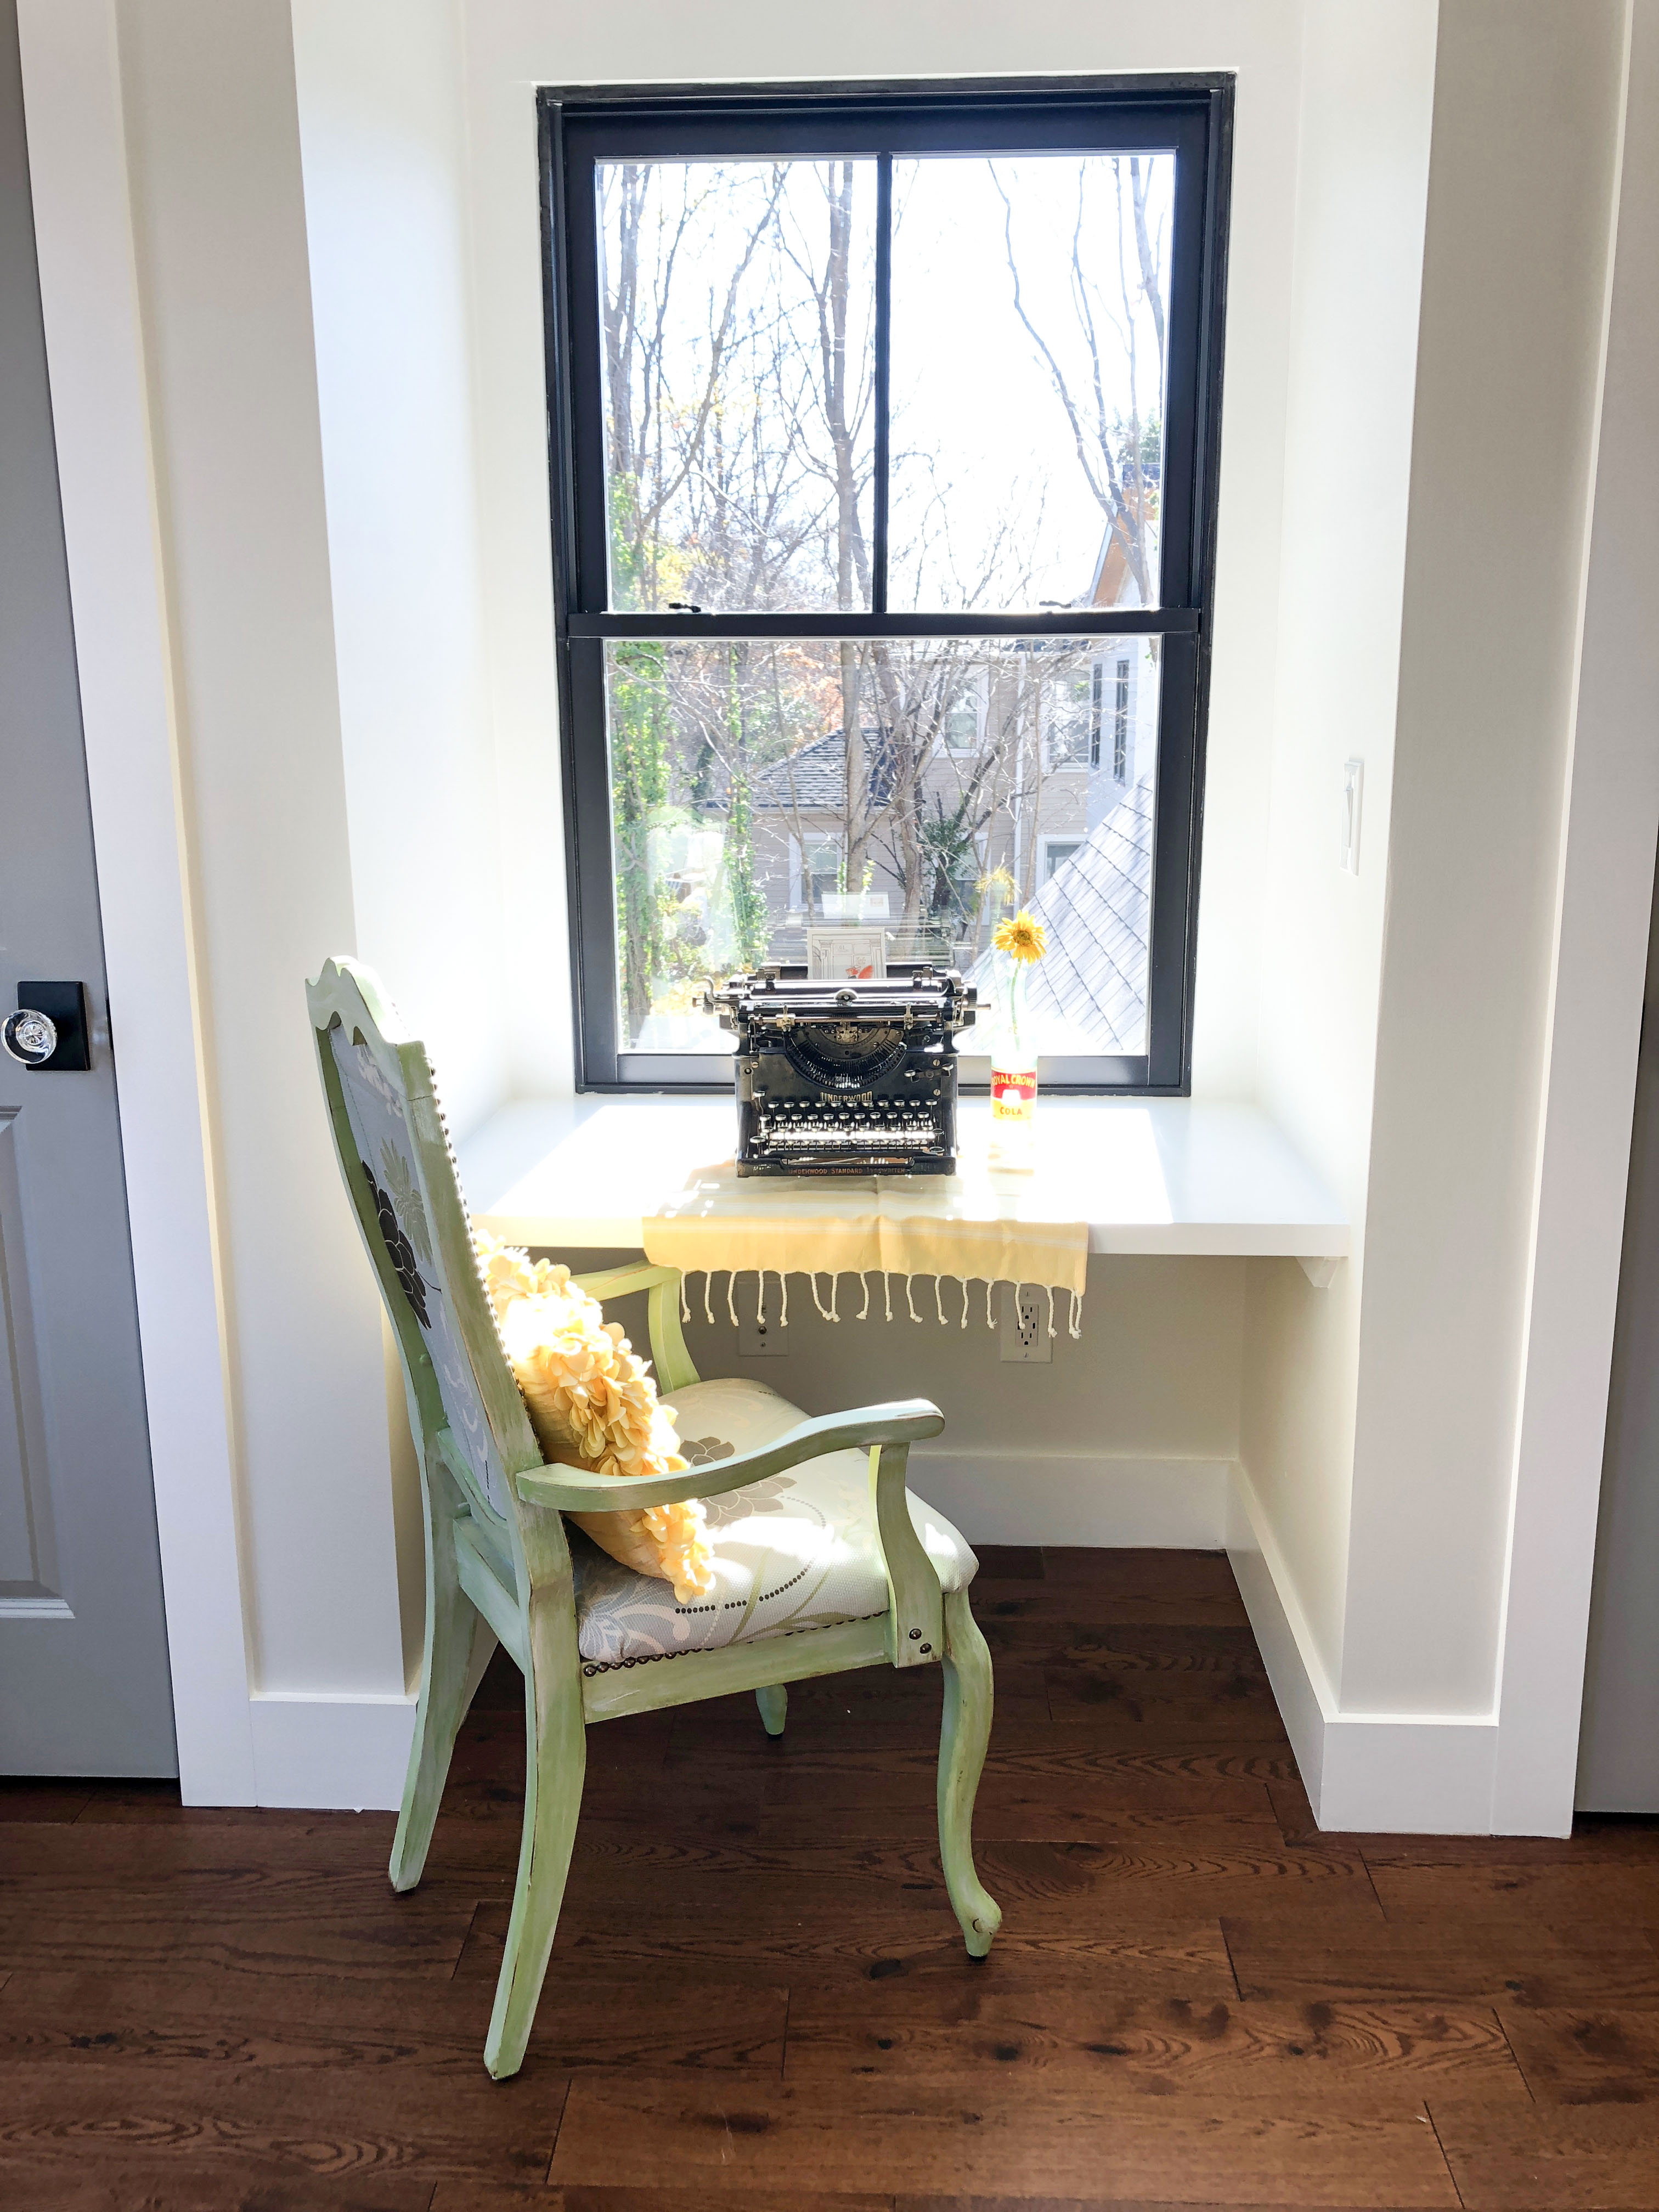
Next you need to know the thickness of your wall framing before ordering. Standard construction in the US is either 2×4 framing or 2×6.

How will the window open?

Determine how you want the window to function.

  • Double hung (allows the top of the window to lower for more air flow)
  • Single hung (only the bottom sash opens)
  • Non-opening (picture or decorative window)
  • Casement opening (a window that swings open from the side)
  • Sliding Window (like a double hung window by on it’s side)
  • Awning (a window that angles out from the bottom.)
  • Tilt-In for easy cleaning (an option on some newer windows for easy maintenance)

Glass Privacy Concerns:

Is your window in a bathroom or near a street where you will need privacy? If so, order a window with enclosed blinds, textured, or obscure glass. Or have a plan for adding window treatments or a frosted film (like I added in the Saving Etta bathroom).
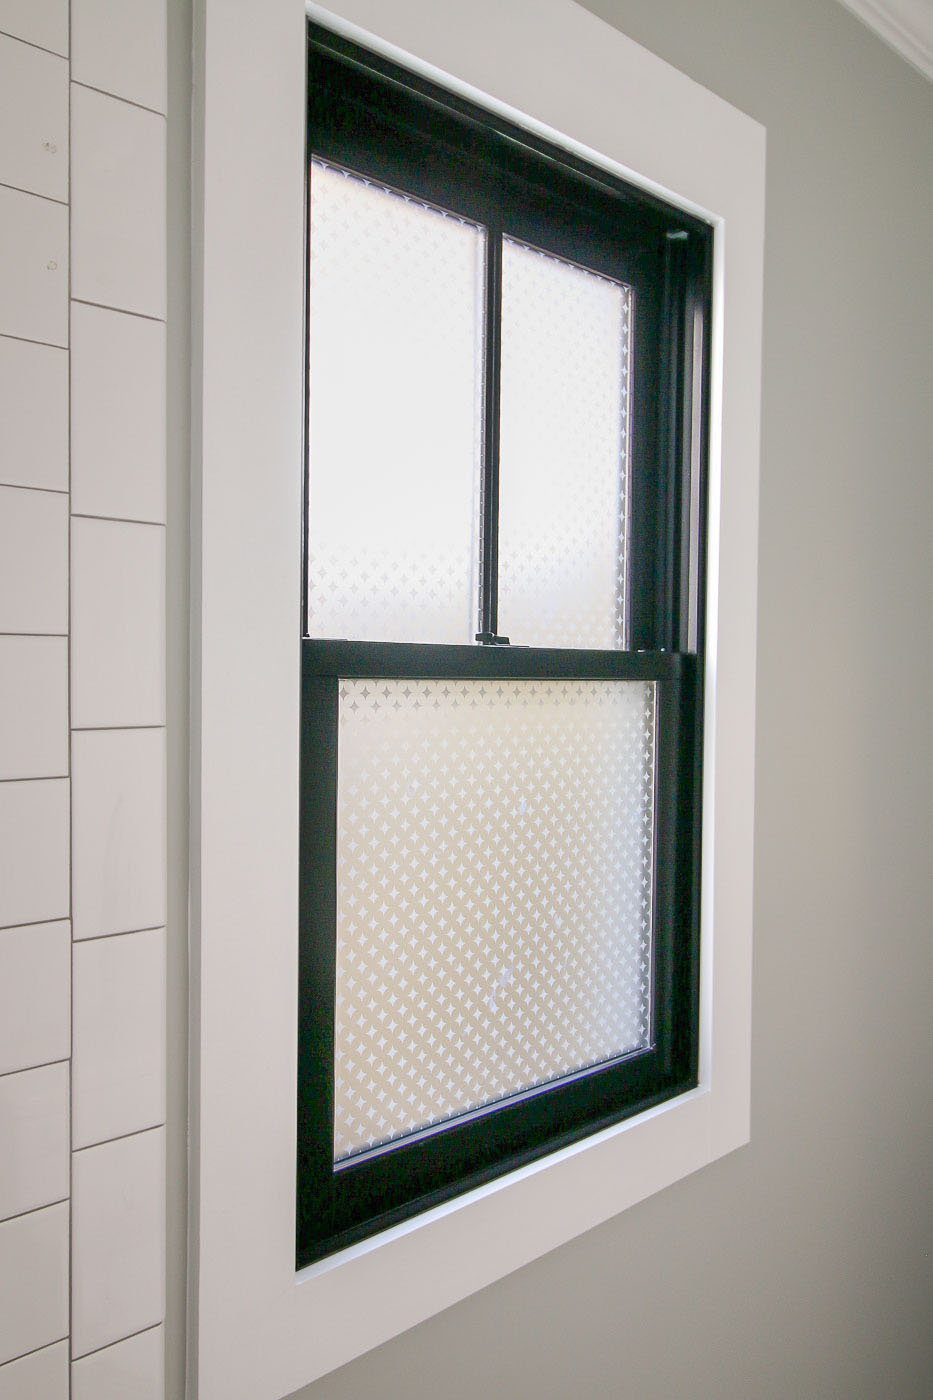
Finally, be aware of any building codes to address?

  • Does the window meet egress standards for a bedroom?
  • Is the window in a location that requires tempered glass?
  • How far is the window from the ground? (Does it need to have a safety stop?)
  • Do you need a permit to replace your windows?

Do you want screens for your window?

Oh how could you forget screens? In the south I don’t think this is even a question, it’s a necessity.

Preparing to Add a Window to the House

I began talking to my siding contractor about adding a window to our home office. We’ve worked together on many projects and he trusts me to do some of the work ahead of time. We agreed on a time frame and work distribution (I’d cut into the sheetrock and reframe inside the wall for the window opening. He would prep from the outside and perform a professional window installation from the exterior.
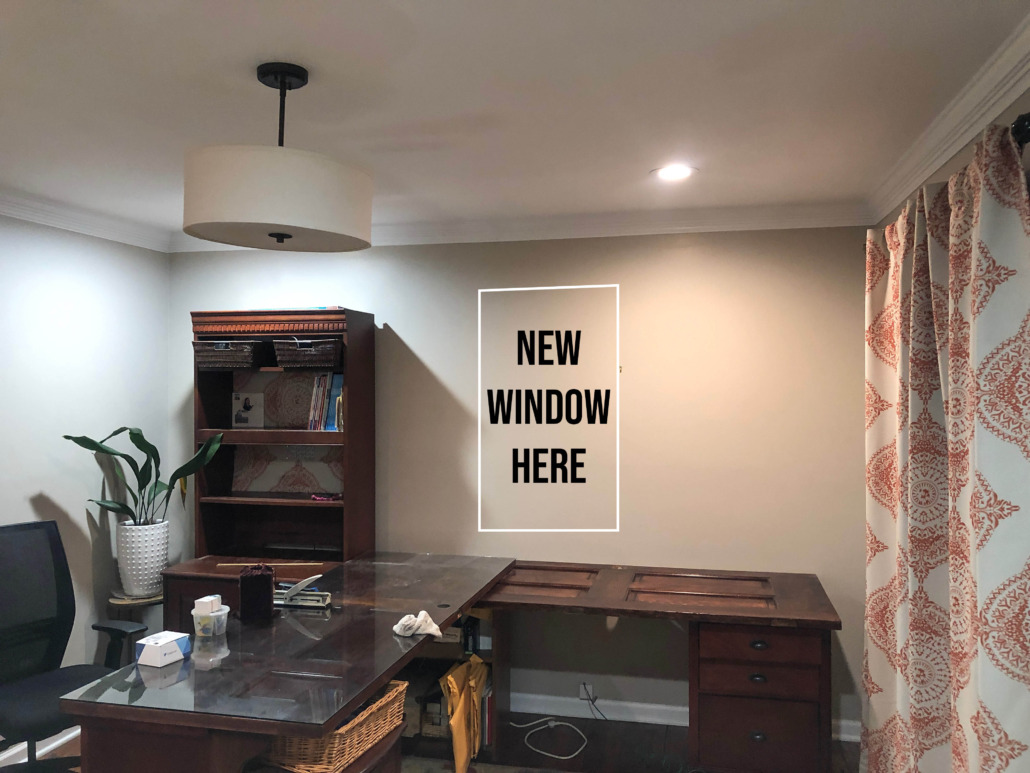
Before you do any work, be sure to move any furniture, rugs, art, and protect anything that has to stay with plastic.

To prep for the window, I chose to tarp off half of the office because I knew I’d be making a big dusty mess and this way I could leave the furniture in the other half of the room outside the work zone.

Cut out window – I began by cutting into the drywall around where the window opening would go. Using my oscillating tool, I was able to cut a neat section of drywall and save it for patching later. This will be the first peek you’ve had into your walls. Look for any utility lines that need to be relocated. If you have plumbing, mechanical, or electrical lines that need to be moved, hire a licensed professional to give you advice and an estimate.

Framing for a New Window

Once the wall is opened (and any utility lines moved), you can then assess framing needs – determine which studs needed to be moved and how much further open you need to make the window opening to accommodate the rough opening (usually specified by the window manufacturer. Be sure to brace your wall if it’s not on a gable end (or is a load bearing wall.)

Framing for a window requires at least two jack studs, two king studs, and a header. Depending on the width of your window, you may need more jack and king studs, and you may need a larger header to carry the load. It’s best to check with a general contractor or structural engineers to recommend your framing needs.

Ideally your rough opening should be an inch wider than the window. Your window manufacturer should have information for all the dimensions of your new window including the rough opening. Plygem has a great table for the Mira window specifications on their website.
Installing a New Window on an Old House

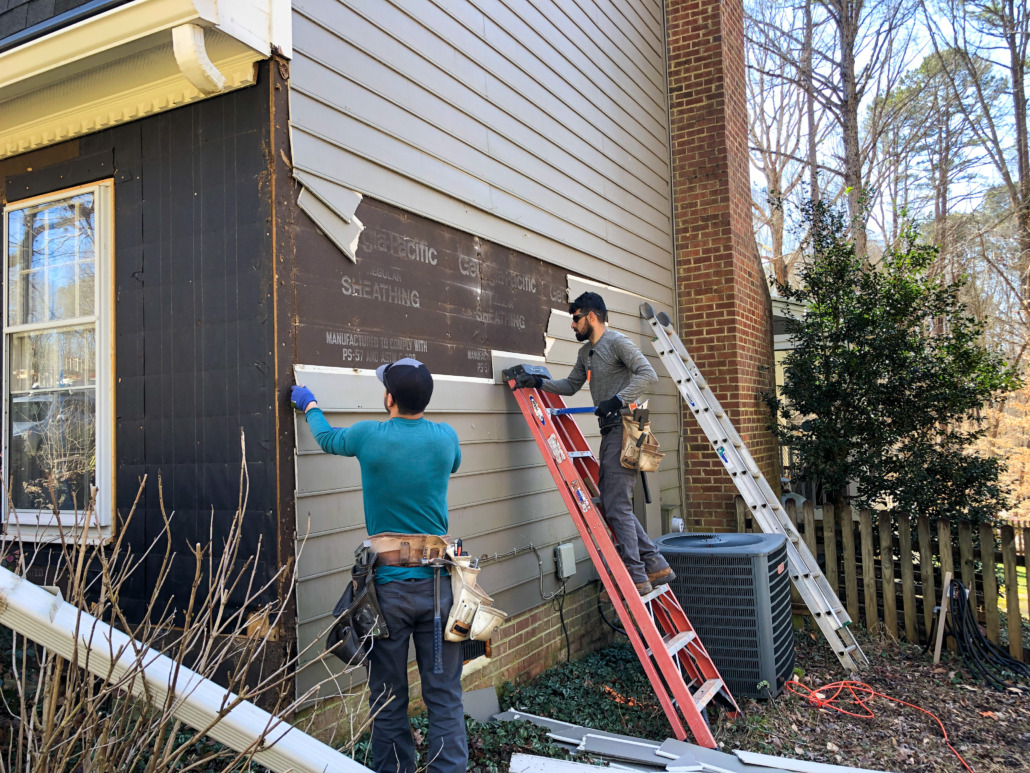
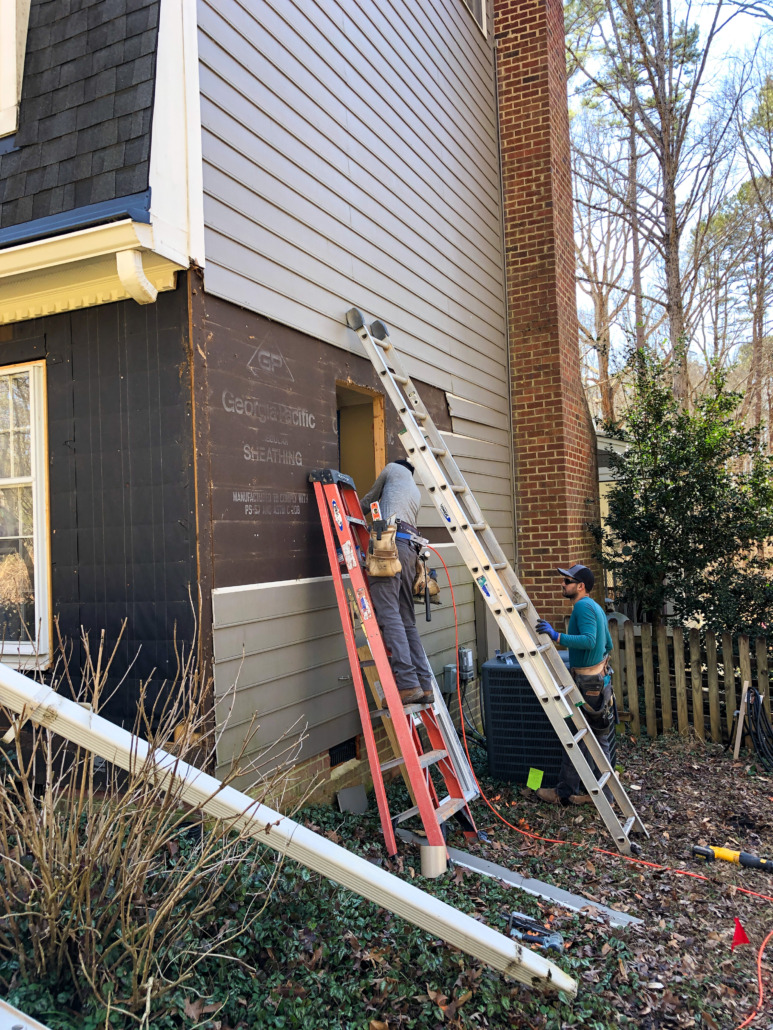
Finally the day came for my siding contractor to install the window. He began by pulling off the siding from the side of the house. We were originally going to cut just around the opening, but the siding was in poor shape and not installed correctly, so we decided to remove it and re-side the house after installing the window.

Proper installation of a new window into an existing wall is important for energy efficiency and maintaining operation of your new window. I have a very detailed tutorial with photos you can read to learn how to properly install, flash, and finish the window installation from the exterior.
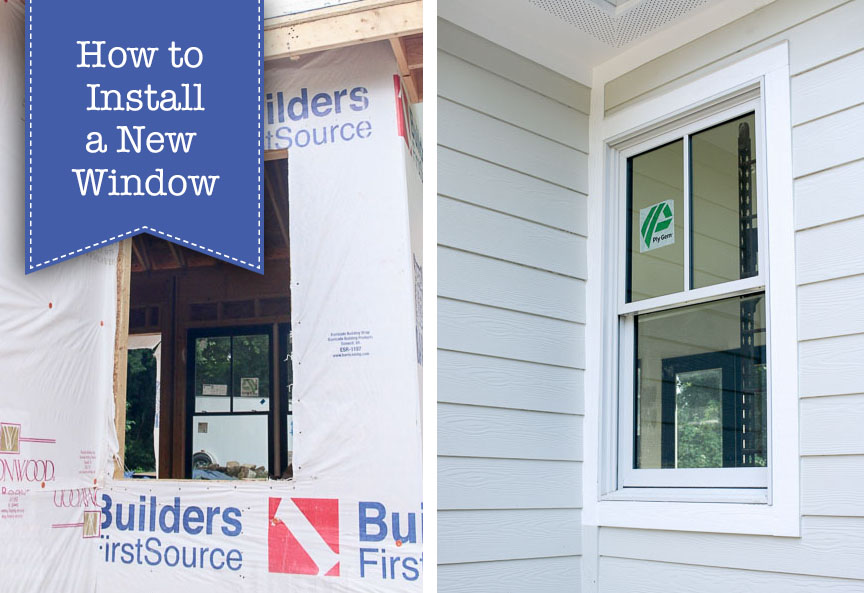
How to Install a New Window


Insulating a New Window

After the window was installed I left the siding guys to their work installing the new siding and trim outside while I focused on the inside portion of this installation.

Did you know that a new window is only as energy efficient as the installation and insulation around it? If you don’t add spray foam insulation between the rough opening and the window, you’ll get horrible drafts. In fact, you may want to peel off the trim around your existing windows and see if your windows have insulation around them.

I put the batt insulation back into the stud bays and used expanding spray foam insulation between the new window and the rough opening.
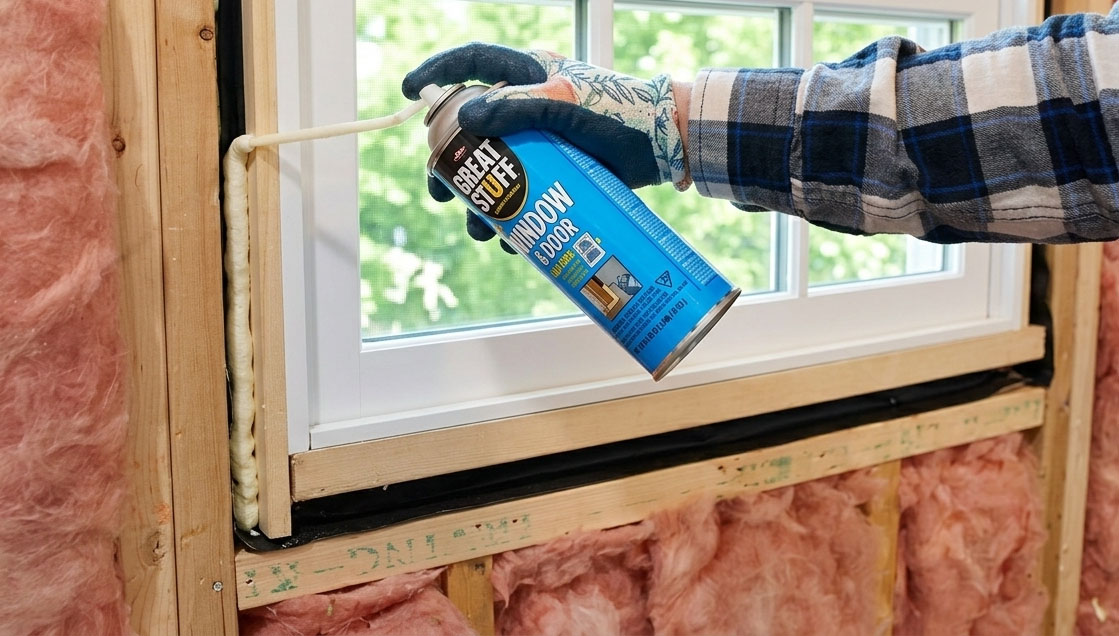
adding spray foam insulation around window frame

Before replacing the drywall, I decided to add a few outlets under the window (where there was only one before) since this would be a long work surface area and we’d need access to power in different locations.

Drywall and Other Finishes

Then I patched the wall with new drywall and finished the seams over the next few days. I’ve learned that good drywall finishing requires patience and several days of mudding and sanding. You can’t rush drywall finishing!
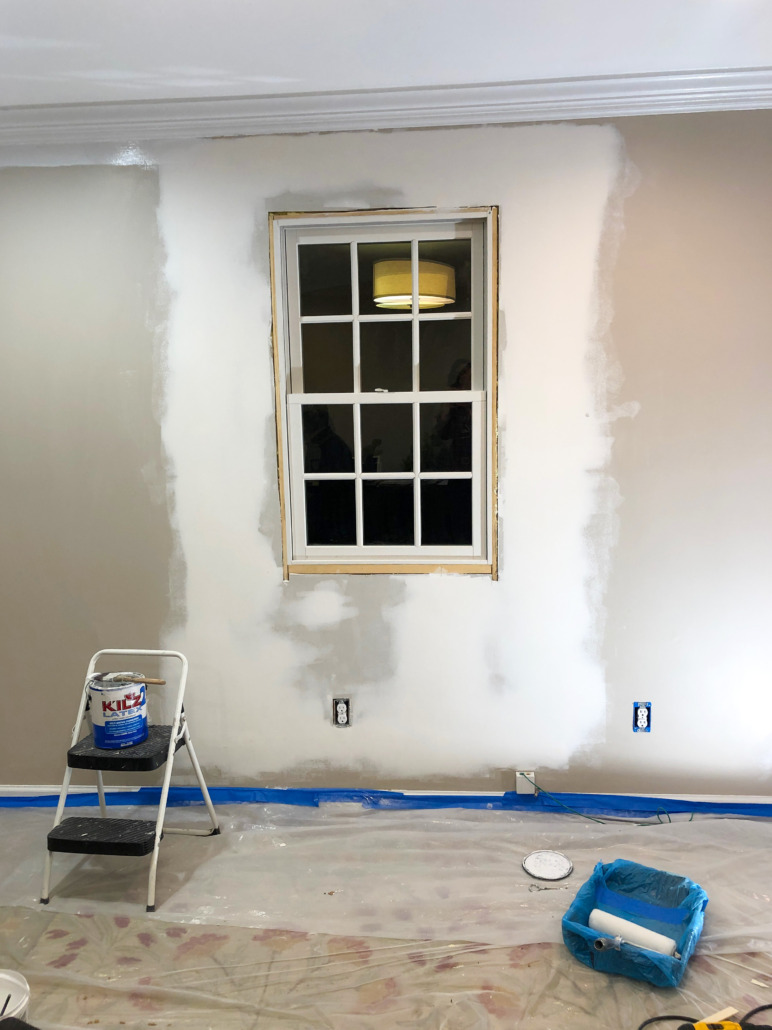
Next step was to add the window trim. I have a tutorial to help you add window casing. Here’s a tutorial for adding decorative header window casing.

How to Install Window Trim & Casing

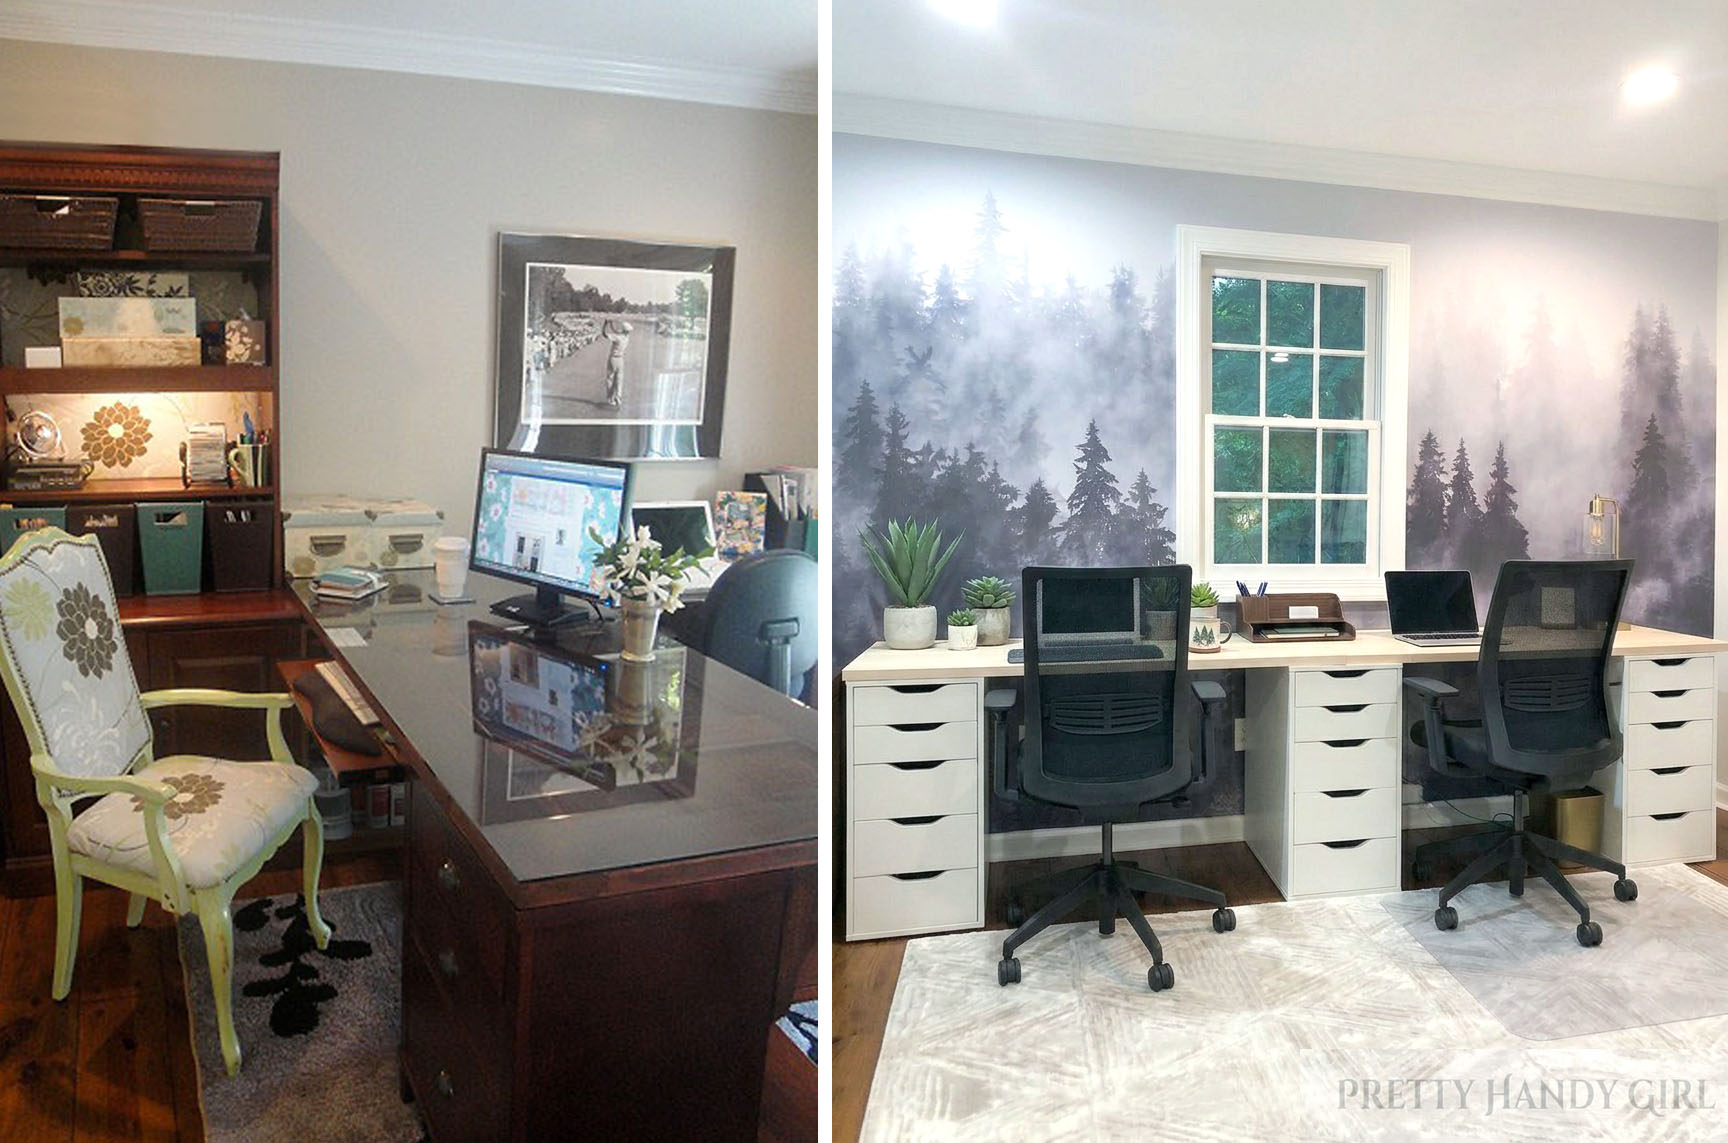
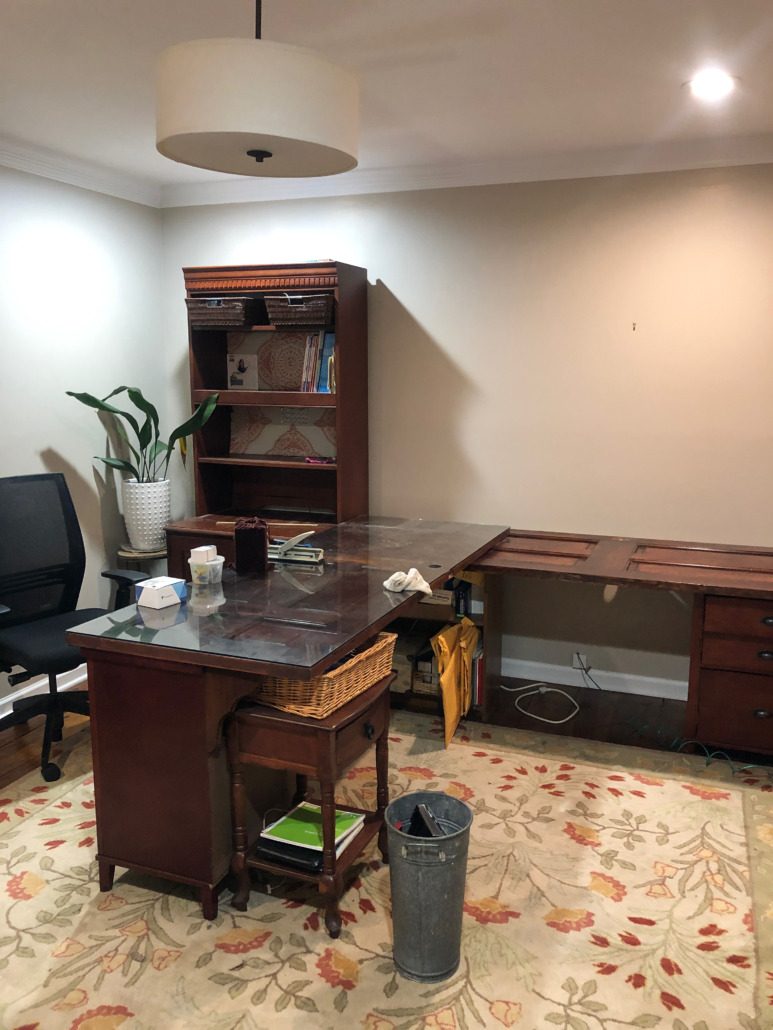
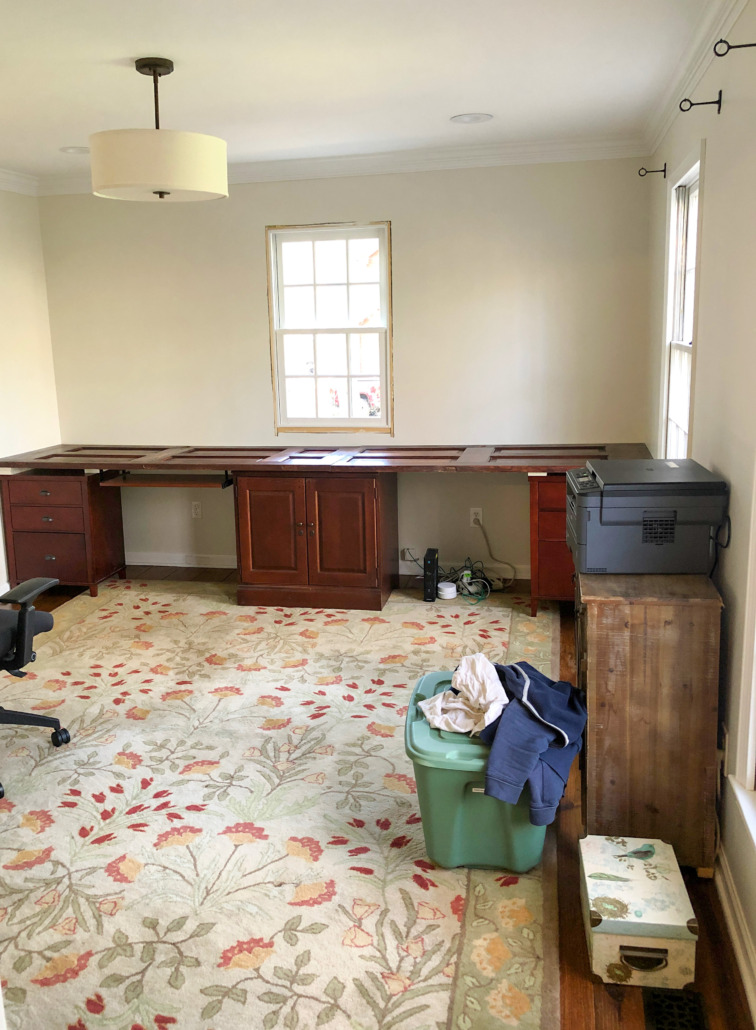
As a reminder, here’s the room before the window.
And here it is after:
We still have some work to do on this space, but already I love how much natural light comes into the home office now.
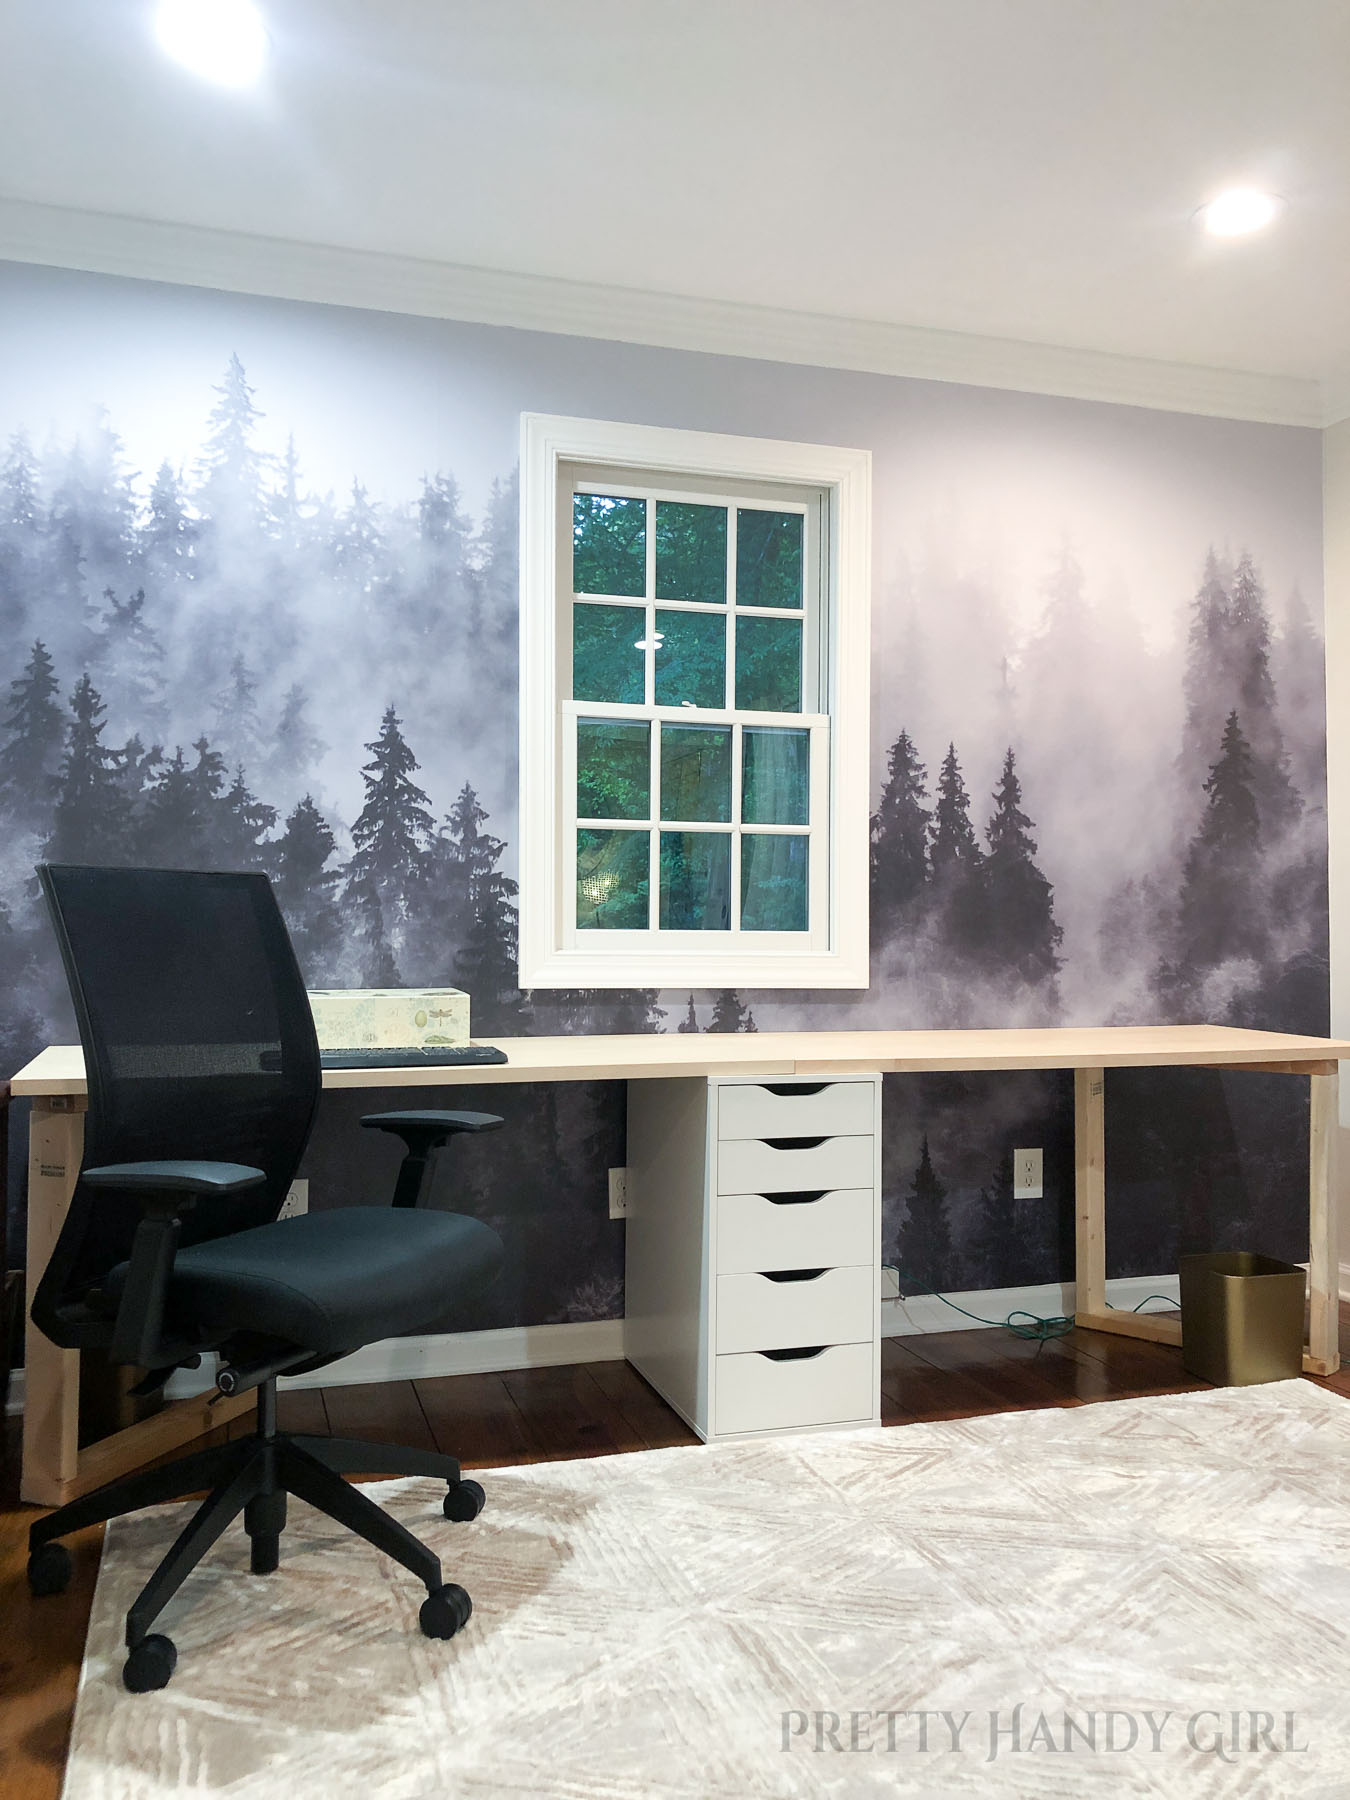
We opted to install a wall mural on this wall and I’m in love with it. The before and after of this wall makes my heart sing.

What do you think? A lot more light, right? Do you have a dark room in your home that could use another window?

signature

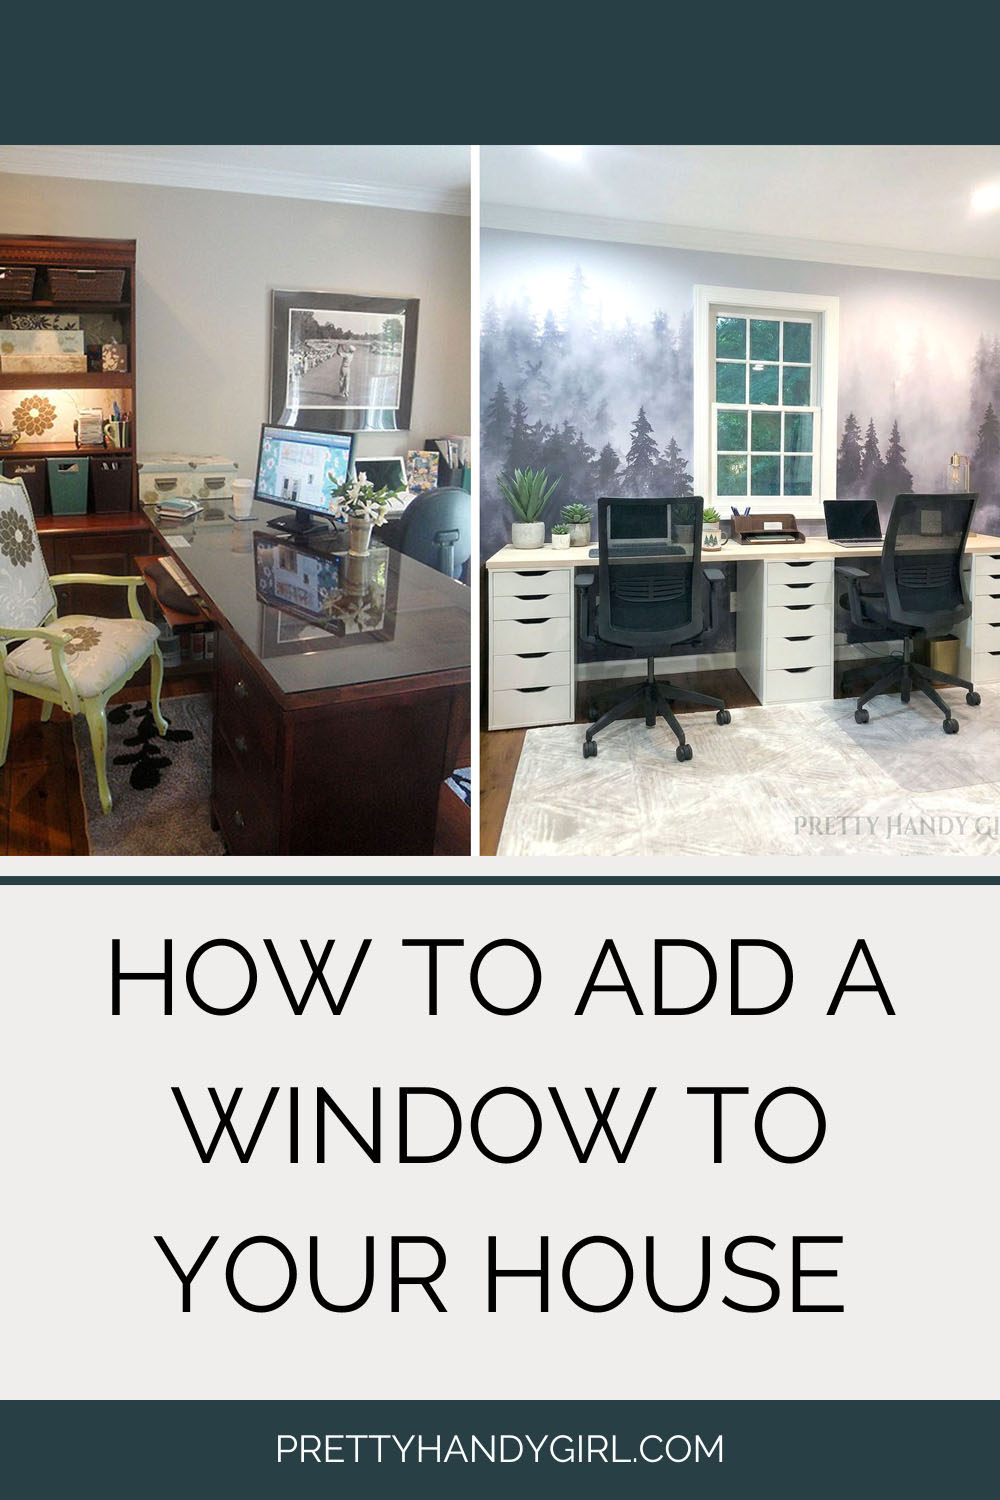
Share this post with someone by pinning this image:
Give your feathered friends a treat from spingtime through winter. Make this easy-peasy DIY log bird feeder with one tool and a few basic materials by Prodigal Pieces for Pretty Handy Girl www.prodigalpieces.com #prodigalpieces

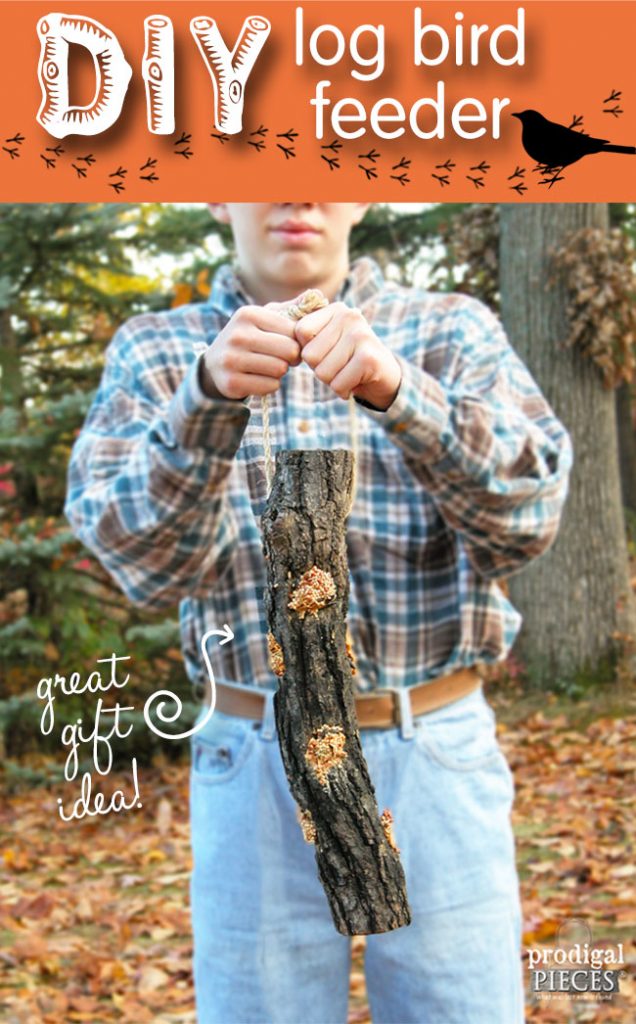
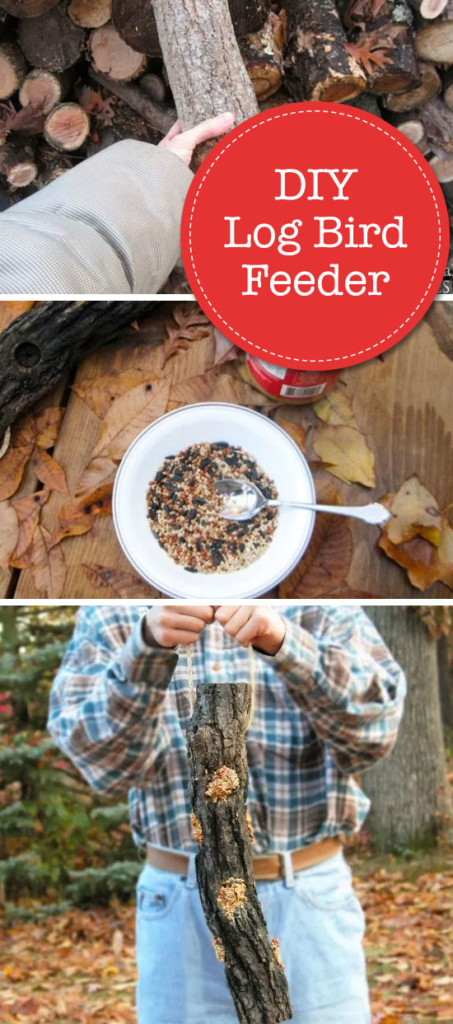
Hello readers, I’m Larissa coming to share with you a nature-inspired DIY project. Today, we’ll learn how to create a special DIY Log Bird Feeder treat for our feathered friends. The best part is that this can be a family fun activity to do AND to give as a gift for anyone who loves bird watching.

Give your feathered friends a treat from spingtime through winter. Make this easy-peasy DIY log bird feeder with one tool and a few basic materials by Prodigal Pieces for Pretty Handy Girl www.prodigalpieces.com #prodigalpieces

DIY Log Bird Feeder

We are avid bird lovers in our home and were delighted when a friend of mine gave us this bird feeder made from a piece of firewood and rope. How easy is that?

Give your feathered friends a treat from spingtime through winter. Make this easy-peasy DIY log bird feeder with one tool and a few basic materials by Prodigal Pieces for Pretty Handy Girl www.prodigalpieces.com #prodigalpieces

What a delight it is to see our tree clinging birds (nuthatches, tufted titmice, and woodpeckers) come for a visit and see their excitement at the treat they’ve found, especially the birds that overwinter. Did you know that migratory birds will remember your home the next time they’re passing through and will come back again year after year if you continue to provide nourishment for them? It’s like a reunion each spring and winter. Fun!

So, let’s grab some materials and get ready to create a DIY log bird feeder!

Give your feathered friends a treat from spingtime through winter. Make this easy-peasy DIY log bird feeder with one tool and a few basic materials by Prodigal Pieces for Pretty Handy Girl www.prodigalpieces.com #prodigalpieces

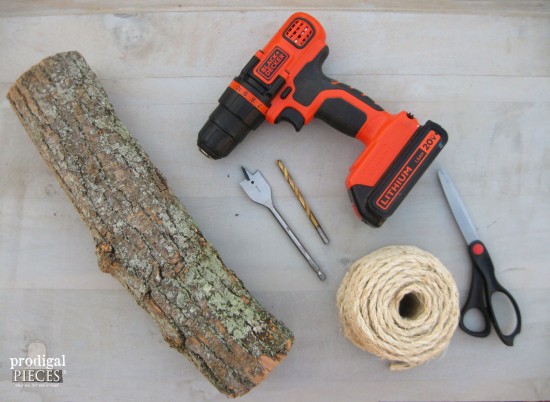
Materials:

(I’ve included affiliate links for your convenience. I earn a small percentage from a purchase using these links. There is no additional cost to you. You can read more about affiliate links here.)

Picking Your Log:

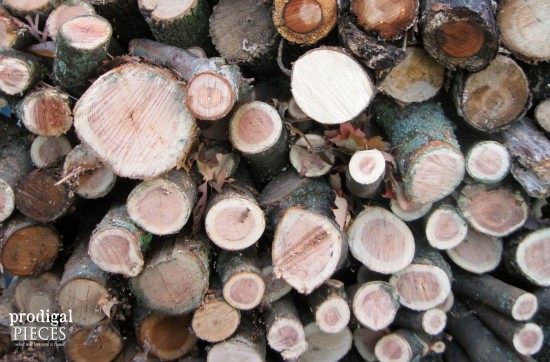
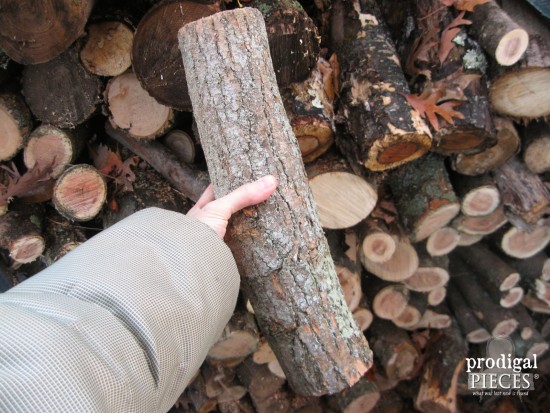
We are blessed to have a fireplace, so we always have a stash of firewood on hand. For your log, you can use a downed branch or head to your own stash to grab a piece of wood.

Give your feathered friends a treat from spingtime through winter. Make this easy-peasy DIY log bird feeder with one tool and a few basic materials by Prodigal Pieces for Pretty Handy Girl www.prodigalpieces.com #prodigalpieces

The tree-clingers prefer a chunky bark, but any tree variety will do.

Give your feathered friends a treat from spingtime through winter. Make this easy-peasy DIY log bird feeder with one tool and a few basic materials by Prodigal Pieces for Pretty Handy Girl www.prodigalpieces.com #prodigalpieces

Instructions:

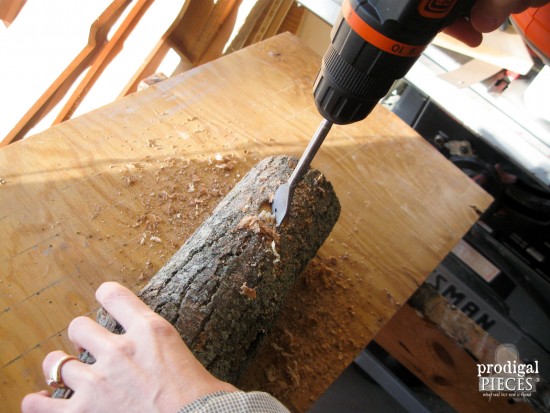
Clamp your log and keep your hand clear from the drill bit. Wear appropriate eye protection.

Give your feathered friends a treat from spingtime through winter. Make this easy-peasy DIY log bird feeder with one tool and a few basic materials by Prodigal Pieces for Pretty Handy Girl www.prodigalpieces.com #prodigalpieces

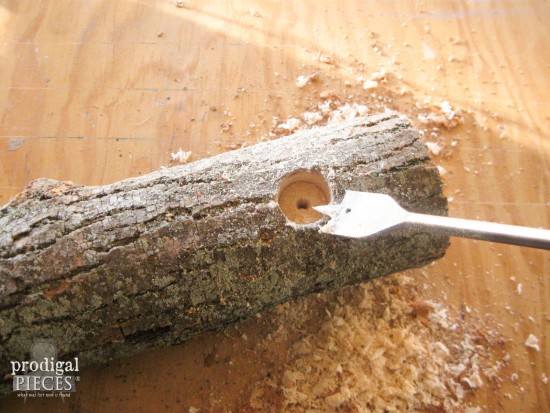
To start, use a 1″ spade bit to drill a hole approximately 1/2″ deep, 2 inches down from the top.

Give your feathered friends a treat from spingtime through winter. Make this easy-to-build DIY log bird feeder with one tool and a few basic materials.

Drill a second hole on the same face about 6″ below the first.

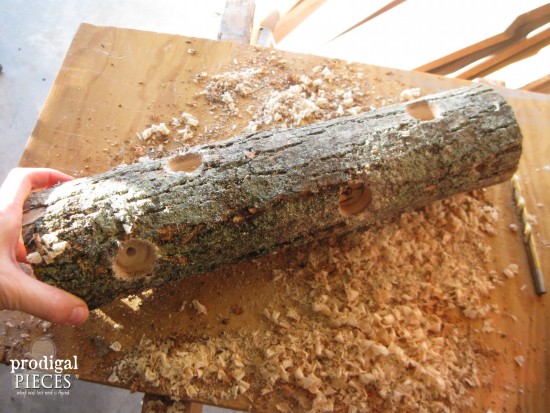
Roll the log a quarter turn and drill in the next face starting with the first hole about 5″ from the top and then a second hole 6″ below that one. (This does not have to be exact and gives a more rustic feel when randomly chosen.)

Give your feathered friends a treat from spingtime through winter. Make this easy-peasy DIY log bird feeder with one tool and a few basic materials by Prodigal Pieces for Pretty Handy Girl www.prodigalpieces.com #prodigalpieces

Repeat those steps until you have two sets of matching faces on opposing sides.

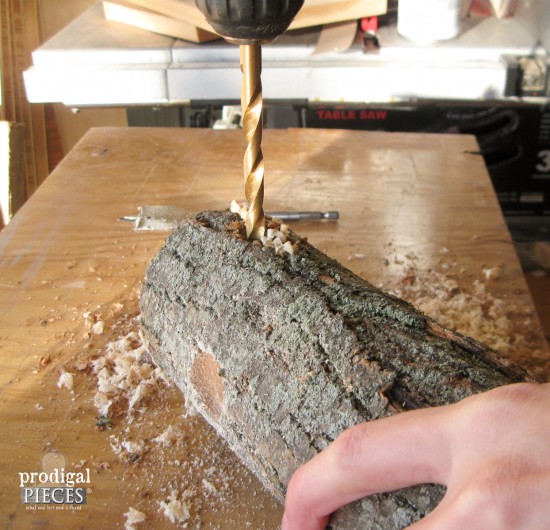
Drill your rope hole using a 5/16″ bit. Starting on the face that has the first hole 5″ down, drill your rope hole 2″ from the top, making sure to go completely through the log.

Give your feathered friends a treat from spingtime through winter. Make this easy-peasy DIY log bird feeder with one tool and a few basic materials by Prodigal Pieces for Pretty Handy Girl www.prodigalpieces.com #prodigalpieces

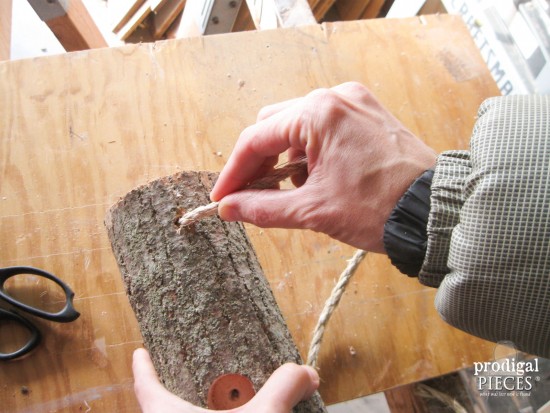
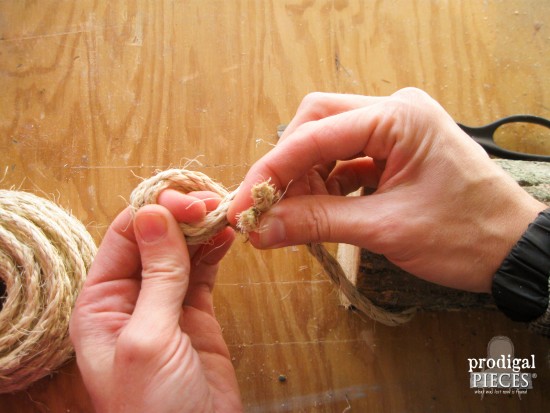
Cut a 2′ or longer piece of rope and thread it into the hole. If you turn the rope in the direction of the braid (counter-clockwise) while inserting it, that will help the rope go through smoothly.

Give your feathered friends a treat from spingtime through winter. Make this easy-peasy DIY log bird feeder with one tool and a few basic materials by Prodigal Pieces for Pretty Handy Girl www.prodigalpieces.com #prodigalpieces

Once through, tie the rope ends together using a basic knot.

Give your feathered friends a treat from spingtime through winter. Make this easy-peasy DIY log bird feeder with one tool and a few basic materials by Prodigal Pieces for Pretty Handy Girl www.prodigalpieces.com #prodigalpieces

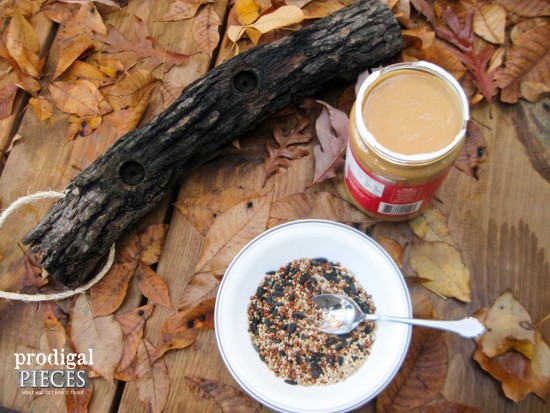
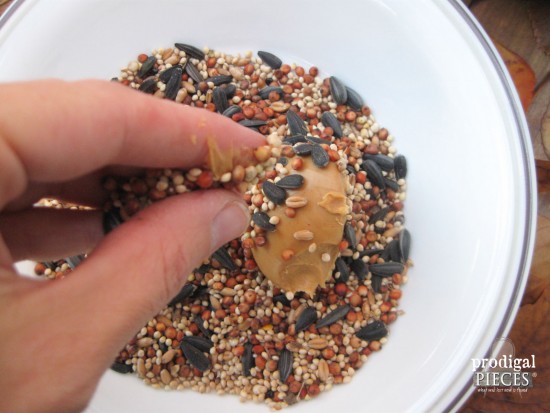
On to the fun part! Birds burn a ton of protein flitting about, so they need to store up as much as they can. We prefer to use chunky peanut butter and then roll it in seeds like this.

Give your feathered friends a treat from spingtime through winter. Make this easy-peasy DIY log bird feeder with one tool and a few basic materials by Prodigal Pieces for Pretty Handy Girl www.prodigalpieces.com #prodigalpieces

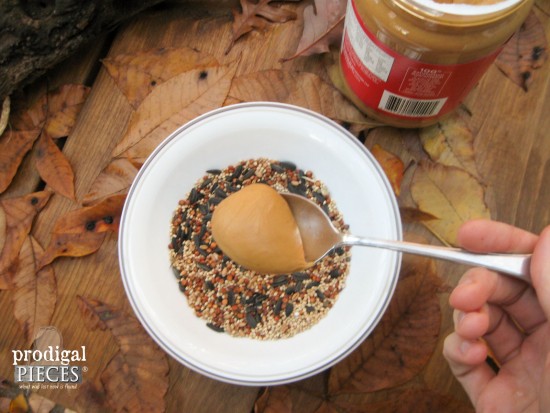
Grab a tablespoon of peanut butter and place it in a bowl of birdseed.

Give your feathered friends a treat from spingtime through winter. Make this easy-peasy DIY log bird feeder with one tool and a few basic materials by Prodigal Pieces for Pretty Handy Girl www.prodigalpieces.com #prodigalpieces

Then sprinkle the peanut butter with seed.

Give your feathered friends a treat from spingtime through winter. Make this easy-peasy DIY log bird feeder with one tool and a few basic materials by Prodigal Pieces for Pretty Handy Girl www.prodigalpieces.com #prodigalpieces

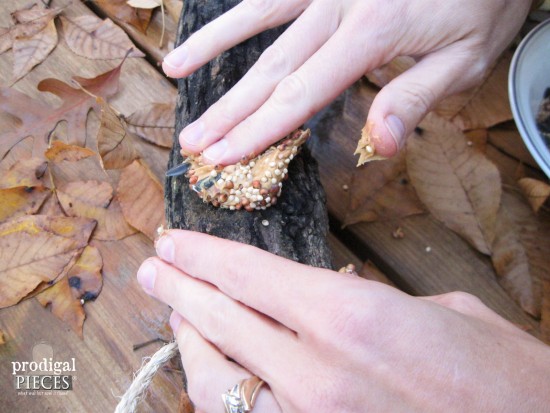
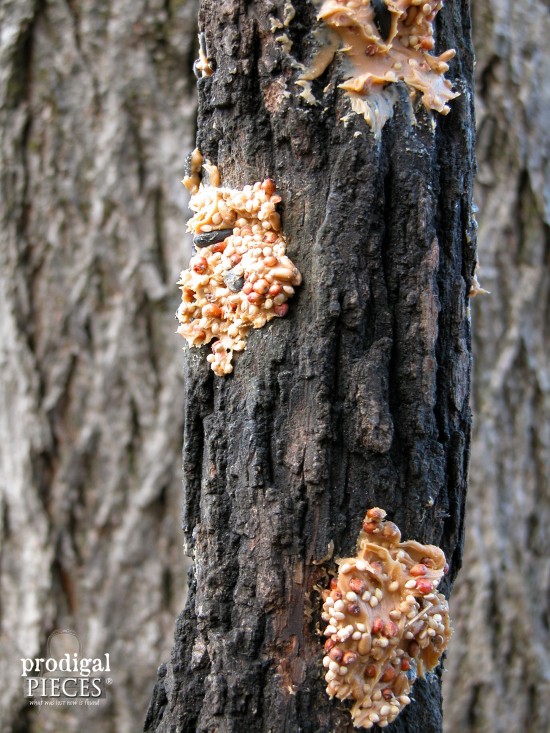
After coating with the seed, press the mixture into the holes using the back of a spoon, or if you’re nutty like me (catch the pun?) it’s more fun to use your fingers.

Give your feathered friends a treat from spingtime through winter. Make this easy-peasy DIY log bird feeder with one tool and a few basic materials by Prodigal Pieces for Pretty Handy Girl www.prodigalpieces.com #prodigalpieces

The kids love this part!

Give your feathered friends a treat from spingtime through winter. Make this easy-peasy DIY log bird feeder with one tool and a few basic materials by Prodigal Pieces for Pretty Handy Girl www.prodigalpieces.com #prodigalpieces

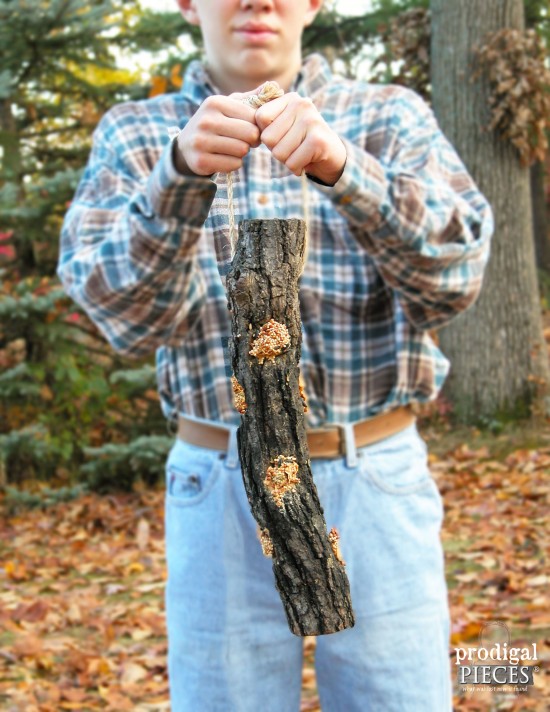
You’re done and it’s ready to hang. Yay!

Give your feathered friends a treat from spingtime through winter. Make this easy-peasy DIY log bird feeder with one tool and a few basic materials by Prodigal Pieces for Pretty Handy Girl www.prodigalpieces.com #prodigalpieces

For a fun twist, and if you’re feeling handy, you could also add dowels for other species to be able to roost at each hole, but for this project I kept it simple.

Got questions? Please feel free to ask.

If you enjoyed this project, do pin and share!

blog signature copy

Pin this project for later!

DIY Log Bird Feeder Pin Image


Liked this project? Then you’ll love these birdhouses:

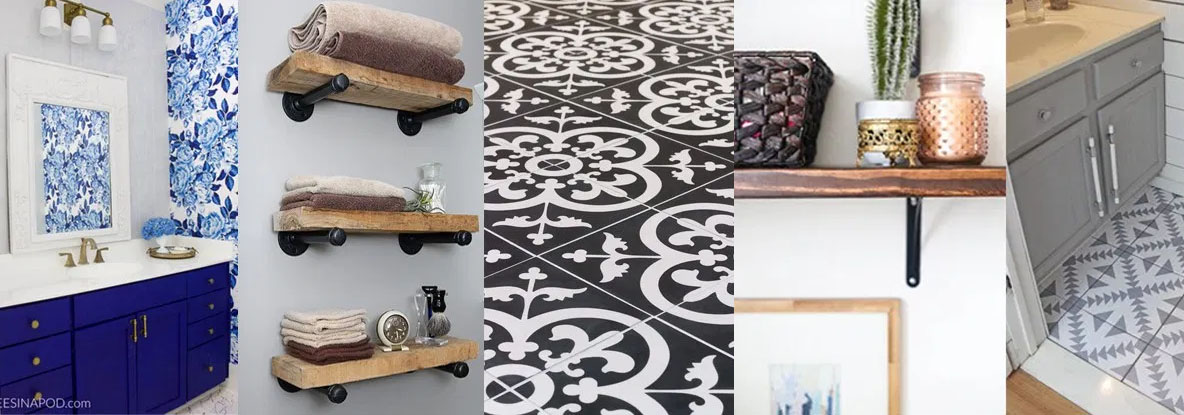
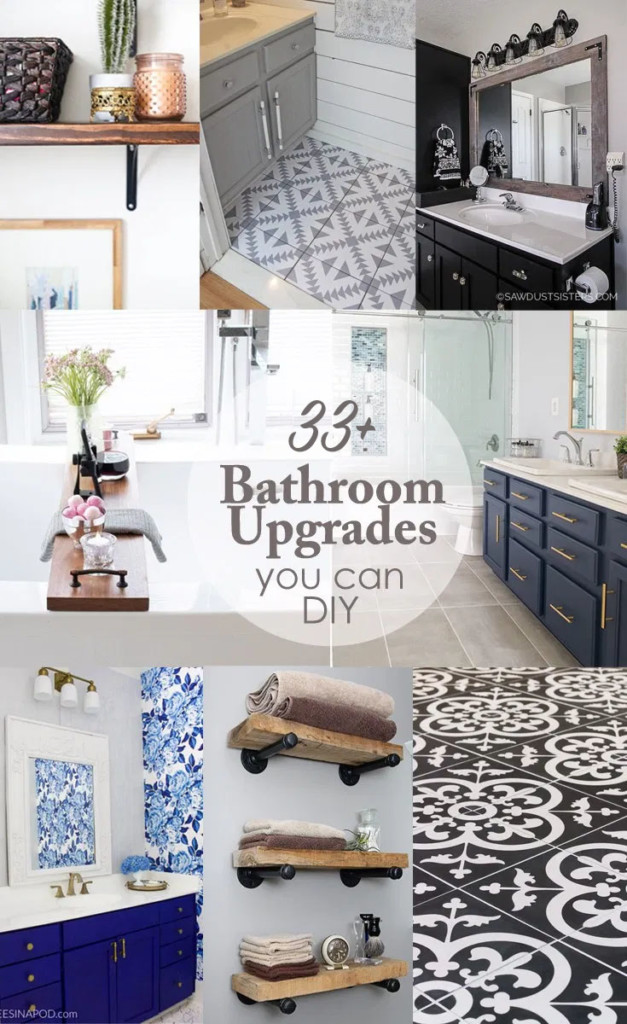
Does your bathroom need a little sprucing up? If you’re anything like me, you get a little tired of the same boring thing year after year. The 33 projects in this collection are inspiration for how you can DIY Bathroom Upgrades!

Bathroom Upgrades You Can DIY

If your how was built with builder-grade materials and you’re looking for ways to upgrade different things to make it more personalized and beautiful, today is the day to get some inspiration to make a change in your bathroom. The good news is these are all projects that you can put together with just a few supplies and a little time and elbow grease.

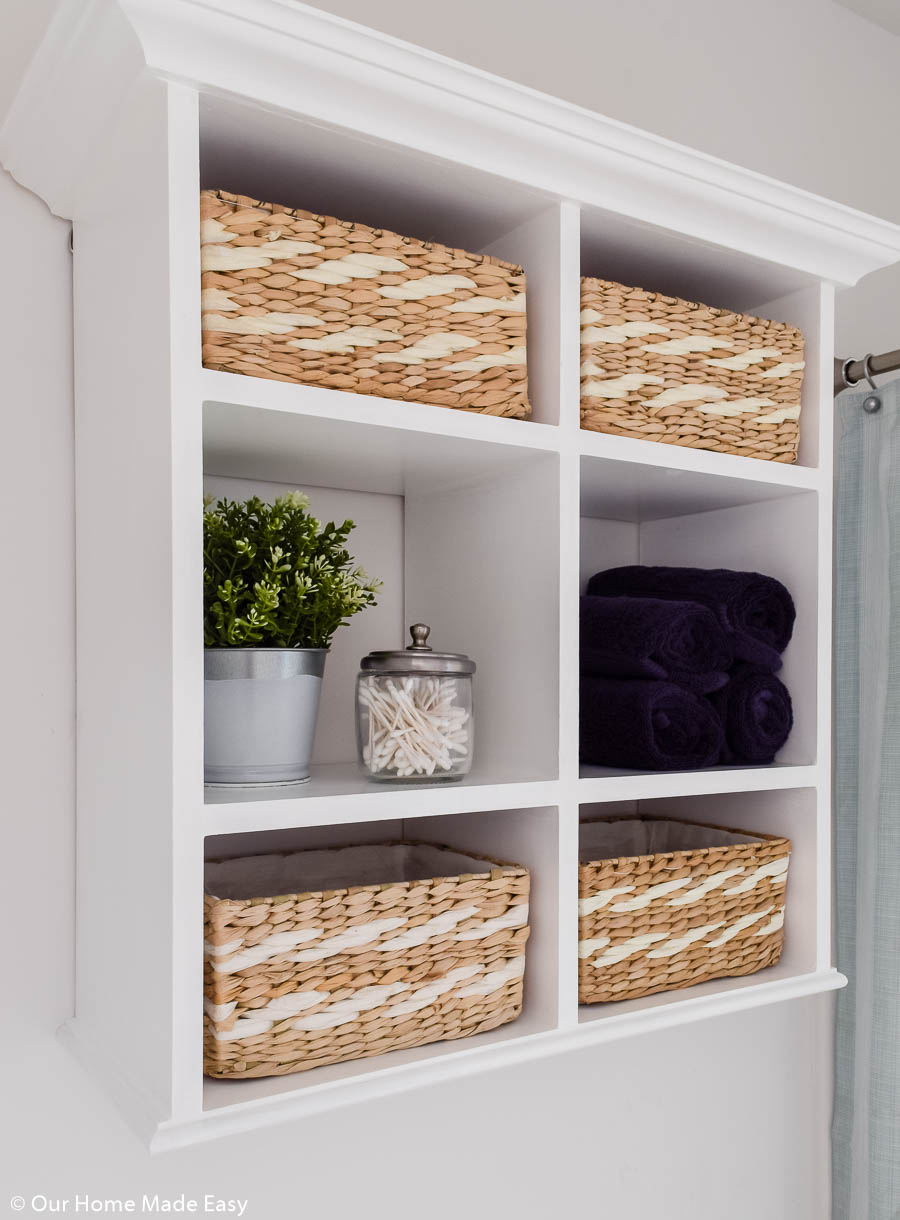
Create more beautiful storage in your bathroom with these easy bathroom shelves.

Provide a little privacy without blocking light by applying this privacy film to your bathroom windows.

Build this DIY bathroom wall cabinet to create another place to store toiletries and towels.

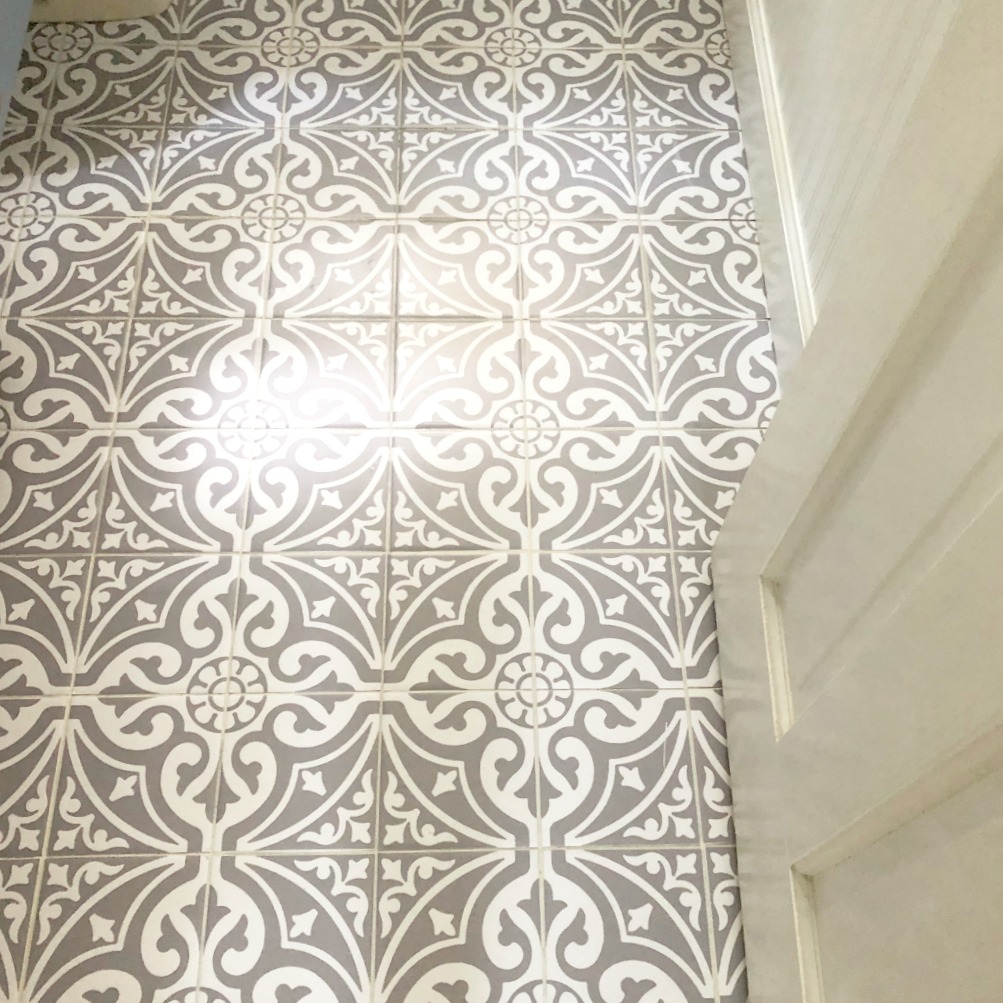
Learn how to install cement tiles on your own so you can create the floor of your dreams!

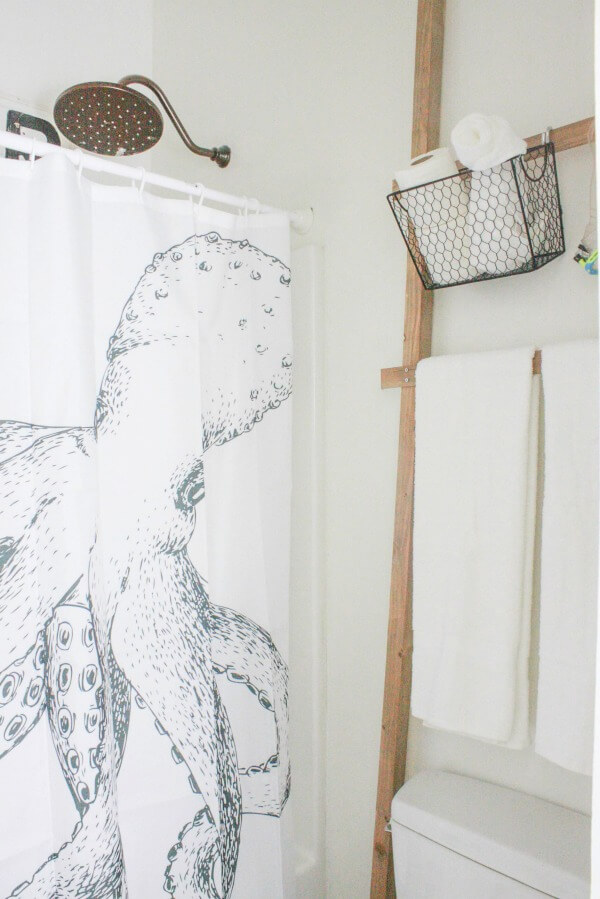
If you need a place to hang some towels, build this simple rustic ladder for your bathroom.

Plenty 'o Storage from One Board | Pretty Handy Girl Plenty 'o Storage from One Board | Pretty Handy Girl

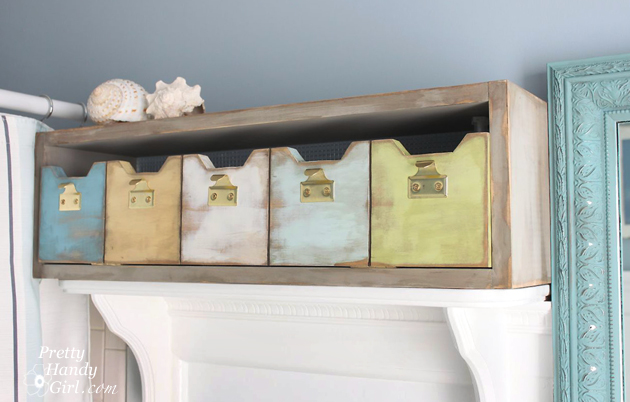
Build a simple storage box to put bathroom essentials out of sight using only ONE BOARD!

diy rolling racks by hazel and gold designs

Another option for towel storage is this rolling bathroom towel rack; perfect if you don’t have ample wall space.

Learn how to install and update cabinet hardware for a more modern look to your bathroom.

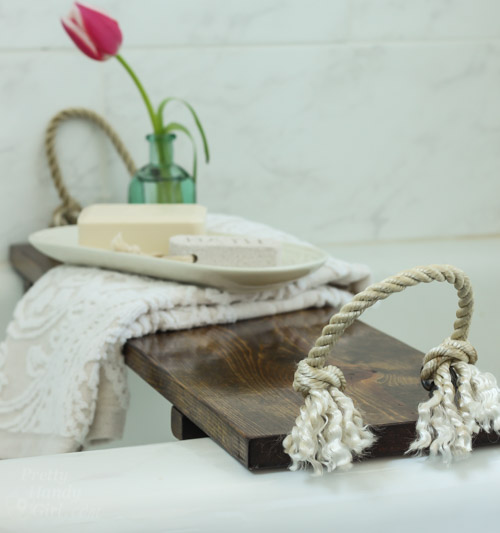
Rustic Wood Bathtub Tray | Pretty Handy Girl

Make this beautiful and useful wooden bath tray that will hold your phone while you bathe. It’s great decor too!

Update your bathroom with customized towel hooks rather than rods.

If you’re looking to change your mirror, consider learning how to hang a frameless oval mirror.

If you like the rustic look, consider updating with unique things like this branch towel bar.

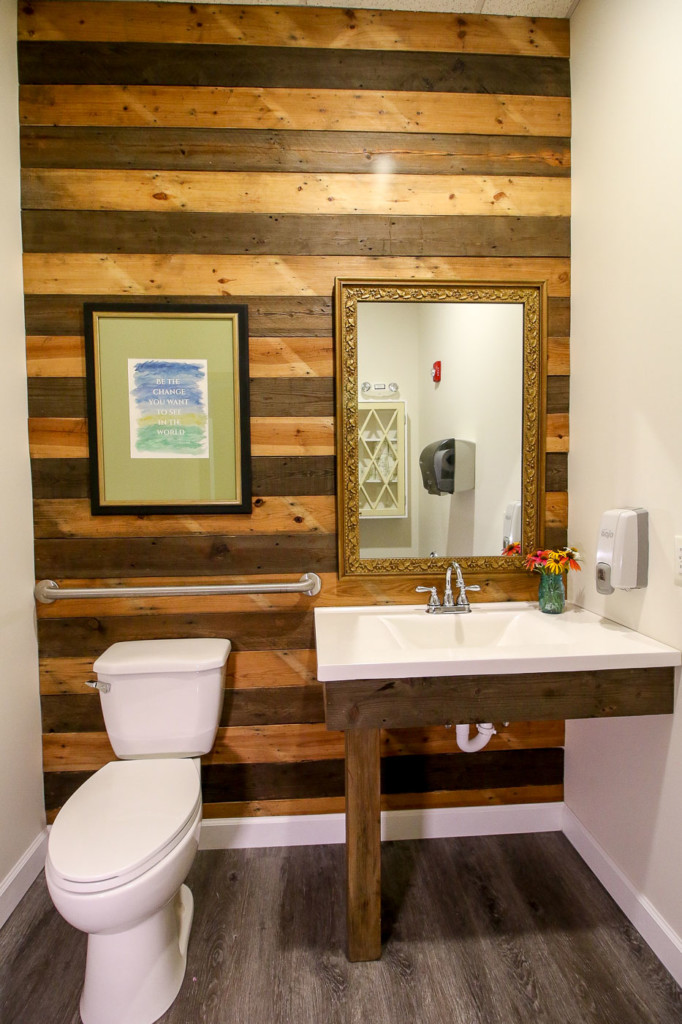
Add a beautiful rustic and warm touch by planking one wall in your bathroom.

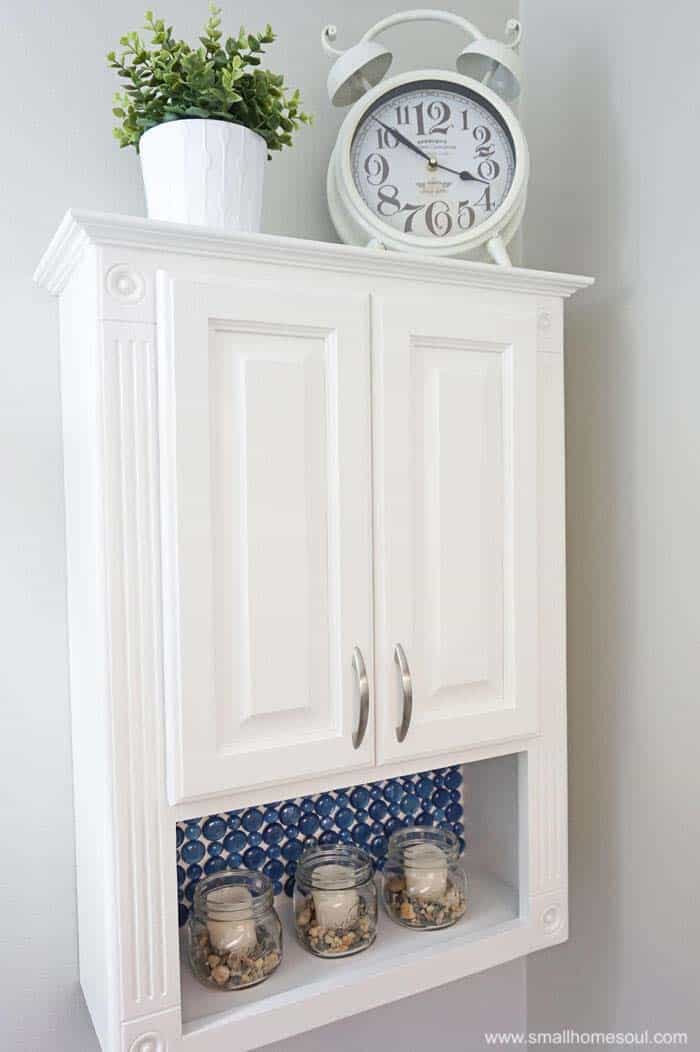
Install a beautiful backsplash inside a cabinet or on a wall.

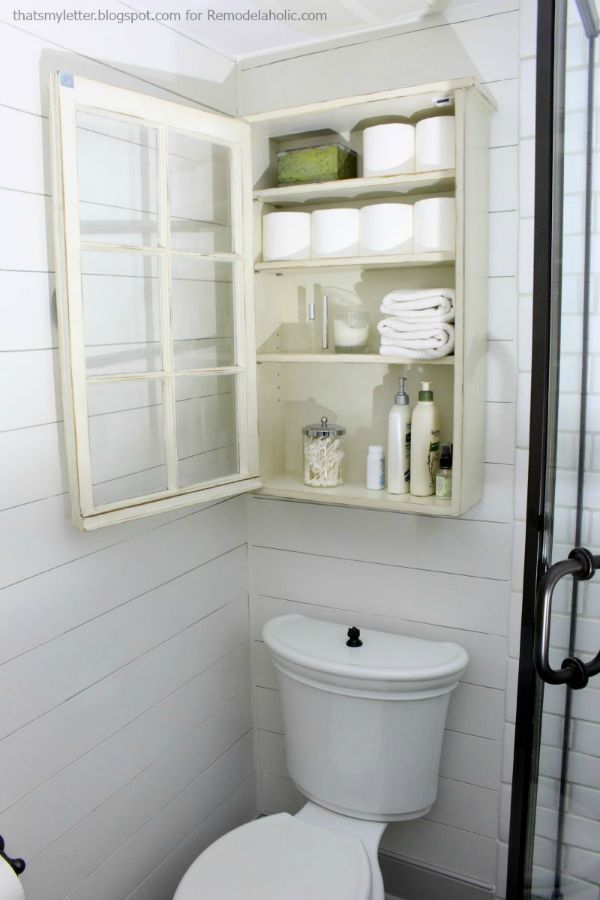
Repurpose an old window to update your bathroom with an awesome bathroom storage cabinet.

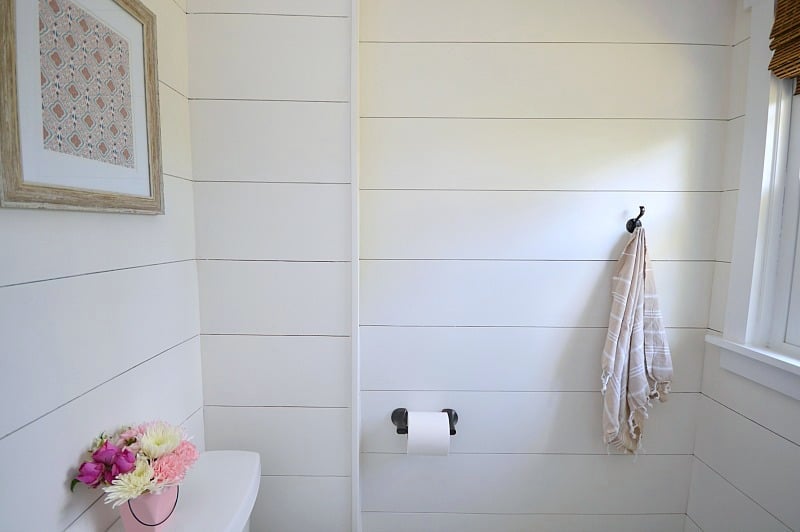
Upgrade your plain walls with DIY shiplap in your powder room.

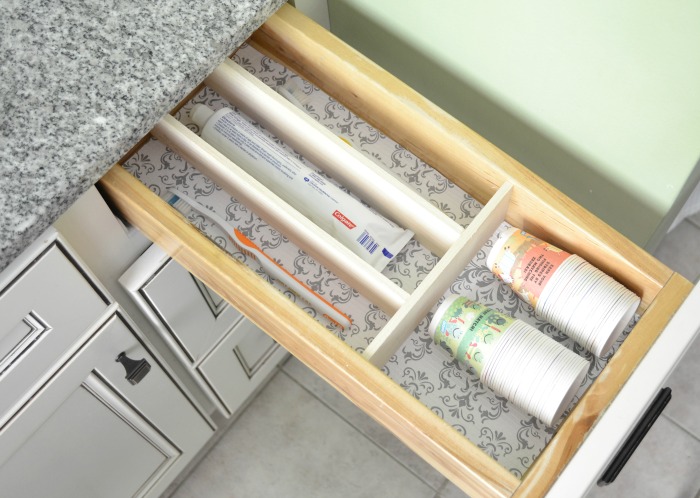
If you’re looking for more organization, update your bathroom drawer storage with DIY drawer dividers.

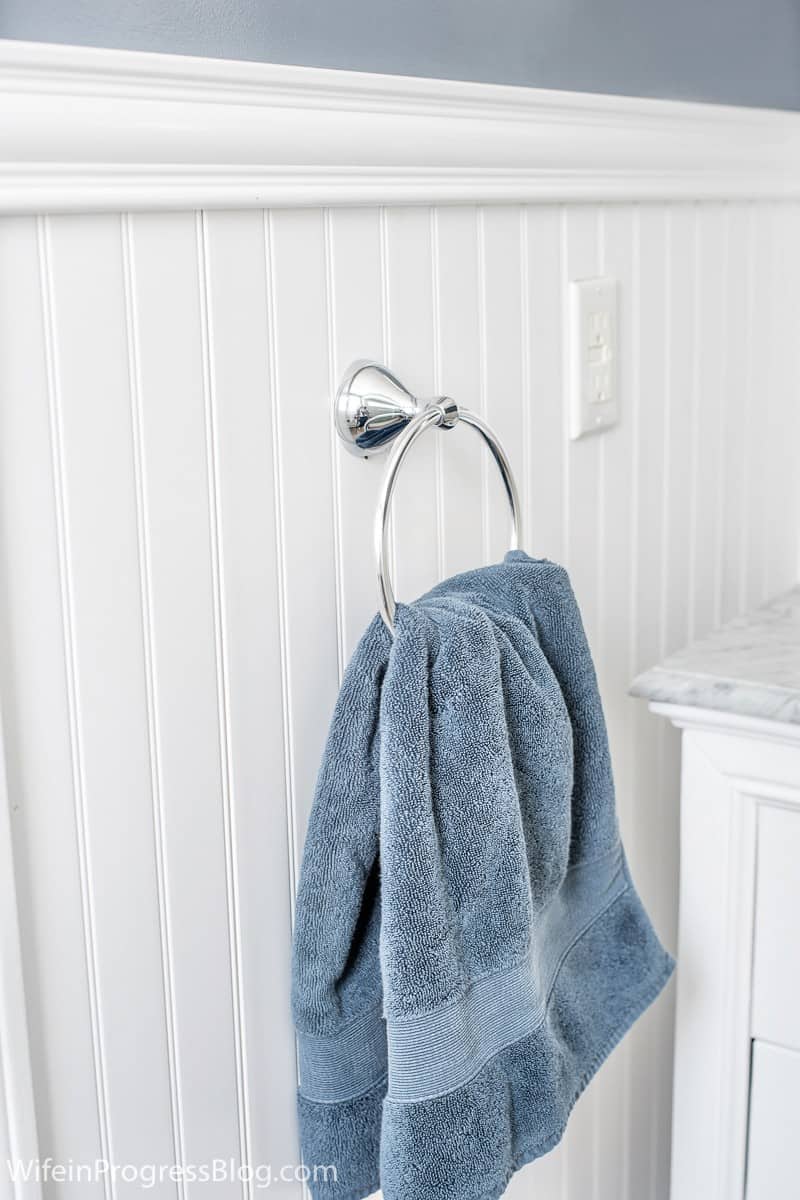
Give your bathroom walls an upgrade by installing beadboard on the bathroom walls.

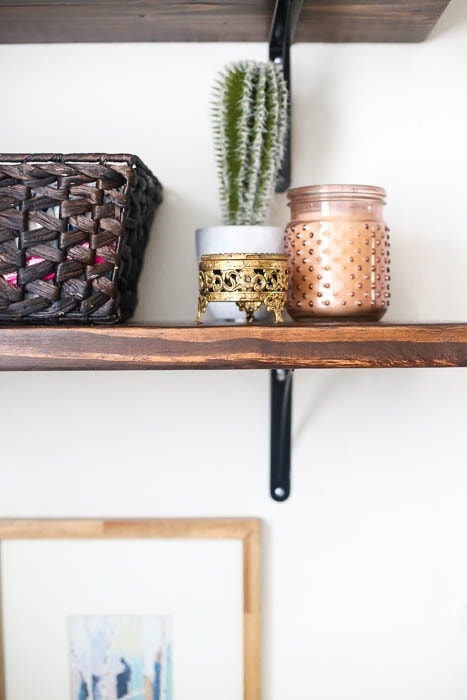
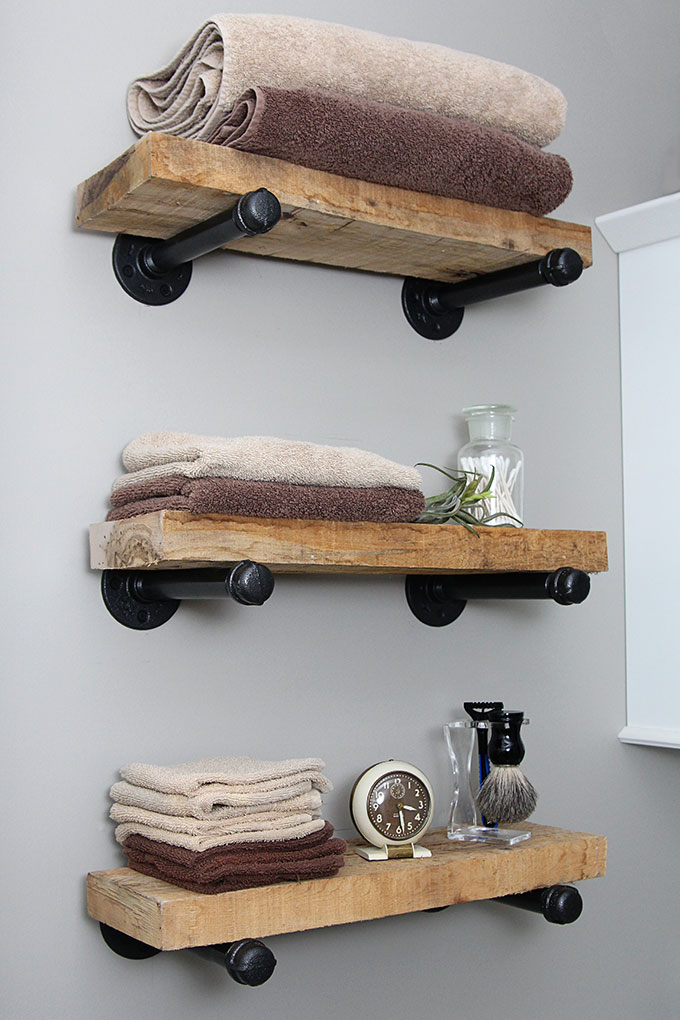
Decorative industrial shelves are the perfect upgrade for your bathroom.

This stick-on bathroom mirror frame makes such a huge impact and you can absolutely make it yourself.

Build your own small DIY bathroom vanity so you have exactly what you need.

diy-drawer-dividers

Add built-in dividers to your bathroom drawer to improve organization.

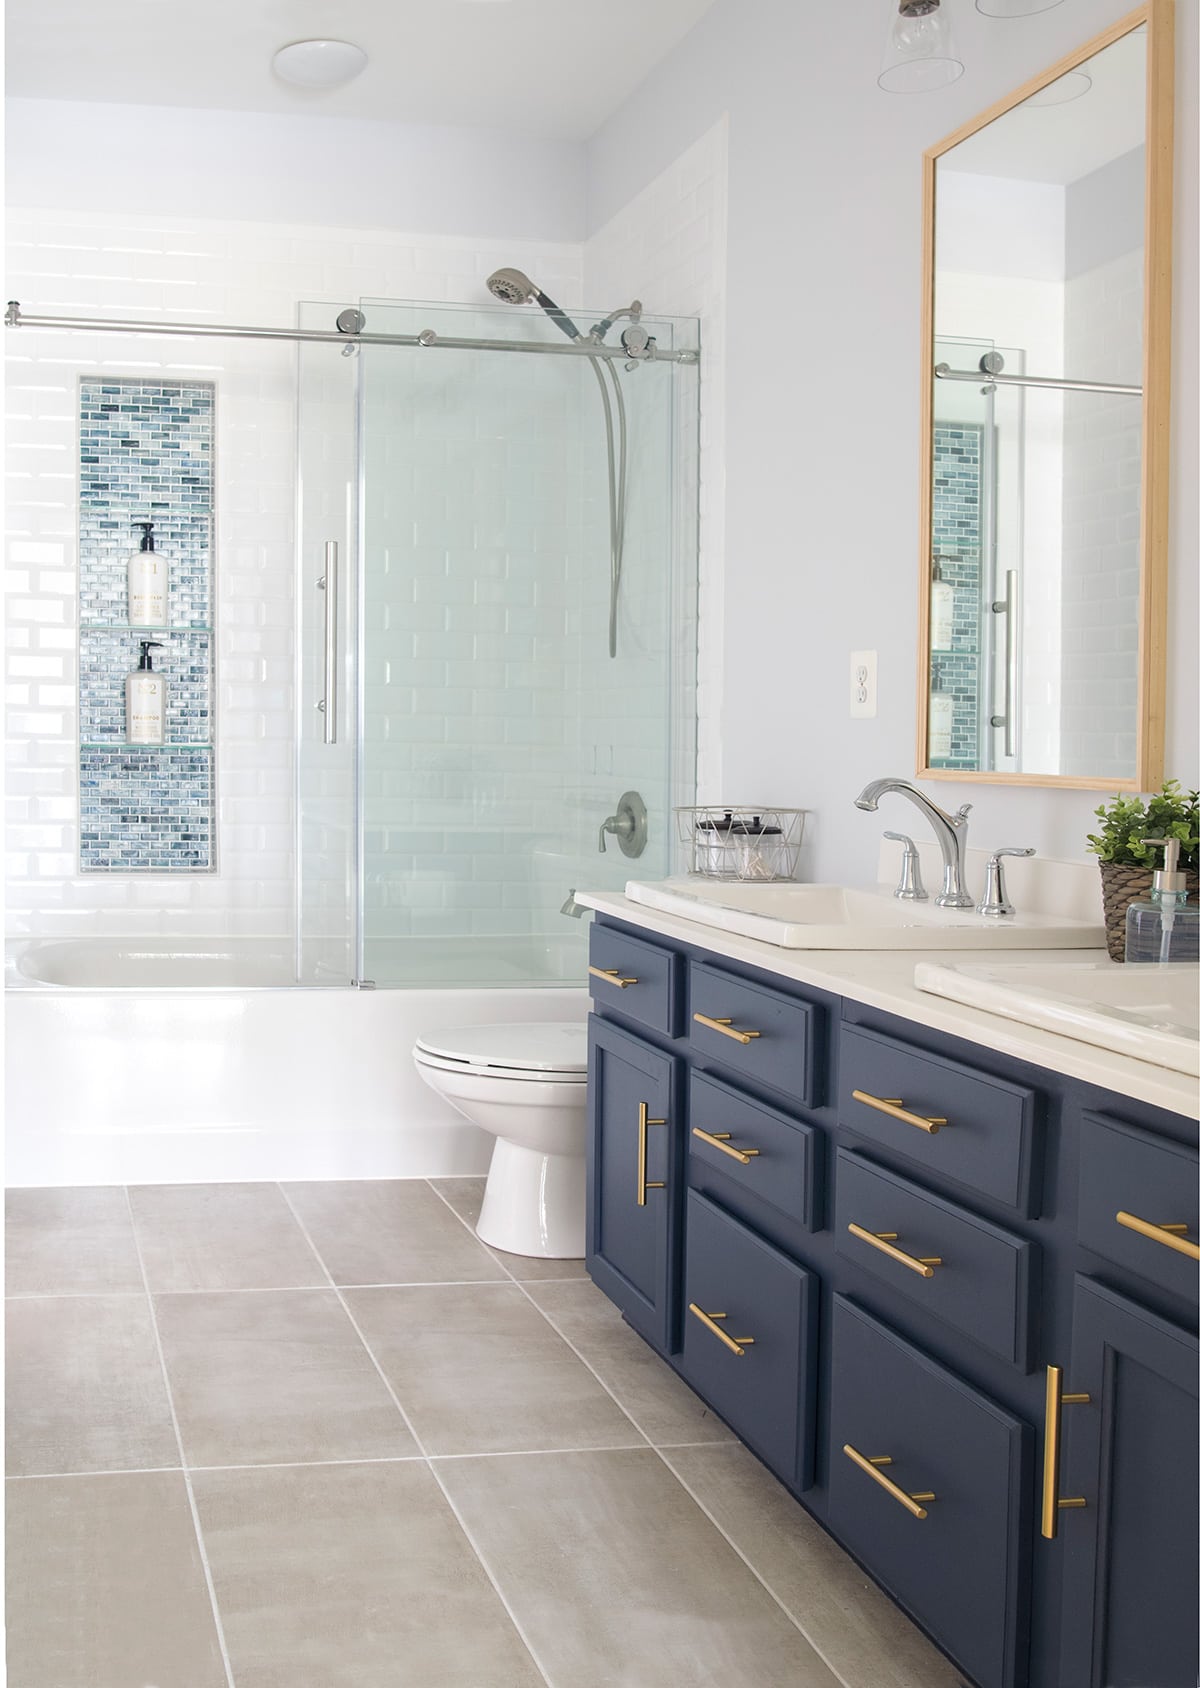
Upgrade your old cabinets by doing a vanity makeover with paint!

Change up your bathroom by painting a faux concrete wall and making it look more customized.

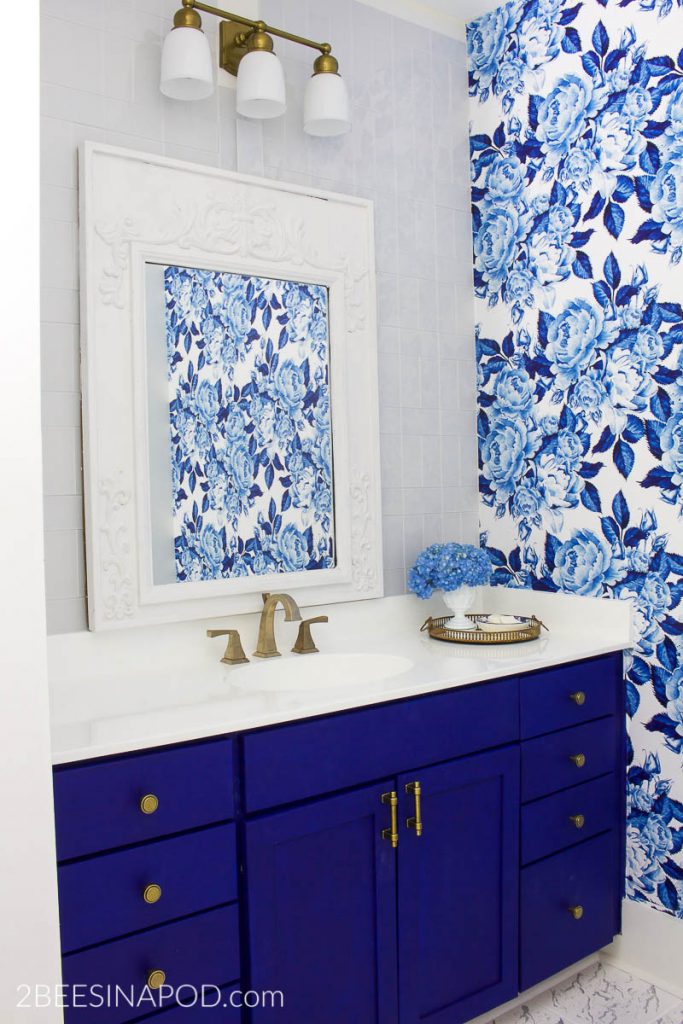
Apply floral wallpaper to one bathroom wall to make a huge visual impact without overwhelming.

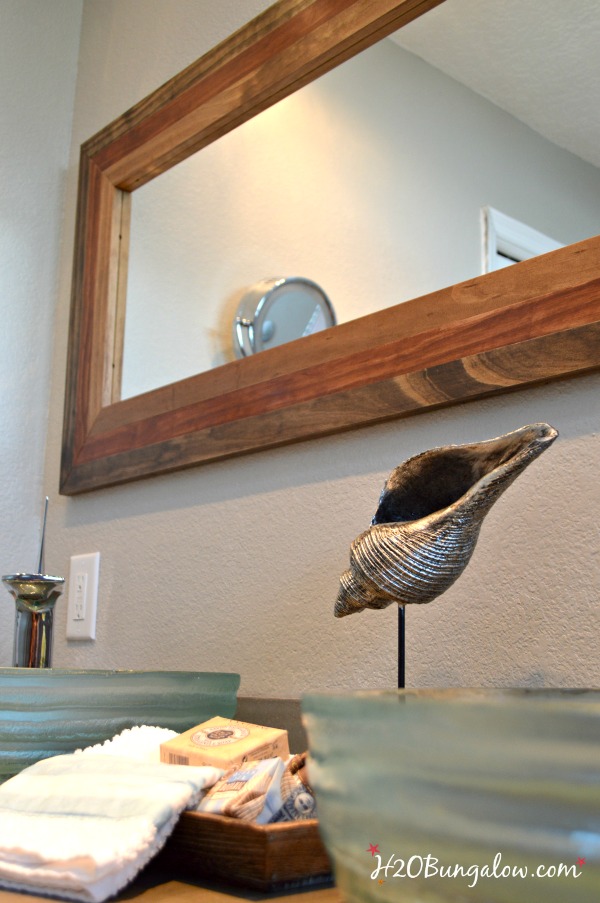
Build an awesome wooden DIY rustic mirror frame to upgrade a simple mirror.

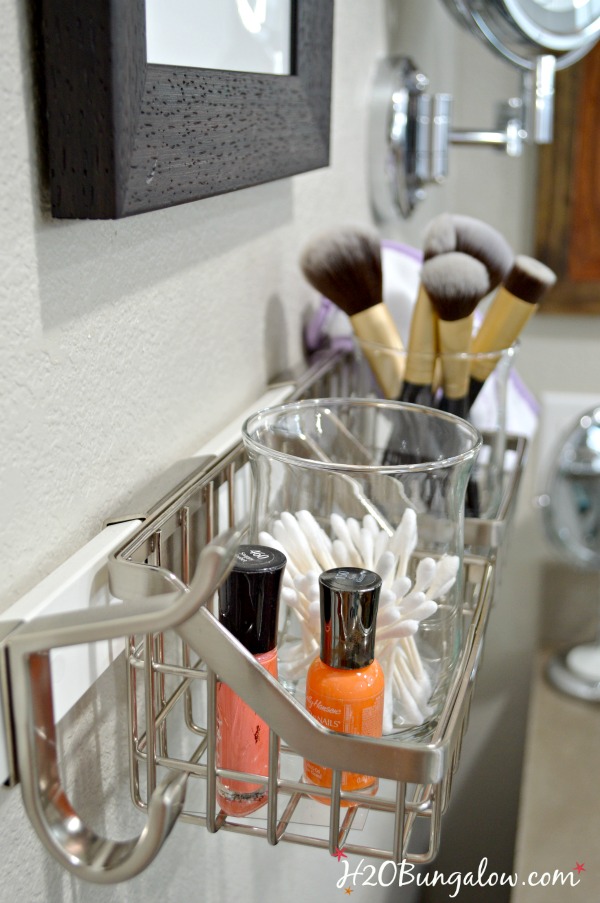
Add some simple storage by installing creative organization to the walls.

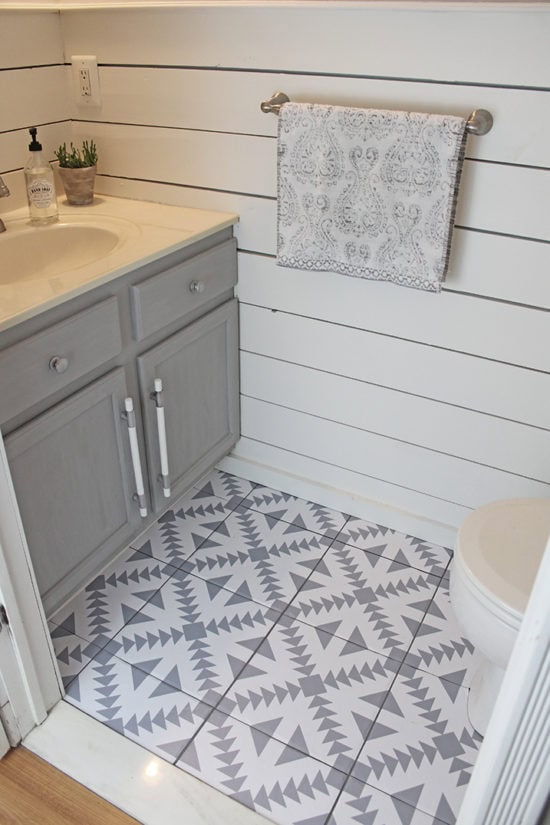
Want to change your floors without tiling? Use floor stickers to update your bathroom flooring with a whole new look.

DIY Adhesive Tiled Walls

Apply tile to the walls in your bathroom for a beautiful, classy upgraded look.

Use stencils on the bathroom walls to create a faux wallpaper look.

Add Frameless Oval Mirrors to Your Bathroom

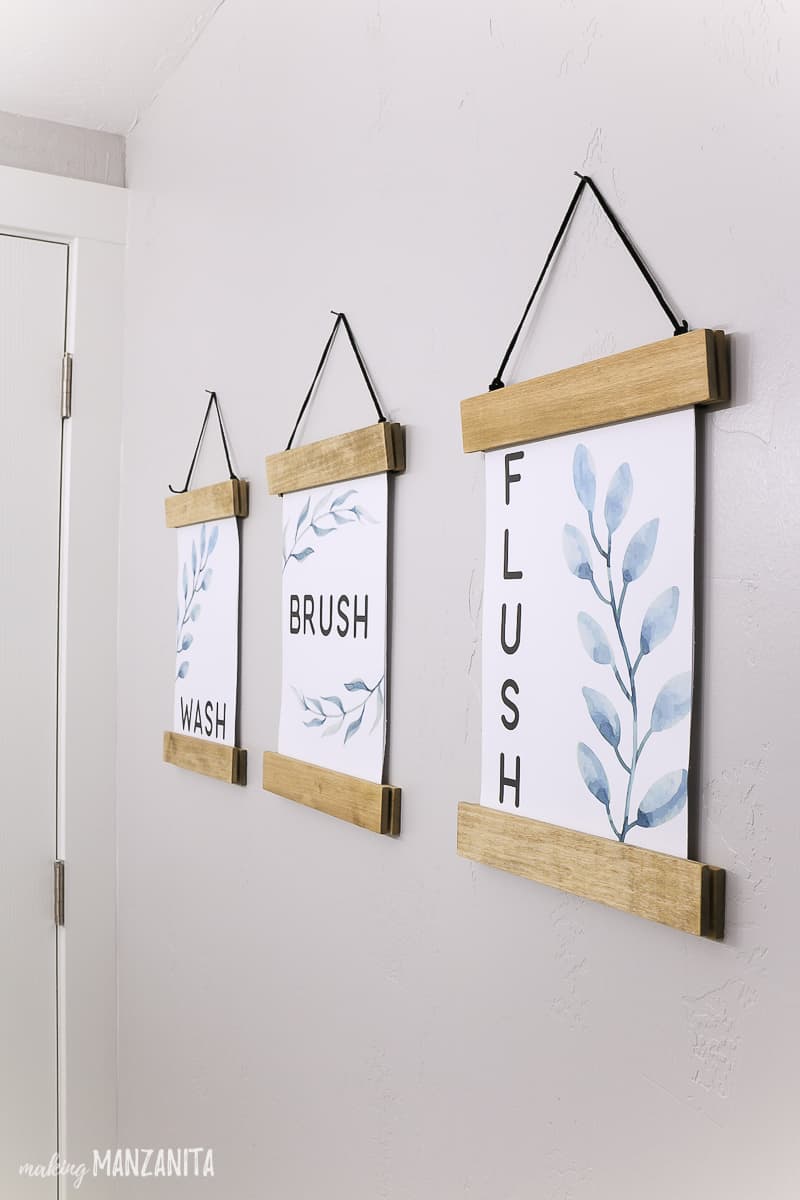
Create simple wall frames to upgrade those plain walls and make them prettier.

under sink organizaiton

Add custom storage under any sink to get more organization out of your bathroom.

Give your bathroom a whole new look by applying these beautiful patterned tile stickers.

I hope you loved these ideas and found inspiration on how you can create something similar for your home. Comment and let me know what you think! Which is your favorite?

Hi, I’m Sheri from Hazel + Gold Designs. Here are a few fun stats about me: I like love chocolate and peanut butter (together of course.) If you like stats, I have been crocheting for about 16 years, crafting for 20, and woodworking for about 4 years. I found a passion in making and being creative and began documenting my projects online at Hazel + Gold Designs.
When not working on projects, I enjoy spending time with my husband, four children, perfect dog, and ornery cat. You can find me on Facebook, Pinterest, Instagram and Twitter.

Read all of Sheri’s tutorials.

~Find more of Sheri’s projects here ~

diy sewing projects to help you learn to sew social media image

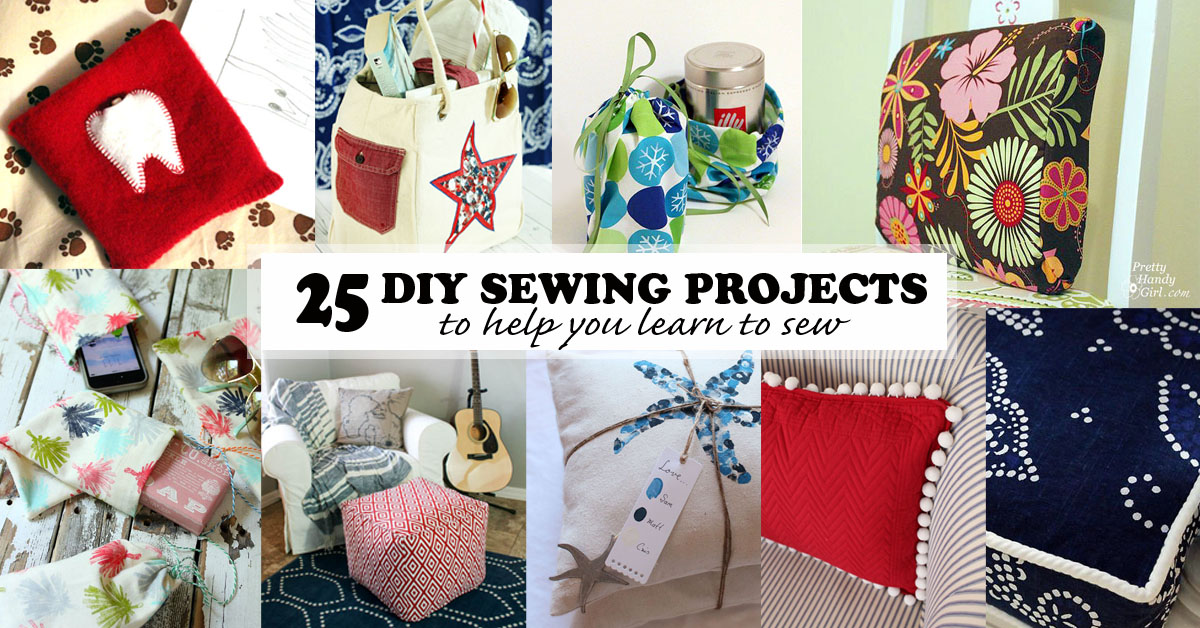
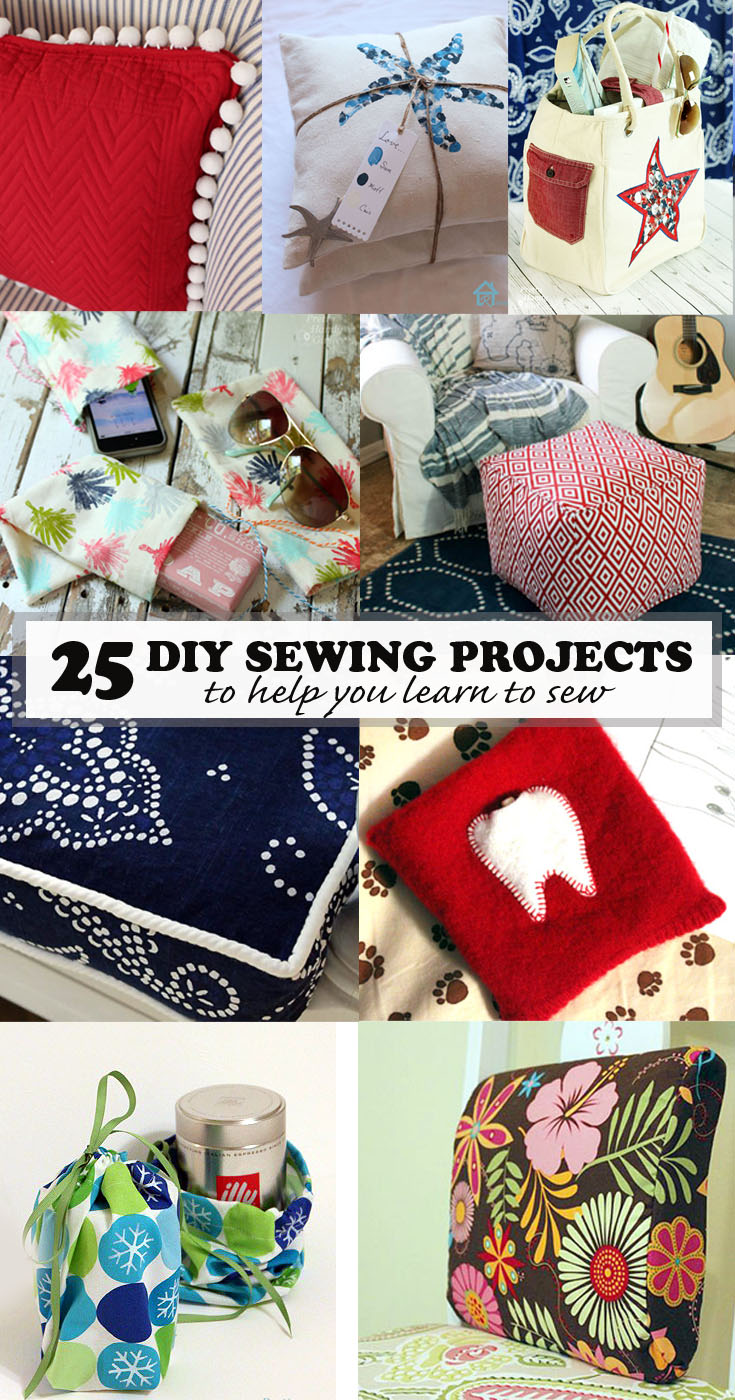
diy sewing projects to help you learn to sew pinterest imageDo you want to learn to sew or maybe practice some of the basic skills that you already know? These tutorials are a perfect collection of projects that will help you do just that! They are simple enough for beginners and creative enough for anyone that knows or is learning to sew. Here are 25 DIY Sewing Projects to Help You Learn to Sew!

25 DIY Sewing Projects to Help You Learn to Sew

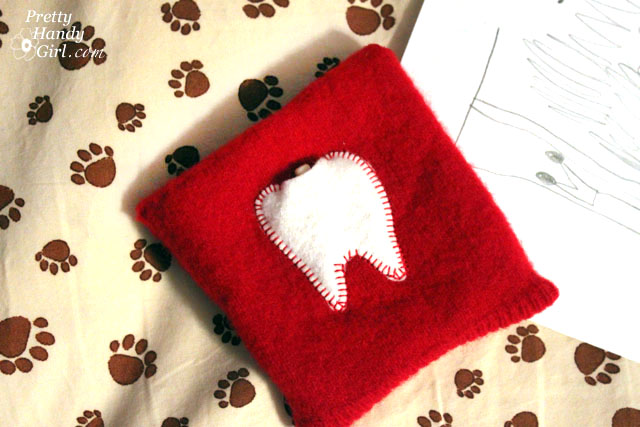
Easy Sewing Projects to help you learn to sew - 10 minute tooth fairy pouchMake this simple and cute Tooth Fairy Pouch from a sweater in just 10 minutes!


Easy Sewing projects to help you learn to sew - drawstring gift bag tutorial

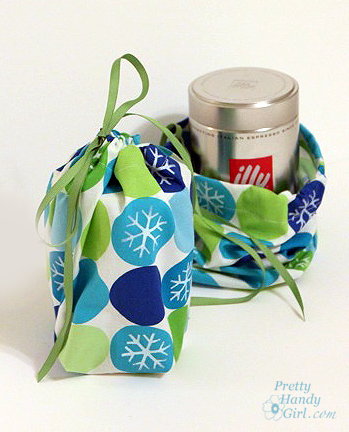
These Drawstring Gift Bags are the perfect simple project for gift-giving all year long.


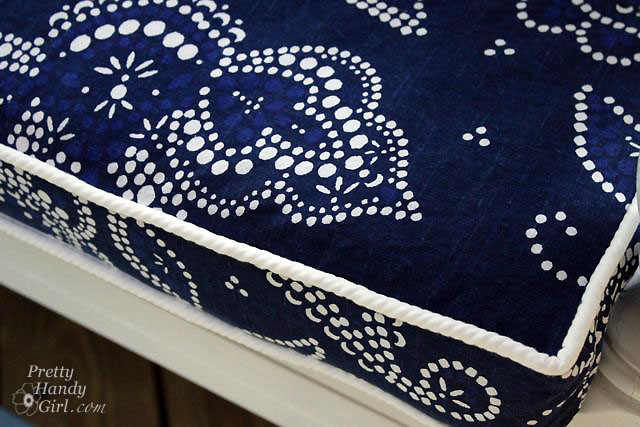
Easy Sewing Projects to help you learn to sew - Make your own pipingFollow this tutorial to make your own piping for cushions.


Easy Sewing Projects to help you learn to sew

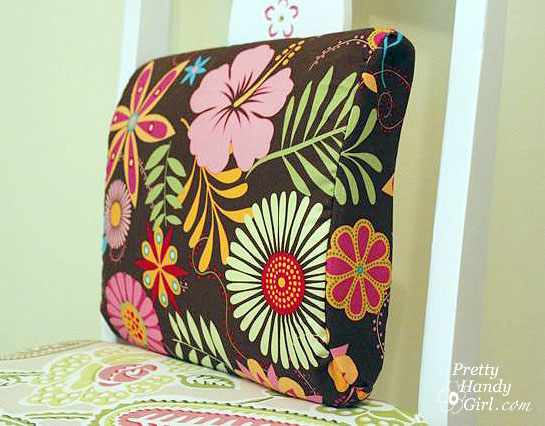
Make your own back pillow with these instructions to save your back and neck and improve your posture.


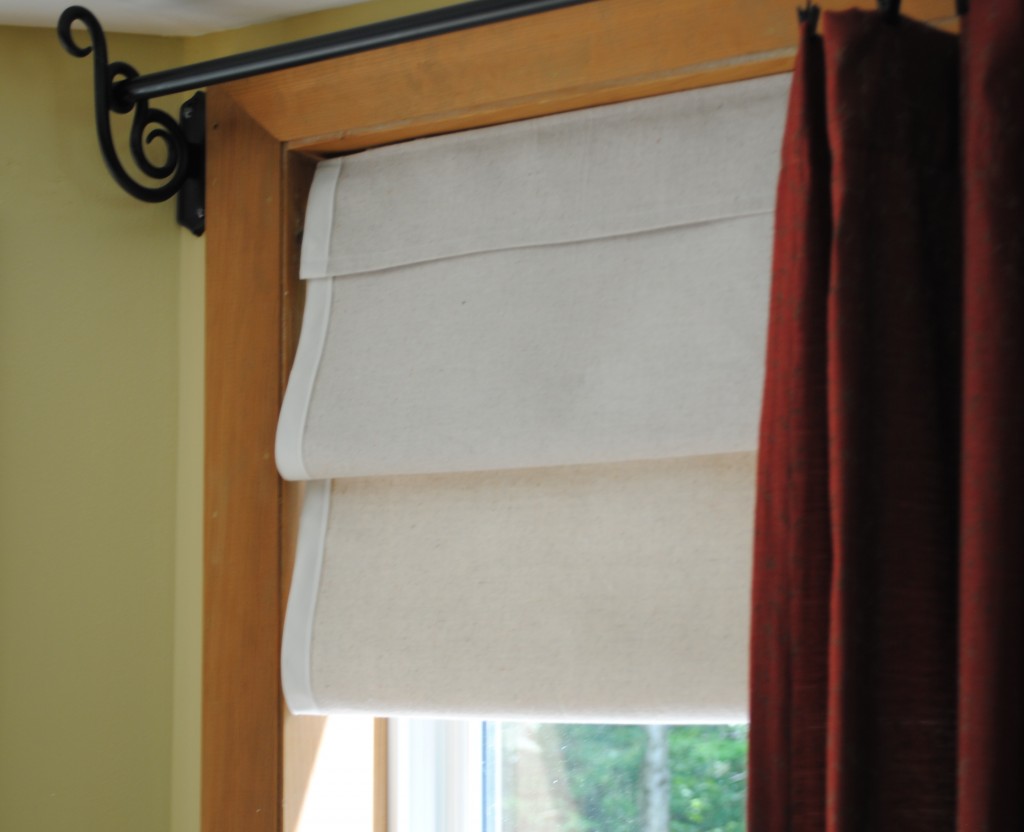
Add some pretty detail to your window coverings with these Faux Roman Shades.


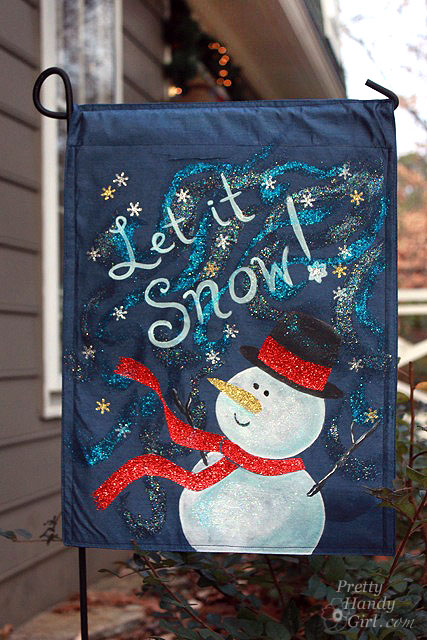
easy sewing projects to help you learn to sewSew inexpensive placemats to create this Snowman Flag.


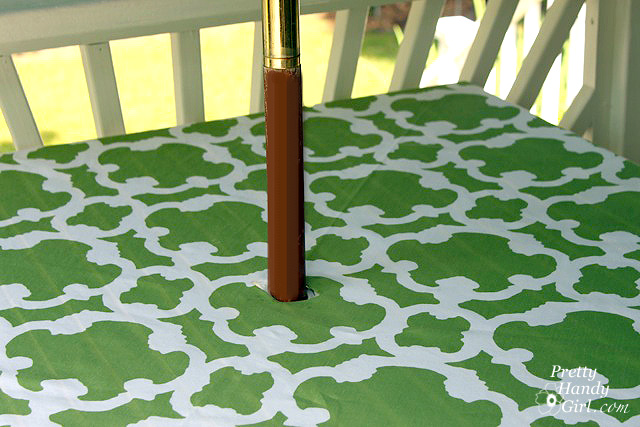
Easy sewing projects to help you learn to sew - no sew patio tablecloth

This Umbrella Ready Patio Tablecloth is actually a no sew project, but it is clever and worth reading!


Easy sewing projects to help you learn to sew -dog safety reflector bandana

Create a DIY Dog Safety Reflector Bandana with this simple tutorial and keep your buddy safer while walking in the dark.


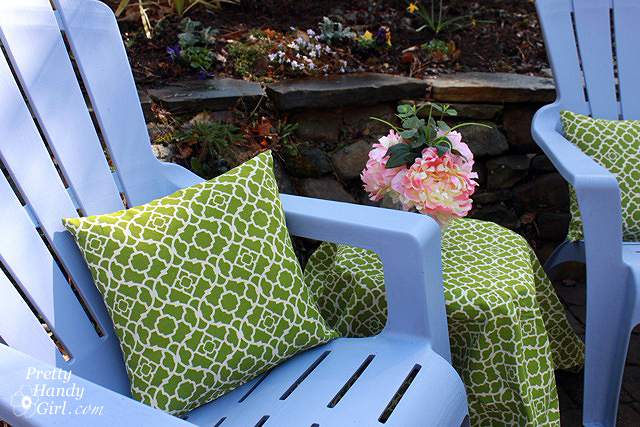
easy sewing projects to help you learn to sew - recover outdoor pillows

Recover Your Outdoor Pillows to add some fresh design to your patio.


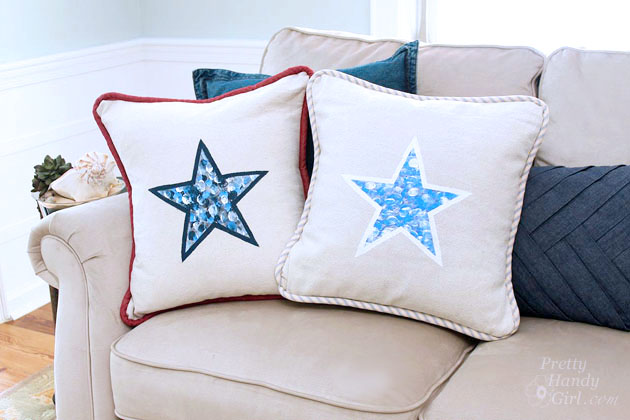
easy sewing projects to help you learn to sew - thumbprint envelope pillows

Make an envelope pillow with this unique and personal Thumbprint Pillow tutorial.


easy sewing projects to help you learn to sew - made in usa star shirts

Stitch on decals with this Made in USA Star Shirts Tutorial.


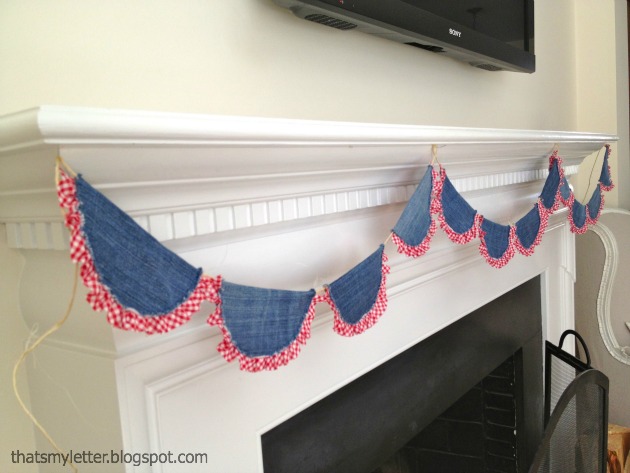
easy sewing projects to help you learn to sew - patriotic denim bunting tutorial

Sew bunting with this Patriotic Denim Bunting tutorial which repurposes old blue jeans.


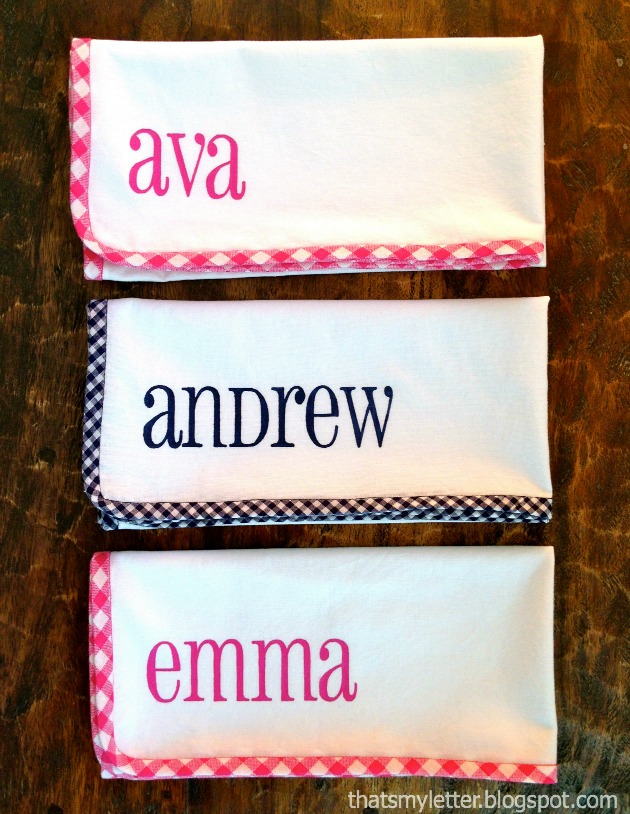
Practice some basic skills to make these customized Kids Cloth Napkins.


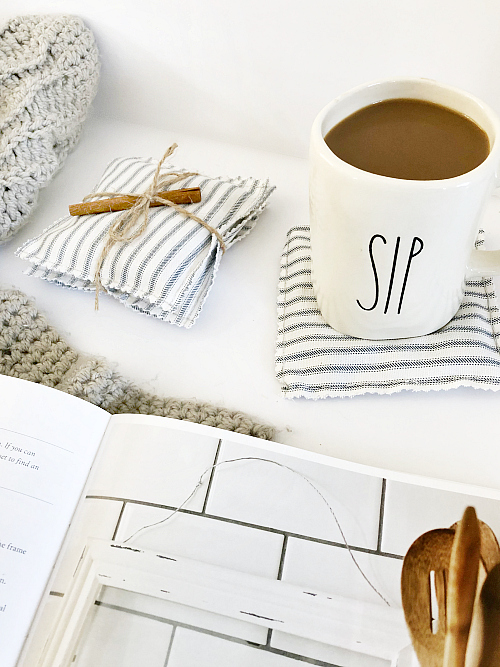
easy sewing projects to help you learn to sew - diy fabric coasters

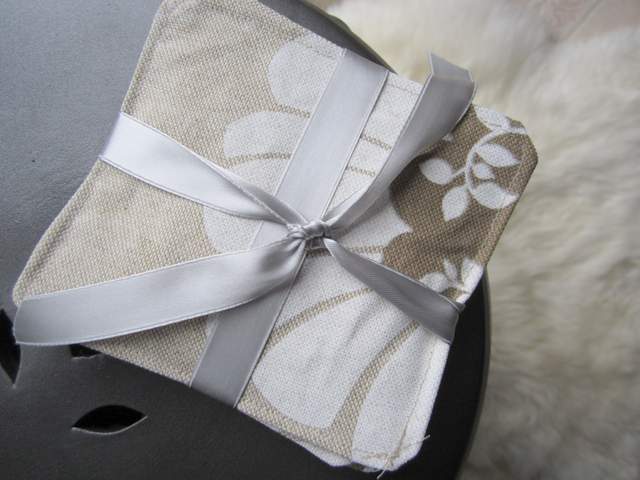
Another great project to learn some basic skills is this DIY Fabric Coaster tutorial.


easy sewing projects to help you learn to sew - pom pom placemat pillow tutorial

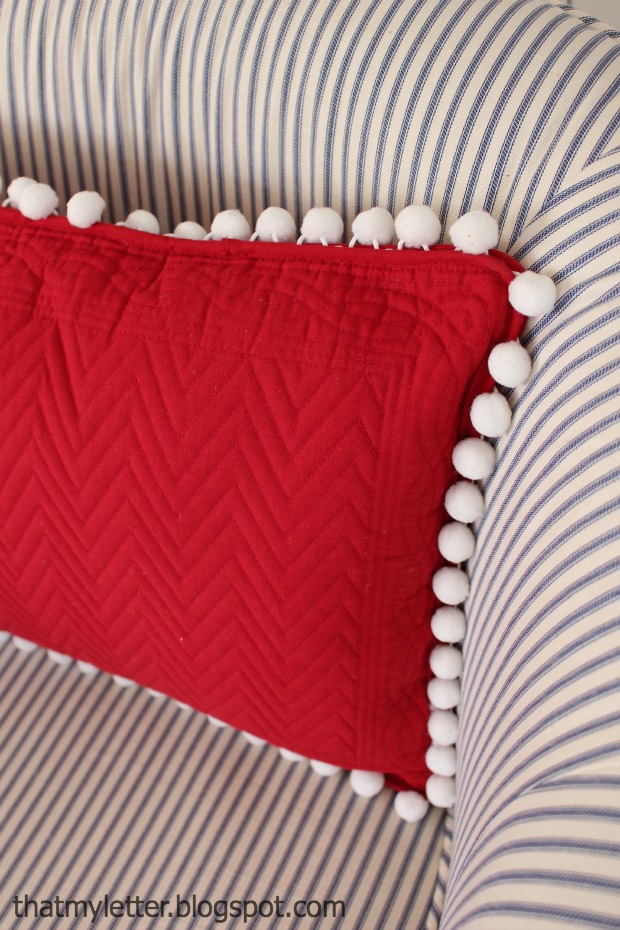
Add trim with this Pom Pom Placemat Pillow tutorial.


easy sewing projects to help you learn to sew - gift basket liner

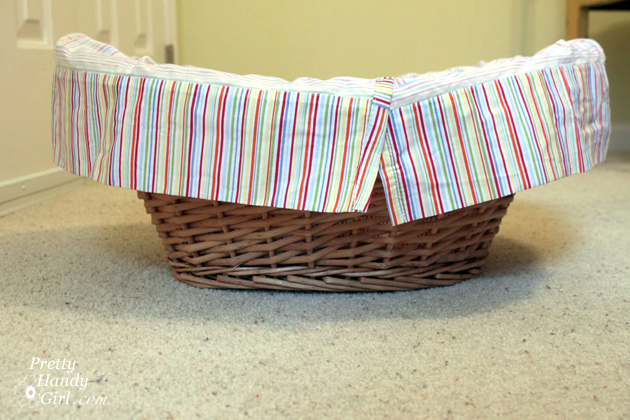
 Sew a Basket Liner with this laundry gift basket tutorial – bonus: it has a great detergent recipe too!


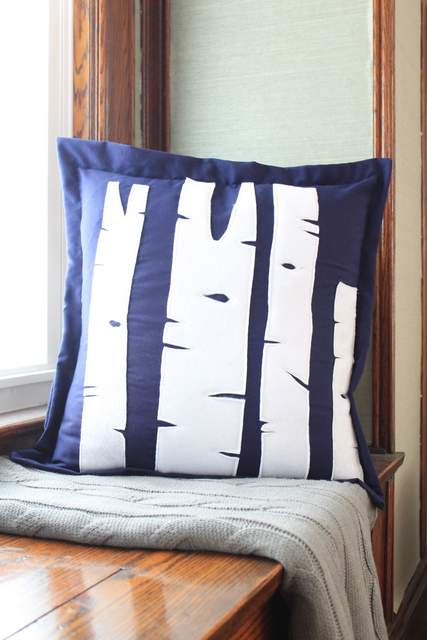
easy sewing projects to help you learn to sew - birch tree pillows

Discover another technique for sewing pillows by following this Birch Tree Pillows tutorial.


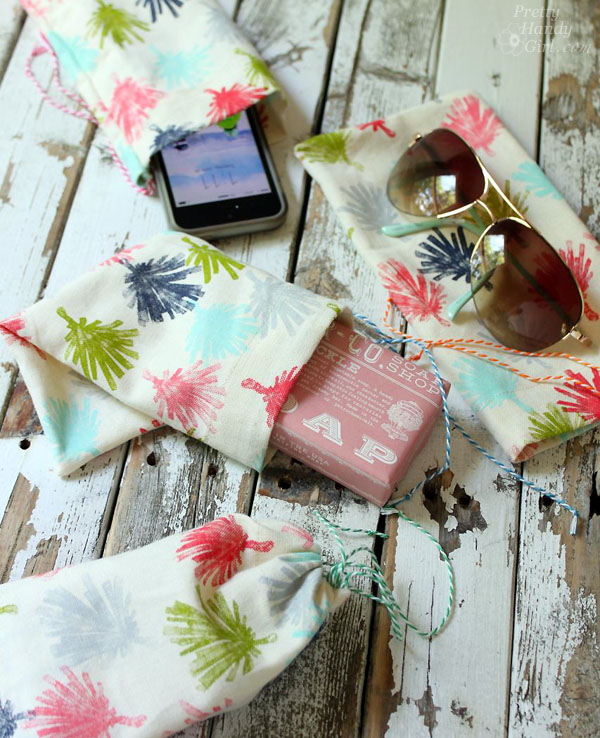
easy sewing projects to help you learn to sew - napkin gift bags

Practice basic skills and sew up some of these Easy Napkin Gift Pouches for small gifts.


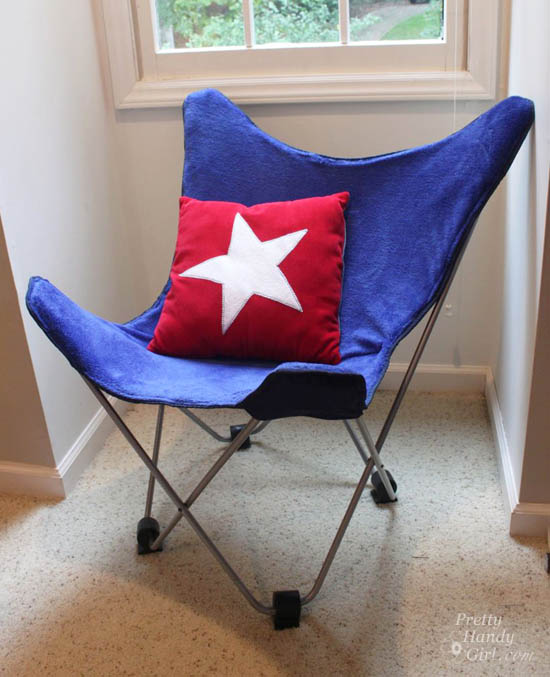
easy sewing projects to help you learn to sew - recover butterfly chair

Learn how to Recover a Butterfly Chair and give it a new life for years to come.


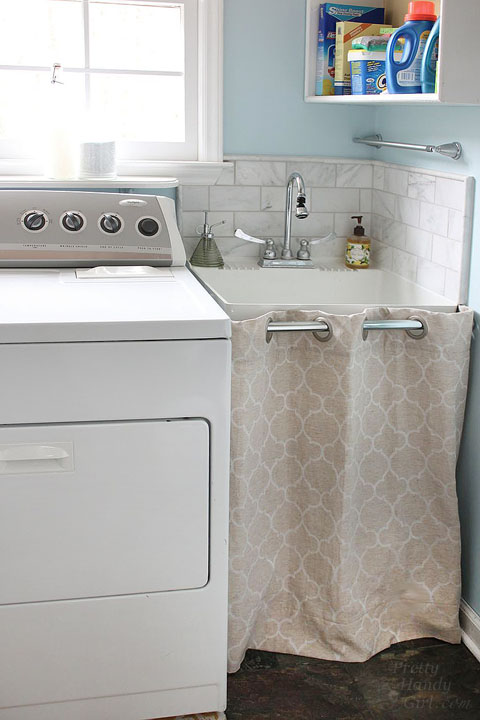
easy sewing projects to help you learn to sew - hidden storage under laundry sink hem curtain

See how to create Hidden Storage under your laundry room sink by hemming.


easy sewing projects to help you learn to sew - pouf ottoman tutorial

Discover how to sew this Pouf Ottoman – it’s easier than you think!


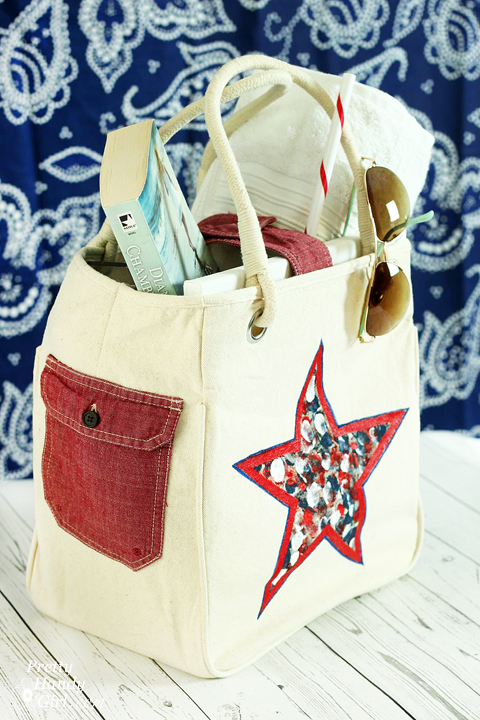
easy sewing projects to help you learn to sew - custom canvas tote using drop cloth canvas

Learn to sew this custom Canvas Tote using a drop cloth canvas.


Customize a tote bag with an old shirtUse some sewing skills to customize a Tote Bag with parts of an old shirt.


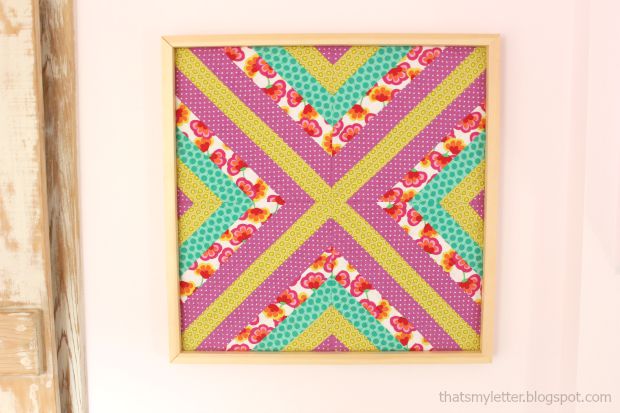
framed wall quilt

Practice quilting skills by making this beautiful and artistic Framed Wall Quilt.


make your own piping

Stop paying full price or searching for piping that matches and just Make Your own Piping from anything!

I hope you got some great inspiration from these projects and feel confident enough to pull out that machine for your next project! Share this post with anyone you think might benefit from it as well!

Hi, I’m Sheri from Hazel + Gold Designs. Here are a few fun stats about me: I like love chocolate and peanut butter (together of course.) If you like stats, I have been crocheting for about 16 years, crafting for 20, and woodworking for about 4 years. I found a passion in making and being creative and began documenting my projects online at Hazel + Gold Designs.

When not working on projects, I enjoy spending time with my husband, four children, perfect dog, and ornery cat. You can find me on Facebook, Pinterest, Instagram and Twitter.

Read all of Sheri’s tutorials.

~Find more of Sheri’s projects here ~


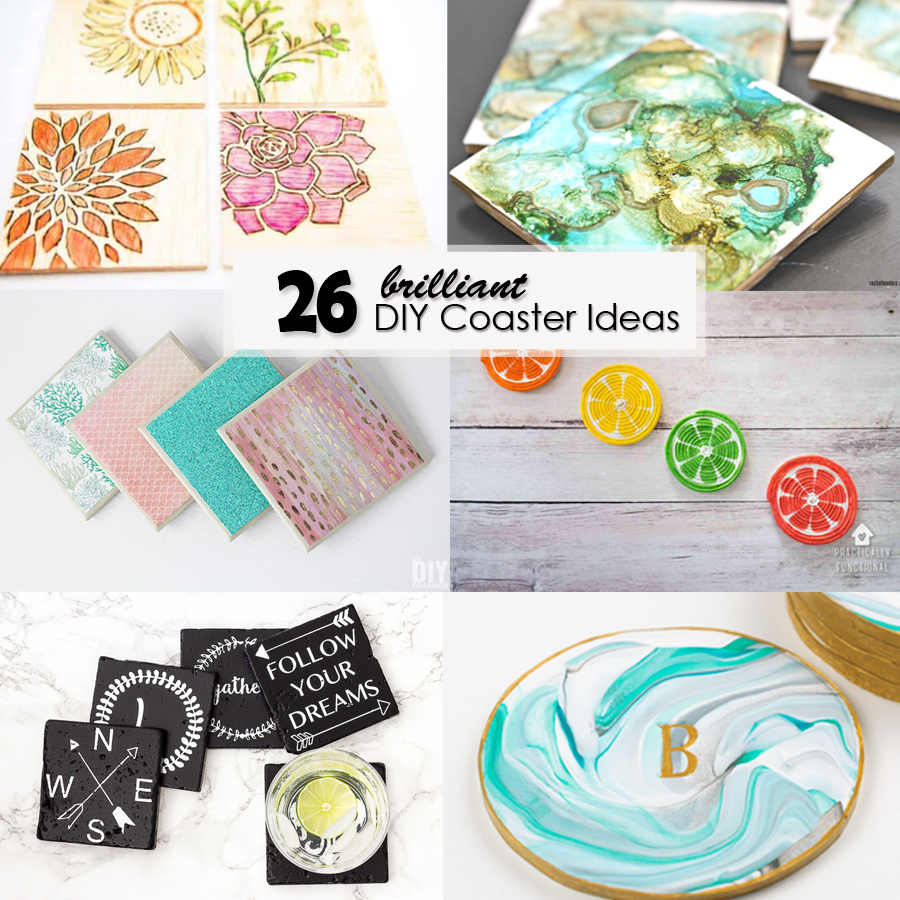
26 brilliant DIY Coaster Ideas square image

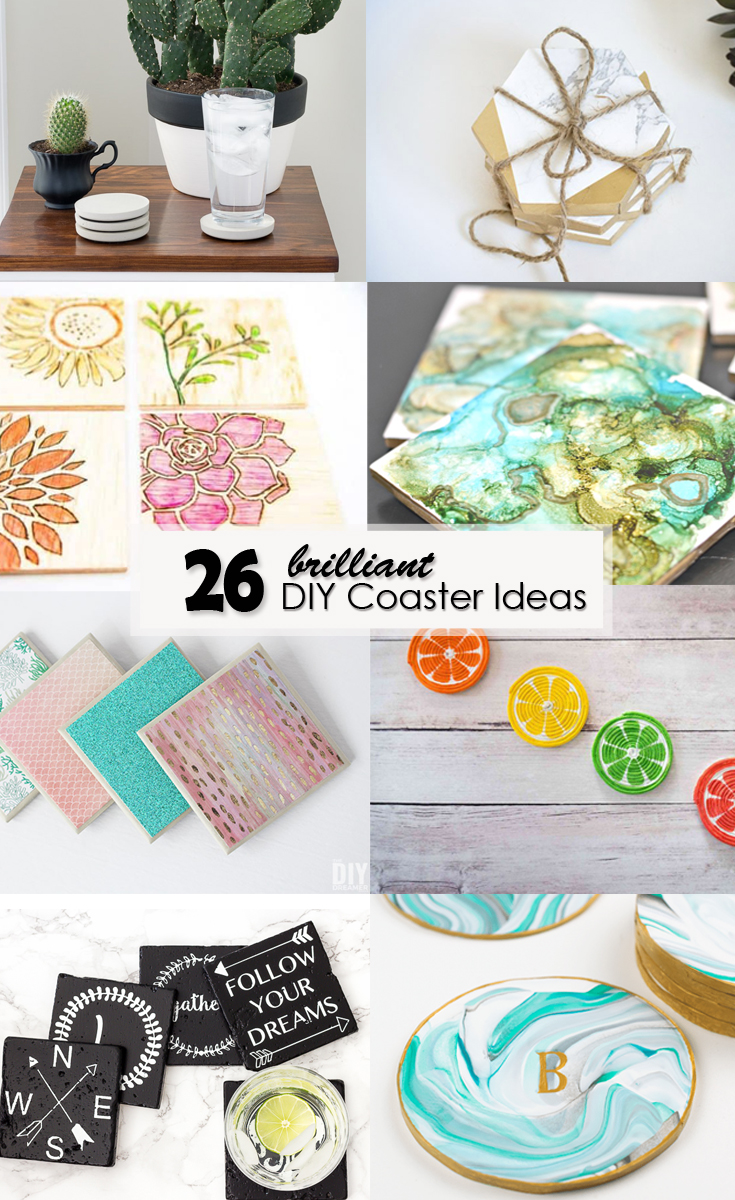
26 brilliant DIY Coaster Ideas square imageAdd some personality to your home and prevent those awful rings on your tabletops by making some coasters to place under every drink! Here are 26 brilliant DIY coaster ideas to inspire you and show how you can use a variety of materials to create some really cool coasters in any decor style.

26 DIY Coaster Ideas

diy oilcloth drink coasters by pretty handy girlLearn how to make these DIY Oilcloth Drink Coasters that you can use both indoors and outdoors.


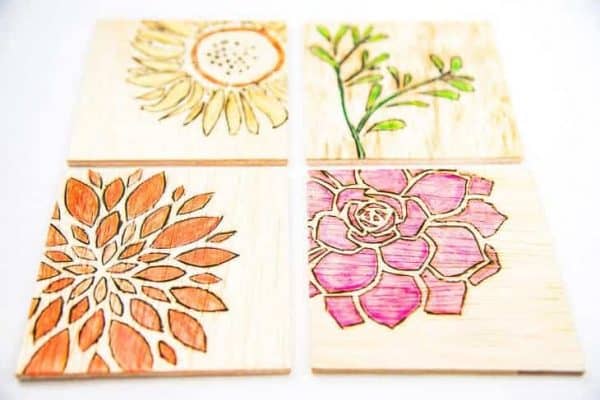
diy woodburned trivets and coasters by pretty handy girlUse cork and stencils to create these awesome Woodburned Coasters for your table.

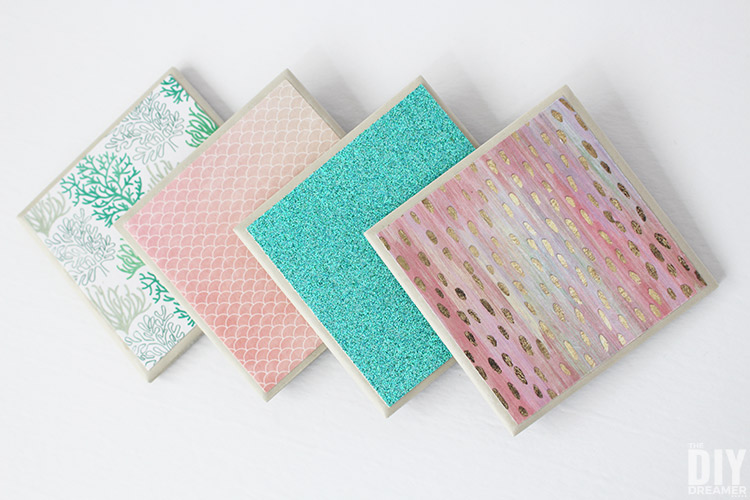
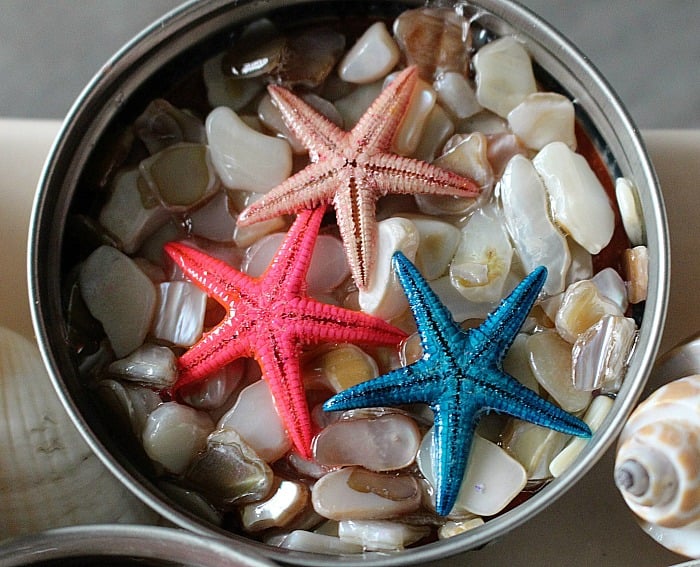
diy mermaid tile coastersIf you love beach or mermaid themed decor, make these magical DIY Mermaid Tile Coasters.

diy watercolor wooden coasters from the handymans daughterLearn how to make these DIY Watercolor Wooden coasters to add some beautiful color to your room.

fabric wood coasters by pretty handy girlAdd some patterns to your room with these fun DIY Fabric Coasters.

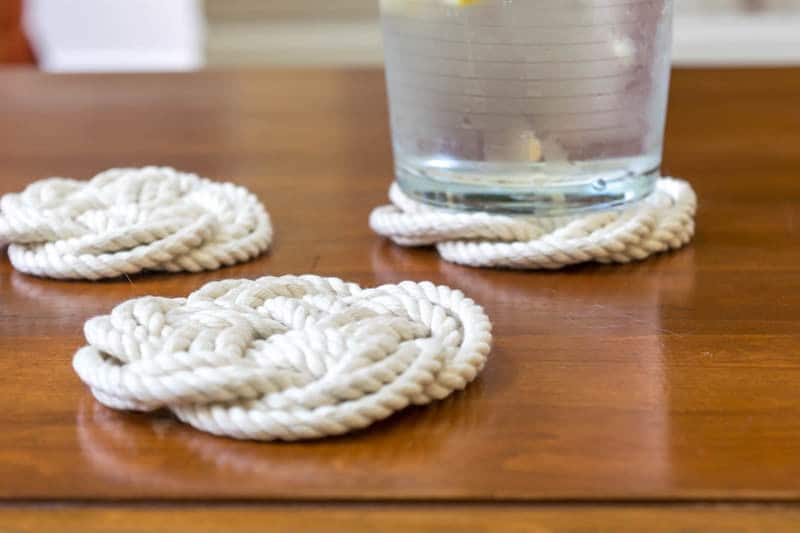
turk head knot coasters by nourish and nestleUse some cotton rope to make these amazing Turks Head Knot Coasters.

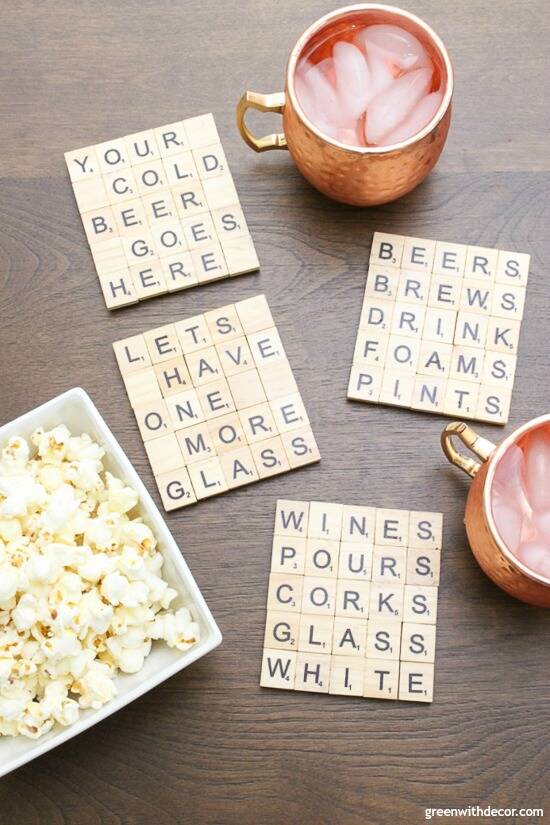
scrabble diy tile coasters by green with decorDo you love words? Create these Scrabble Tile DIY Coasters for your next gathering.

mosaic glass coasterUse small glass tile mosaics to create these modern easy-to-make Mosaic Tile Coasters.

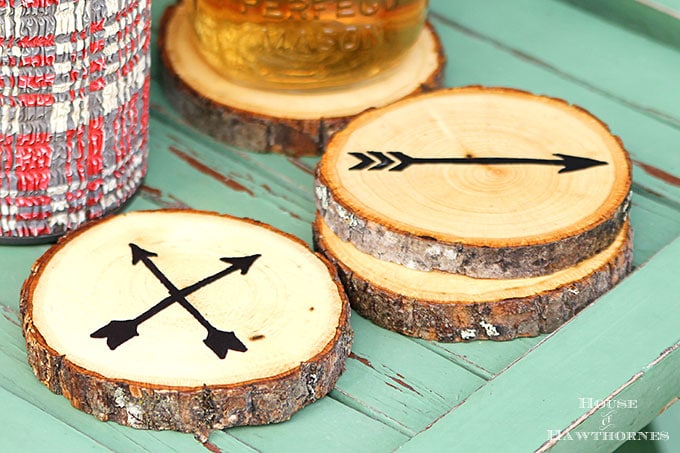
diy arrow wood slice coasters by house of hawthornesPersonalized Rustic Wood Slice Coasters would be so fun for your next dinner party.

map tile coasters by hazel and gold designsMake note of places that you’ve lived or loved with these Geographic Map Tile and Resin Coasters.

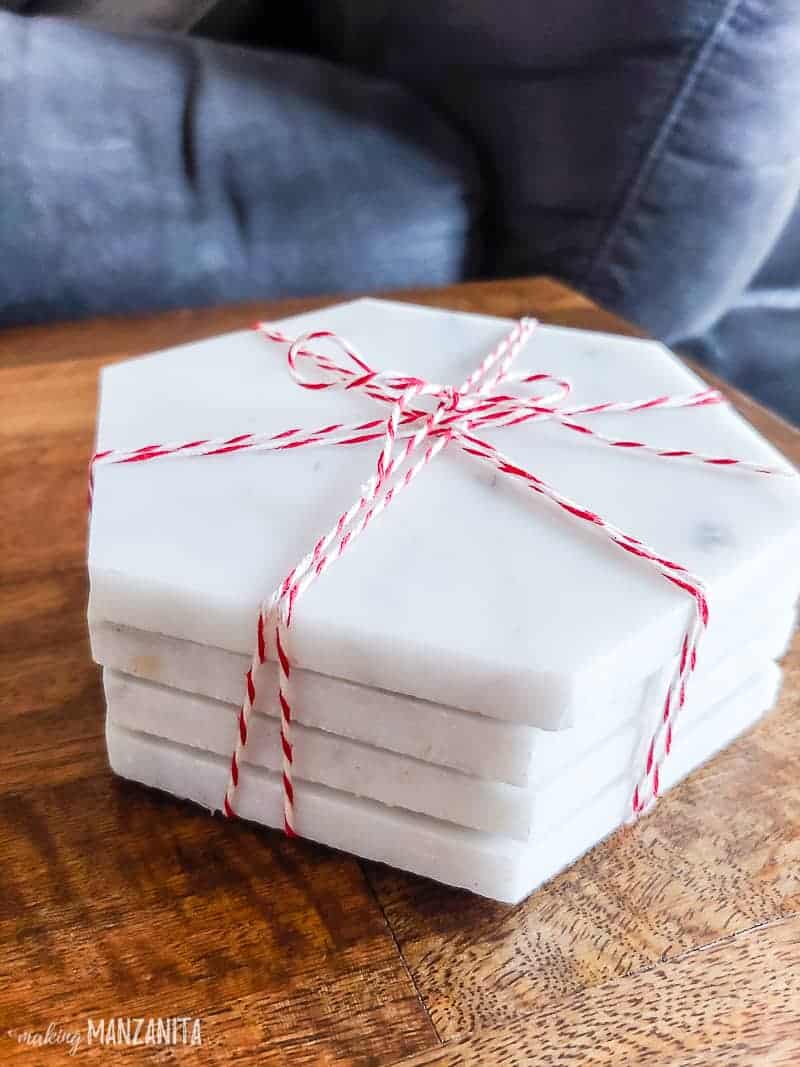
gold and marble coasters by pretty handy girlGold and Marble Coasters would make a gorgeous addition to your modern space.

diy arrow wood slice coasters by house of hawthornesA fun rustic option would be these DIY Arrow Wood Slice Coasters.

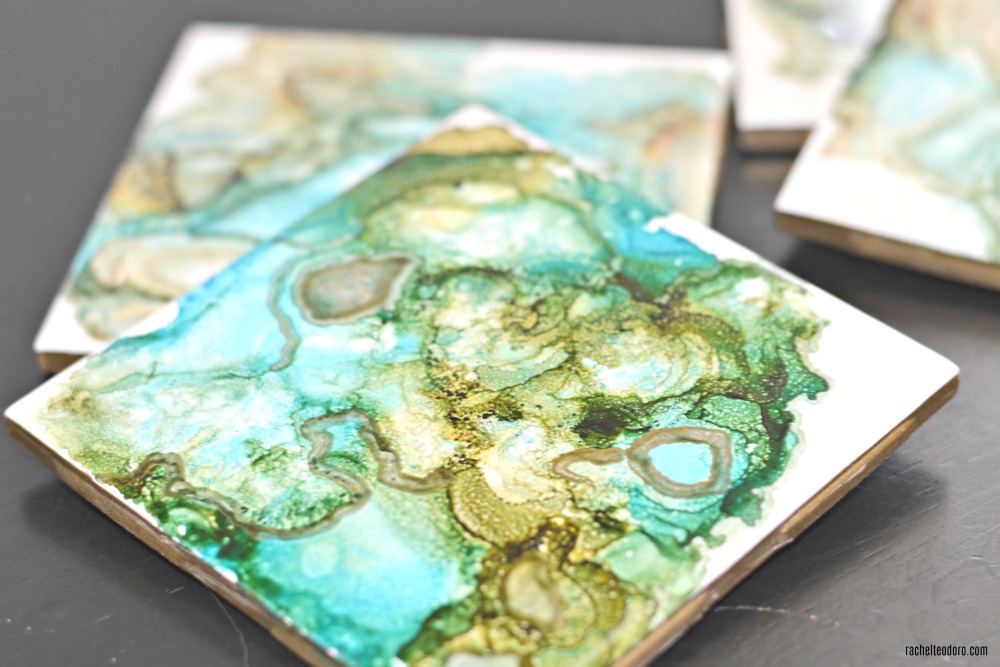
diy agate look ceramic tile coasters by rachelteodoroMake these natural looking Faux Agate Tile Coasters with alcohol inks.

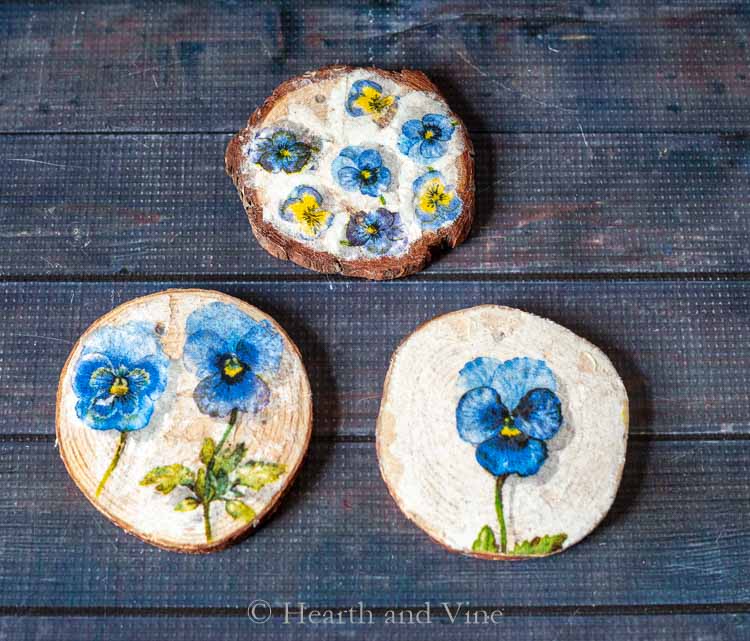
decoupage coasters by hearth and vineUse some old paper or napkins to make these beautiful Decoupage Coasters.

diy scented coastesr by lemons lavendar and laundryMake some clever DIY Scented Coasters using essential oils.

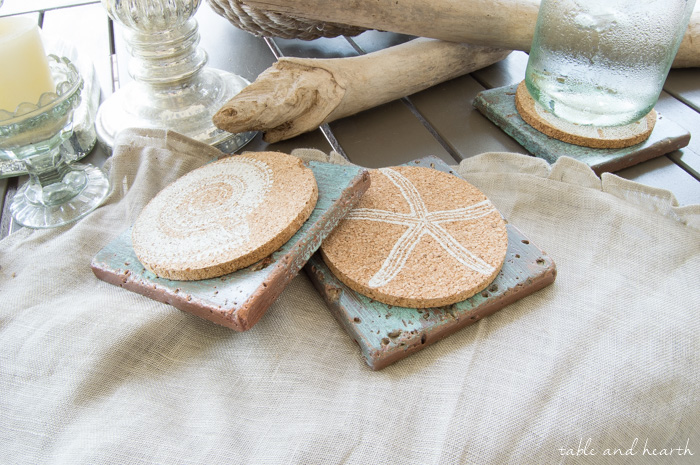
coastal tile coasters copper patina by table and hearthIf you love coastal style, these Copper Patina Tile Coasters would be perfect for your space.

marble coastersIf you have extra tiles lying around, make something like these DIY Marble Coasters.

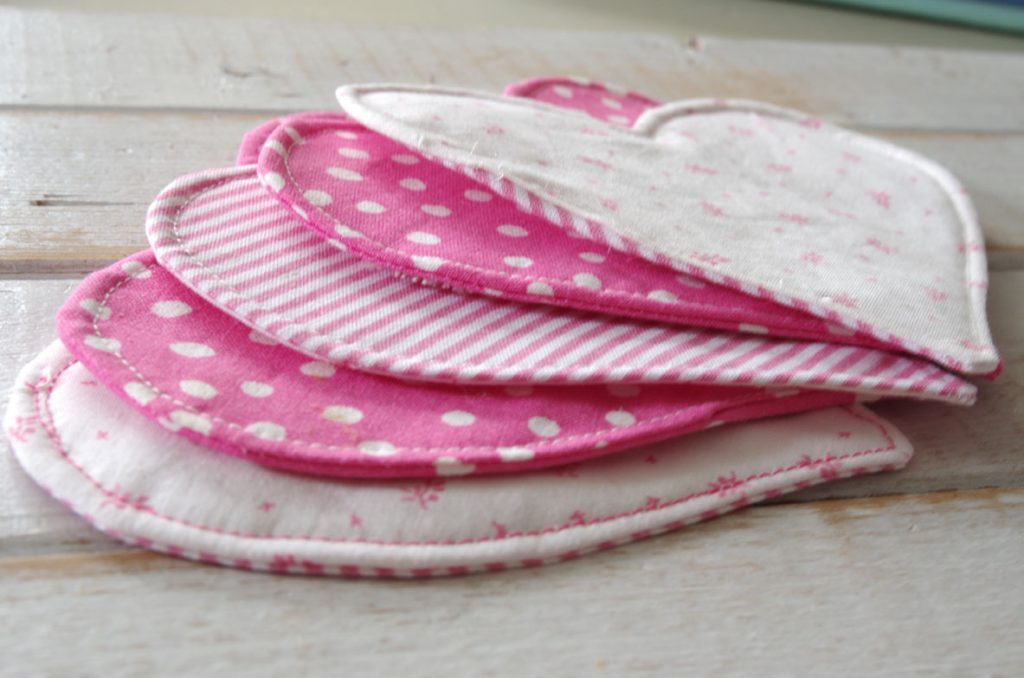
heart shaped fabric coasters by create and babbleThese Easy to Make Fabric Heart Coasters are a perfect way to use up some small fabric panels.

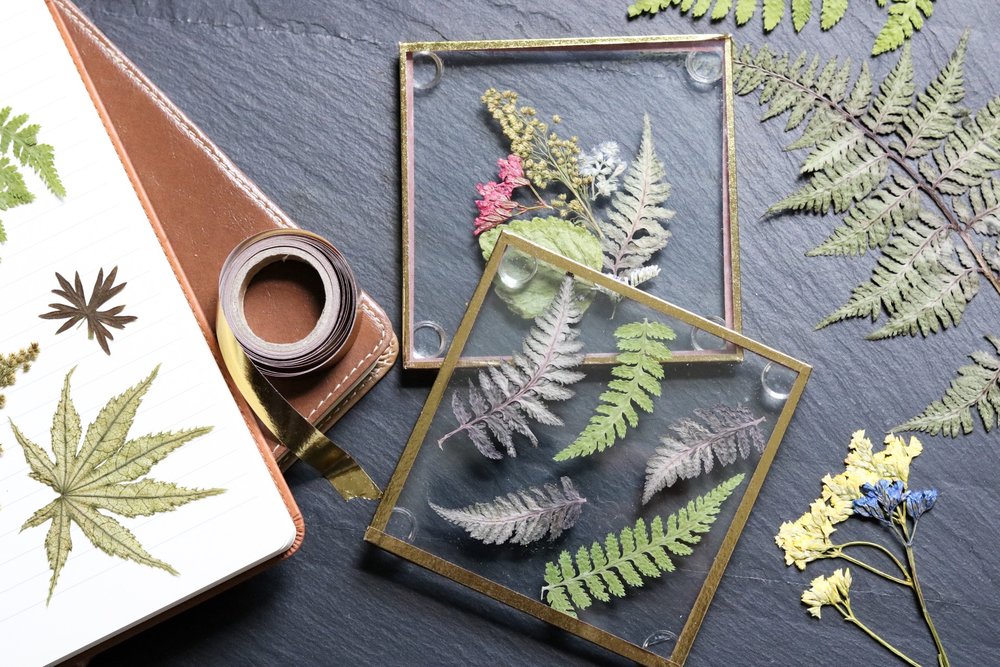
Dollar store flower coasters by crafty lumberjacksCreate these elegant glass Dollar Store Flower Coasters.

make metal washer coasters by smart fun diyCreate something unique by making these Metal Washer Coasters.

beach themed coasters with mason jar lidsUse some gloss glaze to adhere these awesome pieces and create a Beach Themed Mason Jar Lid Coaster.

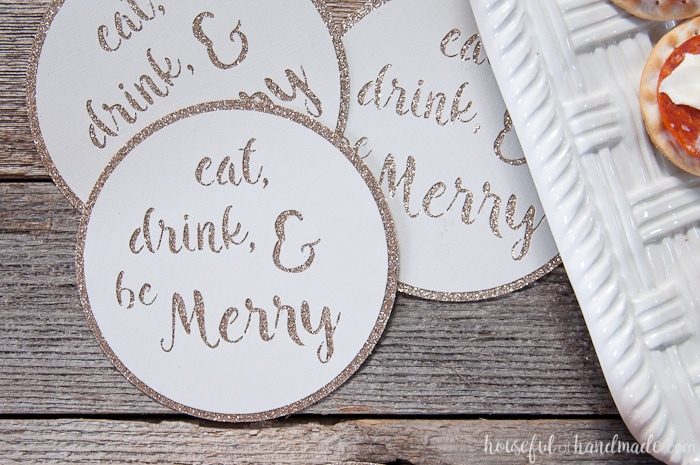
quick and easy diy drink coasters Make these quick and easy DIY Drink Coasters for your next cocktail party.

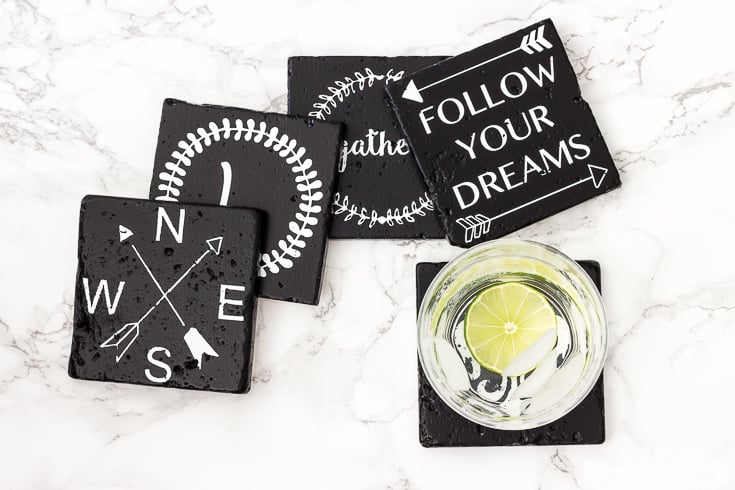
diy farmhouse style coasters by a home to grow old in Tiles and black paint make the perfect canvas to make these DIY Farmhouse Style Coasters.

diy marbled clay coasters by craving some creativityMake these DIY Marbled Clay Coasters with any color combination you want.

concrete coasters by Brittany GoldwynYou will not believe how simple it is to make these chic Concrete Coasters.

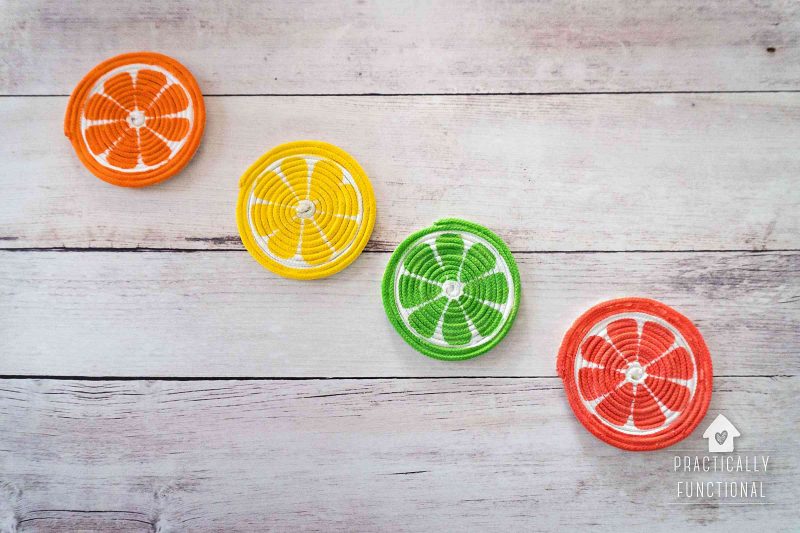
diy painted rope coasters by practically functionalUse some rope to make these fun DIY Painted Rope Coasters for your summer parties.


I hope you found some helpful ideas in this roundup of DIY Coaster Ideas to help add some functional beauty to your room or next party. Remember to click over to each site for the full tutorial. Please pin this image on Pinterest to share with your friends!

26 brilliant DIY Coaster Ideas Pinterest image

Hi, I’m Sheri from Hazel + Gold Designs. Here are a few fun stats about me: I like love chocolate and peanut butter (together of course.) If you like stats, I have been crocheting for about 16 years, crafting for 20, and woodworking for about 4 years. I found a passion in making and being creative and began documenting my projects online at Hazel + Gold Designs.

When not working on projects, I enjoy spending time with my husband, four children, perfect dog, and ornery cat. You can find me on Facebook, Pinterest, Instagram and Twitter.

Read all of Sheri’s tutorials.

~Find more of Sheri’s projects here ~