How to Add an Outlet Extender
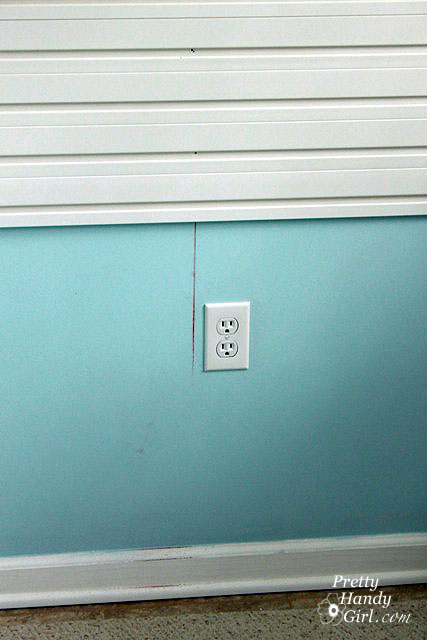
Today I am going to show you How to Add an Outlet Extender. On Monday I showed you how easy it is to install the Flow Wall panels. The only thing that will slow you down is if you run into a light switch or an outlet. But, that’s easily remedied by cutting a hole in the material.
Materials:
(I’ve included affiliate links for your convenience. I earn a small percentage from a purchase using these links. There is no additional cost to you. You can read more about affiliate links here.)
- Outlet extender box
- Phillips head screwdriver
- Flat head screwdriver
- Drill
- 1/2″ spade bit
- Jigsaw or a hand saw
- Clamp
- Work surface
How to Add an Outlet Extender
Important: Start by turning off the power to the outlet you are working on and check the outlet for power. After you are certain the power is off, remove the face plate.
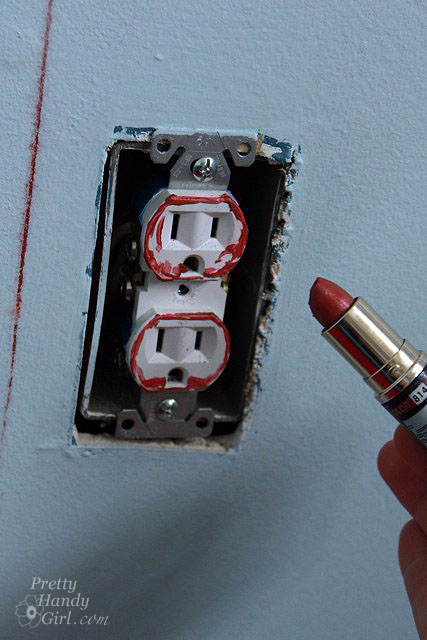
How do you know where to cut your hole? Do you eyeball it? Do you cross your fingers? I like to pucker up and kiss it for good luck! Just kidding, but I do grab my bright red lipstick tube.
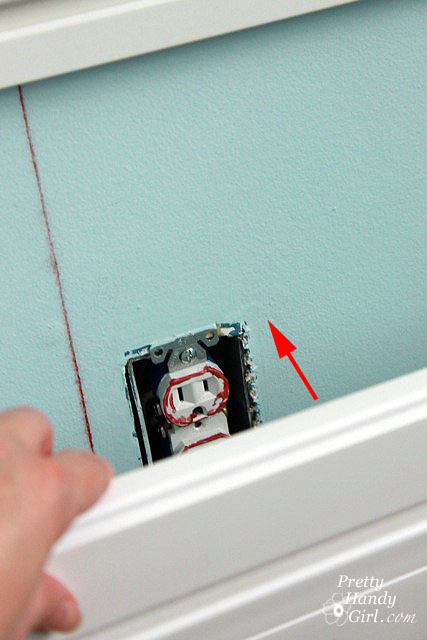
Use the lipstick to draw around the edges of the outlets.
Then line up the wall panel and press it against the outlet.
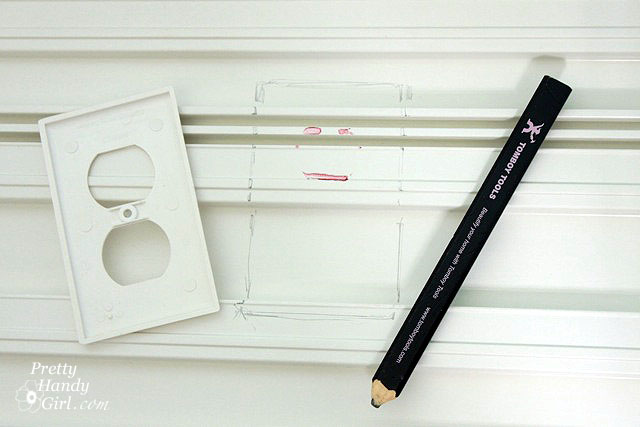
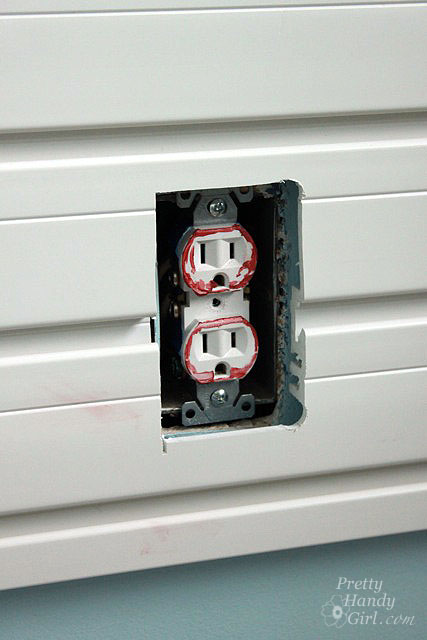
When you remove the panel lipstick marks will be left where the outlet is. (Note: the Flow Wall has recessed areas, so only the top outlet shows.) Lay the outlet cover over the lipstick print and trace around the outside edge.
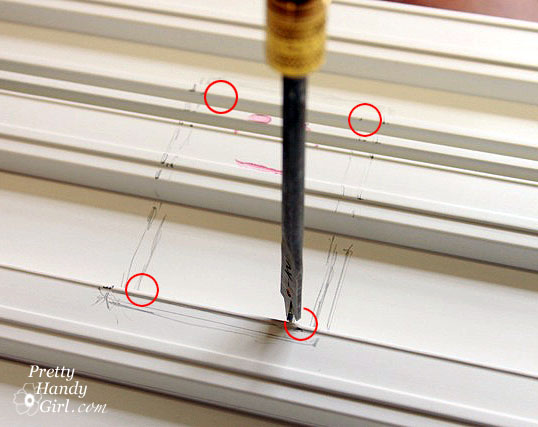
You’ll notice in the picture below that I drew a line slightly inside the tracing of the outlet cover. I use that line to cut on, so you won’t see the junction box hole after the face plate is replaced. Use a 1/2 inch (or larger) spade drill bit to cut holes into each corner of the tracing.
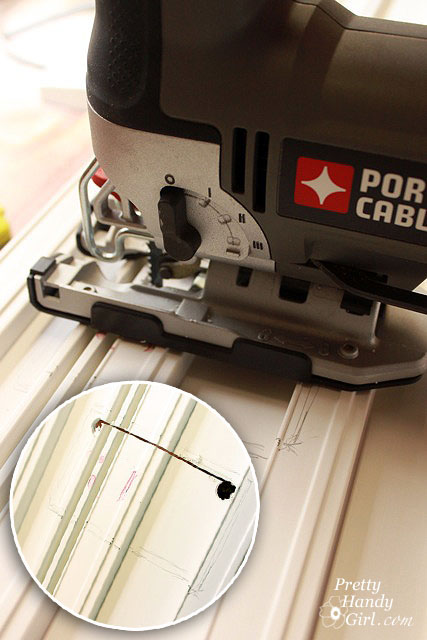
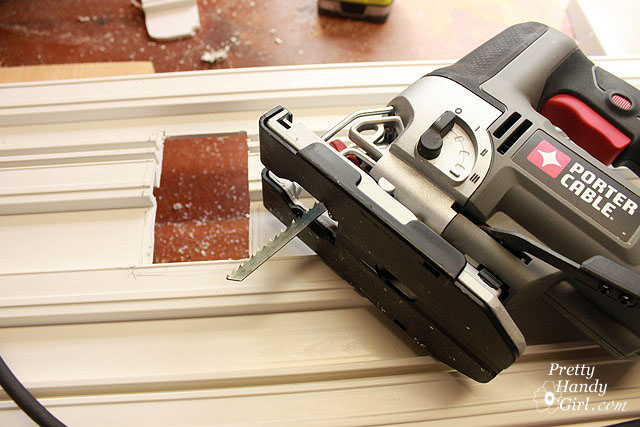
Insert the jigsaw inside one of the pre-drilled holes and start cutting around the rectangle.
Work your way around until you return to where you started. Now you have a hole for your outlet!
If you are more of a video learner, here is a video showing this technique on a piece of beadboard:
Check the fit against your wall. Perfecto!
But wait, it’s not perfect when you try to put the outlet face plate back on. When you add any depth to your walls (from tiling, wainscoting, wall treatments or a Flow Wall), you will likely need to extend your outlet box.
Remove the top and bottom screws from your outlet.
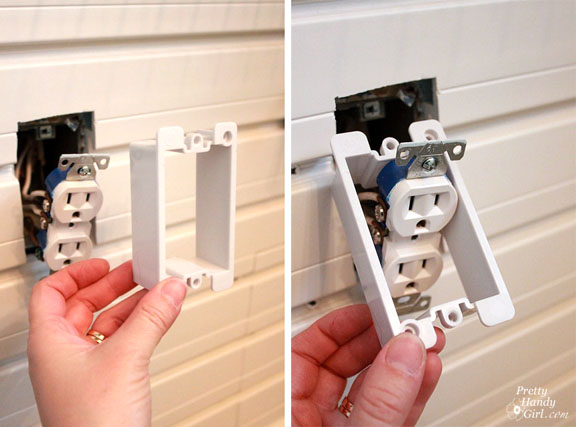
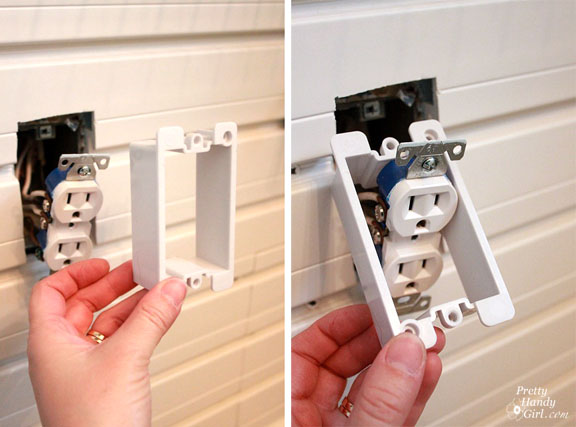
Gently, but firmly, pull the outlet outside of the junction box. Thread your outlet extender over the outlet and wires.
Press the extender into the box until it is flush with the “new” wall. The extender should fit into the original outlet box. If there is a gap between the two, you might need a deeper extender.
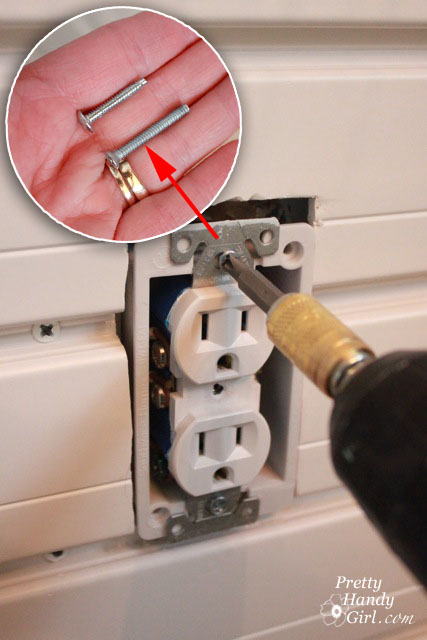
Replace the outlet using the longer screws that came with the outlet extender.
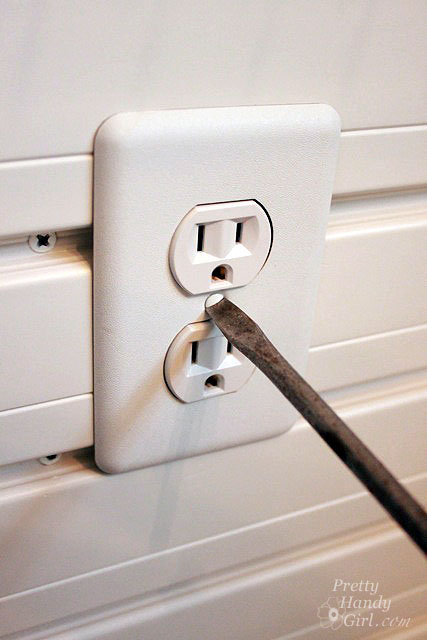
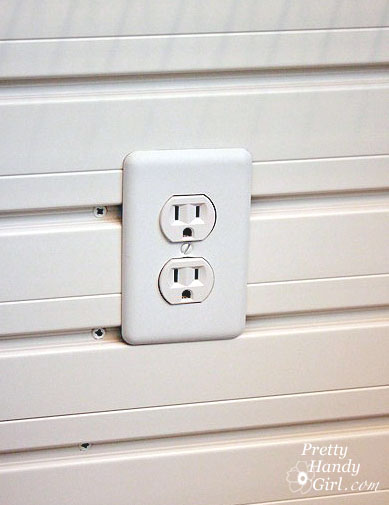
Screw the face plate back on and…DONE! That wasn’t too hard was it?!
Now you can continue adding the Flow Wall panels ;-).
Stay tuned for the final Laundry Room reveal. You don’t want to miss it!
Pin for later!





I know this is old, but quick story. We needed one of these in our old house. So I went out and bought one. Now this house was built in 1929 and some of the house still had fabric covered wire. The dining room was the part that needed an extender. We had wet plaster walls, the extender didn’t fit in the space. I had to carefully trim the plaster walls, it was still really tight and didn’t fit right but it did bring it out a little bit. We don’t live there anymore and it’s someone else’s problem now.
I may not use lipstick for a job like this but I have needed something to do something similar and it sounds like lipstick could be the answer. Thanks.