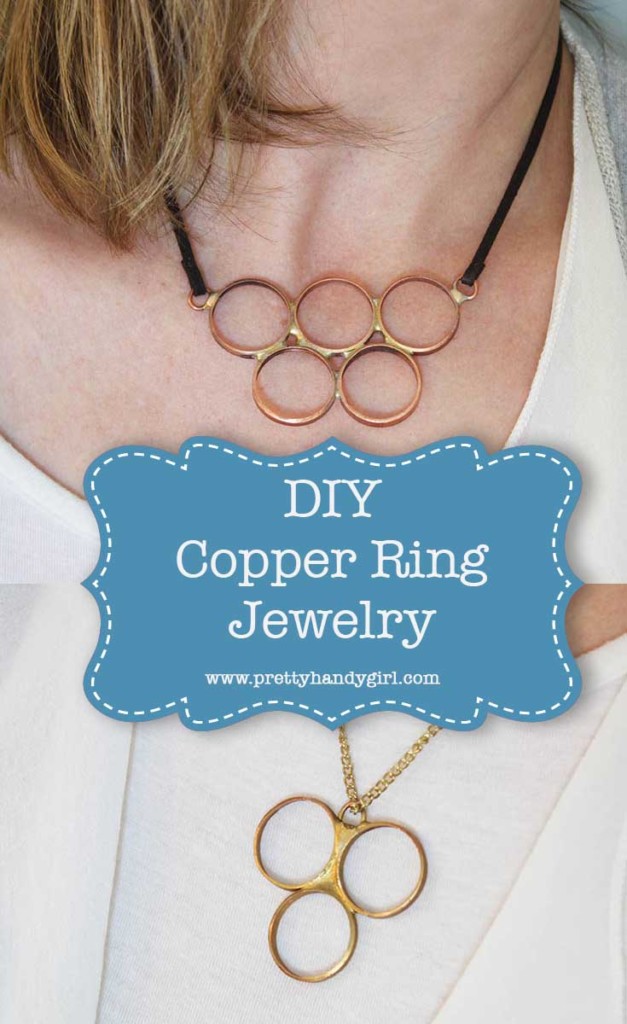
DIY Copper Ring Jewelry
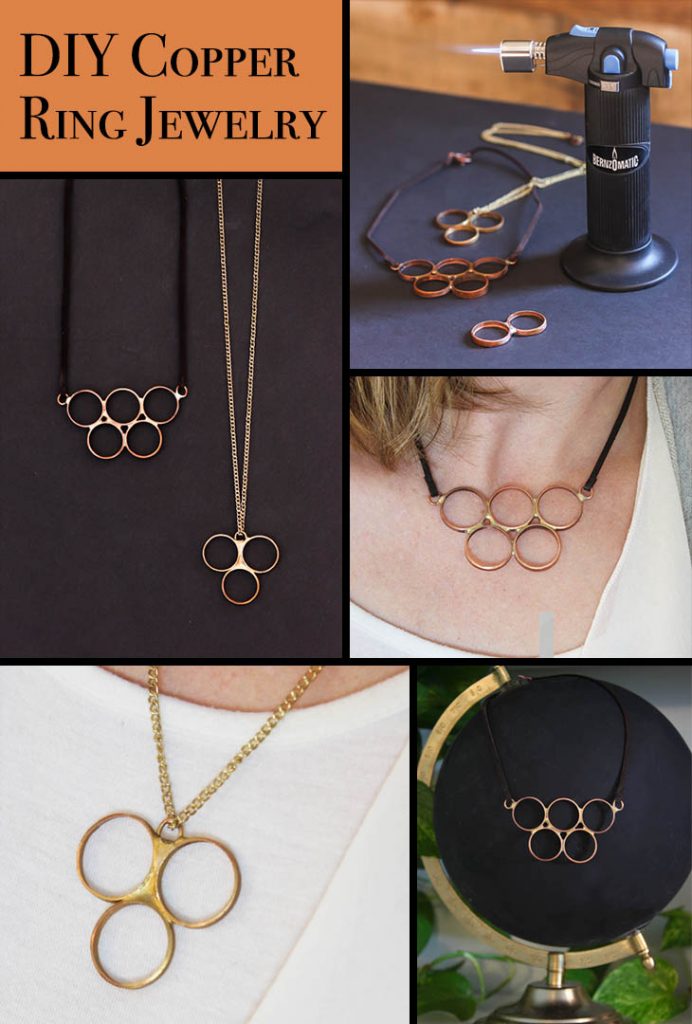
The holidays are here and you know what that means: It’s time to check off items from your gift list. I don’t know about you, but I detest braving the mall traffic and chaos. I’d much prefer to stay indoors and make gifts for the ones I love. Not only is it more peaceful DIYing gifts, but it saves money too! Why not make beautiful DIY Copper Ring Jewelry for the bling lovers on your list. Or you could use a ring or two and make a unique key chain fob.
I’m honored to be part of the Bernzomatic Torch Bearers program. Bernzomatic has sponsored this post to help you with your holiday gift ideas.
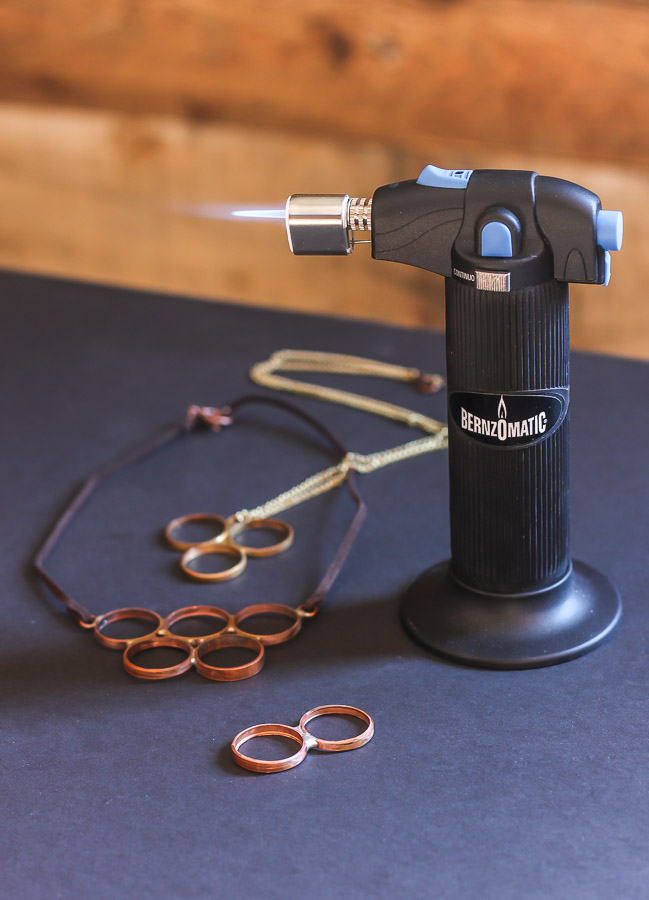
This fun project is sure to keep you warm and cozy with a little fire and heat using a Bernzomatic ST2200T Detail Torch. The ST2200T is a great torch to start with if you’ve never used one. The small size fits in the palm of your hand and produces a small fine tip flame that’s perfect for jewelry making (among other small projects.)
To make the copper ring jewelry, you’ll need a few supplies. You can pick most of them up at your local hardware store or online.
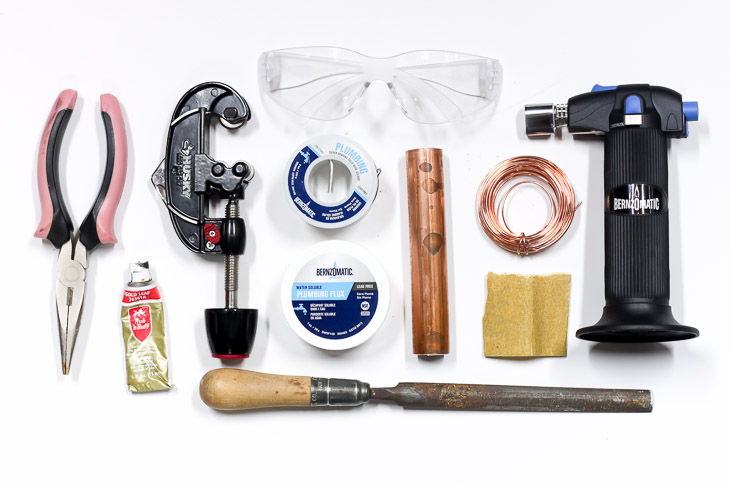
Materials:
(I’ve included affiliate links for your convenience. I earn a small percentage from a purchase using these links. There is no additional cost to you. You can read more about affiliate links here.)
- Bernzomatic ST2200T Detail Torch
- Bernzomatic Butane
- Bernzomatic Flux & Lead Free Solder
- Soldering Board (or non-flammable surface to work on)
- 3/4″ Copper pipe (1-2 foot is plenty)
- Copper wire
- Safety glasses
- Gloves
- Pipe cutter
- Pliers
- Sandpaper for metal
- Metal file
- Jewelry chain or leather cording
- Jewelry clasps
- Rub n’ Buff in Copper or Gold
Instructions:
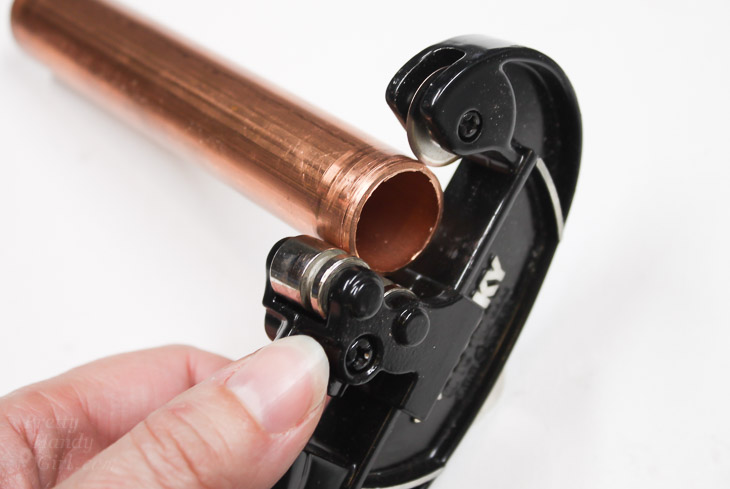
Use the pipe cutter to cut several rings (approximately 1/8″ thick) off the end of your copper pipe. You may need to cut several to get ones the same thickness. (For more details on how to use a pipe cutter, you can watch my video here.
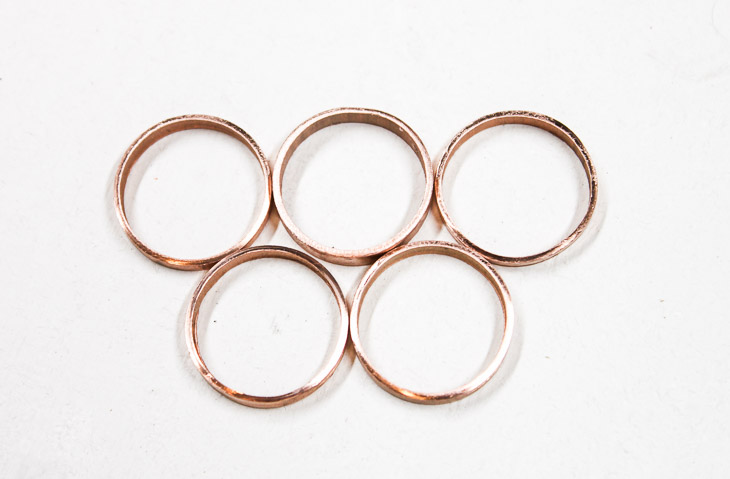
Select the rings you wish to use for the necklace.
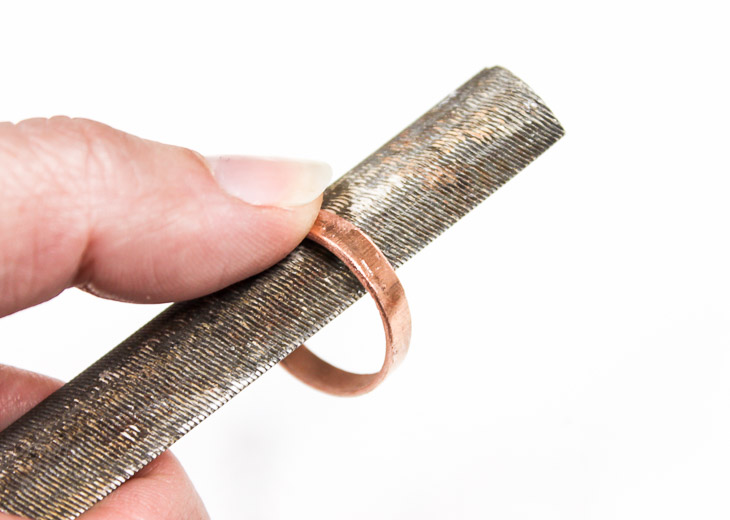
Use the metal file to file off any sharp edges on the copper rings.
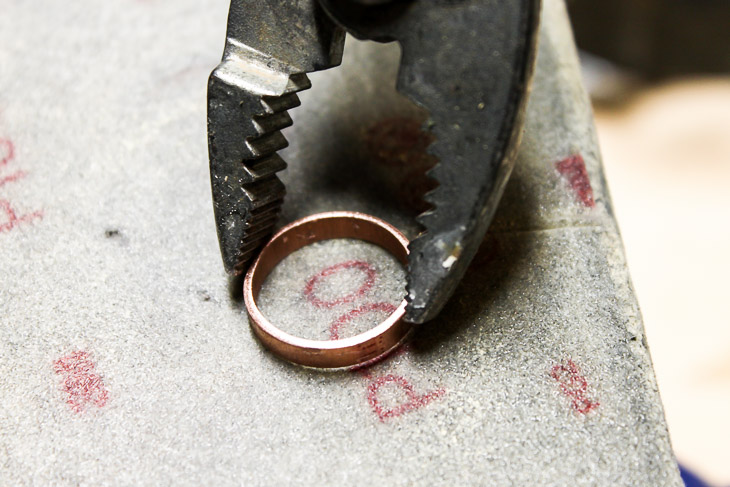
Sand the edges until they are smooth (I turned my power sander upside down in a clamping table and turned it on while holding the rings onto the sandpaper to speed the process of sanding.)
Start by laying two rings side-by-side.
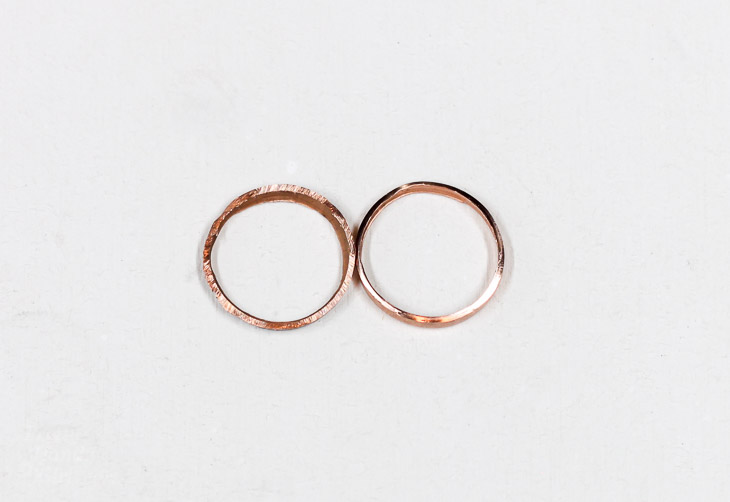
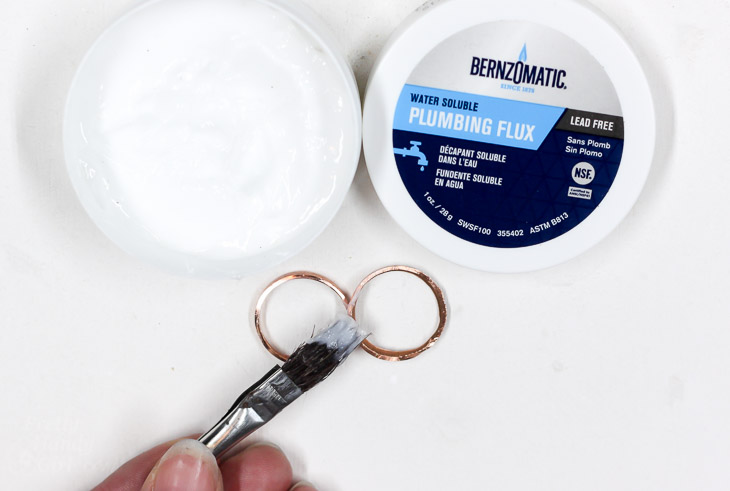
Apply a generous amount of flux to each ring where you wish to join them.
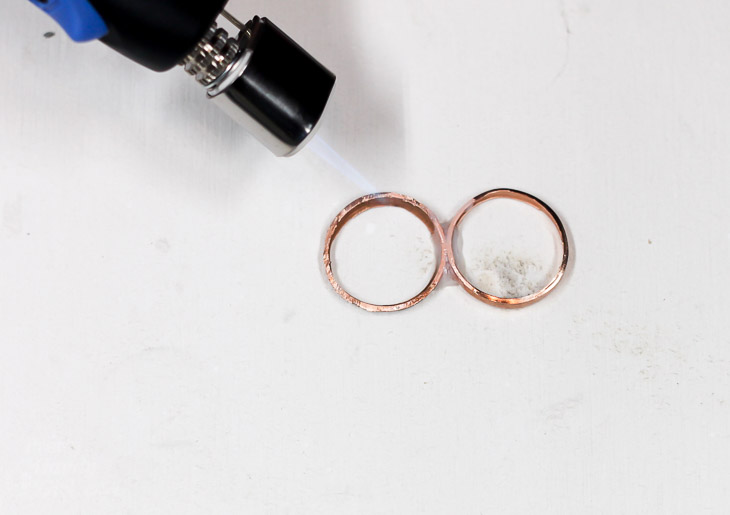
Start your Bernzomatic ST2200T torch and heat the rings where you added the flux.
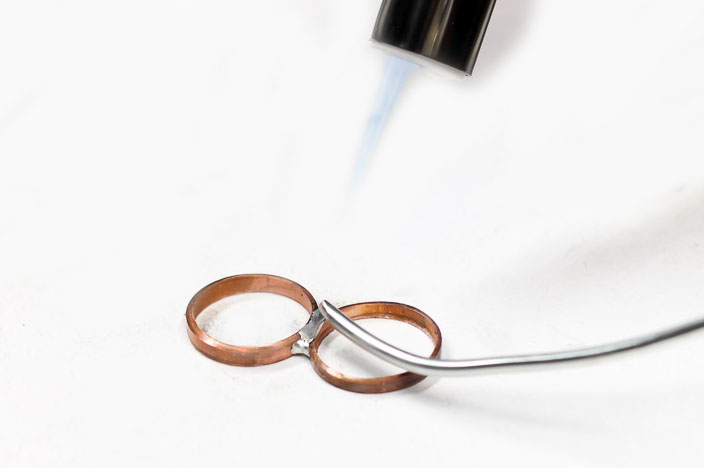
As soon as the flux melts, touch the solder wire onto the spot where the flux was. (Make sure the rings are still touching. If not, nudge them back together with the pliers.) Hold the solder in place until it flows onto the copper rings.
Let the rings cool (or drop them in a container of cold water.)
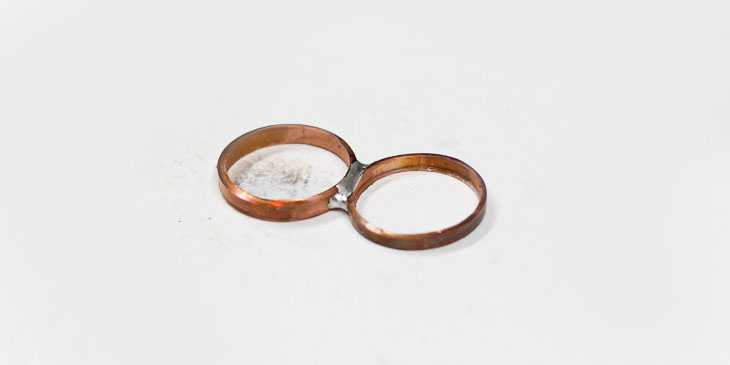
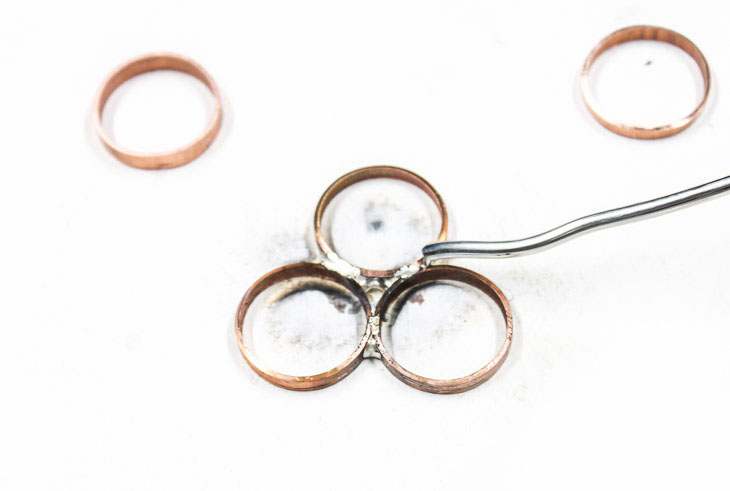
Solder the next ring by following the steps above (add flux, heat, and solder.) If you mess up, you can reheat the solder to remove it and start over.
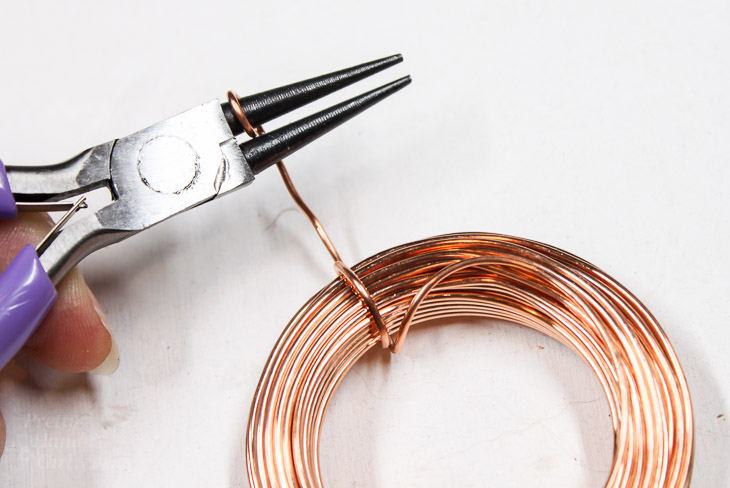
Curl a piece of copper wire to form a circle.
Cut off the copper circle.
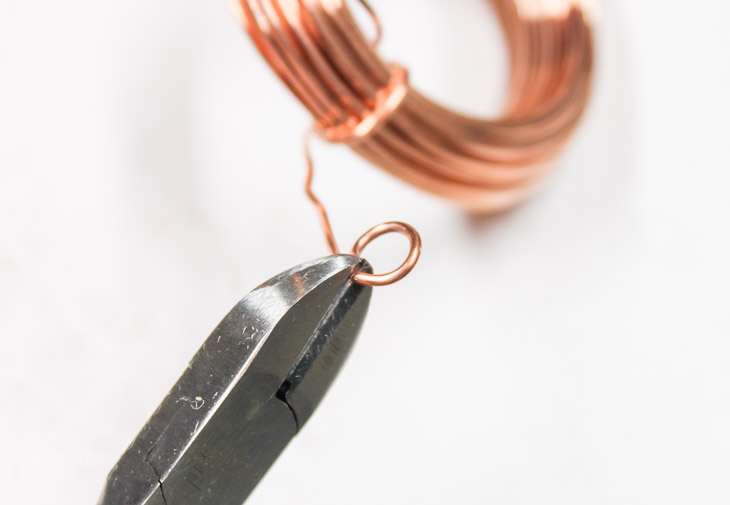
Open the circle slightly. Add flux to the wire ends and the copper ring where you want to join them. Heat the area, let the flux melt and touch the solder to the ends of the copper wire. (This step may prove a little difficult to control the solder. If you are having trouble, try to add the solder to the copper ring, then guide the wire into the molten solder. Hold the wire in place with pliers until the solder hardens.)
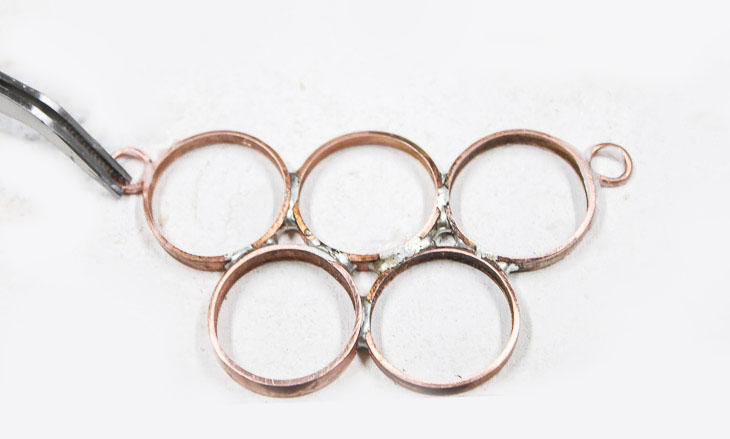
To hide the shiny silver solder, use copper Rub n’ Buff on the joints. Or coat the entire necklace pendant with gold Rub n’ Buff for gold jewelry.
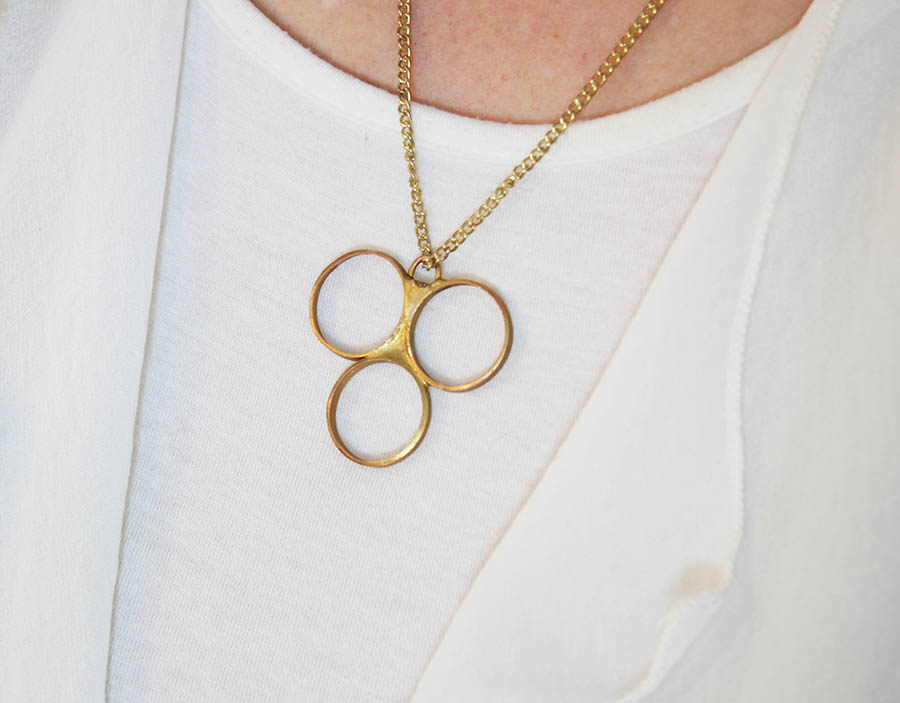
Feed a chain through the loop . . .
. . . or sew some suede leather cord to the loops.
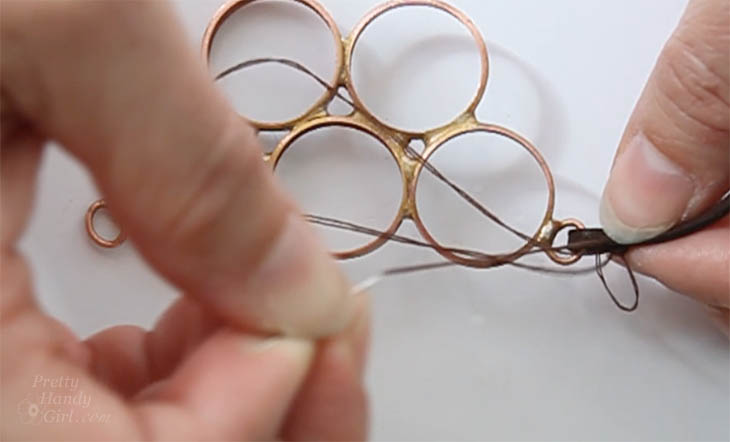
Then sew clasps to the other end.

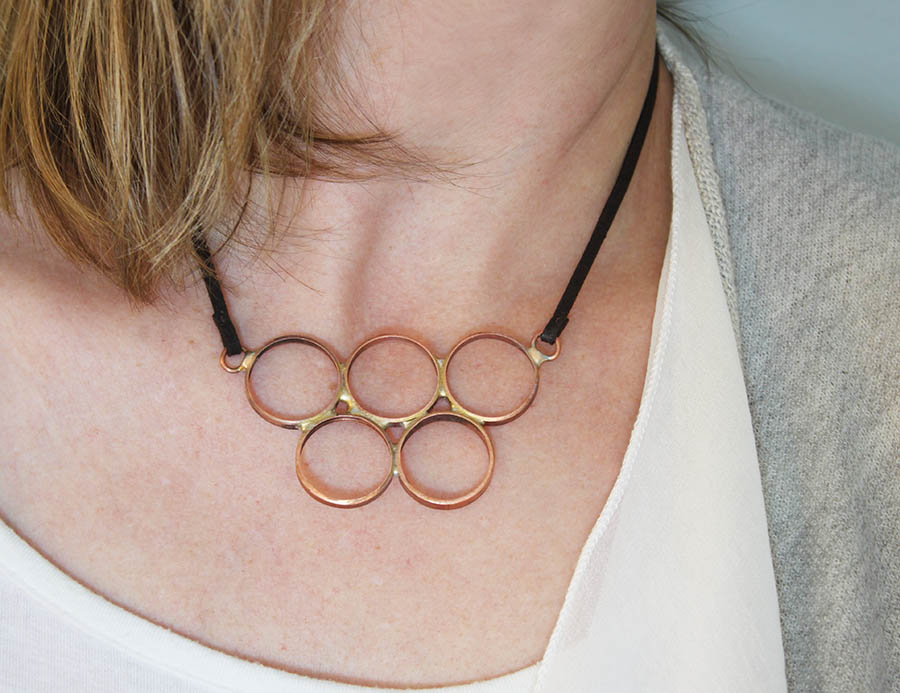
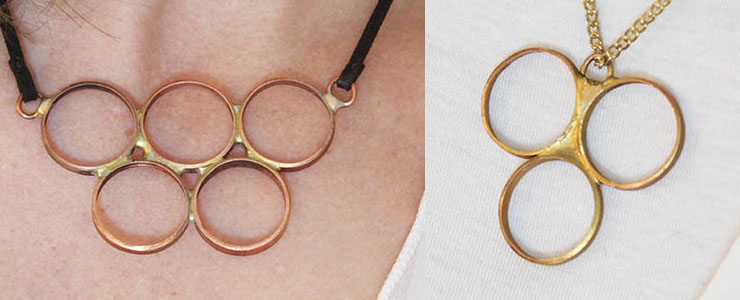
Behold beautiful new necklaces that you made yourself!
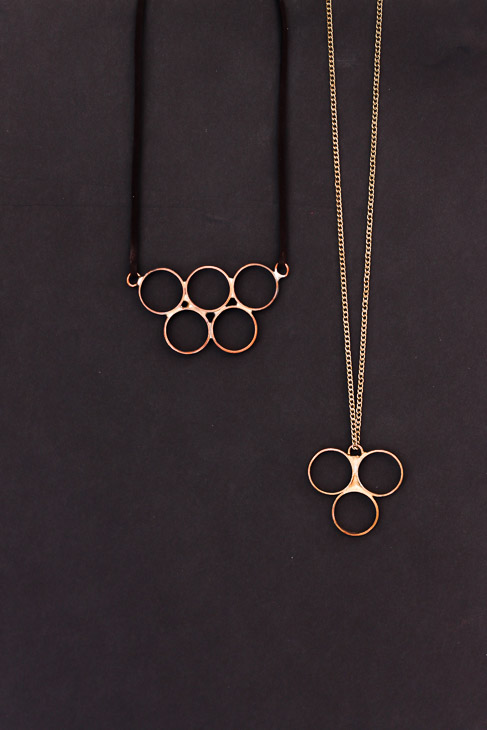
These necklaces would look great with any bohemian or casual outfits.
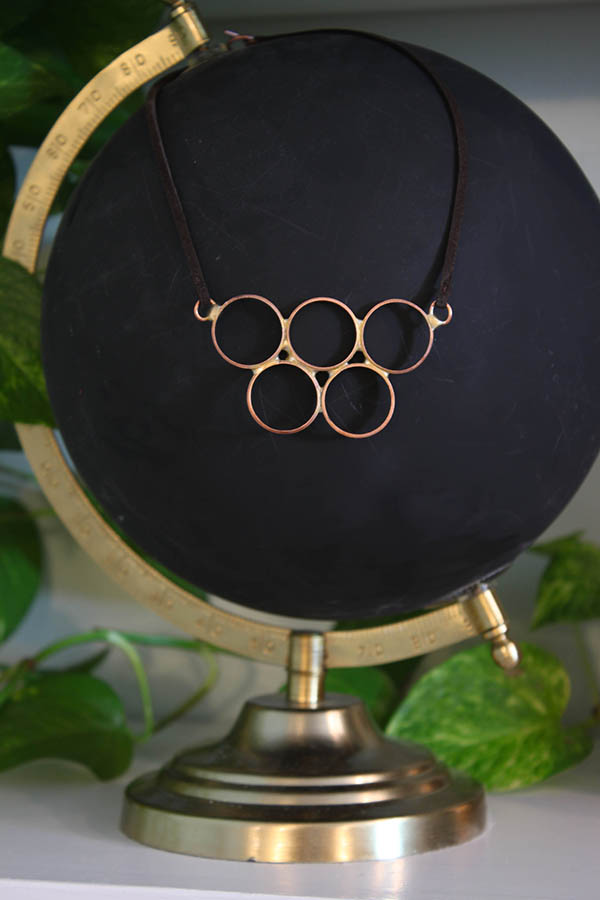
They are super fun to make and will surely delight anyone who loves jewelry.
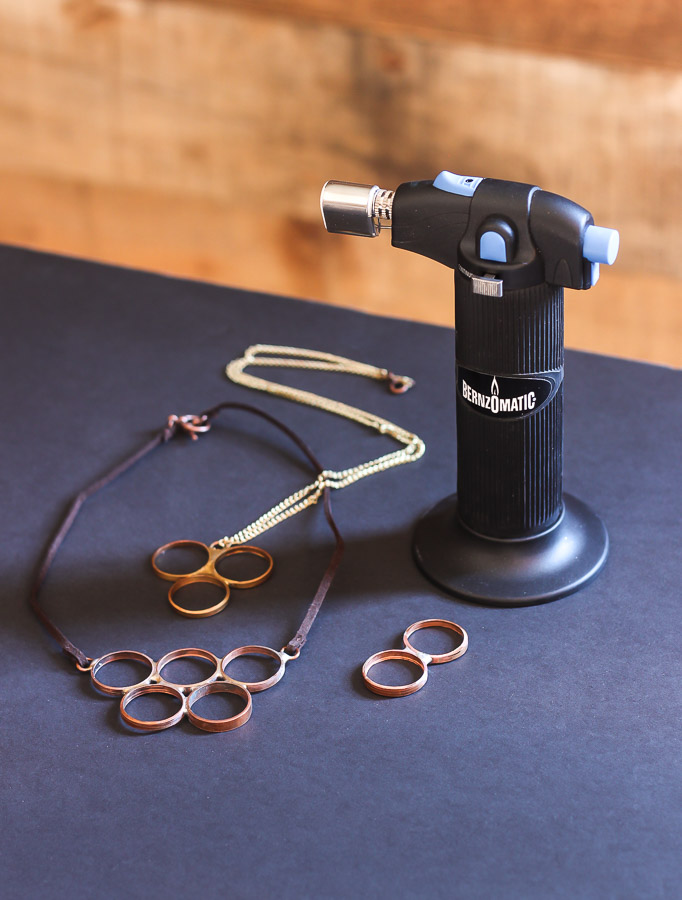
What could you make with a Bernzomatic Torch and some copper pipe? The possibilities are only limited by your mind.
![]()
Disclosure: This is a sponsored post for Bernzomatic. As a Bernzomatic Torch Bearer, I was provided complimentary torches and was compensated for my time and efforts. I was not told what to write. All opinions are my own. I am particular about the brands I represent and will always let you know when you are reading a sponsored post.
Want more frugal gift ideas for the holiday season?
Pin for later!



Wow, awesomely beautiful!
This was amazing. It’s a a great tool to create copper ring.
I love this look Brittany! Such a great idea & now you’ve given me another new project. Thanks for the great tutorial. I’ve never heard of this Bernzomatic Torch. I can see how this would come in handy for many things.
Very nice!!
Thanks for sharing!!
Thanks for your comment Julie!