Finger-printed Envelope Star Pillows
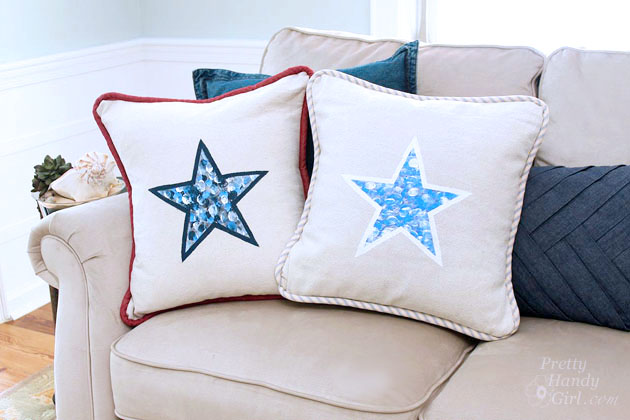
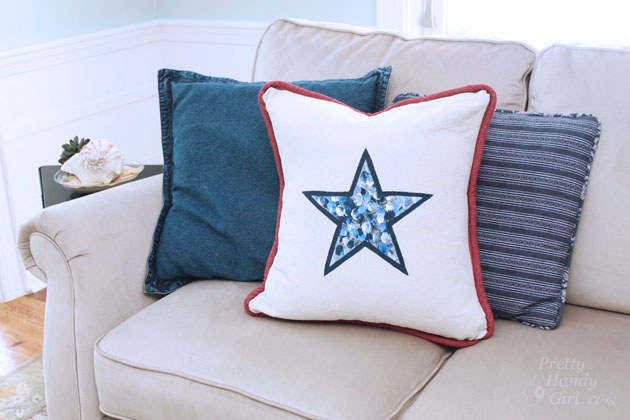
Personalized finger-printed envelope star pillows are an easy and fun gift item to make. My boys and I enjoyed making these pillows for their home room teachers. We got the idea from Cristina’s beautiful seaside themed thumb print pillows.
Materials:
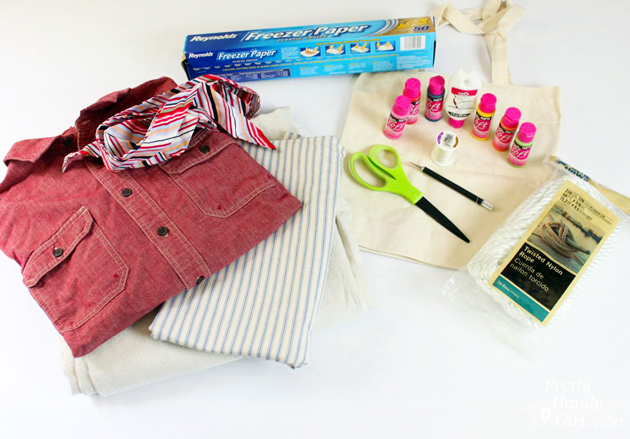
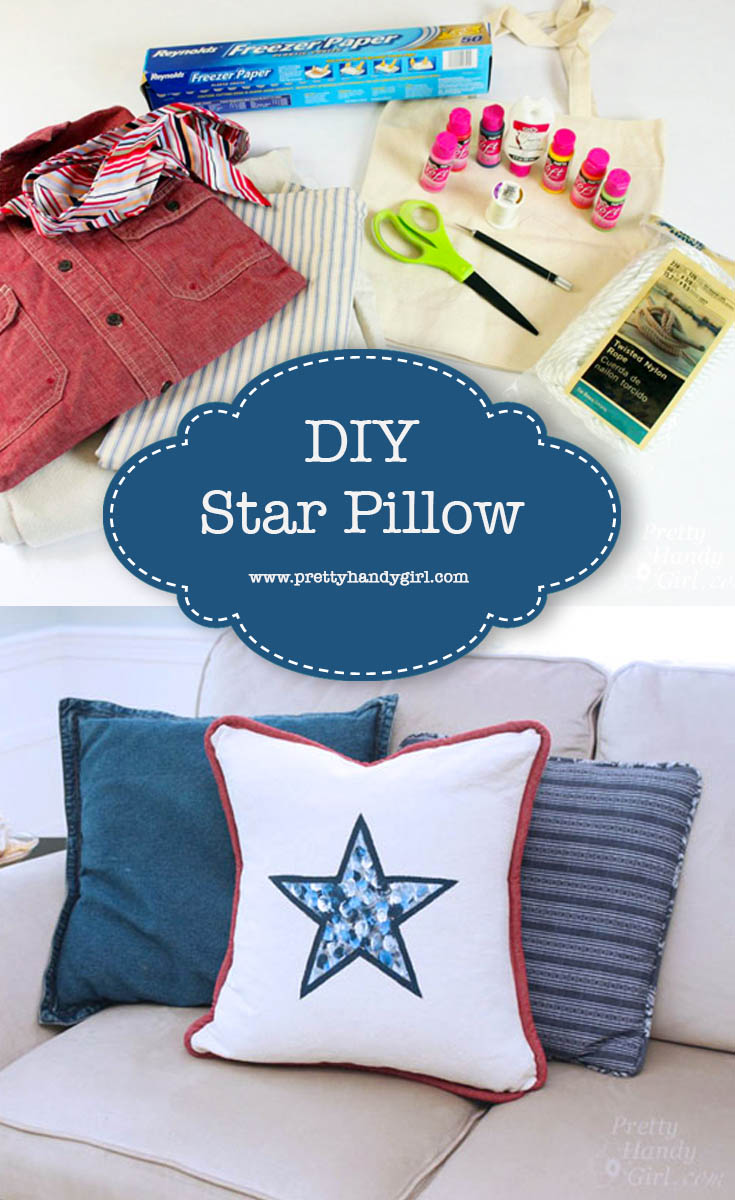
- Fabric (I used bleached and washed leftover drop cloths)
- Pillow insert
- Thread
- Sewing machine
- Freezer Paper
- Fabric Paint
- X-acto knife
- Small Flat Brush
- Permanent Marker
- Scissors
- Piping (here’s the tutorial to make your own piping)
Instructions:
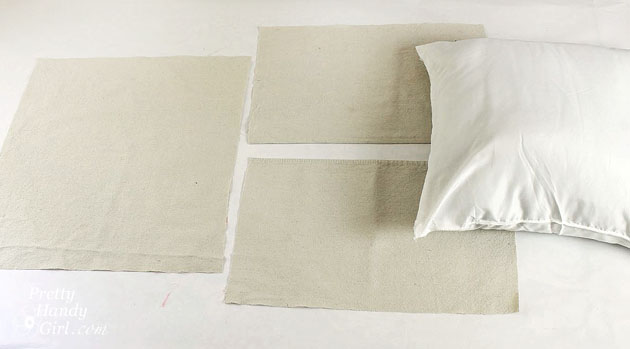
Cut your front fabric with 1 inch excess around the pillow form. Cut the two back pieces of fabric with a 1 inch excess on all sides, plus allow for a 3″ overlap in the center.
Fingerprinted Star Tutorial:
Here’s a great way to customize your pillow for the recipient. Let your little ones finger-print inside the star.
Materials:
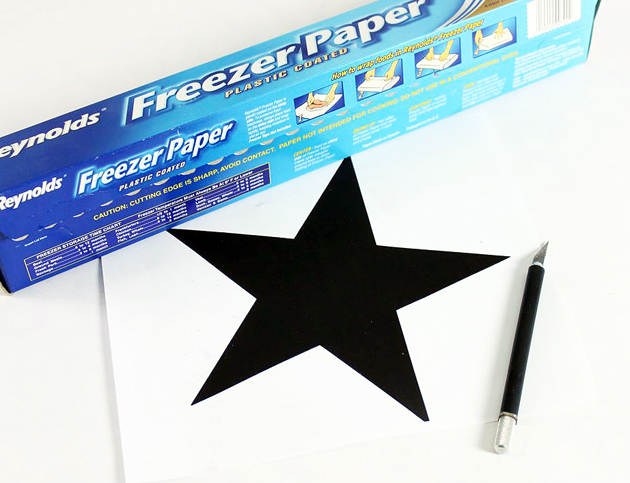
- Freezer Paper
- X-acto Knife
- Fabric Paint
- Printed Star Template
- Iron
- Ruler
Instructions:
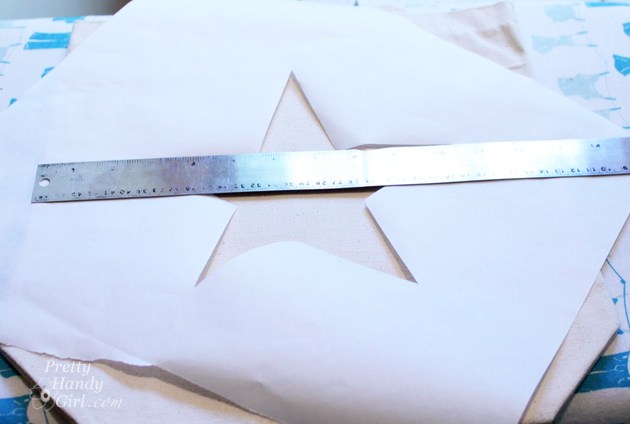
Print out this Star Template. Lay freezer paper on top of the star print out and cut around the star with the x-acto knife and metal ruler.
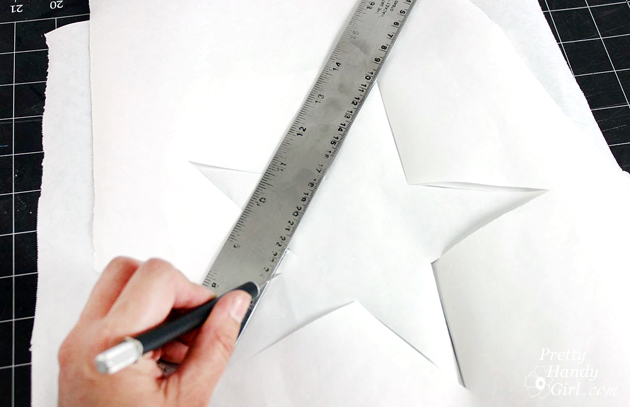
Center the freezer paper star on the pillow front.
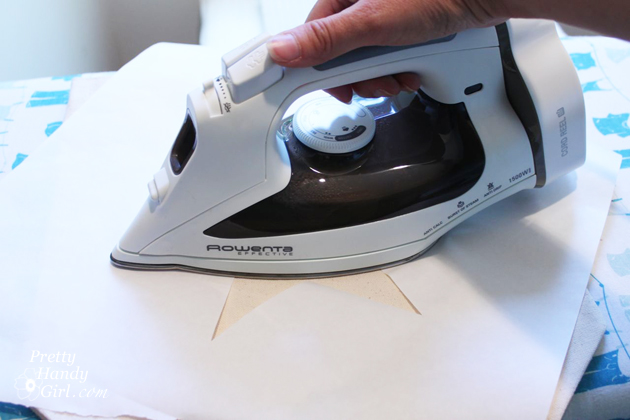
Iron the freezer paper to the fabric using a medium heat setting. The paper will lightly adhere to the fabric, but will be able to be removed easily.
Pour some fabric paint into a plate or tray. Let your kids dip their fingers in the paint and fill in the star shape with paint.
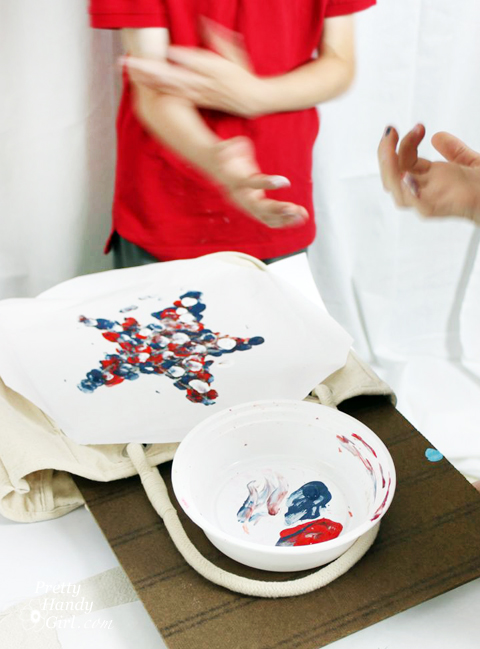
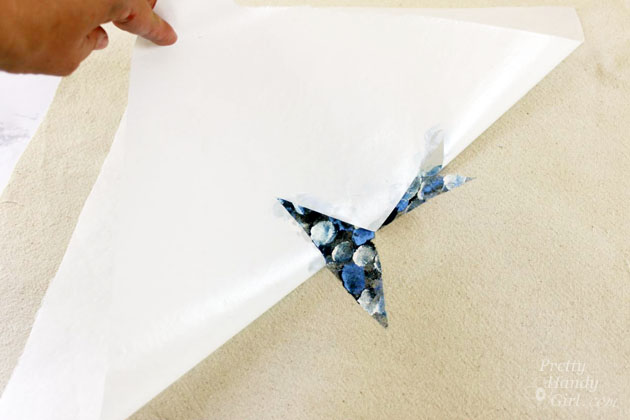
After the paint has dried, gently peel off the freezer paper.
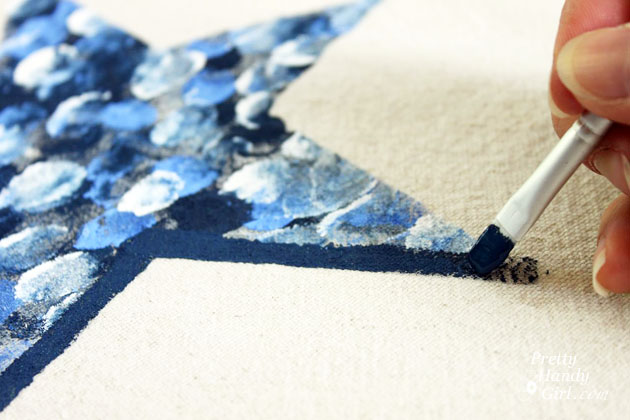
Outline your star with a darker color and the flat brush.
Sewing an Envelope Pillow:
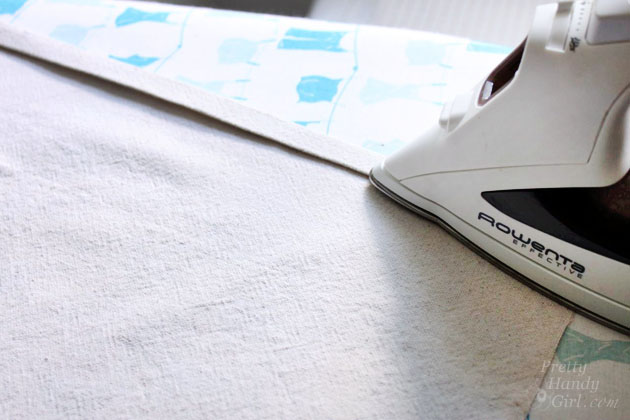
Fold over one side of the two back pillow pieces. Fold again and iron.
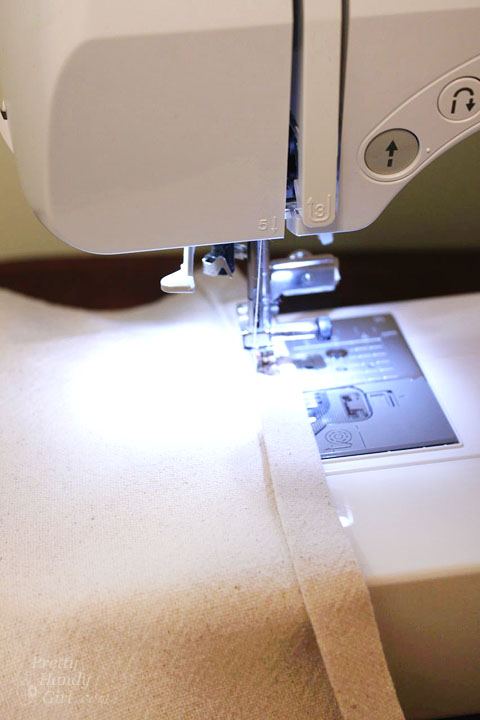
Stitch along the folded edge of the two back flaps for a finished edge.
Lay your pillow front right side up on a flat surface. Line the raw edge of the piping against the top edge of the pillow front.
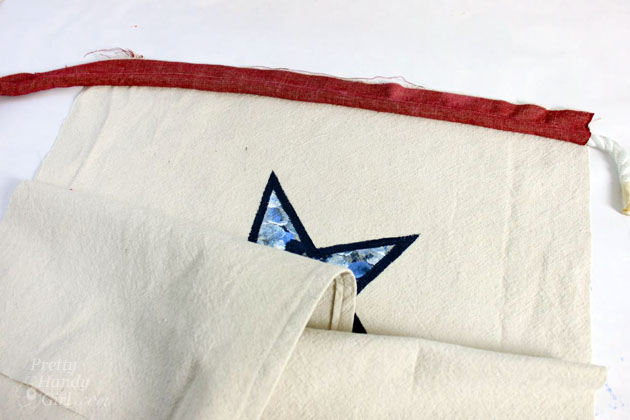
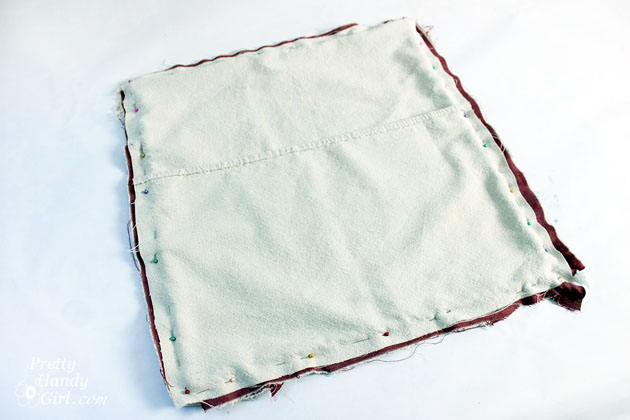
Sandwich the piping by laying the back panels (right sides down) on top of the piping and pillow front.
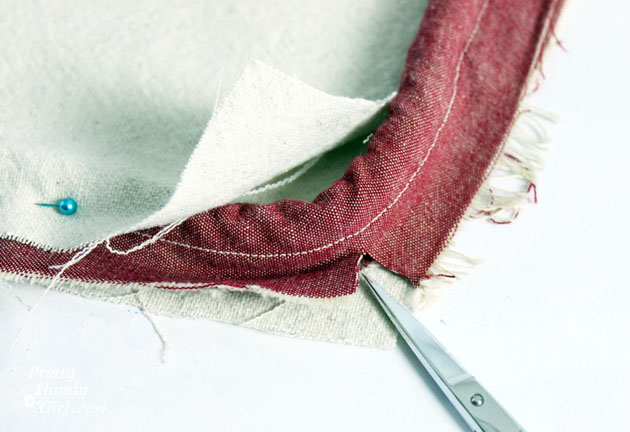
Snip the raw edge of the piping at the corners to help the piping turn easier.
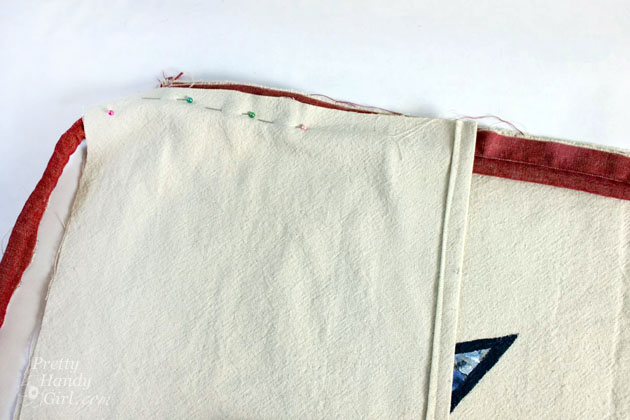
Pin the pillow “sandwich” together.
Use a zipper foot on your sewing machine and stitch along the outside edge of the pillow snug up against the piping.
You will most likely have to hand stitch where the piping beginning and ends overlap because it will be too bulky to fit under the sewing machine foot.
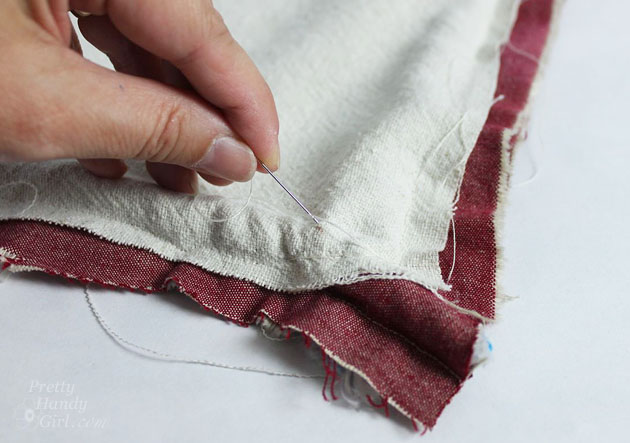
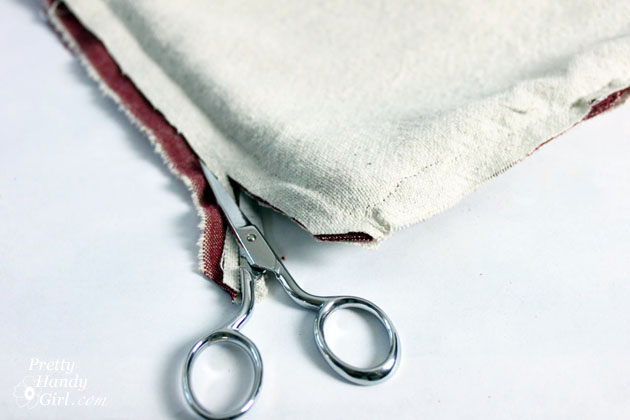
Trim off any excess raw edge.
Turn the pillow right side out.
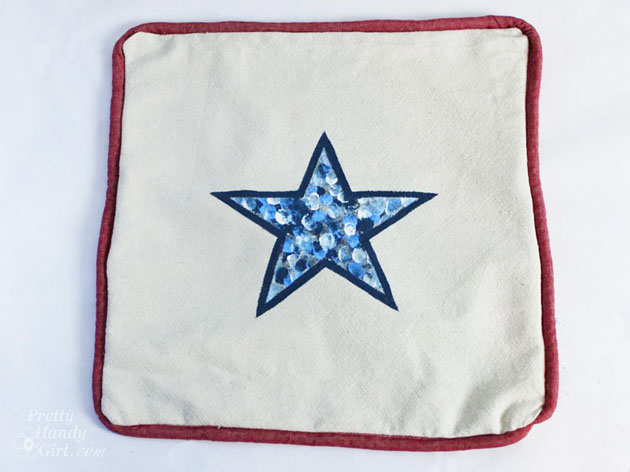
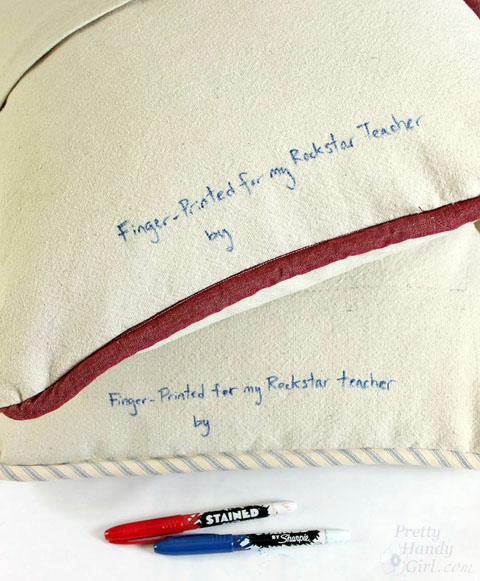
Sign the back of the pillow with a Sharpie Stained (or permanent marker.)
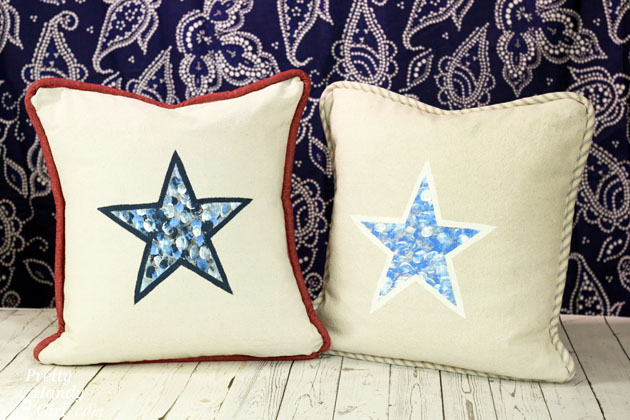
Insert the pillow form and the pillow is done! This is a great gift item. Grandparents, teachers or even your child would love to have a personalized finger-printed pillow.
Hope you enjoyed this tutorial. Want more sewing gift ideas? This gallery is full of easy sewing projects.
Or choose one of these 21 Sew Easy Gift Ideas!

Pin for later!



Thanks so much for this tutorial. Tried it with the kids but unfortunately ending up finishing it on my own because they got restless and wanted to go play on their IPAD’s. Ahh miss the good ole days lol… Anyways please share more of these. It was great 🙂
LOL, Scott, how can we compete with devices. Ugh.
That’s so cute. I think this can also be done with the ready made pillow cases, just a suggestion from someone that doesn’t really do sewing. 🙂
Some quality time to spend with the kids on this activity. I’m sure it’ll be fun!
Brittany
This is a brilliant DIY for the kids to get involved with.
Love it!
<3
Pia
Thanks Pia.
What a cute idea! I think it would be very therapeutic for Mom’s to do the finger “printing” too.
Lynne, ha, I agree! Finger-printing for everyone!