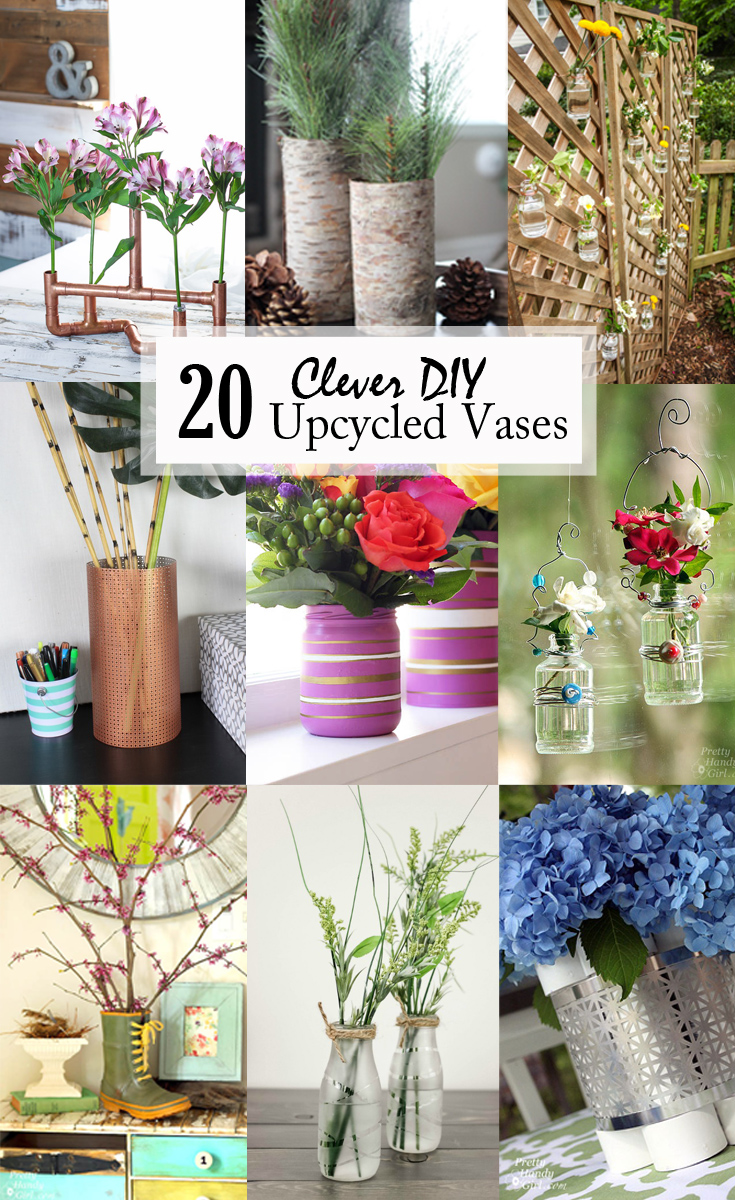
20 Clever DIY Upcycled Vases
Vases are beautiful and one of those home decor items that can be used in many different ways. They can sit empty on a shelf adding to the style of the room, hold beautiful flower arrangements, or be given as loving gifts. These clever upcycled vases show only a few creative ways you can make a vase from items you already own, can be found in your recycling bin, or at local yard sales. I hope one of these many ideas inspire you to think outside the bottle ;-).
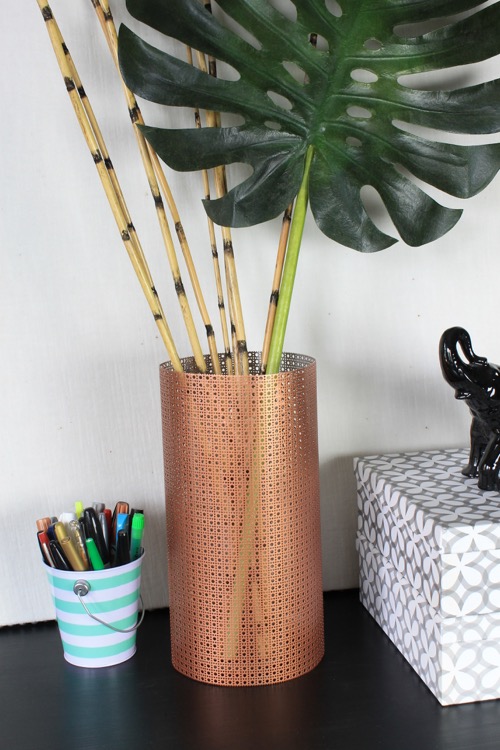
Can you believe this DIY Sheet Metal Vase is made from a decorative aluminum sheet found at your local hardware or craft store?
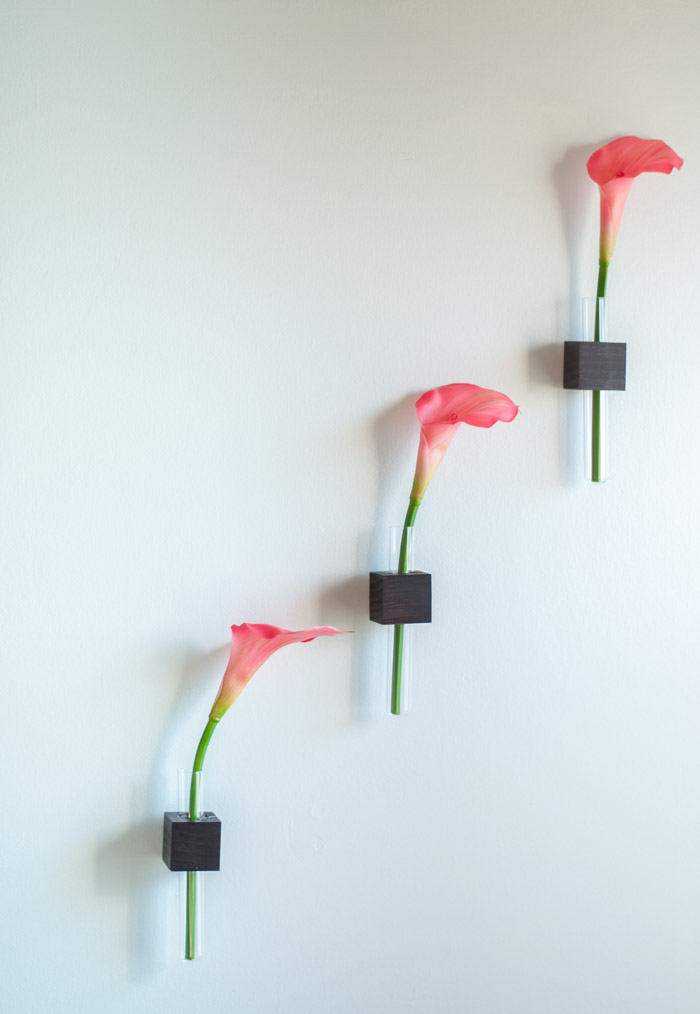
These DIY Wall-Mounted Test Tube vases look really cute on the wall and can be used in any room.

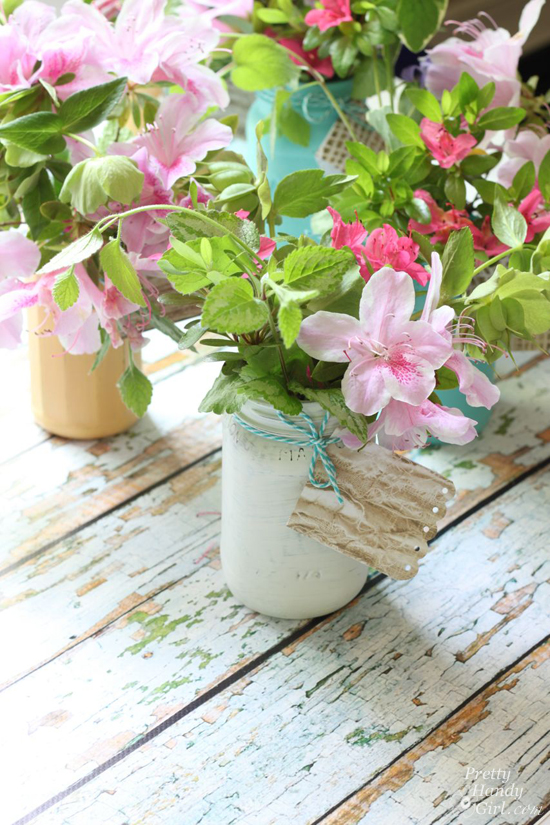
Make these sweet personalized gifts by wrapping Pounded Flower Artwork around a jar. It would make a great gift!
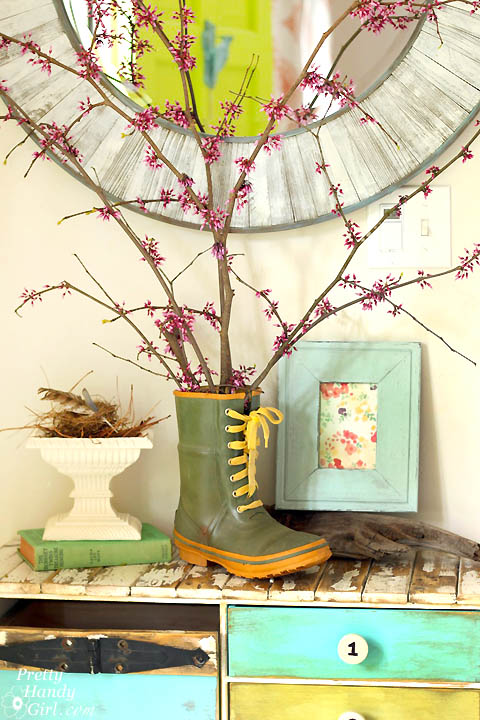
Simply slip a Mason Jar into a Boot to create this fun and quirky vase.
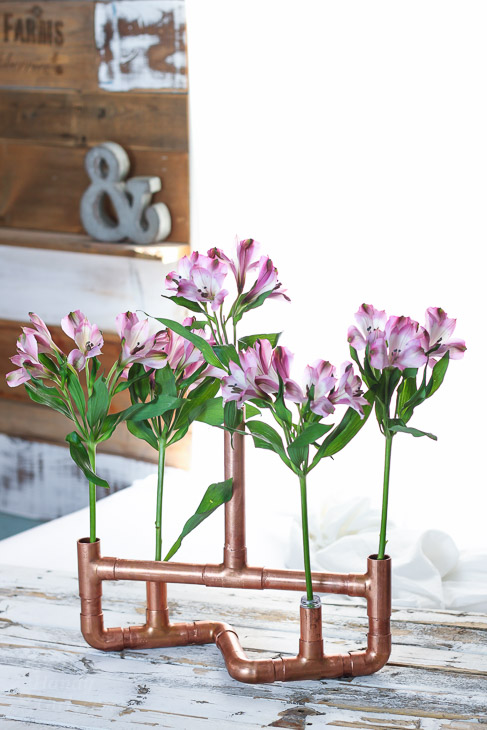
Practice your soldering skills to create this unique and pretty Copper Pipe Flower holder.
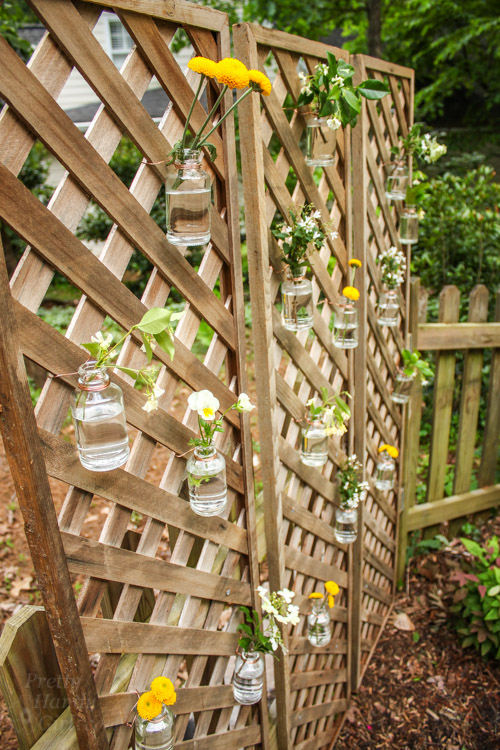
Decorate lattice and add some privacy to your yard with these gorgeous Glass Jar and Copper Wire vases.
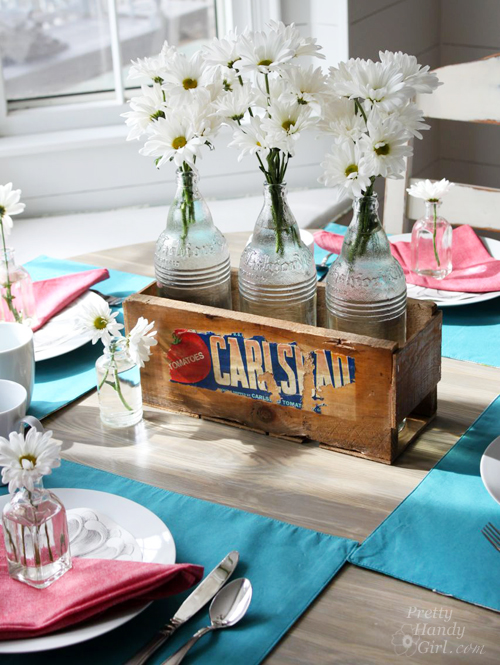
No power tools? No problem! Create this gorgeous Produce Crate Centerpiece to hold your flowers using only hand tools.
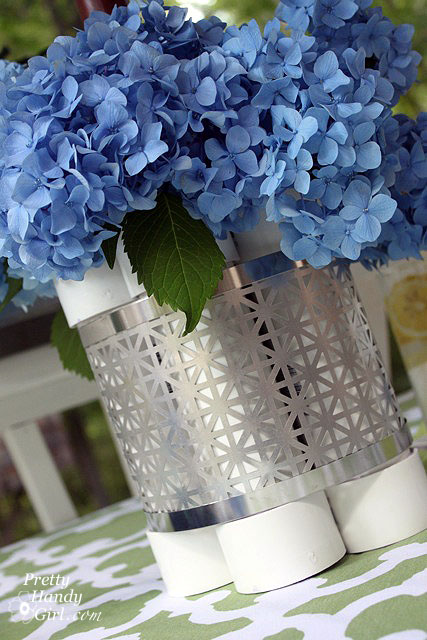
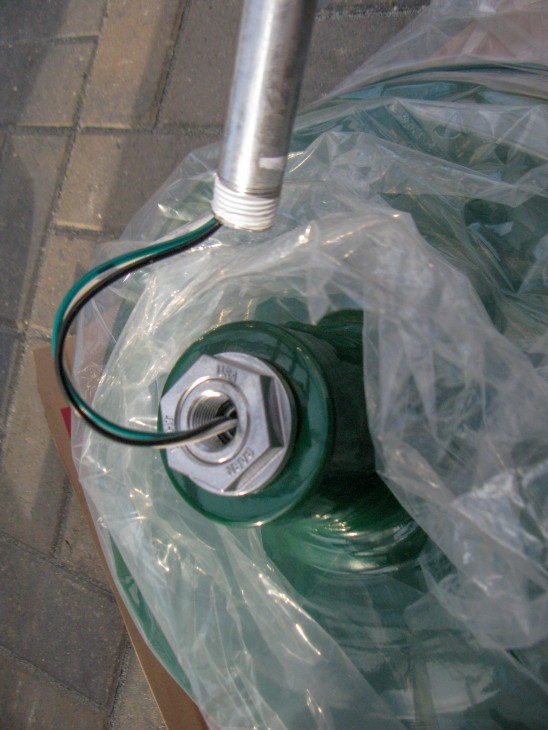
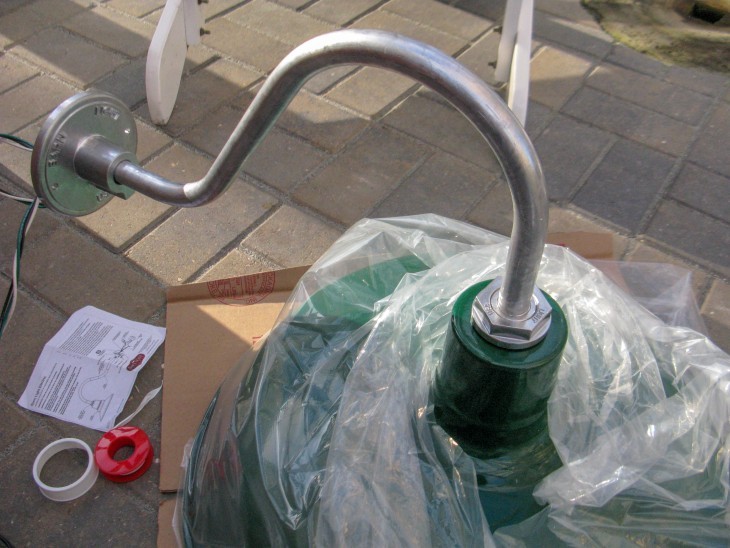
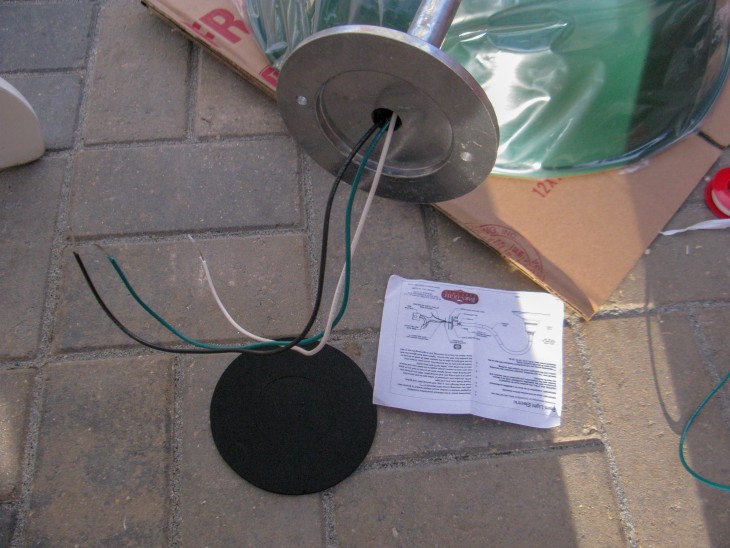
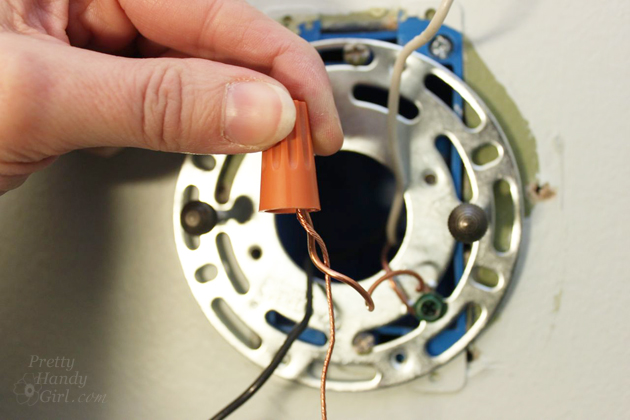
Create this Outdoor Patio Living Flower Centerpiece vase using PVC pipe and decorative tin.
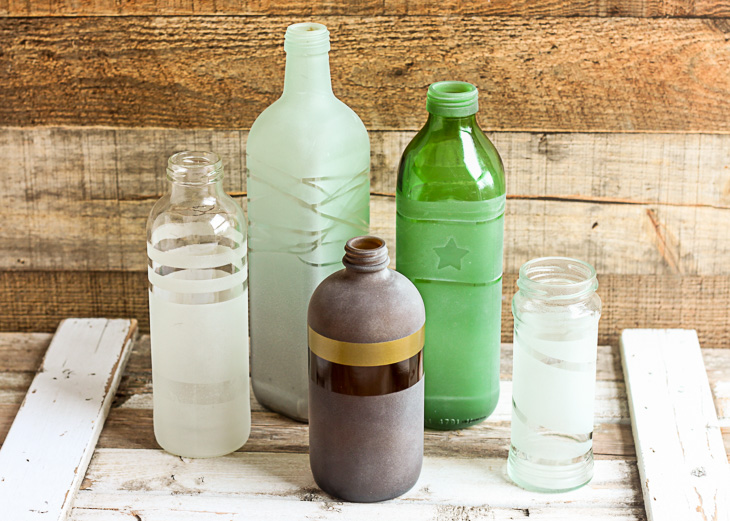
Check your recycle bin for bottles and make these Frosted Glass Vases for your springtime flowers or to give as a pretty gift.
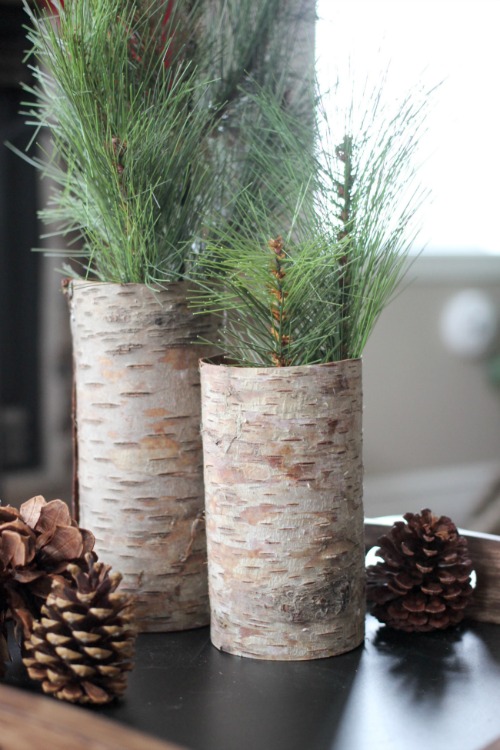
Use some beautiful pieces of tree bark to make these beautiful Rustic Birch Bark Vases that can be used year-round.
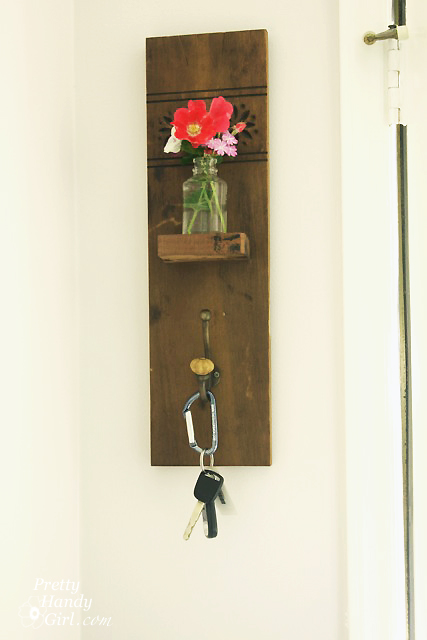
Make this functional and pretty Reclaimed Wood Hook and Vase to decorate your entryway.
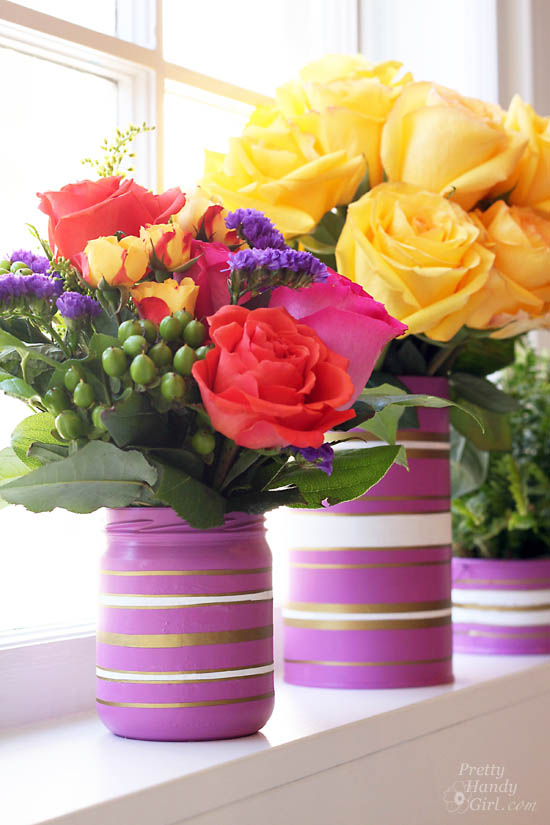
These Simple Bright Colored Vases can be made using recyclables, some paint and tape, and look absolutely gorgeous holding a variety of flowers.
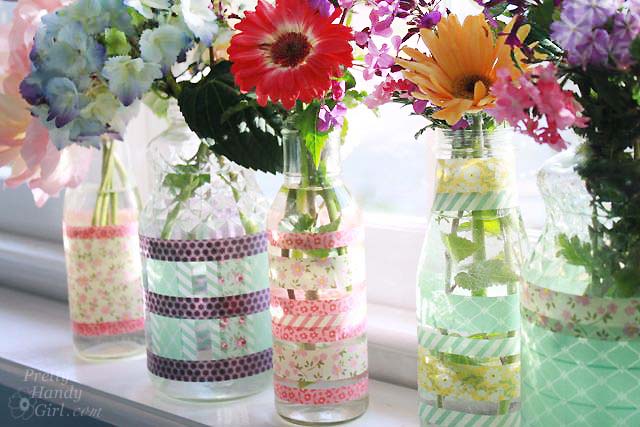
Beautiful Simple Springtime Flower Striped Vases are created just using some decorative washi tape. They make great gifts!
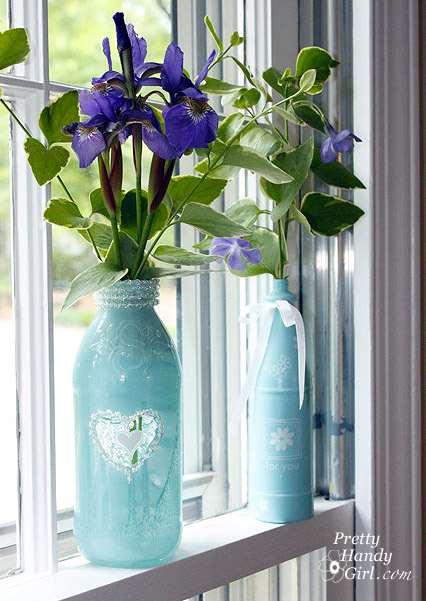
You’ll just need a couple supplies to create beautiful Spray Painted Glass Jars and Bottles.
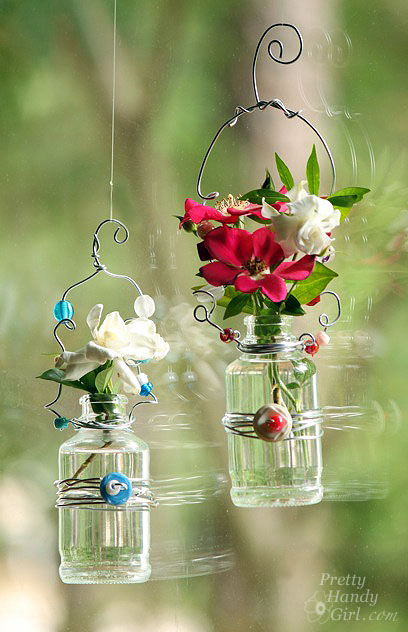
Use some small glass bottles to make these pretty Hanging Beaded Glass Flower Vases to hang near a window.
Paint some jars, fill them with flowers and show your teachers some love any day of the year with these Painted Vases.
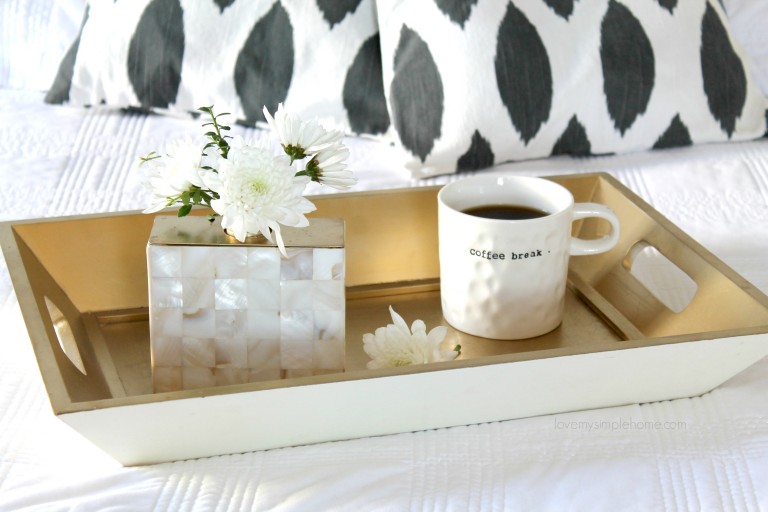
Would you believe you can turn a soap dispenser into a vase like this unique Mother-of-Pearl flower vase.
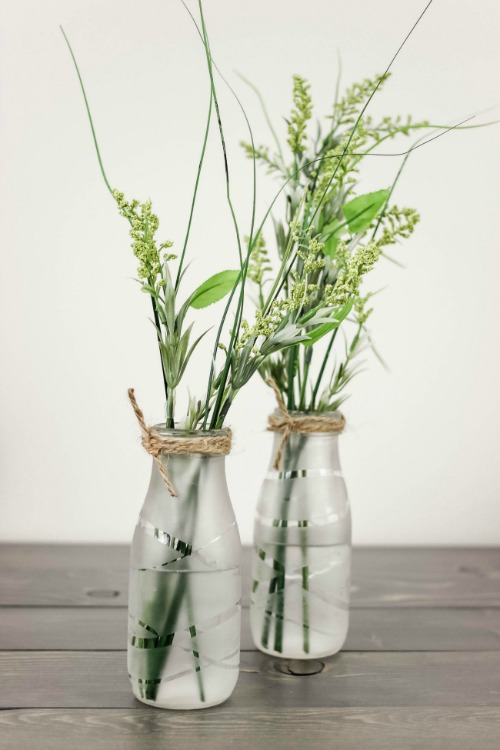
Use old milk bottles to create these modern DIY Glass-Etched Vases.
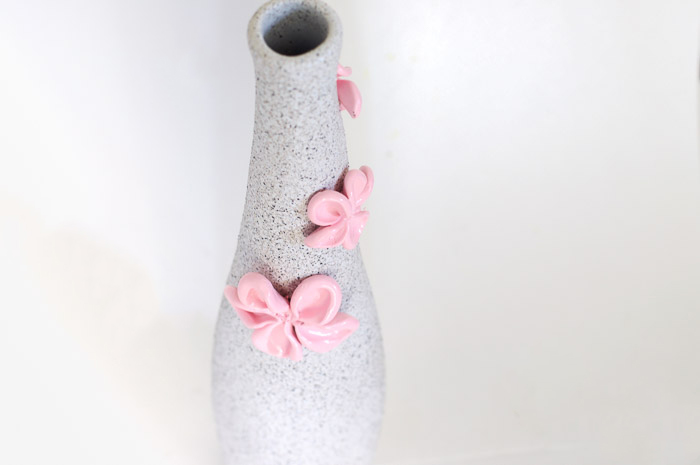
Turn an old glass bottle into this fun textured Faux Stone Vase.
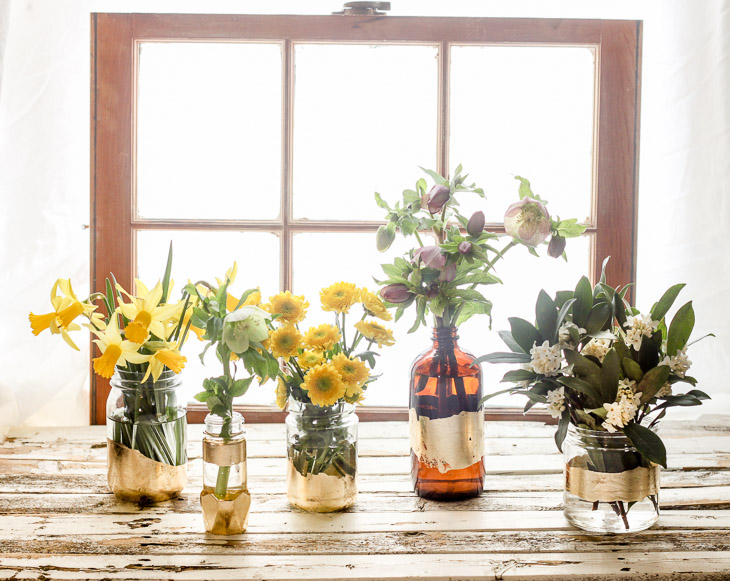
Still have some recycled bottles left? Make these super simple (but super elegant) Gold Leaf Bottle Vases to display or give as gifts.
What do you think? I hope these 20 DIY Upcycled Vases collection inspired you to use something old to make something new and beautiful. All of these make great home decor items or gifts to others to show how much you appreciate them. Enjoy, and get out there and create something!
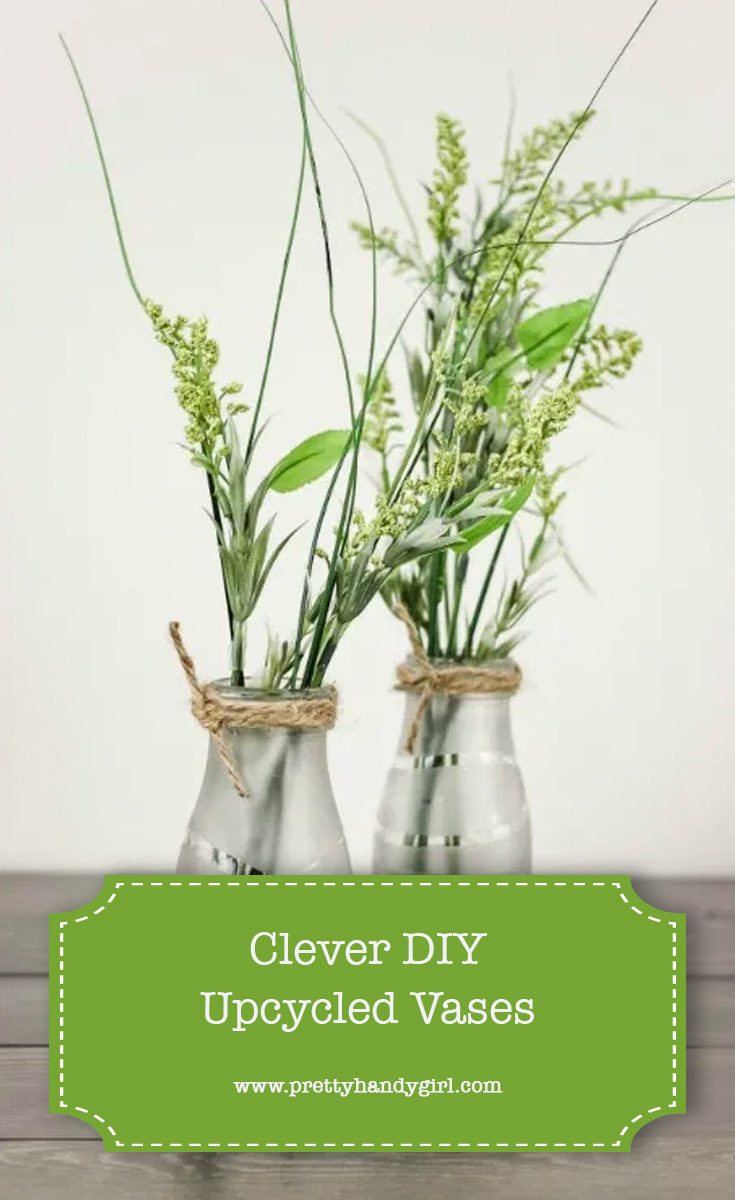
If you liked this collection, please pin this image to Pinterest:
Happy upcycling.

Other posts you may like:
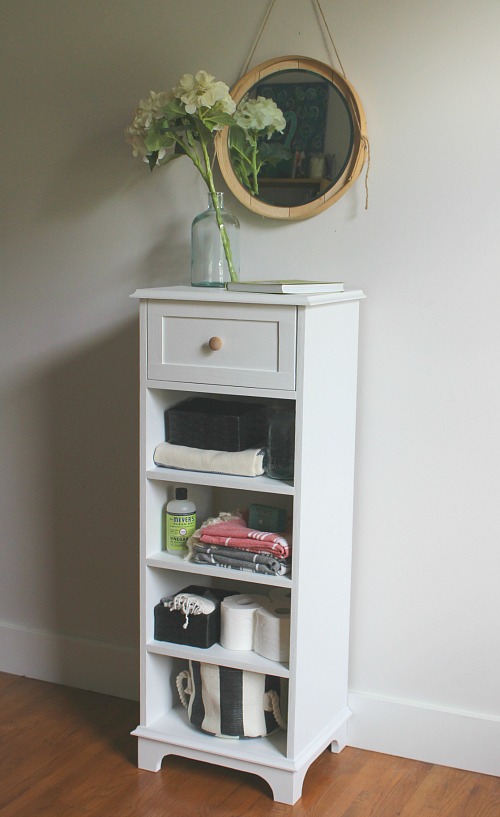
12 Inexpensive Ways to Decorate Your Bathroom
Decorating Ideas for an Outdoor Garden Party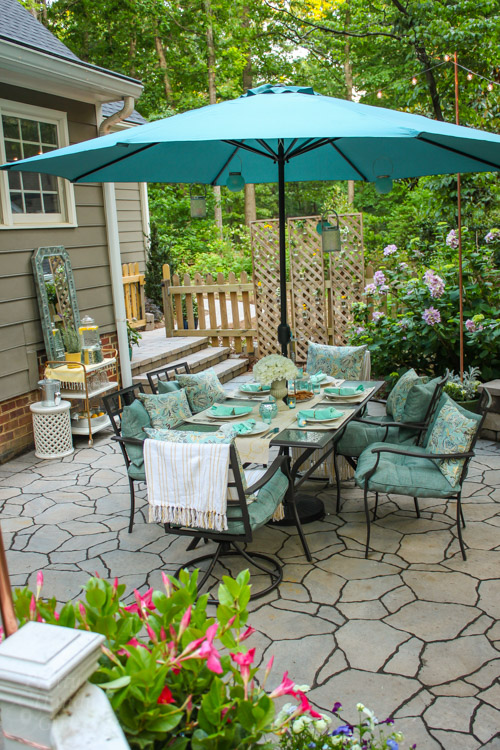
Pin for later!
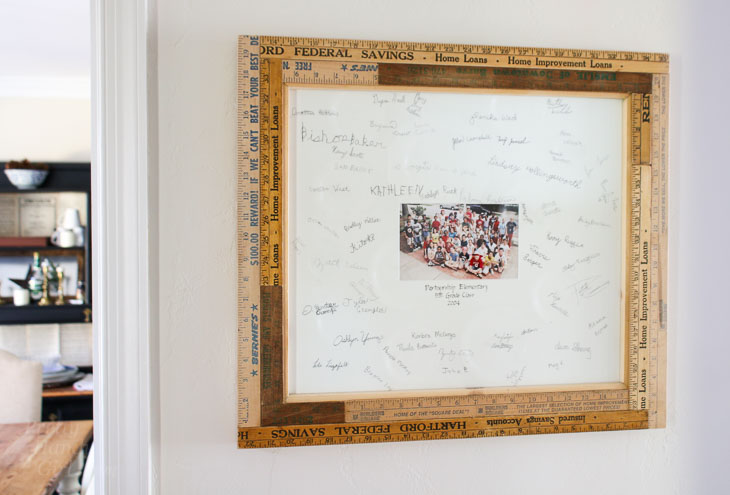
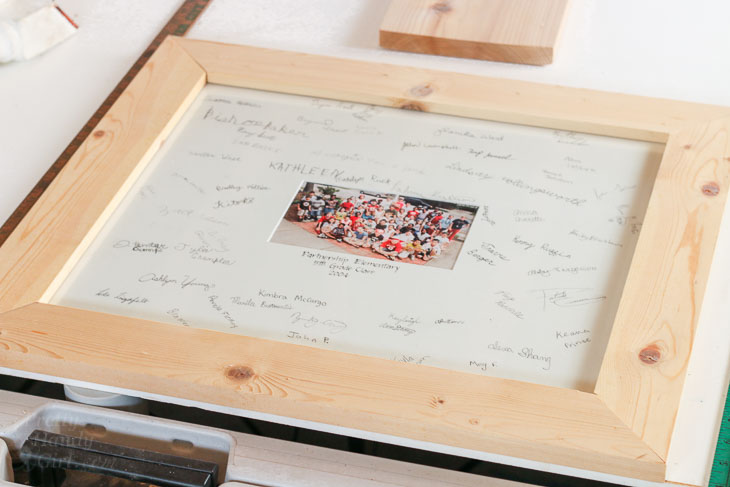
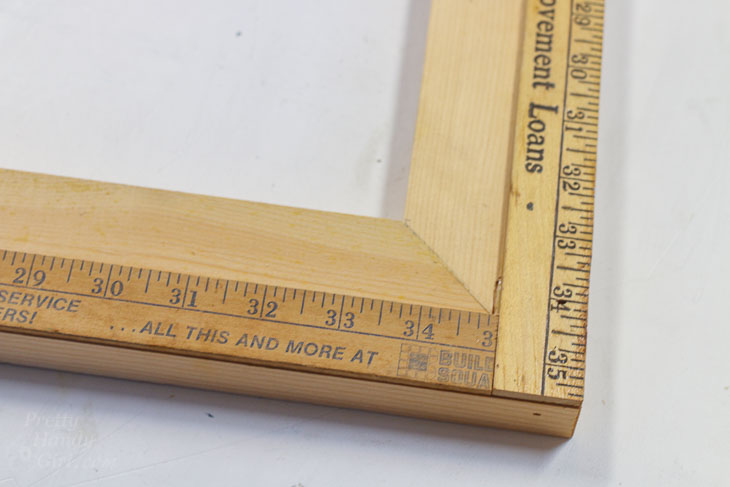
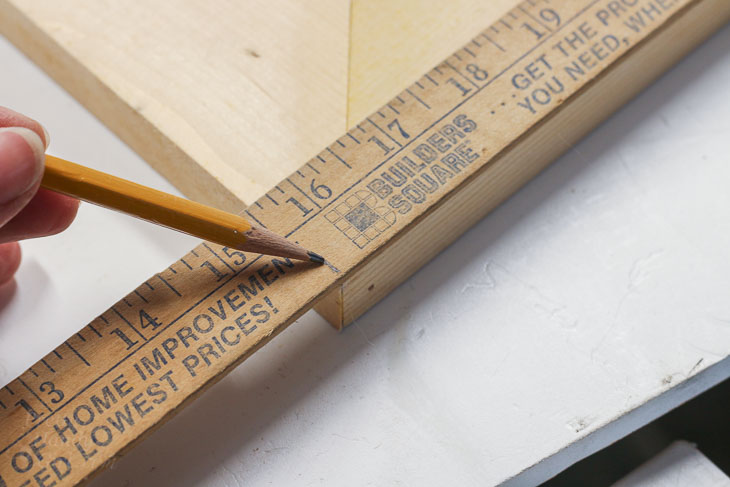
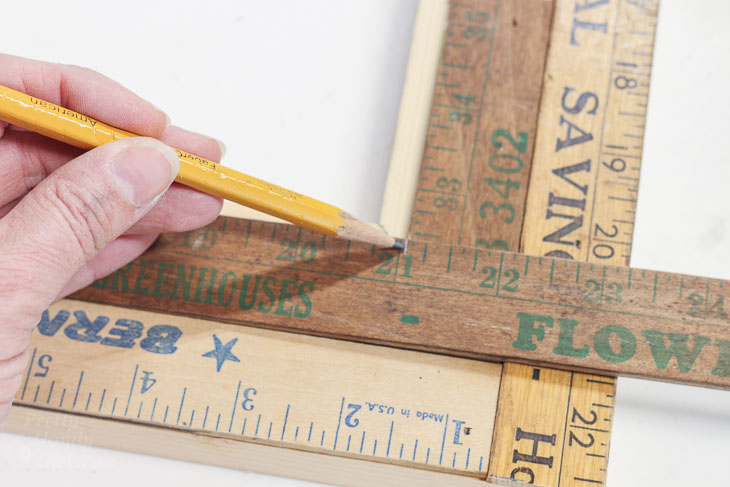
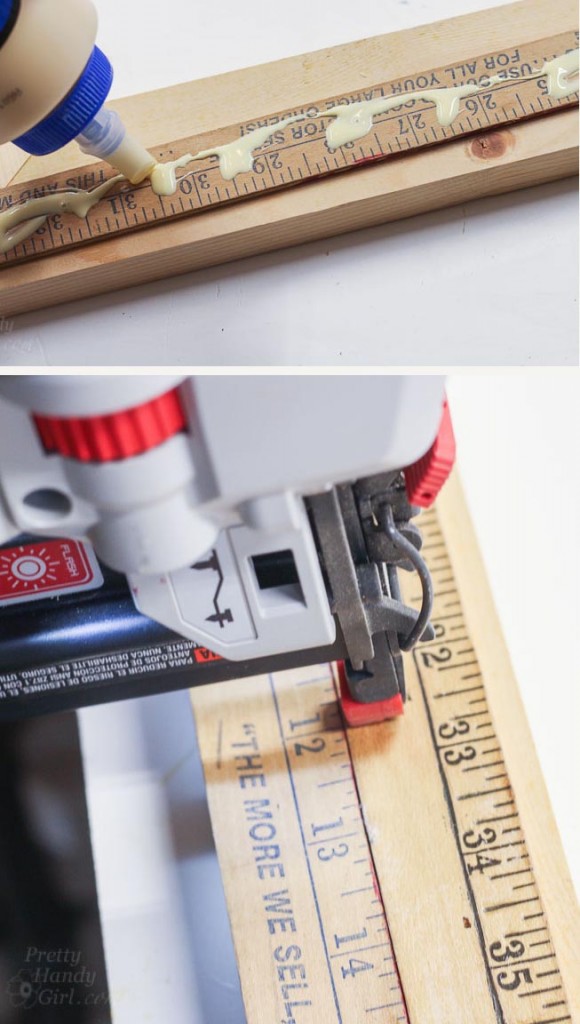
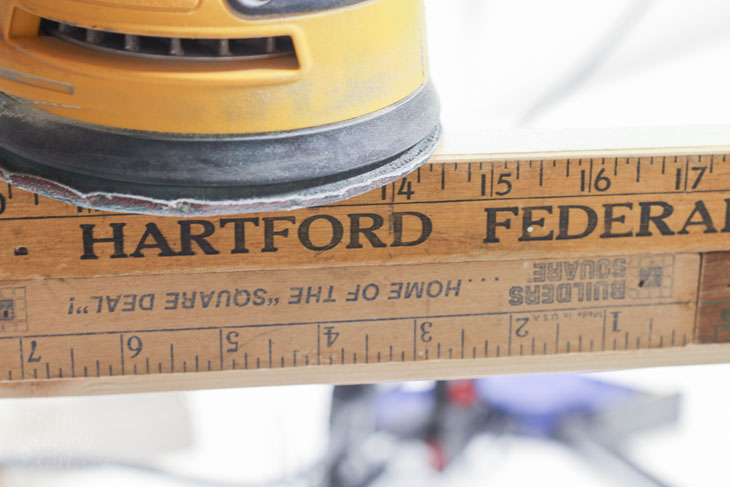
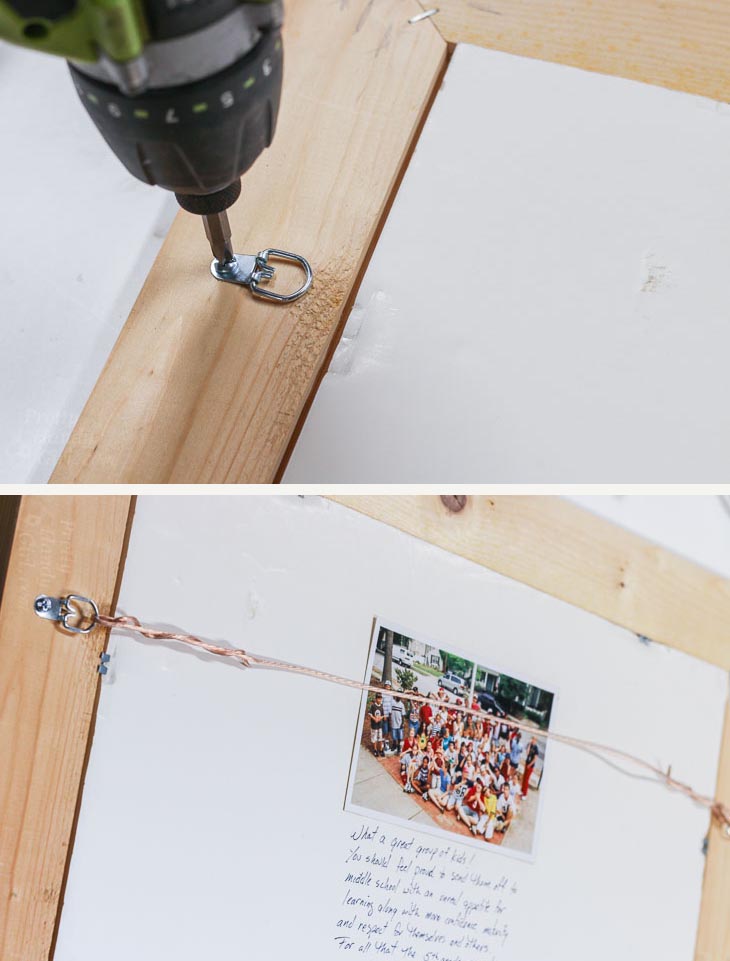
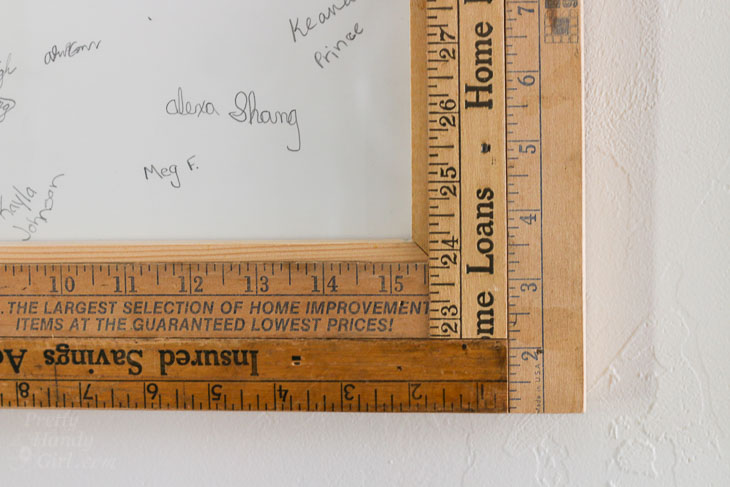
 How to Build a Custom Vintage Ruler Picture Frame
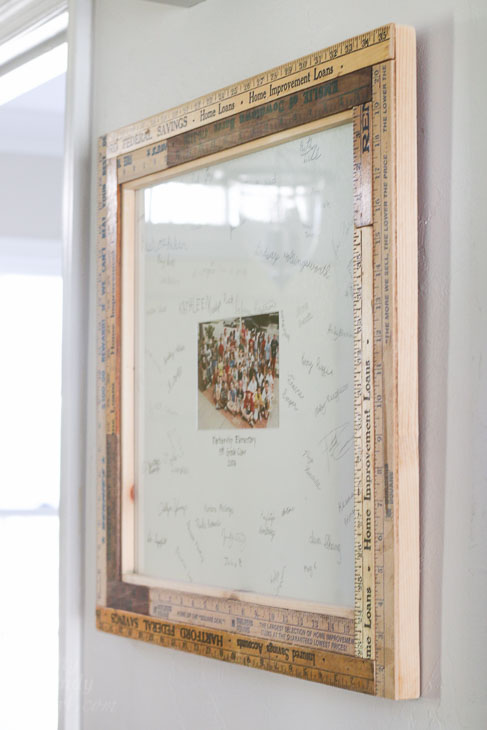


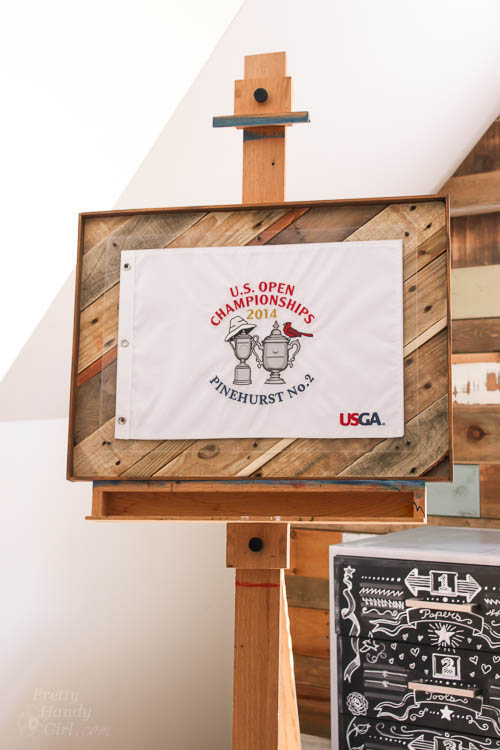


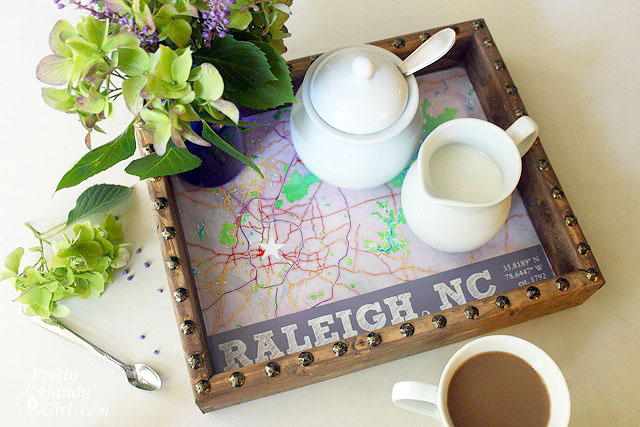


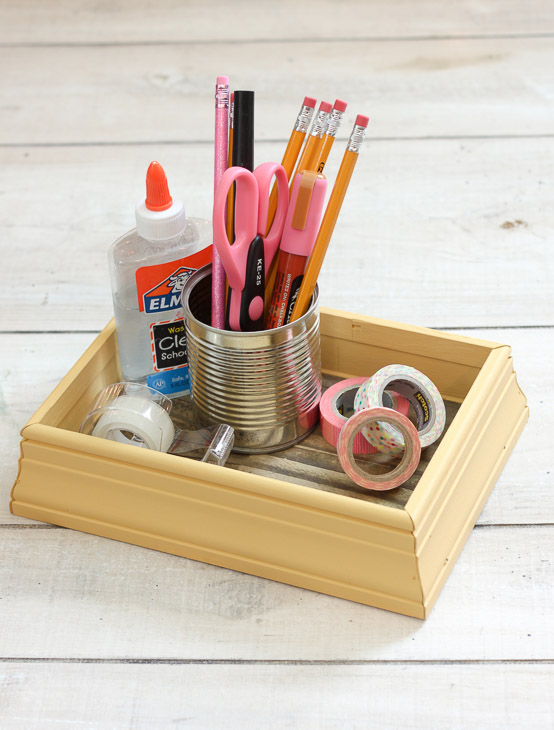
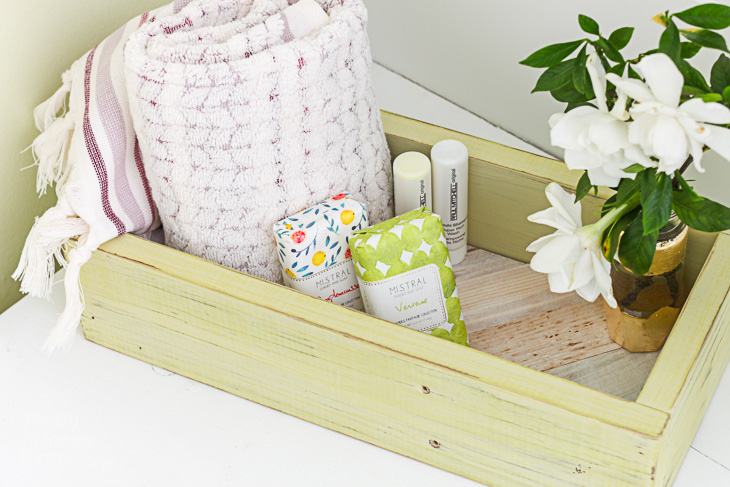 Build a DIY Tray Box
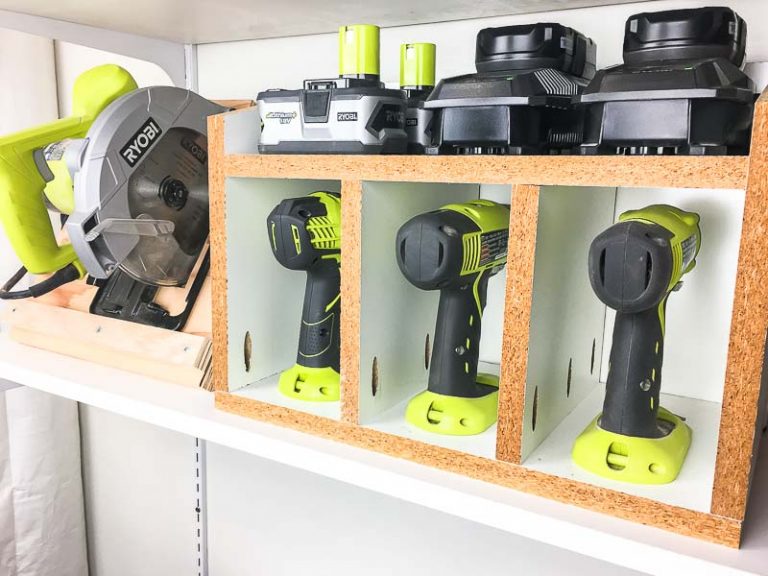
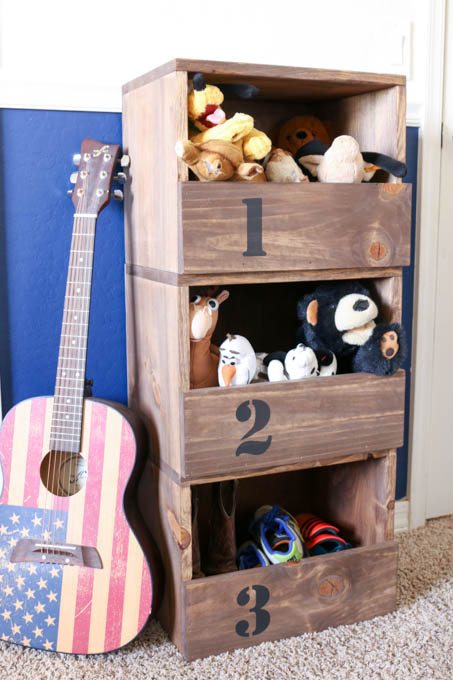
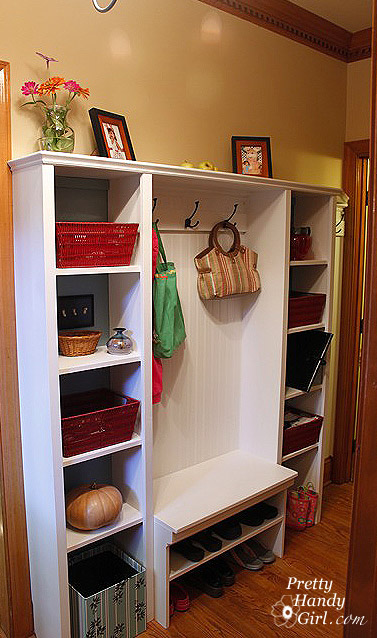
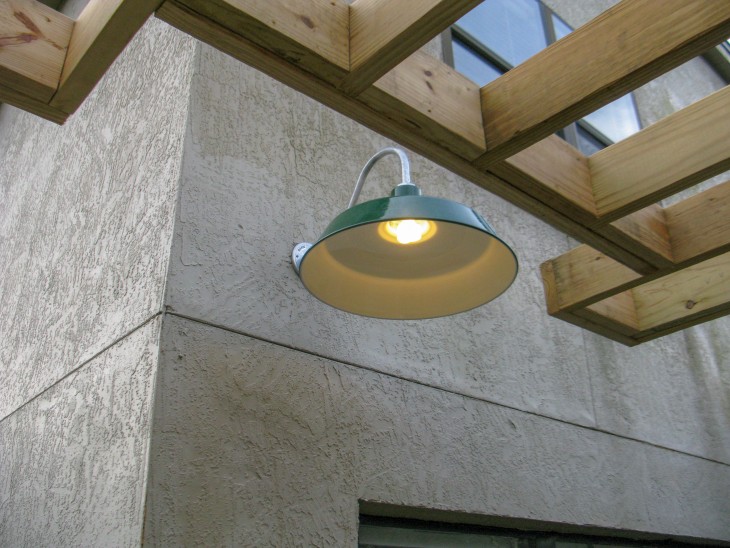
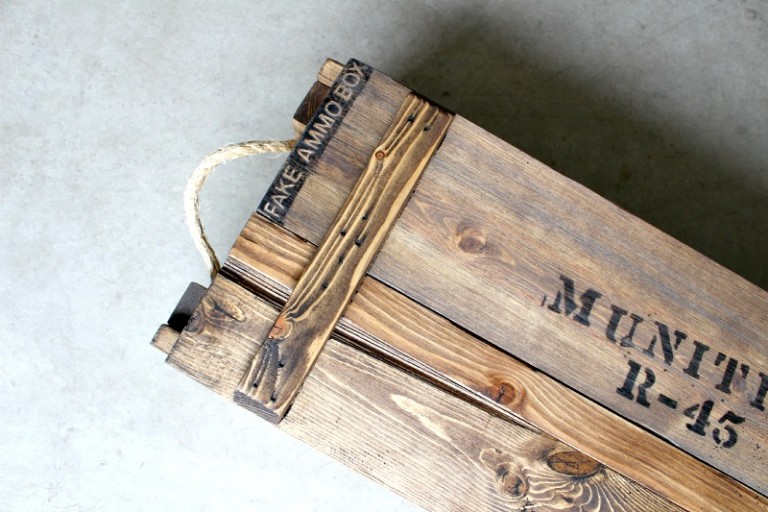
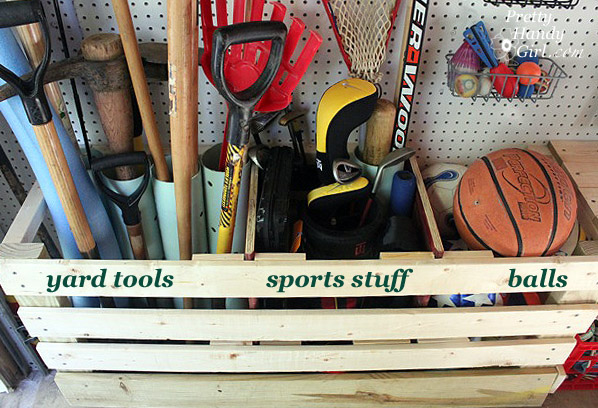 There are so many awesome garage storage ideas in this one post, like this