Build a Wood Plank Desktop for about $40

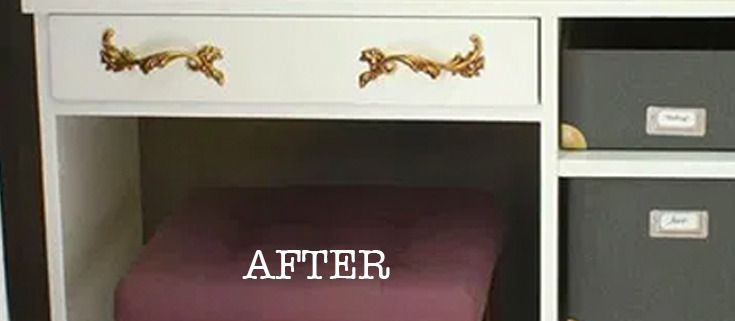
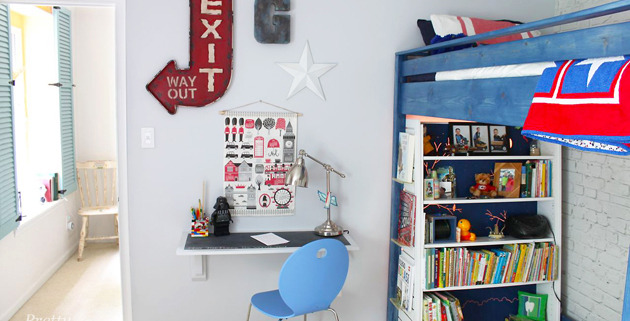
Hey there, everyone!  I’m Katie from Addicted 2 DIY.  I’m so, so excited to be here today sharing this simple — and most importantly — inexpensive way to update a desk!  I’m in the middle of updating our den/kid’s office space and one of the biggest things that had to go was the awful eyesore my boys used as a desktop.

Build a Wood Plank Desktop for about $40

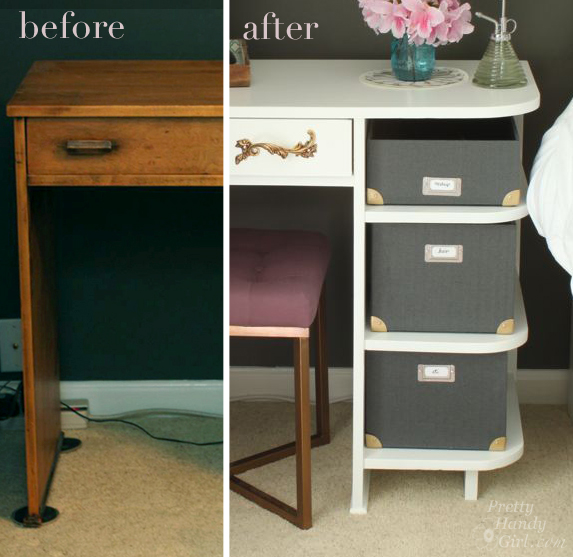
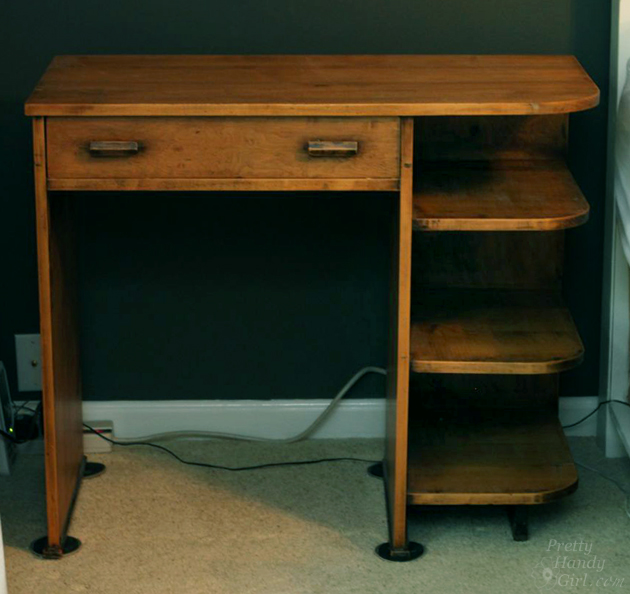
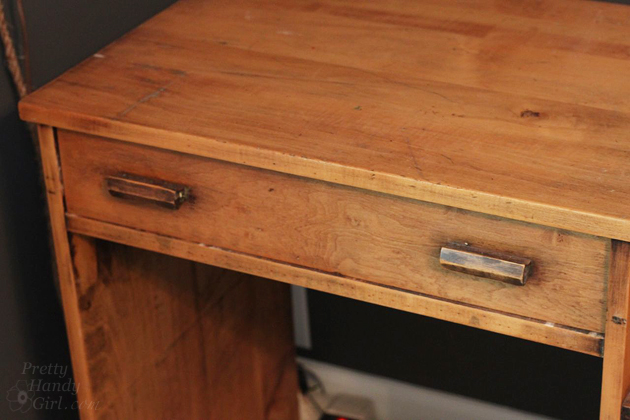
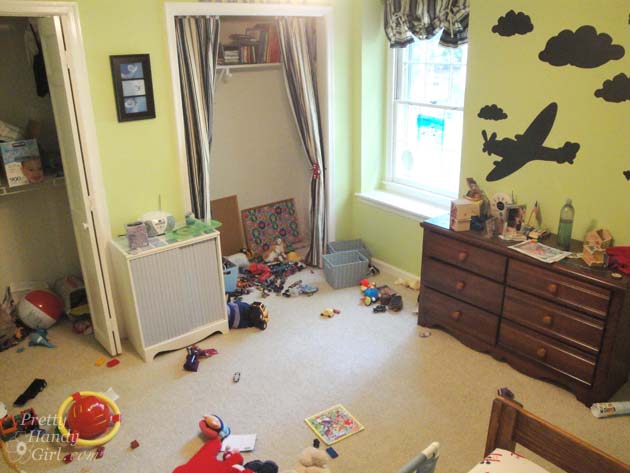
This was the glorious before photo of their desk area.  The particle board top was from the previous homeowners. While we were remodeling the house, we slapped a coat of paint on it until we could decide what to do with it.  Four years later, I decided enough was enough.  I was tired of feeling embarrassed when anyone saw this room.  I took the old top off, painted the cabinets, and built a new wood top for it. Here’s how you can Build a Wood Plank Desktop for About $40!

Build a Wood Plank Desktop Materials:

  • 8 – 2″ x 6″x 8′ pine boards
  • 2 – 2″x 2″ x 8′ pine boards (if you need the extra width)
  • drill
  • 2 1/2″ screws
  • compound miter saw
  • scrap pieces of 3/4″ wood
  • wood shims
  • belt sander and/or orbital sander
  • sandpaper discs and sheets (80 grit and 220 grit)
  • wood stain
  • polyurethane
  • paint brush

Build a Wood Plank Desktop Instructions:

If your desk area is straight or an L shape, you can ignore these four steps below and measure and cut your pieces to the length needed using your miter saw.

Build a Wood Plank Desktop for about $40

If your desk shape is similar to mine, follow these steps:

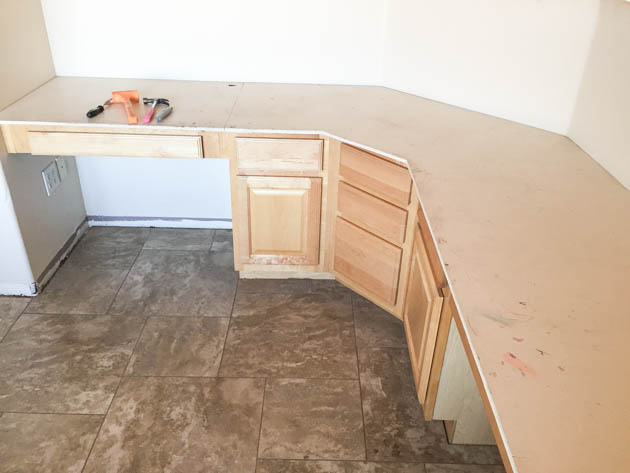
1. Cut your 2×6 pieces to slightly overlap the middle section on each side.  Make sure the pieces are long enough to accommodate the angled cuts you’ll be making.

2. If you don’t have a tool to determine the cut angle, lay your middle pieces of wood on top of the side pieces you’ve already laid out and mark where the lines intersect.

3. Mark where the line intersects on the first and last pieces of wood with a pencil.

4. You can snap a chalk line to get your angle, or you can use a long ruler and draw the line with a pencil.

Determine the angle of your cuts based on where the miter saw blade lines up with the chalk line.  In this case, it was 22.5 degrees.  That being said, this desktop was built between two imperfect (and not completely square) walls and some of the cuts had to be tweaked slightly on the angle. Read more

12 DIY Home Storage Tutorials | Pretty Handy Girl

It’s January and you know what that means! Time to clean and purge the house of all the excess stuff. Last year I was too busy with projects to purge, so this year I’m taking advantage of some warmer days to clean out our home. I hope you’ll excuse me while I’m in clutter busting HELL mode. In the meantime you might enjoy these 12 DIY Storage Projects to help you organize your home (and hide clutter.)

mudroom_shoe_storage_bench
Make a Coat Rack from an Old Door
 and Make a Shoe Storage Bench with Kitchen Cabinets

full_flow_wall_above_washerLaundry Room Storage using Flow Wall Read more

DIY Industrial Charging Station

Have you ever been in need of an electrical outlet only to find that they’re hidden by furniture or in a hard to reach place?  How about that elusive time of day when you’re cell phone’s down to 1% and you have a handful of charging cables, but nothing to plug it into?  This seems to be a regular occurrence at The DIY Village, so we’ve finally solved these problems!  We created a DIY industrial USB charging station that has an accessible outlet; 2 usb ports capable of charging all of your devices; and even has a built-in accent light!  We think it would be the perfect addition to an office, your teenagers room, or even a college dorm room!  

DIY Industrial USB Charging Station Materials List:

(Contains some affiliate links)

DIY Industrial USB Charging Station Tool List

DIY Industrial USB Charging Station Instructions:

In order to make room for connectors and fittings that you’ll be using to build your Industrial Charging Station, you’ll need to remove (2) 1/2-inch and (1) 3/4-inch knockouts from the handy box.  (Set the handy box aside)

Handy-Box-Knockouts

The hardwired emergency light has screw-out plugs that give you installation options.

Emergency-Light-Base

Remove one of the side plugs from the light base and re-route the wiring through the opening. Read more

Painted Vanity Nightstand | Pretty Handy Girl

Painted Bedside Vanity | Pretty Handy Girl

In the quest to makeover our master bedroom and save money, I’ve been painting several pieces of furniture to coordinate with the new bed I built.

One of the pieces I painted was this small desk that doubles as a nightstand. Our bedroom isn’t very large and our master bathroom is even smaller than what can be described as a “master” anything! Doing my hair and makeup in our bathroom isn’t a viable option, especially when both Pretty Handsome Guy and I wake up at the same time. When I saw this little desk at a local thrift store, I grabbed it. Especially because she was only $20!

Painted Bedside Vanity | Pretty Handy Girl

She had lots of age, but not much character.

top-of-wood-vanity

However, she was the perfect size and had just enough storage for a makeup vanity.

With a light sanding, primer and a coat of Benjamin Moore Advance paint, she is now showing her more glamorous side. Read more

Boy's Red, White & Blue Themed Room | Pretty Handy Girl

Boy's Red, White & Blue Themed Room | Pretty Handy Girl

Happy Friday!!! I finally finished my son’s room makeover. Poor kid has been asking for over two years when I was going to work on his room.

Boy's Room Before | Pretty Handy Girl

It feels so good to be done and be able to share the final reveal with you. The theme started four years ago when I converted his extra closet into a reading nook. The blue, white and red work beautifully together.  Read more