Wall-Mounted Desk Tutorial | Pretty Handy Girl

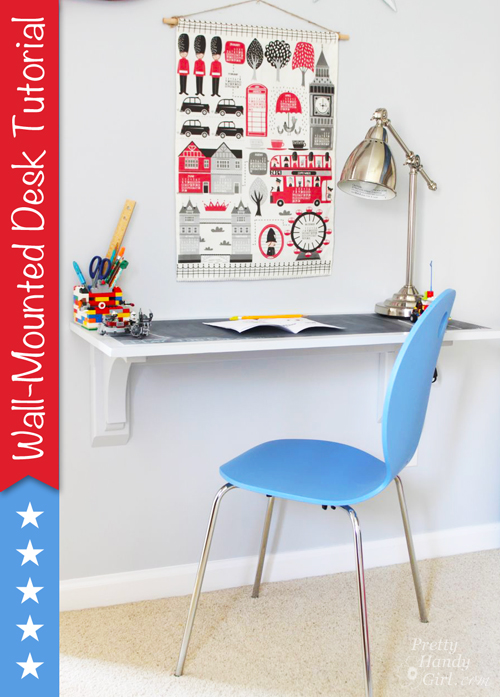
Need a desk but lack floor space or the funds to buy a desk? This Wall-Mounted Desk tutorial will meet your needs! Plus, you can customize the length to meet your needs.

Wall-Mounted Desk Tutorial | Pretty Handy Girl

Wall Mounted Desk Tutorial

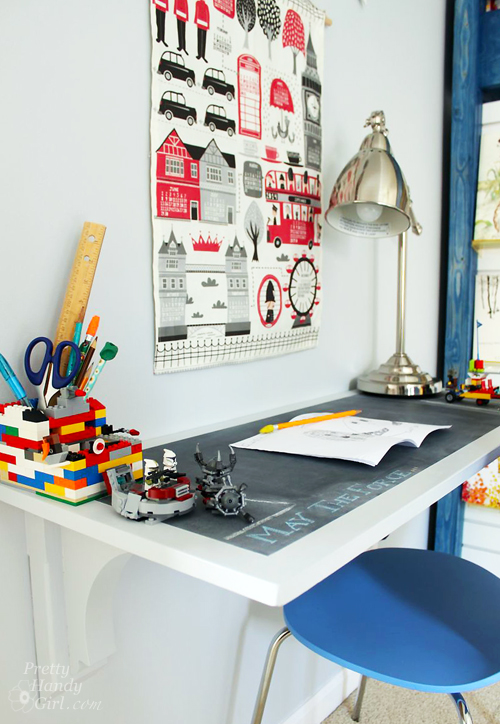
Hey, I hope you had a fabulous weekend! Was it productive? Full of DIY activities? Well, I’m back with a tutorial for building a wall-mounted desk. The great thing about a desk that is wall-mounted is it can be small or large and it won’t take up any floor space! This gives a nice clean look and makes the room feel larger. Plus, the materials will almost certainly cost less than buying a desk.

My son is starting to have more homework in school. (I didn’t realize that first grade was the new 3rd grade!) I figured soon enough he’s going to need a spot to sit and work on homework. Plus, he’s an avid Lego builder and this makes a great surface for him to build on.

Materials:

  • Finish grade plywood (my desktop is 16″ x 40″)
  • Painter’s Tape
  • 1 – 2″ x 4″ x 93″
  • 2 – 9.5″ x 9.5″ bird’s mouth brackets
  • 4 – 3″ cabinet mounting screws
  • Paint
  • Paint brush
  • Drill
  • Drill bits
  • Level
  • Pencil

Instructions: 

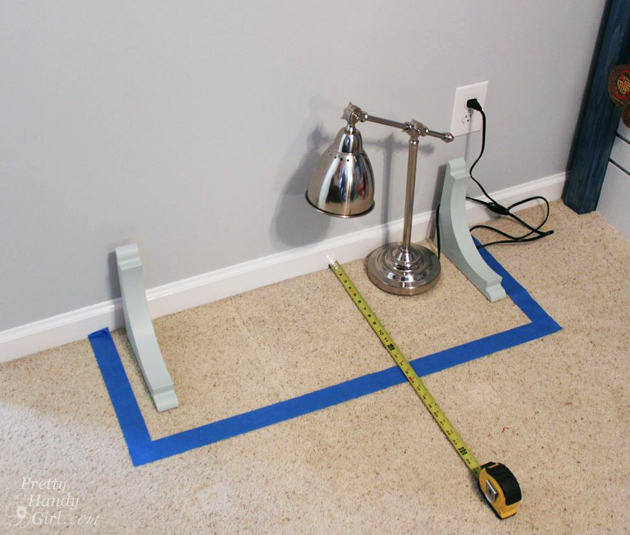
Begin by assessing where you want to mount your desk. For better perspective, you can outline the desk area with painter’s tape on the floor.

Wall-Mounted Desk Tutorial | Pretty Handy Girl

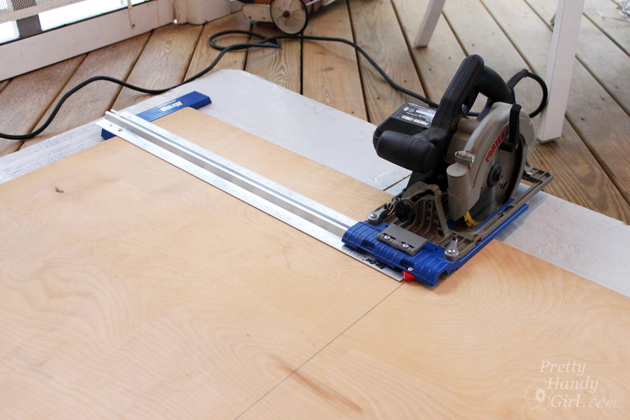
Cut your finish grade plywood to size. Using the Kreg Rip Saw with my miter saw is much easier than hauling out the table saw and getting as assistant to help lift the plywood. If you put a piece of rigid foam insulation underneath, you can cut almost anywhere! Just set your saw blade depth slightly below the plywood.

Wall-Mounted Desk Tutorial | Pretty Handy Girl

Cut your 2″x4″ stud 4″ narrower than the length of your desk top surface. (My desktop is 40″ long, therefore my mounting stud is 36″ long.)  Locate the studs in your wall. Mark their location.

Wall-Mounted Desk Tutorial | Pretty Handy Girl

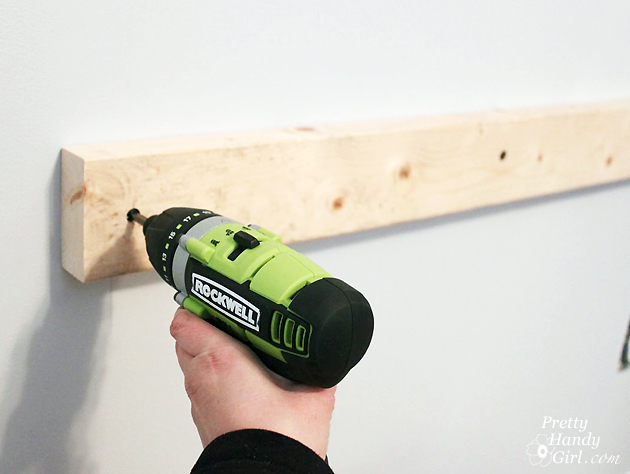
Pre-drill holes in the mounting board at the stud locations. Use a small bit slightly narrower than your screws. Then use a larger bit the width of your screw head to create a countersink hole. Drive the cabinet mounting screws into one end of the mounting board and into the stud. Use a level to make sure your mounting board is level, then drive the additional mounting screws into the other studs.

Wall-Mounted Desk Tutorial | Pretty Handy Girl

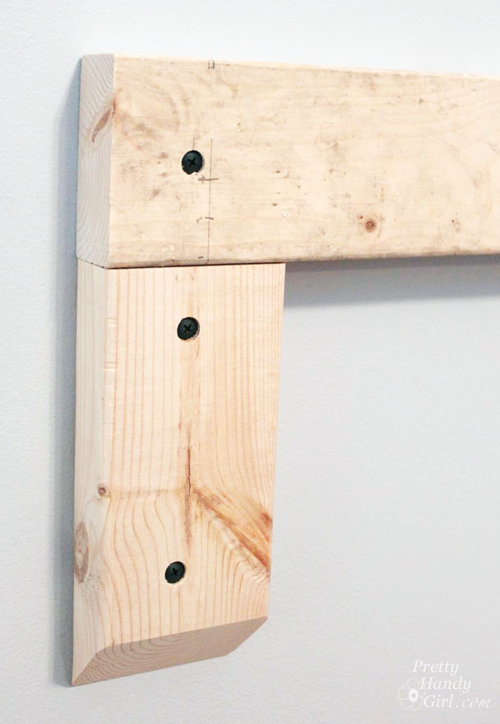
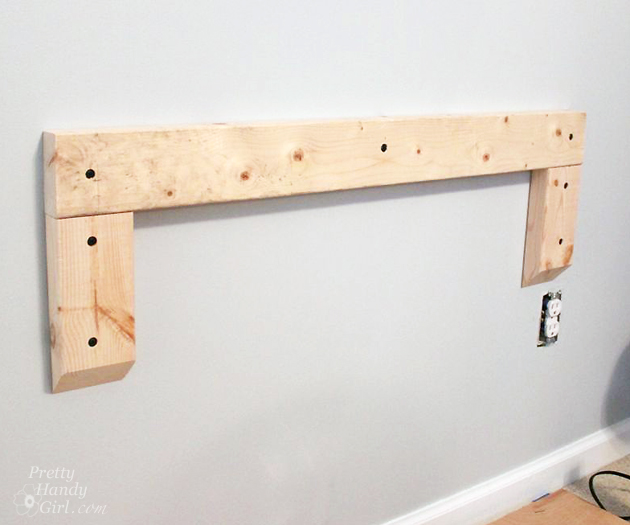
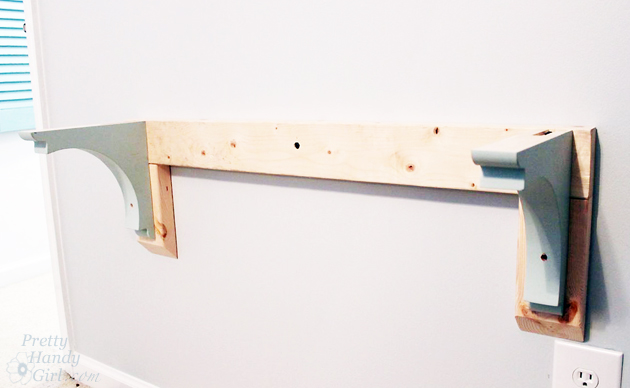
Cut two pieces of 2″x4″ at 8″ long. These will create the supports for the shelf brackets. For a clean look, bevel the end at a 45 degree angle when you cut them. Attach the 2″ x 4″ pieces below each end of the mounting board as shown below.

Wall-Mounted Desk Tutorial | Pretty Handy Girl

Your mounting boards should look like this:

Wall-Mounted Desk Tutorial | Pretty Handy Girl

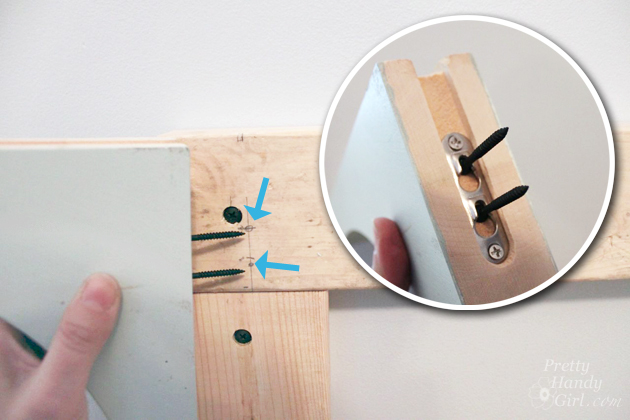
Set two small screws into the shelf bracket keyholes. Line the bracket up with the top of the mounting board and center it on the vertical supports already attached to the wall. Make a pencil mark where the screws need to be set.

Wall-Mounted Desk Tutorial | Pretty Handy Girl

Use the pencil to mark the depth of the keyholes on the screws so you know how deep to drive the screws into the bracket support.
Wall-Mounted Desk Tutorial | Pretty Handy Girl

Attach the small screws to the vertical support where the pencil marks were and drive them to the point where you marked on each screw.

Slip the bracket onto the screws.

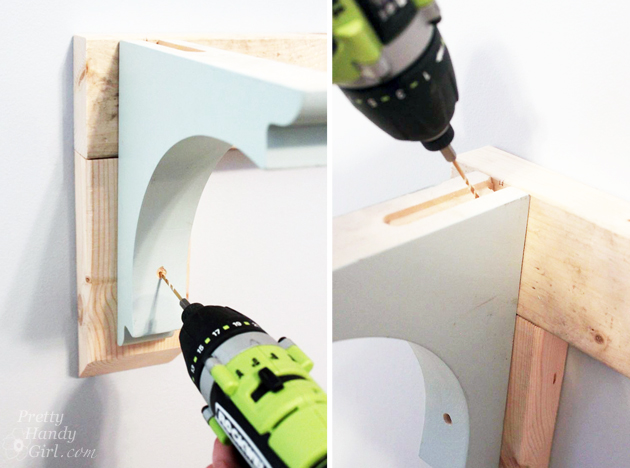
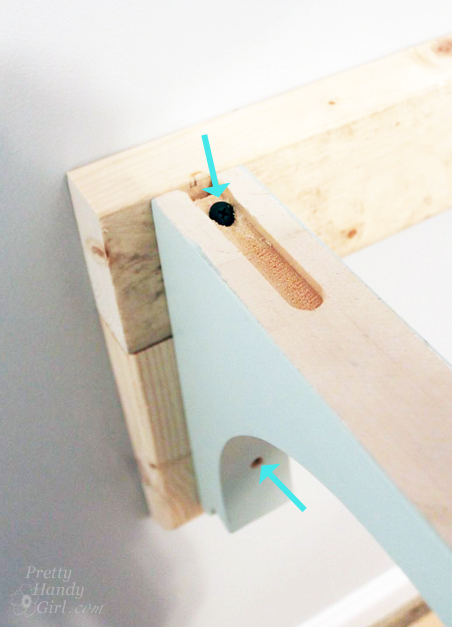
For added support, pre-drill one hole through the top of the bracket and into the mounting board. Pre-drill a second hole through the bird’s eye bracket at the narrowest point.

Wall-Mounted Desk Tutorial | Pretty Handy Girl

Drive screws into the two pre-drilled holes to further secure the shelf brackets to the mounting boards.

Wall-Mounted Desk Tutorial | Pretty Handy Girl

Repeat for the second bracket.

Wall-Mounted Desk Tutorial | Pretty Handy Girl

Lay your desktop surface on top of the brackets. You can either drive small screws through the top of the desk and into the mounting board. Or drive a small screw up through the underside of the bracket and into the desktop. I prefer the latter because you won’t have to wood putty the desk surface.

Wall-Mounted Desk Tutorial | Pretty Handy Girl

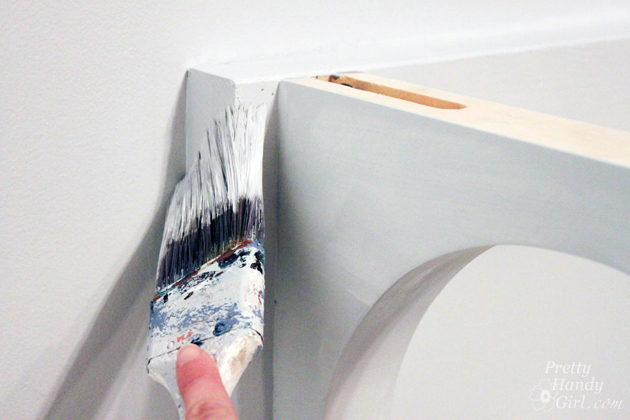
Wood putty all your holes. Allow the putty to dry and sand the putty smooth. Paint your brackets, mounting boards, and desktop. I chose to paint my desktop beforehand with a chalkboard surface.

Wall-Mounted Desk Tutorial | Pretty Handy Girl

Let the paint dry. If you want to protect the desk surface, you may choose to paint a few coats of polycrylic on top.

Wall-Mounted Desk Tutorial | Pretty Handy Girl

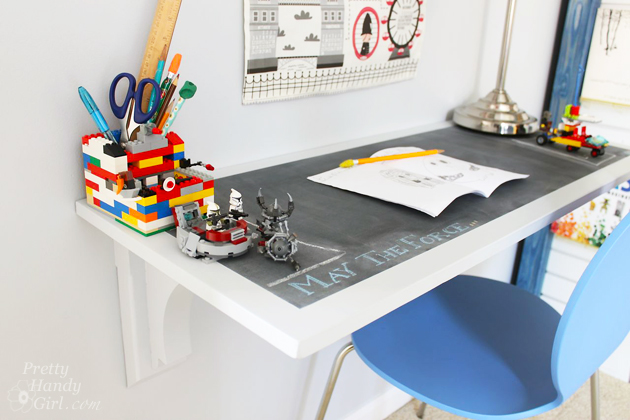
And my son has a spot to do homework, legos, or create a little book.

Wall-Mounted Desk Tutorial | Pretty Handy Girl

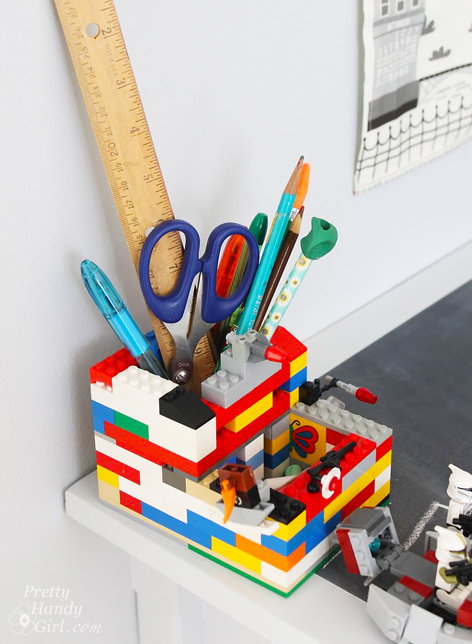
Don’t you just love his lego pencil holder he created?! I think he needs to start an Etsy store ;-).

Lego Pencil Holder | Pretty Handy Girl

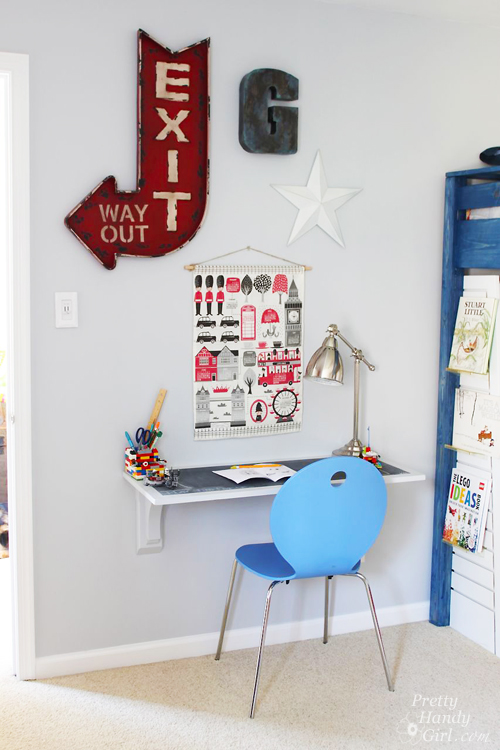
I had fun decorating the wall with some vintage signs and an adorable London themed tea towel calendar from Spoonflower. Making tea towel calendars every year in November/December has been a tradition I started over a year ago. We anxiously await the release of the newest calendar designs on Spoonflower.

Wall-Mounted Desk Tutorial | Pretty Handy Girl

Source List:

I hope you found this tutorial helpful. It was an easy solution for my son’s room. Best of all, you can expand the width, but if you do add more brackets.

PHGFancySignPin for later!

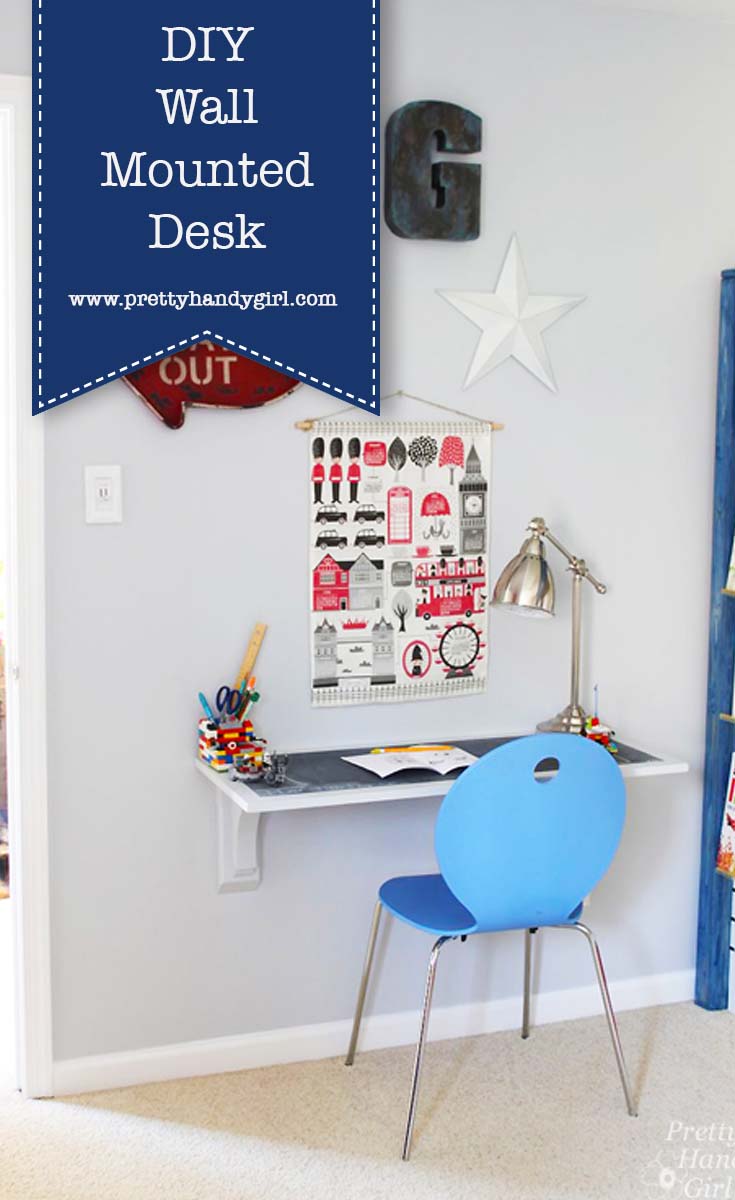
DIY Wall Mounted Desk

If you liked this tutorial, you might also like this inexpensive desktop for $40!

How to Make a Chalkboard Surface Desk | Pretty Handy Girl

How to Make a Chalkboard Surface Desk | Pretty Handy Girl

As part of the makeover of my son’s bedroom, I wanted to create a fun chalkboard desk surface for him to write and build legos on. The idea of a chalkboard coated surface came to me when I remembered how much he liked the mini-chalkboard decals that used to be on his room wall.

Creating a chalkboard surface on any desk or flat surface couldn’t be easier with the right tools. Here’s how you can create your own chalkboard desk!

Materials:

  • 3M fine grit sanding block
  • Valspar High-Hiding Primer tinted gray
  • Rustoleum chalkboard paint
  • 2″ paint brush
  • Foam brush
  • Small craft paintbrush
  • Desk surface (I used pre-cut finish grade plywood)
  • ScotchBlue painter’s Tape
  • General Finishes Water-based sealer (or satin Minwax Polycrylic)

Instructions:

Begin by lightly sanding your desktop with the sanding block. Wipe any dust off with a damp rag.

Paint one coat of primer on your desktop surface. (A little note about my primer: I asked the Lowe’s paint department to tint it as dark as they could with black colorant. This helps when you are painting over the primer with a dark color.)

How to Make a Chalkboard Surface Desk | Pretty Handy Girl

After the primer has dried, create a border on your desktop with painter’s tape. Press the edges down firmly with your fingers. Paint one coat of chalkboard paint with the paint brush. Brush the paint in one direction. Let that layer dry. Repeat with a second coat brushing across the original strokes (i.e. vertical then horizontal.) Read more

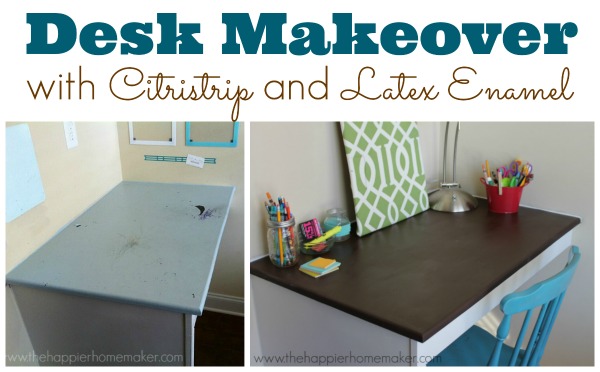
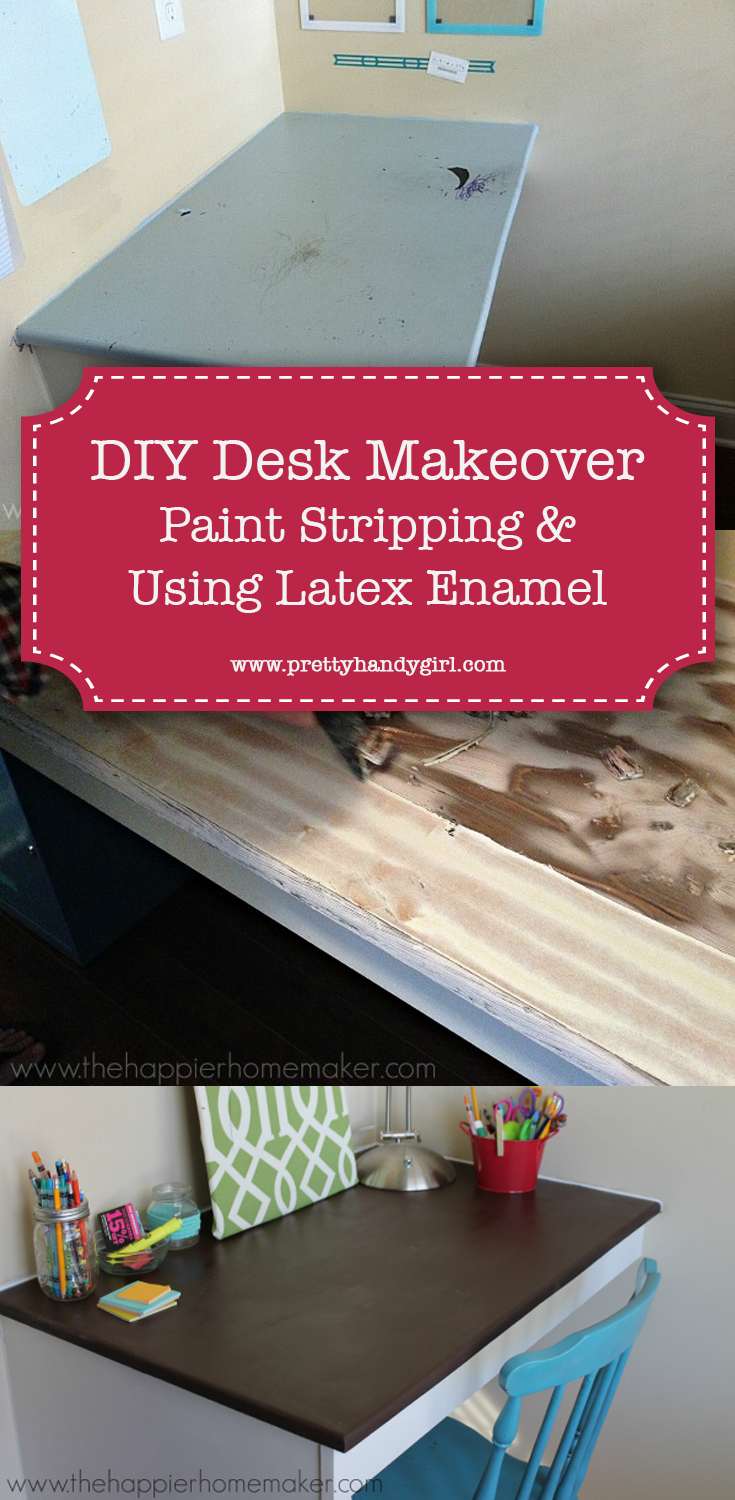
desk makeover sitristrip latex enamel

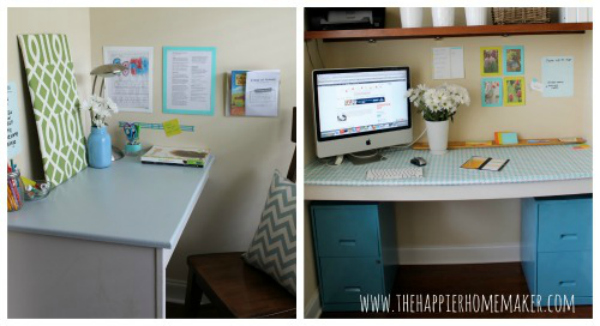
One of the unique features of our home’s floor plan is a “tech room” with built in desks just off of our mud room.  When we first built our house I thought they would make the perfect place for our older boys to do their homework.

PicMonkey Collage

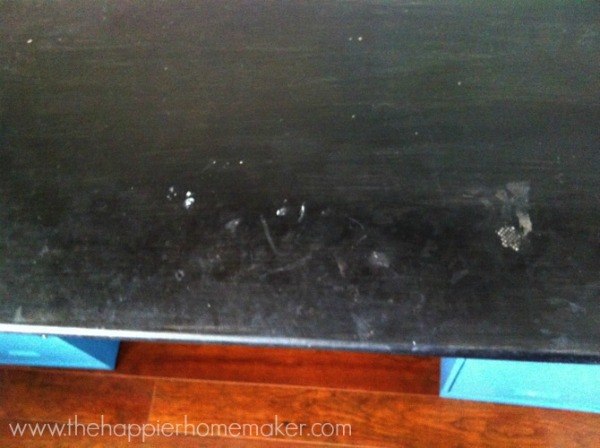
The builders painted the desks with latex paint and unfortunately it showed evey little mark and scratch almost immediately after we moved in.  Within a few months I had already given the tops of the desks a coat of black chalk paint in the hopes of giving it a more durable surface.  I was again disappointed within a couple of weeks.

chalk paint on desk

In a last ditch effort to make the space look nice I did a total overhall last summer and redecorated the entire room.

TechRoom-Makeover2

It looked fantastic at first but again, it held up horribly.  I knew I needed to come up with a solution that would make the desks both functional and durable.

At this point the desks had multiple coats of paint and my husband and I decided to strip them bare and start over.  We opted to use Citristrip to strip the paint after much research.  We have three small children and the lack of toxicity was a big plus for us.

how to use citristripMaterials:

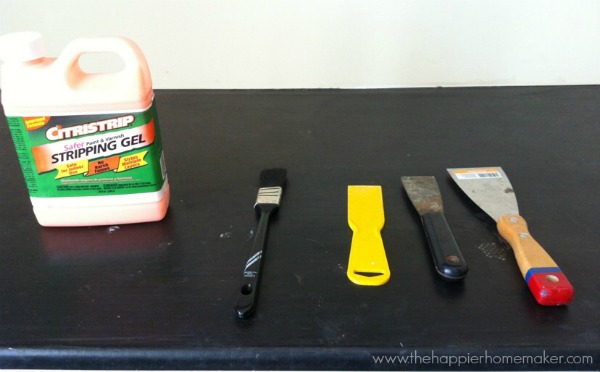
  • Citristrip Stripping Gel
  • Paint brushes
  • Scraper/Joint knife
  • Sanding block
  • Latex Enamel Paint
  • Safety Gloves
  • Protective Eyewear

Instructions:

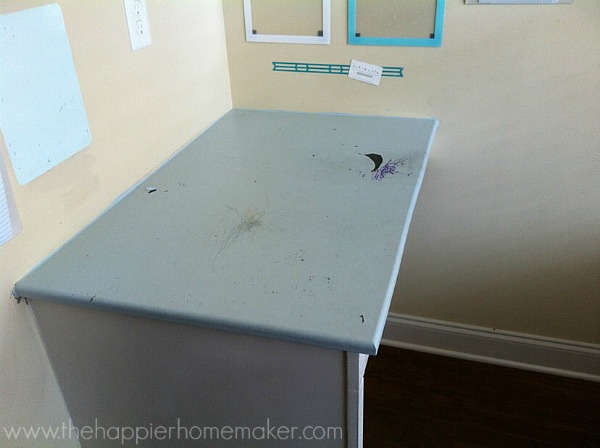
Clean your surface of dust and debris. (You can see how horribly my latex painted desk held up to three little boys!)

painted desk stained

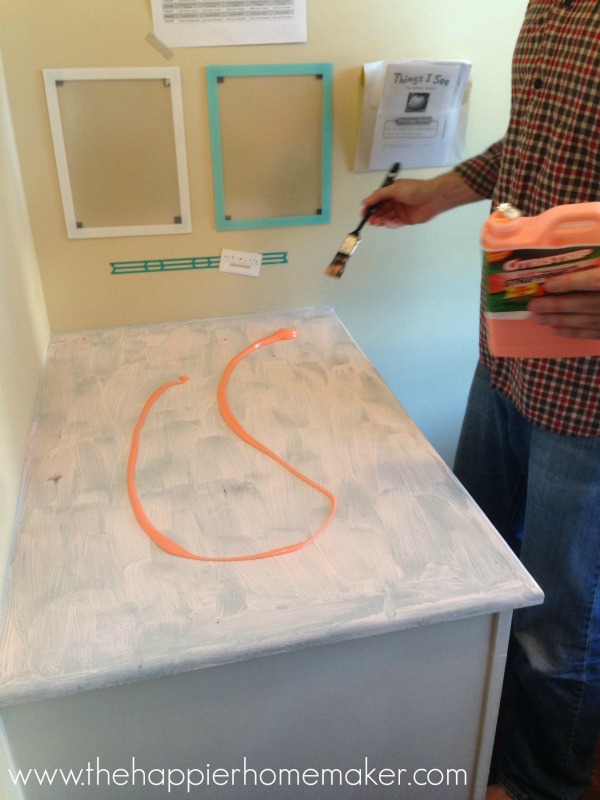
Apply a generous coat of Citristrip to the painted surface using a paint brush, you’ll notice the Citristrip has a thick, gel-like consistency and does not have the strong odor of other paint strippers.  It is important to use a thick coat (if your Citristrip begins to dry out, it was not thick enough.)

You should wear gloves and protective eyewear when working with Citristrip. (I didn’t realize until later that my husband didn’t have his gloves on in many of these pictures.  He has been sufficiently reprimanded!)

stripping paint citristrip

Allow the Citristrip to sit on the project for 30 minutes and test a small area with your scraper.  You can leave the Citristrip on the project for up to 24 hours before scraping.

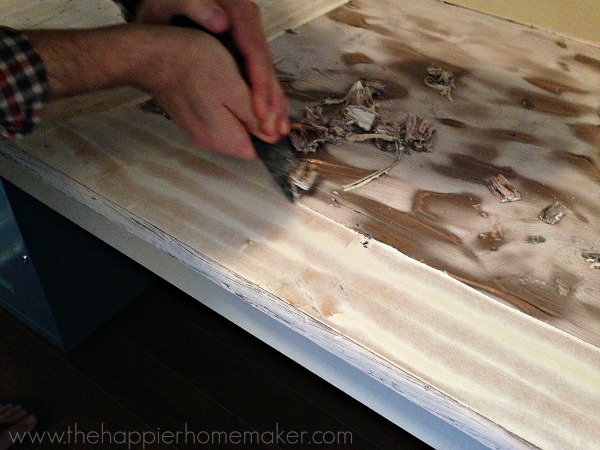
Scrape the Citristrip and paint off the surface, scraping in the direction of the wood grain. The paint should be removed easily.

scraping paint citristrip

Remove paint debris and thoroughly clean the bare surface.  Sand surface lightly to remove any residual paint if necessary.

desk after stripping citristrip

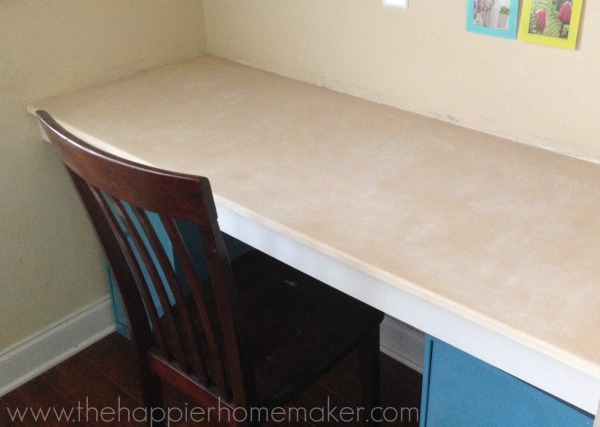
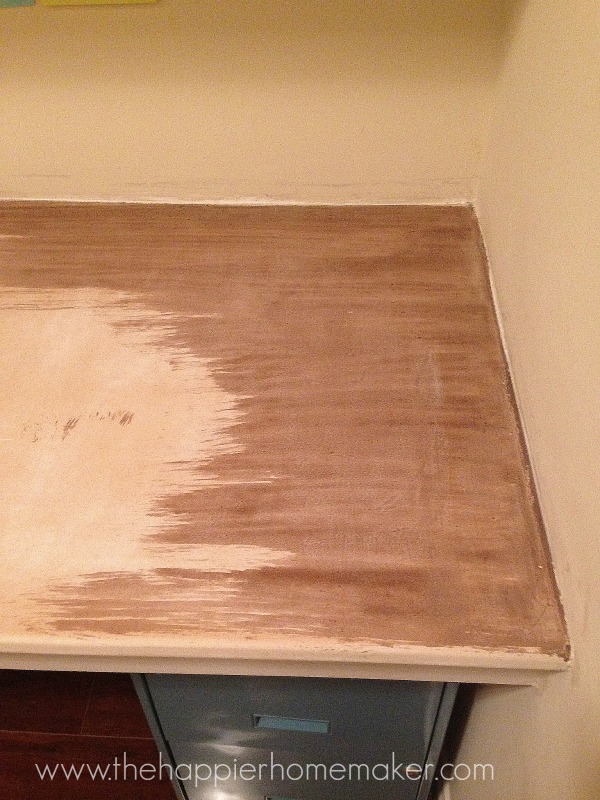
When our desk was stripped we were left with a large piece of MDF.  We originally thought it would be regular wood so I attempted to see how stain would look on the MDF but the results were not good so that plan was quickly abandoned.

stain on mdf

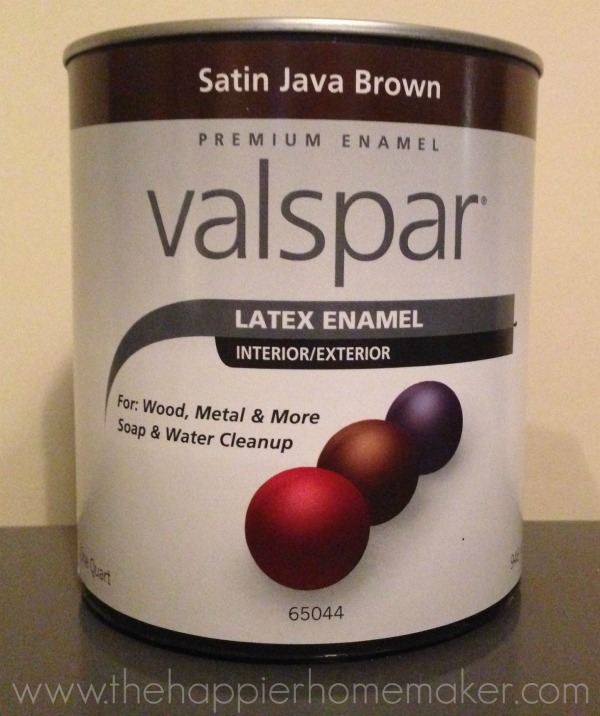
After much research into durability we decided to use a latex enamel paint to finish the desks.  We chose latex enamel because it is a harder, more durable finish than traditional latex paint.

latex enamel

Apply one layer of latex enamel paint with a paintbrush and allow to dry fully.  Do not place anything heavy or damp on the painted surface for 7 days to allow the paint to totally harden.

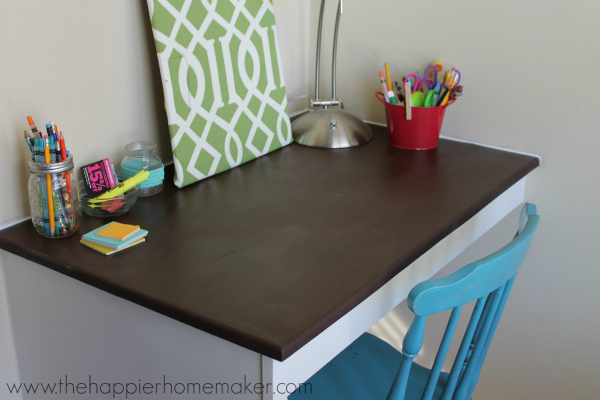
desk painted with Latex enamel

I’m happy to say it has been three months so far and the latex enamel is holding up perfectly! It’s durable enough to scrub and I love the deep, velvety appearance of the paint!

MelissaSignature

 -Learn more about Melissa-


Pin for later!

How I Re-Built My Own Kitchen (after a leak) | Pretty Handy Girl

2013 Could be called the year of the kitchen renovation in our house. Or the year that nearly killed me. Or the luckiest year of our lives. I’m still debating the title. What I do know is that, I decided to take on my biggest DIY project to date. I re-built my own kitchen from bare studs and subfloor.

It started one morning as I was confronted with a foul odor. It’s only describable as that odor that usually lives in the high school gym locker room. I thought my 9 year old son’s feet were starting to stink. Unfortunately a stinky pair of shoes wasn’t the culprit, it turned out to be a very minor leak that turned into a very big kitchen renovation. We persevered through 45 days without a washer and dryer and many months without a kitchen. But, it was like being a contestant in Survivor. I lasted the year of construction; the set backs and sore muscles; and in the end I was rewarded with a brand new kitchen!

Today, I walk into our beautiful kitchen and I know it was all worth it! It was worth all the sweat equity, the daily Advil doses, and the tree falling on the house. If you want to reminisce with me as I recap my kitchen renovation of 2013, here’s your ticket to all the tutorials and posts: Read more

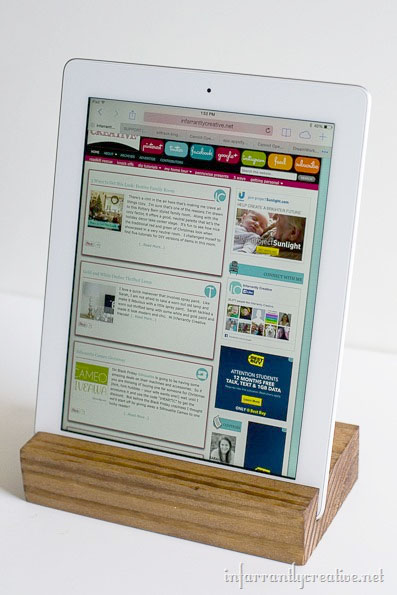
scrap-wood-ipad-tray

Today I have the honor of having the Queen of DIY here to show you how to build an iPad tray stand! Beckie from Infarrantly Creative is a triple threat DIYer (she manages three blogs.) I am so excited about this frugal gift idea, I can’t wait to make one!

PostBreakblue

Hello Pretty Handy Girl fans.  My name is Beckie and I blog at Infarrantly Creative, Knock off Decor and Roadkill Rescue.  Besides sharing a “B” name, Britt and I have a love of power tools, doing things on the cheap, and dancing…yep you should see us…we can BREAK IT DOWN! Today I wanted to show you DIY girls, or those with a DIY hubby, a most likely free gift. If you are accustomed to DIY projects, you have probably amassed quite the stockpile of leftover wood.  In August, I made some hanging beds for my son’s room and had leftover 2” x 12” wood that I used for this project.  Pssst…never throw out scraps, right Britt?

Supplies:

  • 2” x at least 6”
  • table saw
  • pre-wood conditioner
  • stain
  • sandpaper

Instructions: Read more