Kichler Ridley II Fan

This is by far my favorite phase in any home renovation! In my mind, the lighting install is like adding jewelry to complete the outfit! And you have to admit some of this lighting is drool-worthy bling! Today, I’m excited to share with you the lighting and fans I chose for Millie’s Remodel.
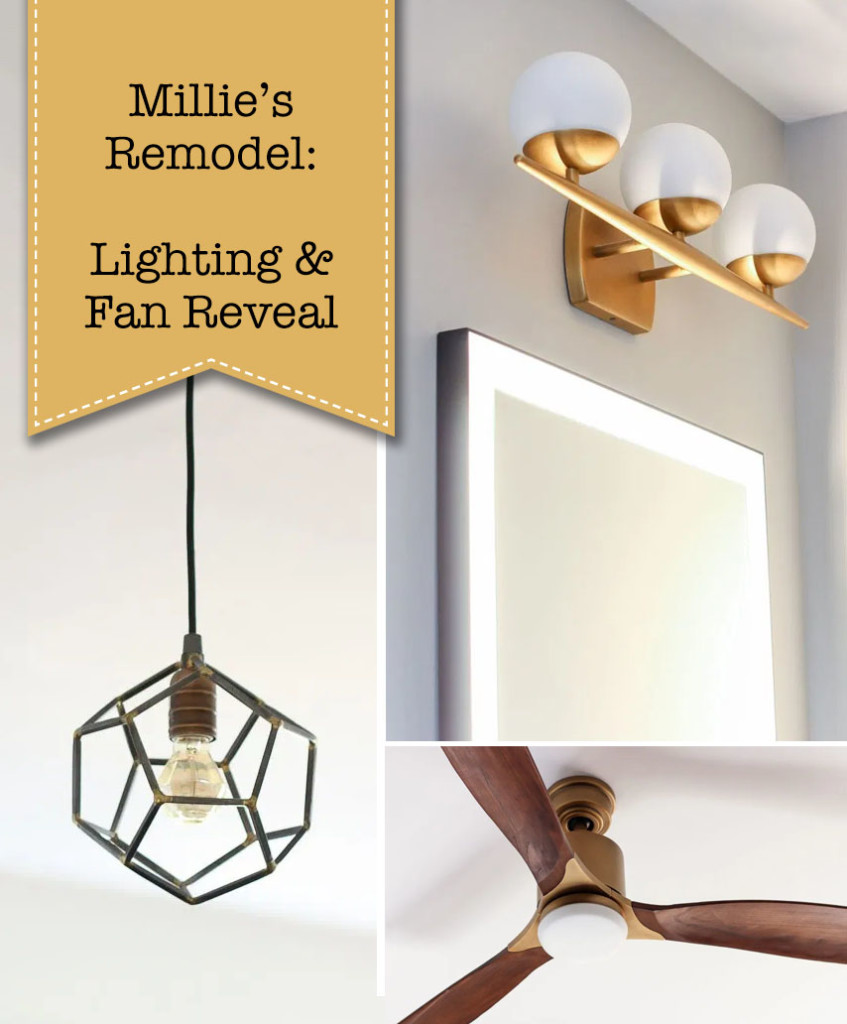
Millie's Remodel: Lighting & Fan Reveal

Millie’s Remodel: Lighting & Fan Reveal

I can’t believe how much progress has happened on the Millie’s Remodel project. If you’re just getting caught up, you can find all the Millie’s Remodel updates here. While we were working outside and moving the shed, my electrician was busy working inside.

Almost all the lighting and fans were provided by Kichler, the Gold Sponsor of the Millie’s Remodel project.

Kichler logo

To be completely honest, I’ve been a fan of Kichler lighting for over a decade. I have installed many of their fixtures in my house and always know I can expect quality from the brand. (You can read how their customer service hooked me up in this tutorial.) But, I had no idea they also manufacture ceiling fans and lighted mirrors. You have to see all the options! Ready to see the lighting and fans I used in the Millie’s Remodel house?

Trying to choose options for Millie wasn’t an easy task because there were so many beautiful fixtures to choose from. I finally narrowed my selection down, and once I stepped into the house, I was blown away by how gorgeous the fixtures are and how well they complement the mid-century modern style.

Lighting in the Millie’s Remodel House:

A black and glass modern LED light greets everyone at the front door and definitely sets the tone for the interior.
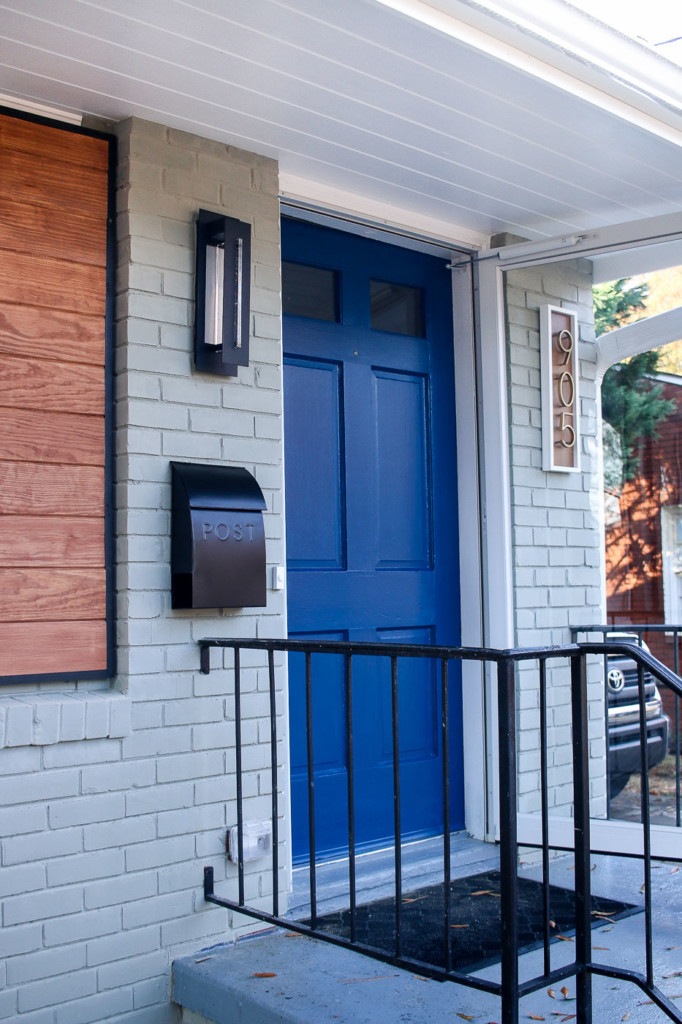
Kichler Riverpath light fixture

The River Path light from Kichler, is a modern LED light with bubble glass that reflects the light around the front door.
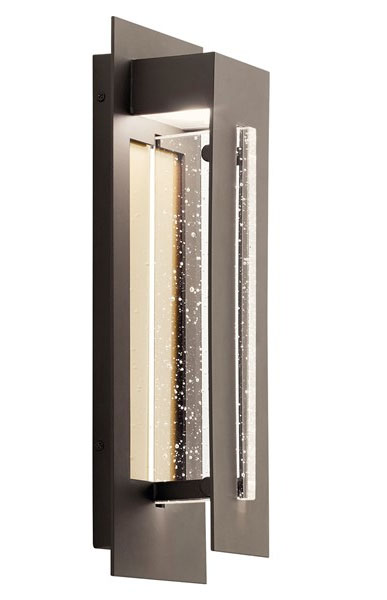
Kichler River Path led light

I love that you never have to replace the light bulbs, and can leave the light on all night and well into the daytime. I snapped this quick photo of the sunset as I left one night. It shows the light cast from the River Path fixture.

Millie's Remodel at dusk

Inside the living room are low profile LED lights from Kichler. They aren’t showy, but that’s what I love about them. The Horizon II LED lights are dimmable and they install on top of the drywall (but look like recessed lights). No more worrying if you have a ceiling joist in your way (although you still have to install a junction box), you can set your lights anywhere you want on your ceiling!
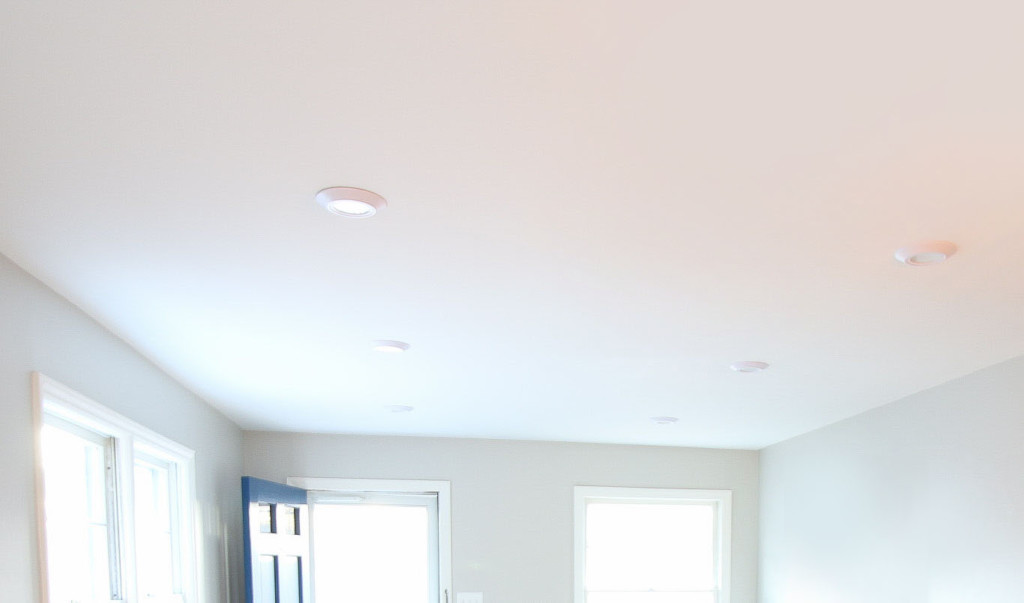
Kichler Horizon II Faux Recessed LED Ceiling Lights

Sputnik light fixtures (especially chandeliers) are making a big comeback. I chose the Armstrong flush mount light for the powder/laundry room and love the shape and natural brass finish.
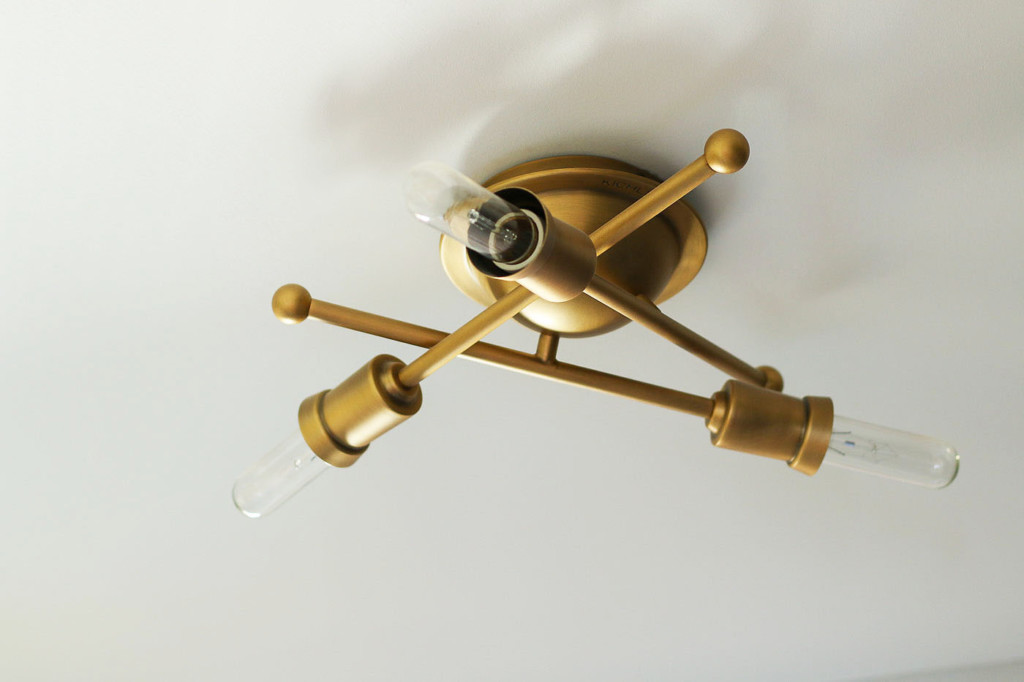
How sexy is this light, especially when it’s lit?
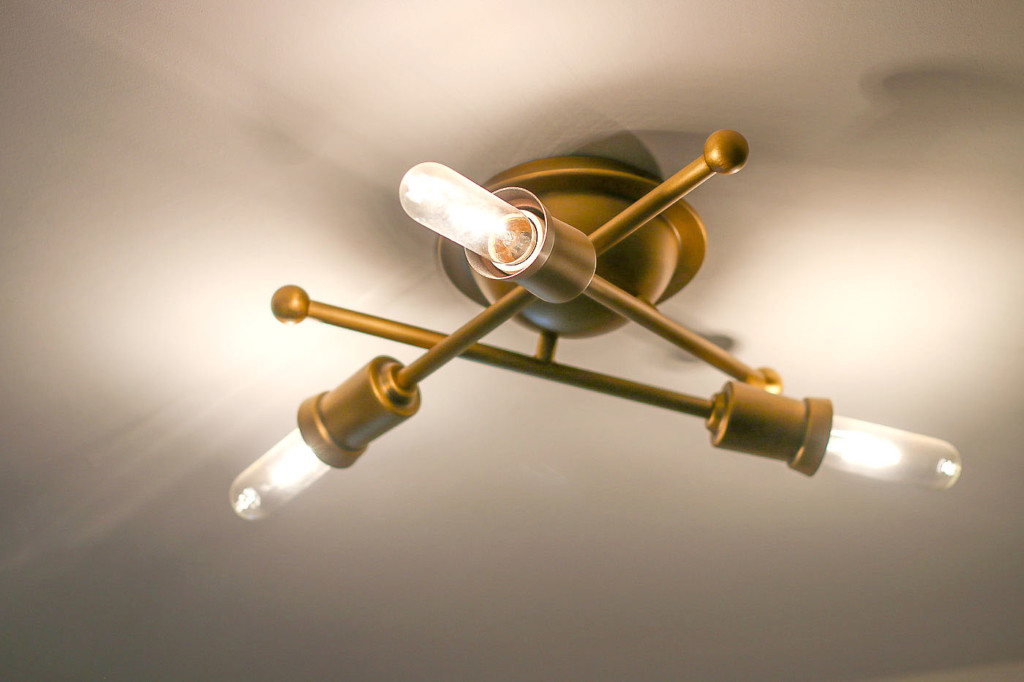
In the hallway, my electrician installed the three-light Alton fixture.
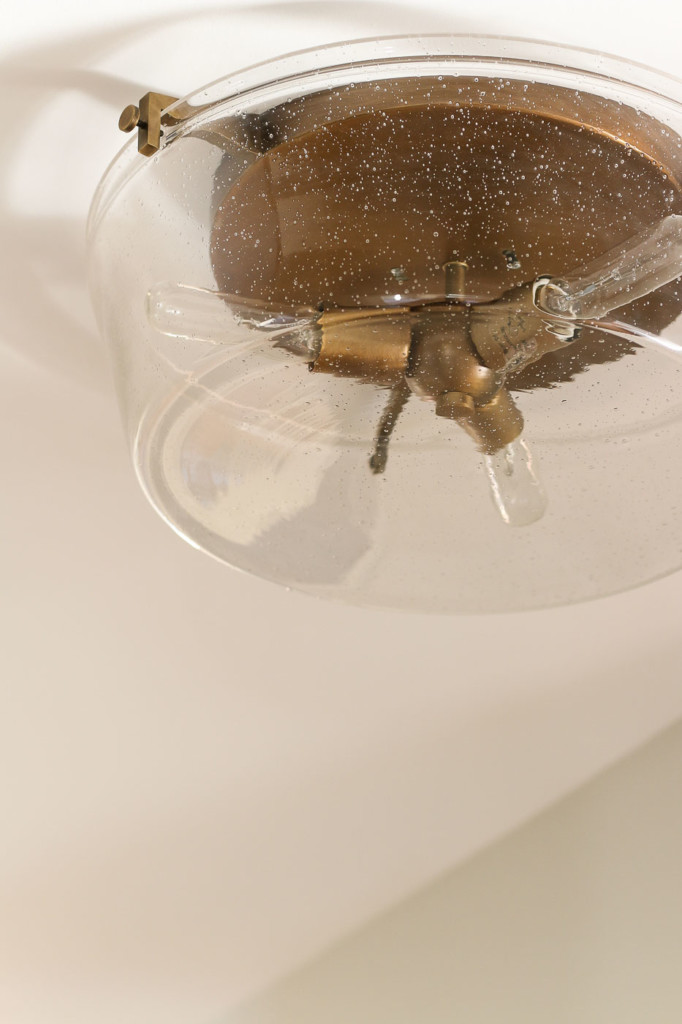
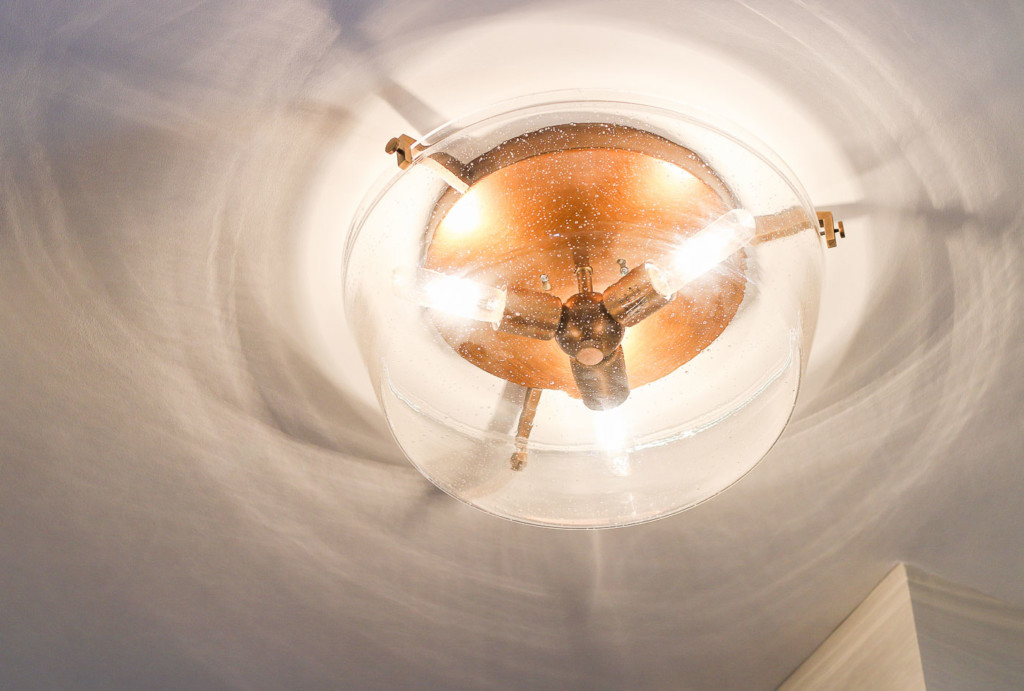
This semi-flush light puts out a ton of light, and I love the shadows the seeded glass projects on the ceiling.
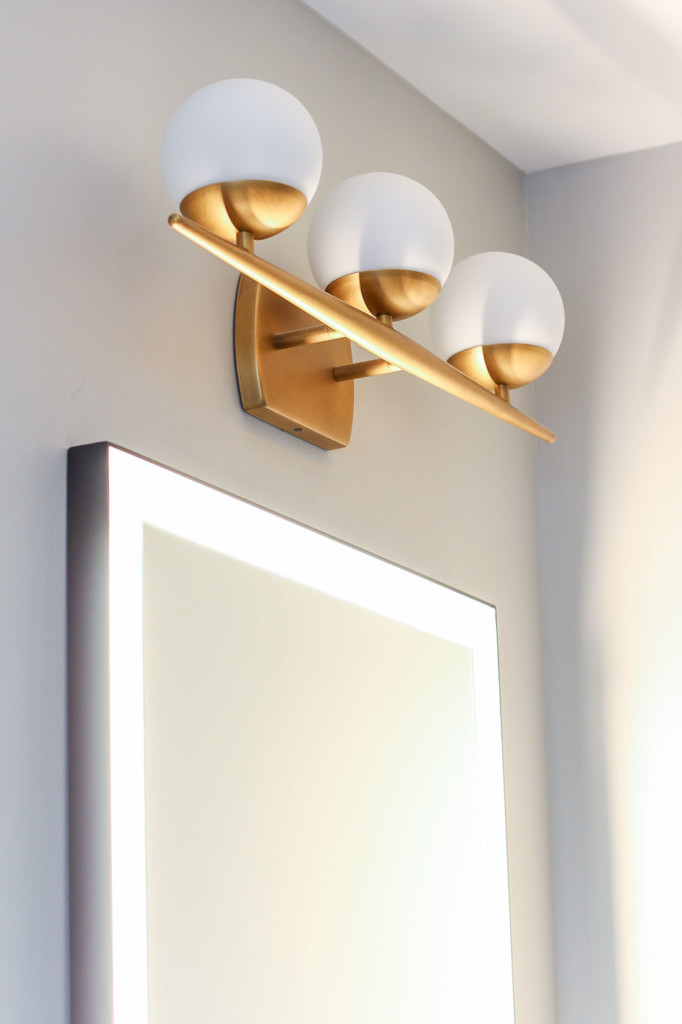
The main bathroom has the most quintessential mid-century modern light fixture (in my humble opinion.) The Jasper three globe fixture adds a lot of ambient light in the room. Although I chose to mount the globes facing up, it can also be mounted down. This orientation, gave me plenty of room to install an elegant Ryame lit mirror underneath. If you’ve ever used a lit mirror, you know how flattering the lighting is.

The best part about the Jasper and Ryame (besides that they make a handsome couple), is they both use LEDs and you never have to replace a bulb!
I saved my favorite lights for last. These hexagon cage pendants aren’t just modern and stylish. They will complement one of the tile choices I made for the kitchen. I can’t wait to show you them together, but for now, gaze at these beauties.
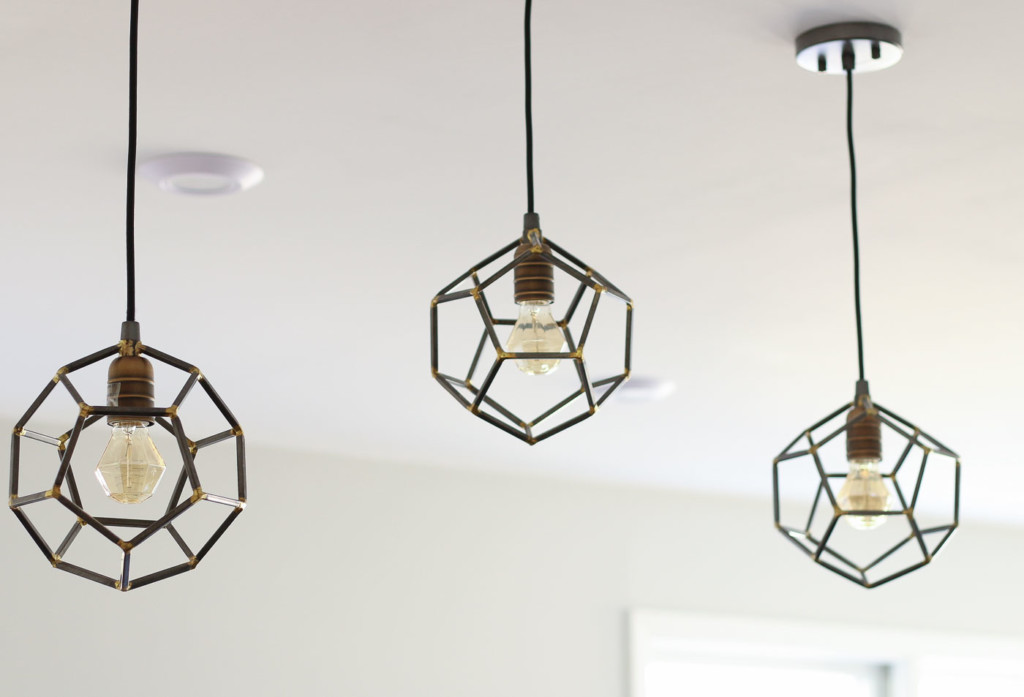
The Rocklyn pendant lights have an industrial modern look. I decided to hang them at various heights for more visual interest. My assistant, Stephanie, told me about these gem bulbs and I ordered them as quickly as I could. Once screwed in, the Rocklyn pendant lights and the gem bulbs looked like a match made in heaven.
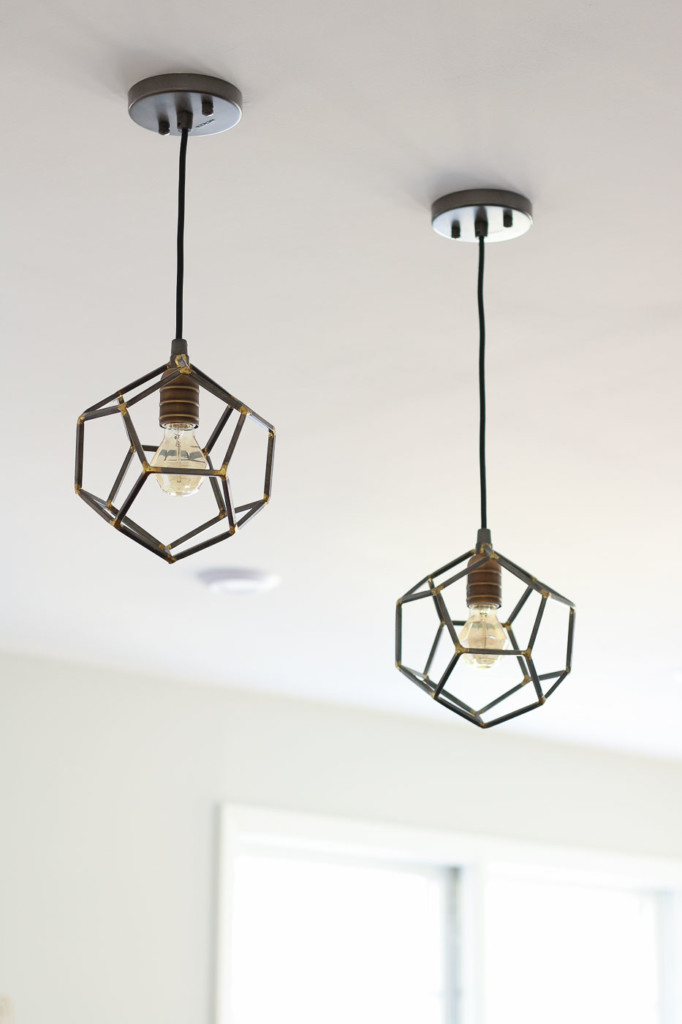
I mean, come on, can you even argue that these two weren’t made for each other.
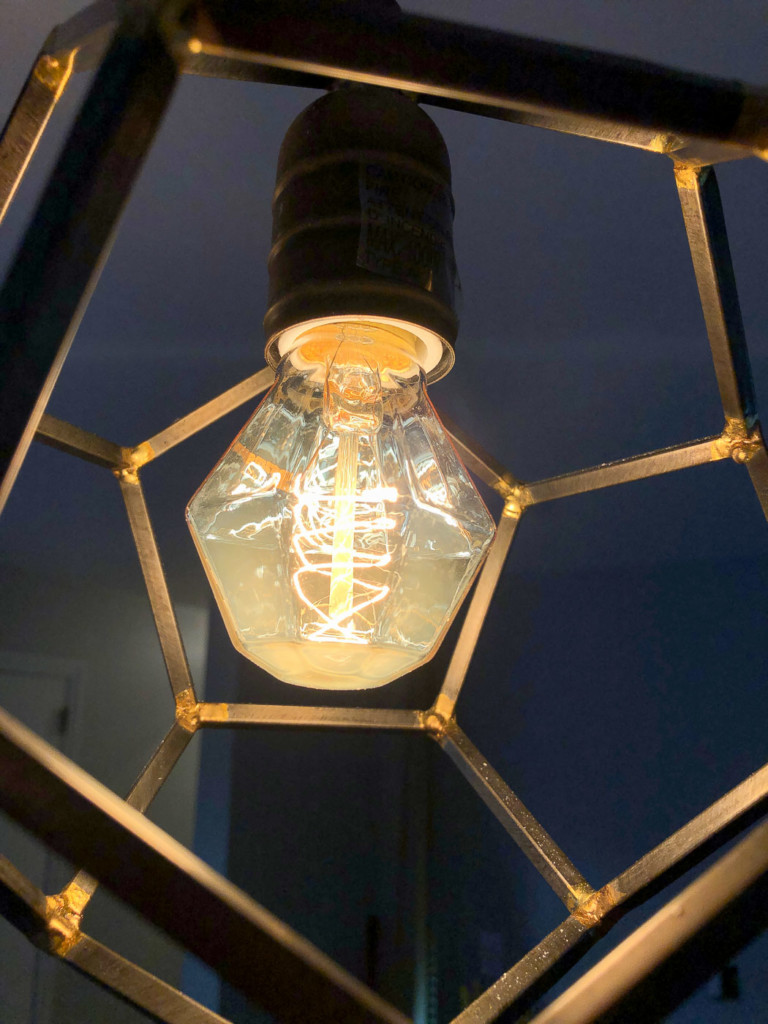
gem shaped vintage light bulb in Rocklyn pendant

Ceiling Fans:

Time to chill with a few ceiling fans. I know many people who despise ceiling fans because of how they look, but these fans from Kichler are truly works of art.

This is the Incus LED fan. The light is dimmable and is the perfect low profile light in this modern fan. I love the curves on this fan and think it might need a better name like Ana, Ashley, or how about Marilyn! What do you think? Should we all send notes to Kichler with our name suggestions? 😉
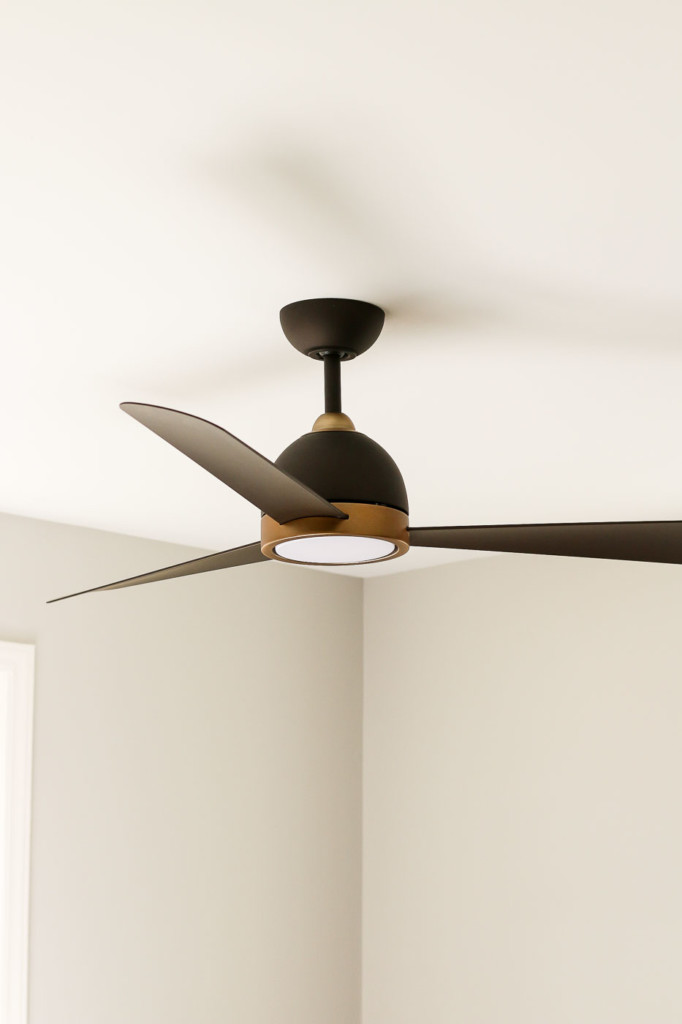
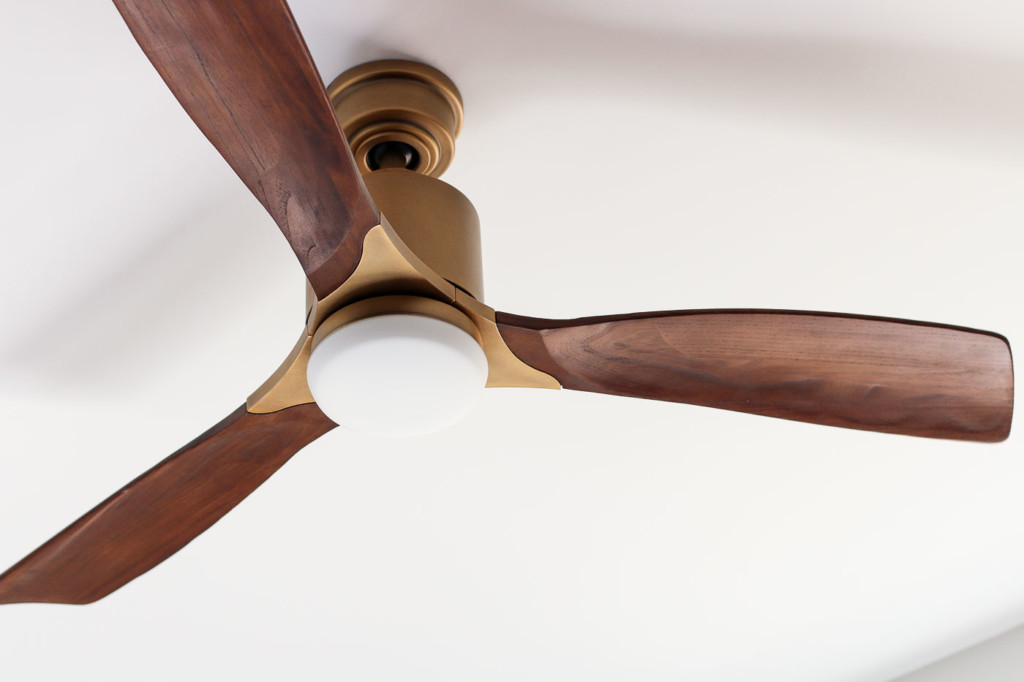
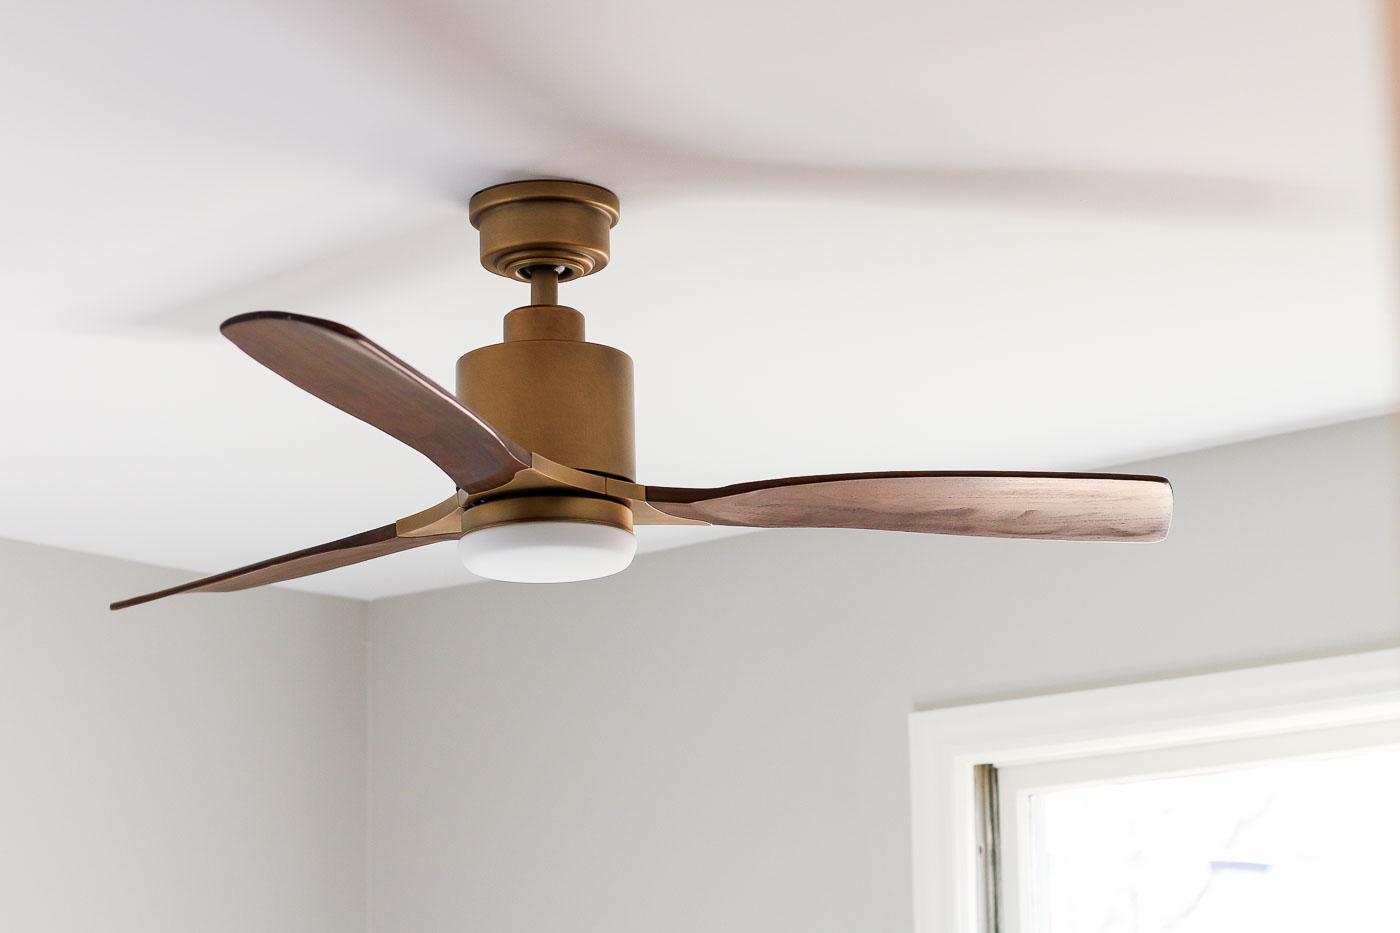
In the smaller bedroom, I installed the Ridley II and I kind of have a crush on him. Ridley is a guy, right?
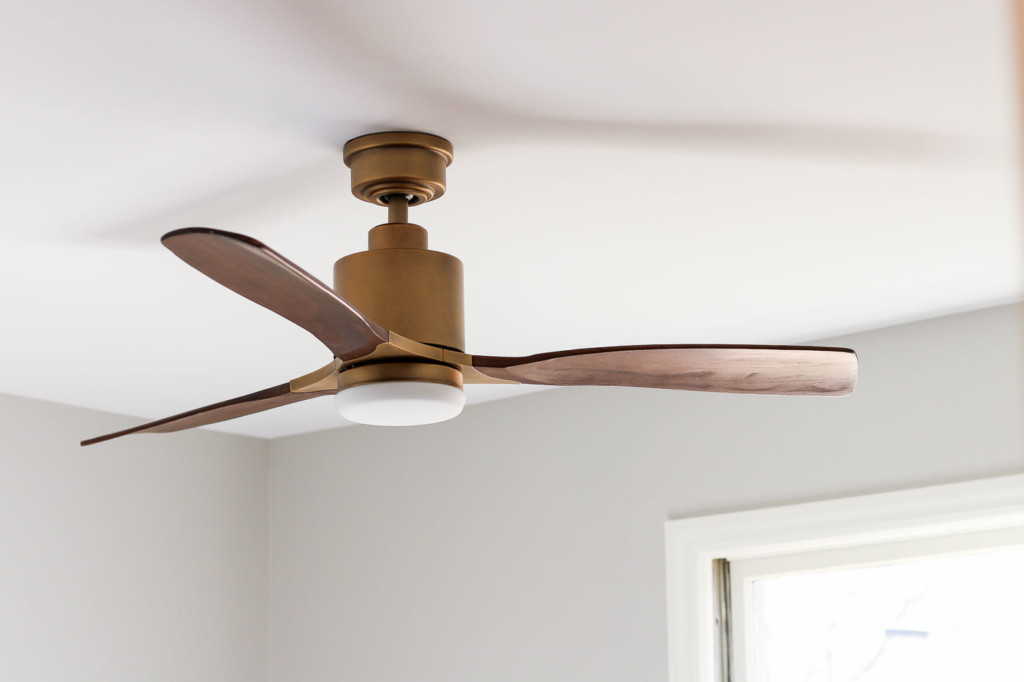
The fan blades are real wood, and I don’t know if they are truly hand-carved, but they look like it! Maybe the woodworker’s name is Ridley. Anyway, no faux wood for Ridley, no siree.
I’d love to know what you think of the lighting and fan choices I made for this mid-century house. Personally I have a crush on all of it. Can I get away with mid-century modern in a late-70’s dutch colonial? Asking for a friend.

Disclosure: Kichler Lighting is a Millie’s Remodel gold sponsor. I was provided with complimentary fixtures for the house. 

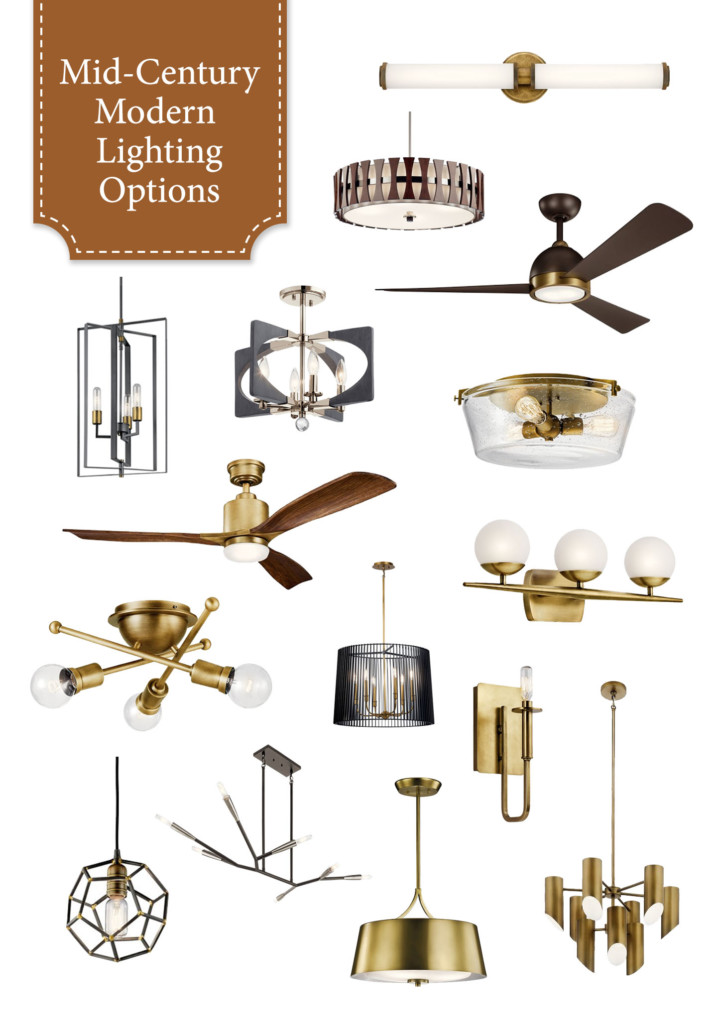
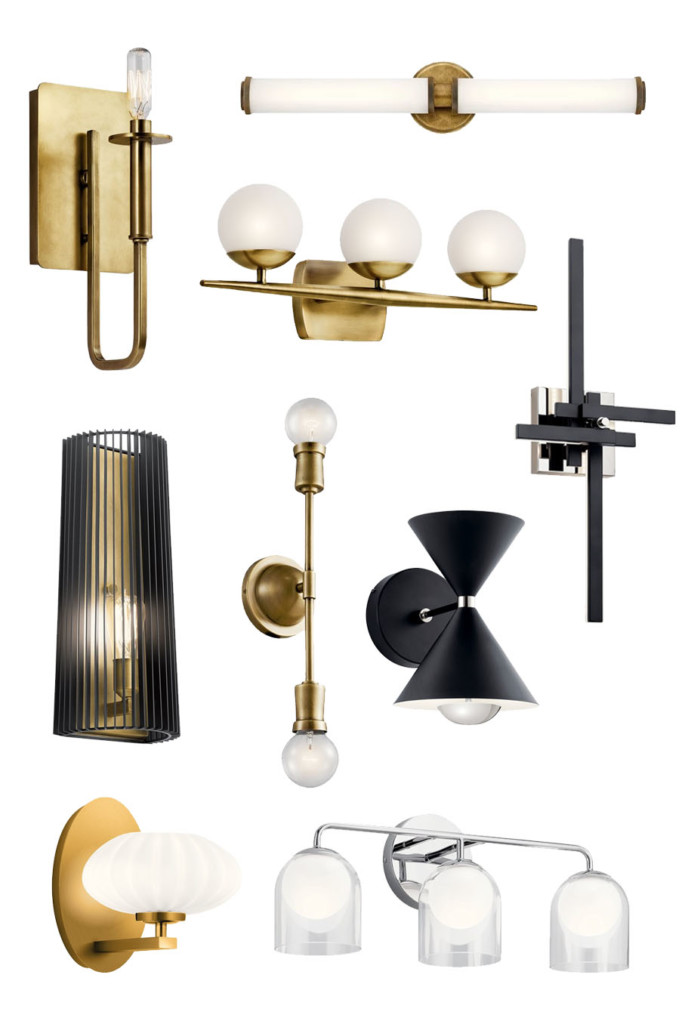
Mid-Century Modern design is a trend that is sweeping the design world by storm. While researching lighting options for Millie’s Remodel, I curated a list of possible light fixtures. Here are some of my favorite mid-century modern lighting options.


Mid-Century Modern Lighting Options for Millie’s Remodel

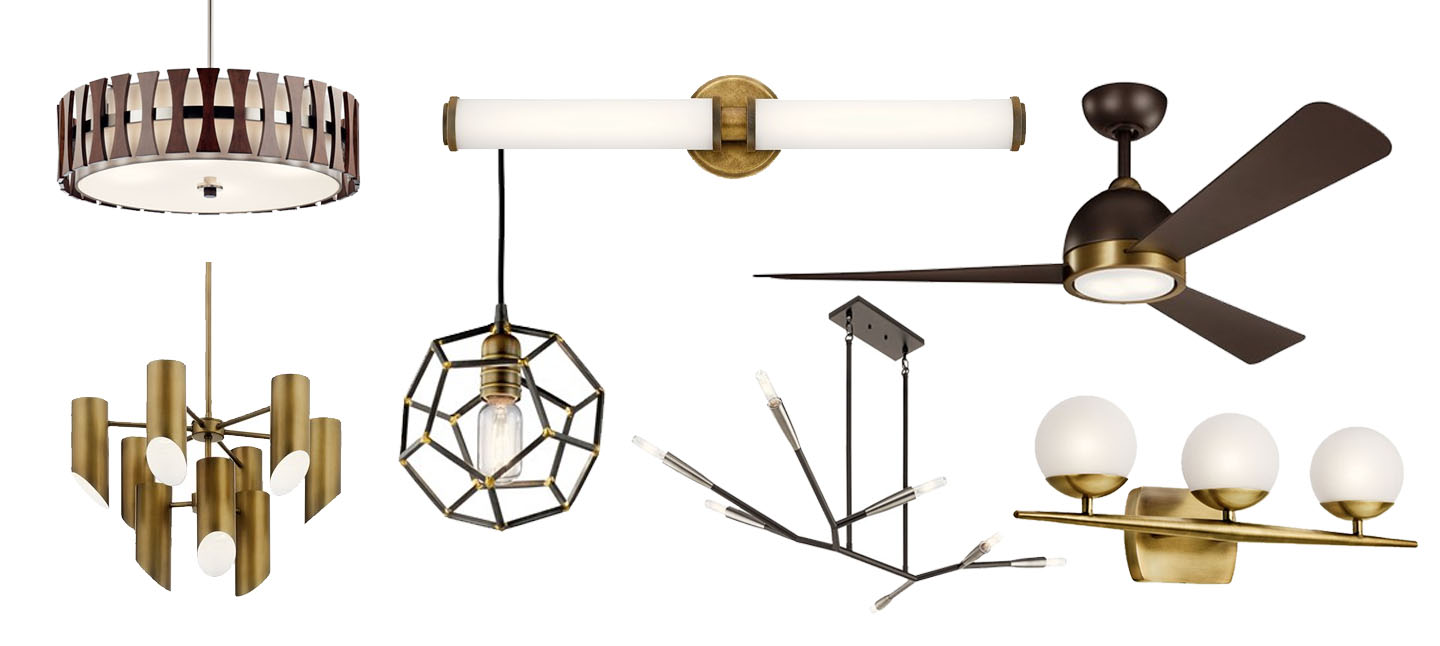
Mid-Century Modern design style is filled with sleek lines, golds, wood tones, and shapes reminiscent of galactic constellations. While looking for lighting options for the Millie’s Remodel house, I spent a fair amount of time curating lighting to fit with the modern style. Luckily I found a fair amount of light options and a few ceiling fans that would look perfect in any mid-century modern house.

Disclosure: Kichler Lighting is a Millie’s Remodel gold sponsor. I was provided with complimentary fixtures for the house. 
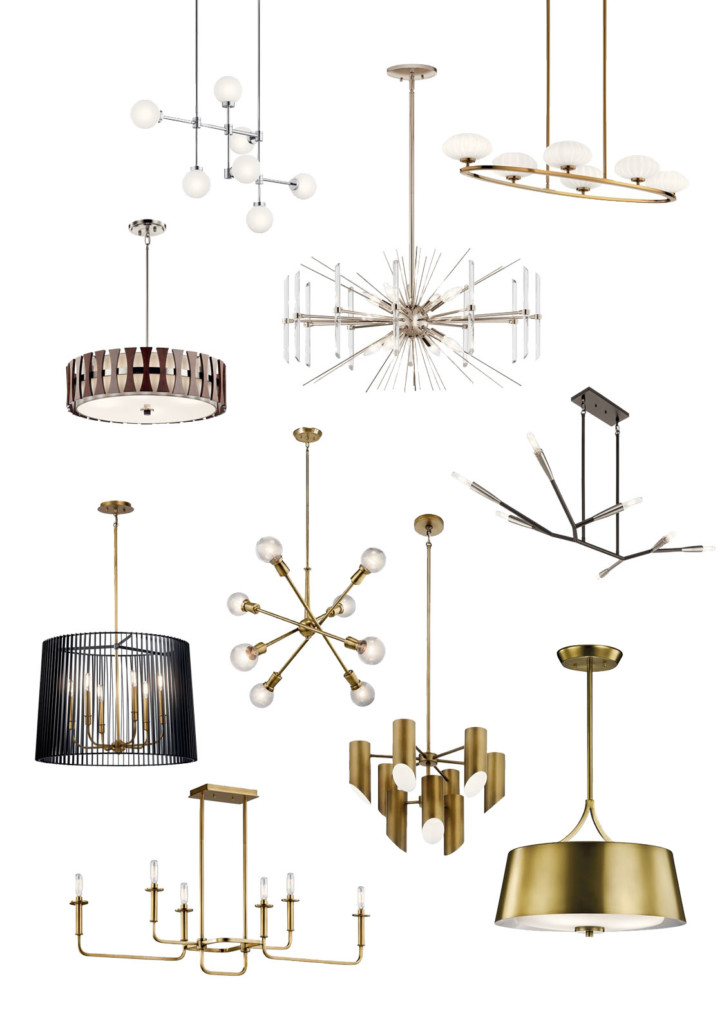
Mid-Century Chandeliers

Chandeliers are often the focal point in a room and for good reason. Typically they are larger in size, elegance, and number of light bulbs than other fixtures in the home. Why not steal the show with one of these mid-century modern style chandeliers?

Aura 7 Light Chrome Chandelier | Pim 6 Light Oval Chandelier | Cirus Wood Pendant Style Chandelier | Eris 8 Light Nickel Chandelier | Branches 7 Light Chandelier | Linara 6 Light Black Shade Chandelier | Armstrong 8 Light Chandelier | Trentino 9 Light Chandelier | Alden 6 Light Chandelier | Maclain Brass Shade Light


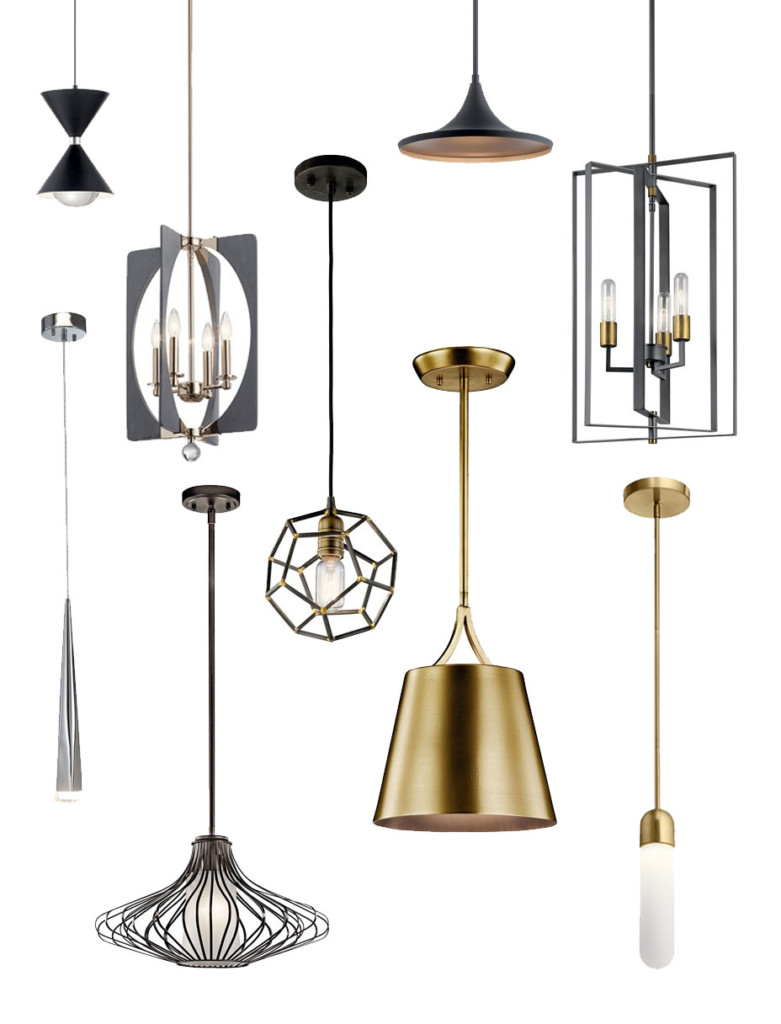
Mid-Century Modern Pendant Lights

Pendant lights might be my favorite light fixtures after chandeliers. With their smaller size, pendants can fit perfectly over a sink, paired in a set of two on either side of a mirror, or in groupings over an island or bar. These are some great options for Mid-Century Modern pendant lights.

Mid-Century Modern Pendant Lights

Kordan Matte Black Hourglass Pendant | Elias 14″ Black Penant Light | Alscar 4 Light Foyer Pendant | Taubert 3 Light Foyer Pendant | Rocklyn Hexahedron Pendant | Antonia 1 Light Chrome LED Pendant | 1 Light Undulating Line Bronze Pendant | Maclain Brass Pendant Light | Sorno Mini Gold Pendant Light


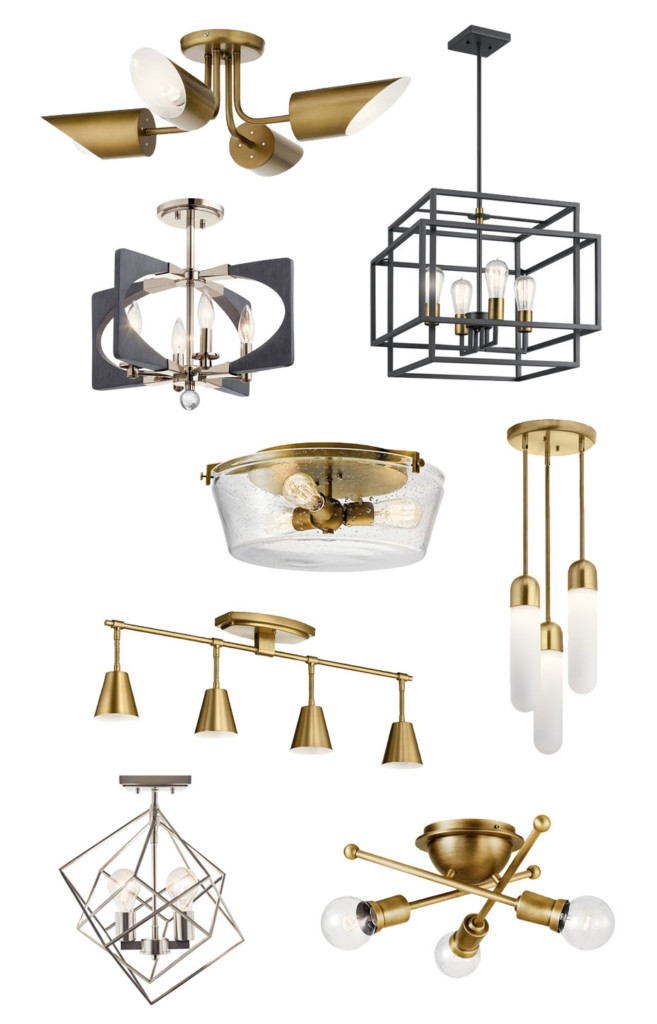
Mid-Century Modern Ceiling Lights

When you have low ceilings, flush mount and semi-flush mount light fixtures are a necessity. Meet a whole crop of beautiful mid-century modern inspired ceiling lights.

Mid-Century Modern Flush and Semi-Flush Mount Ceiling Lights

Trentino 4 Light Brass Lights | Alscar 4 Light Semi-Flush Light | Taubert 4 Light Square Light | Alton Flush Mount Light | Sylvia Brass Rail Light | Sorno 3 Light Semi-Flush Mount | Beckenham 2 Light Chrome Cube Light | Armstrong 3 Light Brass Flush Mount Light

Mid-Century Modern Wall-Mounted Lights & Sconces

Bathrooms are the primary location for wall-mounted lights, but look close for other opportunities to use wall-mounted lights. Sconces are right at home on either side of a window, doorway, or to add lighting on a staircase. Regardless of where you want to install them, here are some great options for mid-century modern wall-mount lights.

Mid Century Modern Wall Mounted Sconce Lights

Alden Brass 1 Light Sconce | Indeco Linear Bar | Jasper 3 Light Bath Light | Linara Black Wall Sconce | Armstrong Brass 2 Light Sconce | Kordan 2 Light Wall Sconce | Charter Black Sculpture Wall Sconce | Pim 1 Light Gold Wall Sconce | Beryl 3 Light Vanity Light


Mid-Century Modern Ceiling Fans

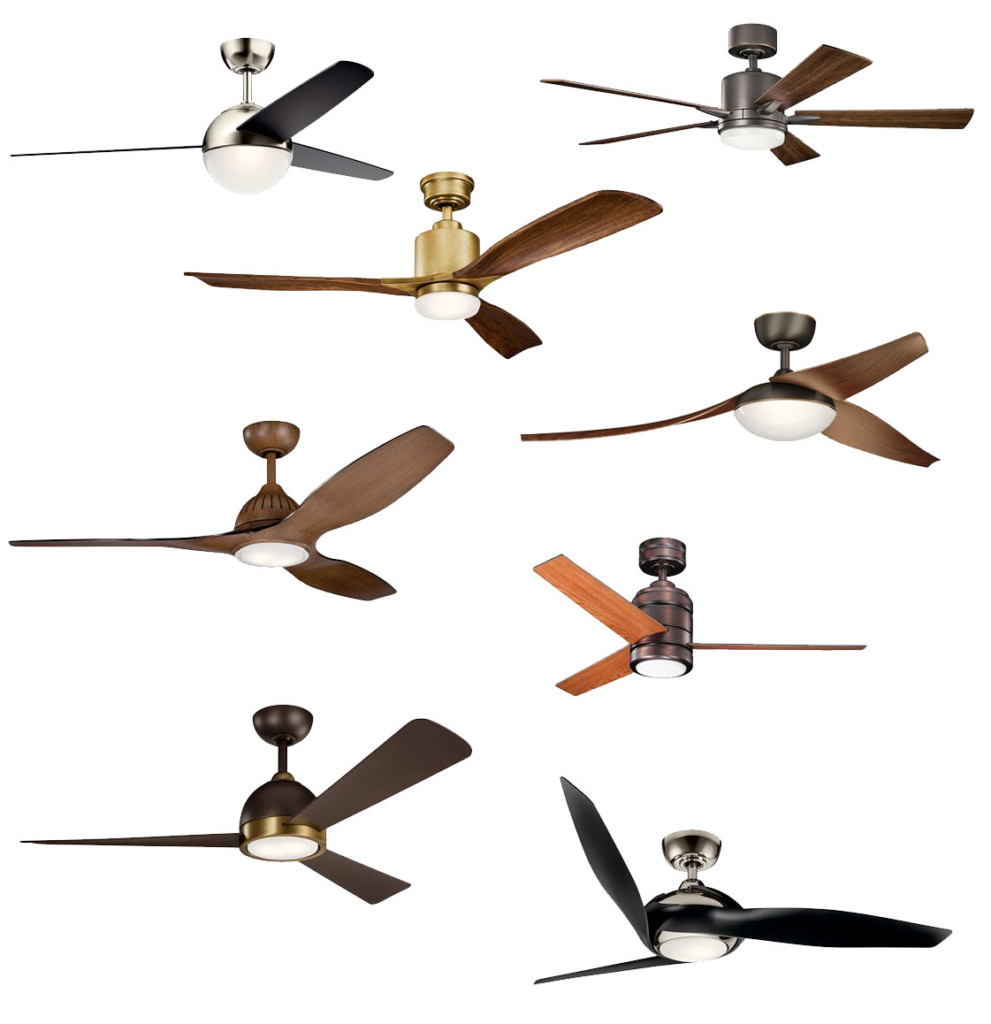
Those of us that live in warmer climates know sometimes you need a ceiling fan paired with your light. There’s nothing like a hot and humid evening to encourage some airflow over your skin to cool off. Below are several sources for ceiling fans that pair nicely with mid-century modern furniture and fixures.

mid-century ceiling fan options

Bisc LED Fan Polished Nickel & Black Fan |Lucian 52″ LED Old Bronze Fan | Ridley II 52″ Brass & Wood Fan | Flyy LED 60″ Fan Olde Bronze | Jace 60″ Walnut Fan | ArkWright Customizable Fan Motor | Incus 56″ Bronze & Brass Fan | Zenith 60″ Polished Nickel & Black Fan


Are you embracing the mid-century modern design trend? I’d love to hear which are your favorites.

Disclosure: Kichler Lighting is a Millie’s Remodel gold sponsor. I was provided with complimentary fixtures for the house. 
change-ugly-recessed-lights

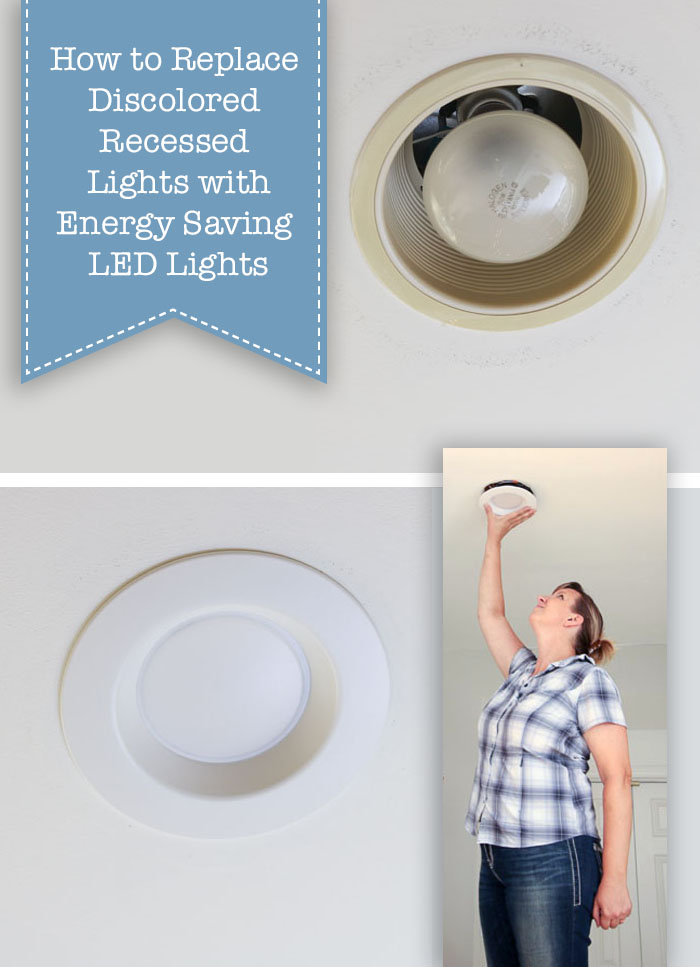
Do you have those old discolored recessed can lights in your home that use big hot flood bulbs? If so, it’s time for an upgrade!

Update Ugly Recessed Can Lights with Energy Efficient LED
How to Update Ugly Recessed Can Lights with Energy Efficient LED Lights

Today I want to show you how to update ugly recessed can lights with energy saving LED recessed lights. This process is quick and easy, not to mention the new lights will look better, last longer, and save you money on your energy bill! What more could you want? Change out all your ugly recessed lights in no time by following this simple tutorial.

Materials:

(I’ve included affiliate links for your convenience. I earn a small percentage from a purchase using these links. There is no additional cost to you. You can read more about affiliate links here.)
Instructions:

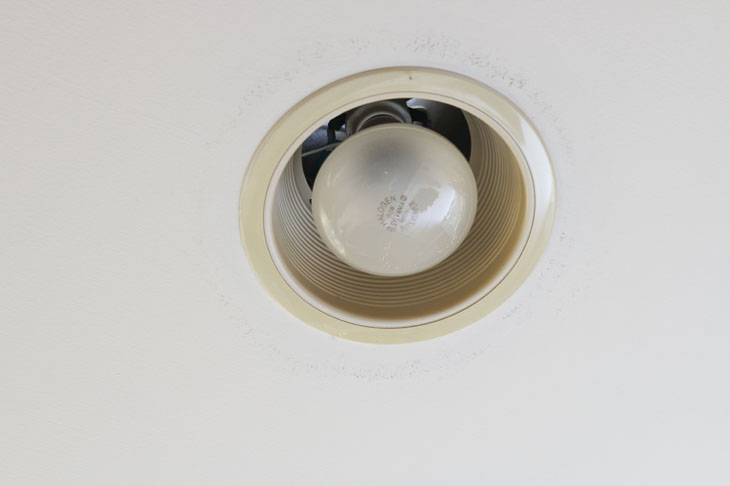
Here is what my old lights look like. Not only are they ugly, but they use the large flood light bulbs that use too much energy, radiate heat, and burn out quickly. I don’t know about you, but I am tired of changing these burned out bulbs.

Update Ugly Recessed Can Lights with Energy Efficient LED

Want to see how quickly you can change out your lights? Here’s a one minute video (that’s how fast you can do it):

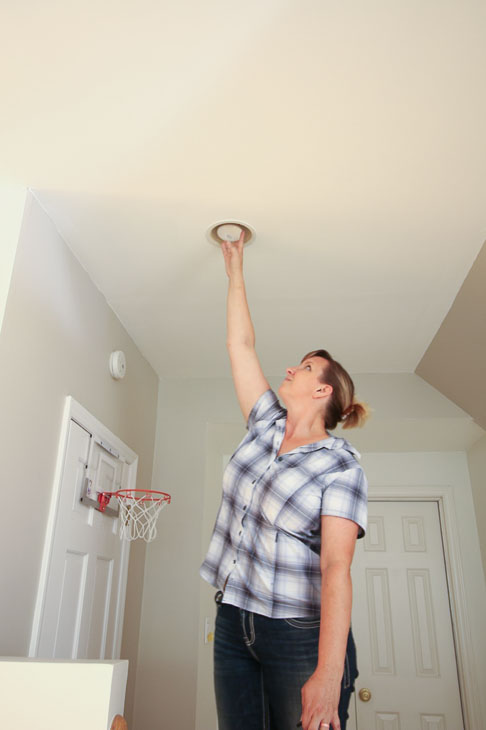
The first step to replacing these recessed lights is to remove the light bulb by simply unscrewing it from the socket. Unless you’re extraordinarily tall, you’ll probably need a step ladder for this project.

Update Ugly Recessed Can Lights with Energy Efficient LED

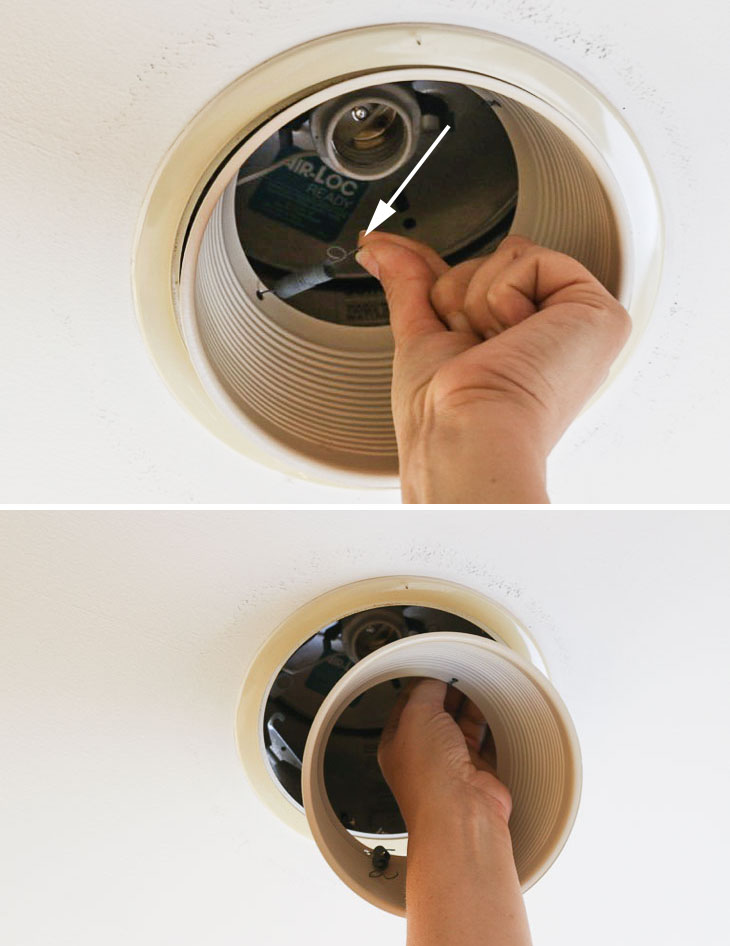
Next, find two small springs inside the baffle, as shown in photo below. They look like a wire with a loop in the center. Pull up and out on the springs to release the baffle inside your can light.

Update Ugly Recessed Can Lights with Energy Efficient LED

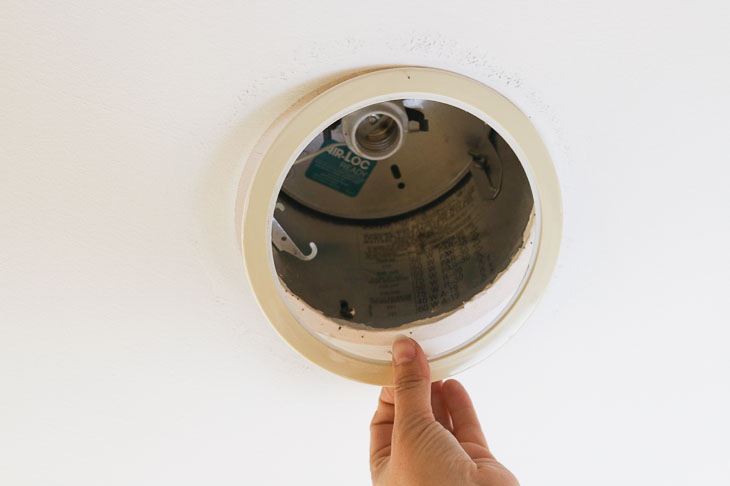
Remove the trim by simply pulling it off the ceiling.

Update Ugly Recessed Can Lights with Energy Efficient LED

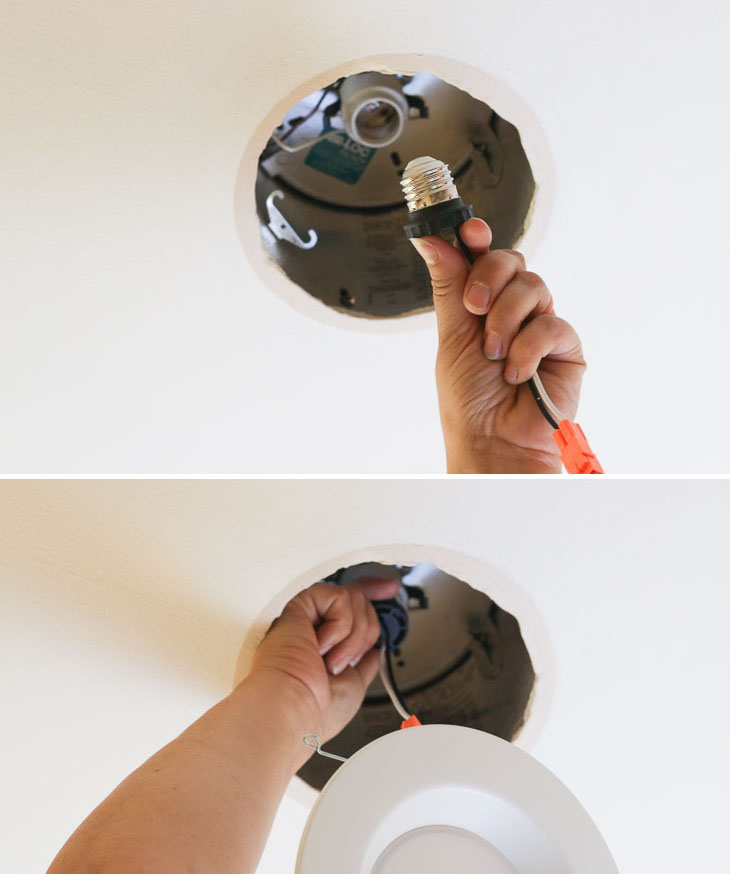
Grab your new retrofit LED recessed light and screw the adapter into the light bulb socket, exactly as you would screw in a light bulb. It’s that easy!

Update Ugly Recessed Can Lights with Energy Efficient LED

Inside the opening, find two metal clips. Squeeze the spring hinges on your LED light and insert them into the clips inside the old recessed can. These will hold the light in place.

Update Ugly Recessed Can Lights with Energy Efficient LED

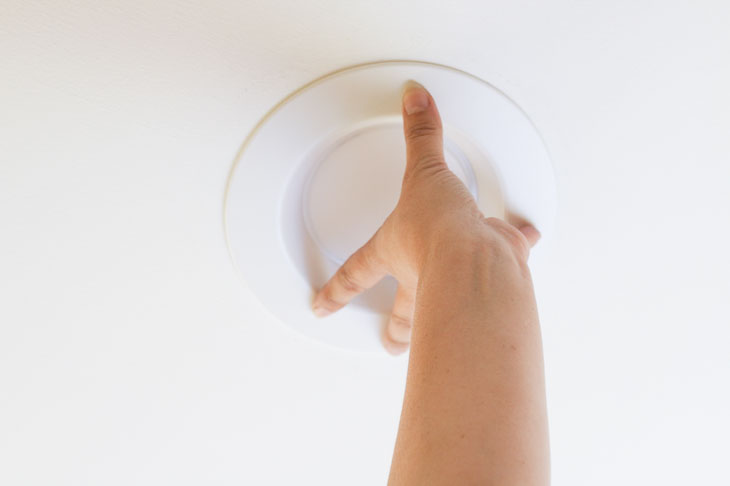
Finally, gently push your light up into the ceiling. Believe it or not, you’re done!

Update Ugly Recessed Can Lights with Energy Efficient LED

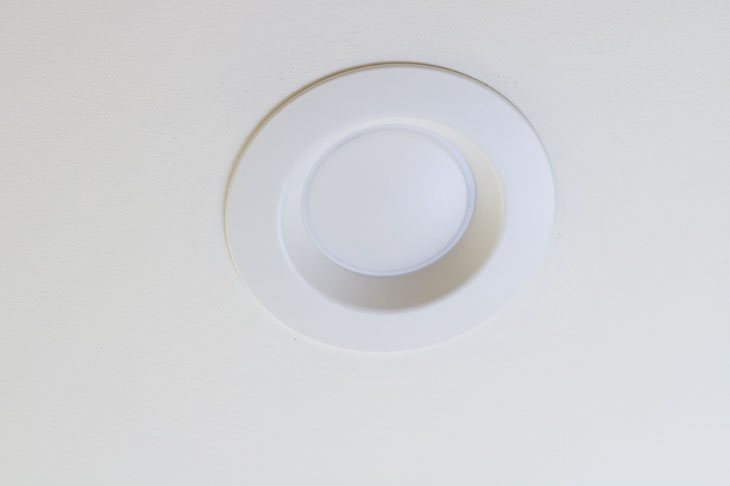
Now you have a beautiful, white, and energy-efficient LED recessed light. Take some time to admire it.

Update Ugly Recessed Can Lights with Energy Efficient LED

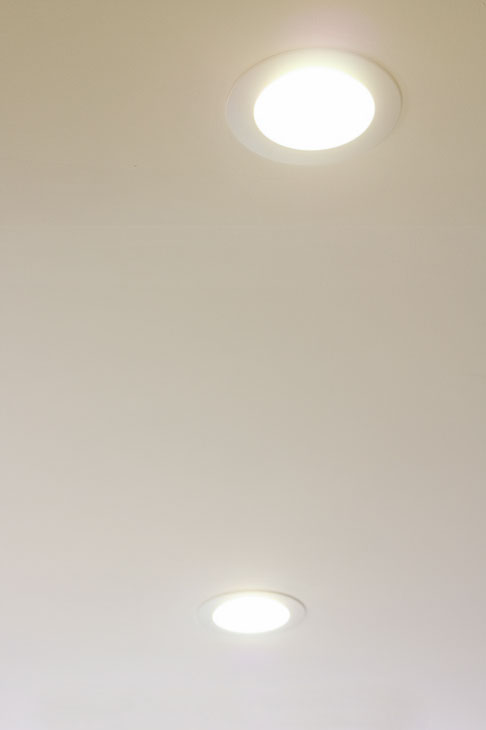
Now you can easily change out all the can lights in the room and voila, your lighting is upgraded! This is such a quick, easy, and inexpensive project. There is no point in putting it off any longer.

Update Ugly Recessed Can Lights with Energy Efficient LED

I hope you enjoyed this tutorial. Feel free to share any questions or thoughts in the comment section below. Thank you for reading!

Update Ugly Recessed Can Lights with Energy Efficient LED

Liked this project? I know you’ll love these other lighting upgrades:

Update Ugly Recessed Can Lights with Energy Efficient LED

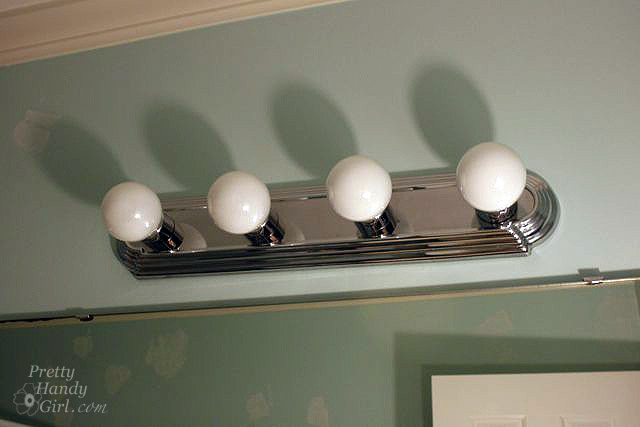
Change Out a Dated Hollywood Strip Light


Update Ugly Recessed Can Lights with Energy Efficient LED

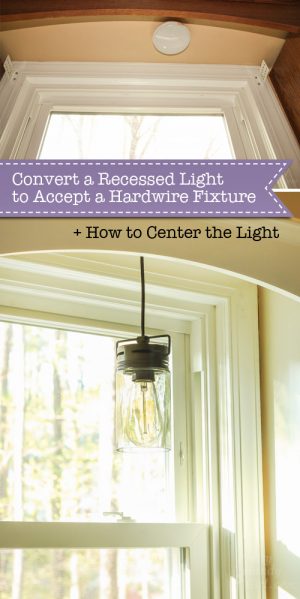
How to Convert a Recessed Can Light to Accept a Hard-Wired Light

Hanging A Barnlight Tutorial

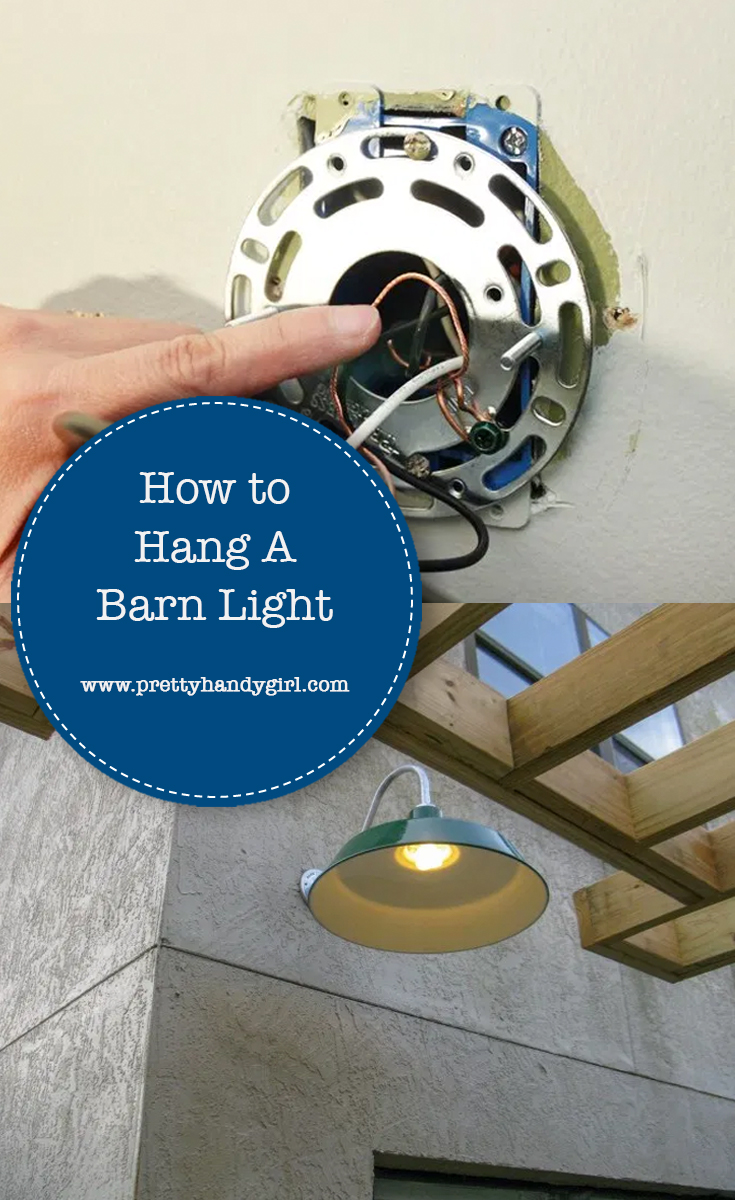
Hanging a barn light tutorialHow to Hang A Barn Light

Hi everyone, it’s Dean from Diane and Dean today. I can’t wait to show you how to hang a barn light. Some may call it an obsession, but I  like to think of it as a significant interest! What is it? Exterior lighting! Most homeowners may not think much further beyond function, but exterior lighting can REALLY make a difference to the curb appeal of your home.

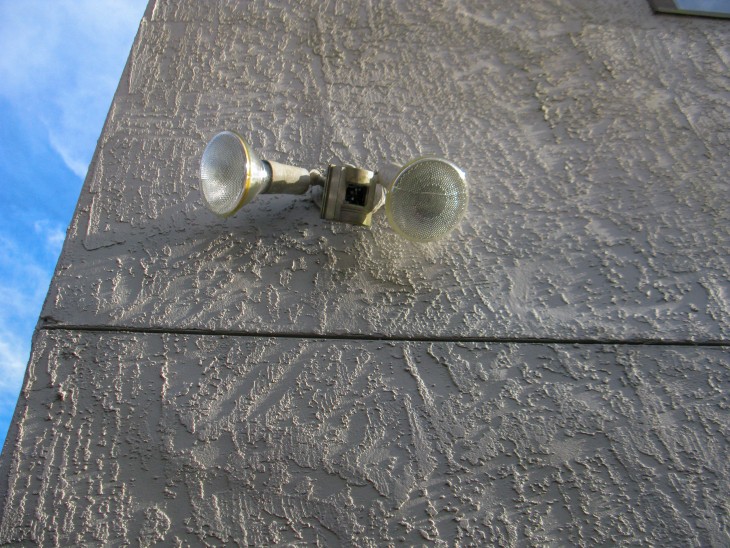
With fewer choices for lighting fixtures on the outside of the house (compared to the inside), getting the right light fixture is important. Like most typical homes, our’s came with the gratuitous flood light circa 1980. The light was mounted in a highly visible spot over a walkway to the paver patio and pergola. Unfortunately, the flood light lacked everything but function!

Hanging A Barnlight Tutorial

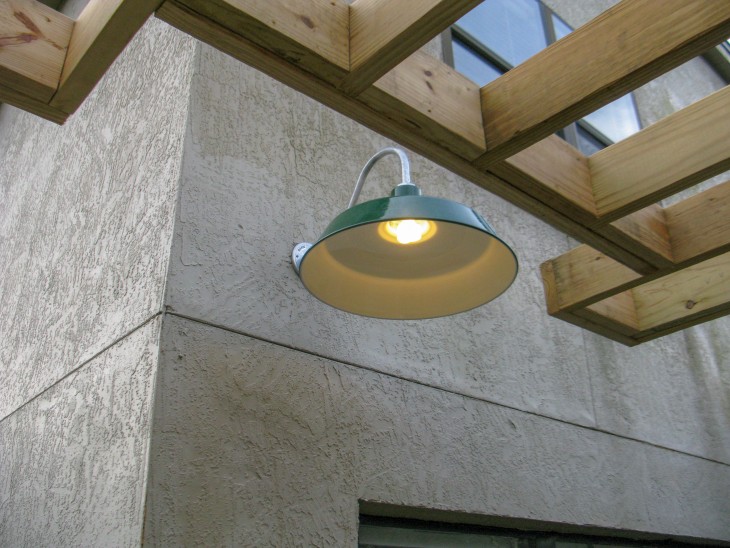
For a long time, I have been eyeballing gooseneck barn lights. They remind me of my summers in eastern Pennsylvania spent on my cousin’s dairy farm. These fixtures aren’t the most economical in price, but the prominent spot dictated reaching a little further into the old wallet. After placing the order with a local company, that makes replica fixtures by hand, I anxiously waited for its arrival!

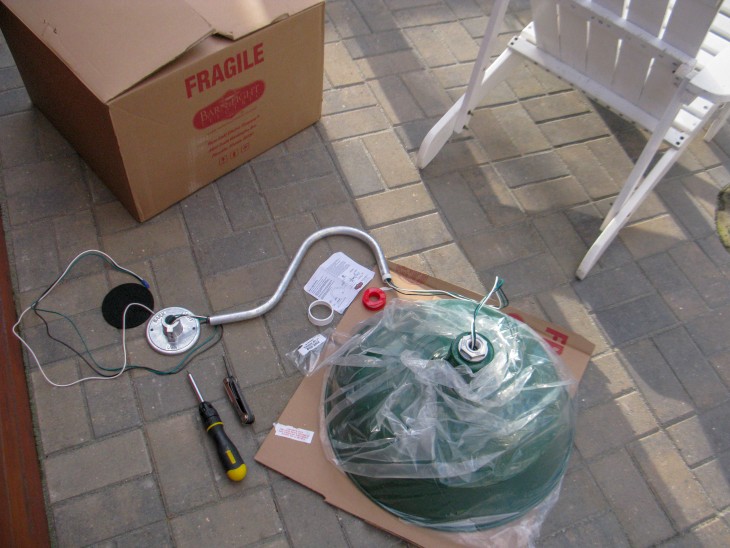
Here it is fresh out of the box, and it looks pretty simple to install because it is simple to install!

How To Hang An Exterior Barnlight

Let’s get to it and I’ll show you How to Hang a Barn Light!

Materials:

(I’ve included affiliate links for your convenience. I earn a small percentage from a purchase using these links. There is no additional cost to you. You can read more about affiliate links here.)

Instructions:

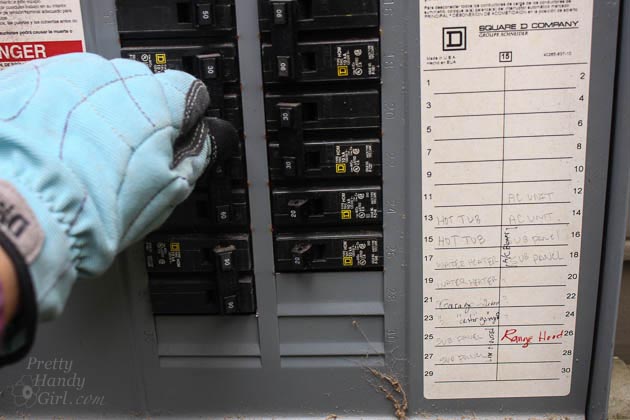
Step 1:  Turn off the power at the circuit breaker. (It’s a good idea to turn the light on before you turn off the circuit. Then you can visually verify that the power is indeed turned off to the light.)

Step 2:  Unscrew the cover off of the flood light (or whatever fixture you are replacing.) Pull the wires out of the junction box. Unscrew the wire nuts. Discard or recycle the old fixture and throw away the old wire nuts. (I like to replace the wire nuts when installing new fixtures because they are inexpensive and it insures a good connection.)

Hanging A Barnlight Tutorial

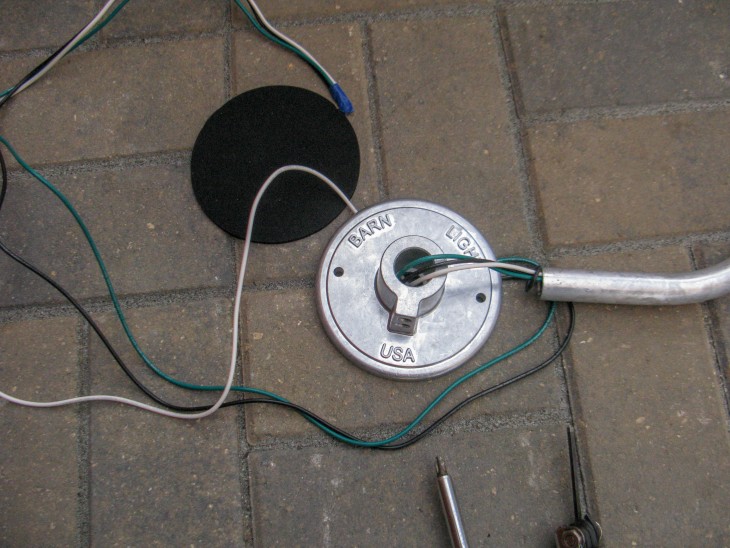
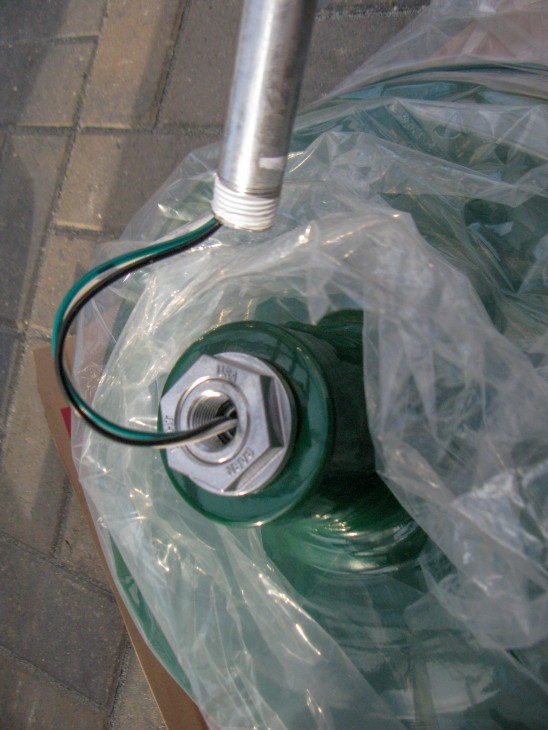
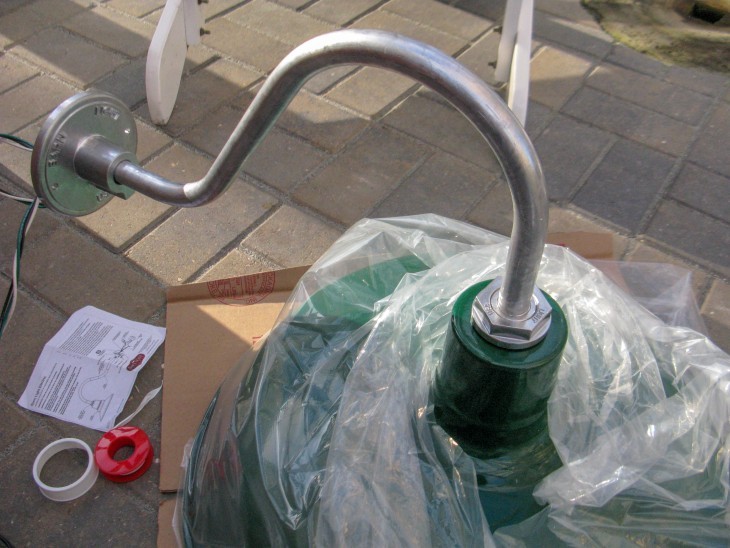
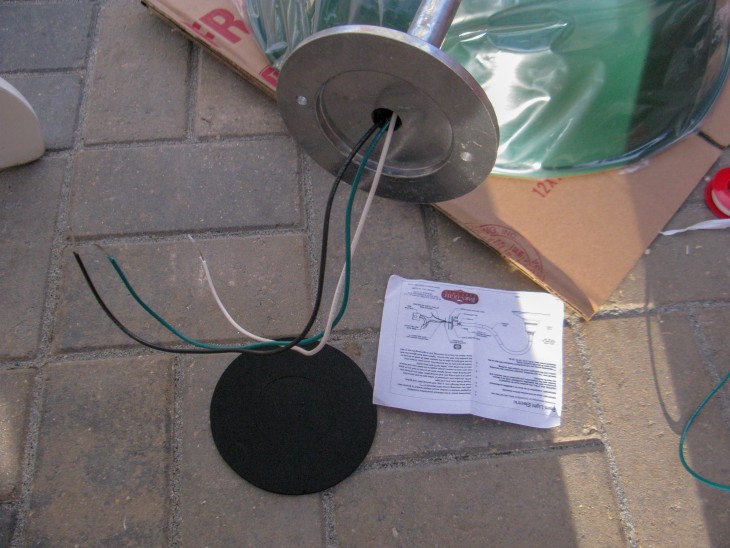
The gooseneck barn light comes with a face plate, a shade, and the gooseneck arm. All light fixtures have a white and black wire (together they provide the power); and a green wire (the ground wire). Thread the wires through the goose neck arm and the face plate (if not already threaded through). One end of the gooseneck arm is threaded and will attach to the shade. Wrap the threaded end of the goose neck arm with plumber’s tape (to prevent water from getting into the fixture.) Screw the threaded end into the shade. The other end is held into the face plate with a hex screw. Super easy, right?

Hanging A Barnlight Tutorial

Unfortunately, with this light, you must mount the entire fixture fully assembled (some fixtures can be installed by first mounting just the face plate first.) Therefore, you will need an extra set of hands to help hold the fixture in place while trying to connect the wire nuts and the fixture to the junction box.

NOTE:  This fixture is made from real materials (aka heavier than big box retail fixtures). You need to make sure your junction box will hold the weight of the barn light snug against the exterior wall. If not, you will need to replace a plastic junction box with a metal one to support the additional weight.

Hanging A Barnlight Tutorial

Step 3:  Cut the excess wires with the wire cutter. Using the wire stripping tool, remove approximately 1″ of the wire covering from each wire. (I like to remove a little bit more than usual because it can always be trimmed off if the wires don’t fit within the wire nuts.)

Hanging A Barnlight Tutorial

This fixture also comes with a gasket that goes on the back of the face plate (to prevent water from getting into the junction box.) Feed the wires through the gasket before the next step.

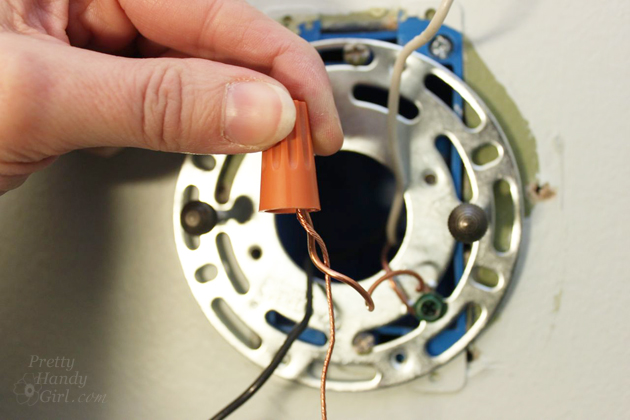
Step 4:  Holding the fixture close to the junction box, connect the green ground wire from the light fixture with the green or bare wire from the junction box. Connect the white with the white wire and finally the black with the black wire. Secure all the connections with new wire nuts.

How to Install a Wall Sconce | Pretty Handy Girl

NOTE:  For safety, all wire connections need to fit inside the wire nut with no bare wires exposed. If you want, you can wrap electrical tape around the wire nut and wires to fully seal and secure the connections.

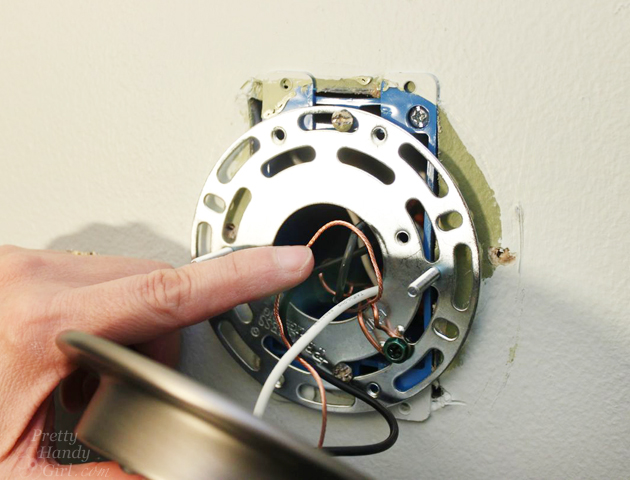
Step 5: Gently fold the wires into the junction box behind the face plate or mounting plate. Lift the light fixture into place against the wall. Thread the two mounting screws through the holes in the mounting plate and into the junction box. Tighten the mounting screws.

How to Install a Wall Sconce | Pretty Handy Girl

Congratulations! You have just learned How to Hang a Barn Light!

Hanging A Barnlight Tutorial

Do you love the look of the barn light? Much better than the bare floodlights, right. I hope you’ll try installing an exterior light to your home, it’s not hard to do.

diane and dean diy

~ See more of Diane +  Dean’s projects ~

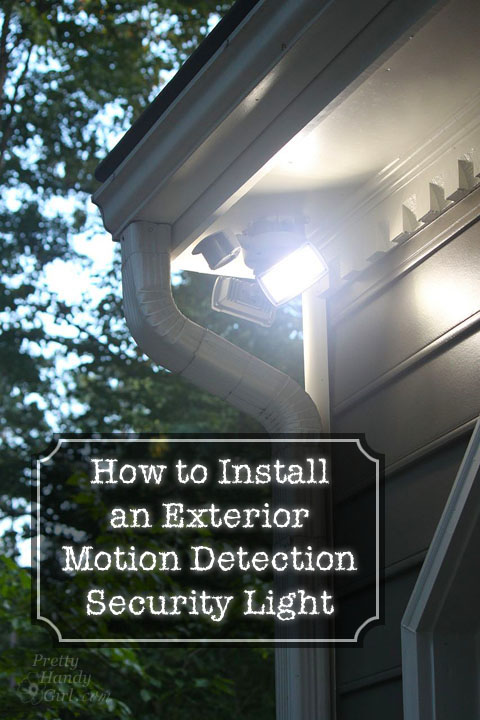
If you liked this tutorial, you’ll love How to Install a Motion Sensing Light:

How to Install an Exterior Security Light | Pretty Handy Girl

Or How to Install Low Voltage Landscape Lights:


Pin for later!

How to Hang a Barn Light | Pretty Handy Girl

15 Amazing DIY Lighting Ideas

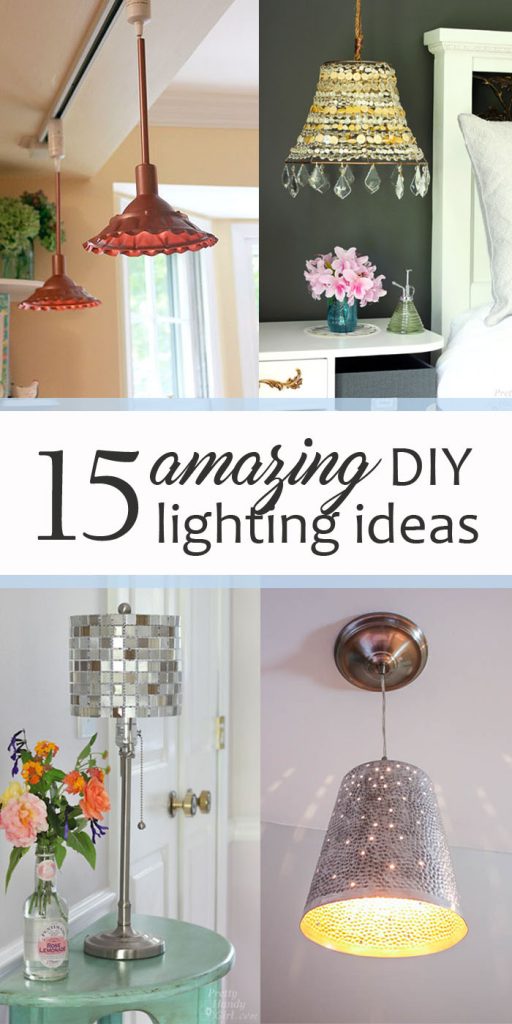
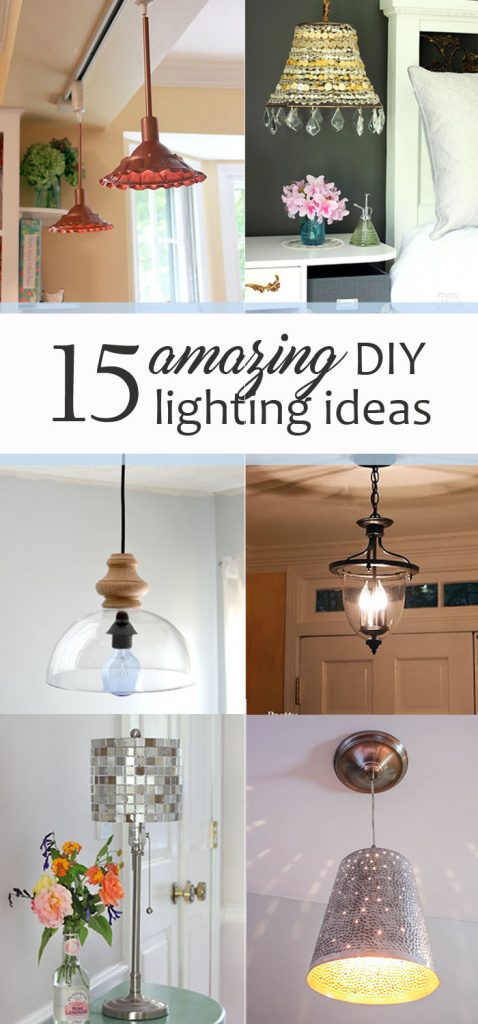
15 Amazing DIY Lighting Ideas - pinnable collage image15 Amazing DIY Lighting Ideas

Lighting can make a dramatic statement in any room and is a crucial element of good design. A great light fixture not only adds style, but it creates a mood and vastly impacts how you feel.

One of the biggest benefits of DIY Lighting is you can choose your own materials to meet your desires:

  • number and wattage of bulbs
  • material (metal, fabric, paper, wire, glass, concrete, wood, tile, etc.)
  • color
  • shape
  • style (farmhouse, modern, traditional, vintage, eclectic, industrial)
  • mounting (pendant, flush mount, semi-flush, wall mount)
  • shades (solid, translucent, semi-transparent, perforated, open)

With DIY Lighting, the style options are endless. There are so many choices and ideas out there at all different price points. The great news is that you don’t need a large budget to have great lighting for your home, you just need a few supplies and some basic handy skills!

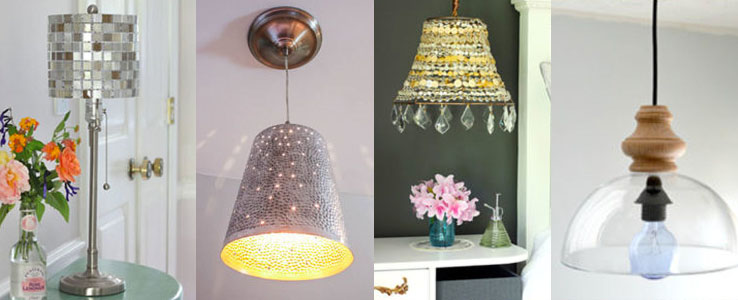
Here is a round up of 15 Amazing DIY Lighting Ideas to inspire you to brighten up your home!

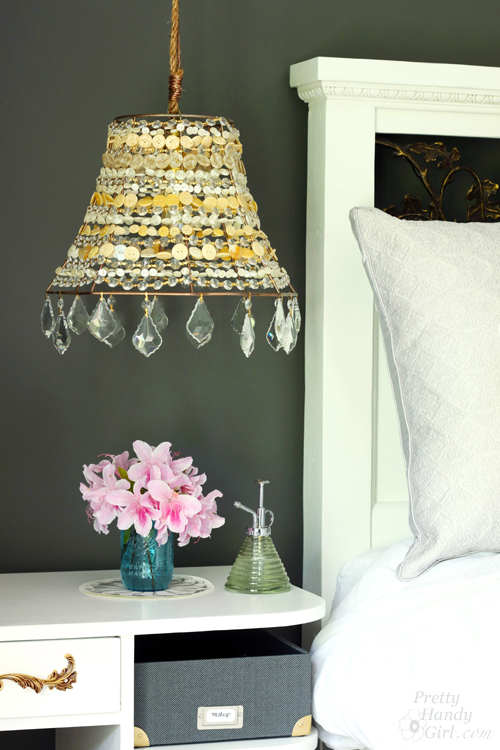
DIY Button Pendant Light - Best Lighting DIYs - Pretty Handy Girl

Do you have a button collection? Use it to make this amazing DIY Button Pendant Light . It’s whimsical, sparkly, fun and is sure to be a great conversation piece when you have guests visit.


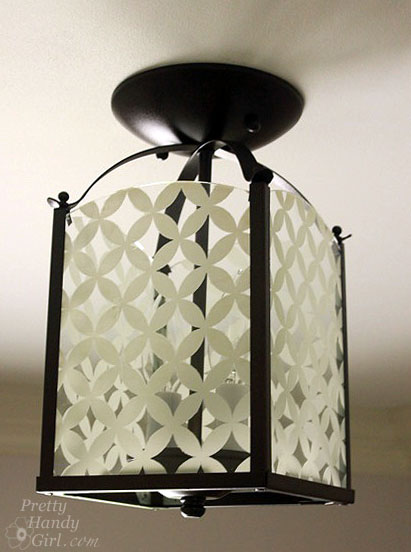
This Circle Diamond Pattern Light was created by updating an old brass light fixture. The tutorial will show you how to change out an old fixture and add some pizzazz to your room or hallway. You’ll have to see the pattern it shines onto the walls — beautiful!


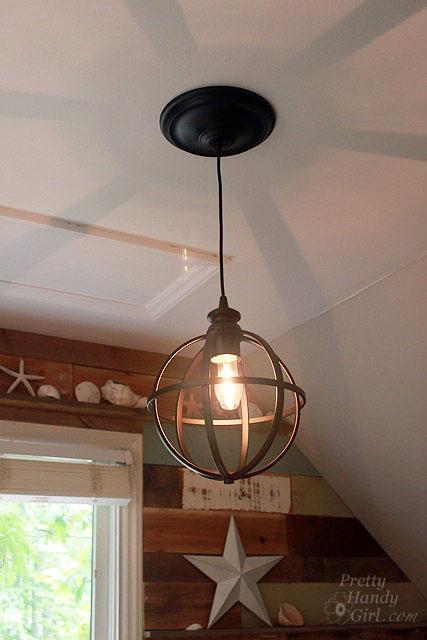
Converting Recessed Light to Pendant Light - Best Lighting DIYs - Pretty Handy Girl

Learn how to Convert a Recessed Light to a Pendant and add a little character to your room with a great light fixture! Recessed lights are great, but sometimes you need a fixture to finish off that great room design. This tutorial will help you change out your recess light in 5 minutes or less!


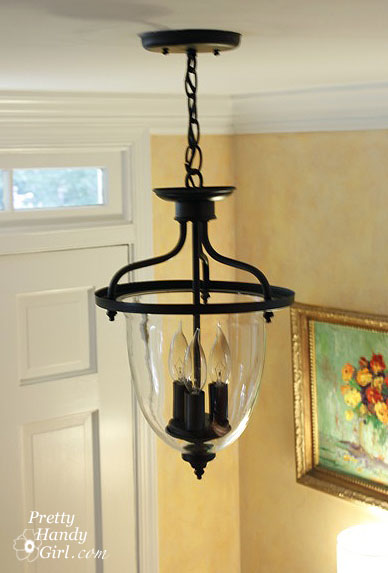
New Painted Foyer Light Fixture

Another update, but this time you’ll learn how to make a Pottery Barn Inspired Hanging Light. See how to make a quick cosmetic change to an old fixture. No dated brass fixture will be safe after you read this tutorial.


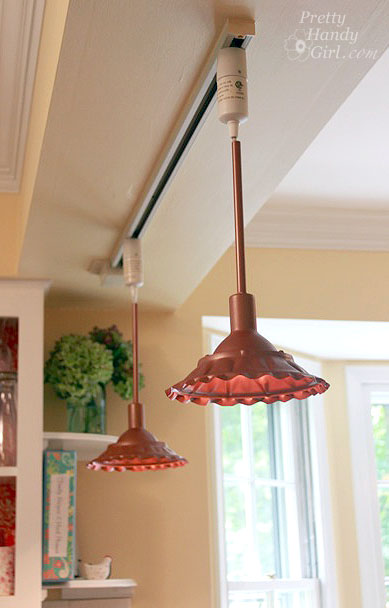
DIY Copper Pendant Light - Best Lighting DIYs - Pretty Handy Girl

Check out these unique Farmhouse Style Copper Metal Pendants. Would you believe they were made by updating some UFO-like lights with storm collars, and spraying high heat spray paint?


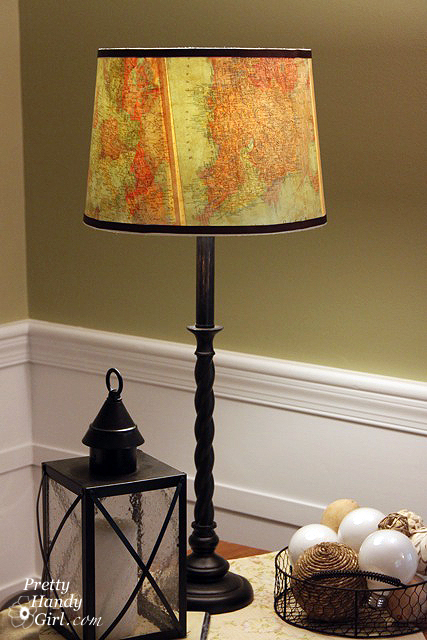
Vintage Map Lampshade - Best Lighting DIYs - Pretty Handy Girl

For the ultimate traveler, this Vintage Map Lampshade creates a warm glow and would be a wonderful addition for any living room or office. Plus, you can customize it with maps of places you’ve been!


Glass Bowl Fixture - Best Lighting DIYs - Pretty Handy Girl

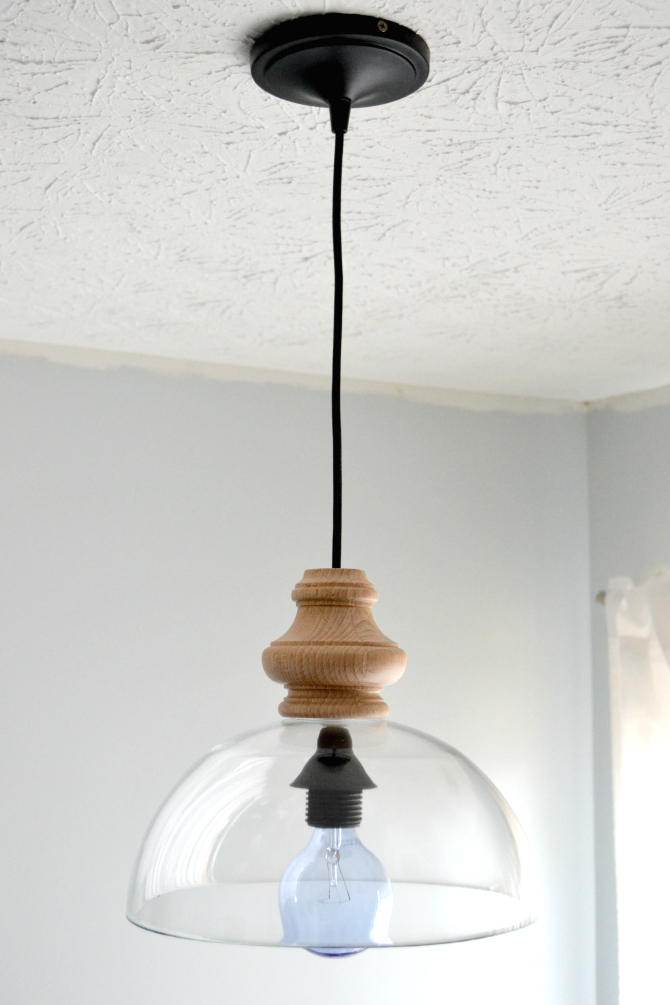
What do you do when the light you really love is sold out? You DIY it, of course! You’ll be amazed at how this knock-off DIY Glass Pendant Light by Ugly Duckling House was made. Hint: you may have one in your kitchen cabinet.


Ombre Paint Chip Lamp - Best Lighting DIYs - Pretty Handy Girl

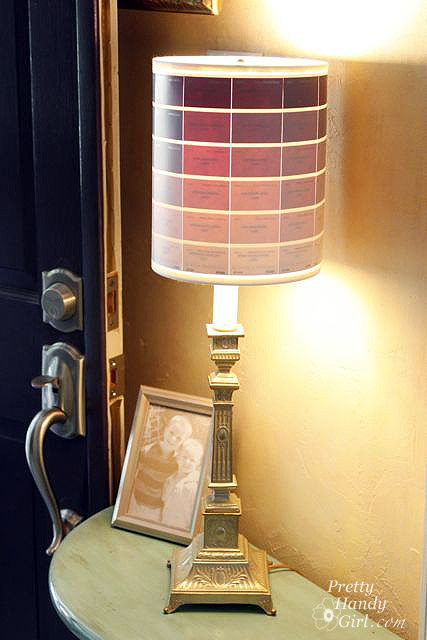
Don’t run to the store now, but you know those free paint chips they give out at the paint store? This Ombre Paint Chip Lampshade is made using those freebie paint chips. Next time you have a bunch of extras after you’ve finished your painting project, consider reusing them to make a great lampshade!


Chicken Wire Pendant - Best Lighting DIYs - Pretty Handy Girl

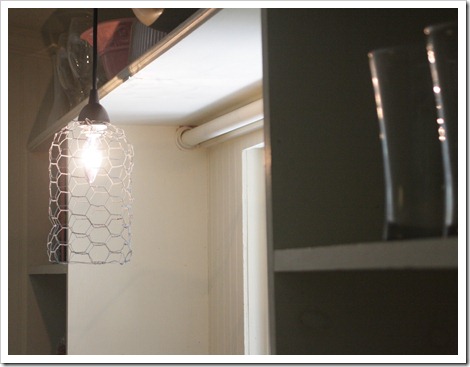
Don’t you love this Chicken Wire Anthropology-Inspired Pendant in all its simplicity? If you love rustic or farmhouse style decor, this pendant is for you.


Minnow Trap Light Fixture - Best Lighting DIYs - Pretty Handy Girl

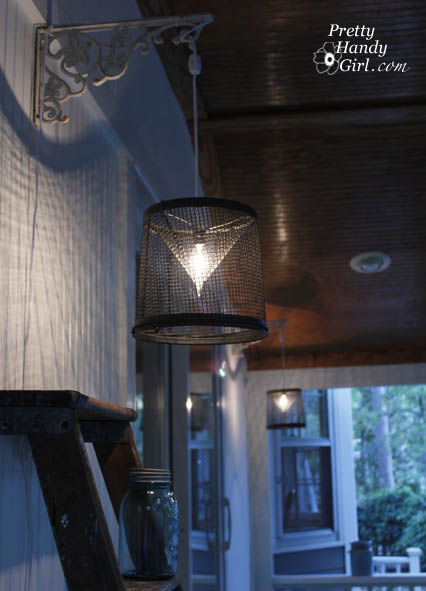
Whether you love to fish or not, these Minnow Trap Light Pendants are a great DIY option. They look great, give a lot of light, and set a casual mood.


Capiz Shell Light Fixture - Best Lighting DIYs - Pretty Handy Girl

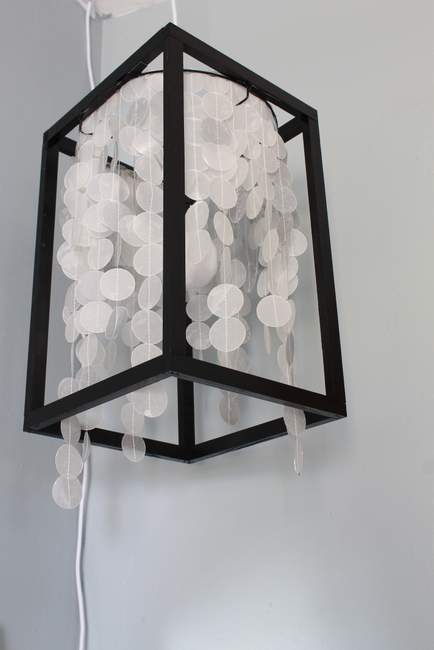
This DIY Capiz Shell Light Fixture has a beautiful feminine and modern look. Build a quick frame; add some strings of capiz shells; and you have a beautiful new light fixture!


Twinkling Pendant Light - Best Lighting DIYs

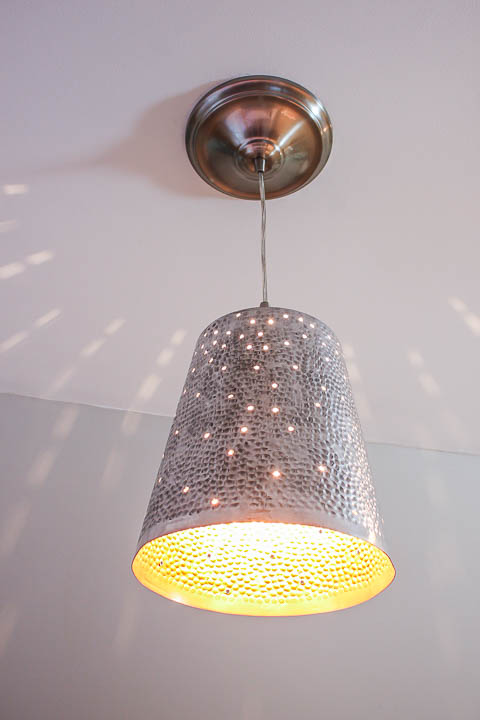
The light pattern that this DIY Twinkling Pendant Light  shines onto the walls is so pretty and adds some fun and whimsy to any room. Bet you can’t guess what this pendant was in a former life!


Mosaic Glass Tile Lamp - Best Lighting DIYs

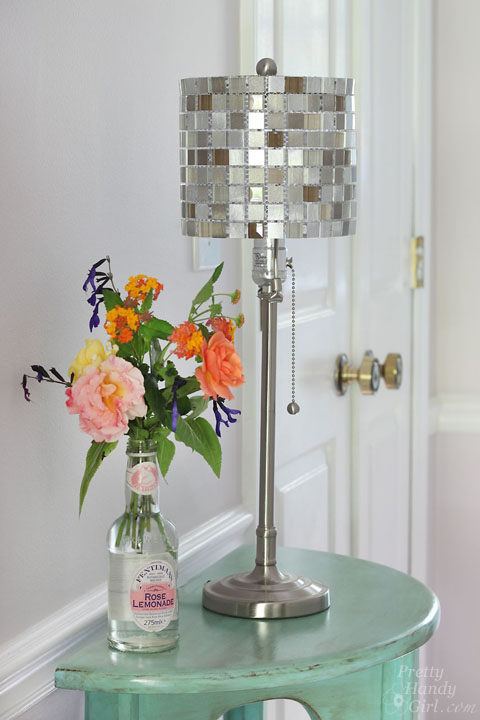
This Mosaic Tile Lampshade is gorgeous! With just a few supplies, you can add style and bling to your room without spending much money at all.


Industrial USB Charging Station - Best Lighting DIYs

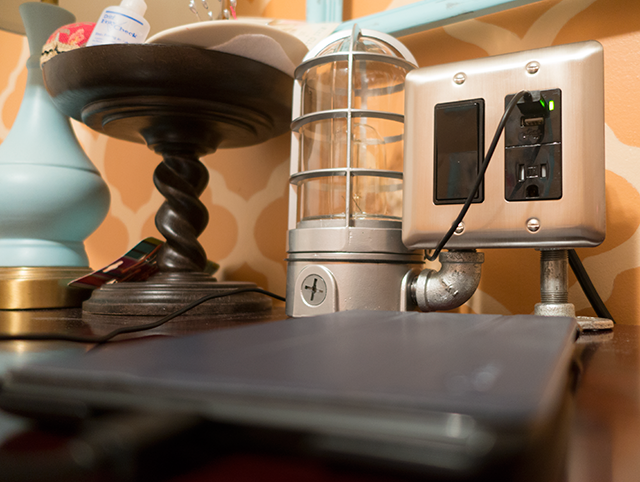
Feeling super handy? This Industrial Light and USB Charging Station would be a cool addition to any room, and we all know you can never have too many charging stations these days.


Rustic Jar Pendant Light over kitchen sink - best lighting diys

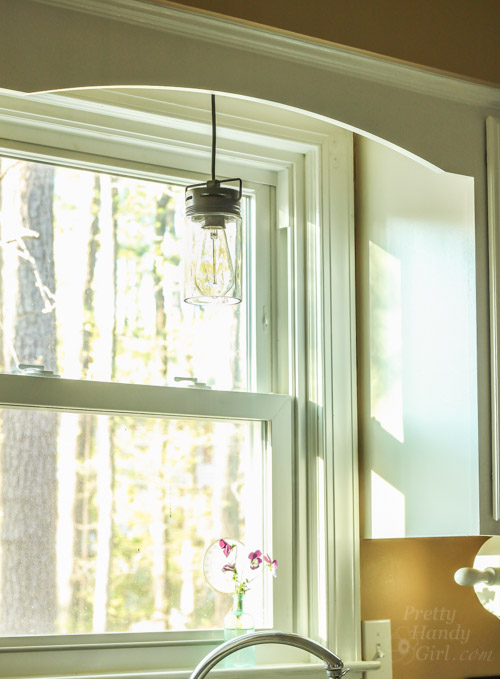
Last but not least, learn to Convert a Recessed Light into a Hardwired Light. This gives you the option to hang pendant lights over a kitchen sink. . .or really anywhere else in your home. So many options!

I hope you enjoyed this round up of the 15 Amazing DIY Lighting Ideas and found some inspiration for your home!

If you like this collection, please share by pinning the image below.

15 Amazing DIY Lighting Ideas - Large pinnable image collage

Friends don’t let friends buy light fixtures if you can DIY them! Share this post with a friend.

Now that you have your ideas for creating that light fixture, do you know how to install a hard-wired light fixture? I’m happy to show you how, it’s very easy!

Fall Decor in a Rustic Farmhouse Kitchen | Pretty Handy Girl