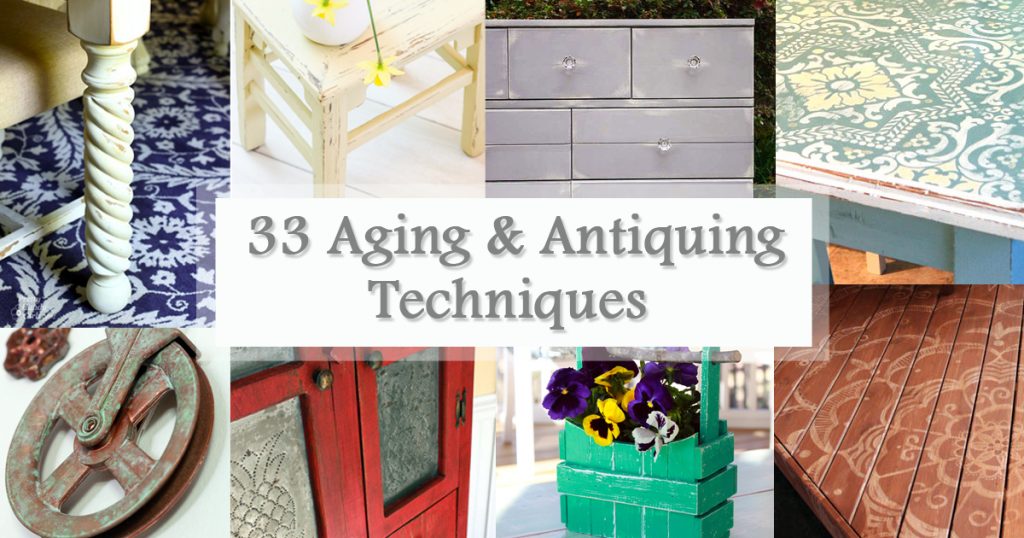
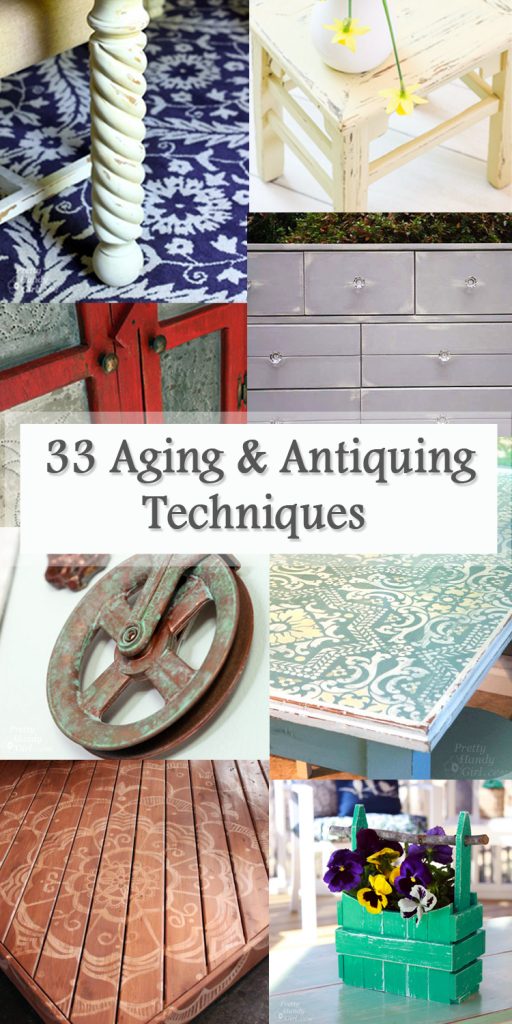
Aging and Antiquing Technique Tutorials:
Do you love the idyllic vintage or rustic look? If your answer is yes, then this round up is for you! I’ve curated some awesome projects with full details for aging and antiquing techniques that every DIYer should know. Check them out!
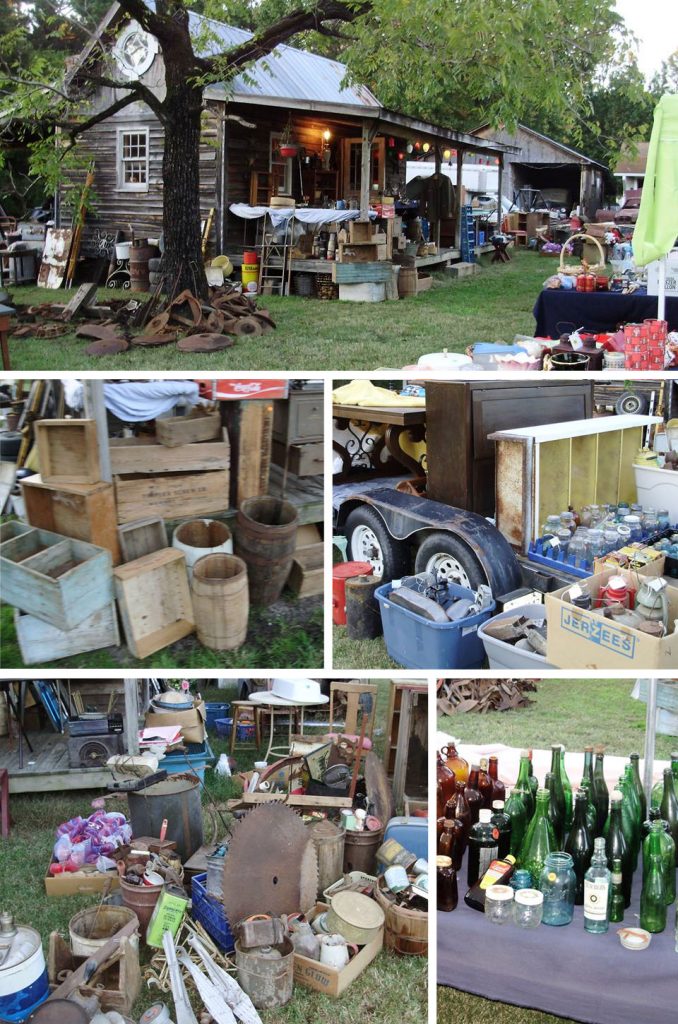
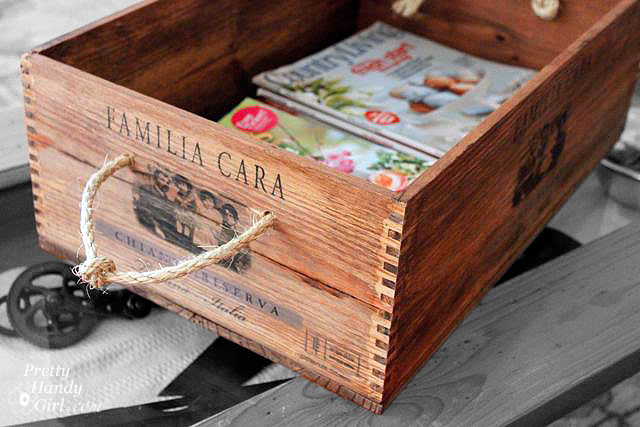 This Rustic Wine Crate with Rope Handles looks great after a little staining and distressing.
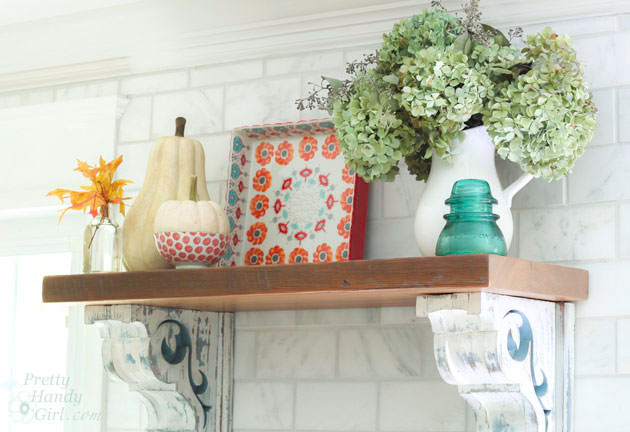
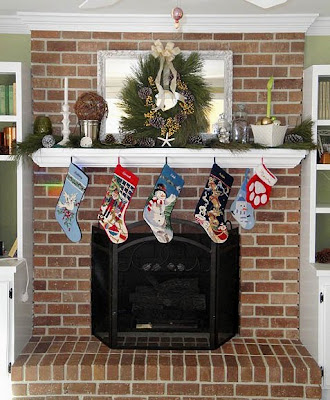 Consider Painting a Brick Fireplace to Beautiful Brownstone rather than tearing out the brick you hate.
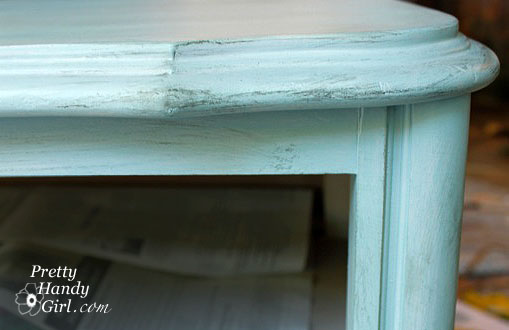
 Learn many of the best techniques for Antiquing and Aging Furniture here.
 Check out how you can update your home just by Repainting Dated Decor.
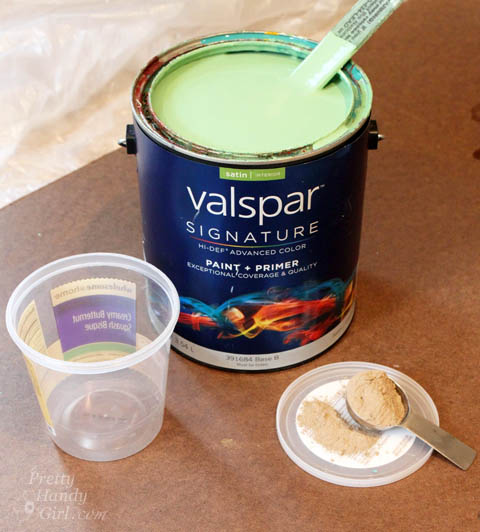
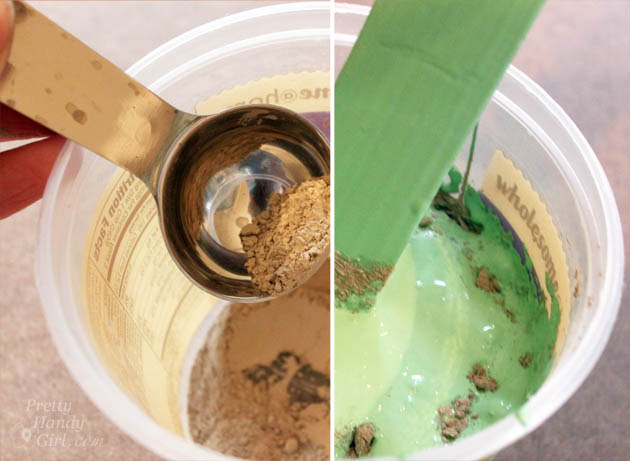
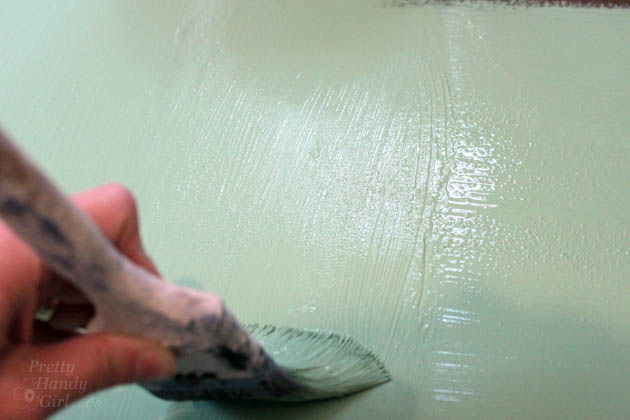
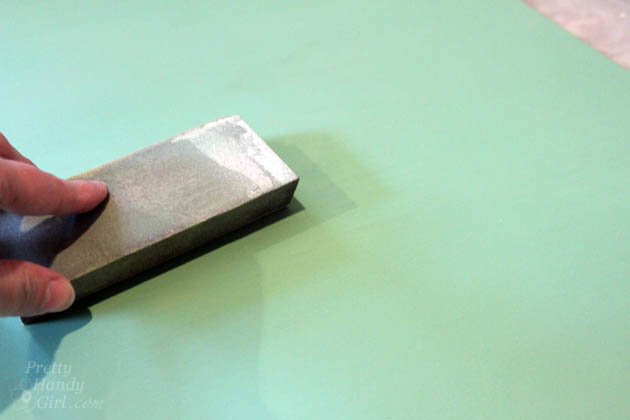
Learn my go to products and tips for achieving the Perfect Rustic Paint Technique.
 Learn how to antique beautiful furniture using Asphaltum Glaze.
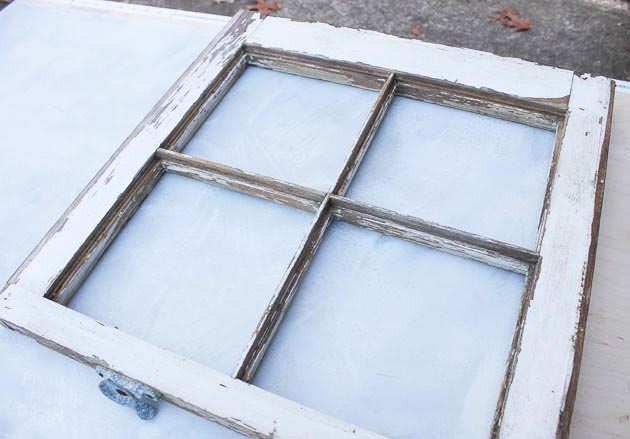
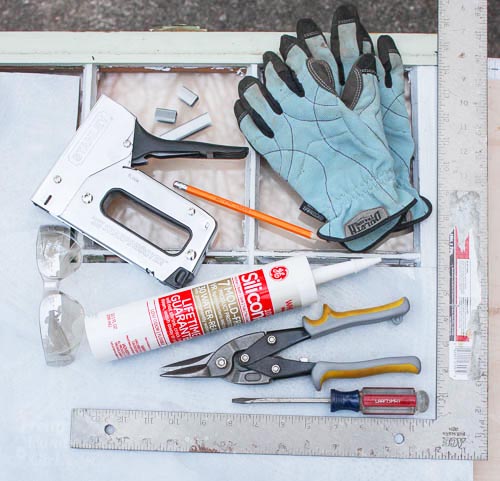
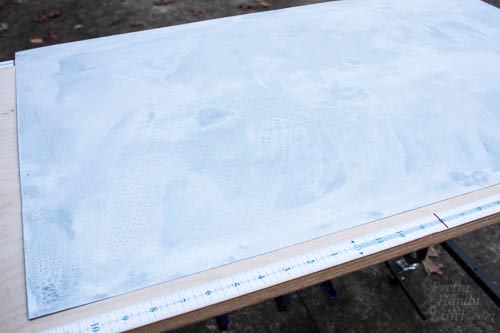
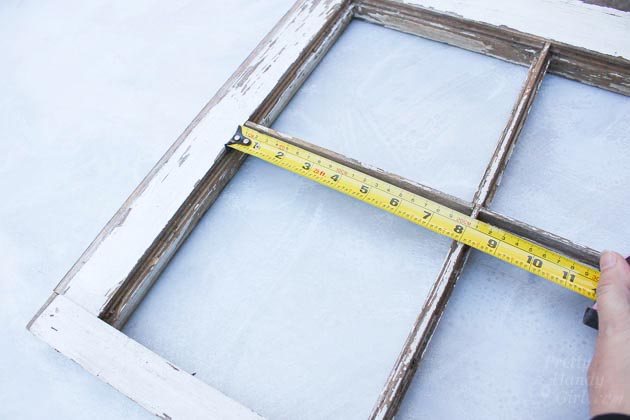
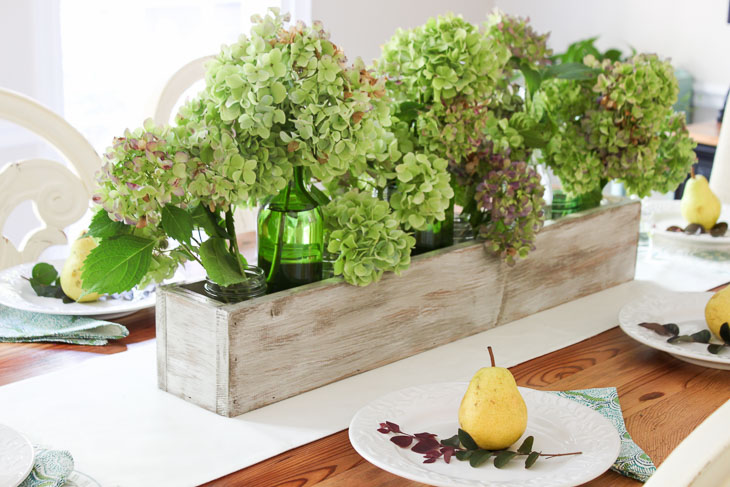
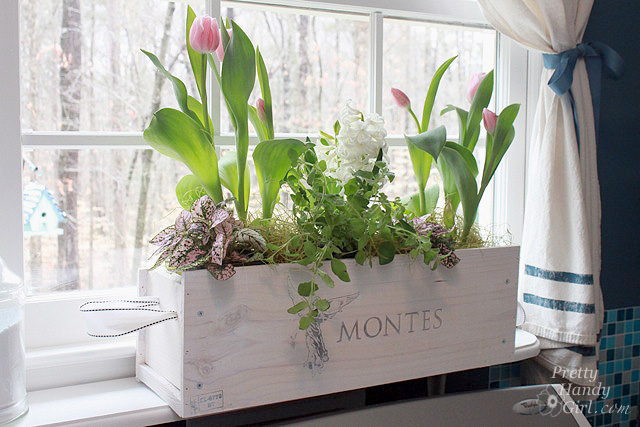 Check out this White-washed Window Box and see how to get this finish on your next project.
 Refinish your furniture in no time using the help of a spray gun used here for Painting an Antique Washstand.
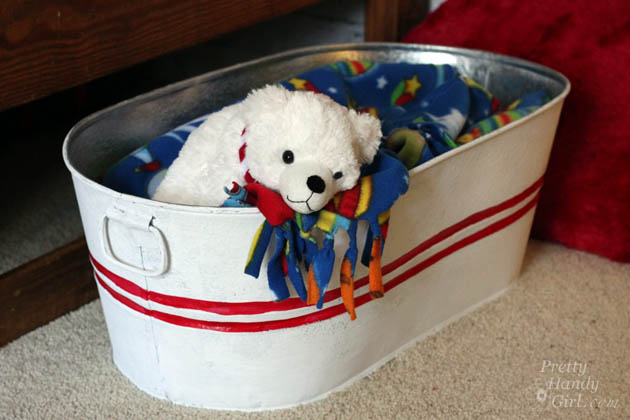
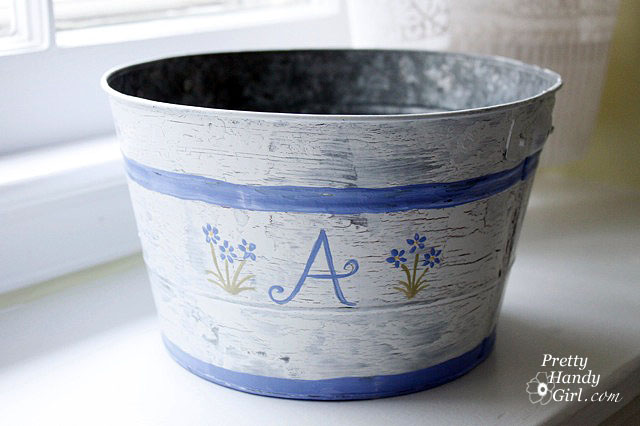 Find out how to get creative and make An Aged Painted Pail using something you can find in the school classroom.
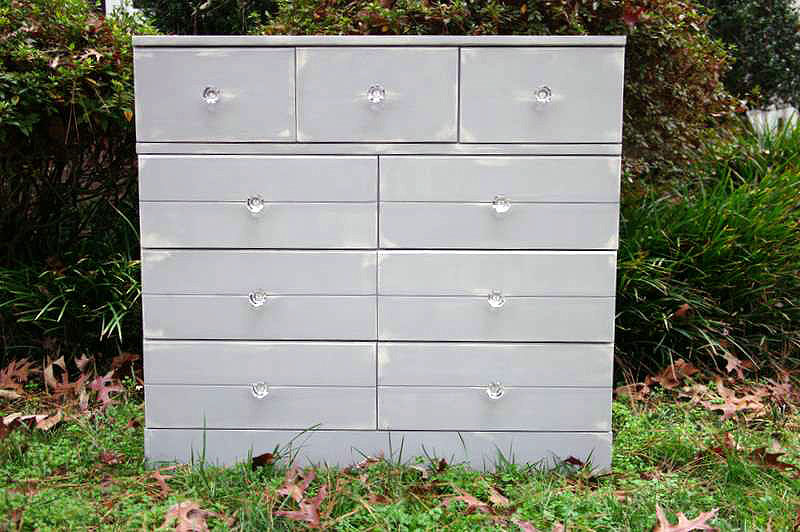 This Shabby Chic Dresser is gorgeous, check out how Holly (a professional refinisher) achieves this finish.
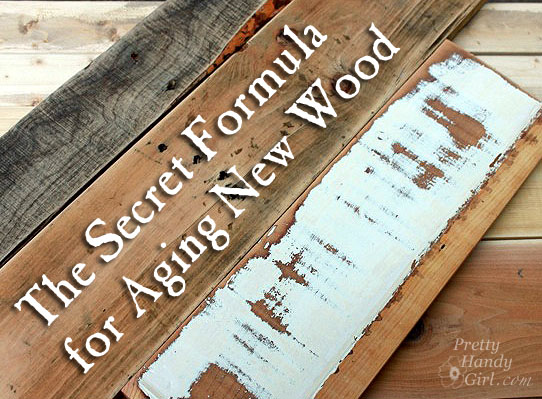
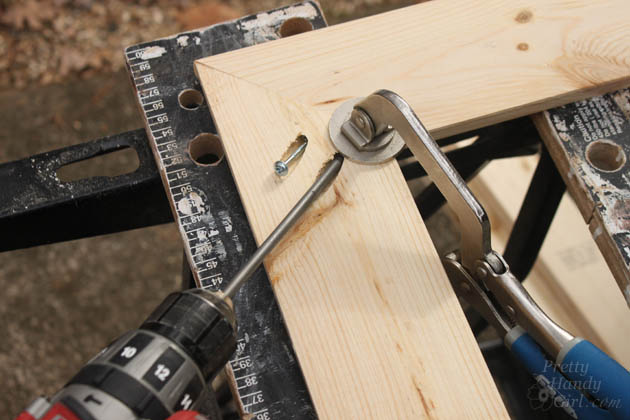
Learn how to make new wood look old, weathered and rustic.
 Learning how to Faux Zinc will open so many doors for you! Be creative!
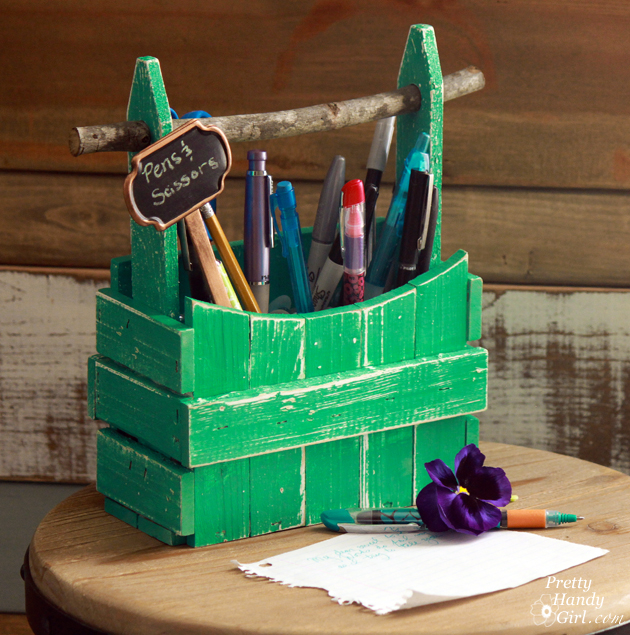 Learn how to get a distressed finish with this Distressed Picket Fence Planter Basket tutorial.
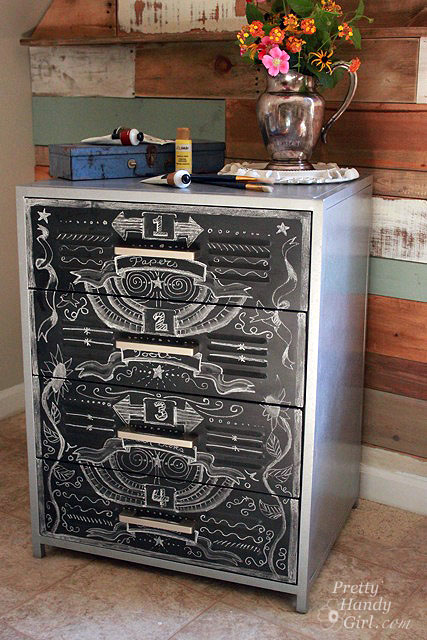
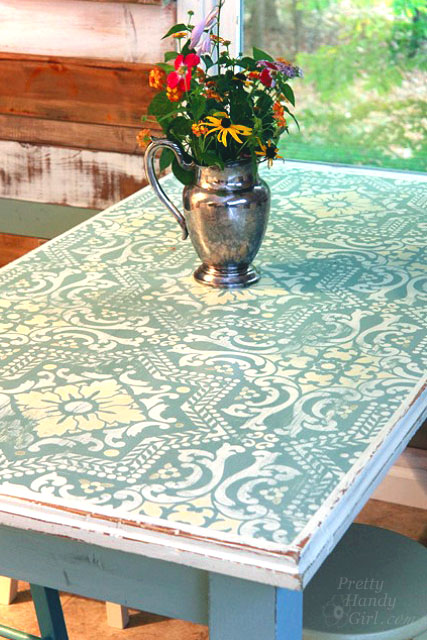 This Chalk Painted, Stenciled and Distressed Dumpster Table gives you all the details on how to make an amazing table like this one!
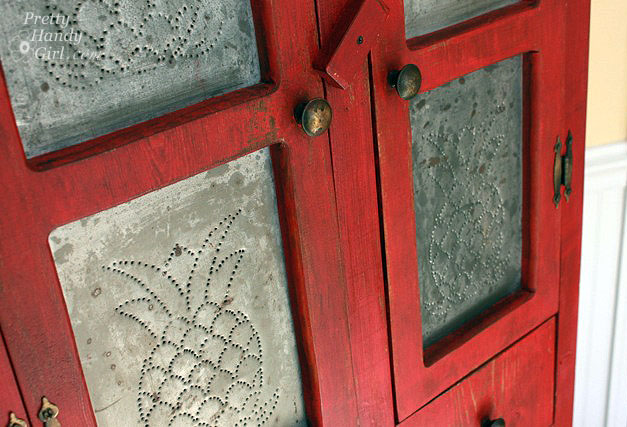 This Rustic Red Pie Safe painted with Miss Mustard Seed Milk Paint is a great way to learn about using milk paint.
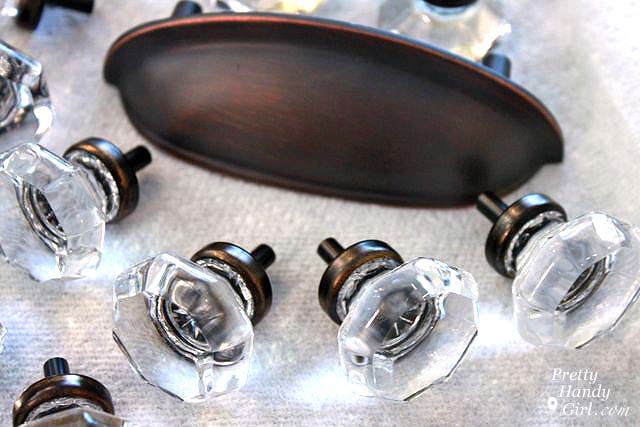 Don’t buy new, learn how she refinished old hardware to get these Rubbed Bronzing Cabinet Knobs.
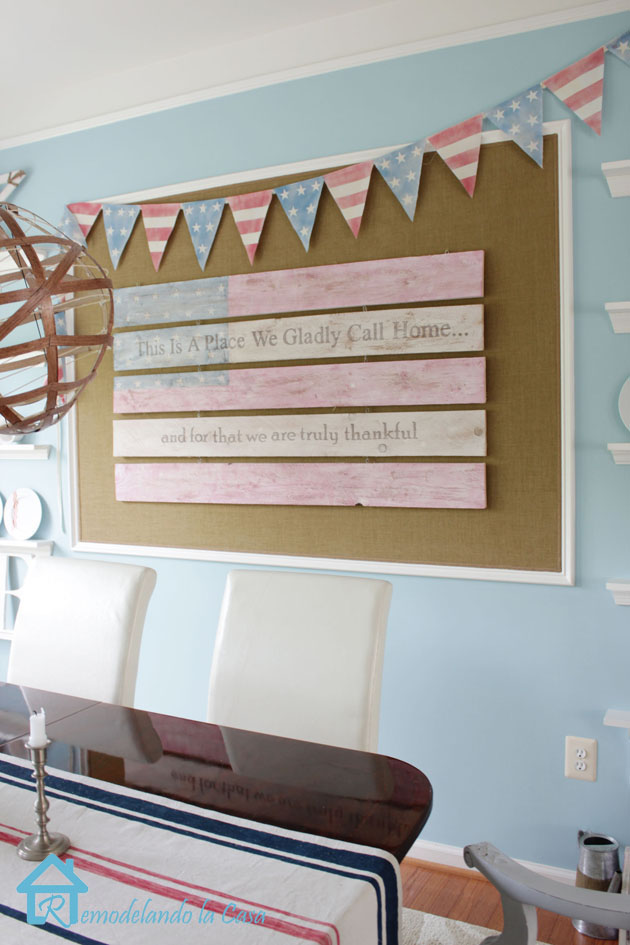 A slightly different finish can make any item a statement piece, like this White-Washed Patriotic Flag Sign.
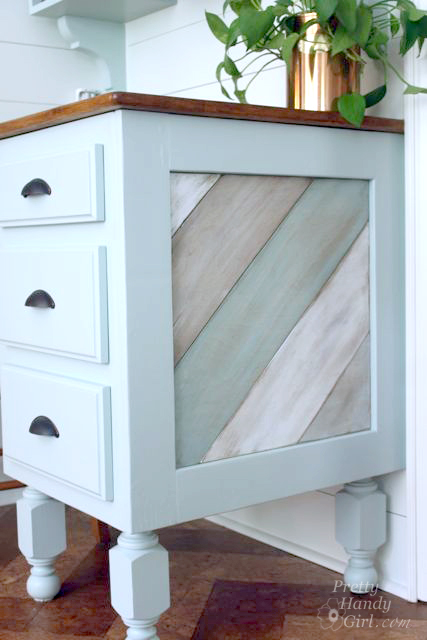 The gorgeous technique on this Painted Distressed Wood Panel could be used for a huge variety of projects.
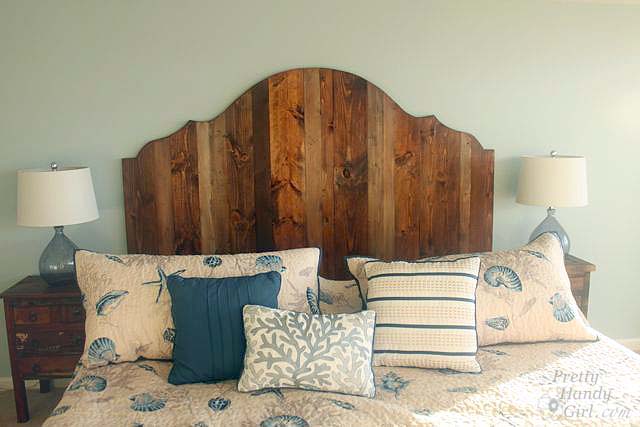 See how they got this Rustic Wood King Headboard finish. Hint: it involves chains!
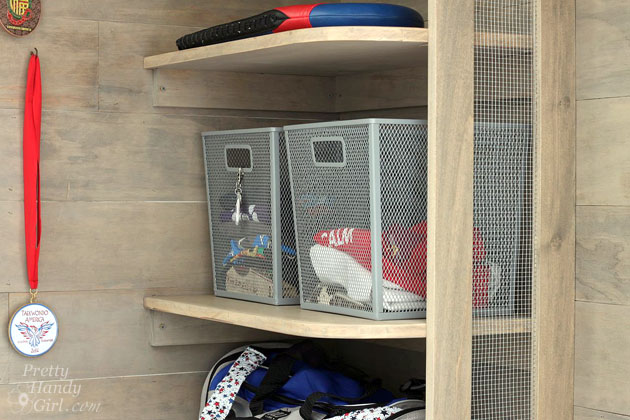
 Change up your metal bins with some paint, like this Galvanized Tub Storage.
 These Vintage Painted Oars have an amazingly realistic finish and look so great! You’ll never guess what they used to be!
 Learn how to Create Faux Finished Weathered Wood Grain. Yup, that’s not real wood grain and it looks amazing!
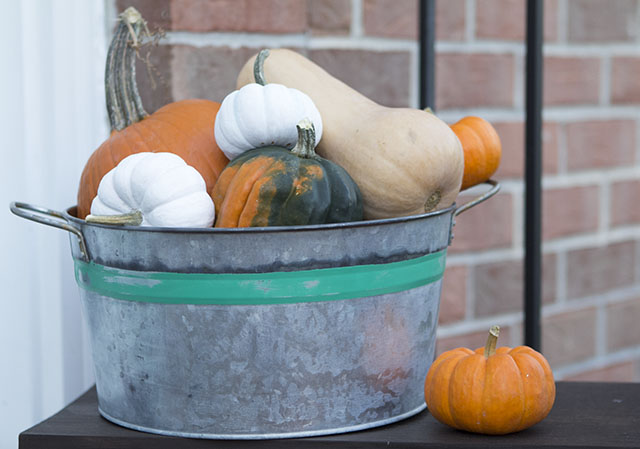 Learn how to Age Galvanized Metal Quickly, sometimes aging just gives extra charm.
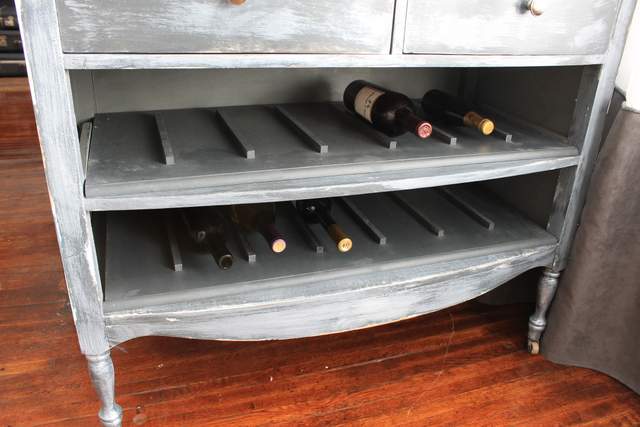 Check out how to accomplish this Unique Wine Rack Paint Finish, you’ll be glad you did.
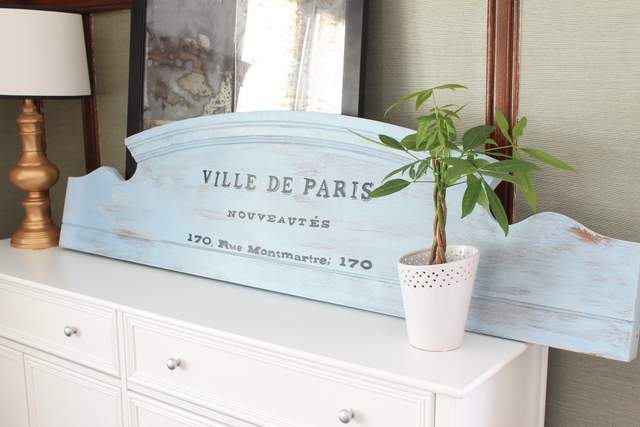 With a little chalk paint and sand paper, you can make a gorgeous old sign from a footboard.
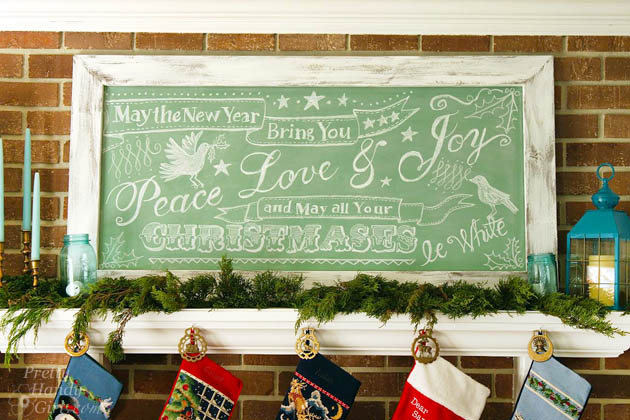 Find out how to Build Giant Vintage Chalkboard and finish it off tonight.
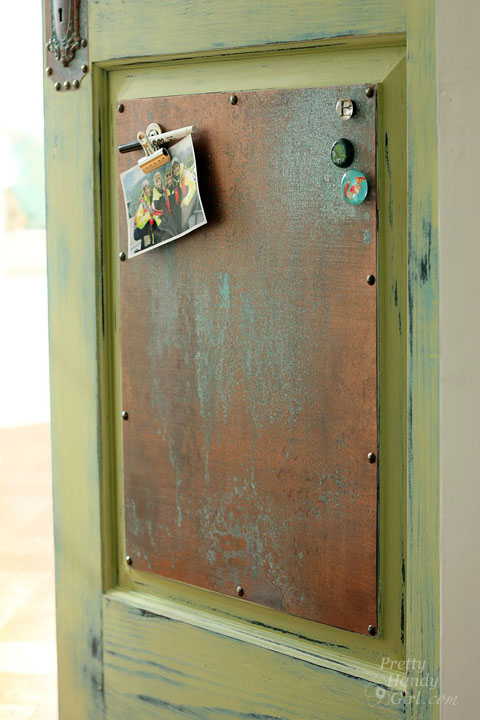 This Faux Copper and Patina finish is stunning, learn how to make it happen on any surface!
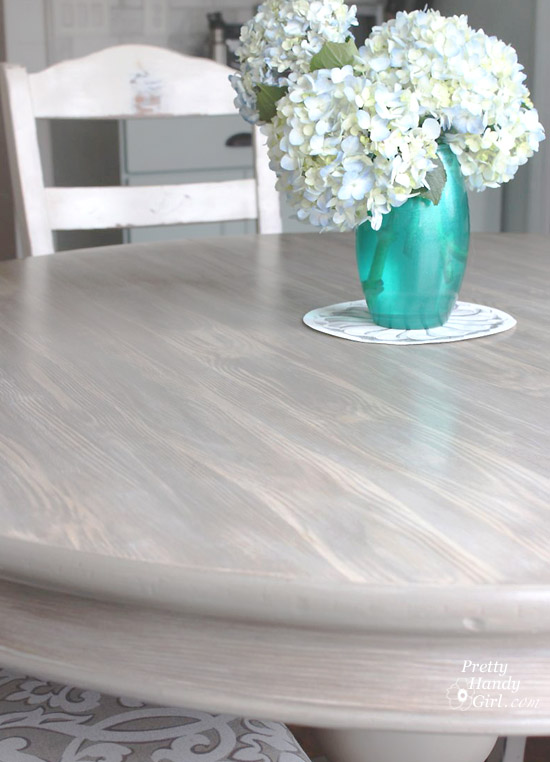
 Get the Gray Restoration Hardware Stain Recipe. It’s so easy to get the same finish as that coveted store.
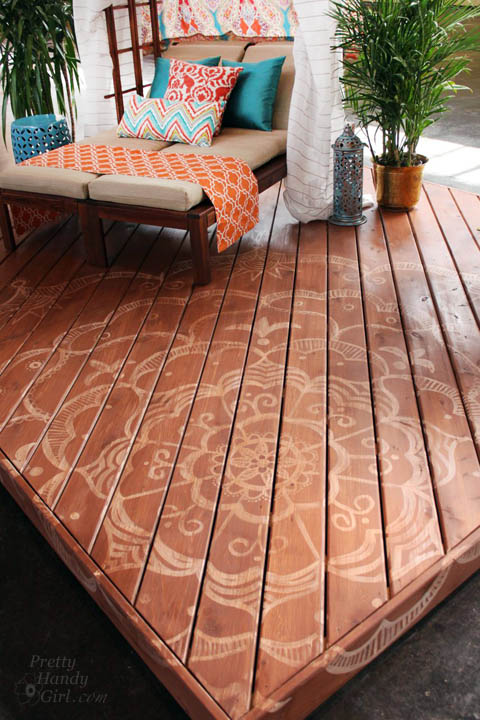 Learn how to Paint a Giant Mandala Deck Tattoo and turn something ordinary into something elegant.
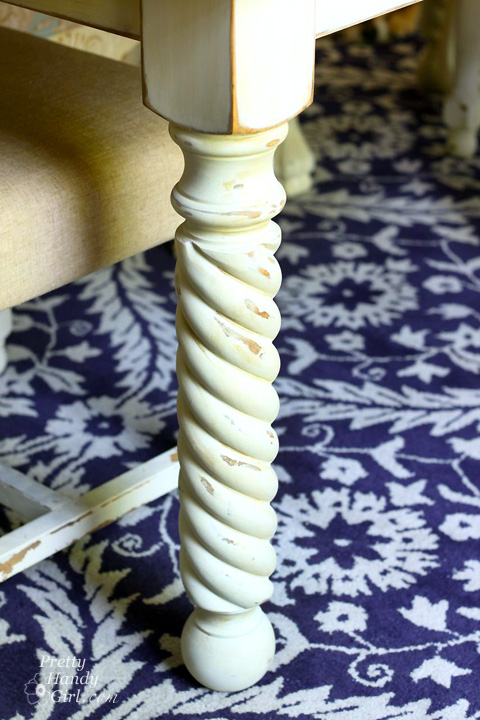
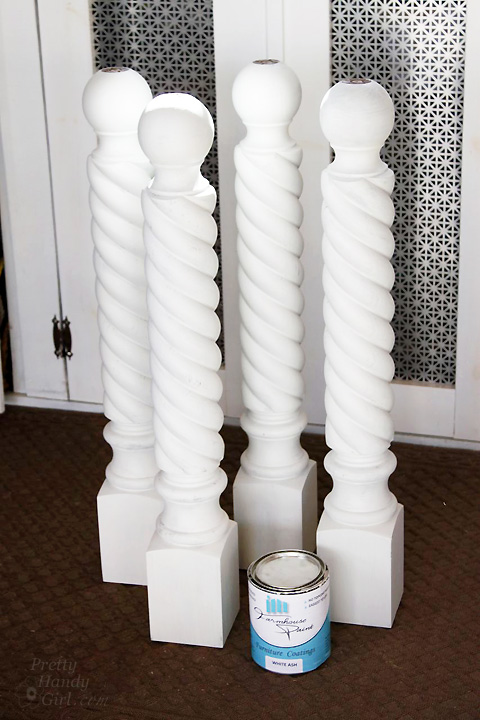
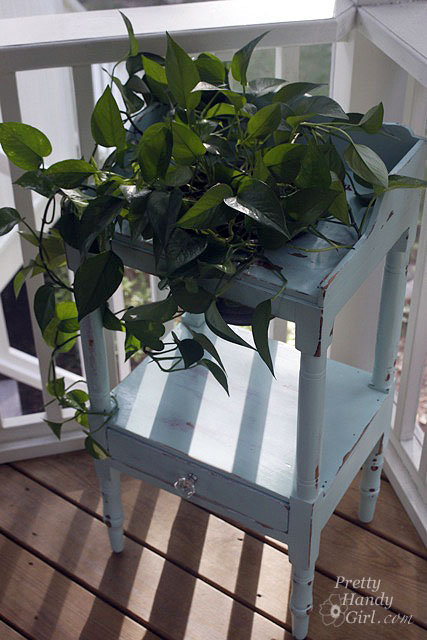
Here are some tips and tricks (you don’t want to miss) for Aging and Antiquing Furniture Legs.
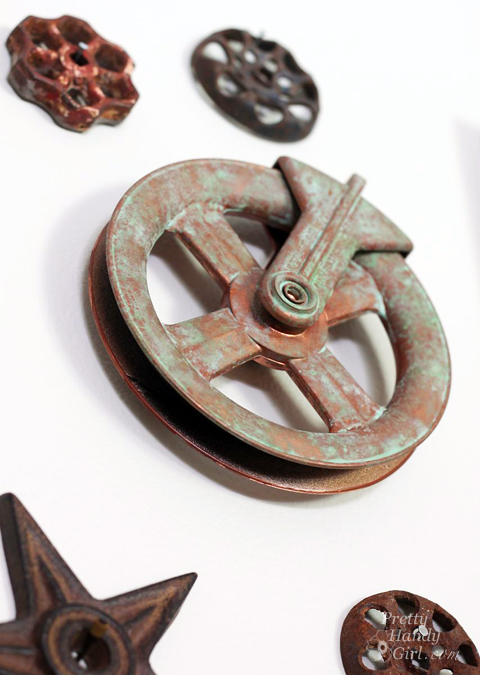 This Faux Aged Metal Pulley is just awesome. Find out how it was done.
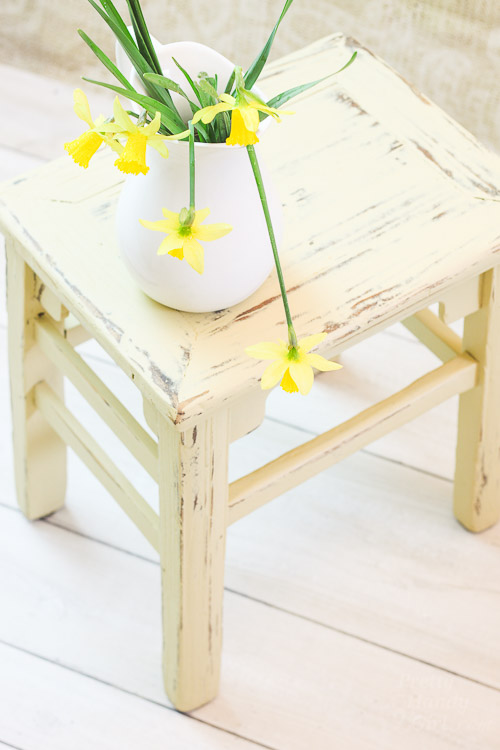 Learn the technique for this Chalk Painted Wooden Stool, it will be handy for sure!
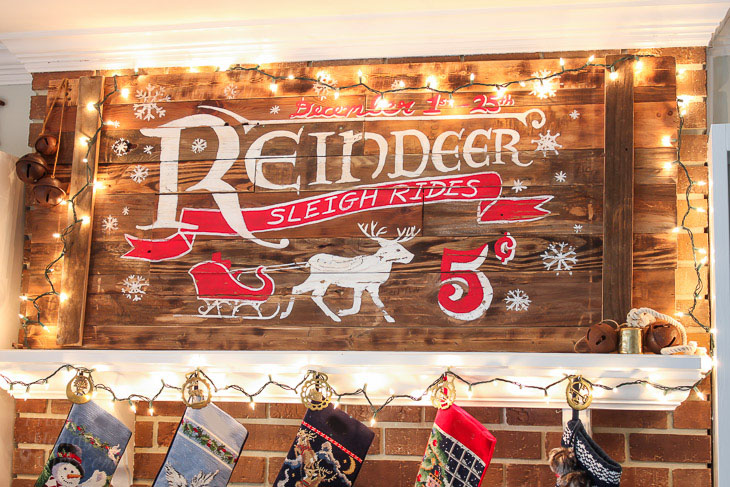 Make something amazing with this technique, like a Vintage Rustic Sleigh Ride Sign.
Thanks for stopping by. Do you have any techniques we didn’t cover here? Feel free to share your tips for aging and antiquing in the comments! Don’t forget to pin this image so you can find it again!
![]()
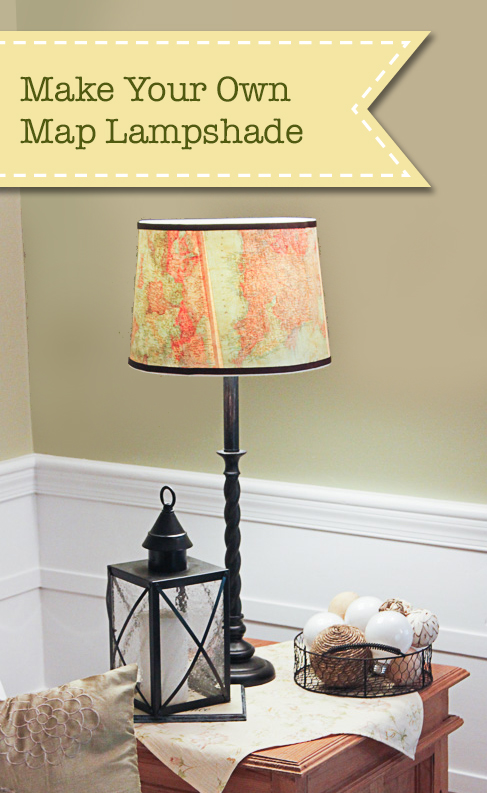
Like the vintage look? You’ll love this Vintage Map Lampshade project: