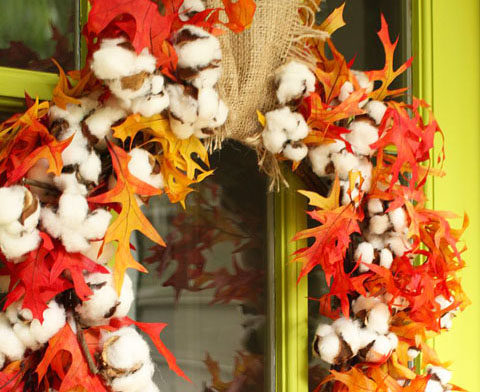
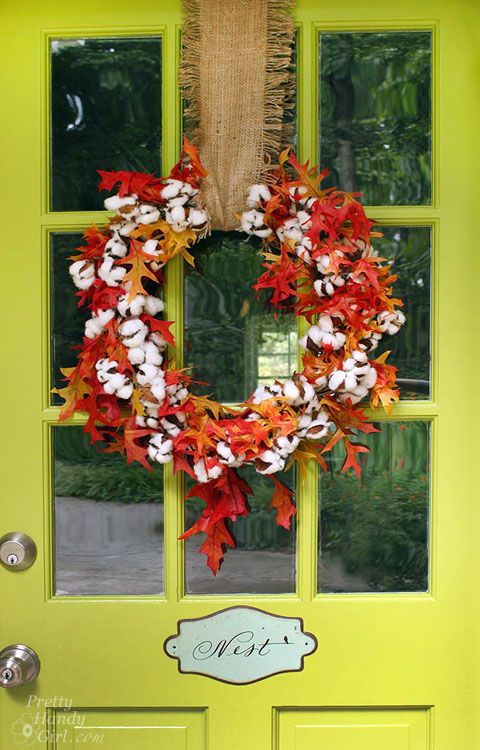
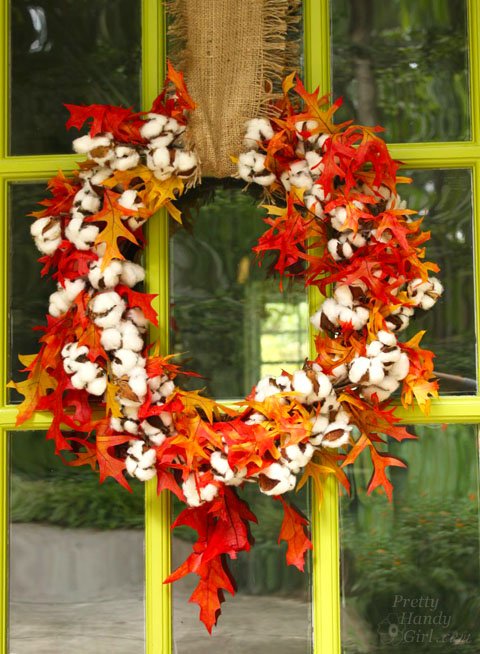
Cotton Fall Wreath
Every morning for the past few weeks I woke up and looked out the window. A few leaves have turned color, but as soon as I look at the weather report — the heat and humidity has yet to leave North Carolina. Will fall ever arrive? I want to wear flannel shirts and boots. I want cooler temperatures so I can stop sweating the minute I step outside. To usher fall into our area, I decided to make a super simple Cotton Fall Wreath. You won’t believe how easy this wreath was to make!
Materials:
(I’ve included affiliate links for your convenience. I earn a small percentage from a purchase using these links. There is no additional cost to you. You can read more about affiliate links here.)

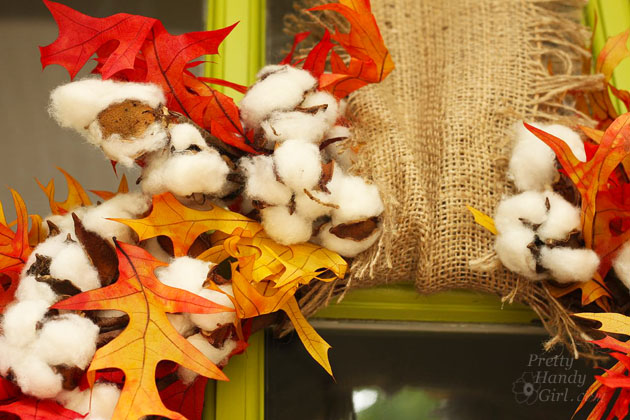
- Real Cotton Wreath Base
- Dried Preserved Fall Leaves (sometimes you can find these at your local florist or grocery store)
- Burlap Ribbon
Instructions:
This wreath was so simple to create, I didn’t take step-by-step photos. Gasp!
Really, it’s so simple, all you have to do is tuck preserved leaves into the cotton wreath. Yup, just tucked, no glue or anything!
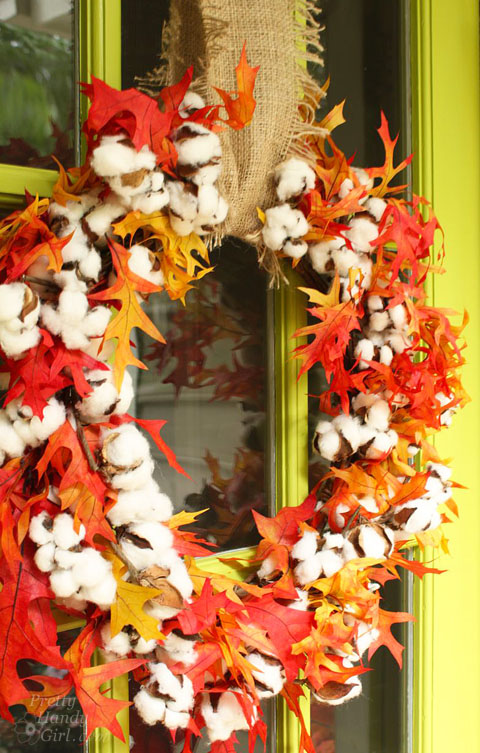
Then loop a strip of burlap (or ribbon of your choice) through the top and pin it to the top of your door using a flat thumbtack.
See, wasn’t that super simple?
A red ribbon would also look beautiful with this wreath.
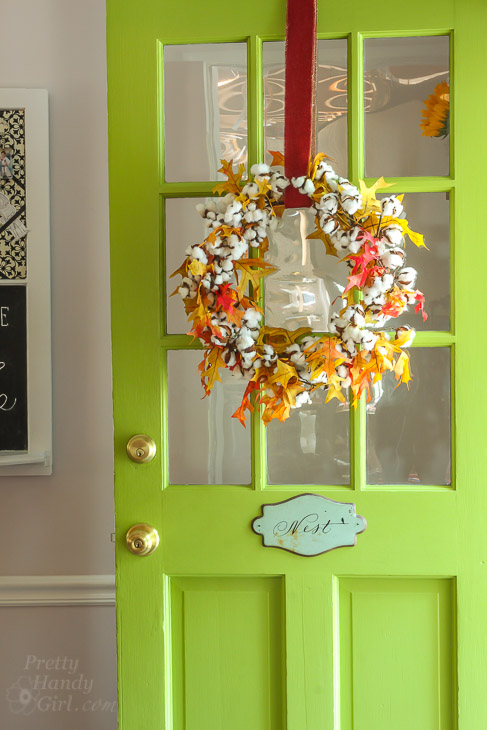
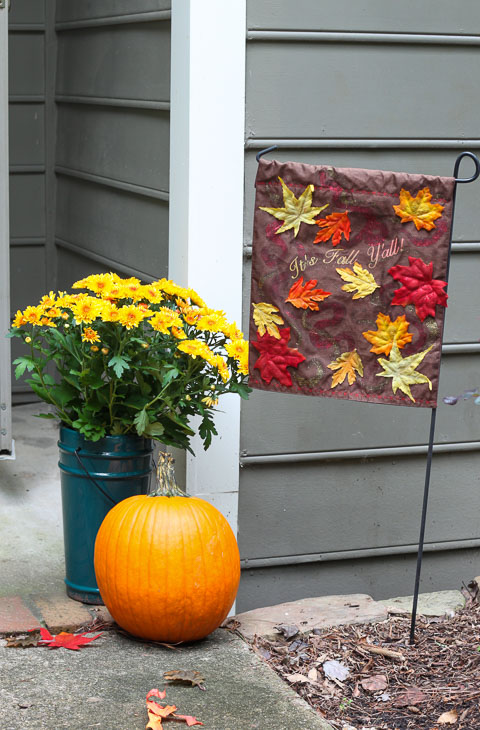
To give my entry a little extra decor, I added a few colorful items.
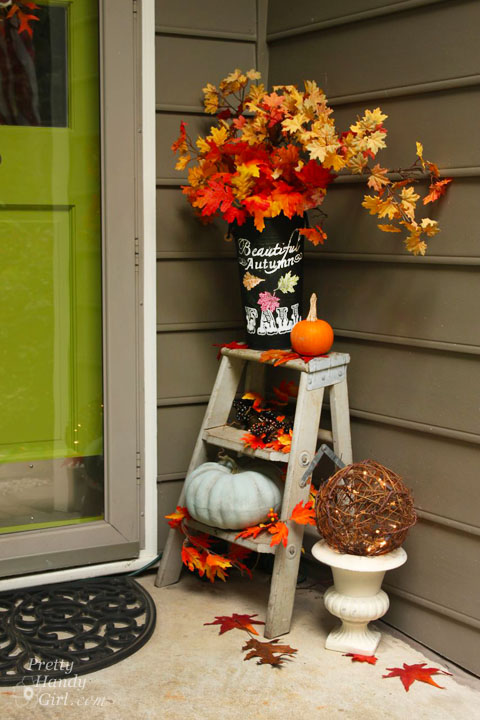
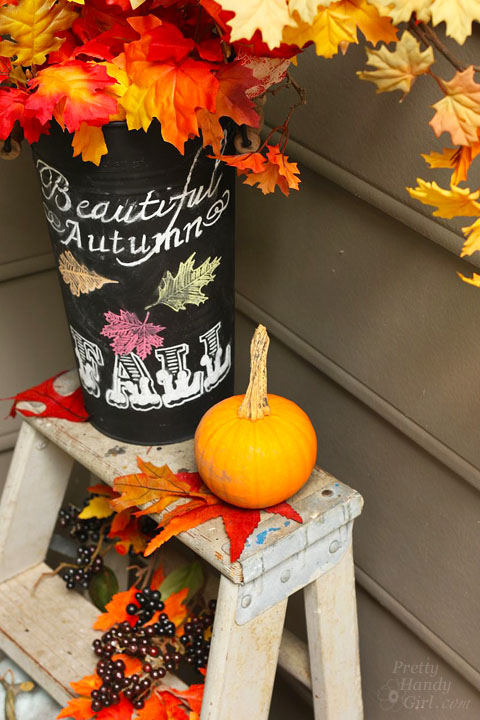
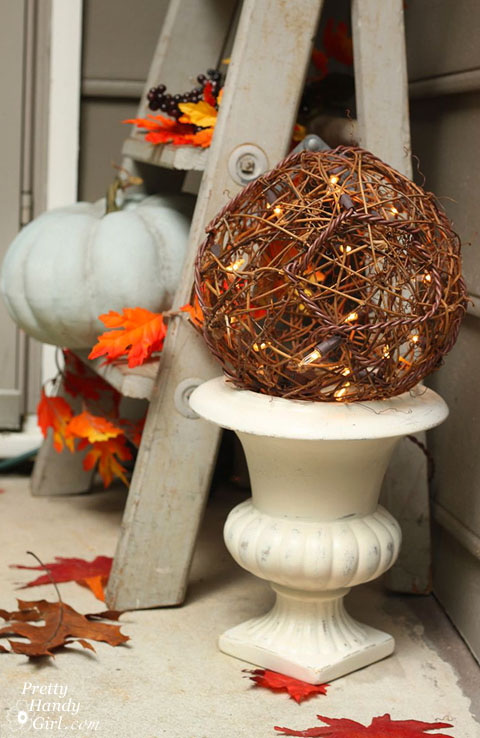
A little step ladder with a pumpkin and some silk flowers.
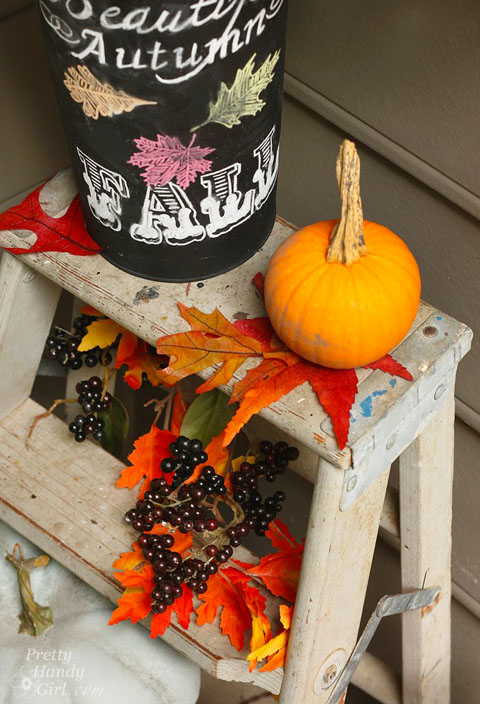
The chalkboard painted pail from my fall mantle a few years ago.
A faked blue gourd sits on the bottom step, tempting people to touch it to see if it’s real.
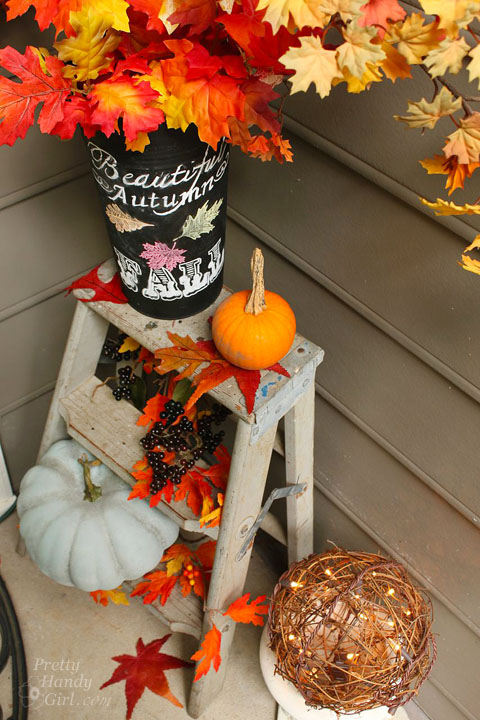
My favorite décor item is this light up grapevine sphere. It adds a beautiful warm glow after dark.
Have you decorated for fall yet? Have cooler temperatures arrived where you are? If so, please mail me some of your fall weather!
![]()
Want more Fall Wreath inspiration? Enjoy these 24 more Fall wreath ideas:


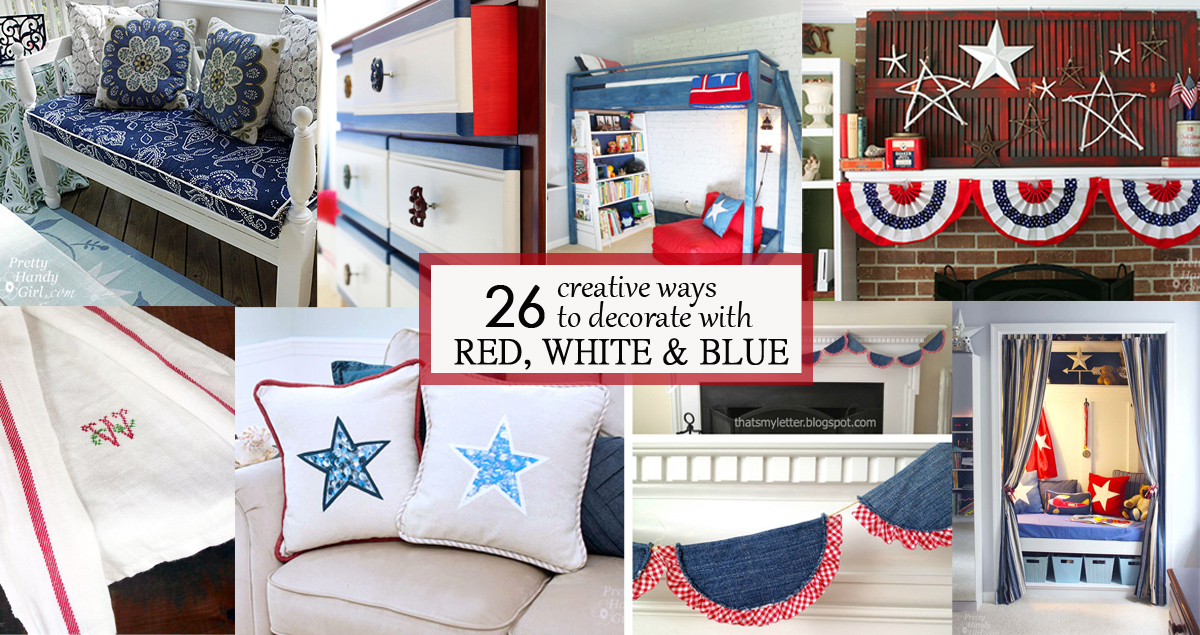
 Red and Blue Star Pillows


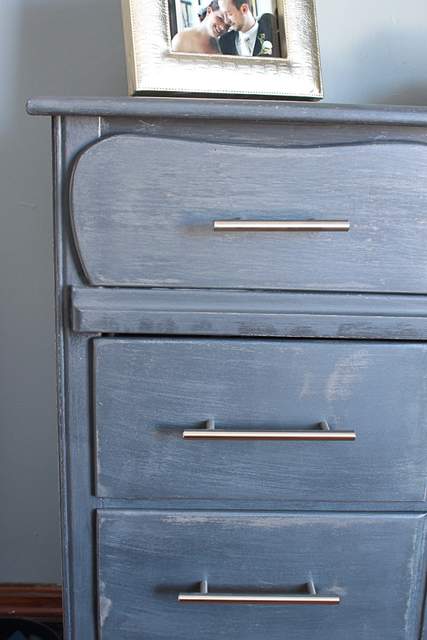
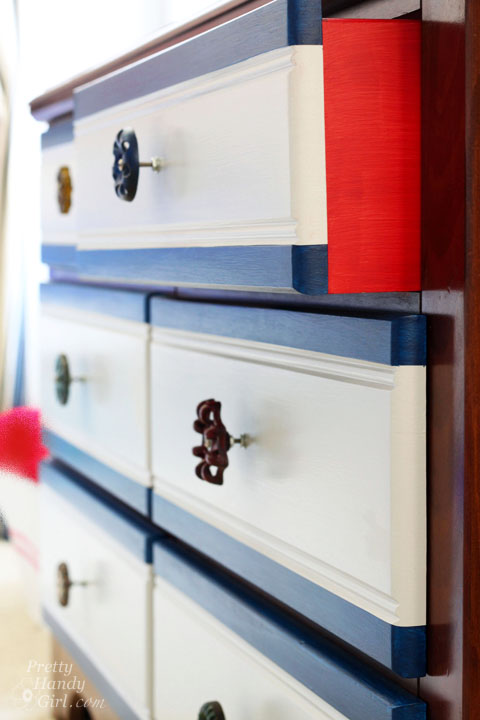 Add Colors to an Old Dresser
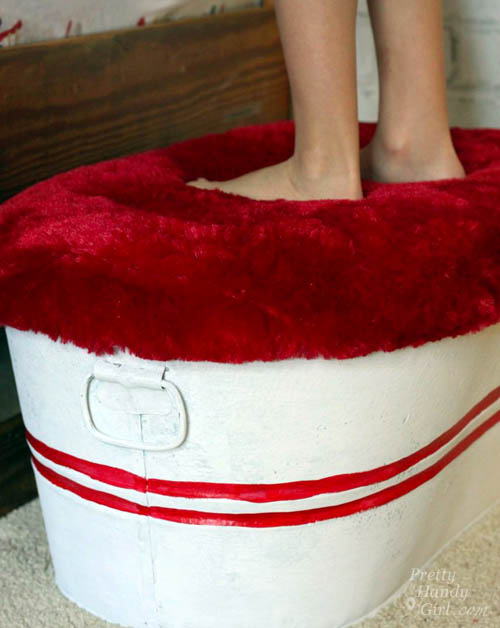
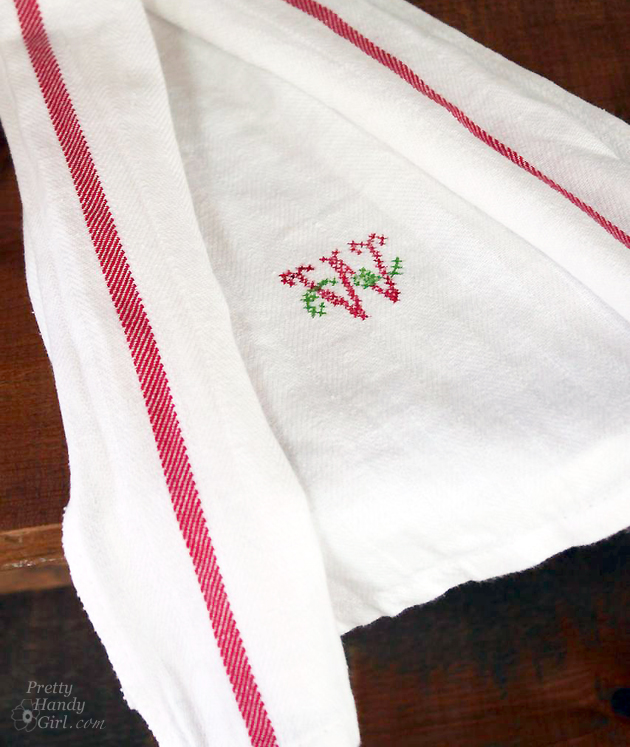 Make this Faux Cross Stitch Tea Towel

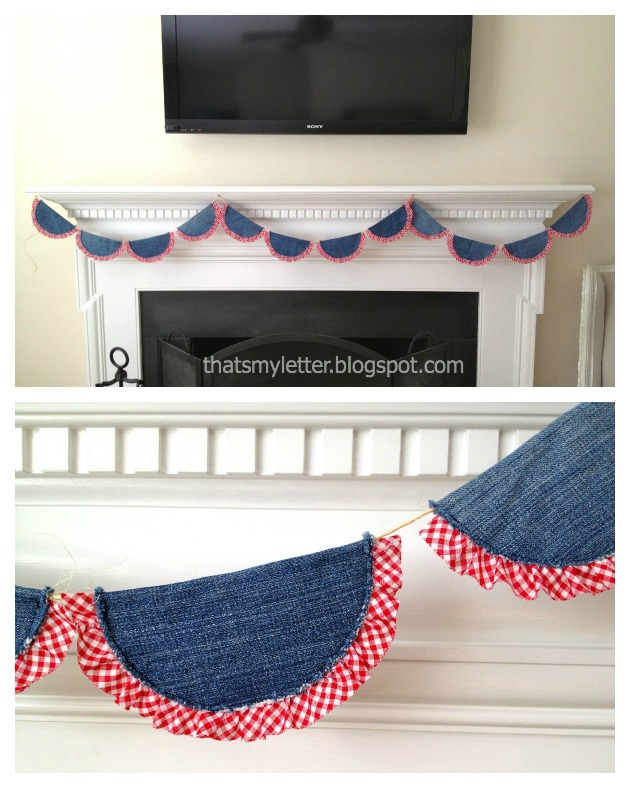 This Patriotic Denim Bunting Tutorial
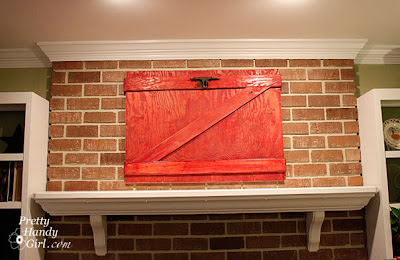 A Red Decorative Barn Door

 Make your own Blue DIY Art
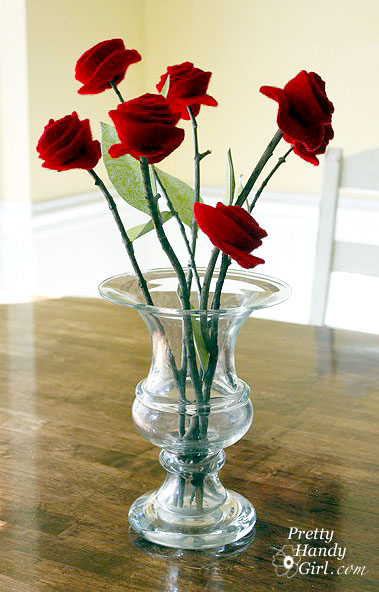 Red Wood Roses on a Stem


 Hi, I’m Sheri
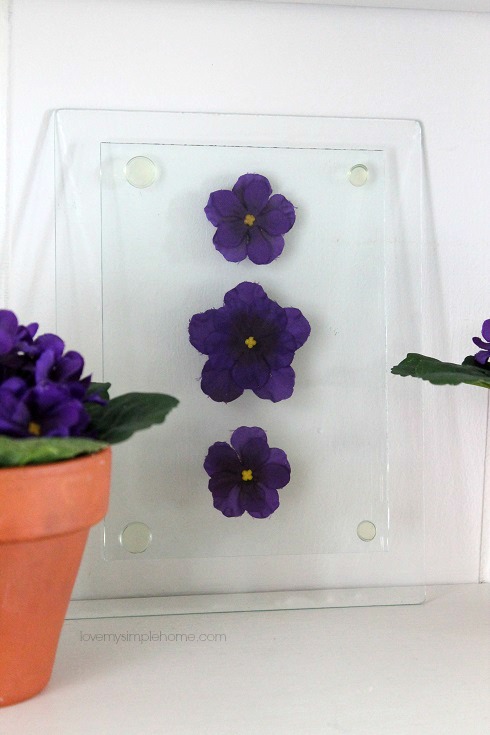
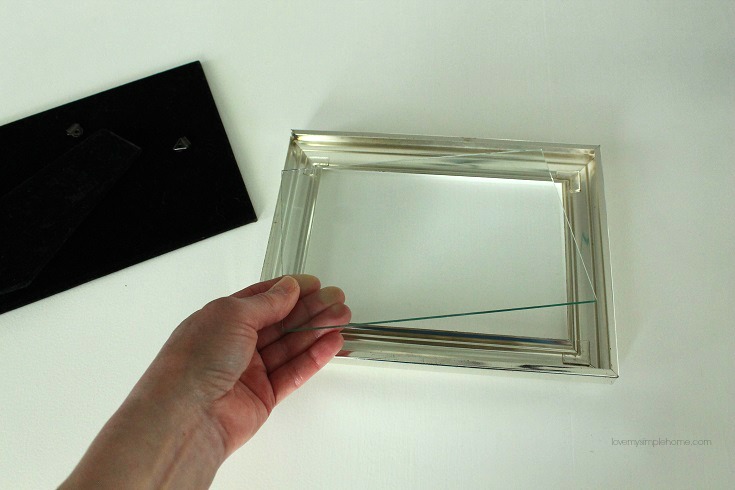
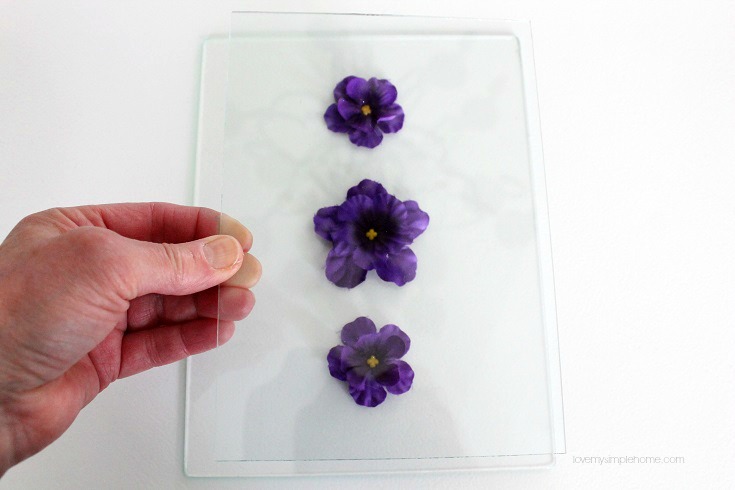
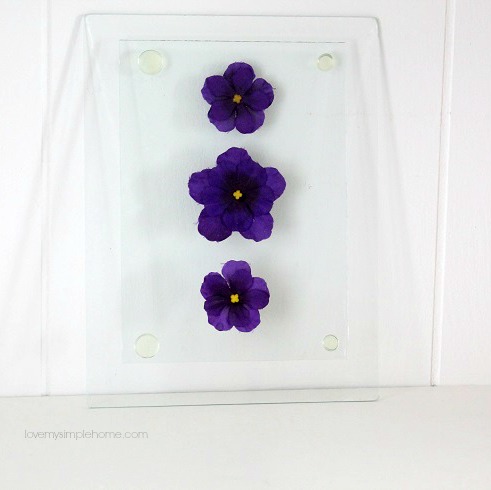
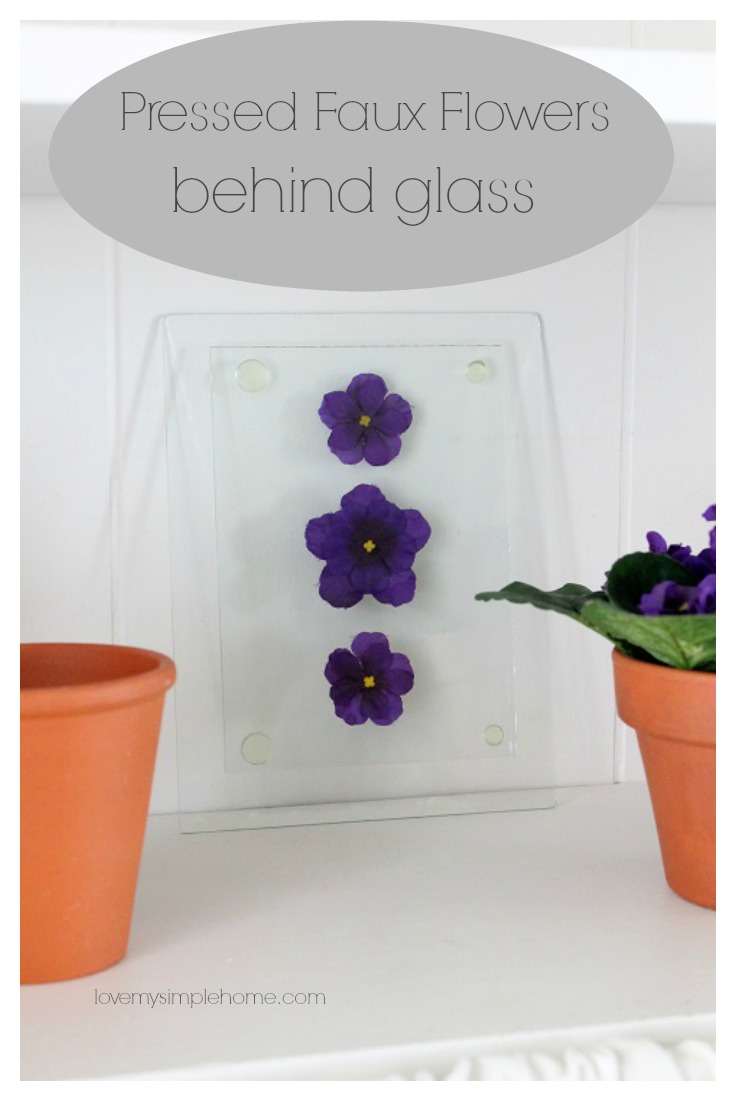 Pressed Faux Flowers


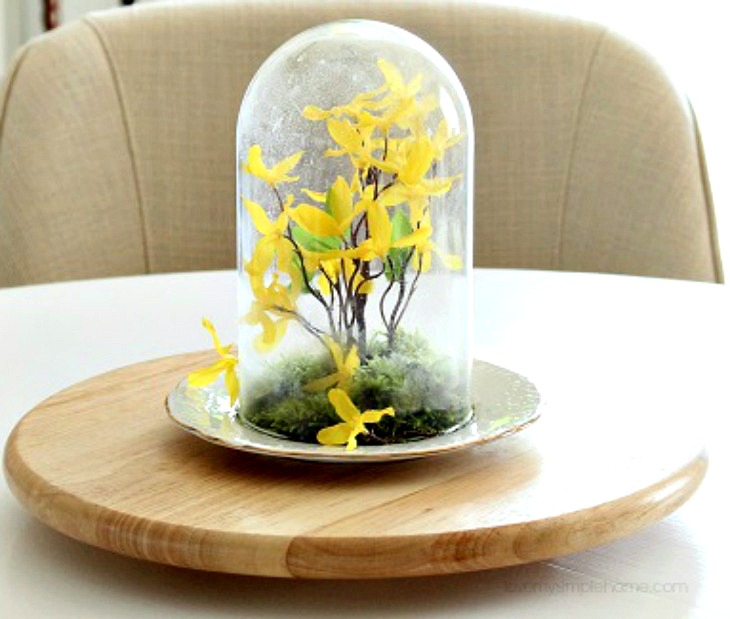
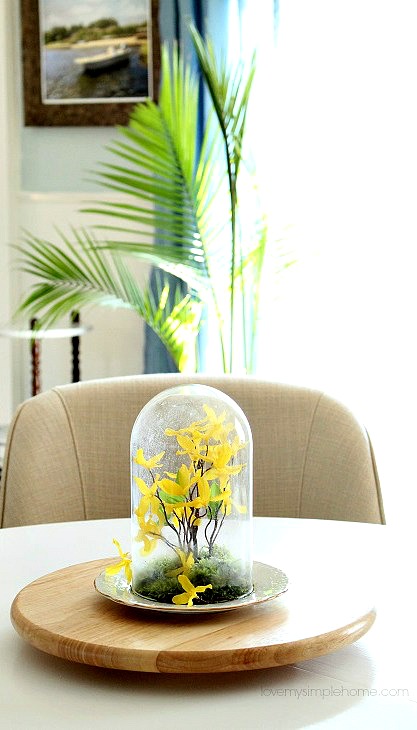
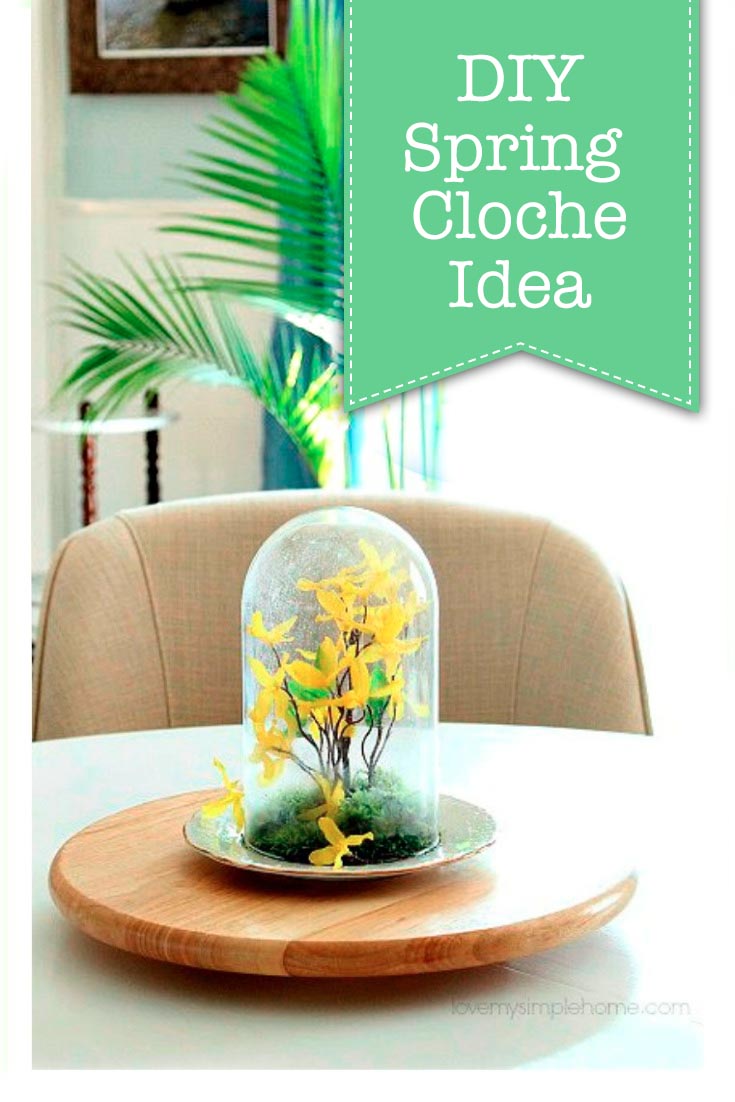 Spring Cloche Idea