Make Your Own Clock Sign
Making a clock is an easy project. All you need is a flat surface that you can drill a hole into and BOOM, you can make a clock. Let’s get started and I’ll show you How to Make Your Own Clock Sign.
Materials:
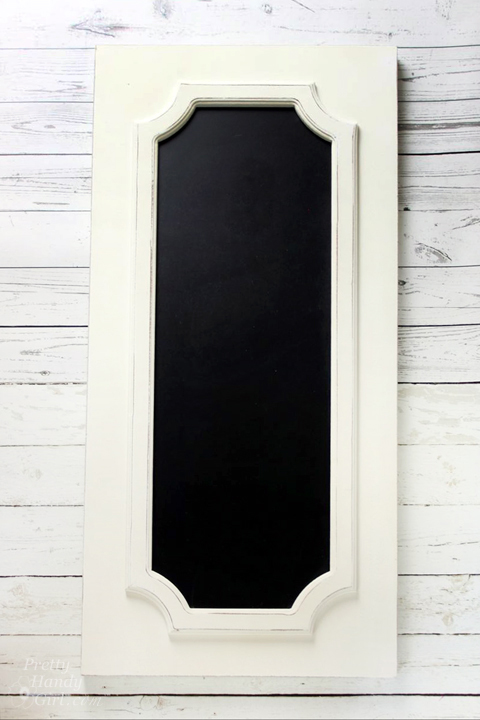
- Chalkboard sign (I purchased this chalkboard sign at Tuesday Morning.)
- Clock mechanism
- Ruler
- Drill
- Drill bit
- Chalk
- Damp rag
- Vinyl lettering and numbers
- Plate or circle template
Instructions:
Use a ruler to mark the center of your chalkboard sign near the top. (Center from the sides and use the same measurement down from the top for a balanced look.)
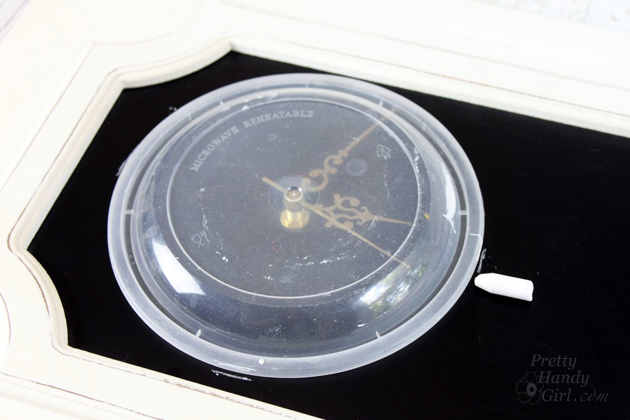
Use a plate or circle template to trace a circle for the clock face.
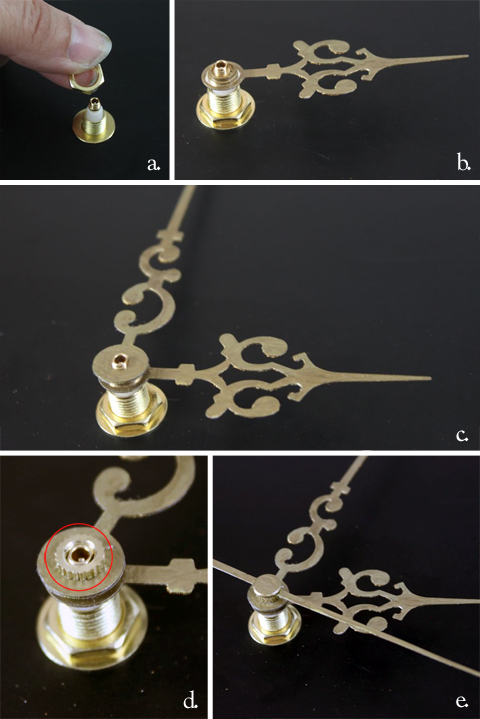
Disassemble the clock hands and parts. Lay them out in the order you removed them.
Insert the clock mechanism through the back of the hole.
Turn the sign over and a) thread a washer and nut onto the clock post. b) Add the hour hand. c) Add the minute hand. d) Thread the grooved nut onto the clock post. e) Add the second hand.
Apply 3, 6, 9, and 12 numbers around the chalk circle at the North, East, South and West positions.
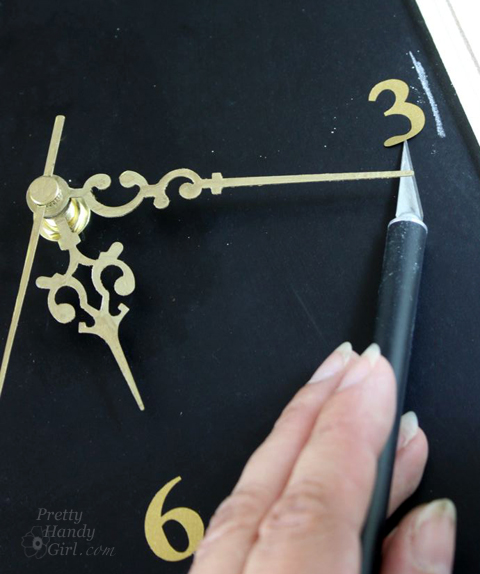
Fill in numbers or tick marks for the other hours.
Wipe off the chalk marks.
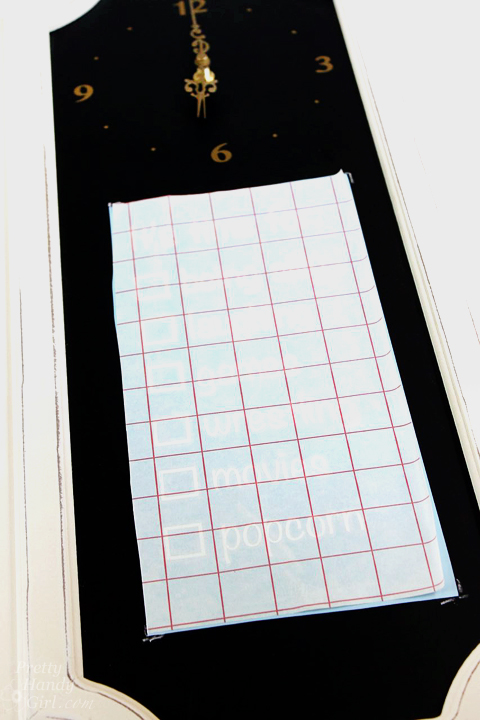
Lay vinyl letters onto the sign below the clock face.
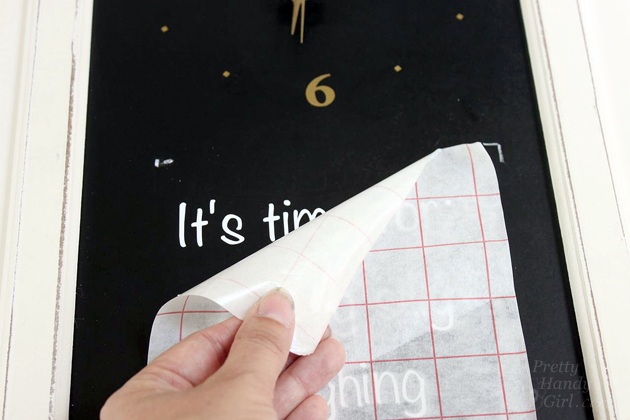
Press firmly and burnish the letters onto the sign. Gently peel off the transfer paper.
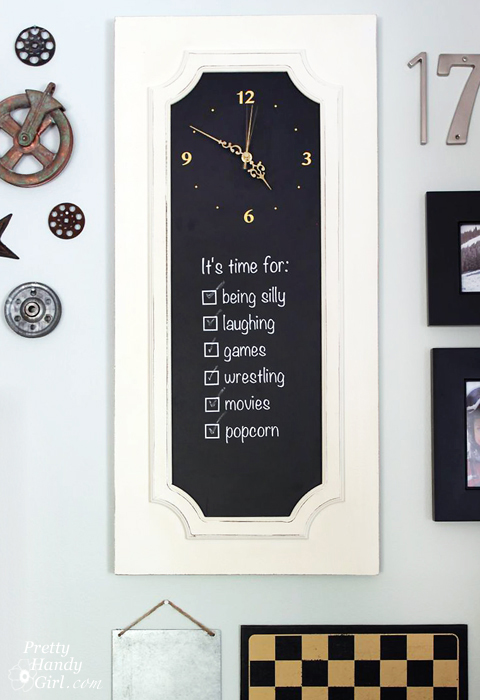
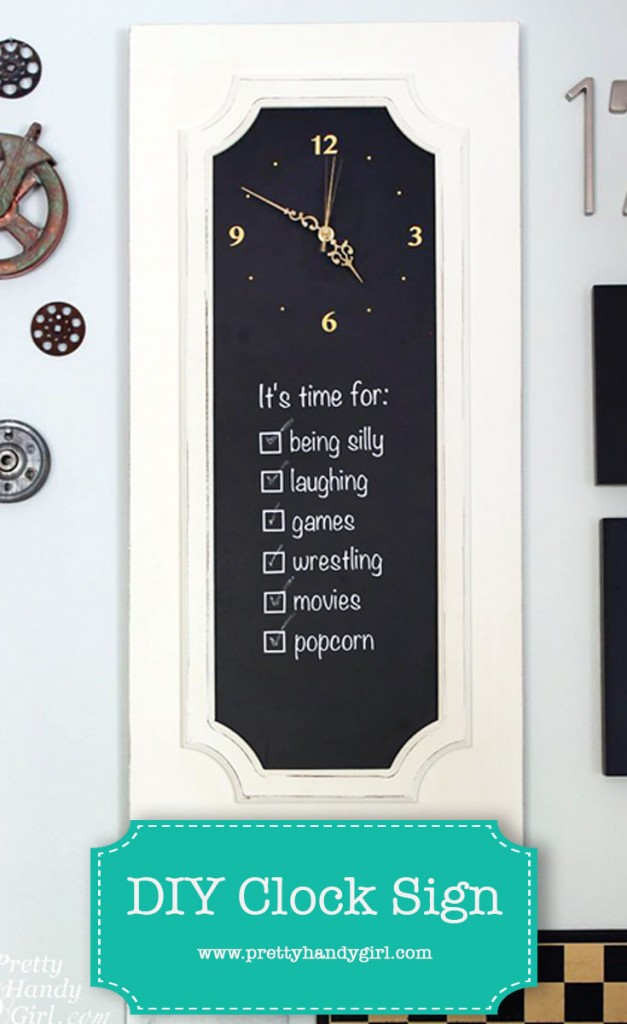
Check off all that apply ;-). My kids think every night is time for being silly, laughing, games, wrestling, movies and popcorn!
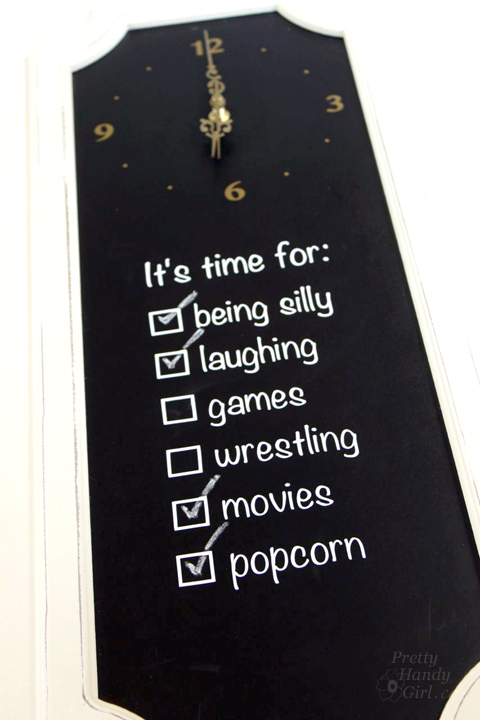
Our clock sign hangs happily on our new gallery wall in the living room.
Ready to Make Your Own Clock Sign? What would your check boxes say?
![]()
Pin for later!


I like it! and with all the clever things going on out in the world! I have a feeling this is one I could actually get done! thanks!
That’s a darling clock sign. What a great idea for kids to check off summer time fun!