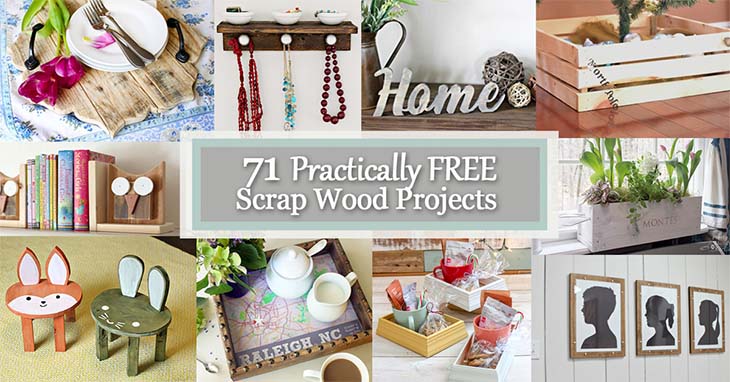
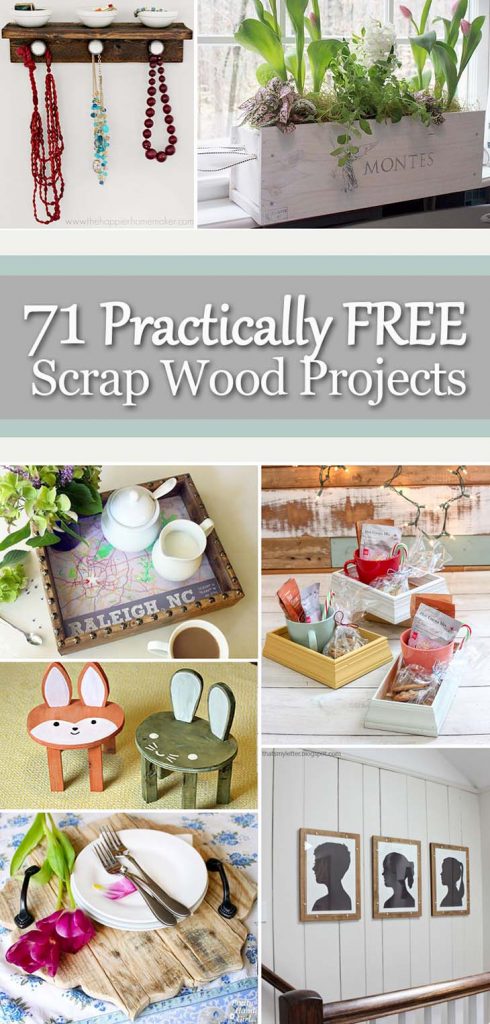
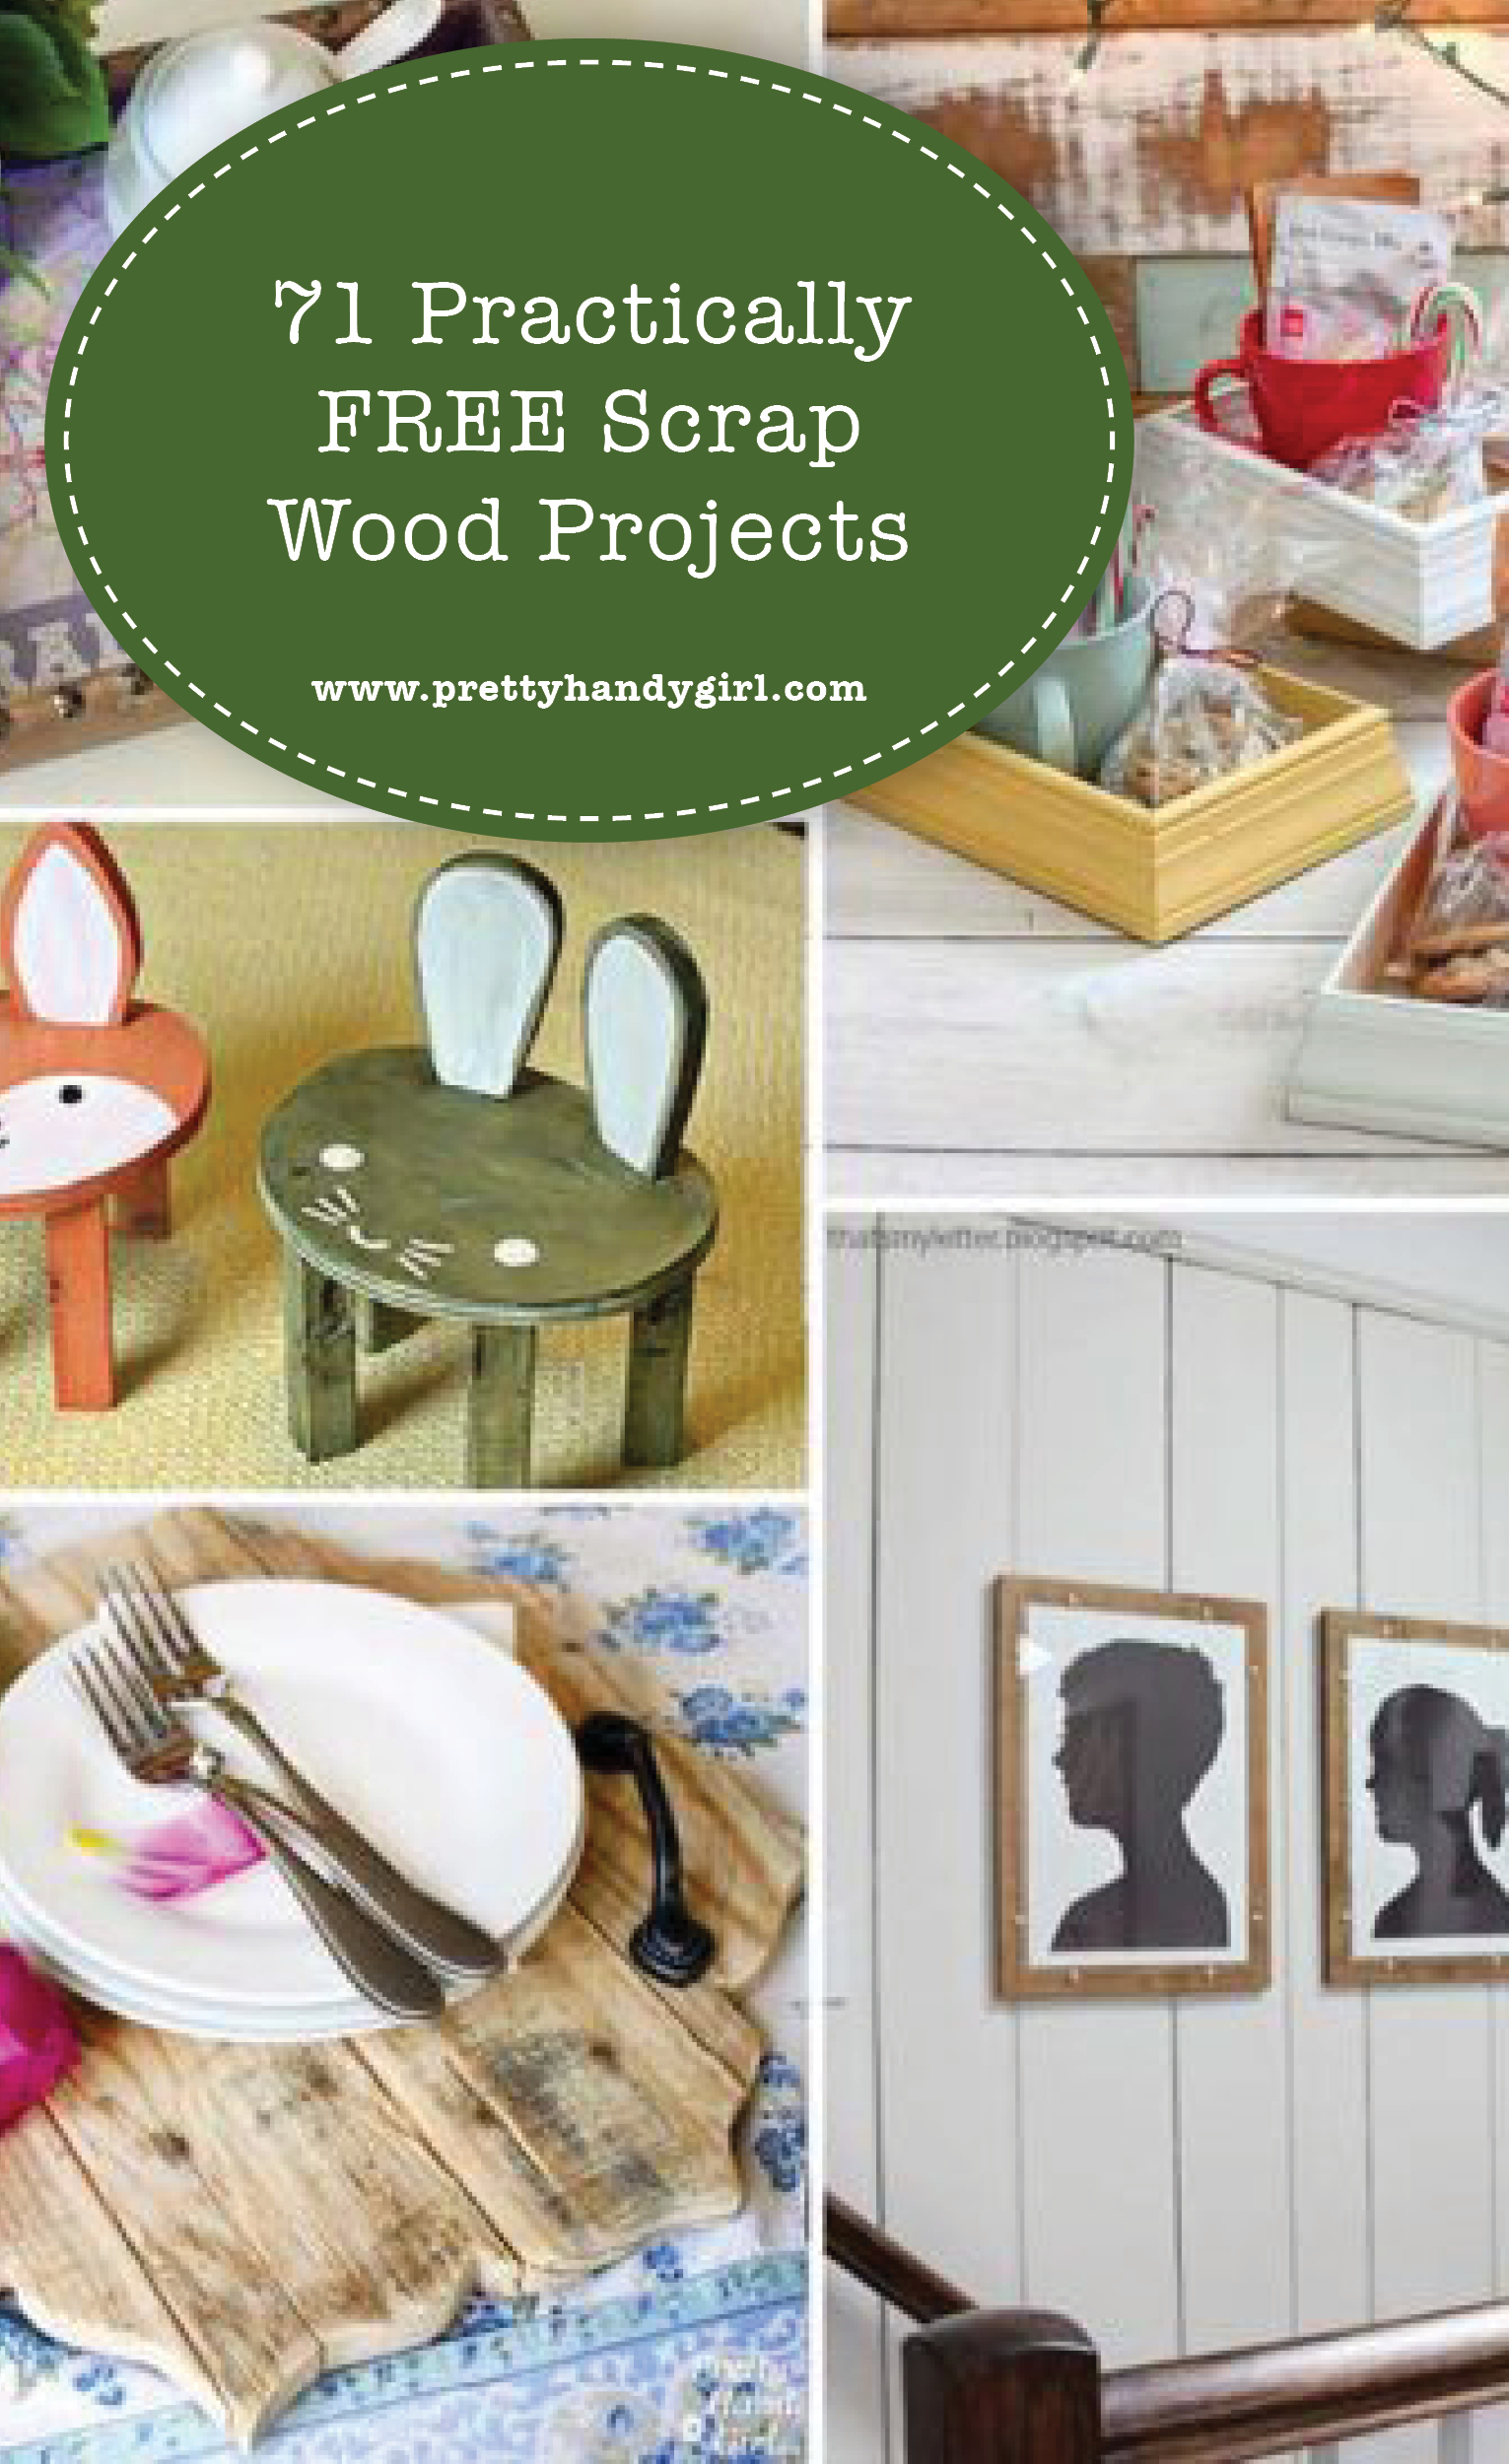
71 Practically FREE Scrap Wood Projects

If you make things out of wood you know almost every project leaves scrap wood. Why not use up those scraps by making some of these 71 Practically FREE Scrap Wood Projects?
71 Practically FREE Scrap Wood Projects71 Practically FREE Scrap Wood Projects

These projects definitely won’t break the bank and they will keep the scraps out of the trash. As a bonus, most make a great gift idea. Enjoy!
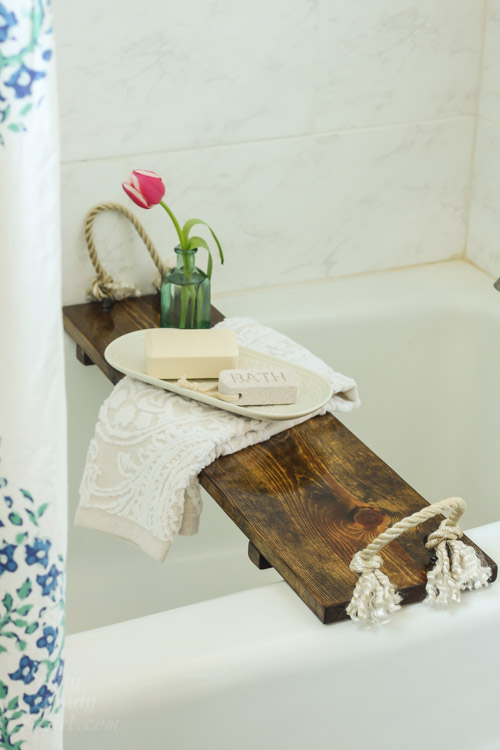
build your own rustic wood bathtub tray pinRelax in style with this Rustic Wood Bathtub Tray.


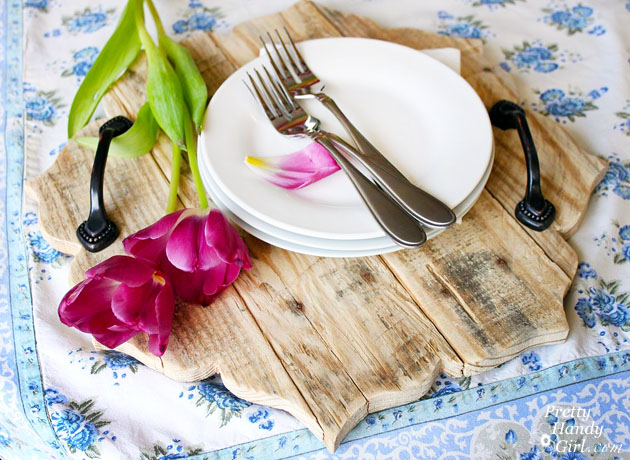
rustic serving tray tulips

 This Rustic Pallet Serving Tray is beautiful and functional.
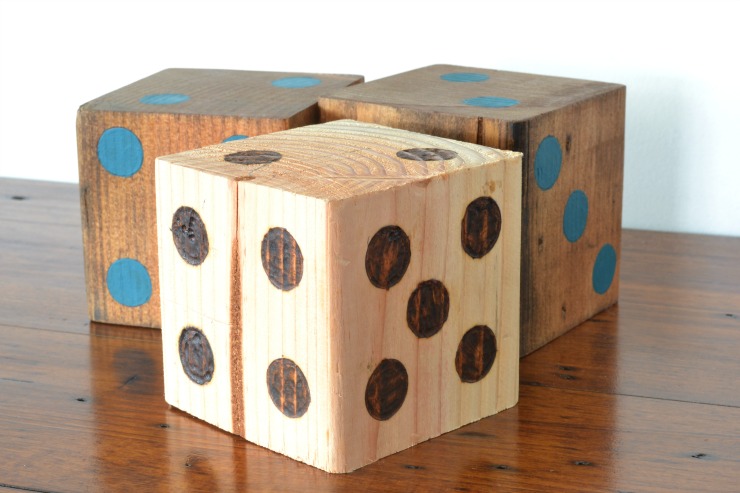
DIY yard diceHave some family fun with these DIY Yard Dice.
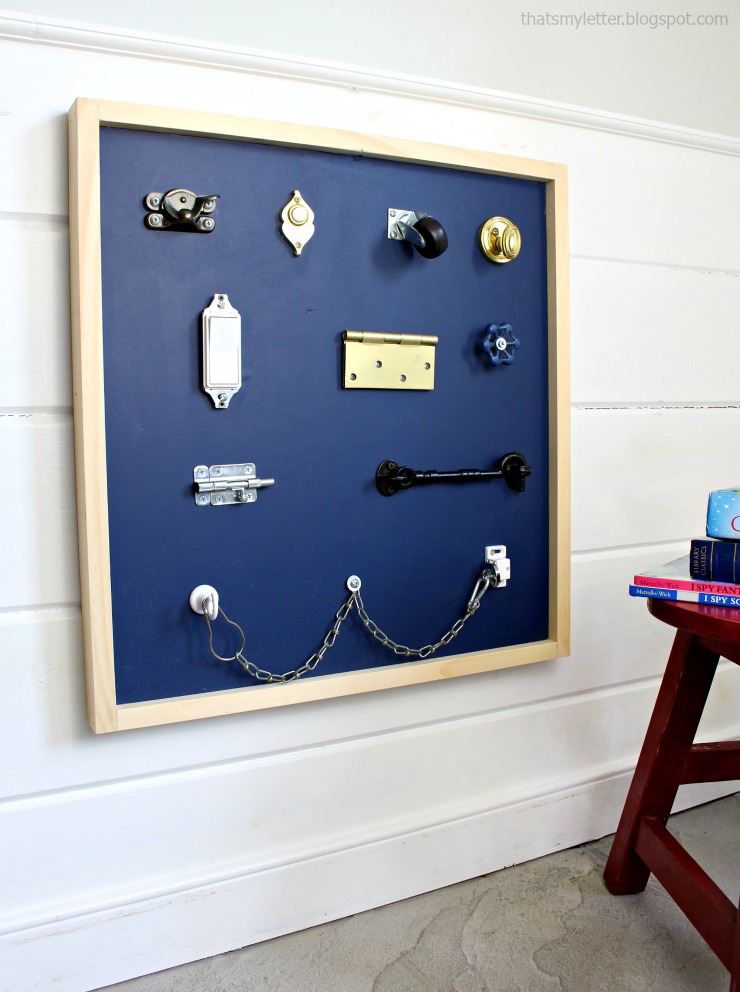
 

switches and locks board 3Make this Switches and Locks Playboard for a little one in your life.
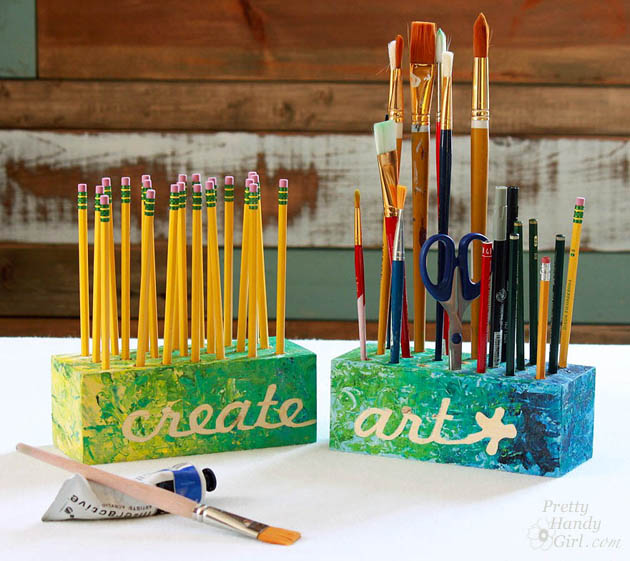
 

create art block holdersSimple Create Art Block Holders for your craft area or to give as a gift.
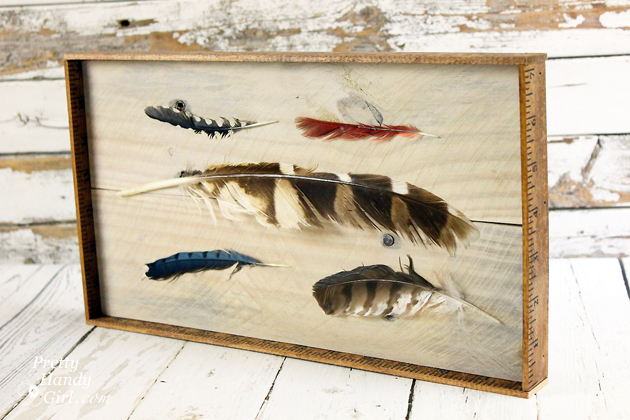
 

DIY feather artMake this unique and clever DIY Feather Art using old yardsticks and scraps.
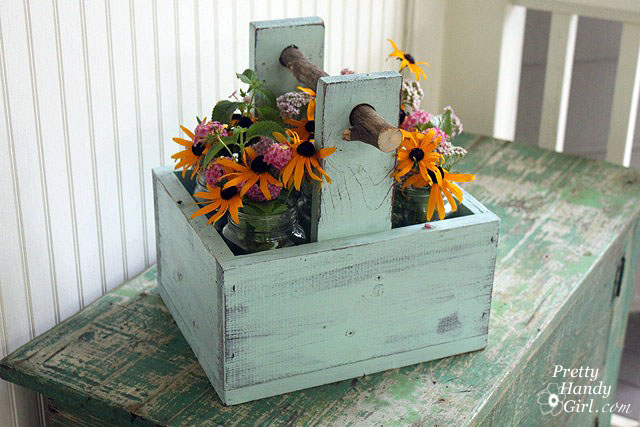
 

rustic wooden caddy with branch handleThis cute Rustic Wooden Caddy with Branch Handle can hold anything.


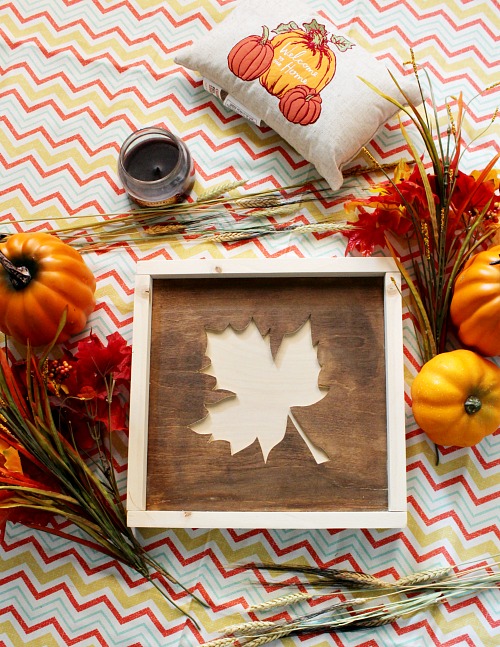
How to make an easy scrap wood fall sign

Celebrate fall with a beautiful DIY Fall Leaf Art Sign.
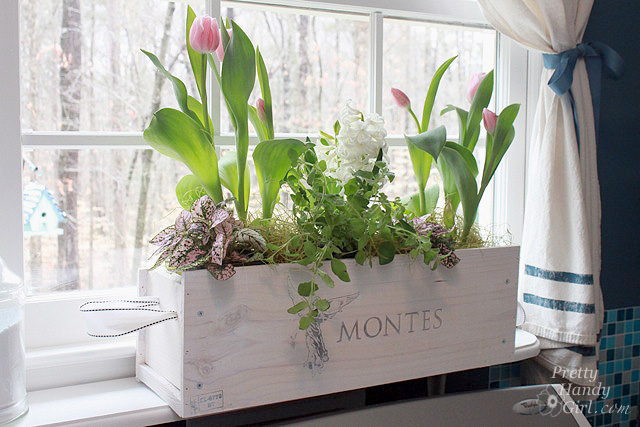
 

white washed window boxMake this White Washed Window Box from a discarded wine crate.


coffee serving tray mapLove your city? Create the perfect Coffee Serving Map Tray.
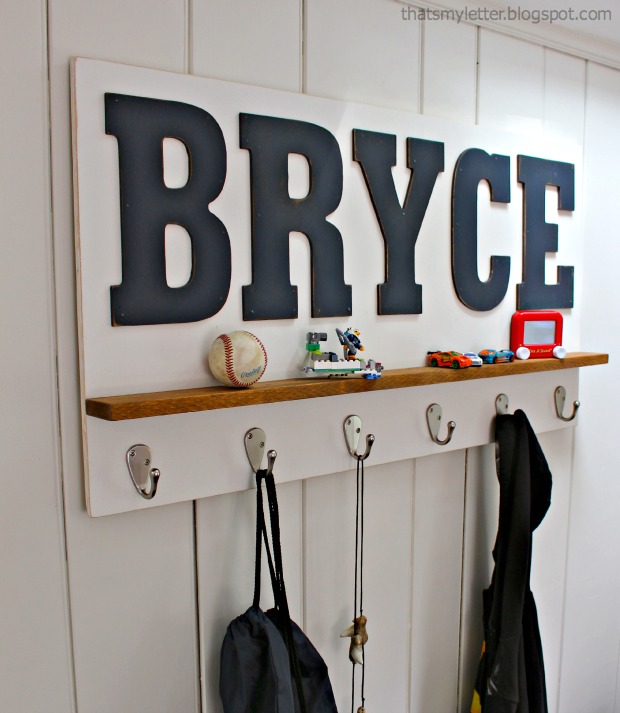
 

personalized wall shelf A few boards are all you need to make this Personalized Wall Shelf with loads of storage.
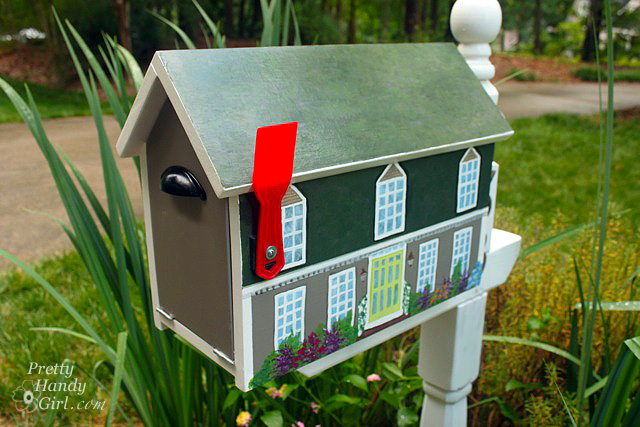
 

house shaped mailbox promoBuild an adorable House-shaped Mailbox.
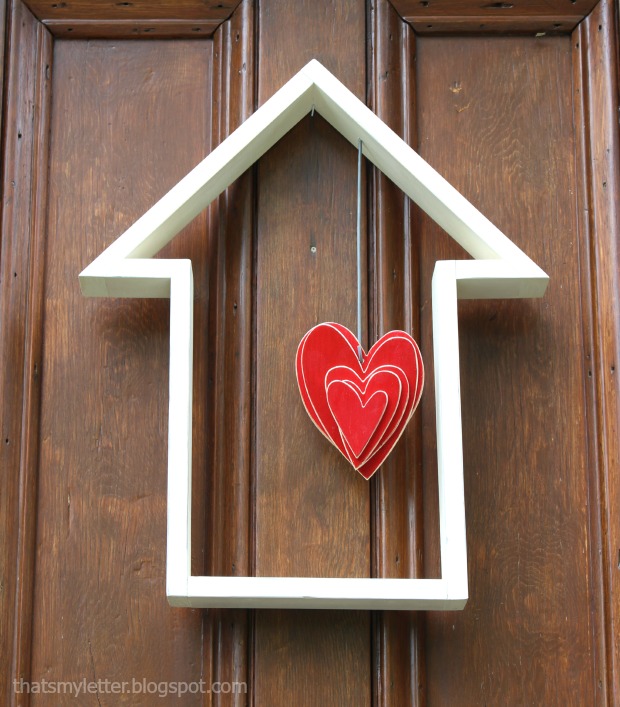
 

house shape door decor Forget a wreath, remind everyone that home is where the heart is with this House-shaped Door Decor.
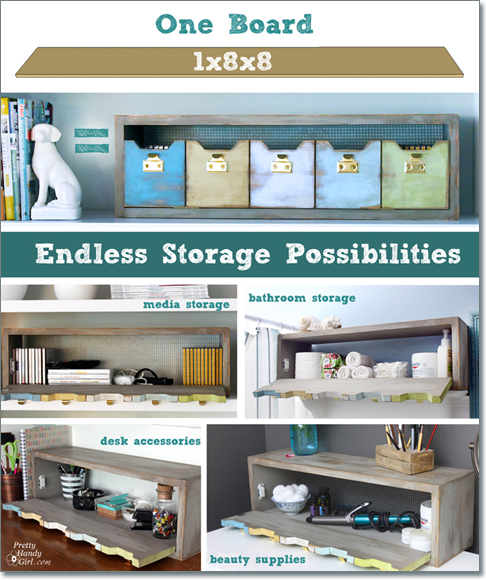
 

one board organization storageAll these amazing Storage Options using just one board!
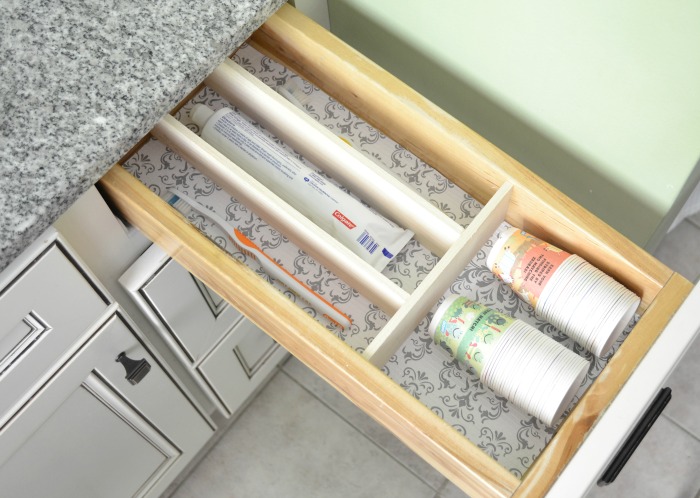
 

diy drawer dividersGet organized with these simple DIY Drawer Dividers.
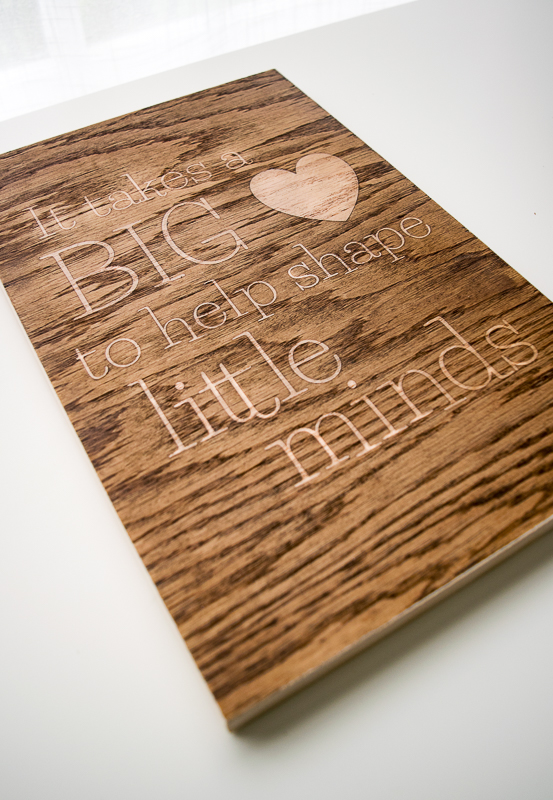
 

Wooden sign teacher giftShow your appreciation to a teacher with this Wooden Sign Teacher Gift.
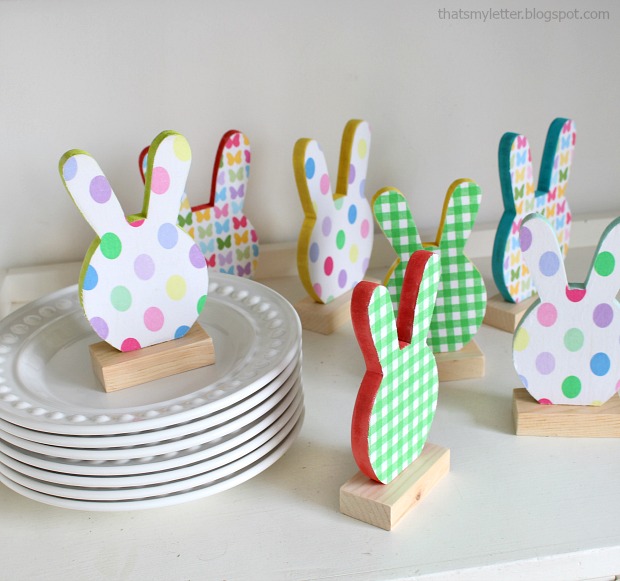
 

bunny place cards Brighten up your Springtime table with these Bunny Place Cards.
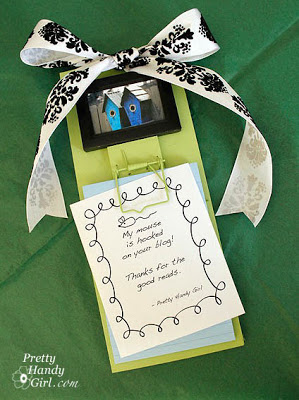
 

Mousetrap Memo Trap FinalRepurpose and make a Mousetrap Memo Pad.
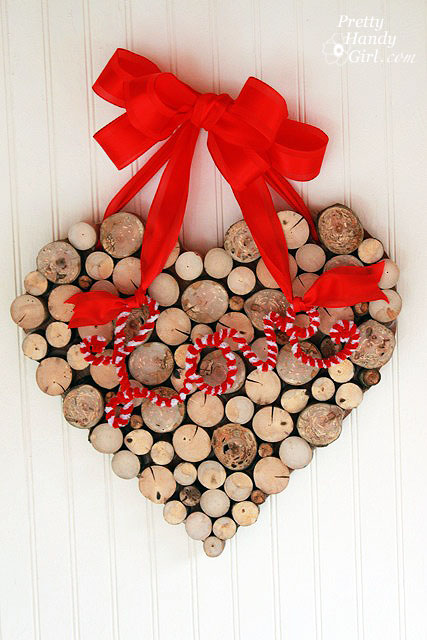
 

valentines wreath branches close up wood heart wreathMake a Valentines Wreath from tree branches for a loved one.
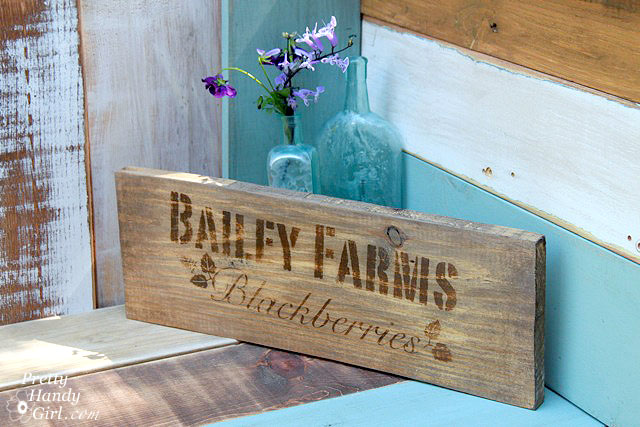
 

Bailey Farm Crate End Sign Customize this Rustic Farm Crate Sign for your home using new scrap wood (plus, learn how to age the wood.)
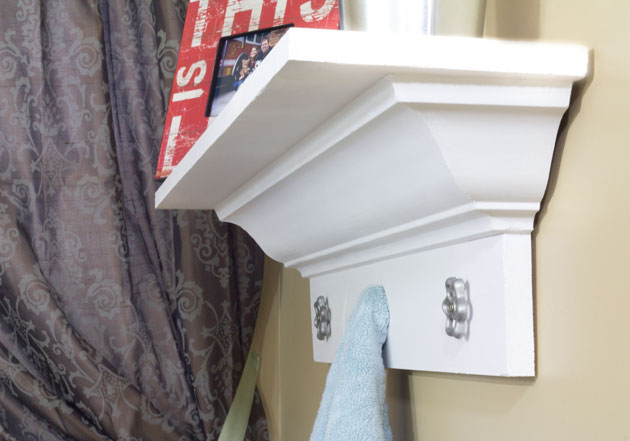
 

Decorative Crown Molding Make this Decorative Shelf using Crown Molding.
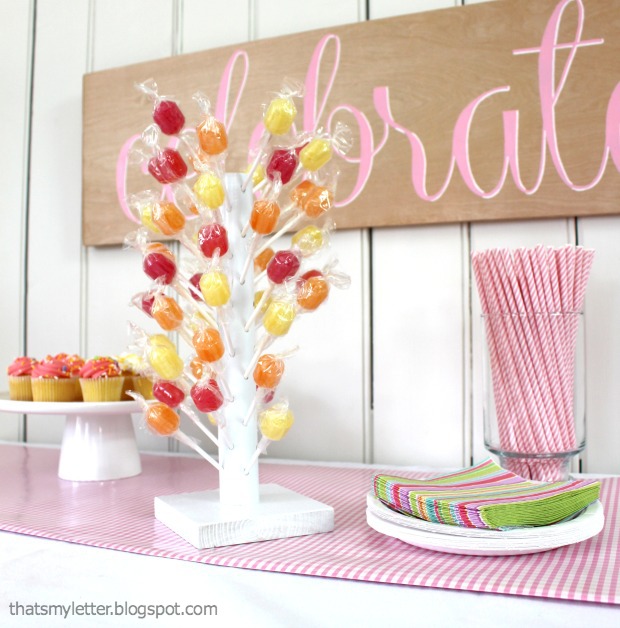
 

lollipop stand This DIY Lollipop Stand is sure to be a hit at your next party.
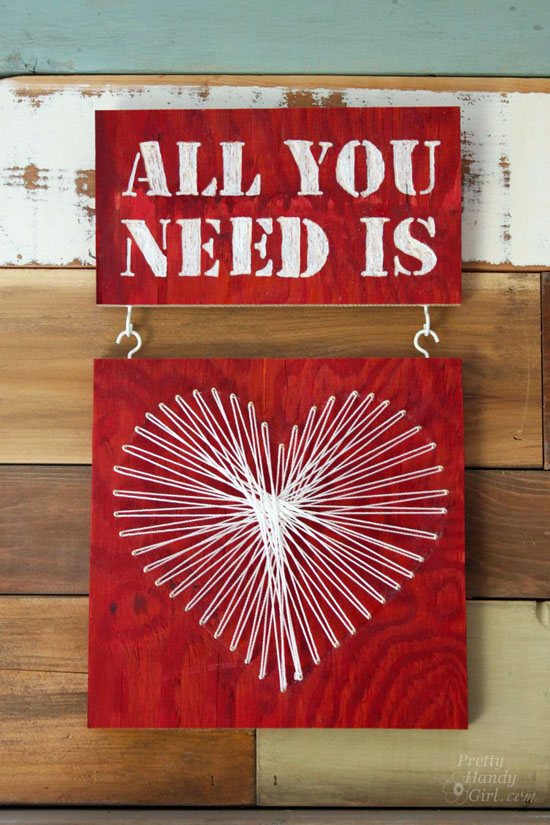
 

valentine string art all you need is love wood artShare your love with this Valentine String Art Engraving.
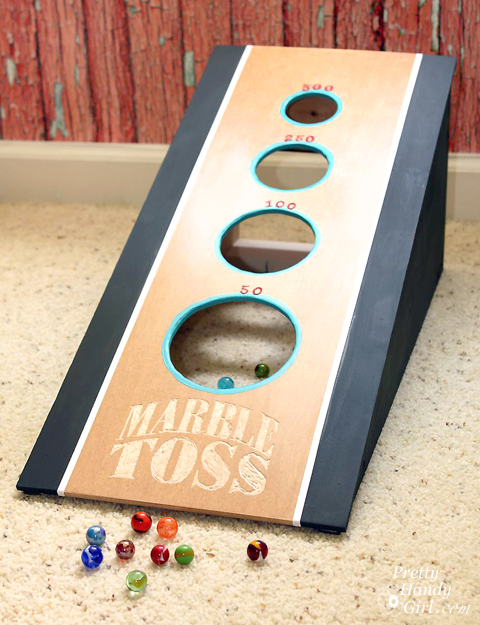
 

Marble tossThis DIY Marble Toss Game would be fun for anyone.
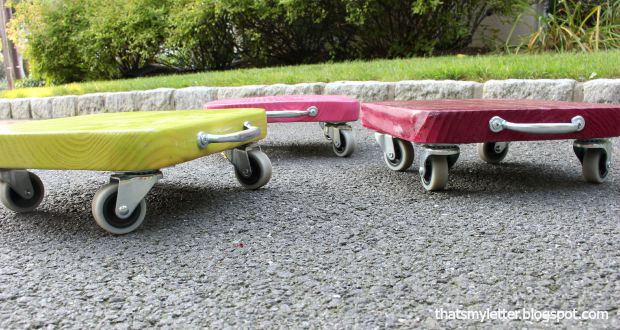
 

kids scooter clearanceBe the coolest parent around by making these DIY Kids Scooters.
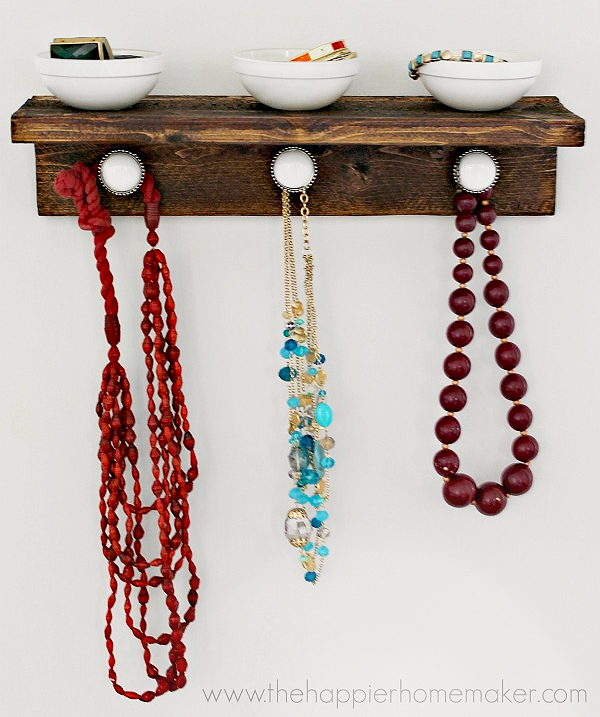
 

jewelry organizer bowlsA Jewelry Organizer is simple yet a must-have.
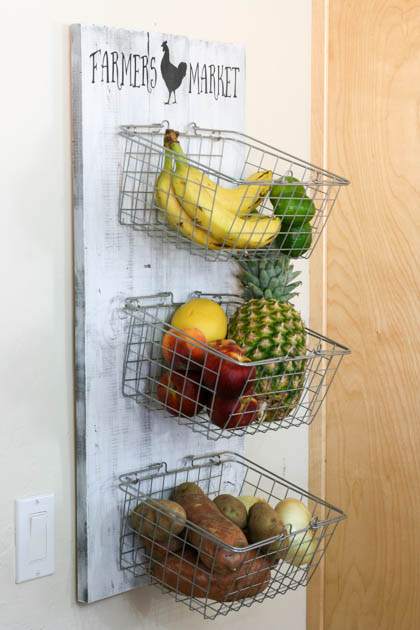
 

diy produce rackOrganize your fruits and veggies with this DIY Produce Rack.
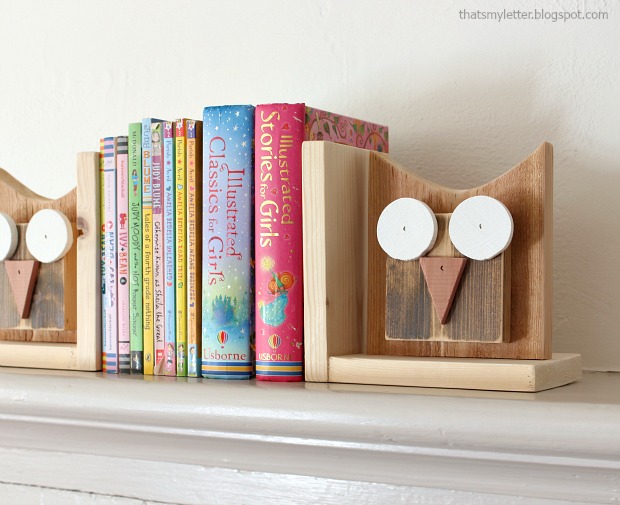
 

owl bookends These whimsical DIY Owl Bookends add fun to any room.
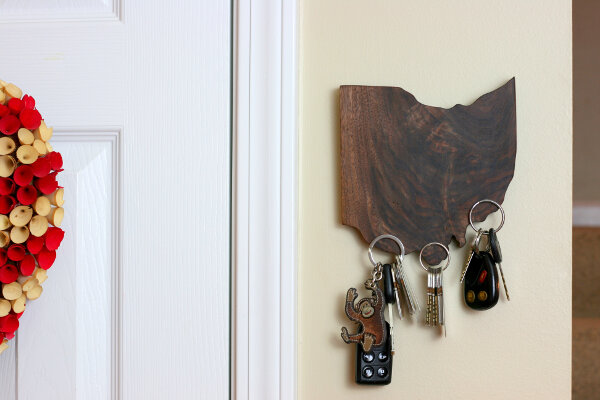
 

state pride magnetic key holder Keep your keys close at hand with this magic State Pride Magnetic Key Holder.

 

snowflake christmas trivetsThese Snowflake Christmas Trivets are perfect for your holiday dinner.
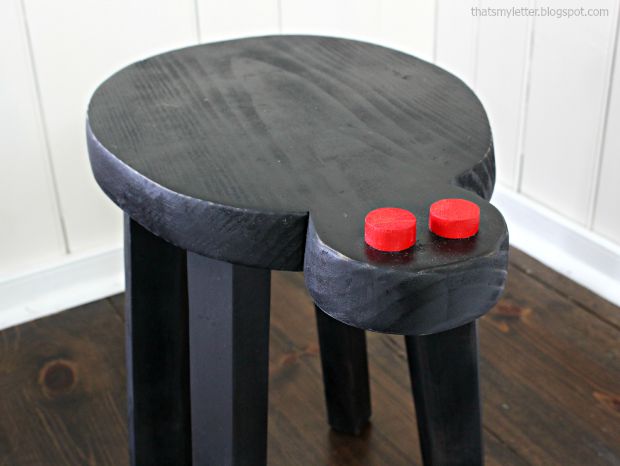
 

spider stool What kid wouldn’t love this DIY Spider Stool?
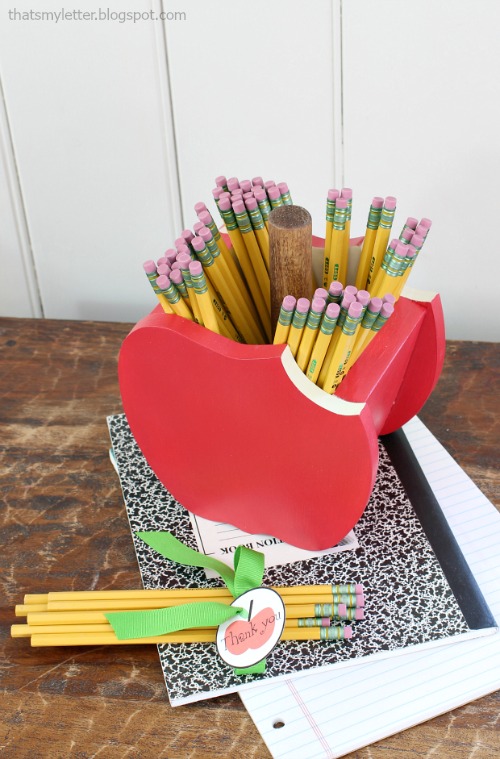
 

apple pencil holder An Apple Pencil Holder would make a great gift for your favorite teacher.
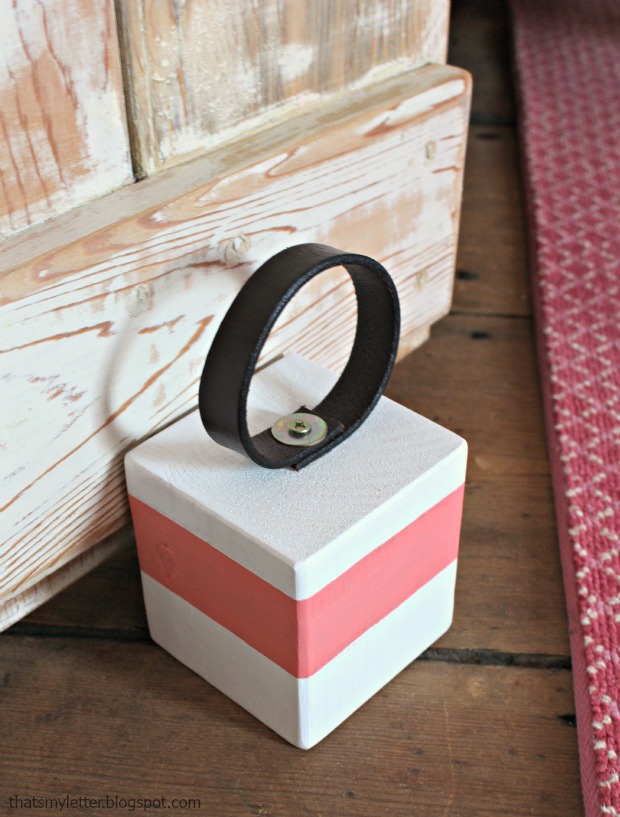
 

door stop with handle This Doorstop With a Handle makes an adorable stop that also helps keep your door open.
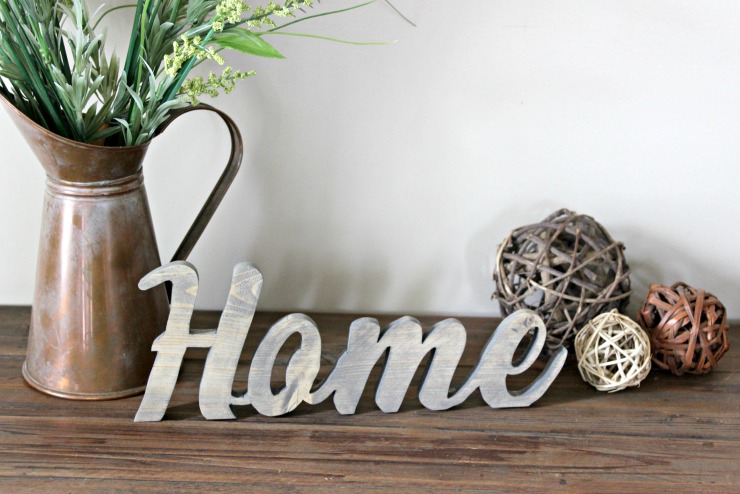
 

Rustic Home sign Super cute! This Rustic Home Sign can be made in any size using scrap wood.
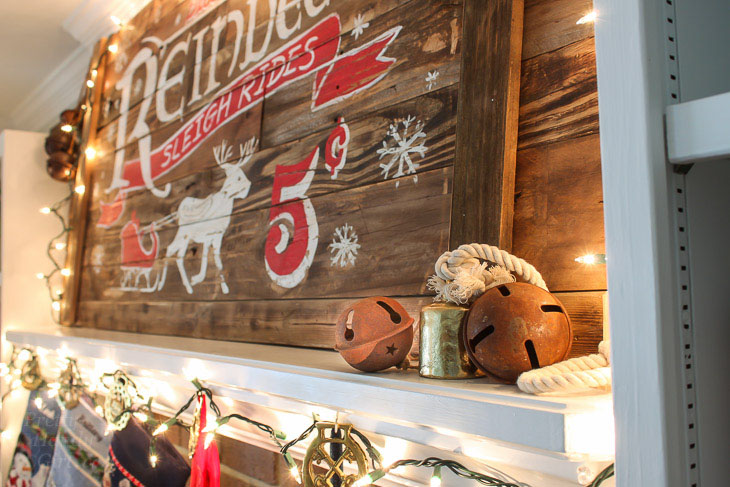
 

close up rusted sleigh bellsCreate a Vintage Rustic Sleigh Ride Sign for perfect holiday decor.
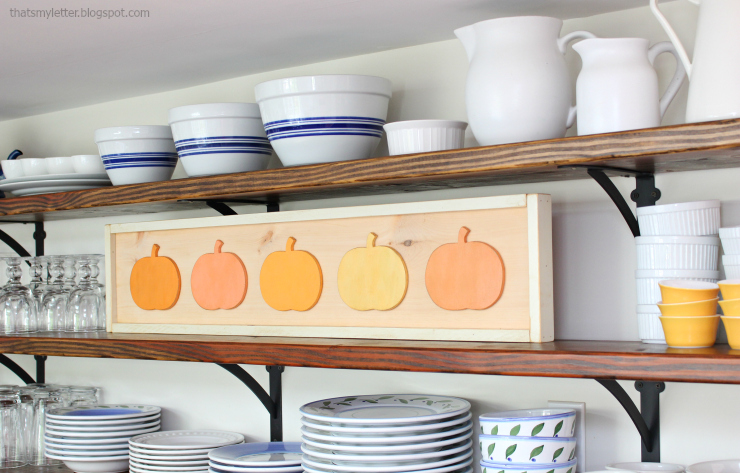
 

framed pumpkins Add some character to your room this fall with Framed Pumpkins.
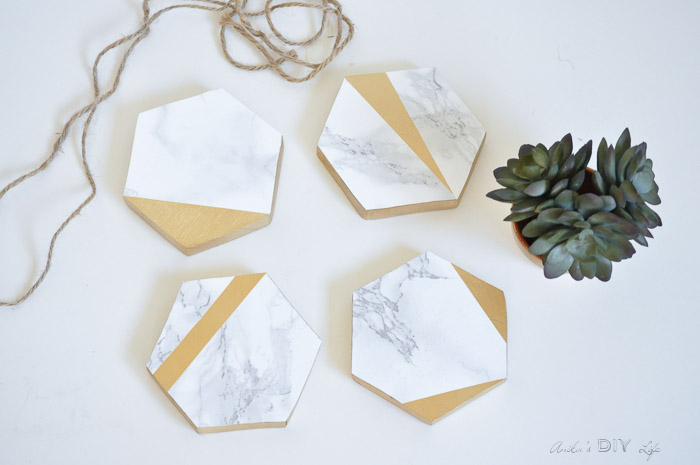
 

Gold and marble coasters Anikas DIY Life final These Easy Gold and Faux Marble Coasters are modern, clean and you can make them with scrap wood!
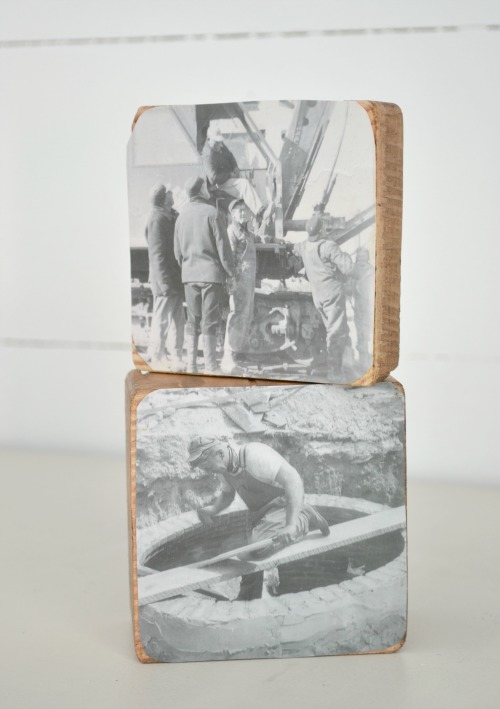
 

4x4 wood block framesMake these incredibly simple 4×4 Picture Frames to display your memories.
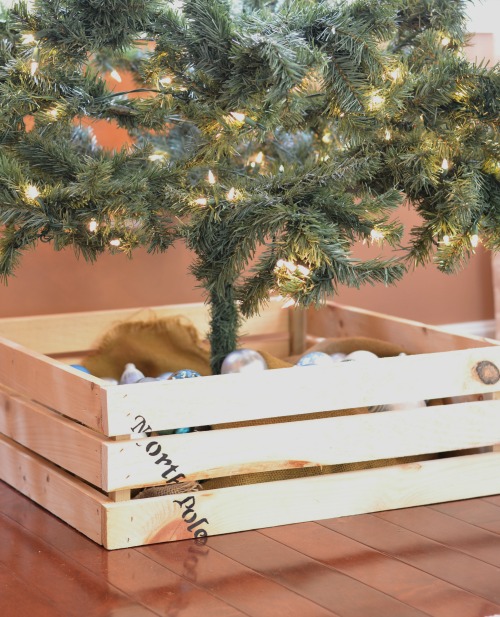
 

Crate Christmas tree boxForget the skirt, make a Christmas Tree Crate to hold your tree.
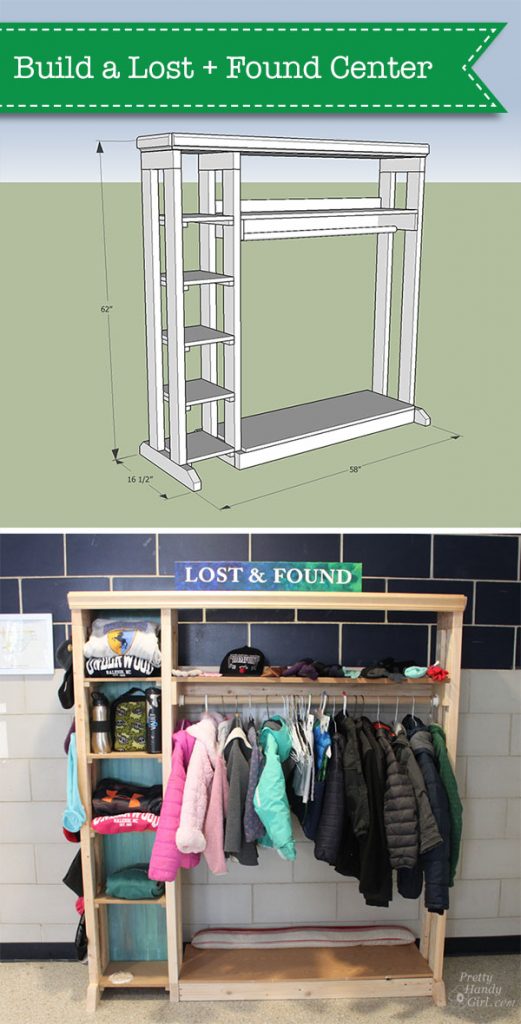
 

plans to build a lost and found centerHave a fair amount of scraps? Make this Lost and Found Center for your local school.
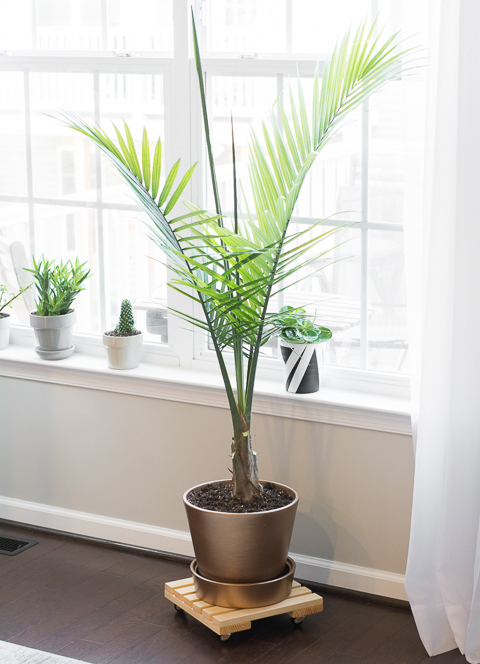
 

DIY Rolling Plant Caddy by Brittany Goldwyn Make a Rolling Plant Caddy so you never have to carry heavy planters again.
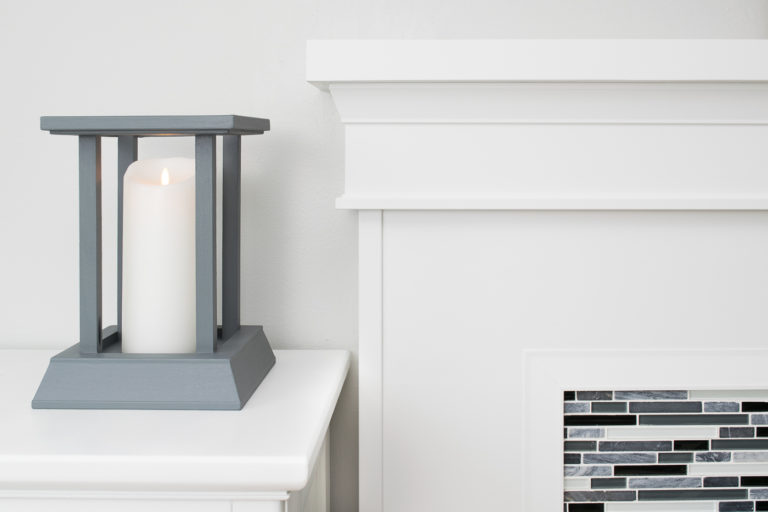
 

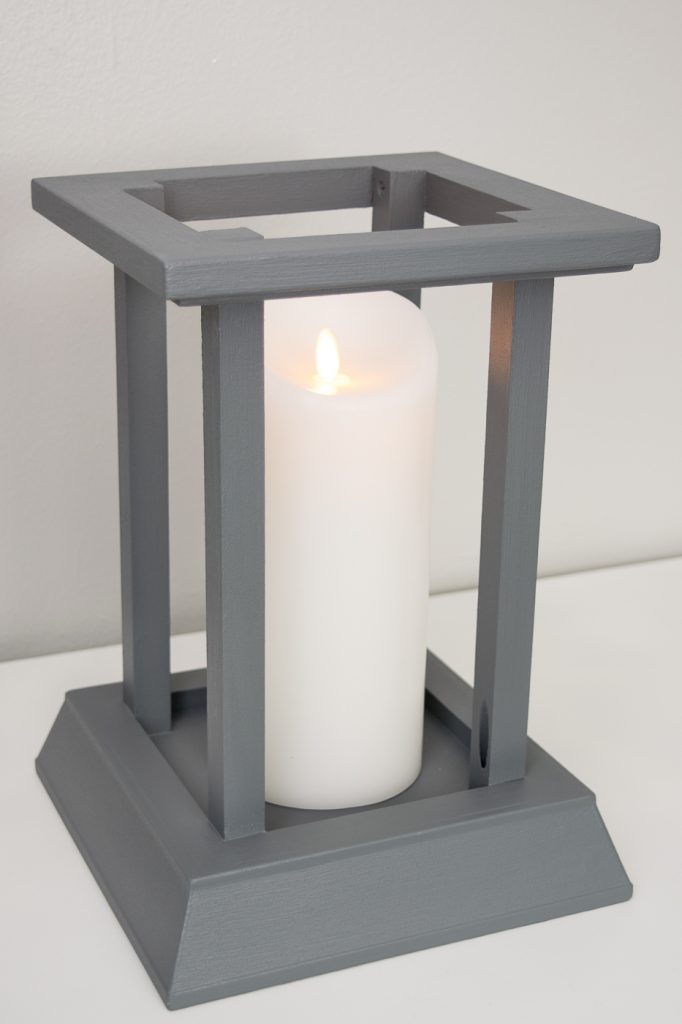
DIY candle lantern final with fireplace This Candle Lantern From Leftover Trim is sleek and modern.
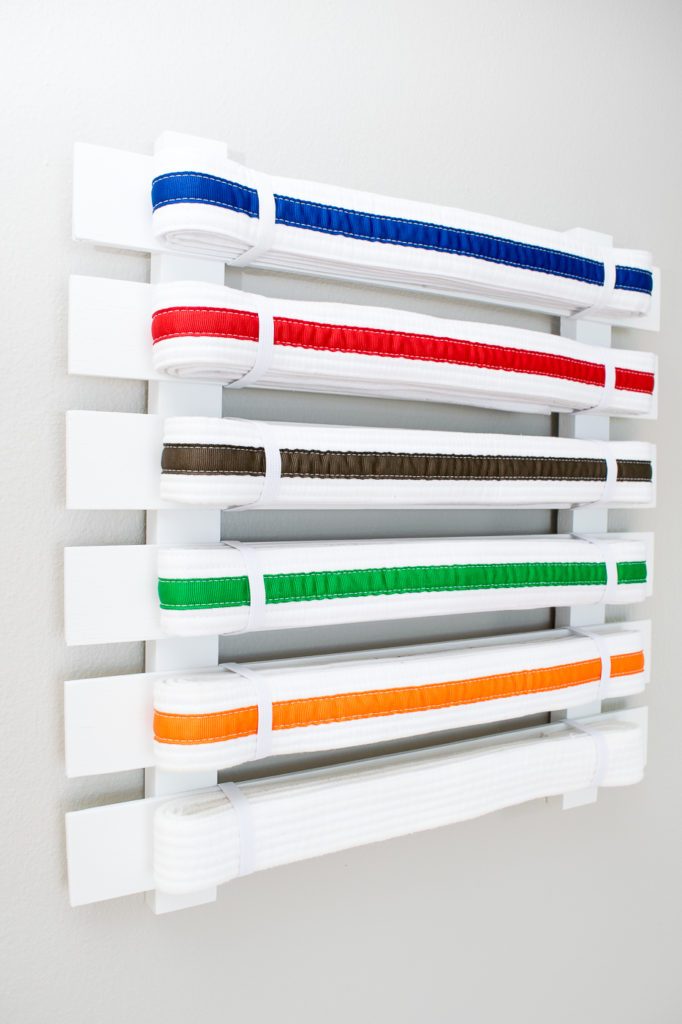
 

karate belt display final Does your kid need a DIY Karate Belt Display? Make one easily!
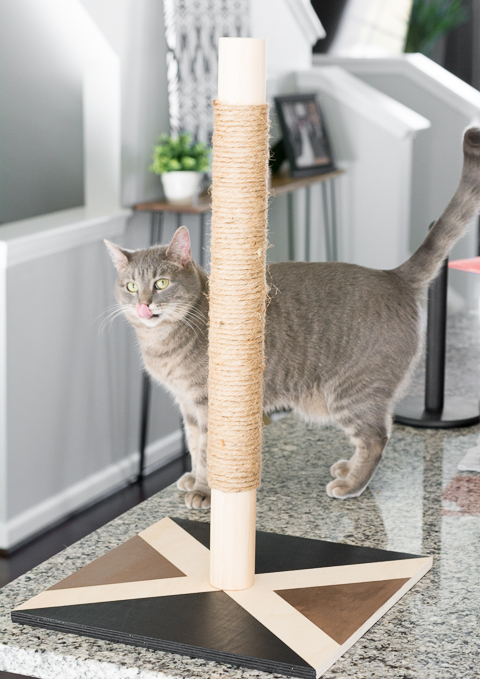
 

Modern Cat Scratcher DIY Your furry friend will love this DIY Cat Scratcher Post.
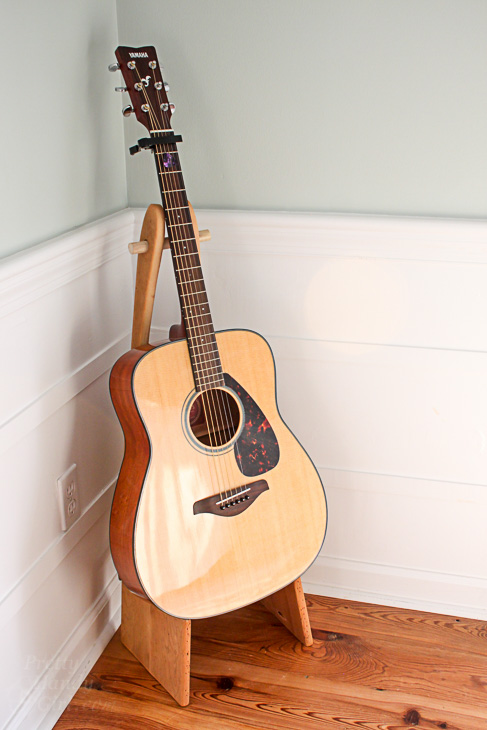
 

folding-rustic-wood-guitar-standMake this Folding Guitar Stand to keep your instrument accessible.
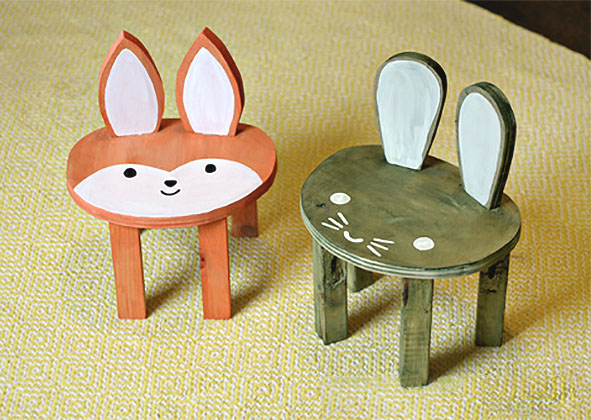
 

animal-toddler-stoolsThese adorable Toddler Animal Stools would be loved by any child in your life.
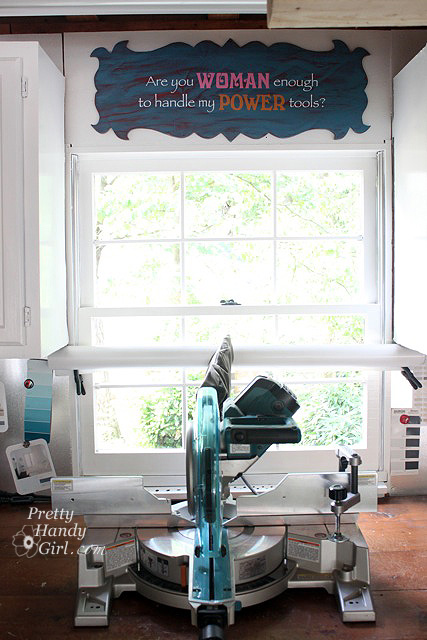
 

are_you_woman_enough_signMake this Are you Woman Enough? Plywood Sign for your shop, or customize the wording easily.
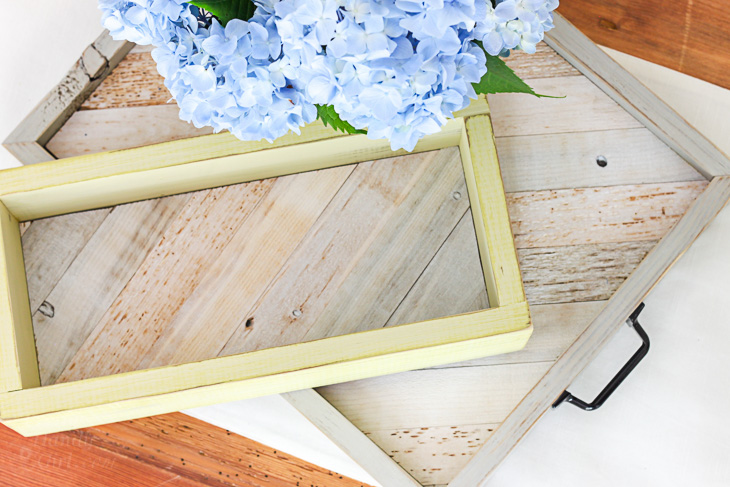
 

rustic-trays-gift-box-top-view-2Make a Tray Gift Box for your next present.
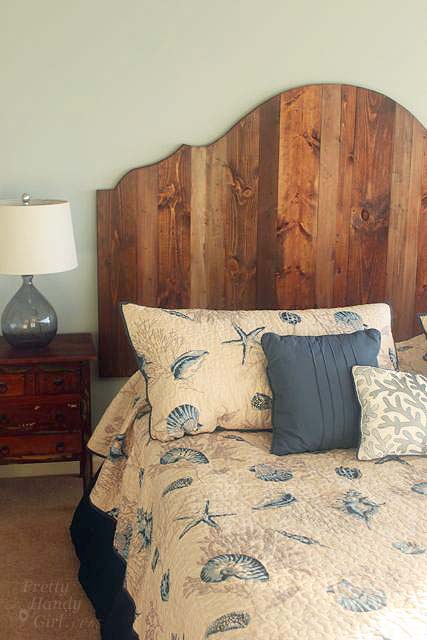
 

rustic-king-headboard-side-viewThis Rustic Wood King Headboard is simple and affordable.
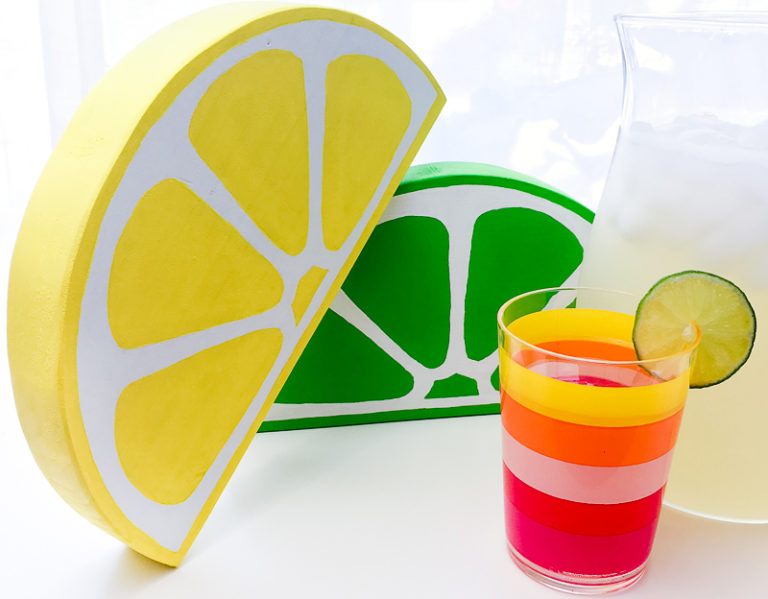
 

citrus-decor-with-lemonade-768x599Make this fun summer display for a party or lemonade stand. Who doesn’t love Giant Citrus Fruit?
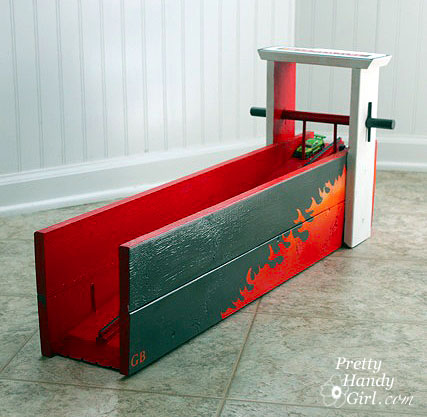
 

hot-wheel-matchbox_race_track_promoLet the kids play for hours with this Hot Wheels Car Racing Ramp.
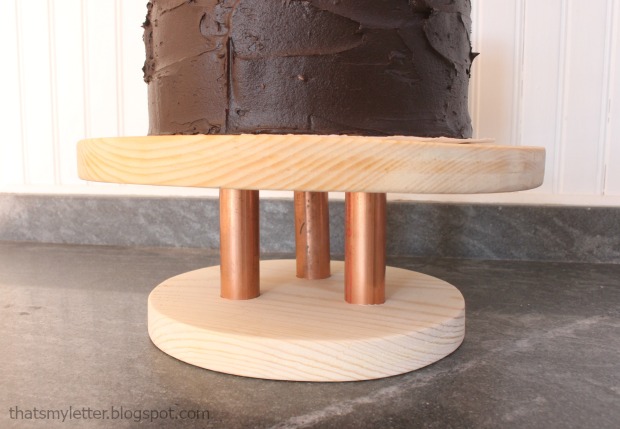
 

wood-copper-cake-stand-1Create this Wood and Copper Cake Stand for an awesome display of your baking masterpiece.
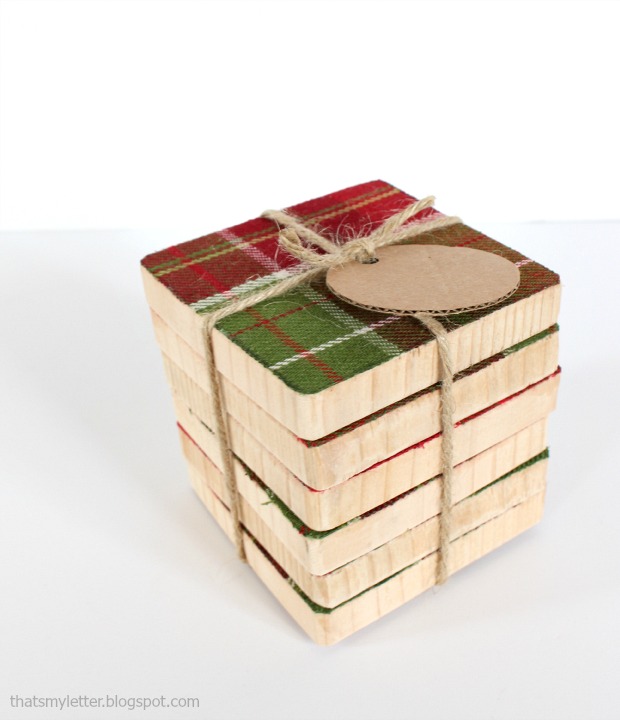
fabric-wood-coasters-wrappedRustic and soft Fabric and Wood Coasters are easy to make for gifts.
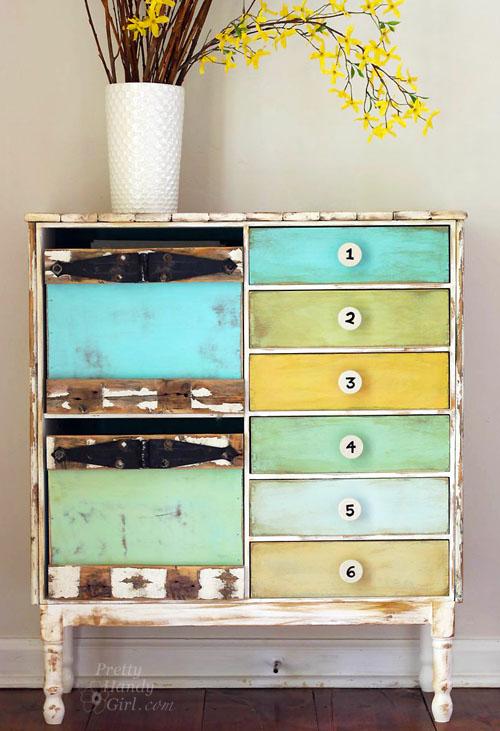
 

rustic-wooden-crates-in-cabinet-straight-onBuild some Rustic Wooden Box Crates for your cabinet or shelf.
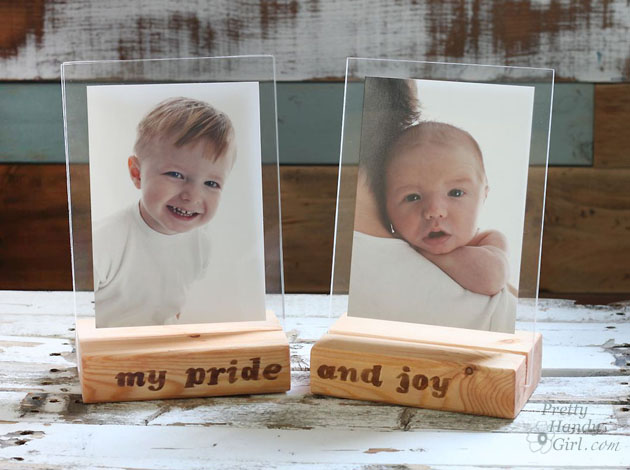
 

wood-block-picture-framesHow sweet are these Floating Wood Block Picture Frames?
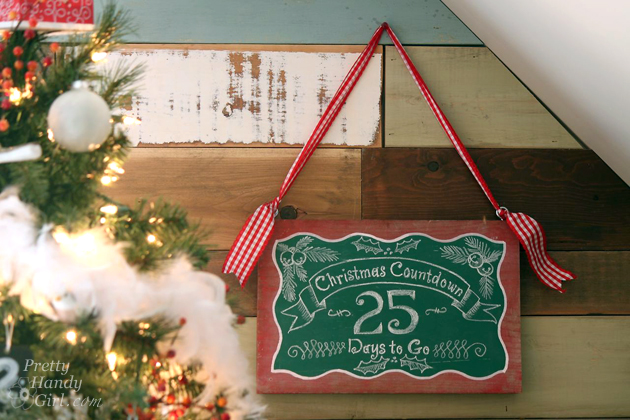
 

easy-wooden-chalkboard-sign-christmas-countdownYou can make this Easy Wooden Chalkboard Sign for any season.
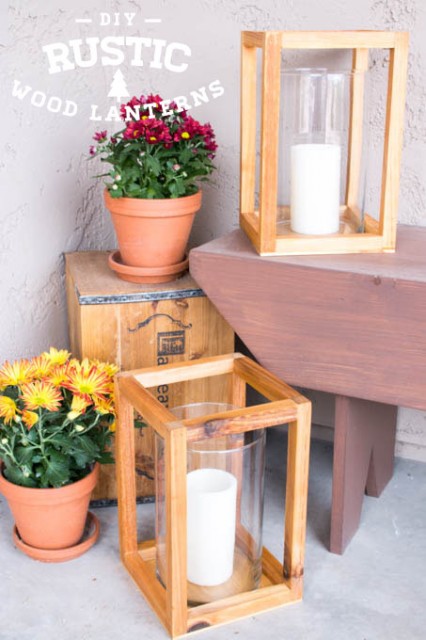
 

DIY-Rustic-Wood-Lanterns-e1441294338713These Rustic Wood Lanterns are the perfect decor for any room.
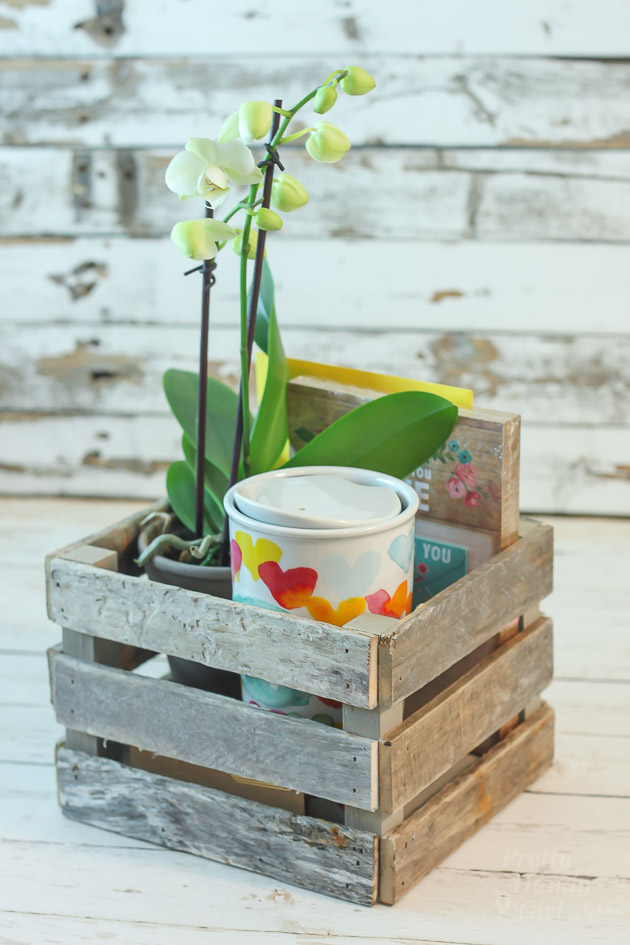
 

drift-wood-gift-crateFind free driftwood at the beach and make your own Driftwood Gift Crates.
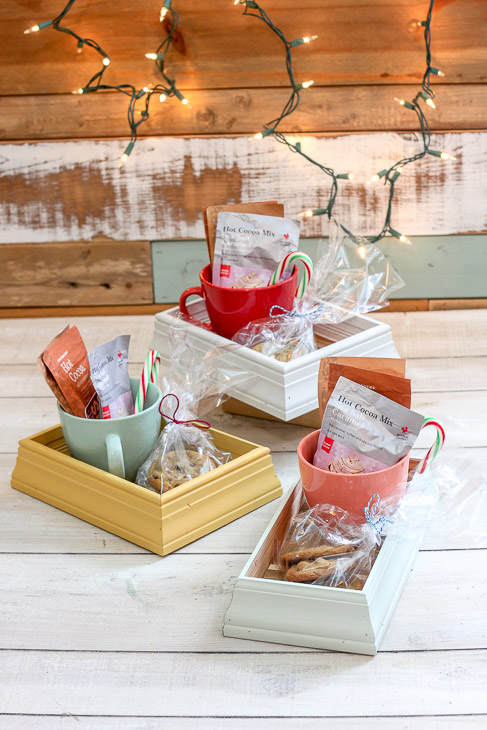
 

scrap-moulding-traysEndless options with these Scrap Moulding Trays.
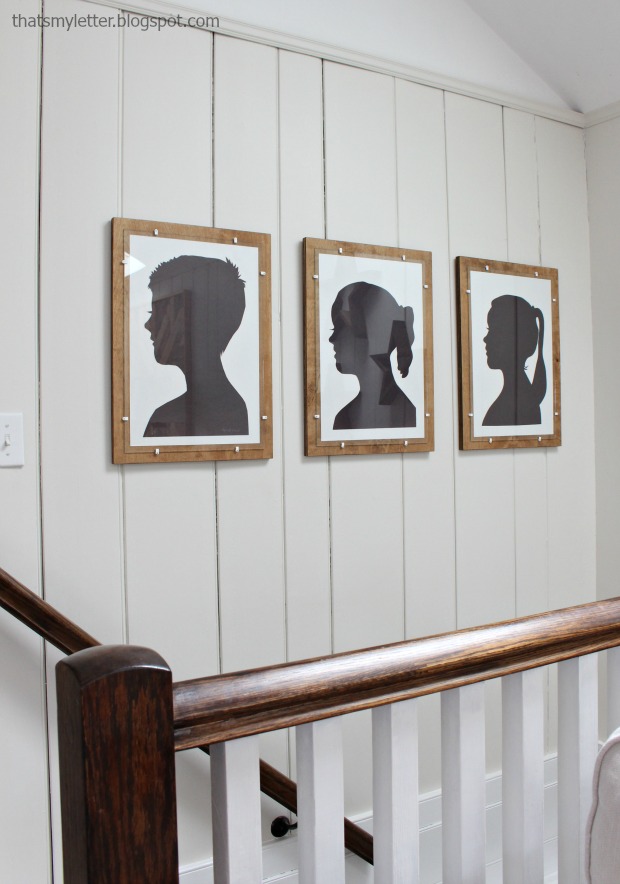
 

plywood-frames-2Wow your visitors with these Plywood Frames with Glass.
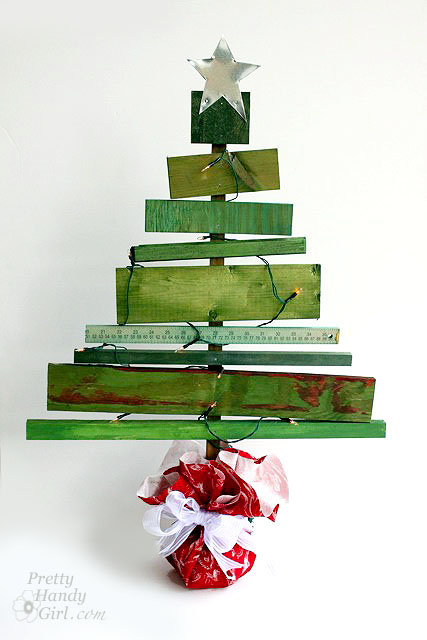
 

scrap_wood_christmas_treeUse various scraps to make an adorable Scrap Wood Christmas Tree this year!
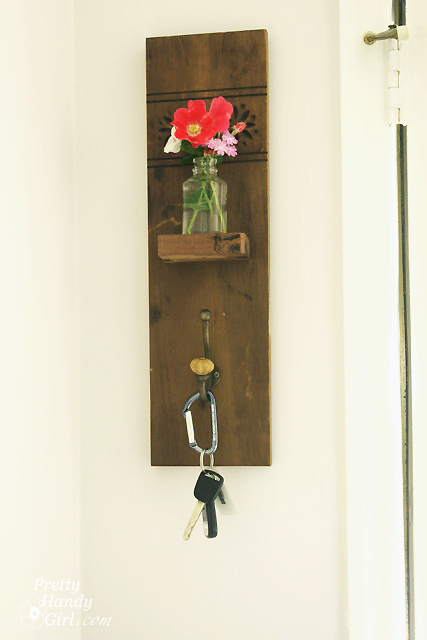
 

reclaimed-wood-wall-hook-vase-sconceThis Reclaimed Wood Wall Hook and Vase would look great in an entryway.


scrap-wood-wall-studio_view_from_angledWith a bunch of scrap wood you could Install a Scrap Wood Wall.
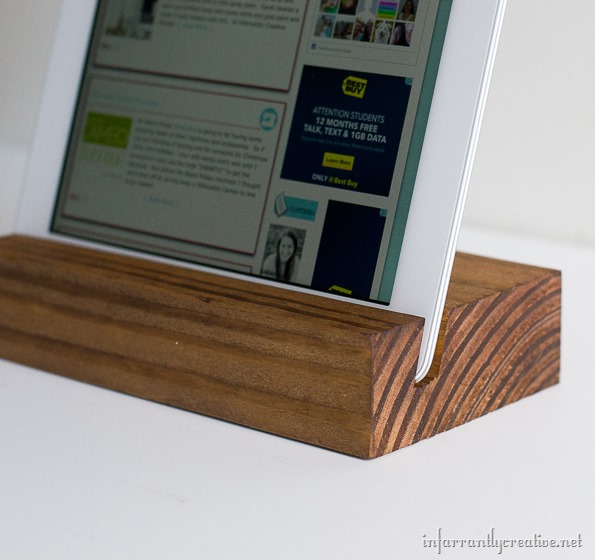
 

scrap-wood-ipad-tray-infarrantly-creativeKeep your device upright with this Scrap Wood iPad Tray.
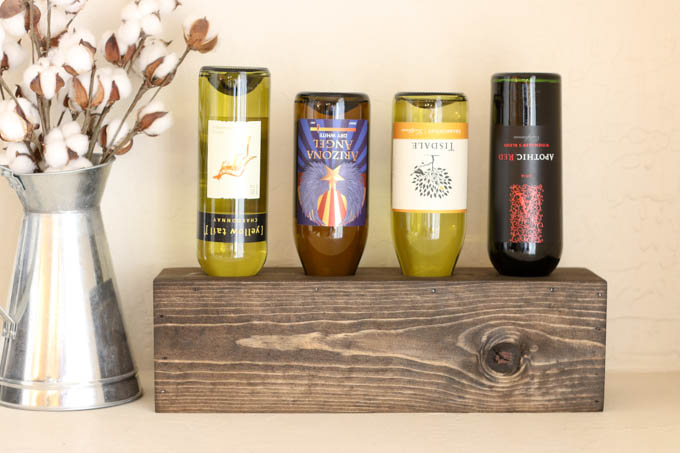
 

scrap-wood-wine-holderThis Scrap Wood Wine Holder is simple, but oh so handy.
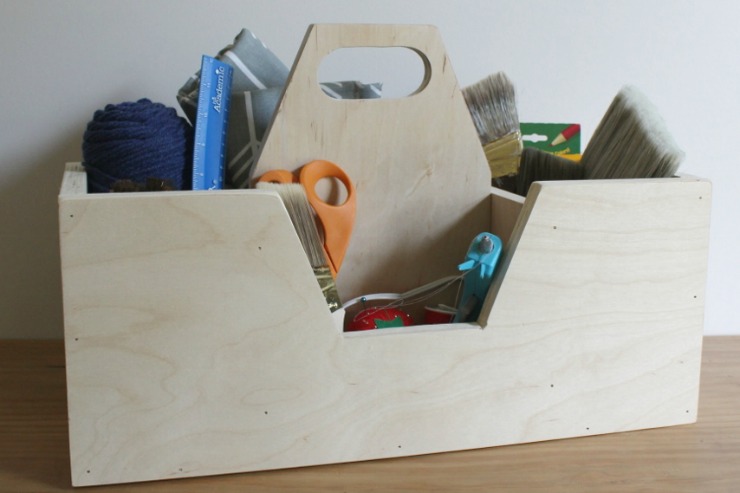
 

scrap-wood-caddyKeep your tools, cleaning supplies, and so many other things organized in this Scrap Wood Caddy.
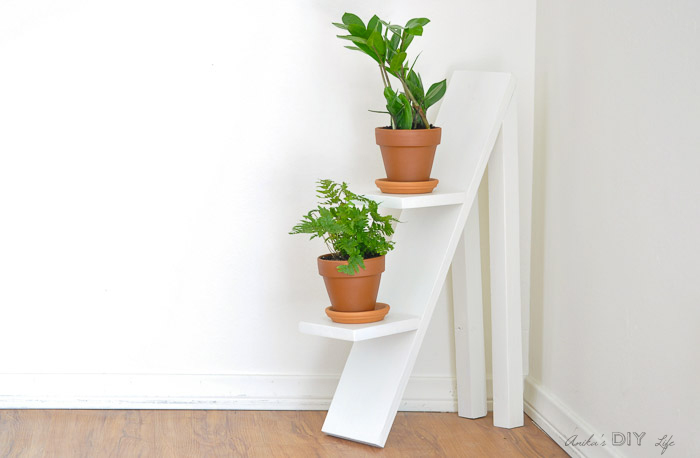
 

Two-tiered-plant-stand-Anikas-DIY-Life-700-3This Two Tiered Plant Stand is a modern and stylish way to display your plants.
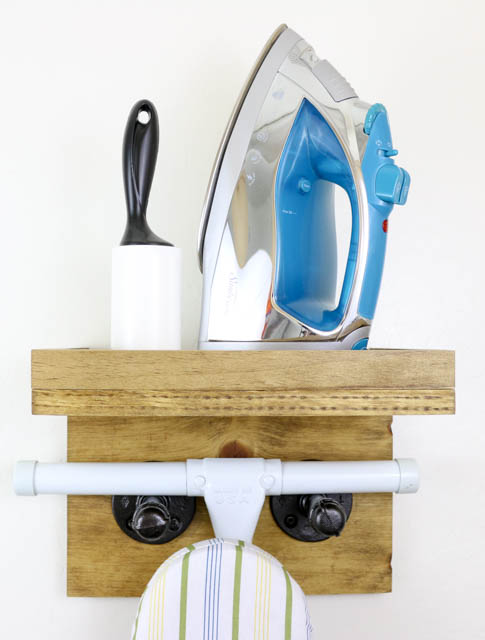
 

Scrap-Wood-Ironing-Board-Rack-2450This Industrial Ironing Board Rack would save space and keep you organized.
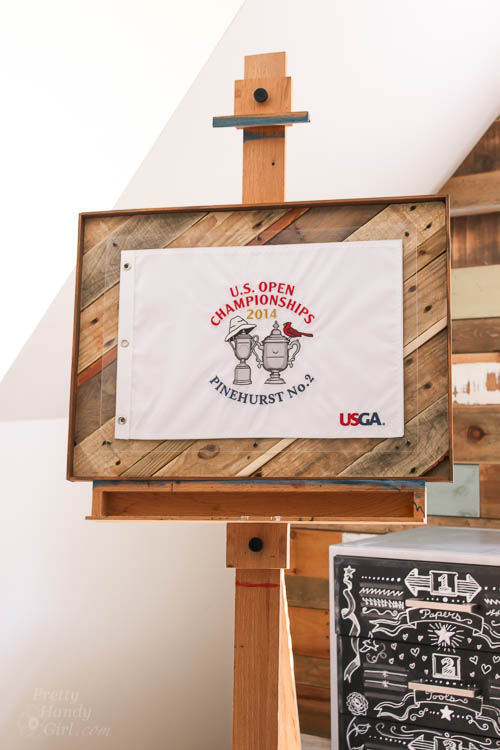
 

scrap-wood-shadow-box-frameDisplay memorabilia in this awesome DIY Shadow Box Frame.
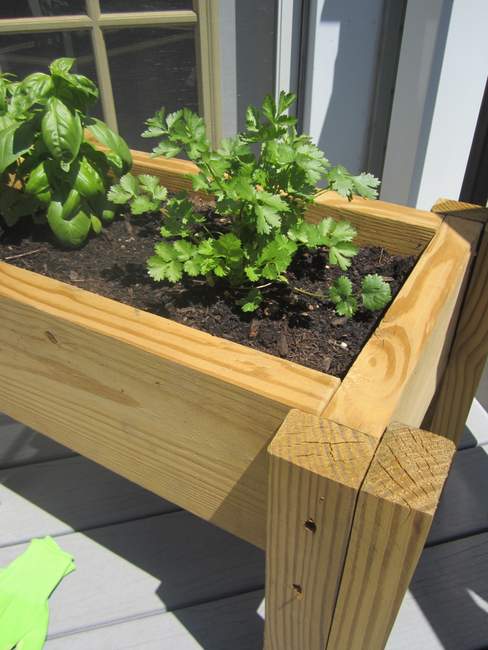
 

Scrap-wood-plater-Herb-Garden-BoxThis Scrap Wood Planter Box is a quick and easy way to grow your own herb garden this year.
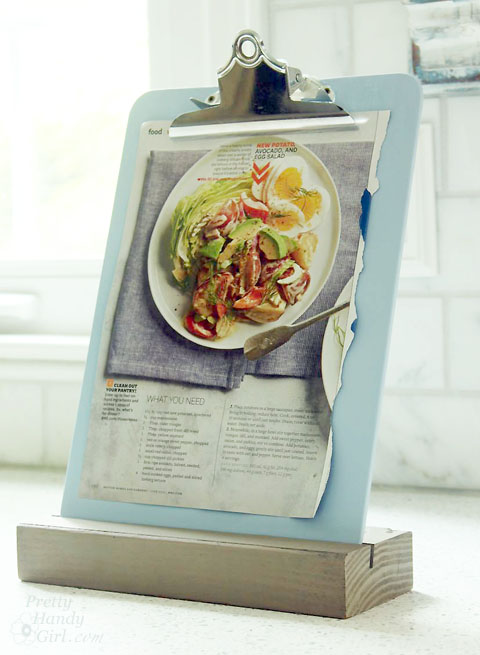
 

recipe clipboard standKeep your recipes or notes at eye level with this Easy Clipboard Stand.

If you like these projects, please share! Here’s an image you can pin it on Pinterest:

71 Practically FREE Scrap Wood Projects

Which were your favorite scrap wood projects? And other ideas you have for using up scrap wood? I’d love to hear it.

71 Practically FREE Scrap Wood Projects

Here are some other round ups you may like:

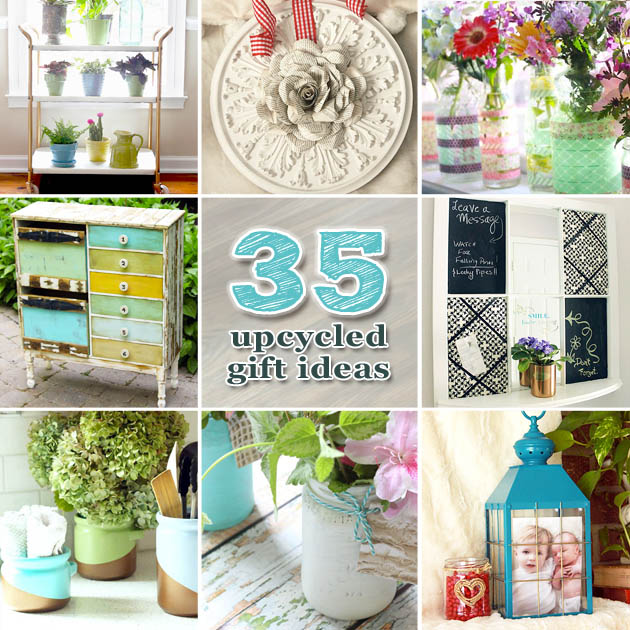
35 Upcycled Gift Ideas | Pretty Handy Girl

35 Upcycled DIY Gift Ideas


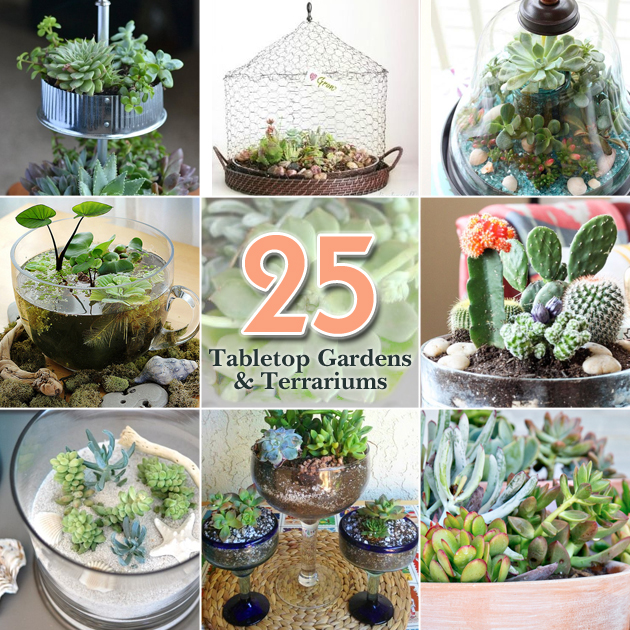
25 Tabletop Garden Terrariums

25 Ideas for Tabletop Gardens and Terrariums


Pin for later!
Beautiful Fall Tablescapes - Decorating Your Table for Fall

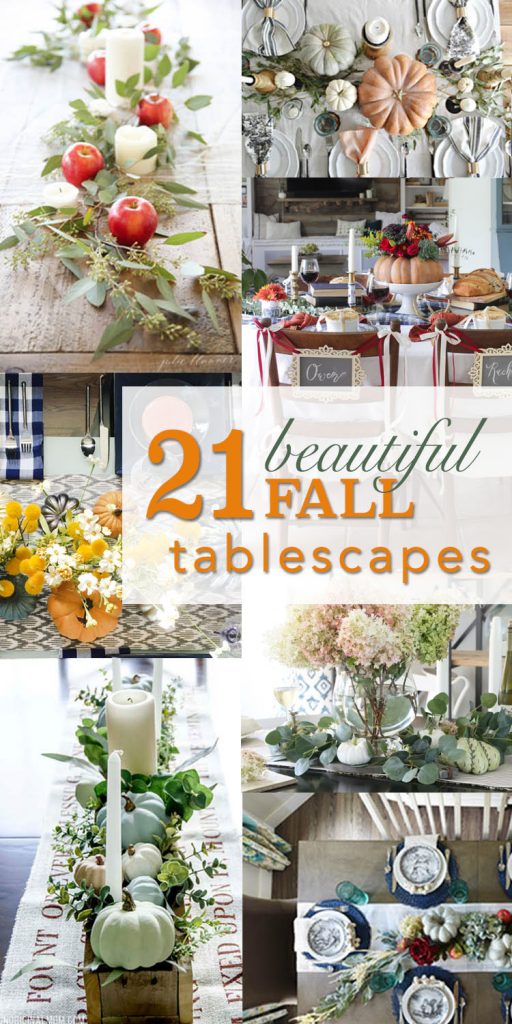
21 Beautiful Fall Tablescapes - Decorating Your Table for FallBeautiful Fall Table Decorations
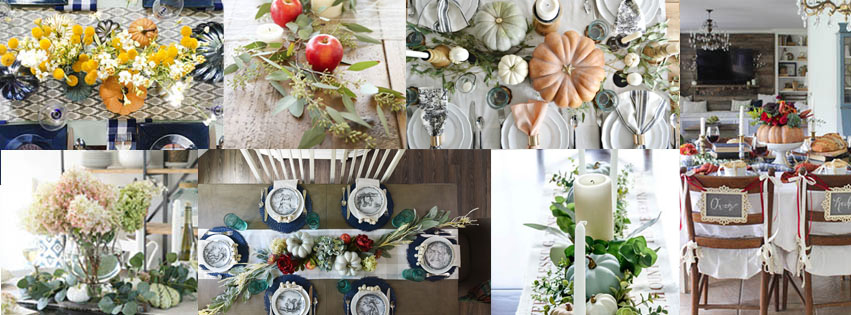
Fall is approaching fast! Are you looking for some inspiration for your fall table decorations this year? This collection of beautiful fall tablescapes is full of creative ideas to motivate and inspire you to create a gorgeous fall setting in your dining room.

Inspiration:

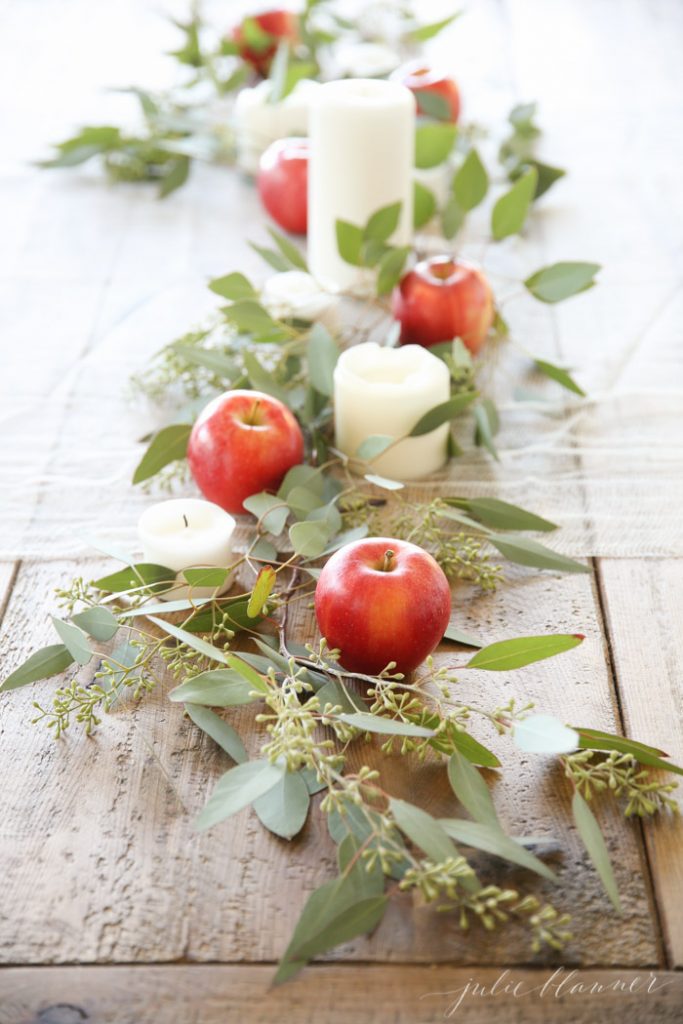
This fresh Fall Apple Tablescape by Julie Blanner is simple, inexpensive, and gorgeous! easy-centerpiece-for-beginners-julie-blanner

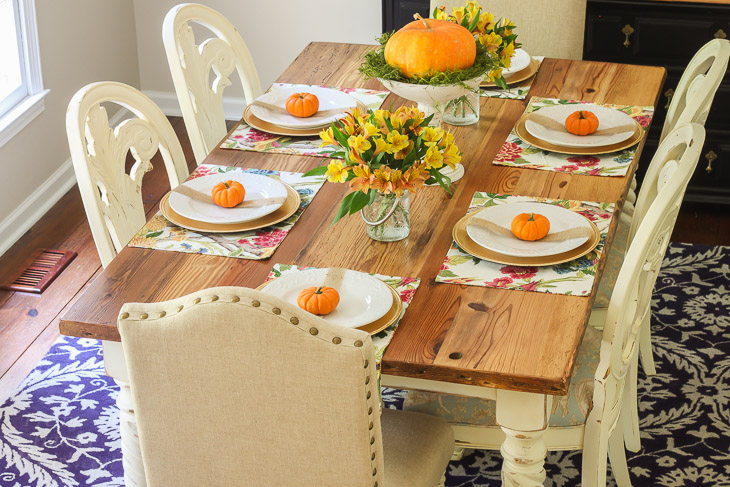
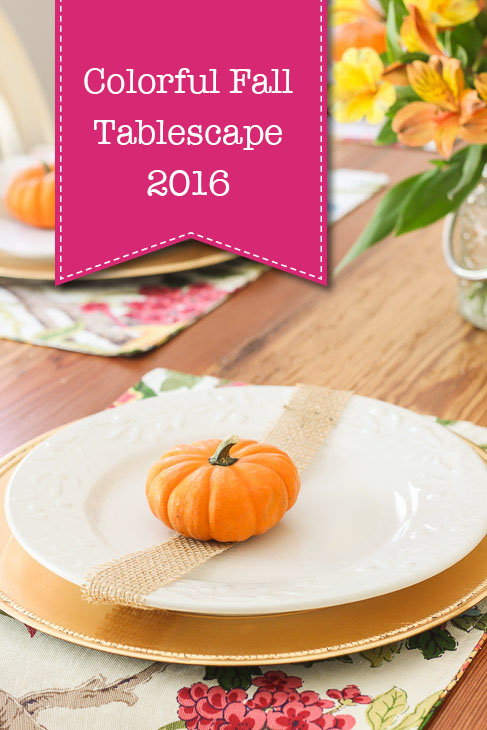
A beautiful floral and pumpkin Colorful Fall Tablescape with small little pumpkins on each plate is the perfect way to decorate your table this Autumn.fall-tablescape-orange-pumpkins-pretty-handy-girl

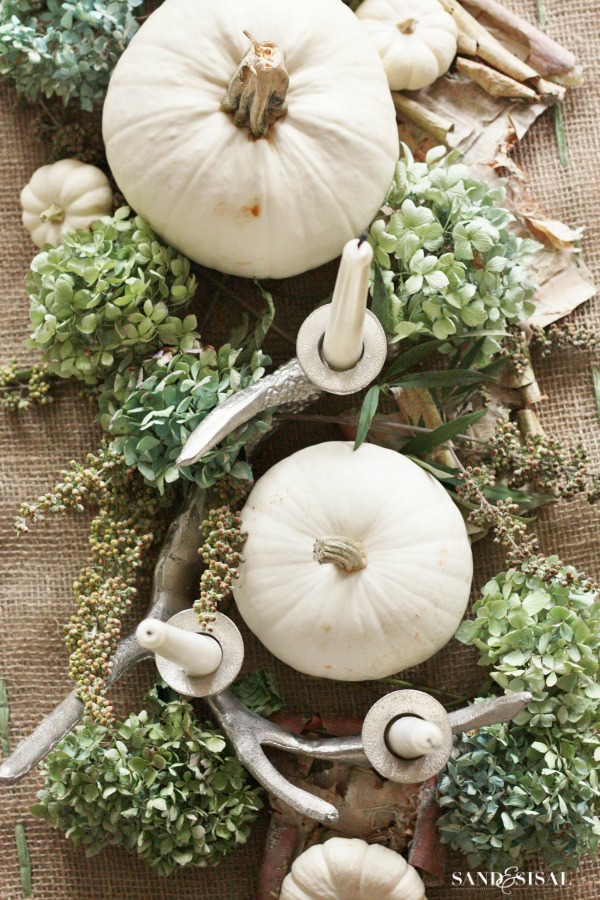
This elegant, clean and festive White Pumpkin Centerpiece by Sand & Sisal is sure to brighten up your dining room.
White-Pumpkin-Centerpiece-Sand-and-Sisal

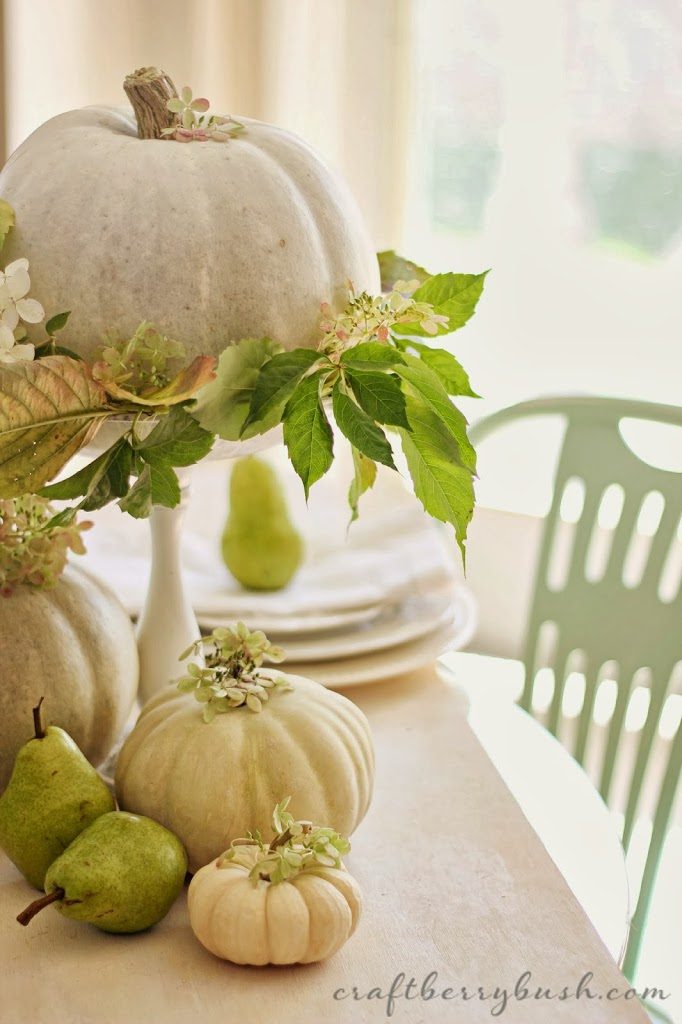
Feast your eyes on this softer Green and White Table Setting by Craftberry Bush.
neutral-fall-table-setting-craftberrybush

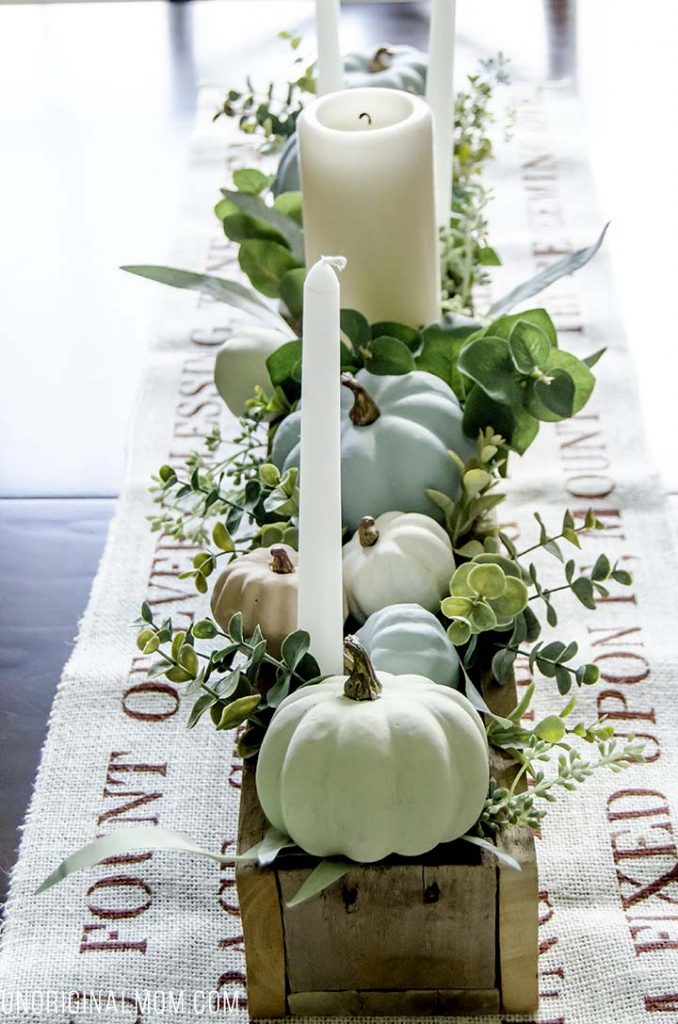
Fall Centerpieces with pastel Chalk Painted Pumpkins by Unoriginal Mom is so clever!
fall-centerpiece-with-chalk-paint-pumpkins-unoriginal-mom

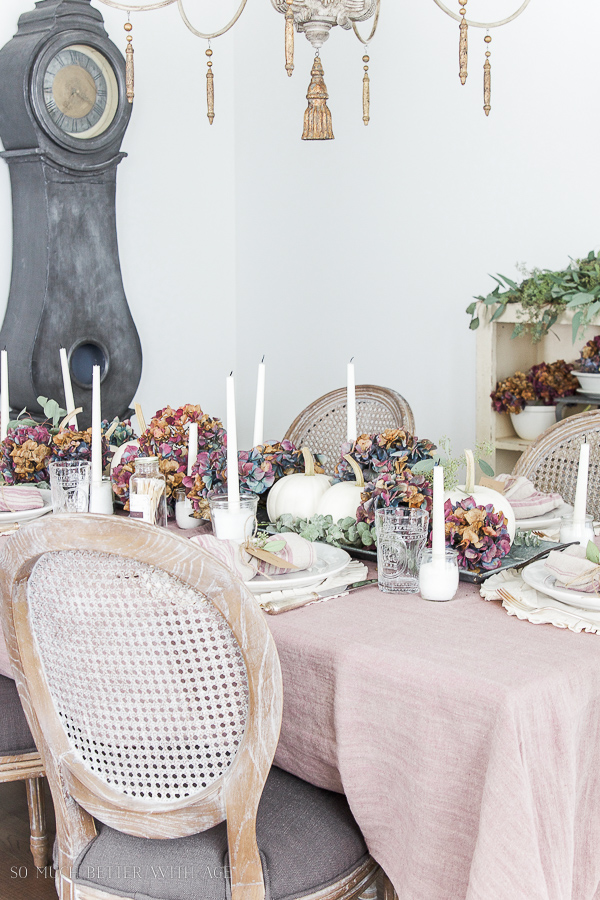
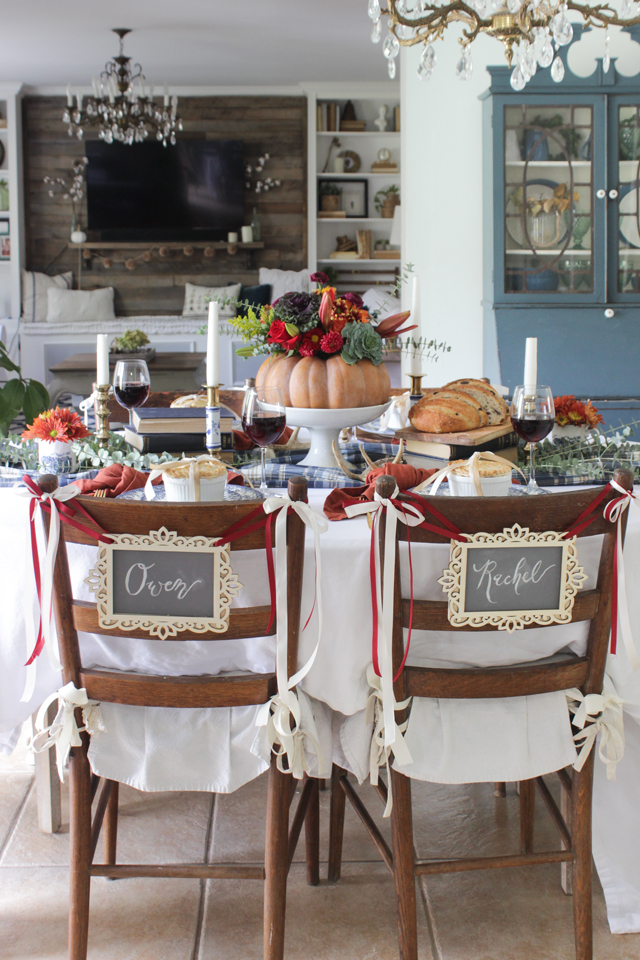
This french country inspired Fall Dining Room by So Much Better with Age is festive and elegant.
french-chandelier-mora-clock-dining-room-So-Much-Better-With-Age

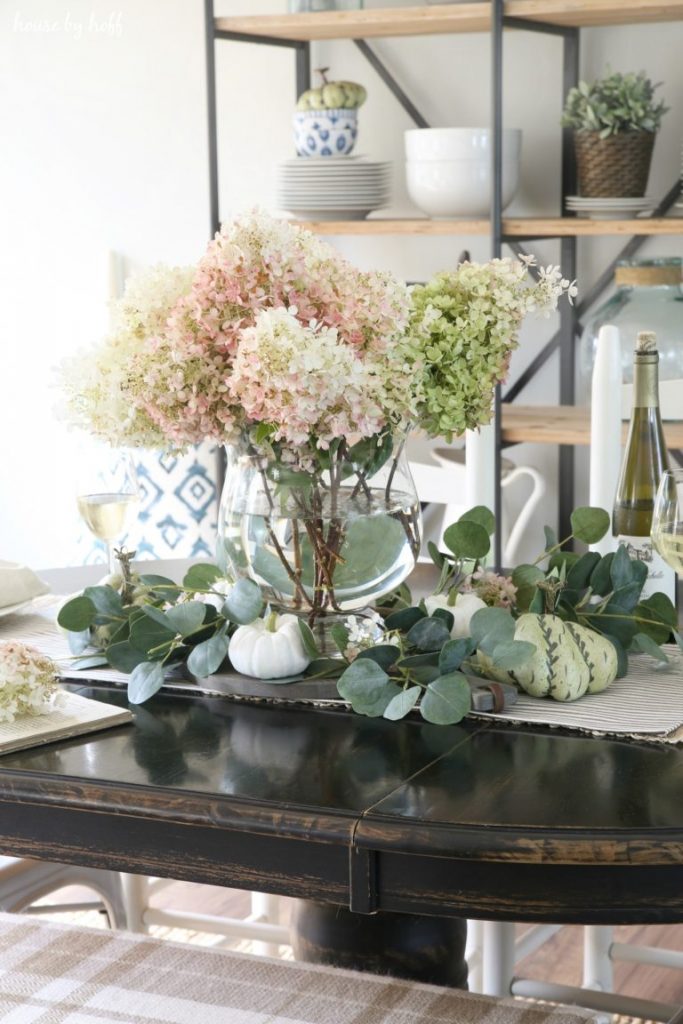
House by Hoff created this Gorgeous Fall Dining Room and Tablescape with a large glass bowl centerpiece that would look good on any table.
Early-Fall-Table-House-By-Hoff

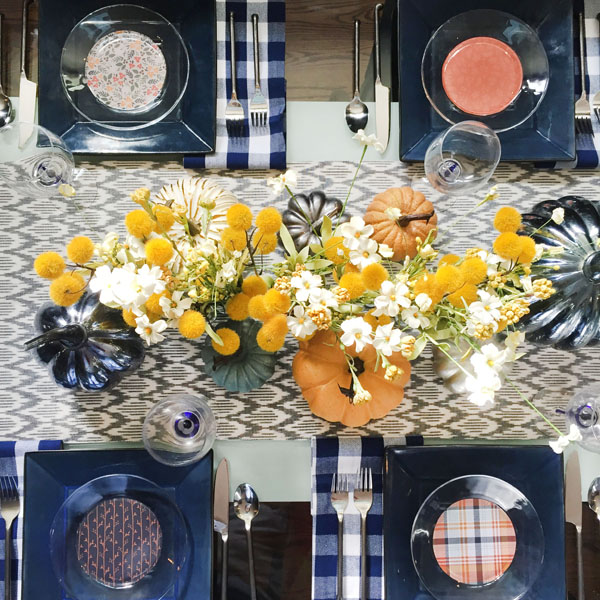
This amazing Blue and Yellow Seasonal Fall Tablescape by Blue I Style Blog emits pure happiness.
Blue i Style - ThanksgivingTableSquare

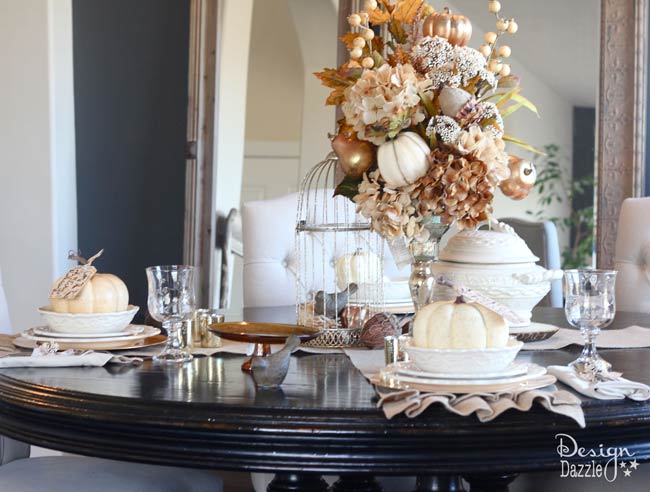
Gorgeous and tall, this Neutral Fall Tablescape by Design Dazzle has beautiful flowers. Don’t miss the clever addition of a birdcage.
Neutral-fall-tablescape-Design-Dazzle

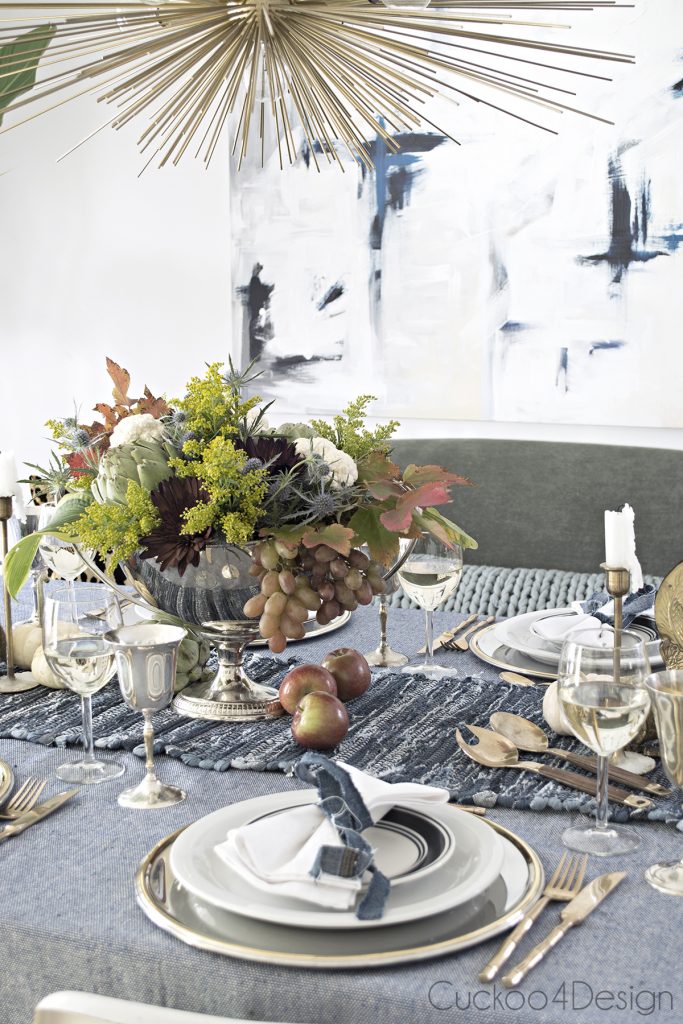
Unique, casual and elegant, this Blue Jeans Fall Tablescape by Cuckoo 4 Design is simply lovely.
Thanksgiving_or_fall_tablesetting_in_jeans_blues_Cuckoo-4-Design

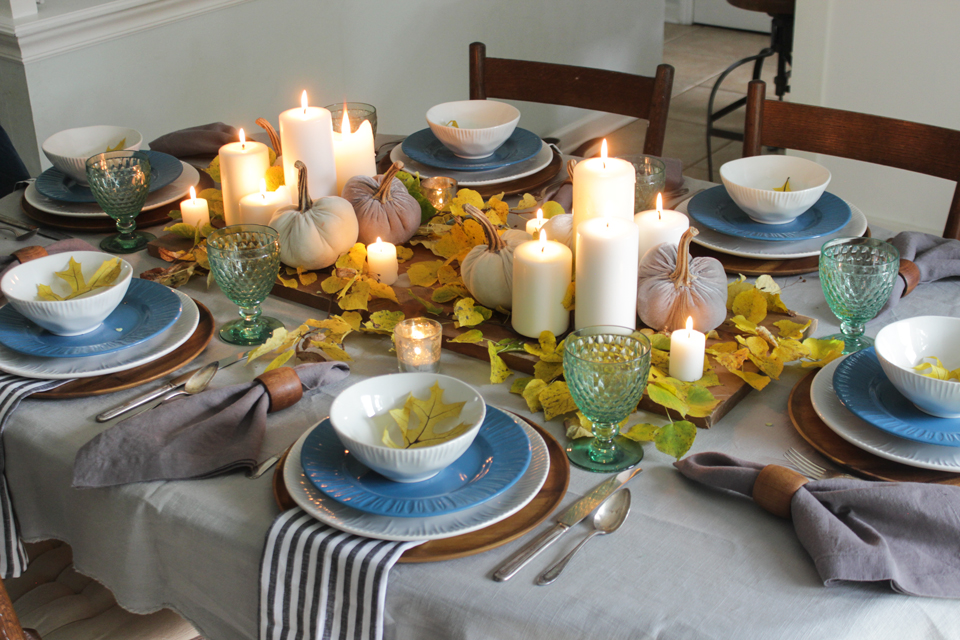
This yellow leaf and pumpkin Cozy Fall Tablescape by Shades of Blue Interiors is charming for those who want to keep things a little more casual.
Fall-cozy-tablescape-Shades-of-Blue-Interiors

This beautiful and homey Colorful Thanksgiving Tablescape also by Shades of Blue Interiors covers the pumpkin in flowers; so pretty!
Colorful-Thanksgiving-Table-Shades-of-Blue-Interiors

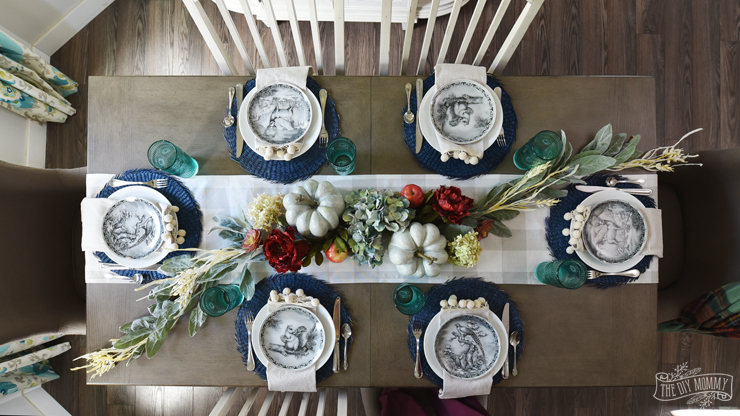
A fall tablescape created by The DIY Mommy with a Faux Floral Garland stretching across the table achieves a soothing and beautiful palette.
DIY-Faux-Floral-Fall-Garland-The-DIY-Mommy

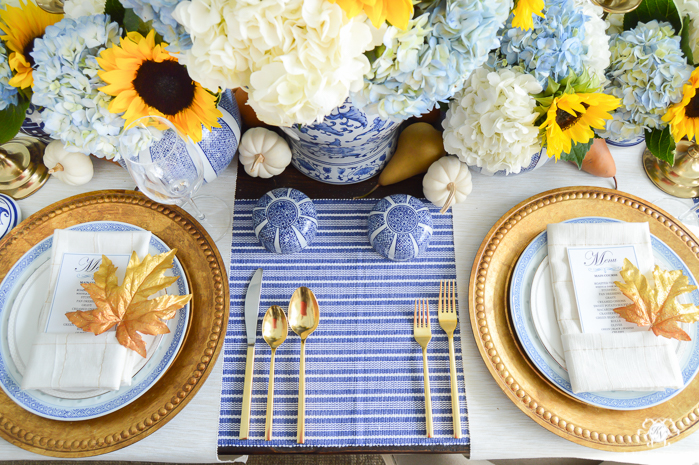
Check out this Classic Blue, Gold and White Table by Kelley Nan for a formal and stunning fall display.
Blue-and-White-Thanksgiving-Table-Idea-with-Sunflowers-and-Hydrangeas-15-Kelley-Nan

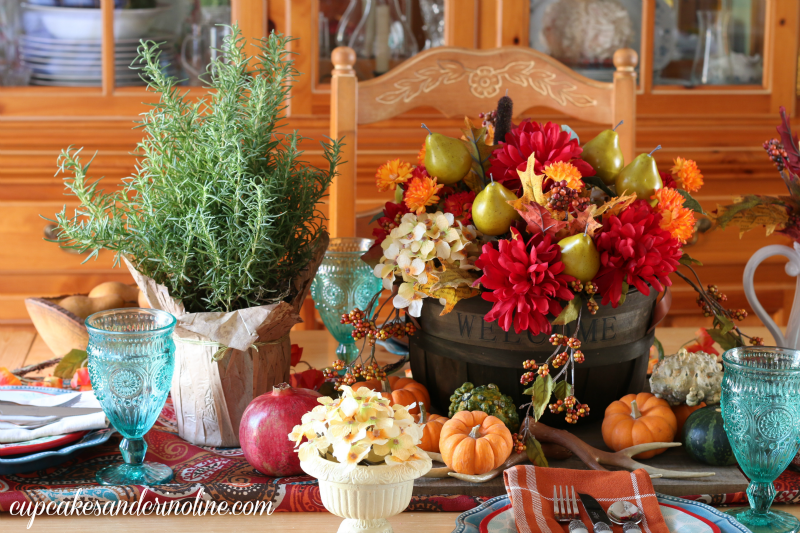
A bright, beautiful and delightfully Colorful Easy Thanksgiving Tablescape and Centerpiece by Cupcakes and Crinoline.
Thanksgiving-tablescape-and-centerpiece-cupcakesandcrinoline.com_

A Simple Thanksgiving Table by My Fabuless Life uses light colors to make any table welcoming.Easy-Inexpensive-Thanksgiving-Table-Setting-MyFabulessLife.com_

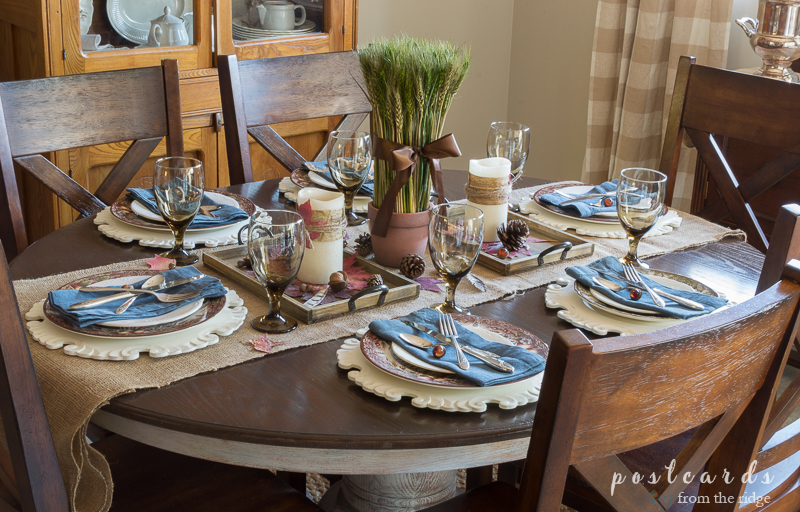
This creative and casual Natural Rustic Tablescape by Postcards from the Ridge gives a sense of warmth and comfort, just beautiful.
Natural Rustic Thanksgiving Tablescape-PostcardsFromTheRidge

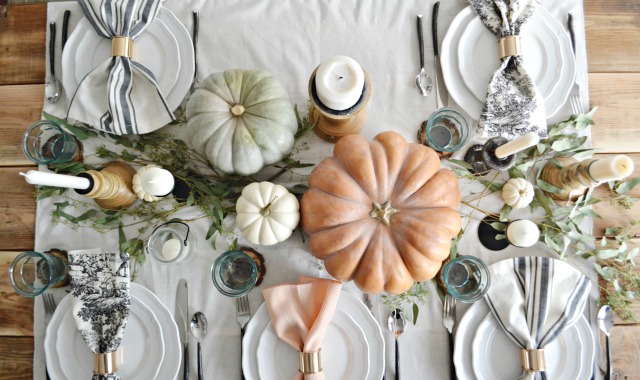
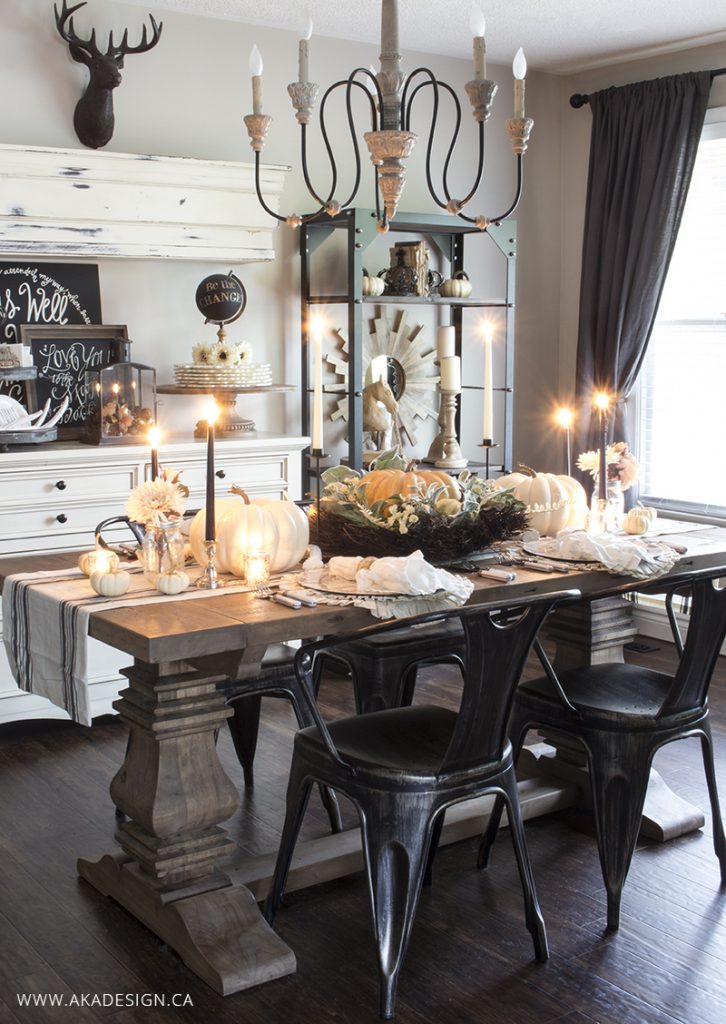
A rustic creamy and white Farmhouse and Industrial Thanksgiving Table from AKA Design has the perfect farmhouse ambience.
Industrial-Thanksgiving-Fall-Table-akadesign.ca

A Fall Tablescape using White and Wood elements by Timeless Creations brings a natural atmosphere straight to the dinner table.
White Wood Fall Tablescape TimelessCreationsMN

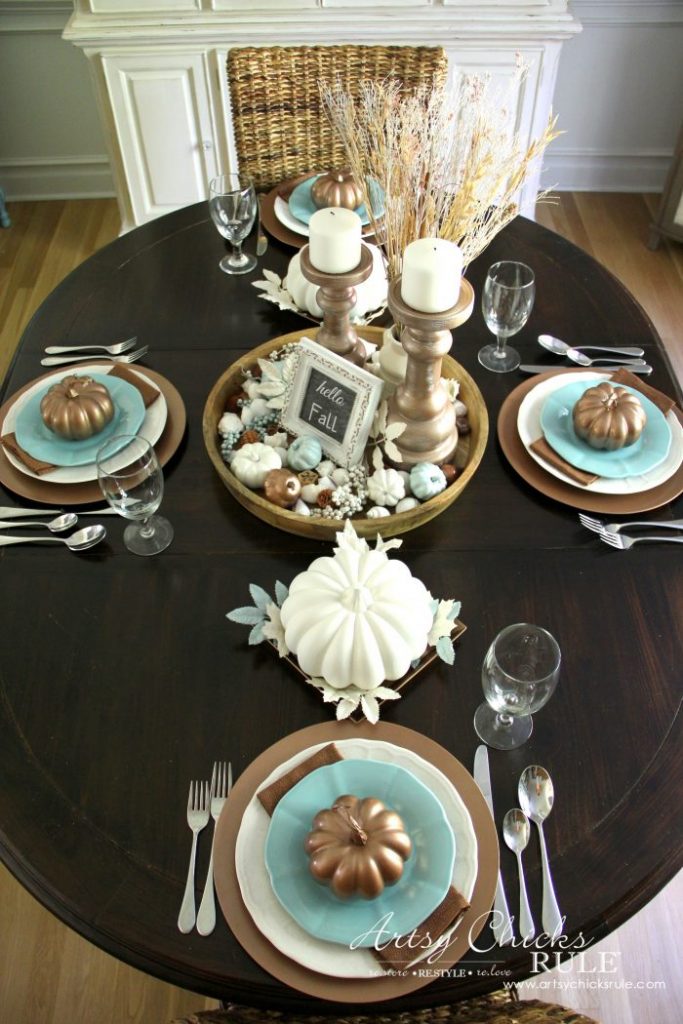
Metallic and pretty, this Coastal and Casual Fall Tablescape by Artsy Chics Rule adds a little glamour to dining.
Coastal Casual Fall Tablescape Artsy Chicks Rule

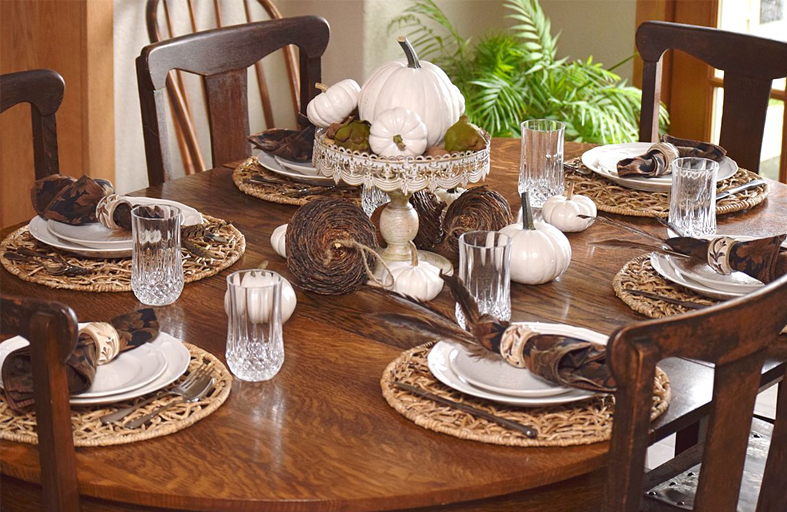
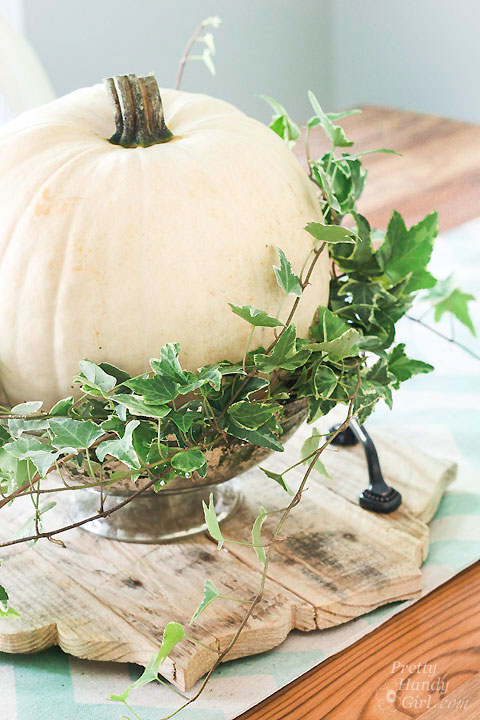
Last, but certainly not least, this White Pumpkin Fall Tablescape with the wooden tray is simple, yet rustic and pretty.
white-pumpkin-centerpiece-pretty-handy-girl

I hope you like this roundup and found some inspiration for your Fall Table Decorations this season! Please share and help inspire others.
Other posts you’ll love:

Pretty Handy Girl Fall Tablescape 2016

Holiday Tablescape Tour 2016


24 Creative Fall Wreaths | Pretty Handy Girl

24 Fabulously Creative Fall Wreaths


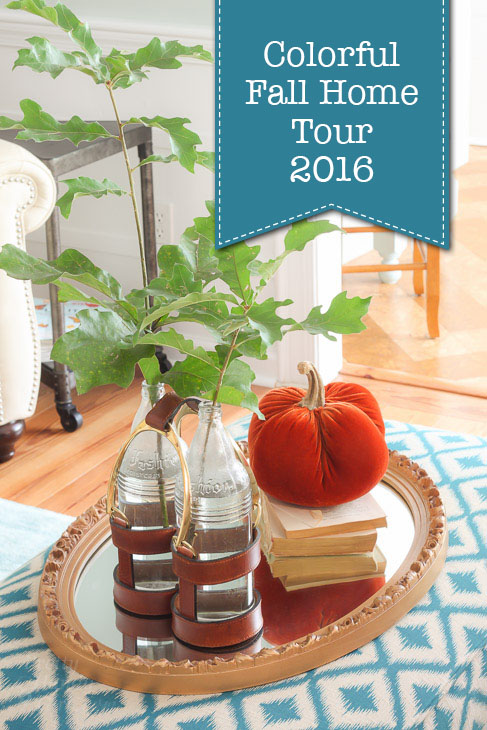
Pretty Handy Girl's Colorful Fall Home Tour

Colorful Fall Home Tour 2016: Part 1

15 Amazing DIY Lighting Ideas

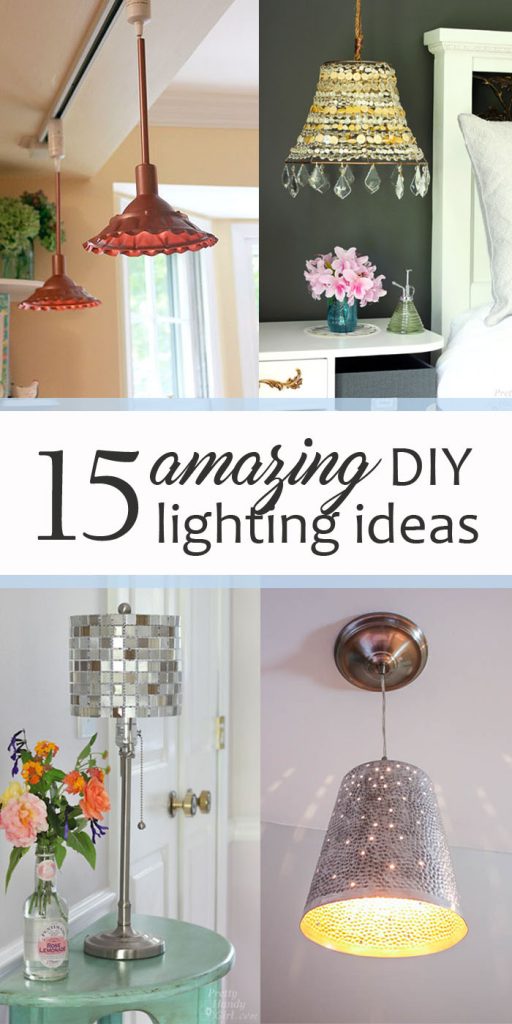
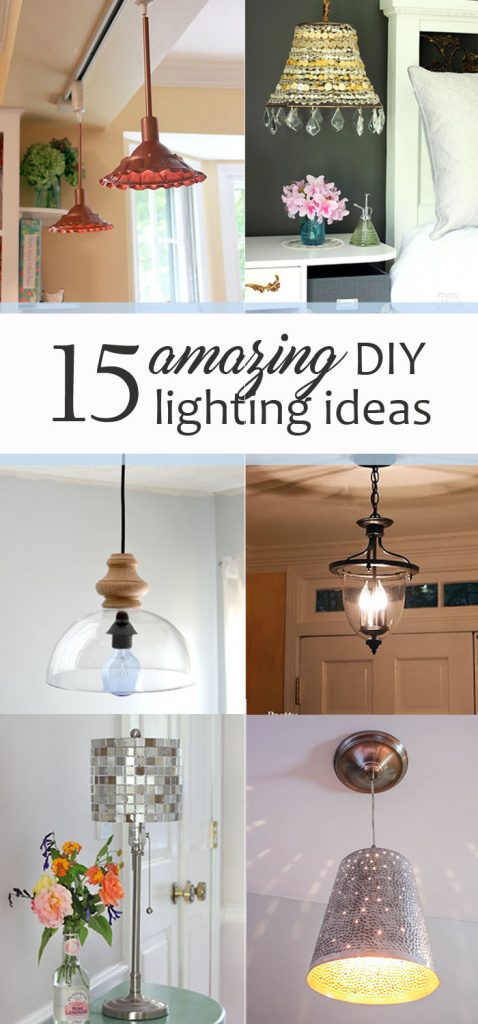
15 Amazing DIY Lighting Ideas - pinnable collage image15 Amazing DIY Lighting Ideas

Lighting can make a dramatic statement in any room and is a crucial element of good design. A great light fixture not only adds style, but it creates a mood and vastly impacts how you feel.

One of the biggest benefits of DIY Lighting is you can choose your own materials to meet your desires:

  • number and wattage of bulbs
  • material (metal, fabric, paper, wire, glass, concrete, wood, tile, etc.)
  • color
  • shape
  • style (farmhouse, modern, traditional, vintage, eclectic, industrial)
  • mounting (pendant, flush mount, semi-flush, wall mount)
  • shades (solid, translucent, semi-transparent, perforated, open)

With DIY Lighting, the style options are endless. There are so many choices and ideas out there at all different price points. The great news is that you don’t need a large budget to have great lighting for your home, you just need a few supplies and some basic handy skills!

Here is a round up of 15 Amazing DIY Lighting Ideas to inspire you to brighten up your home!

DIY Button Pendant Light - Best Lighting DIYs - Pretty Handy Girl

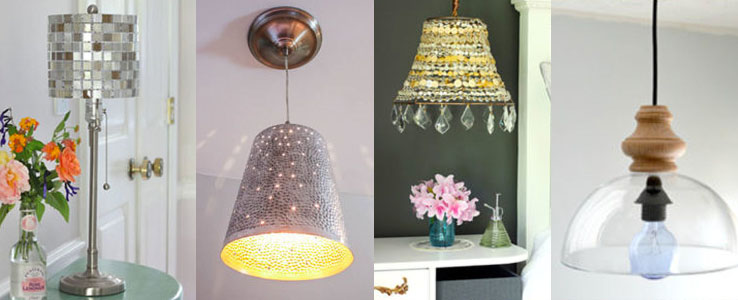
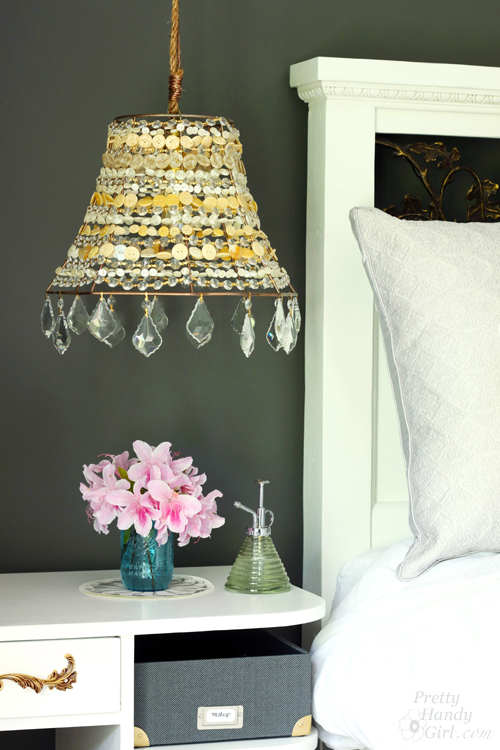
Do you have a button collection? Use it to make this amazing DIY Button Pendant Light . It’s whimsical, sparkly, fun and is sure to be a great conversation piece when you have guests visit.


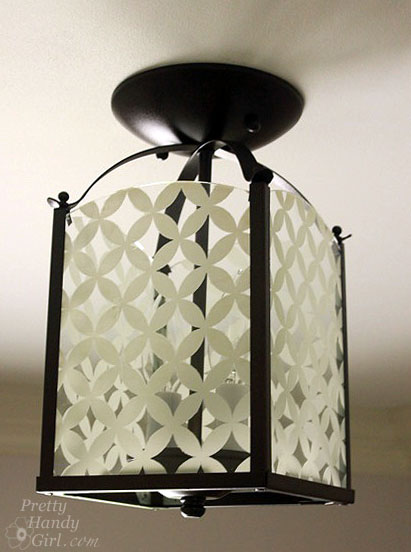
This Circle Diamond Pattern Light was created by updating an old brass light fixture. The tutorial will show you how to change out an old fixture and add some pizzazz to your room or hallway. You’ll have to see the pattern it shines onto the walls — beautiful!


Converting Recessed Light to Pendant Light - Best Lighting DIYs - Pretty Handy Girl

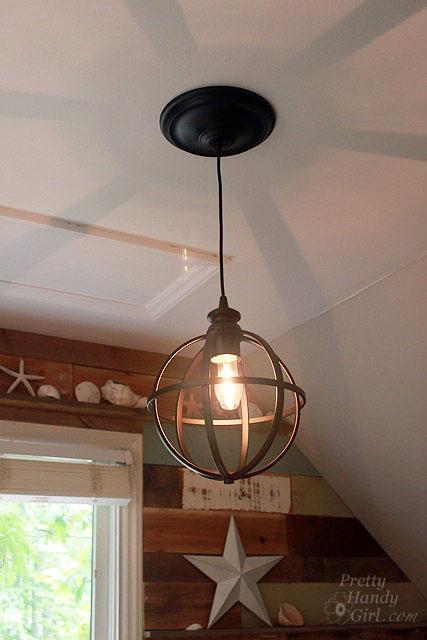
Learn how to Convert a Recessed Light to a Pendant and add a little character to your room with a great light fixture! Recessed lights are great, but sometimes you need a fixture to finish off that great room design. This tutorial will help you change out your recess light in 5 minutes or less!


New Painted Foyer Light Fixture

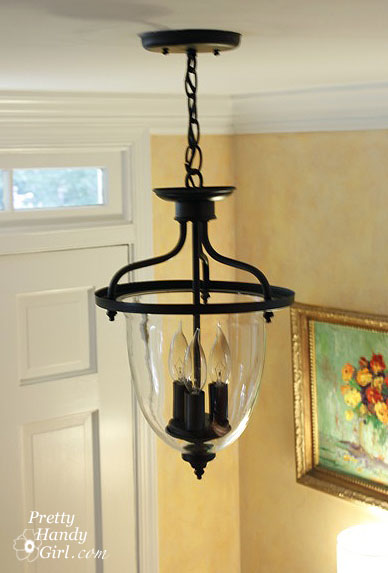
Another update, but this time you’ll learn how to make a Pottery Barn Inspired Hanging Light. See how to make a quick cosmetic change to an old fixture. No dated brass fixture will be safe after you read this tutorial.


DIY Copper Pendant Light - Best Lighting DIYs - Pretty Handy Girl

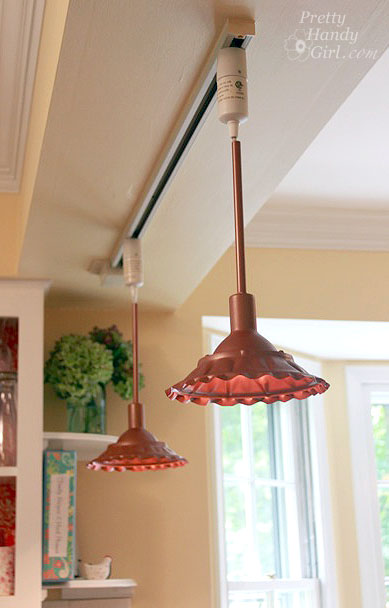
Check out these unique Farmhouse Style Copper Metal Pendants. Would you believe they were made by updating some UFO-like lights with storm collars, and spraying high heat spray paint?


Vintage Map Lampshade - Best Lighting DIYs - Pretty Handy Girl

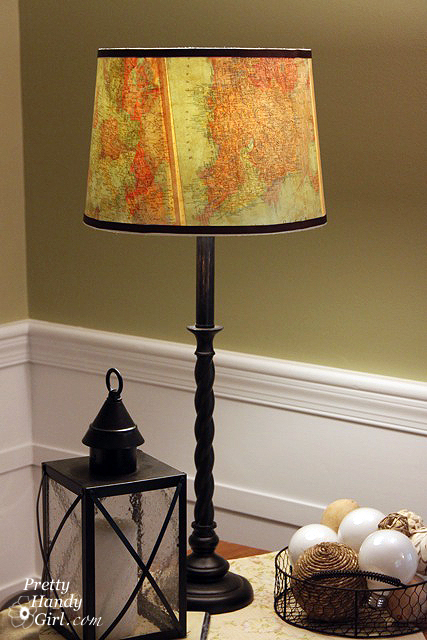
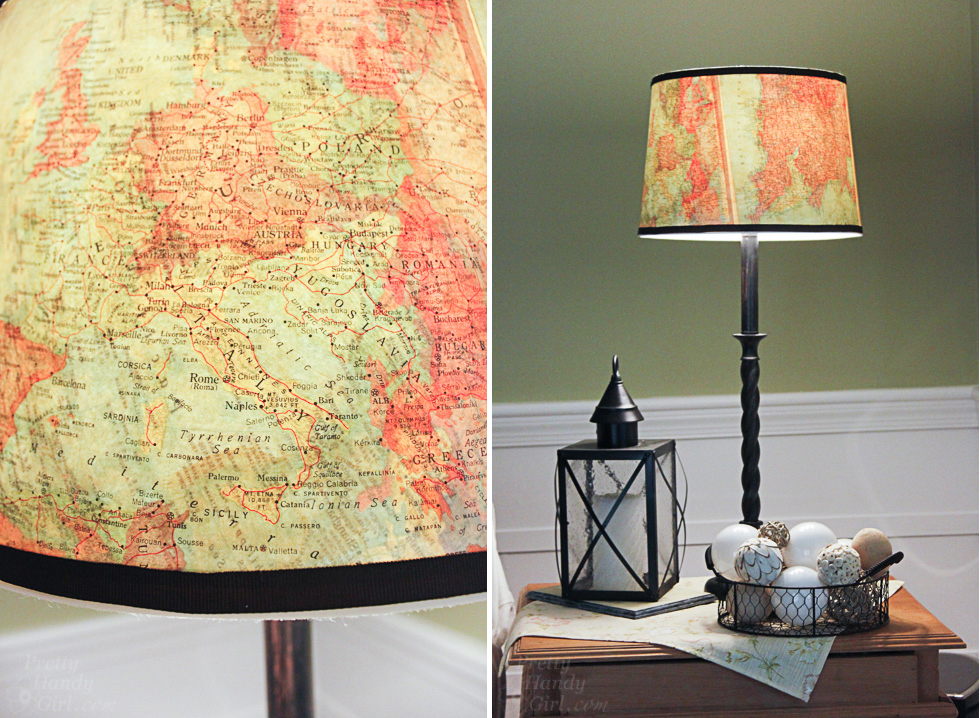
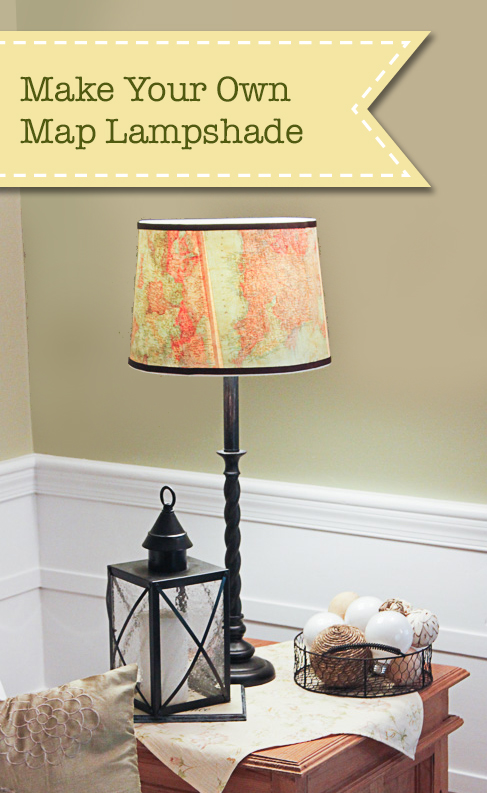
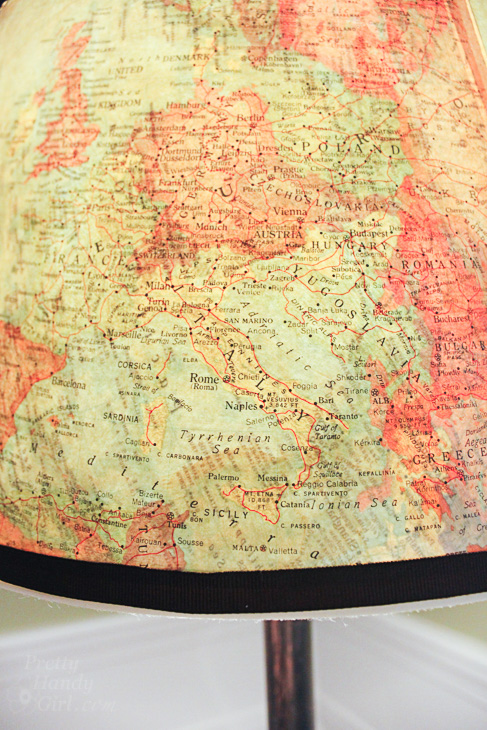
For the ultimate traveler, this Vintage Map Lampshade creates a warm glow and would be a wonderful addition for any living room or office. Plus, you can customize it with maps of places you’ve been!


Glass Bowl Fixture - Best Lighting DIYs - Pretty Handy Girl

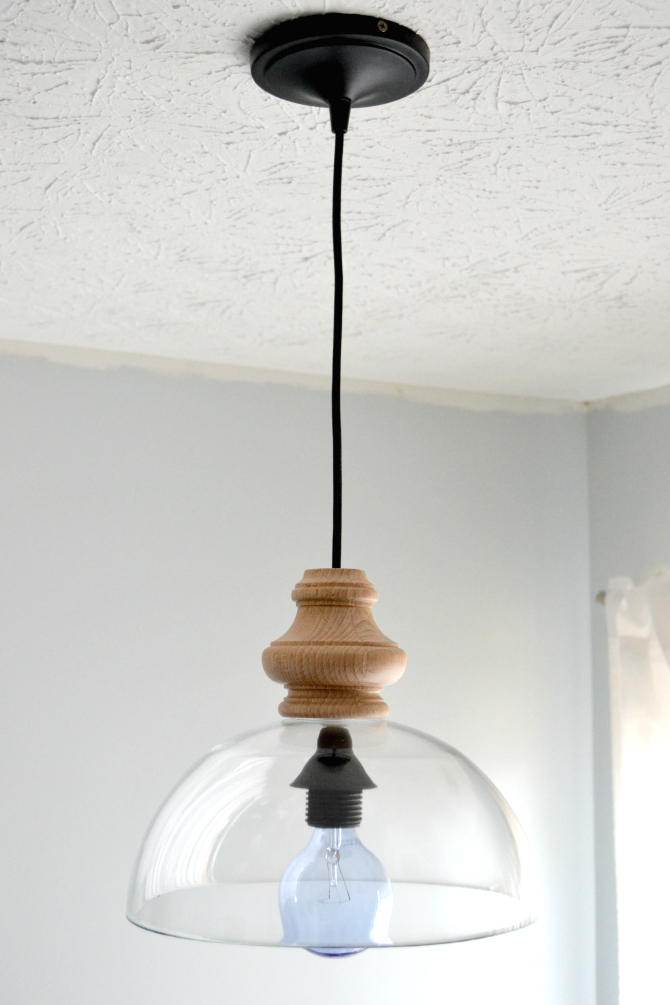
What do you do when the light you really love is sold out? You DIY it, of course! You’ll be amazed at how this knock-off DIY Glass Pendant Light by Ugly Duckling House was made. Hint: you may have one in your kitchen cabinet.


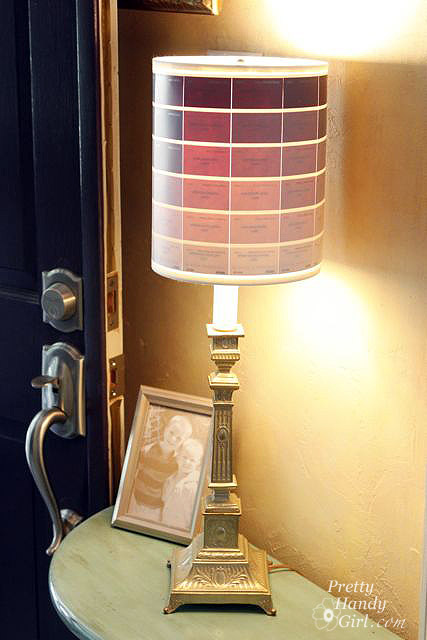
Ombre Paint Chip Lamp - Best Lighting DIYs - Pretty Handy Girl

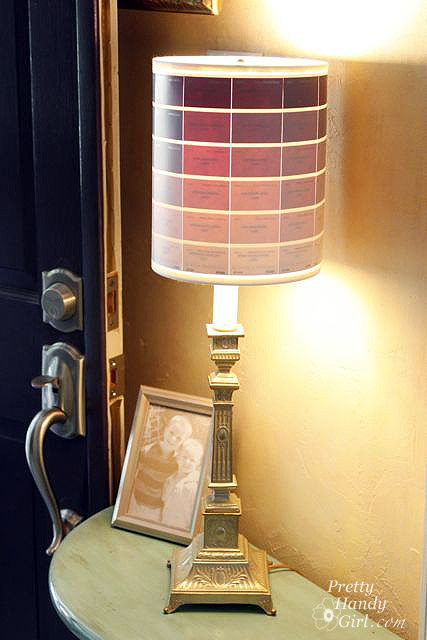
Don’t run to the store now, but you know those free paint chips they give out at the paint store? This Ombre Paint Chip Lampshade is made using those freebie paint chips. Next time you have a bunch of extras after you’ve finished your painting project, consider reusing them to make a great lampshade!


Chicken Wire Pendant - Best Lighting DIYs - Pretty Handy Girl

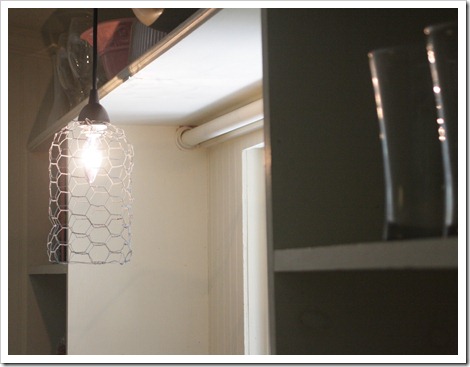
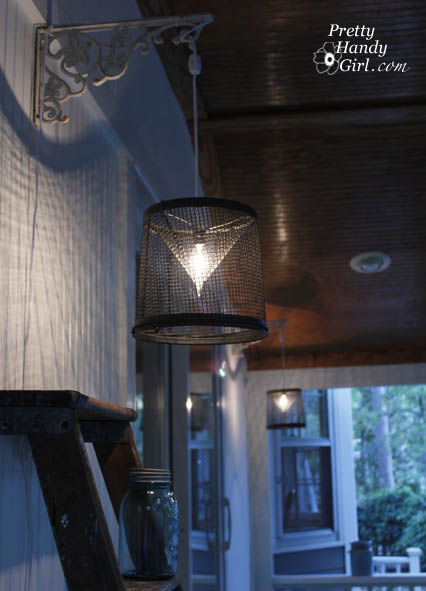
Don’t you love this Chicken Wire Anthropology-Inspired Pendant in all its simplicity? If you love rustic or farmhouse style decor, this pendant is for you.


Minnow Trap Light Fixture - Best Lighting DIYs - Pretty Handy Girl

Whether you love to fish or not, these Minnow Trap Light Pendants are a great DIY option. They look great, give a lot of light, and set a casual mood.


Capiz Shell Light Fixture - Best Lighting DIYs - Pretty Handy Girl

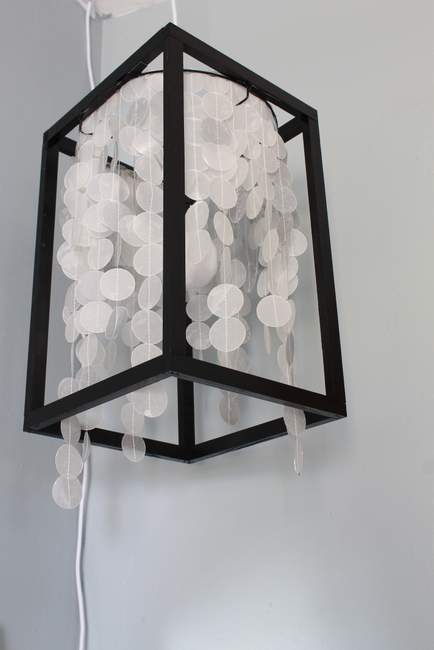
This DIY Capiz Shell Light Fixture has a beautiful feminine and modern look. Build a quick frame; add some strings of capiz shells; and you have a beautiful new light fixture!


Twinkling Pendant Light - Best Lighting DIYs

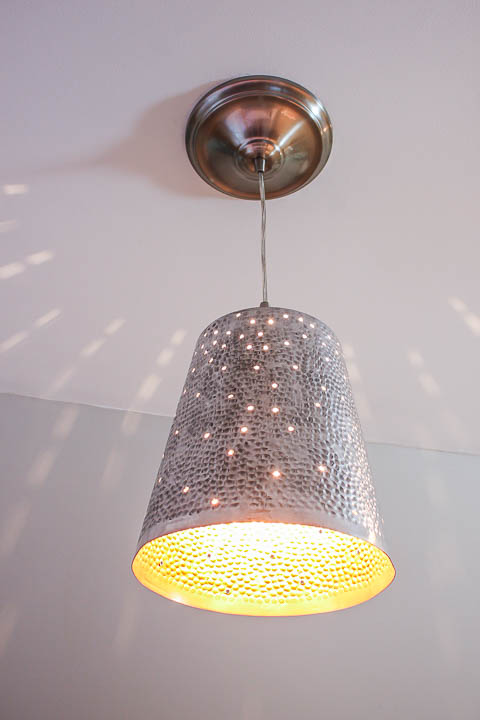
The light pattern that this DIY Twinkling Pendant Light  shines onto the walls is so pretty and adds some fun and whimsy to any room. Bet you can’t guess what this pendant was in a former life!


Mosaic Glass Tile Lamp - Best Lighting DIYs

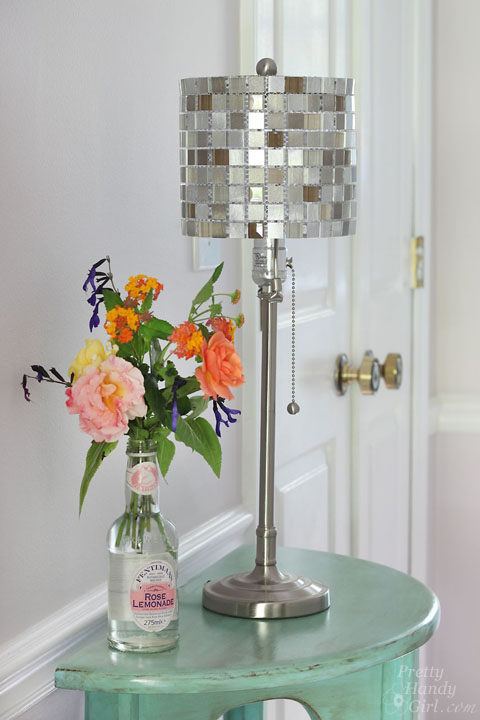
This Mosaic Tile Lampshade is gorgeous! With just a few supplies, you can add style and bling to your room without spending much money at all.


Industrial USB Charging Station - Best Lighting DIYs

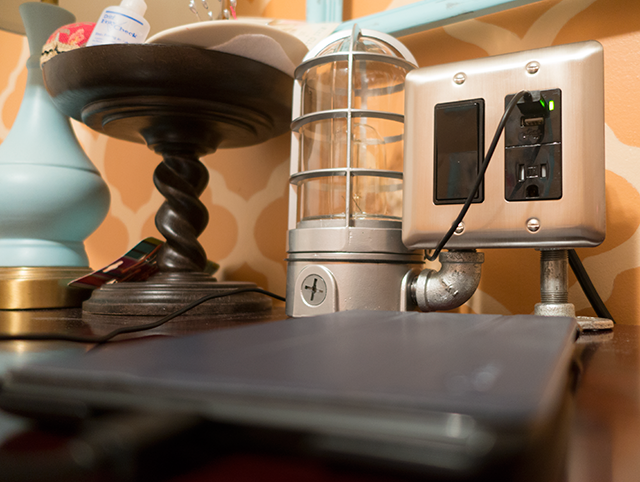
Feeling super handy? This Industrial Light and USB Charging Station would be a cool addition to any room, and we all know you can never have too many charging stations these days.
 

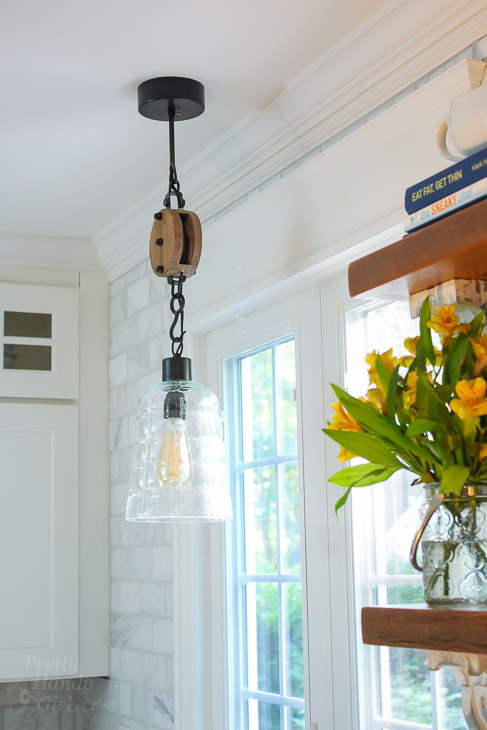
Rustic Jar Pendant Light over kitchen sink - best lighting diys

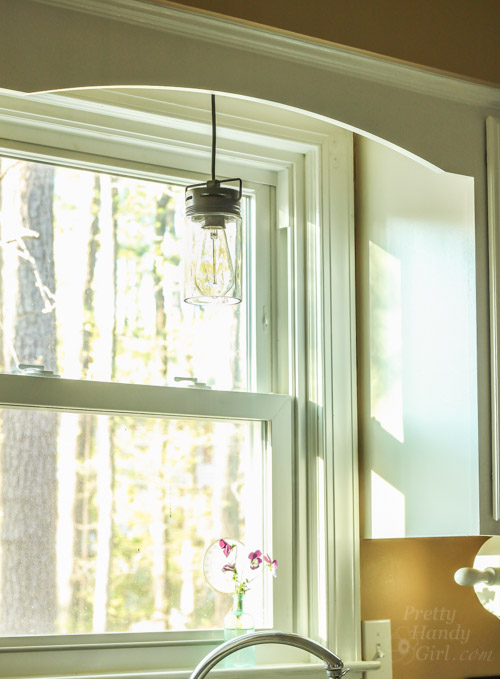
Last but not least, learn to Convert a Recessed Light into a Hardwired Light. This gives you the option to hang pendant lights over a kitchen sink. . .or really anywhere else in your home. So many options!

I hope you enjoyed this round up of the 15 Amazing DIY Lighting Ideas and found some inspiration for your home!

If you like this collection, please share by pinning the image below.

15 Amazing DIY Lighting Ideas - Large pinnable image collage

Friends don’t let friends buy light fixtures if you can DIY them! Share this post with a friend.

Now that you have your ideas for creating that light fixture, do you know how to install a hard-wired light fixture? I’m happy to show you how, it’s very easy!

Fall Decor in a Rustic Farmhouse Kitchen | Pretty Handy Girl


Vintage Map Lampshade | Pretty Handy Girl

Vintage Map Lampshade | Pretty Handy Girl
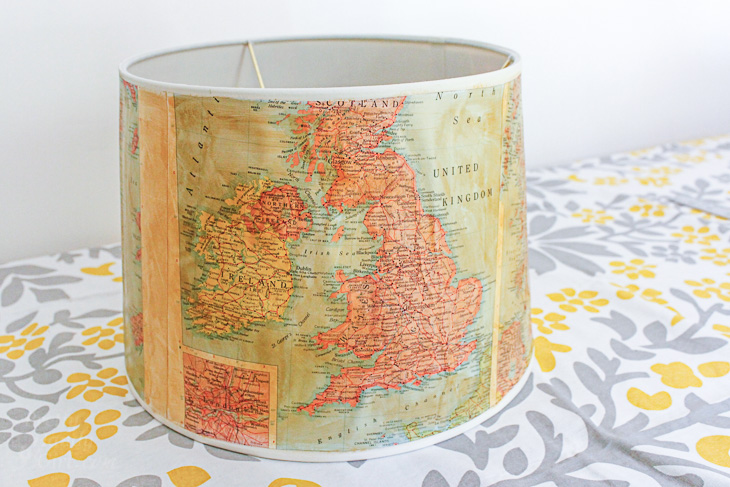
Do you want to update a plain vanilla lamp shade? Do you have a vacation you want to remember? You can do both with this vintage map lampshade!

The process to create a Vintage Map Lampshade is easy, especially if your lamp shade is close to a perfect cylinder. But, what do you do when you have a cone shaped shade? The instructions are a little more complicated, but I can show you how.
Pull up a seat and I’ll show you how to create a cool decorated lampshade. (Keep in mind you don’t have to use maps. You could use wallpaper, fabric, a poster, or anything you want!) Let’s do this.

Vintage Map Lampshade | Pretty Handy Girl

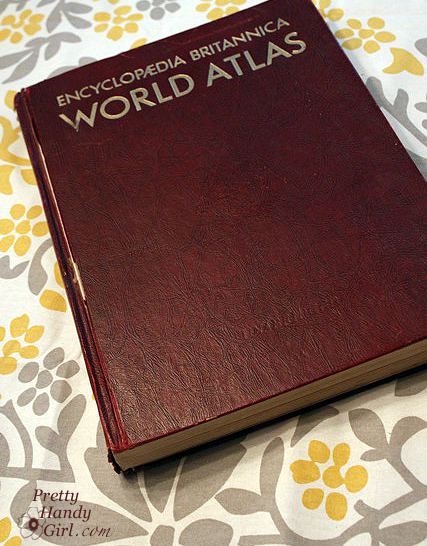
During a trip to my local thrift store, I discovered an old atlas and knew I could use it for oodles of projects. As I walked out of the store a flood of ideas came to me. One of them was to make a Vintage Map Lampshade.

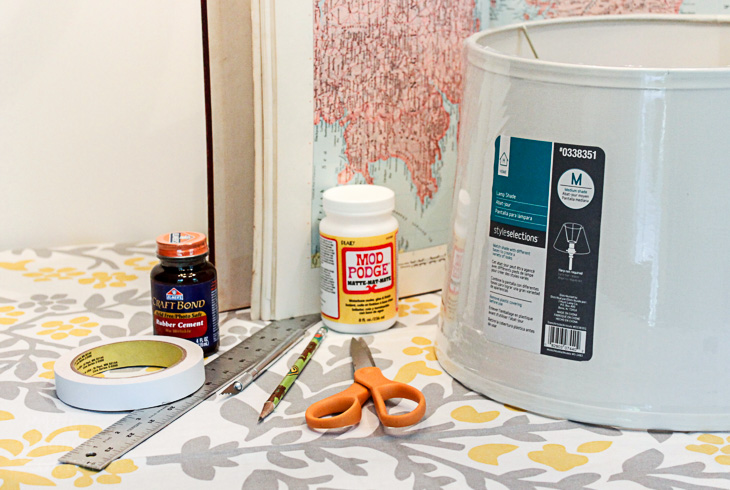
Materials:

(I’ve included affiliate links for your convenience. I earn a small percentage from a purchase using these links. There is no additional cost to you. You can read more about affiliate links here.)

To add a vintage glaze you will also need:


Instructions:

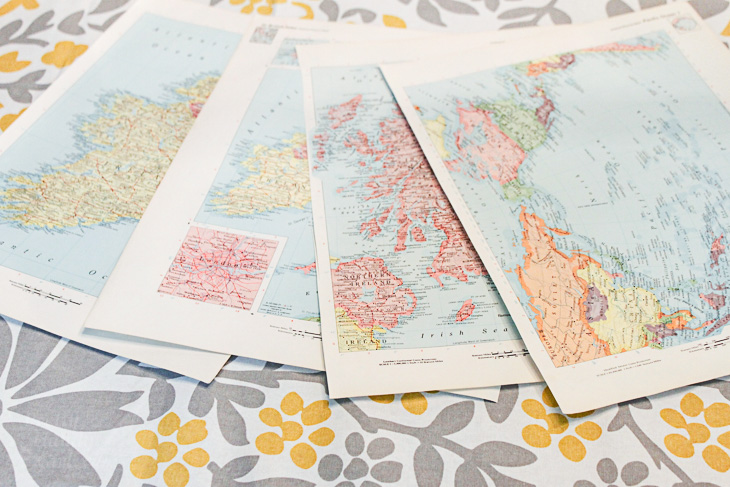
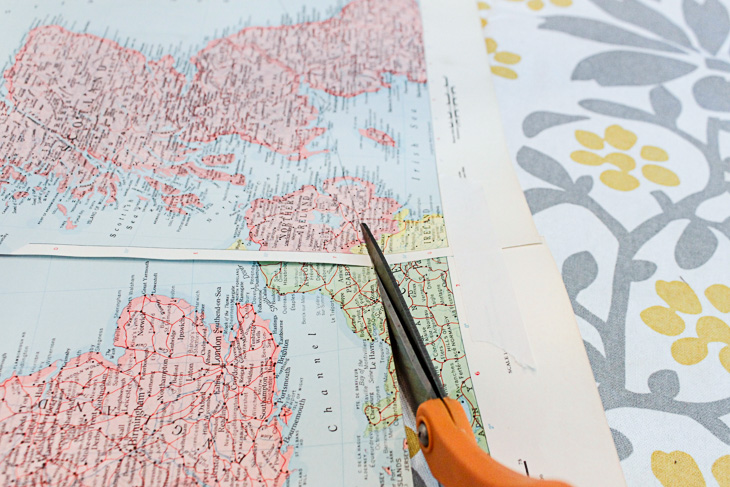
Start by selecting the maps or paper you want to use. Carefully cut them out along the spine using a fresh x-acto blade — don’t let your blade get dull. (I use a new one for each project. Your cuts are much cleaner when working with a fresh blade.)

Set your pages aside for now.

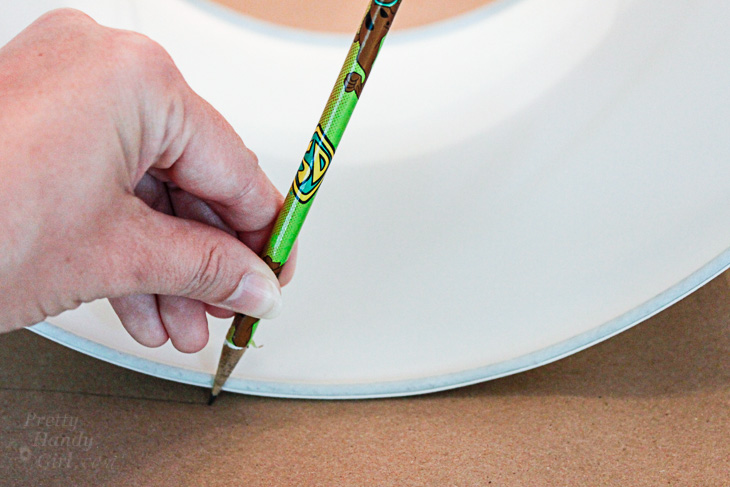
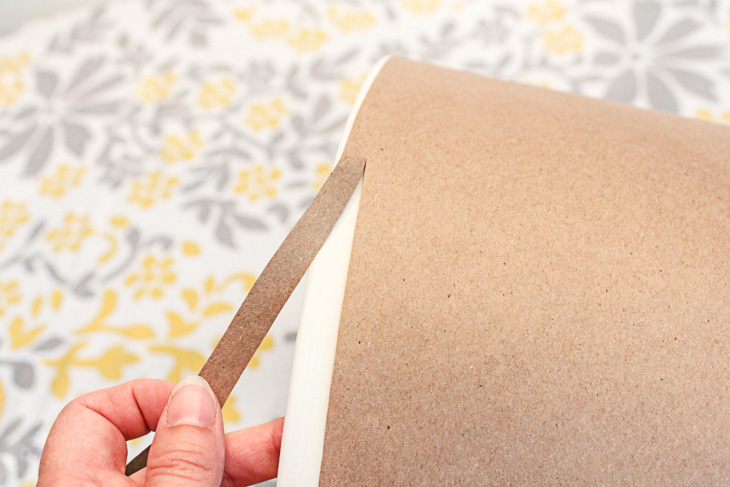
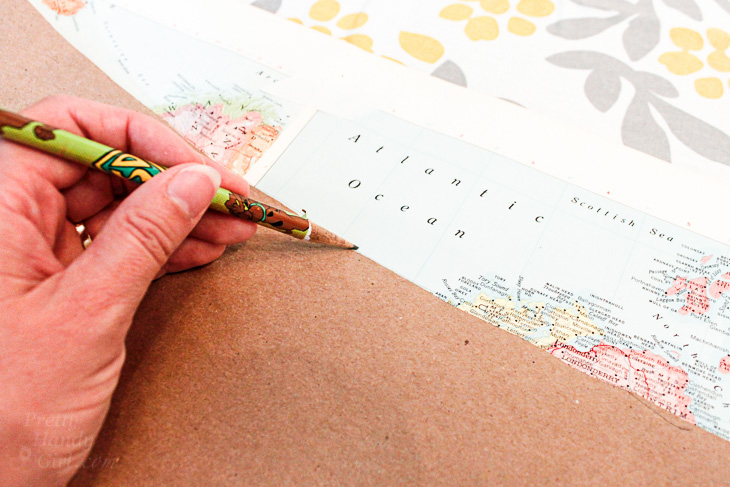
To make a template for your shade, roll out a large piece of craft paper. Lay your lampshade on the craft paper. Start at the vertical seam on the shade (to give you a visual of where to start and stop) and set your pencil along the bottom edge of the lampshade.

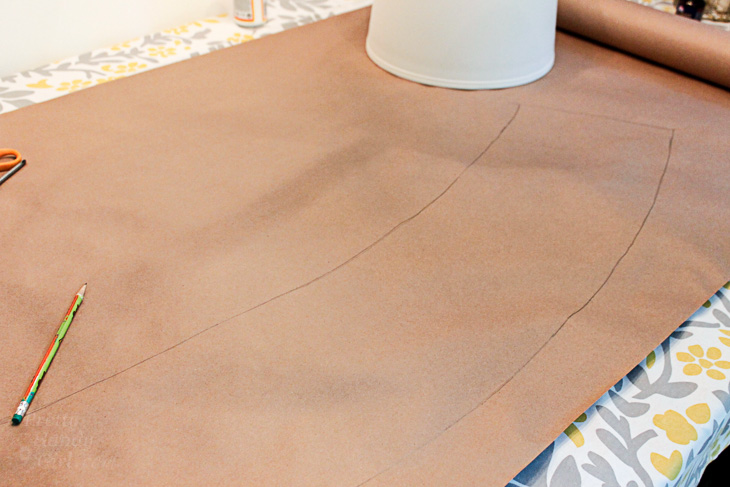
Gently roll the shade on the paper and mark along the bottom edge of the shade.

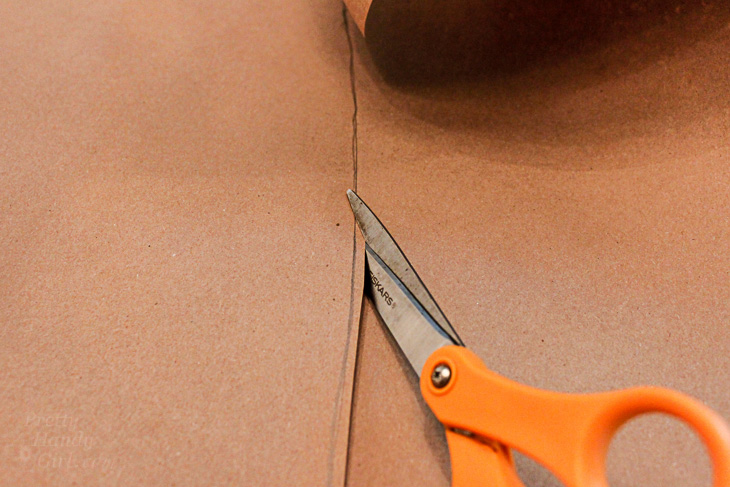
When you reach the end, reverse your shade and draw along the top edge. At the end, add an inch or two for overlap. Cut along the outlines to create your lampshade template.

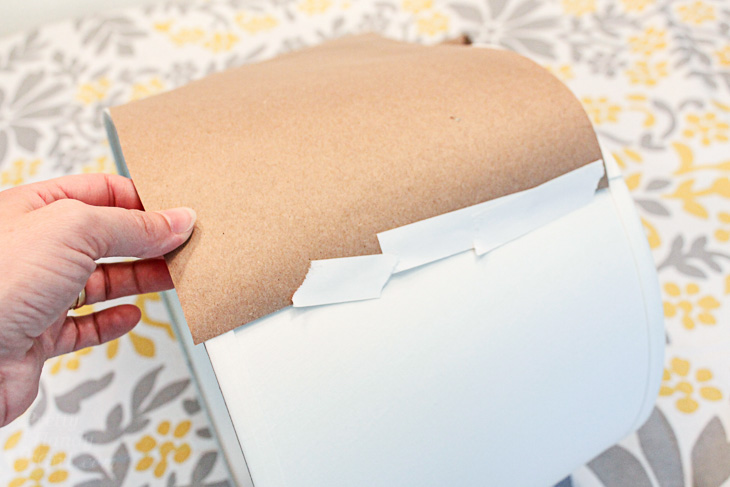
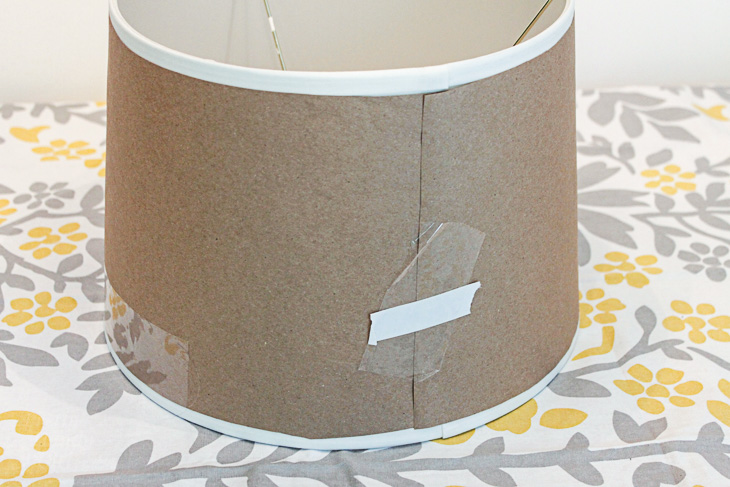
Tape the template onto your lamp shade using the low tack tape. Make sure it fits snugly.

Trim any excess from the edge of your template. Should you choose, trim excess to allow room for the grosgrain ribbon.

Make sure your template fits perfectly before you proceed.

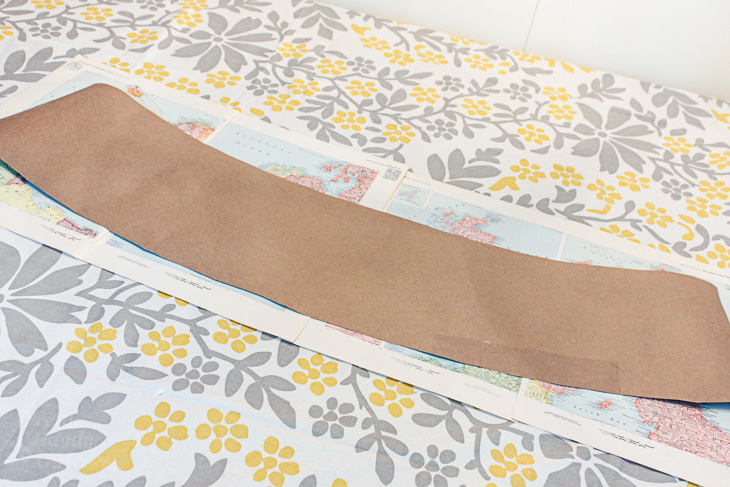
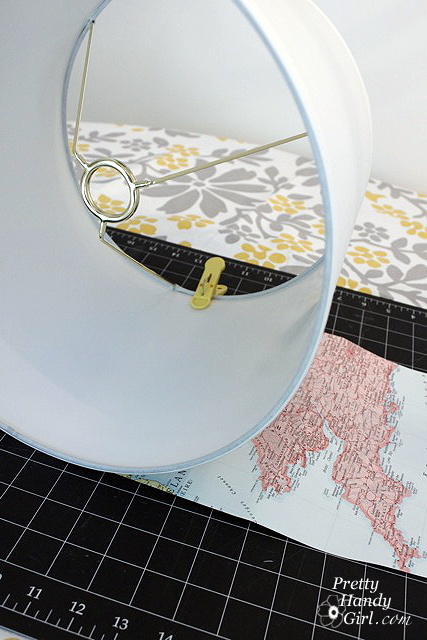
Lay out your craft paper template on top of the map pages. Make any adjustments to the page layout.

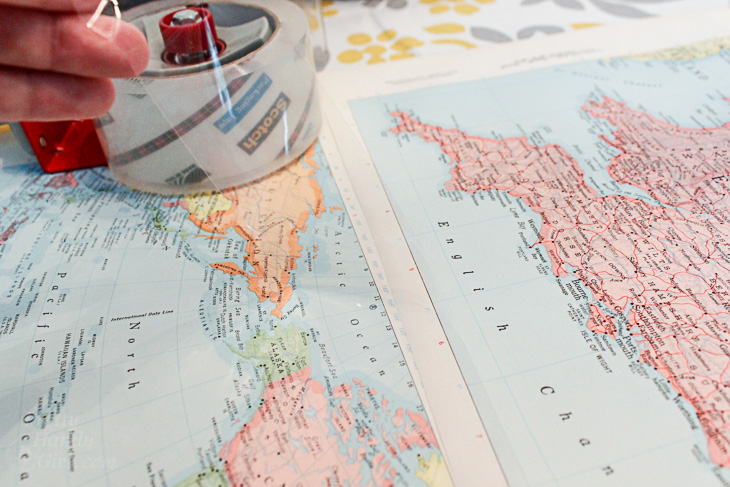
Tape your map pages together using clear packing tape on the inside only.

Trace the template on top of the map pages.

Cut out the shape along the pencil line.

Wrap the lampshade with your cut out map pages.  Clip the edges with clothes pins.

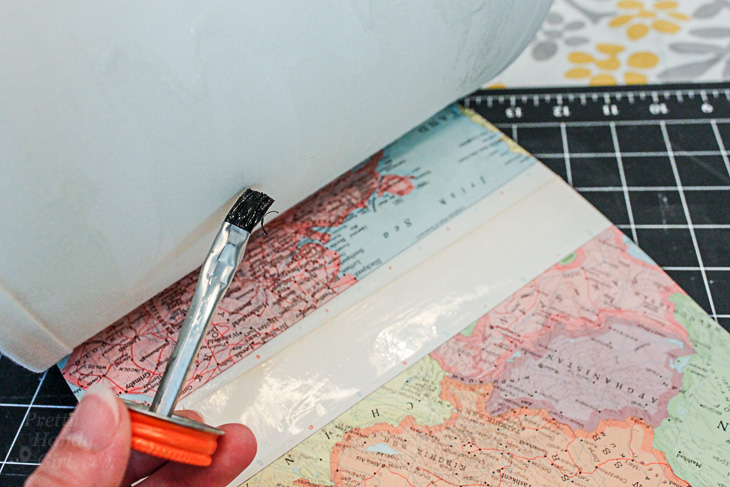
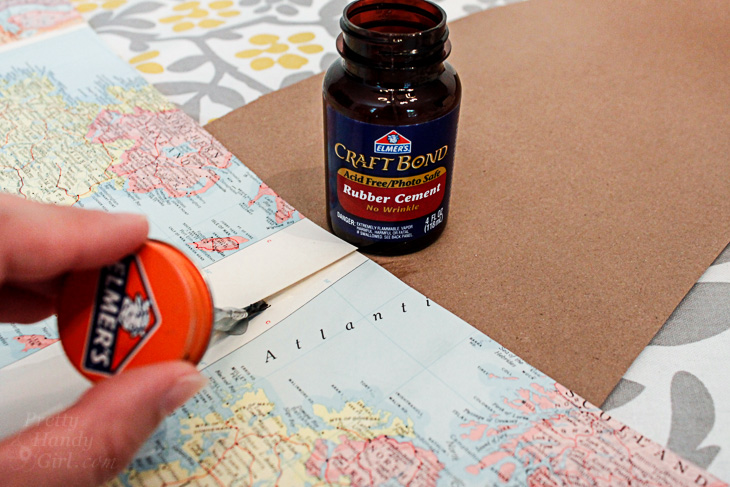
Working in small 8″ sections, brush rubber cement onto the map and the lamp shade. Wait a minute or two for the glues to dry. Then press them together. This is the best way to get maximum adhesion when using regular rubber cement. It creates a stronger bond than just one coat applied and joined while it is still wet. Alternatively you could use spray adhesive (especially if you are using fabric.)

Continue by gluing another section until you reach the end. To finish the seams on the outside, brush some rubber cement under the seams where your maps overlap. Press and hold them down until the glue dries.

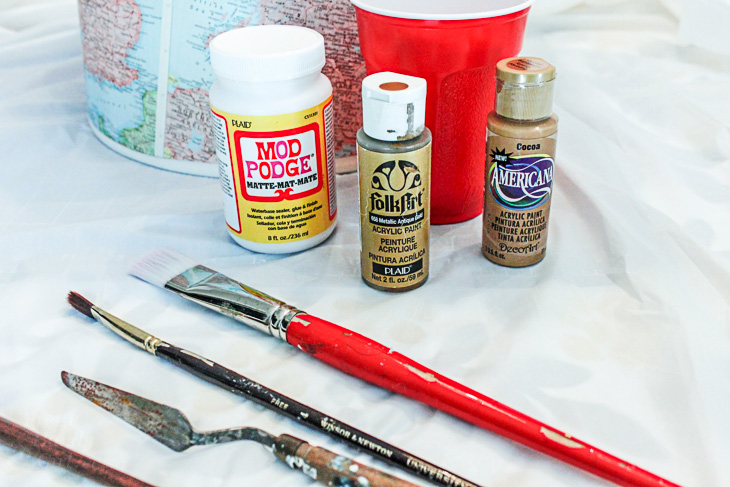
Add a Vintage Aged Glaze:

Time to give your maps a vintage aged look! Pour 2 parts mod podge into an empty cup. Add about 1 part cocoa paint. Mix them together. Test some of the glaze on a scrap piece of paper. If you like the glaze color, start brushing it onto the lamp shade. Be careful not to use too much of the glaze or the paper will start to wrinkle. (If it does, no worries, some of the wrinkles will come out when it dries. Any remaining wrinkles make it look old.)

Let the glaze dry.

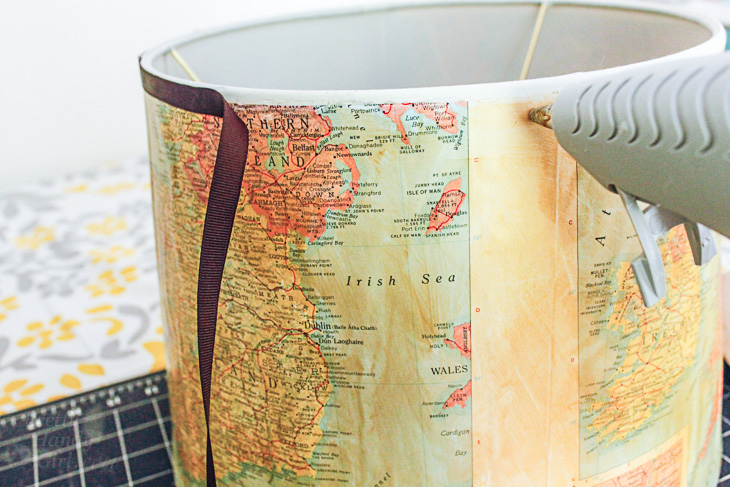
Cut two strips of grosgrain ribbon the circumference of your lamp shade plus an inch for overlap.

Hot glue the ribbon onto the top and bottom edges of your lamp shade. (Please, please, protect your fingers, read my hot glue gun safety post before working with hot glue!)

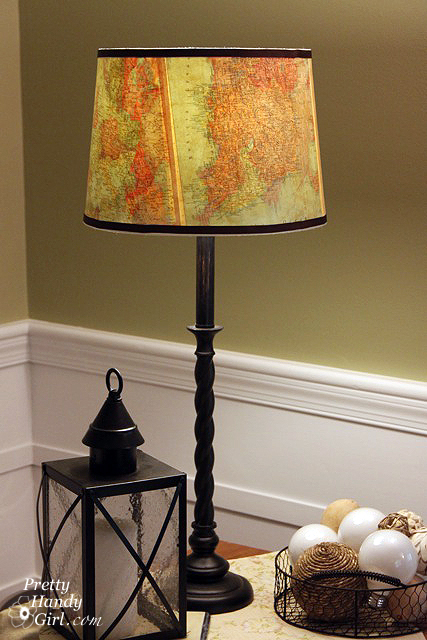
Put your lampshade on your favorite lamp.

Admire your unique lamp shade that brings back fond memories of a special trip.

If you make one of these, what map would be on your’s? Your home state? The place you were born? Where your family’s heritage resides? Or something completely different? I would love to hear your ideas.

Did you like this tutorial? Want to learn how to revamp another lamp shade with paint chips!

The result are a beautiful ombré lamp that is fun and colorful.


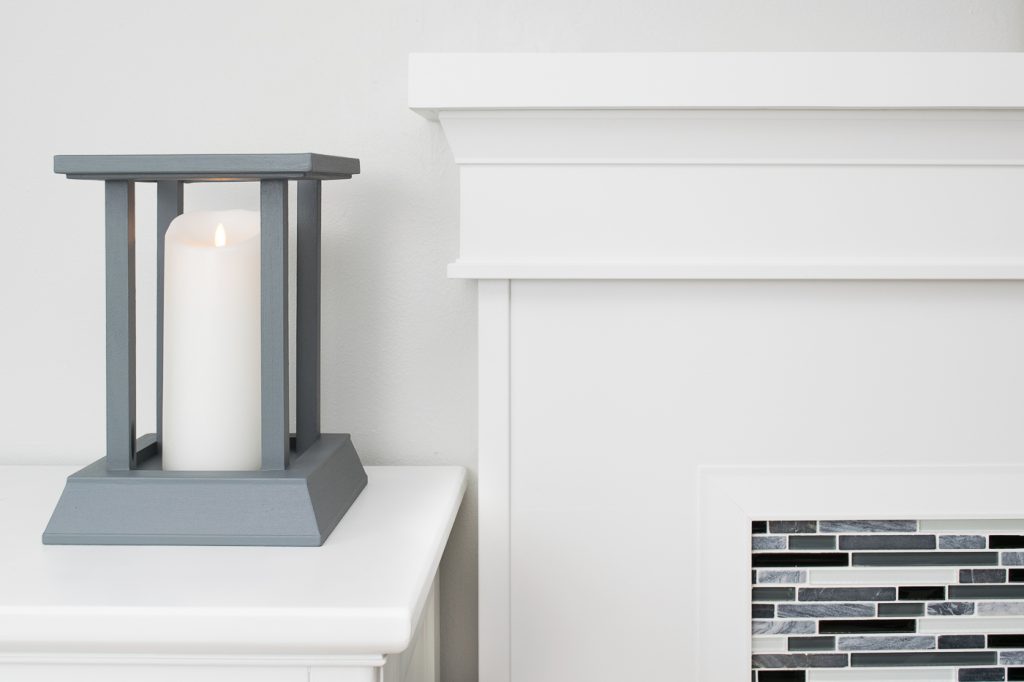
My candle lantern and fireplace mantel are made with the same trim!

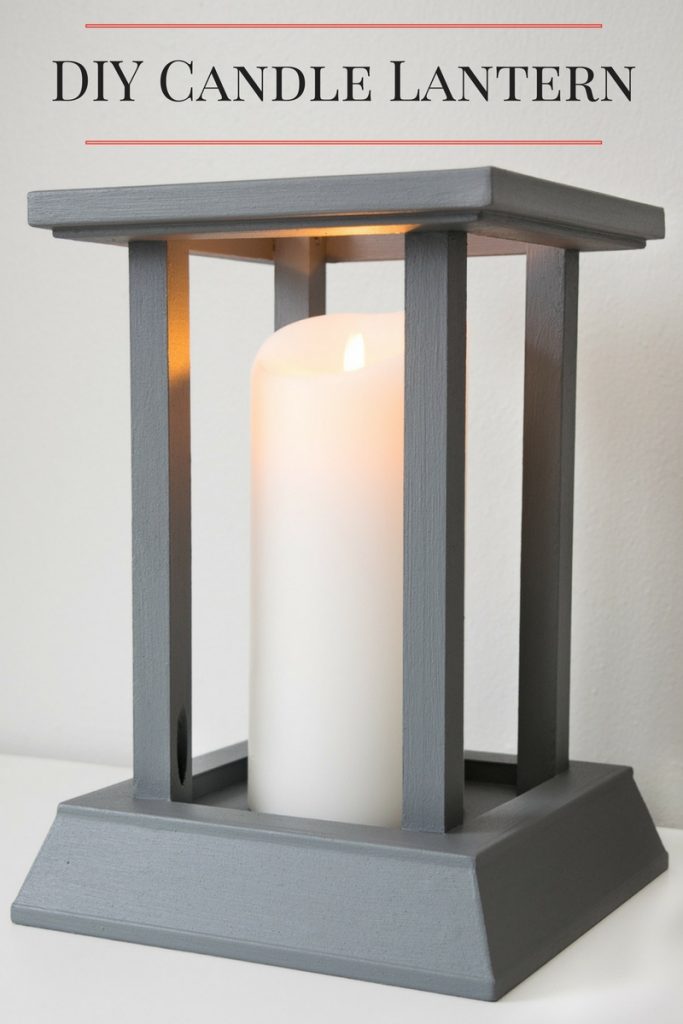
This DIY candle lantern was easy to make with leftover trim!

Hi there, Pretty Handy Girl readers! I’m Vineta from The Handyman’s Daughter, and I’m back with another awesome project to share with you. When I cleaned up my disaster of a workshop last month, I unearthed a few scraps of trim left over from my fireplace remodel. I couldn’t bear to get rid of these beautiful pieces. Instead, I decided to turn them into a candle lantern that will coordinate perfectly with our new fireplace!

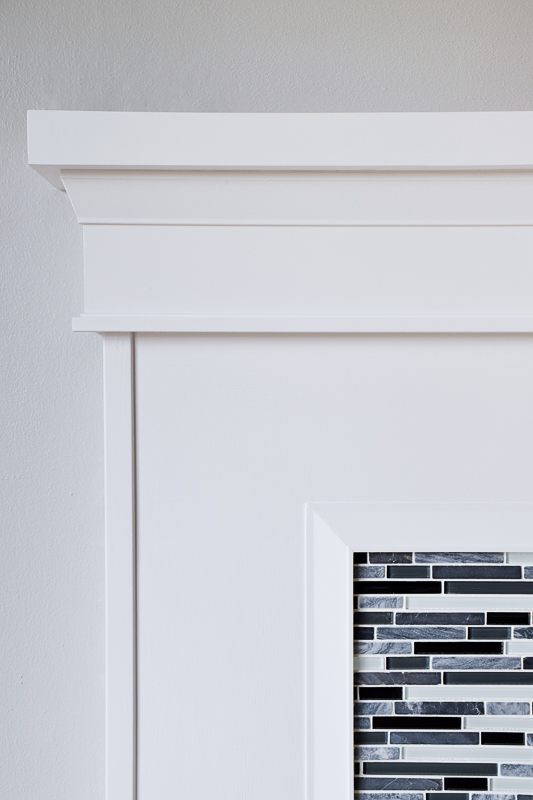
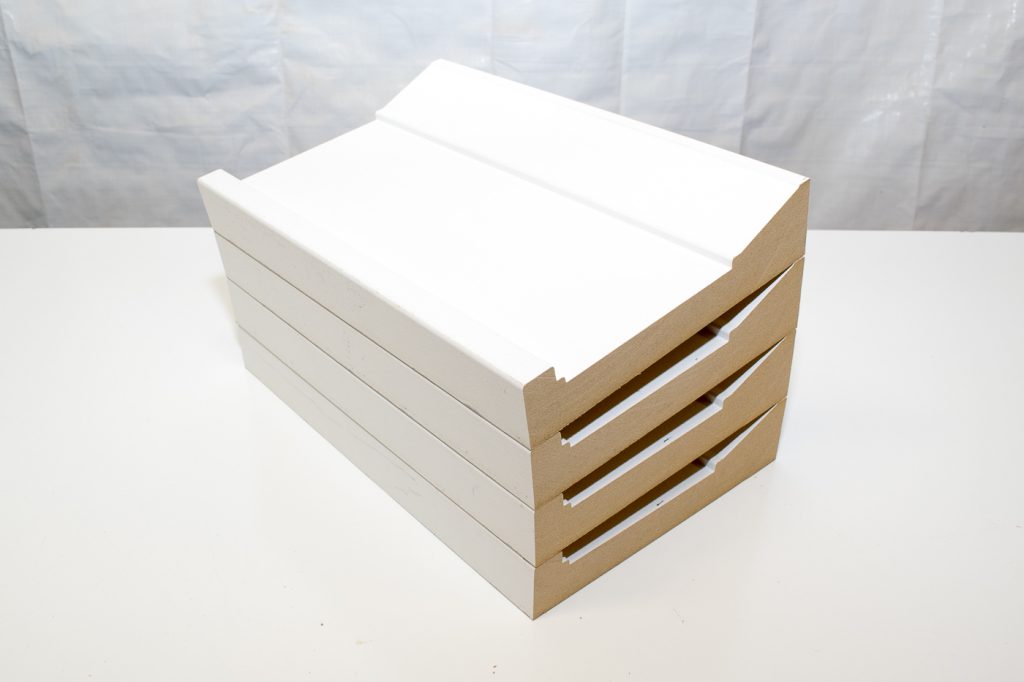
This particular type of trim is called an architrave, and it is typically installed on top of windows and doors for a bold architectural statement. But it worked perfectly under my narrow mantel! You can see all the details of the trim I used in my fireplace remodel here.

This architrave trim fit perfectly under our fireplace mantel, and the scraps will be turned into a DIY candle lantern.

Materials:

(I’ve included affiliate links for your convenience. I earn a small percentage from a purchase using these links. There is no additional cost to you. You can read more about affiliate links here.)

Instructions:

Start by cutting your trim down into manageable pieces. (Mine are about 10 inches long.)

Cut the trim for your candle lantern down to a manageable size.

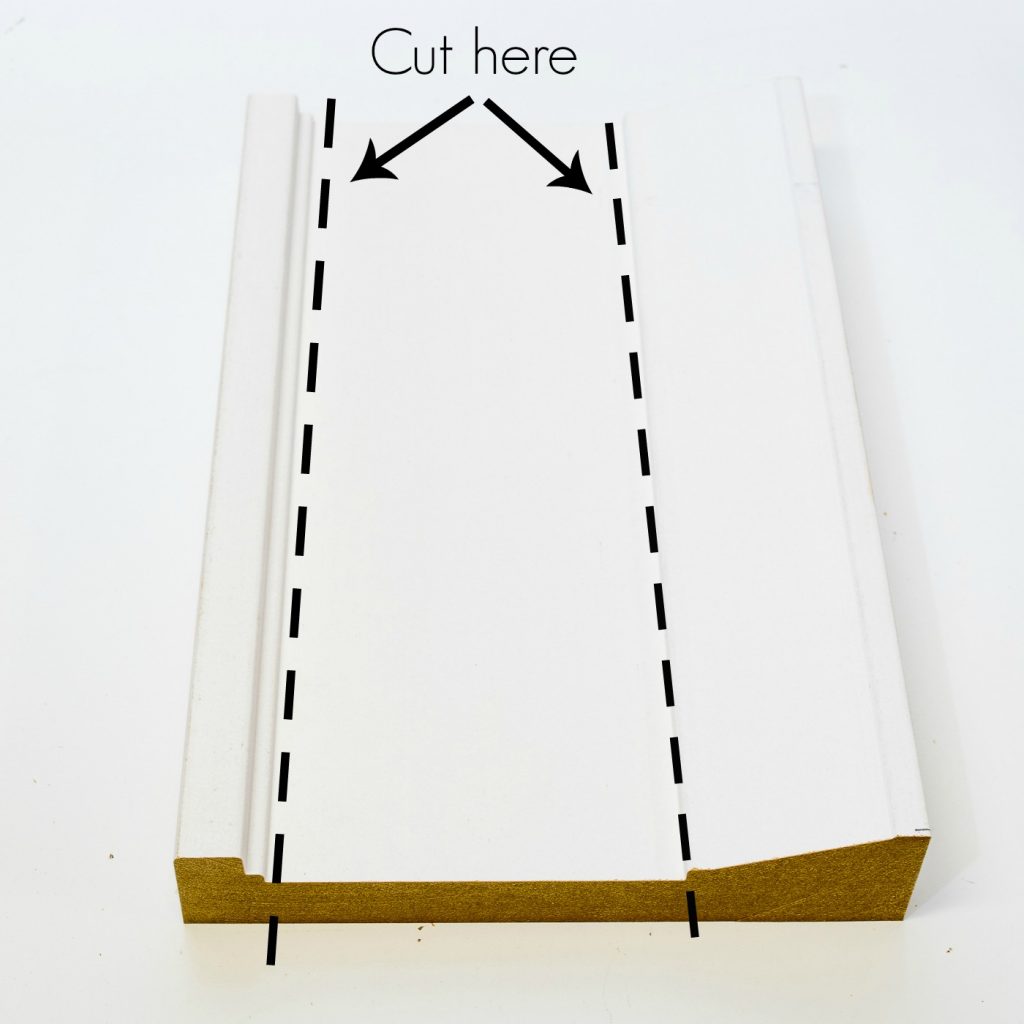
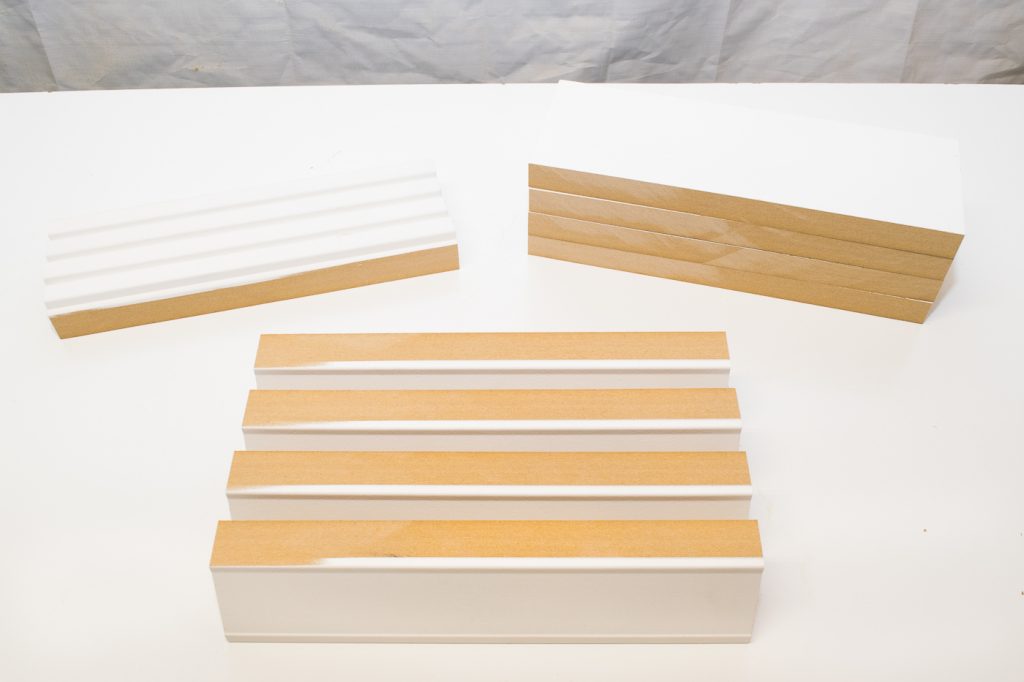
Then cut it into three separate parts as shown below.

Cut the trim for your candle lantern into separate parts.

The angled piece will become the base, the square piece will be the top, and the flat middle will fill in the bottom. Alternatively, you could use baseboard or crown moulding for the base, smaller trim for the top, and scrap wood for the bottom. Play around with different combinations in the trim aisle of the home improvement store until you find one you like!
These are the pieces you will need to form the base and top of the candle lantern.

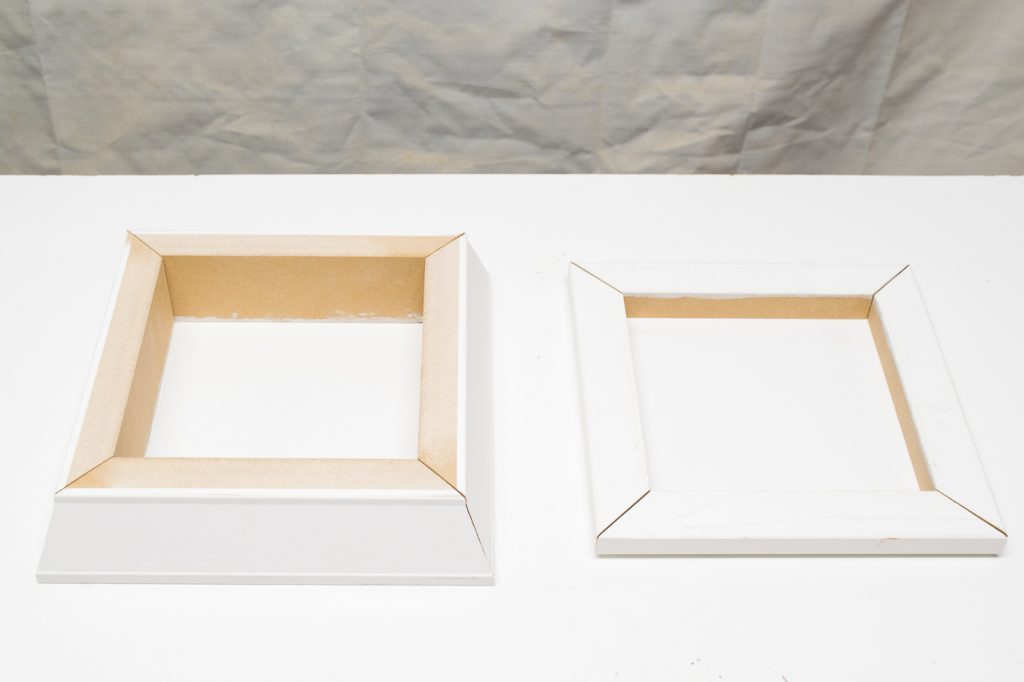
Miter the corners of the base and top pieces to create two frames. The interior dimensions of my lantern are 6″ square.
Miter the corners of your base and top pieces to create two squares.

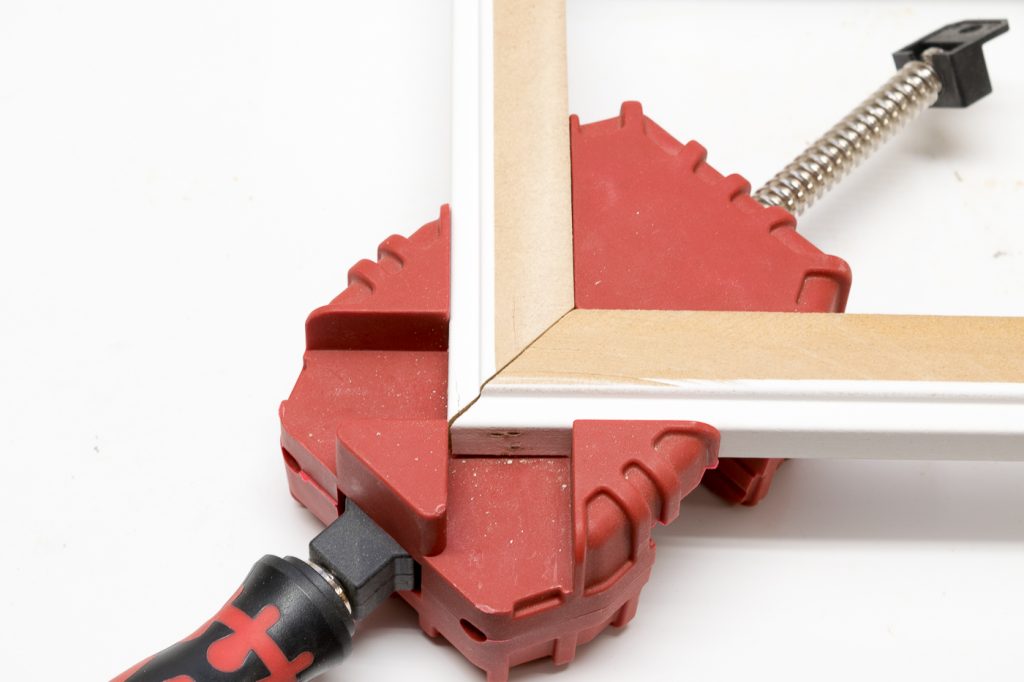
Apply wood glue to the corners, then nail each one together. The thick base was easy to handle, but the thinner top pieces were a little squirrely. I used a corner clamp to hold everything in place while I wielded the nail gun. Don’t worry if there’s a gap in the corners. We’ll patch everything up later.

A corner clamp made it easier to hold the miter in place when using the nail gun.

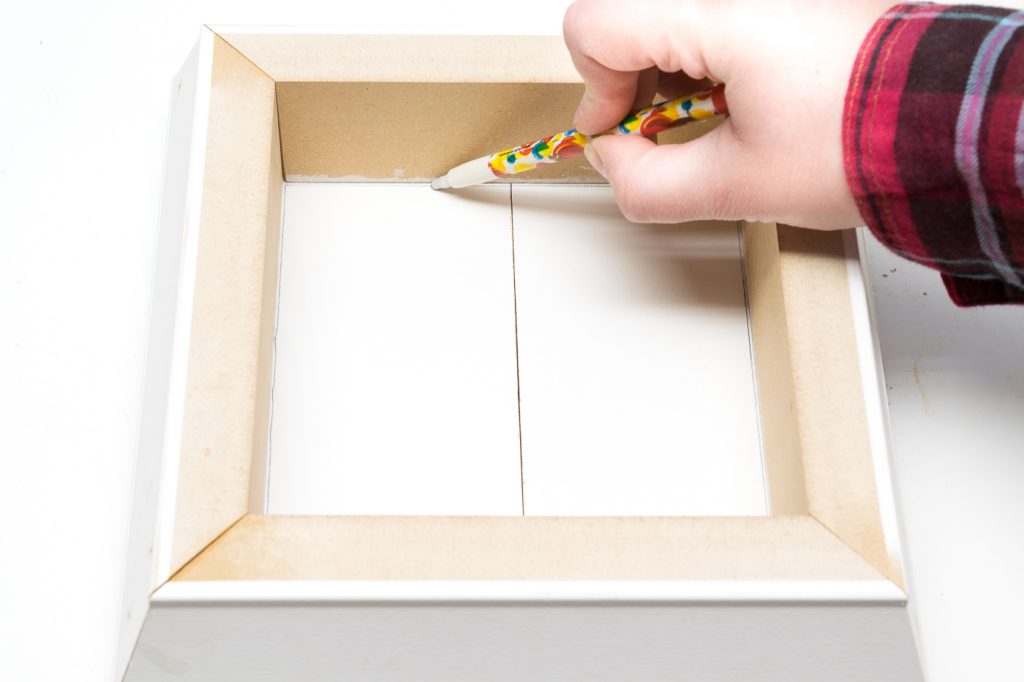
Using your base square as a guide, mark the bottom pieces and cut them to fit inside. I used the flat part of my trim for this, but plywood or scrap wood would work as well. Keep in mind how high you want your candle to sit inside the lantern when working on this step.

Mark the bottom of your candle lantern and cut to fit.

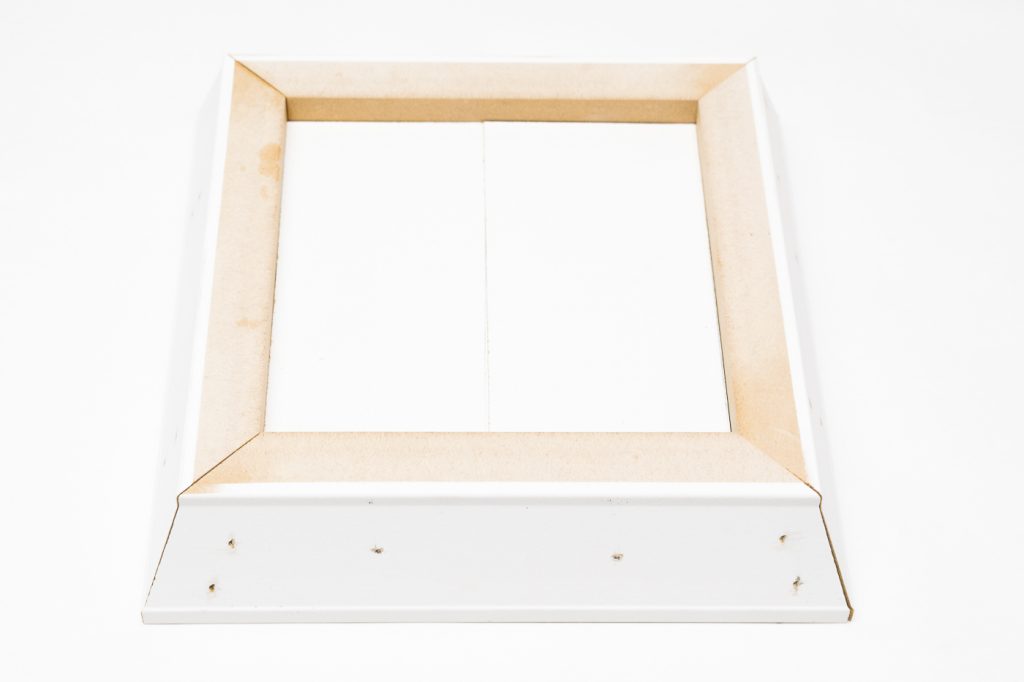
Nail through the sides to hold the base flat pieces in place.

Your candle lantern bottom should look like this.

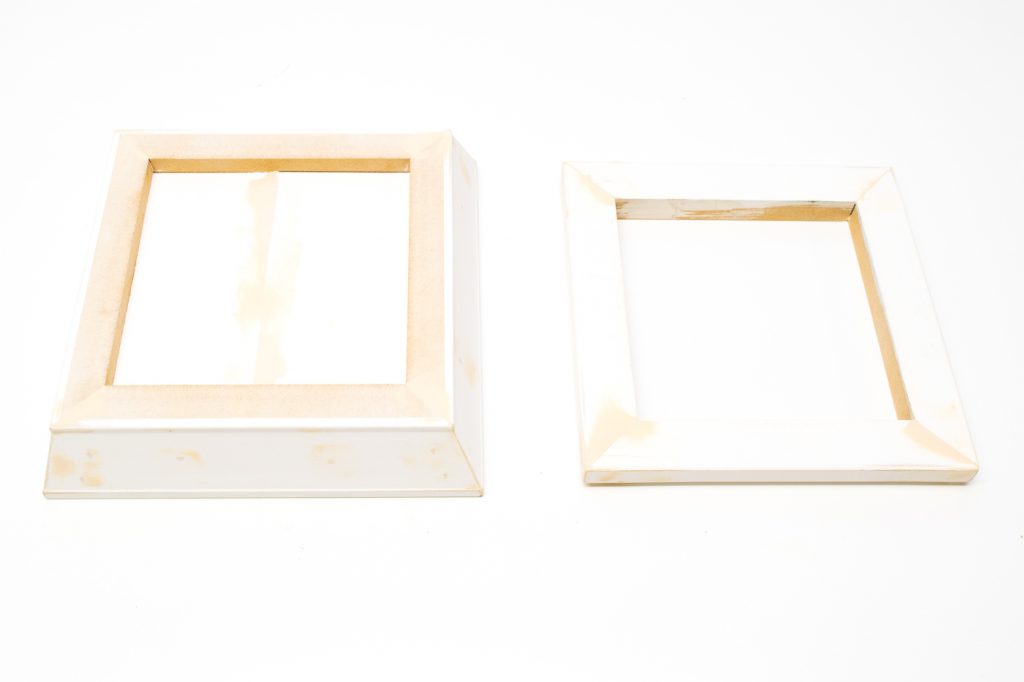
Fill any holes or gaps with wood filler. Allow it to dry, then sand the surface smooth. When the candle lantern is painted, all those imperfections will disappear.
Adding wood filler to the gaps and holes in the candle lantern will let all the imperfections disappear when it is painted.
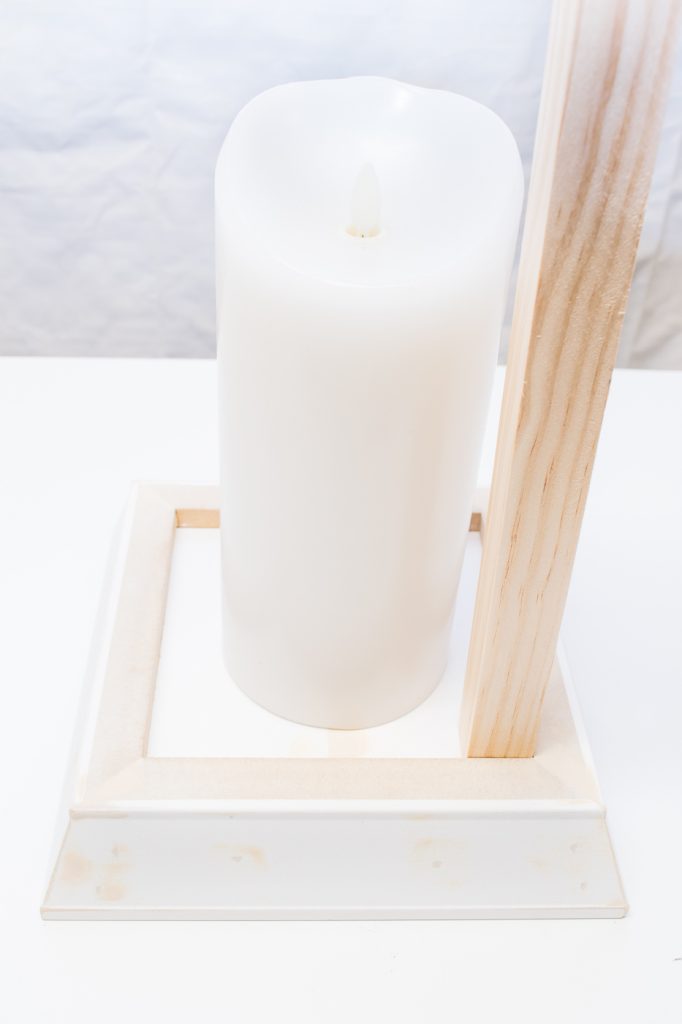
If you have a particular candle you want to use, now is the time to test it out. Place it in the middle of the base, then determine how tall you want the pillars to be. Mine are about 2 inches taller than the top of the candle. Cut 4 square dowels to that measurement.

Use your square dowel to eyeball how tall you want your candle lantern to be.

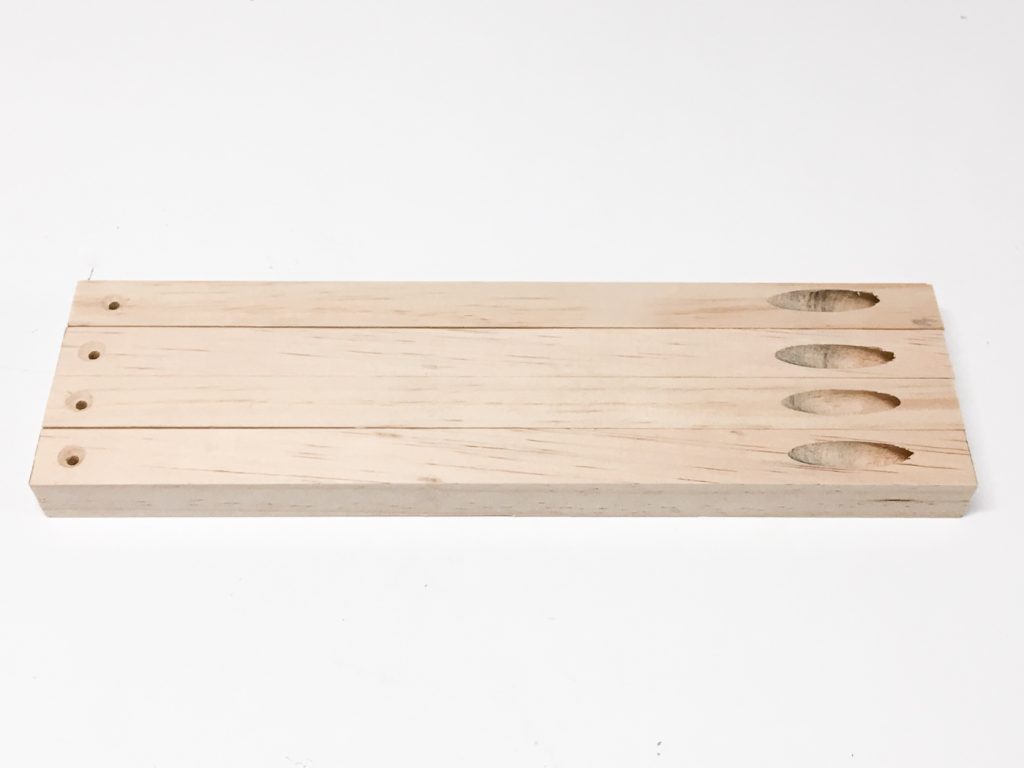
Predrill a hole in one end of each dowel with a countersink bit, and a pocket hole in the other end.

Predrill countersink holes and pocket holes in your dowels for the candle lantern supports.

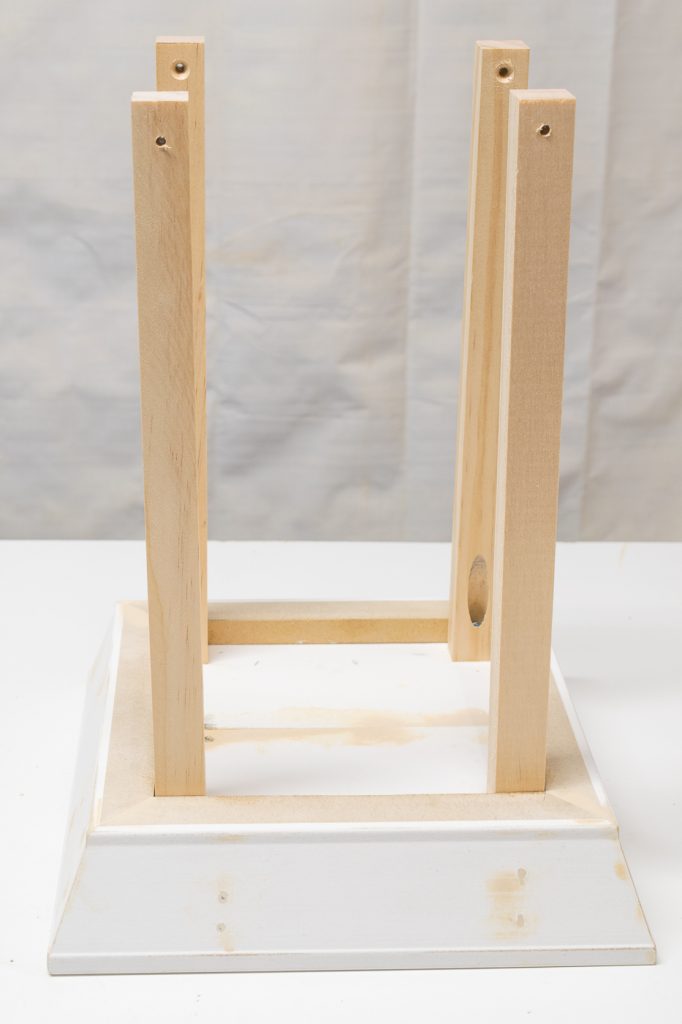
Attach the pillars to the base with 1 1/4″ pocket hole screws. I arranged mine with the pocket holes facing each other, but in retrospect I wish I had them all facing the back so the holes were hidden from view.

Attach the pillars to the base of the candle lantern with 1 1/4" pocket hole screws.

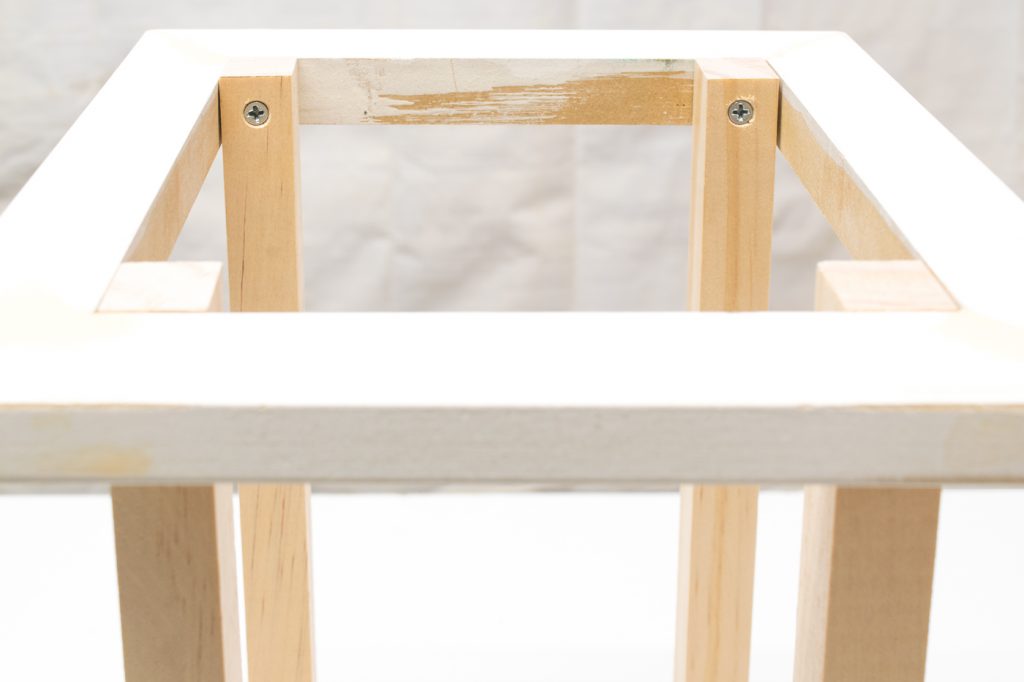
Attach the top frame to the top of the pillars with screws. Make sure the tops of the pillars are flush with the top edge of the frame.

Attach the top frame to the pillars of the candle lantern.

Now your candle sconce is ready for paint! Primer helps cover up the wood filler. I used some leftover chalk mix paint from my bread box makeover, and it goes perfectly with the dark gray tile of my fireplace. Even side by side, it’s hard to tell that I used the same trim for both!

My candle lantern and fireplace mantel are made with the same trim!

This candle lantern is easy to make using leftover trim from my fireplace makeover!

Is your style a little more rustic? Katie has you covered with this stained wood version lantern!

If your style is more rustic, these candle lanterns might be perfect for your decor!

I hope you’ve enjoyed this month’s tutorial! For more great DIY ideas, check out my blog at The Handyman’s Daughter. Until next time!

~ view more of Vineta’s projects ~