Transform your outdoor living space with this step-by-step guide on how to install concrete paver edging with tips from professionals with a lasting finish.

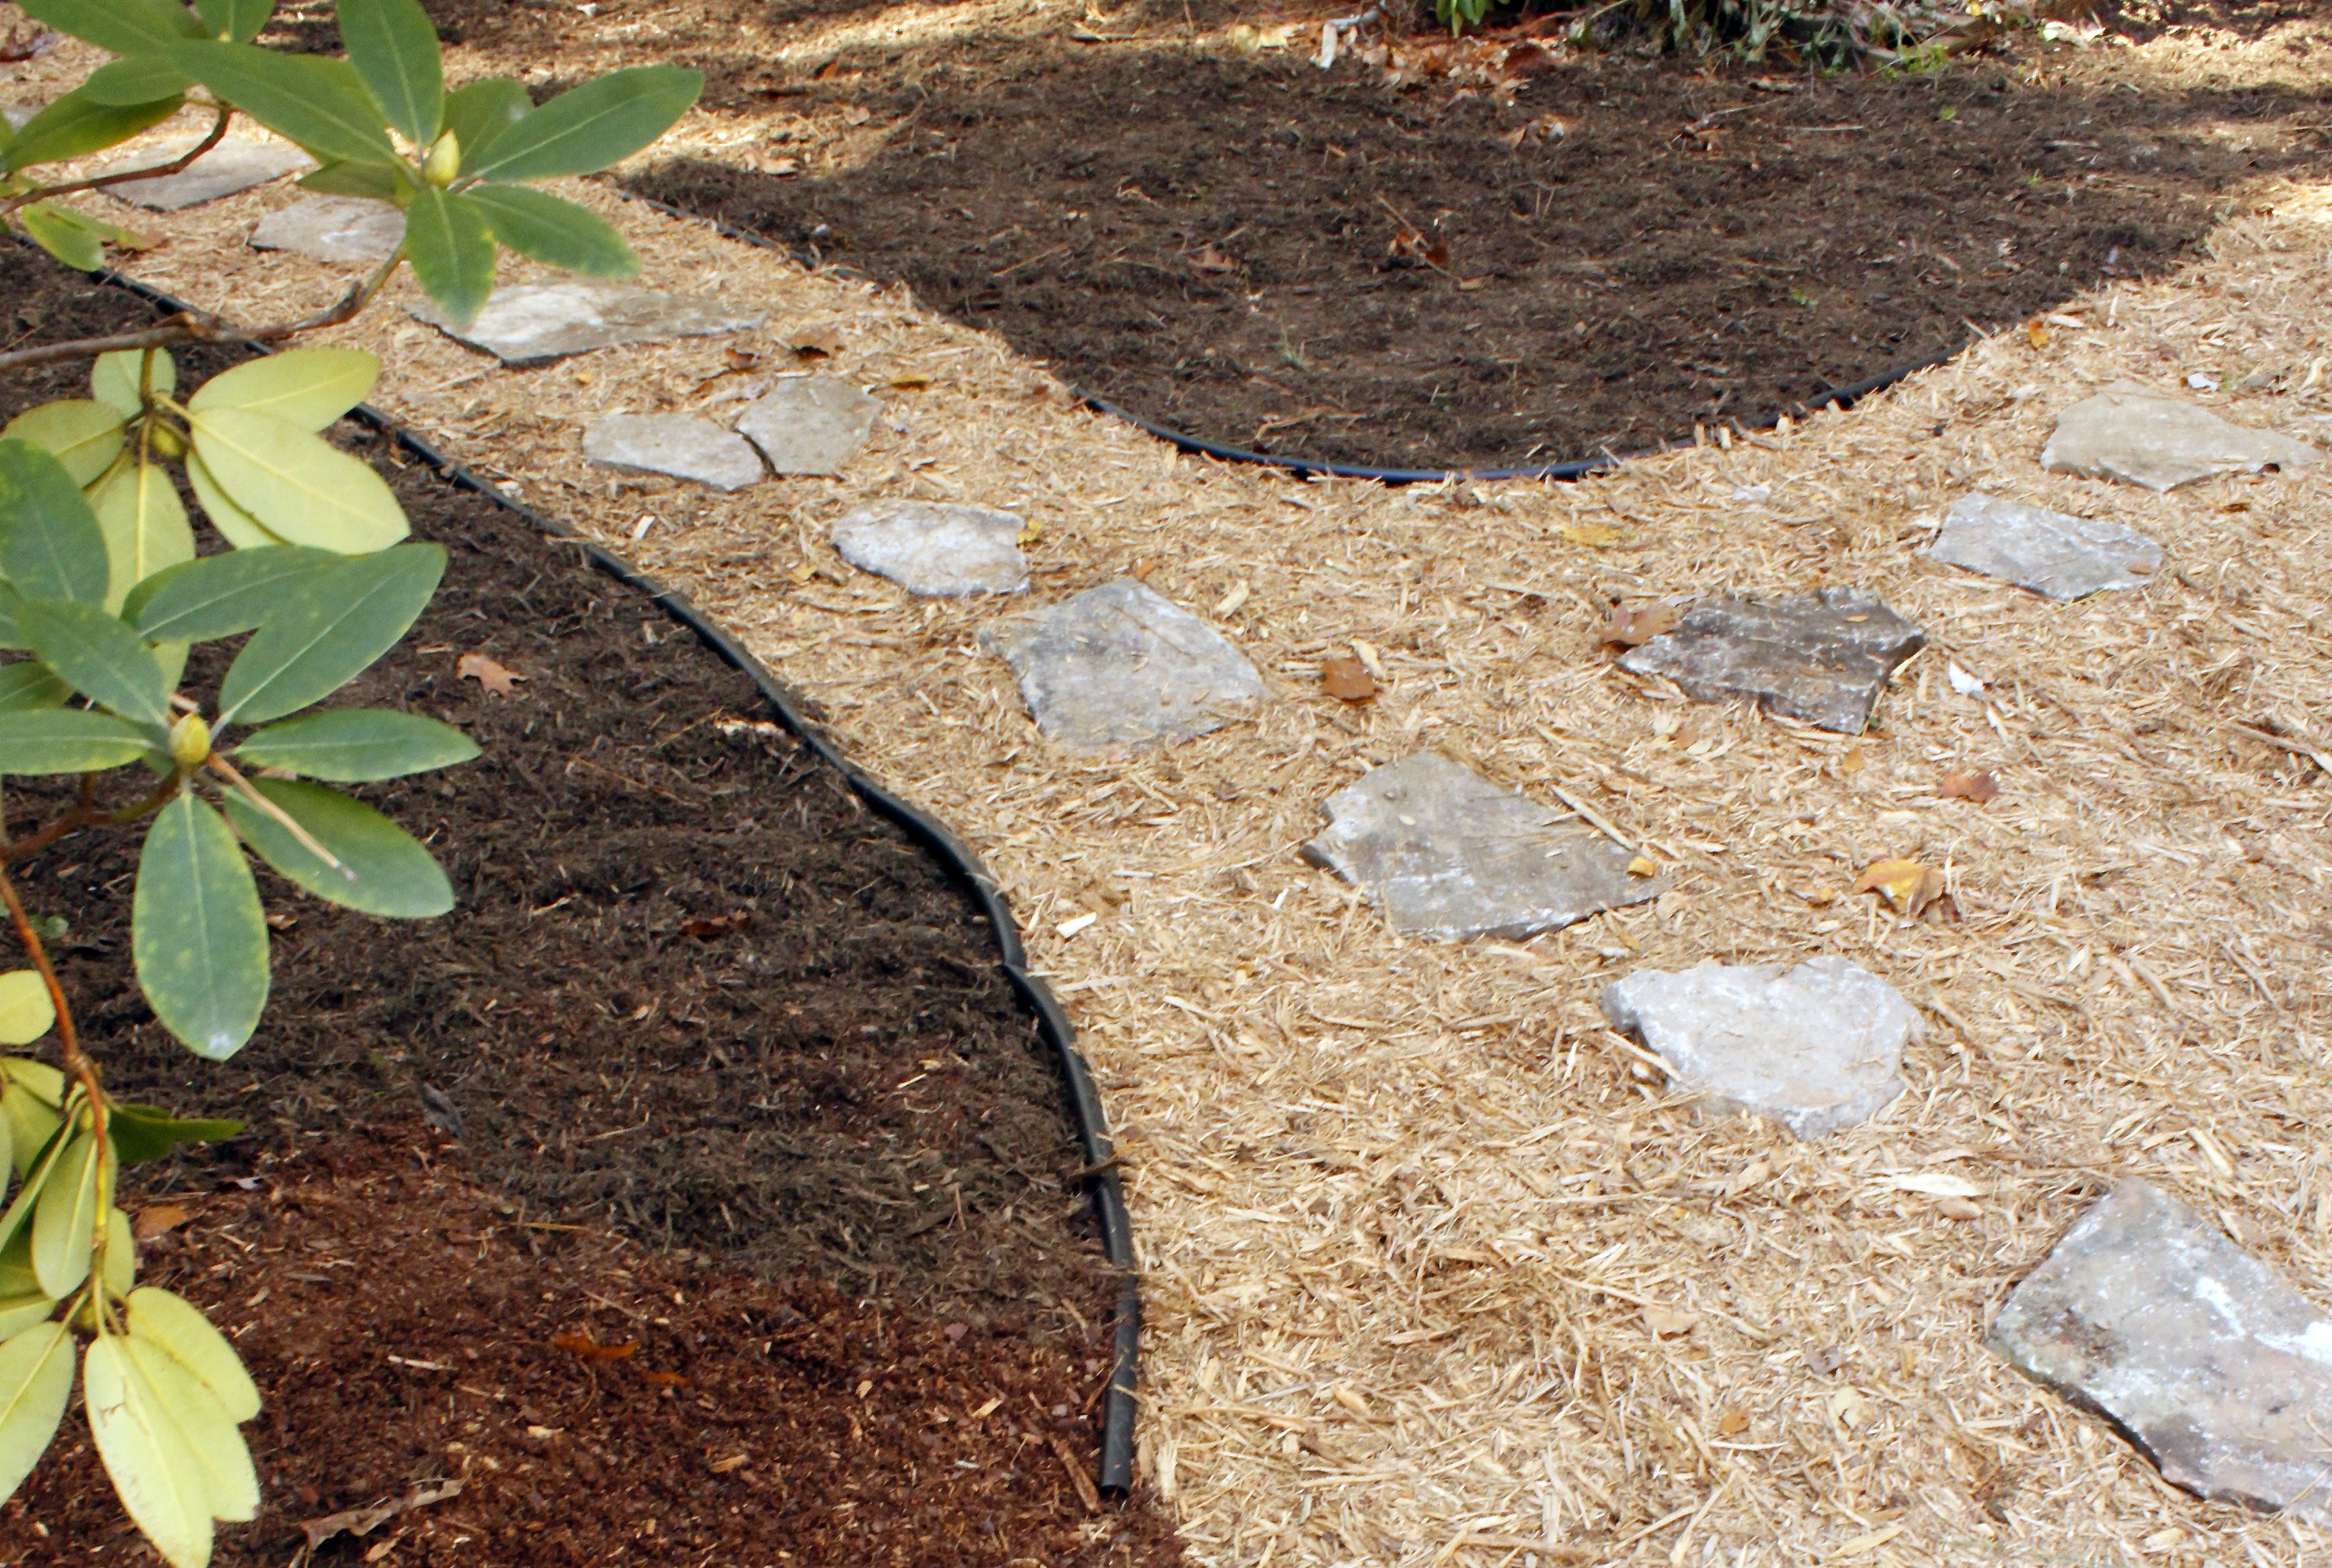
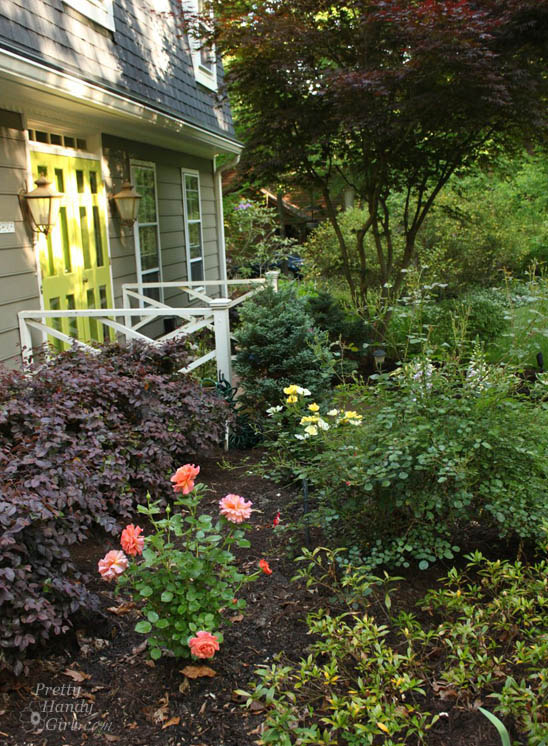
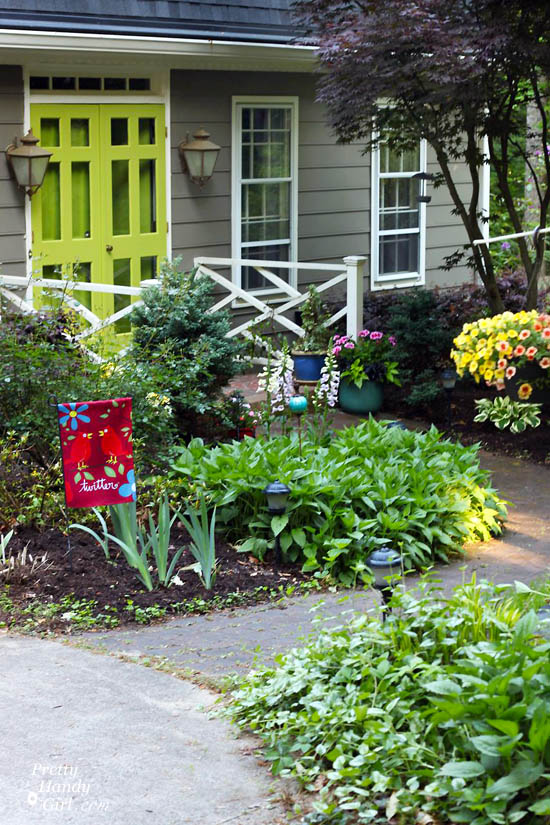
Edging can be a beautiful and decorative addition to your landscaping. It can delineate two different landscape materials, but can also prevent lighter weight materials (like mulch and fine gravel) from washing out during rain storms.
Ultimately landscape edging is one element that easily adds value and a professional touch to a multitude of outdoor spaces. It is a game changer for any front yard, backyard, pathway, or outdoor living space. And, it’s one of the easiest hardscape projects to accomplish for homeowners.
Today I’m back to share the simple steps for paver installations around an area (like a patio or pathway) in your backyard.
There are many types of edging you can chose from and various products in your local home improvement or landscaping supply store. Landscape edging is available in many materials: plastic, steel, poured concrete, natural stone, and wood.
It’s up to you to choose materials that will fit with your landscape style. But, today we are sharing our years of experience to show you how to install concrete paver edging (a great paver edging product in our opinion). Concrete pavers are beautiful, long lasting, and can be a very affordable choice for edging around your flower beds or garden.
Ready to learn how to install your own concrete edging? You can definitely do this without a professional paver installer!
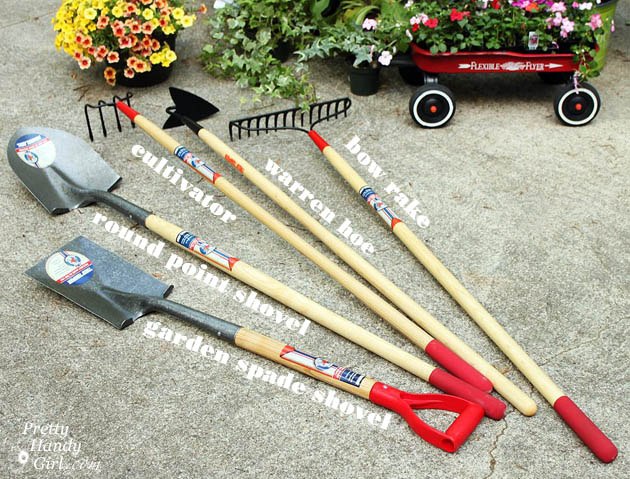
Materials for Concrete Paver Installations:
(I’ve included affiliate links for your convenience. I earn a small percentage from a purchase using these links. There is no additional cost to you. You can read more about affiliate links here.)
- Concrete Pavers (you can use any pavers, but this is the best choice in our opinion)
- Rubber Mallet
- Landscape Stone
- Drainage Gravel
- Bedding Sand (optional)
- Flat Shovel
- Spray marking chalk (optional)
- Gloves
Installing Concrete Paver Edging:
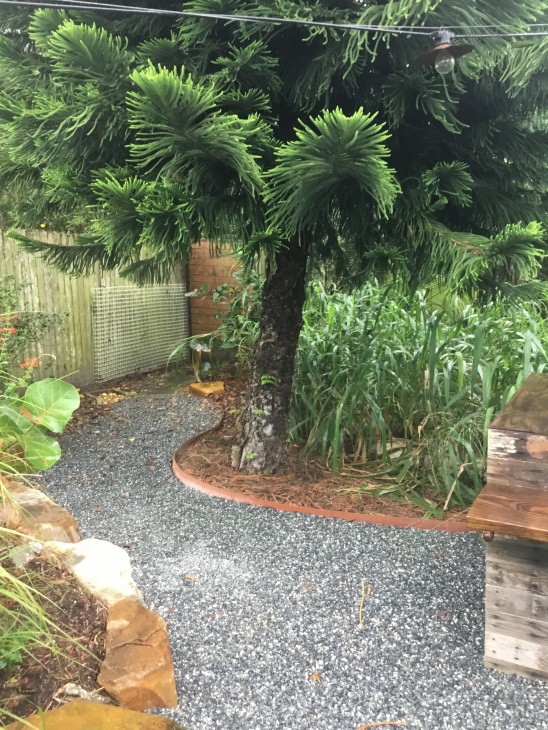
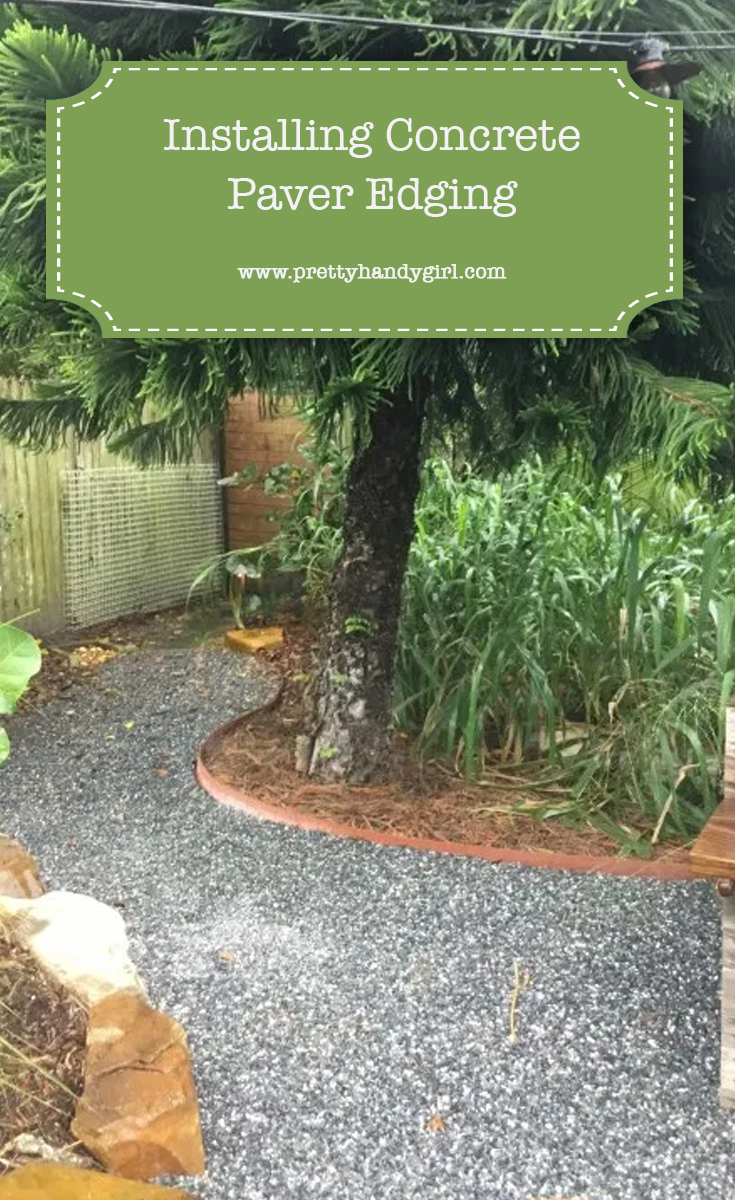
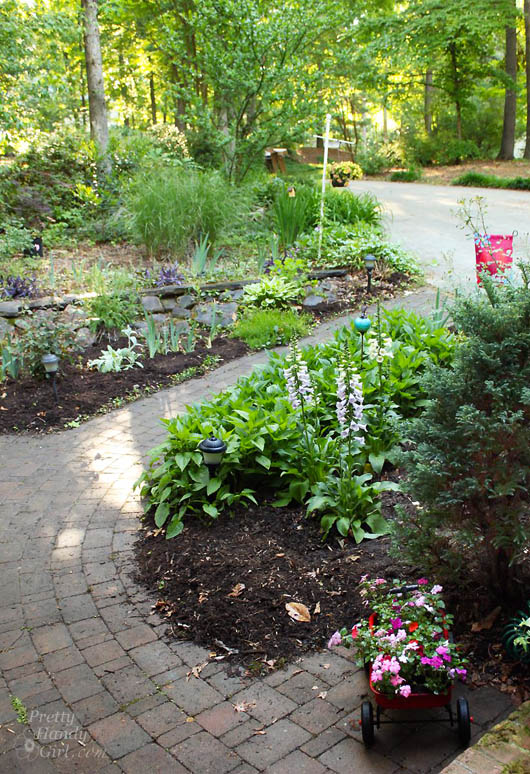
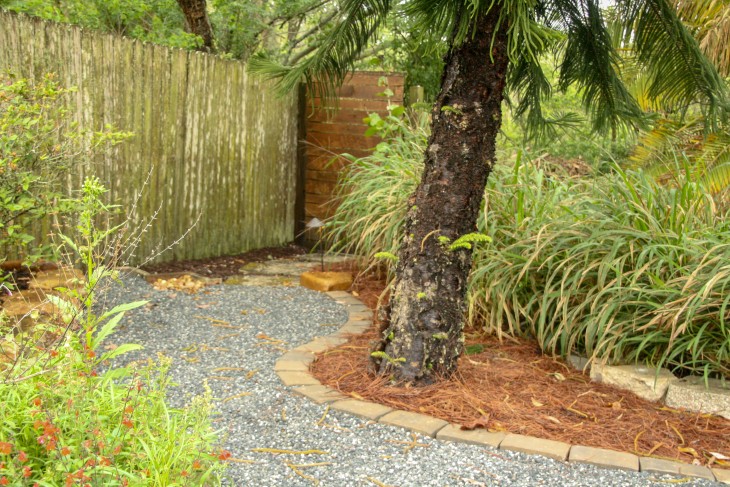
In the above photo we used standard plastic edging at first. We had installed it while building out this gravel pathway but the plastic rails weren’t performing the way we had hoped for in this particular area and we were looking for a less maintenance and less erosion in the long run.
Anytime we had a lot of rain, the gravel would wash over the plastic edge re-straint. We decided to scrap the plastic edging and use some extra concrete pavers to provide more stability between the two areas.
Preparation:
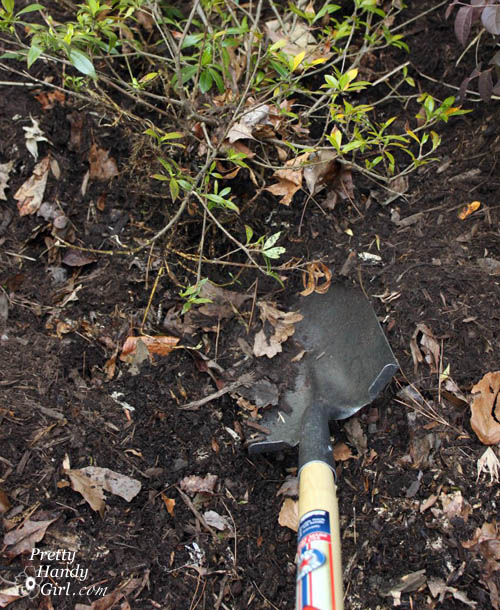
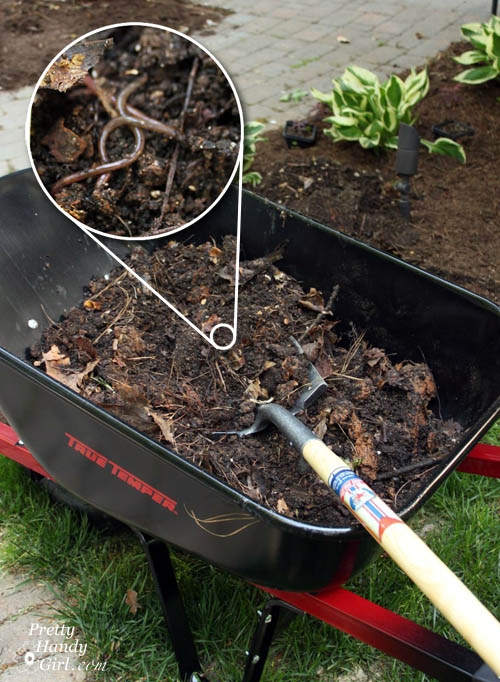
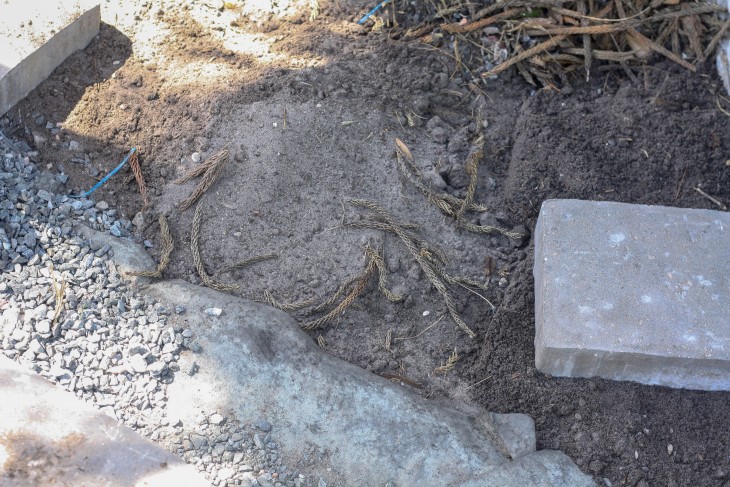
Use a hose or straight edge to mark where your edging will be installed. You can use straight runs for a more formal look, or use curves for more visual interest. Dig out any grass and remove any obstacles (or relocate your edging for objects that can’t be moved.)
If your paver edging is on a hill or needs to hold back dirt, you may need to use some paver edge restraint systems (like spikes, underpinning, or a retaining wall).
Instructions:
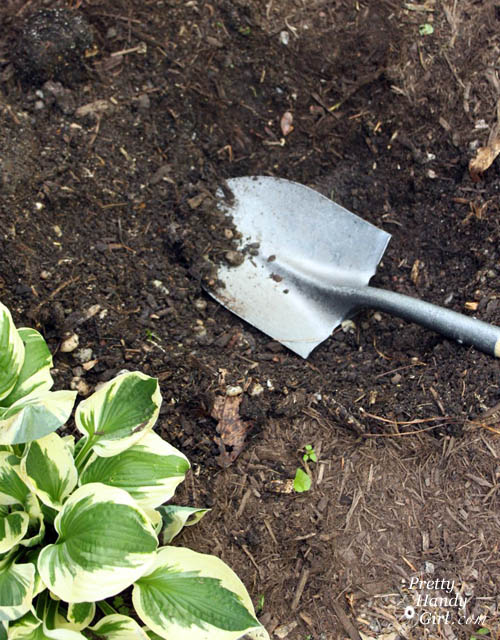
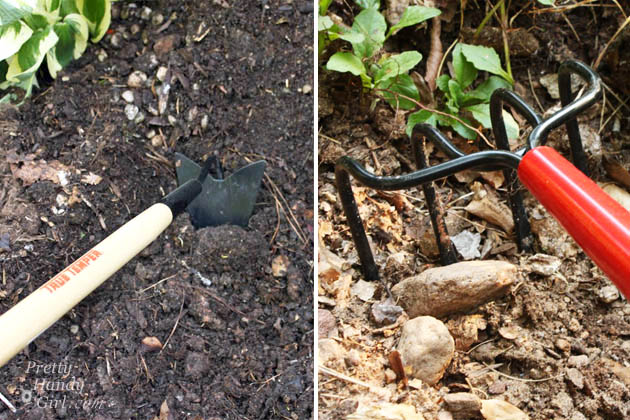
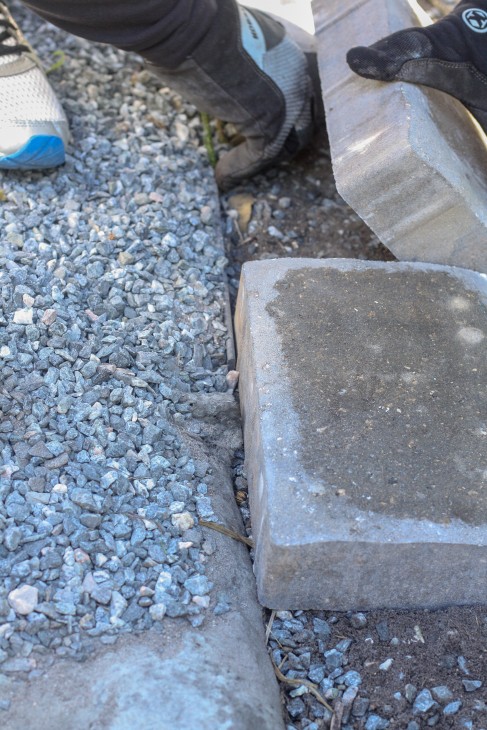
Step 1: Use a shovel, hand trowel, or use your hands to dig out an area slightly wider than the pavers. For best results dig down about three inches to allow for a one inch layer of drainage gravel, one inch of bedding sand, and one inch so the bottom of the pavers will be set in the ground and the top of the paver will be slightly raised above the ground level.
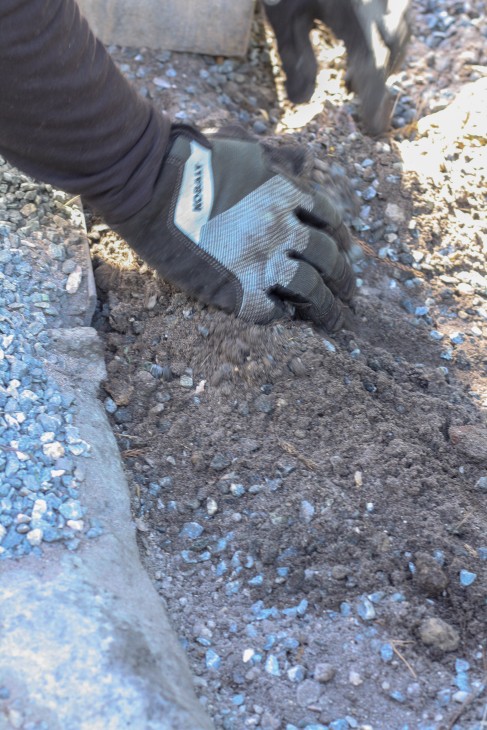
Step 2: Level the dirt (base) so that the pavers will be level when laid next to each other. (You may need to remove any leaves or fallen tree debris to achieve a nice level surface.) Add one inch of gravel on top of the dirt. Then add an inch of bedding sand.
(Note, we skipped the bedding sand and had gravel mixed in with the dirt already. But, we live in Florida where there’s not a frost or freeze-thaw cycles in our ground. If you live in a colder climate, you may want to dig deeper and use the gravel and sand layers mentioned above.)
Step 3: Starting at one end, begin laying your pavers next to each other.
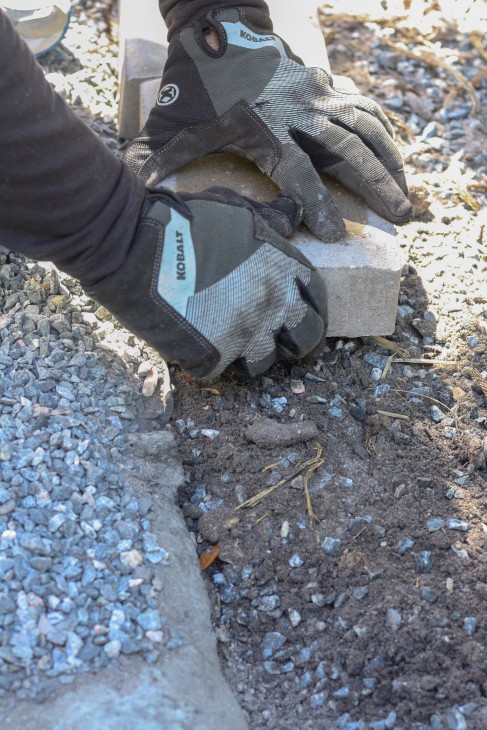
Work one paver at a time, adjusting the soil & stone underneath to level it with the adjacent stones.
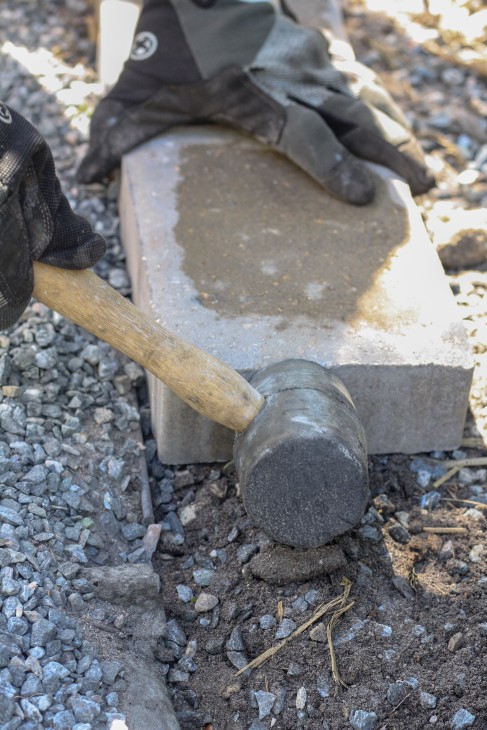
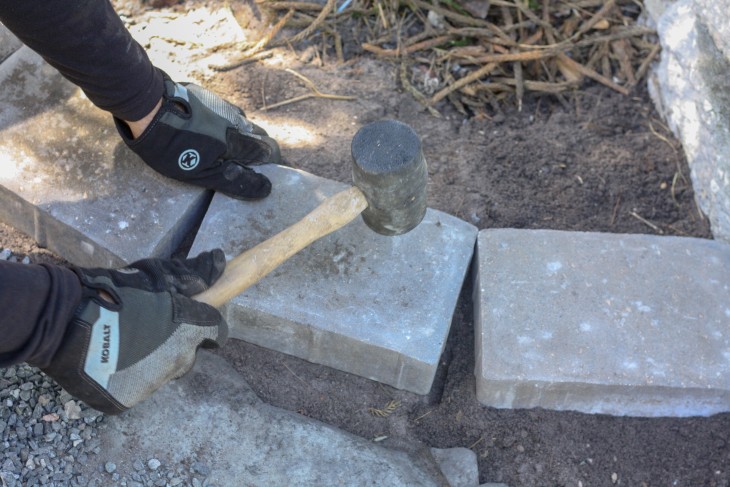
Step 4: To avoid the frustration of paver edge separation, use the rubber mallet, strike the end of each paver to secure it as tightly as possible to the previously laid one.
Tamp the top of the paver with a rubber mallet or hammer to set it in place and compact the gravel underneath. Making sure that each paver is level with the one before it.
Step 5: When you arrive at a curve in your design, create a gradual bend. Make sure the corners of the pavers meet at one point. You may have to re-position the pavers a few times to get it to fit just right!
Tips for working with curves:
- Adjust the spacing between pavers, so that the gap is similar for each paver. Instead of a large gap between two pavers, spread the gap over multiple pavers (5 or 6) so it isn’t as drastic a turn.
- Use a garden hose or string to lay out curves, but you can also use spray marking chalk to help with the layout. Draw a curve on the ground using the marking paint and step back to take a look. If you don’t like it or want to fix specific areas on the curve, scratch the paint off with your foot and re-draw your line.
- Check your work as you go along! Step back, take a deep breath and see if you need to make adjustments. Don’t try to conquer Rome in a single pass! We have found that by stepping back to look at the projects as you go is a great way to make adjustments instead of having to go back when you think everything is done. It is also a great way to appreciate the work you have completed and gain a greater sense of accomplishment.

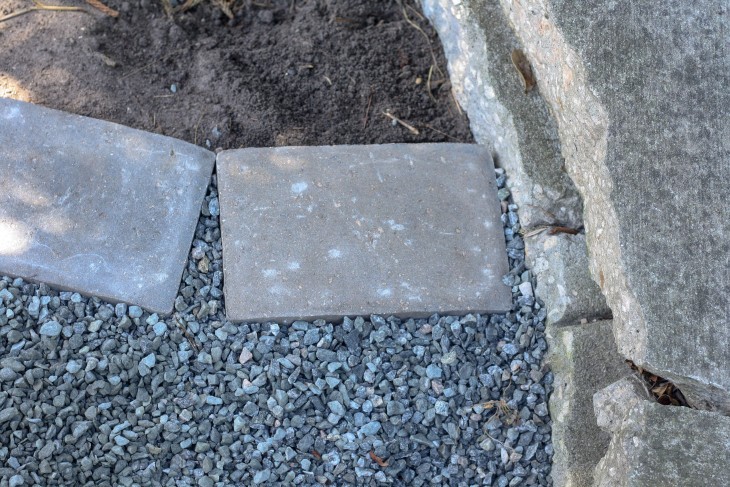
Step 6: Fill in the gaps with landscape gravel if creating a pathway. (Alternatively, if you don’t mind the mess, you could mix a bag of concrete and trowel it into the voids.)

Where the pavers do not meet completely, fill in with small landscape gravel (or standard concrete) to give a cohesive look.
Fill your second area with a contrasting material (like mulch, pine straw, soil, grass or other natural elements.
If you liked this concrete paver project tutorial, you may also want to learn about 10 pathways that are great alternatives to concrete:


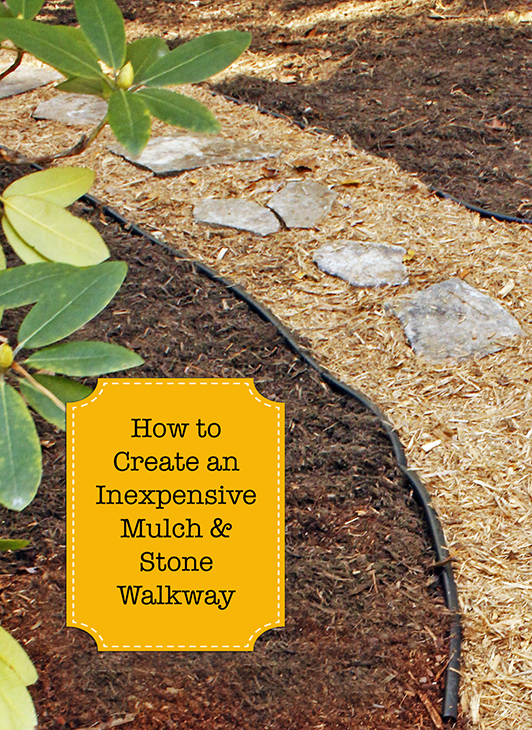
Want more landscaping ideas? See how to add a mulch and stone path in a few hours:
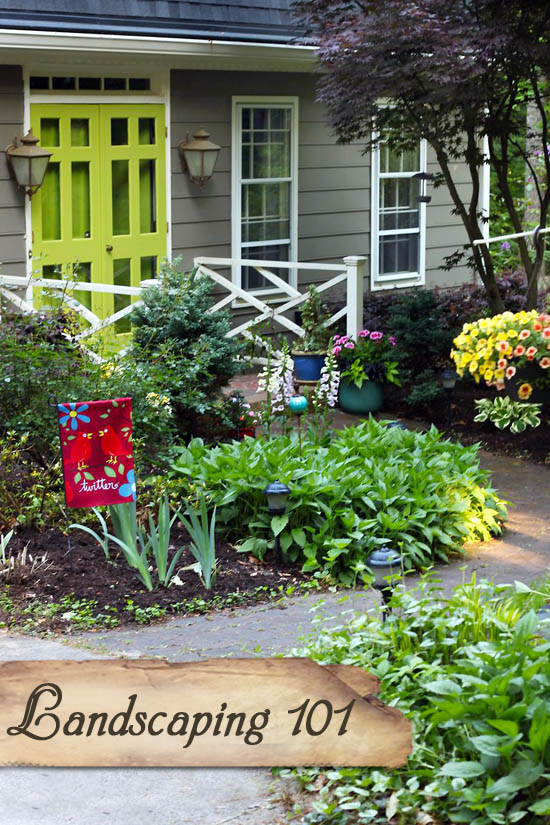
Or learn the basics of landscaping your yard:
Pin for later!