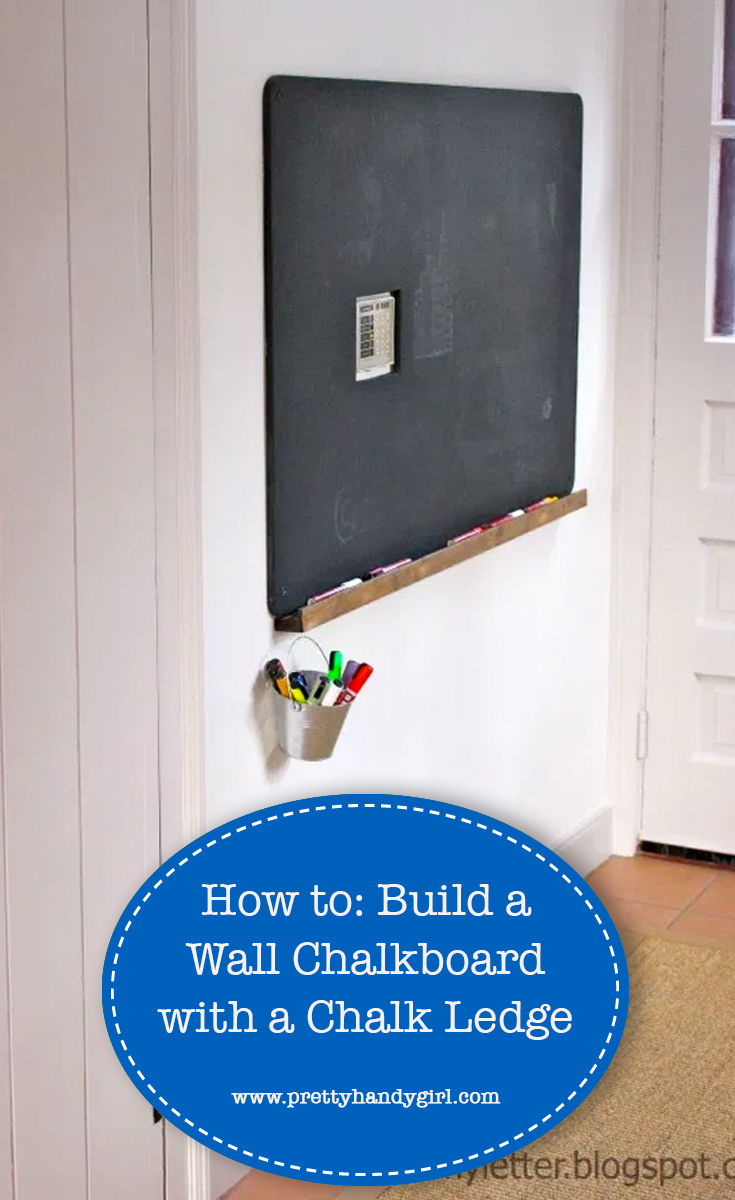
How to: Build a Wall Chalkboard with a Chalk Ledge
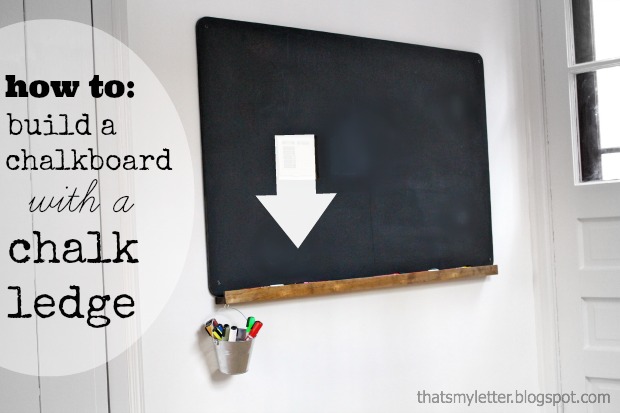
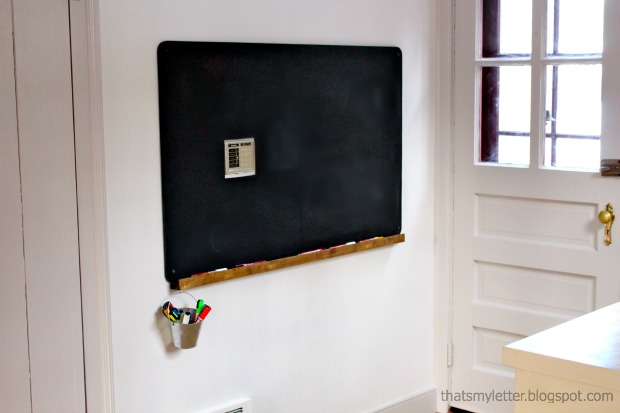
Chalkboards are popping up everywhere (like Brittany’s DIY chalkboard calendar from last week) and you can easily make one, but how about upping the usefulness by making a chalkboard WITH a chalk ledge? Jaime here from That’s My Letter to show you how easy it is to add a chalk ledge to your chalkboard.
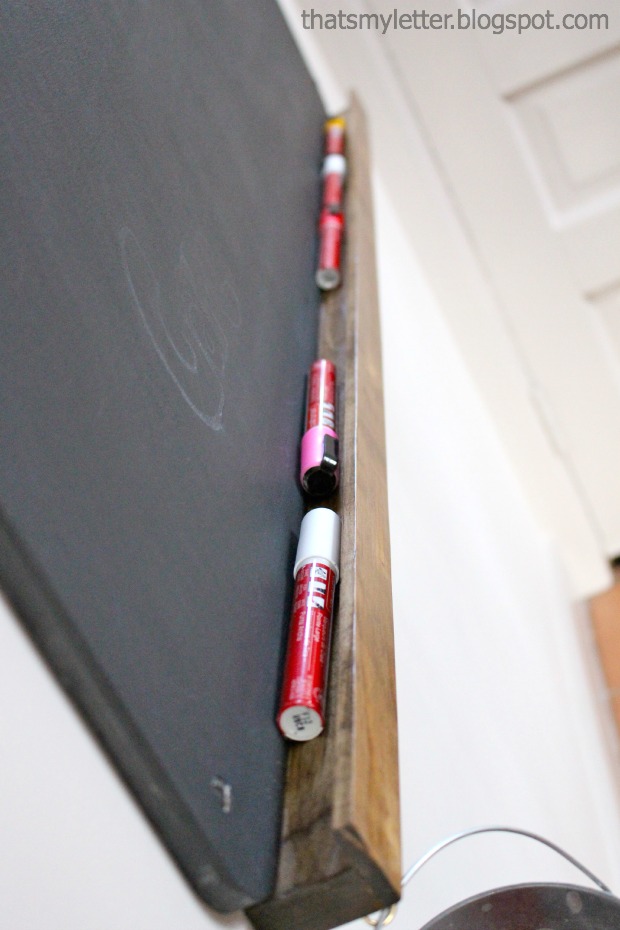
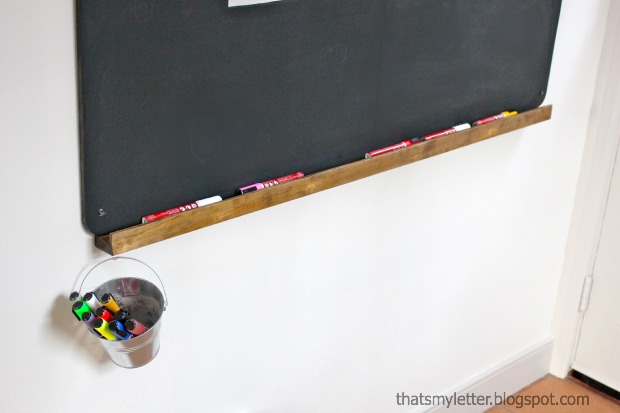
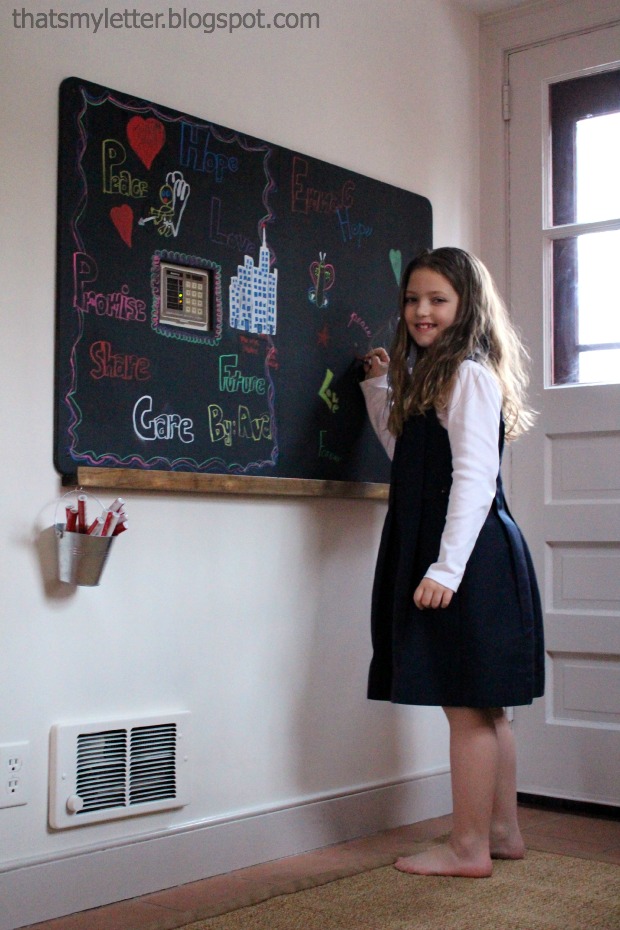
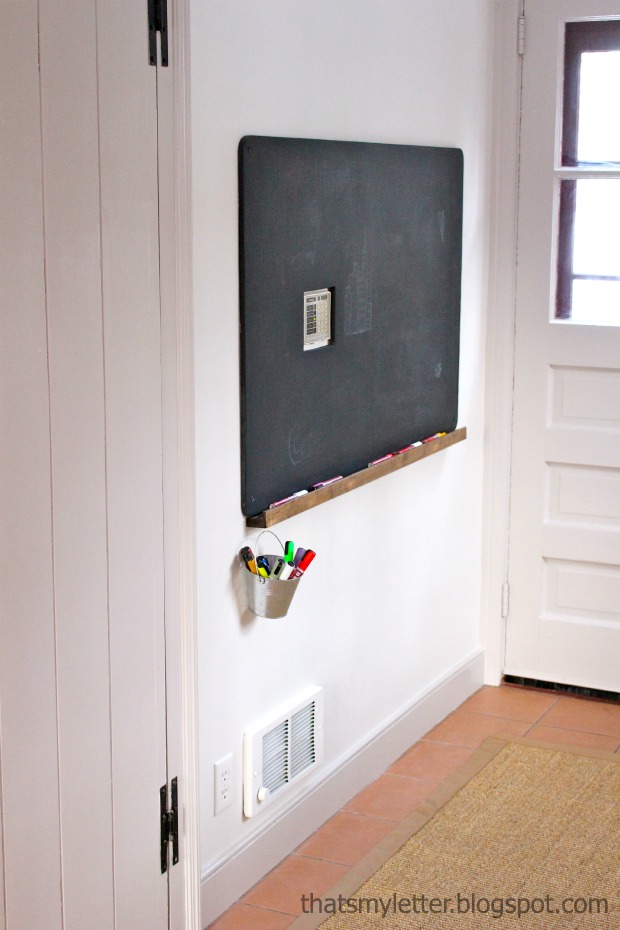
You definitely need a place to put all that chalk (or chalk markers like we prefer). This chalk ledge protudes a minimal 1 3/4″ from the wall but still has space enough to hold lots of chalk.
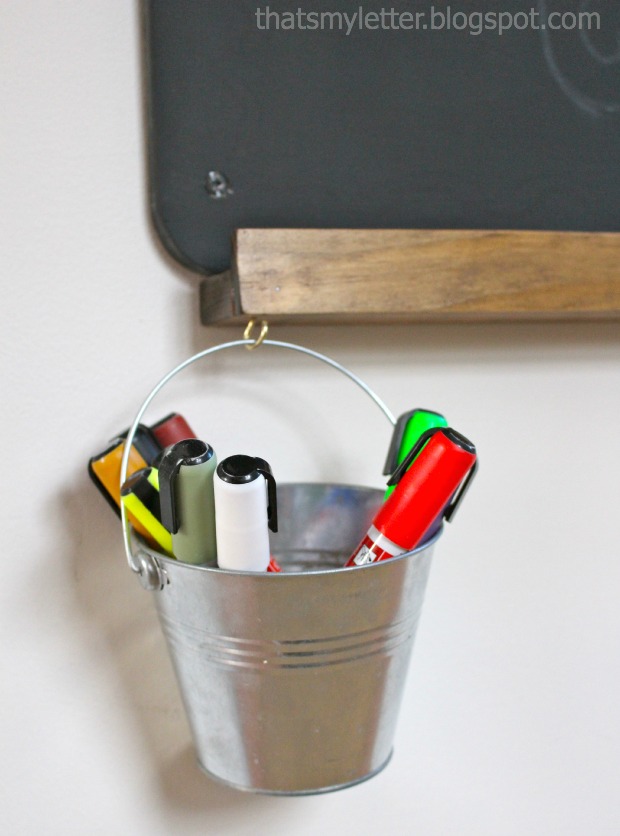
I also attached a galvanized pail for more chalk markers.
I installed this chalkboard near our back door mudroom area. Unfortunately the key pad for our alarm system is nearly smack in the middle of that wall. I simply cut out a square in my plywood using a jig saw to accommodate the key pad. My kids love their new chalkboard and somehow the key pad isn’t quite so obvious once they start drawing around it.
Supplies:
- 1/2″ plywood (cut to desired size)
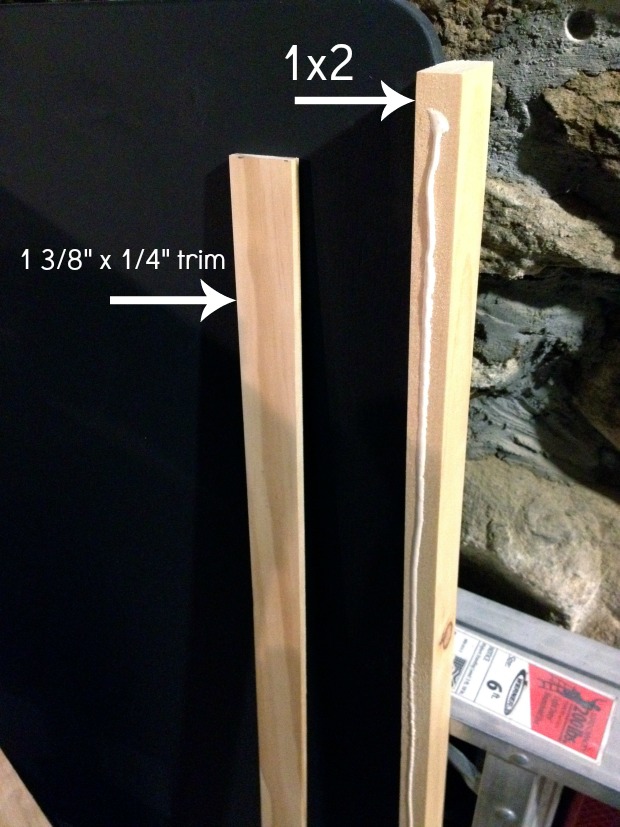
- 1×2 pine board (cut to length of plywood)
- 1 3/8″ x 1/4″ thick flat trim moulding (cut to length of plywood)
- black chalkboard paint
- blue painters tape
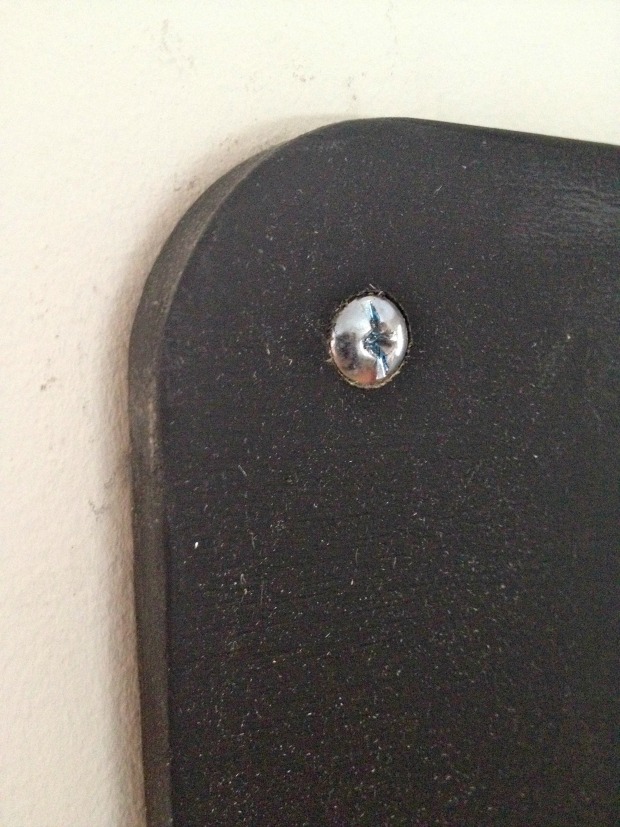
- stain
- polyurethane
- foam brushes
- drill
- Kreg pocket hole jig (not necessary but definitely easier if you have one)
- 1″ pocket hole screws
- wood glue
- 3/4″ trim nails
- countersink bit
- 2 1/2″ toggle bolts
- 5/8″ spade bit (check toggle bolt requirements)
- pencil
- level
Instructions:
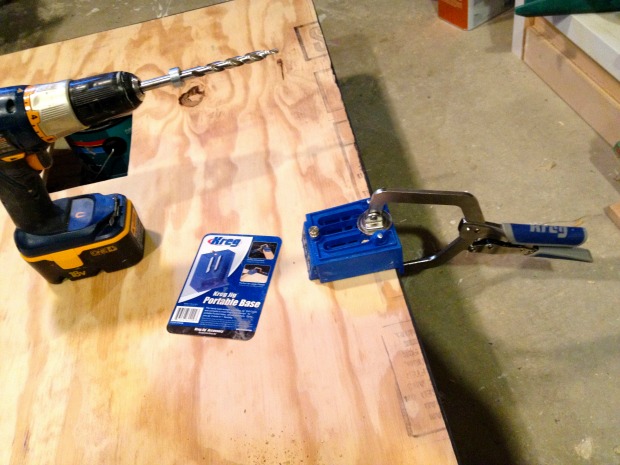
Step 1: Cut your plywood to size, using your Kreg pocket hole jig make pocket holes every 8″ along bottom edge of plywood (on back side). (I used the portable base with automaxx clamp here, much easier that slipping a large piece of plywood into the jig.)
Step 2: Paint plywood two coats of black chalkboard paint.
Step 3: Attach 1×2 board to bottom edge of plywood using pocket holes and glue. You could also predrill and screw from the bottom of the pine board up into the plywood, be careful if using 1/2″ plywood and use minimum 1 1/2″ screws.
Step 4: Apply glue to front edge of 1×2 and use finish nails to attach flat trim moulding piece.
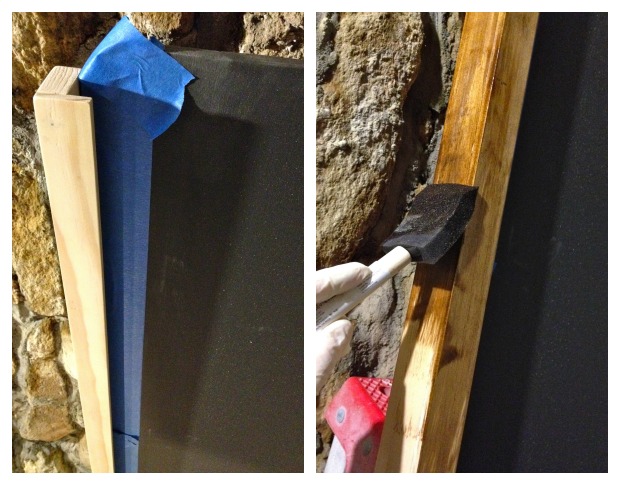
Step 5: Protect the black chalkboard by applying blue painters tape. Apply stain with a foam brush. Let dry then apply polyurethane.
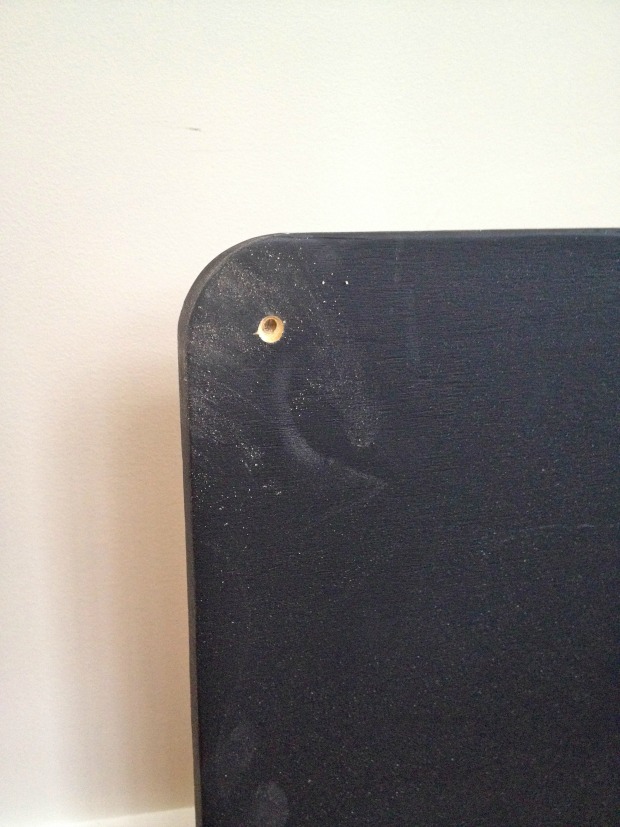
Step 6: Predrill countersunk holes into 4 corners of chalkboard.
Step 7: Hold chalkboard in place on wall using a level. Mark the wall with a pencil through the pre-drilled holes.
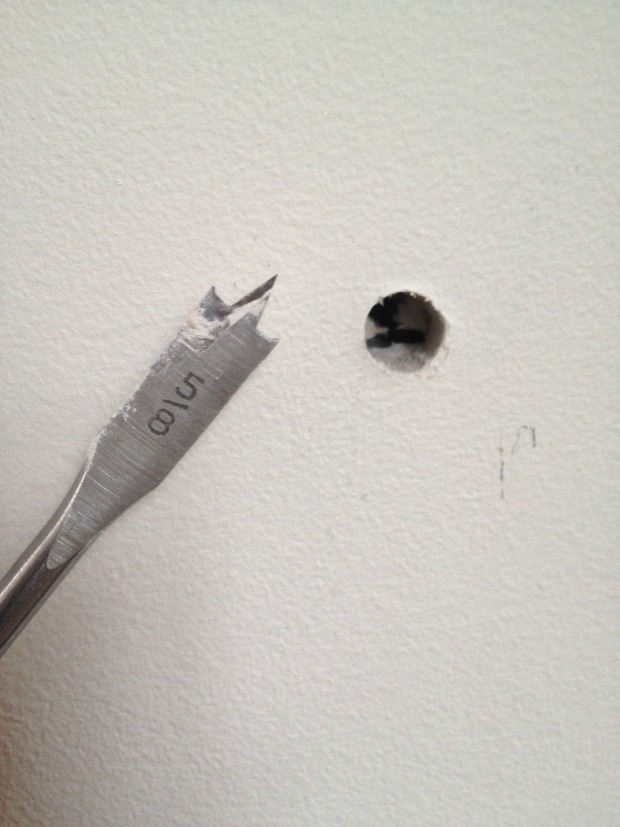
Step 8: Using a spade bit (check toggle bolt package instructions for proper size bit), make a hole at each pencil mark.
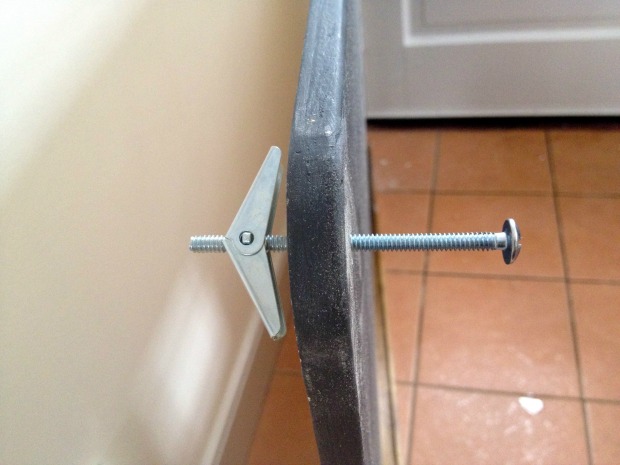
Step 9: Prepare toggle bolts onto chalkboard, you need to prepare all 4 bolts before attaching board to wall.
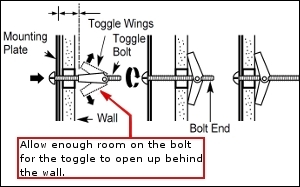
Below is a good diagram which explains how a toggle bolt works, basically squeezing the chalkboard to the sheetrock using the wings. In my case the mounting plate would be the chalkboard:
Step 10: Insert the toggle into the hole by squeezing the wings together. You will need a partner to help insert all 4 toggles before screwing the bolts tight. Once all 4 toggles are into the holes use your drill to screw bolt tight, you will feel the toggle open and then eventually tighten onto the back of the sheetrock.
Step 11: Add a dab of chalkboard paint onto screw heads to make them less obvious. Finally add a screw eye hook to the underside of the 1×2 board for the bucket if desired.
Now start looking for a blank wall in your home and build this chalkboard with a chalk ledge. It’s guaranteed entertainment for kids of all ages.
Pin for later!


 ~
~


Love the idea of chalk markers instead of regular chalk, but where in the heck did you find chalk markers for an actual chalkboard? The ones I find say they aren’t meant for chalkboards. Appreciate your insight. Thanks.
Diana, I found some at the craft store. They are labeled Bistro markers. But, I have to warn they do tend to leave some ghosting.
This fantastic! Great idea. We have chalkboards all over our home, but can never find the chalk.
So cute! And its perfect for any room in the house!