Galvanized Metal Tree Form
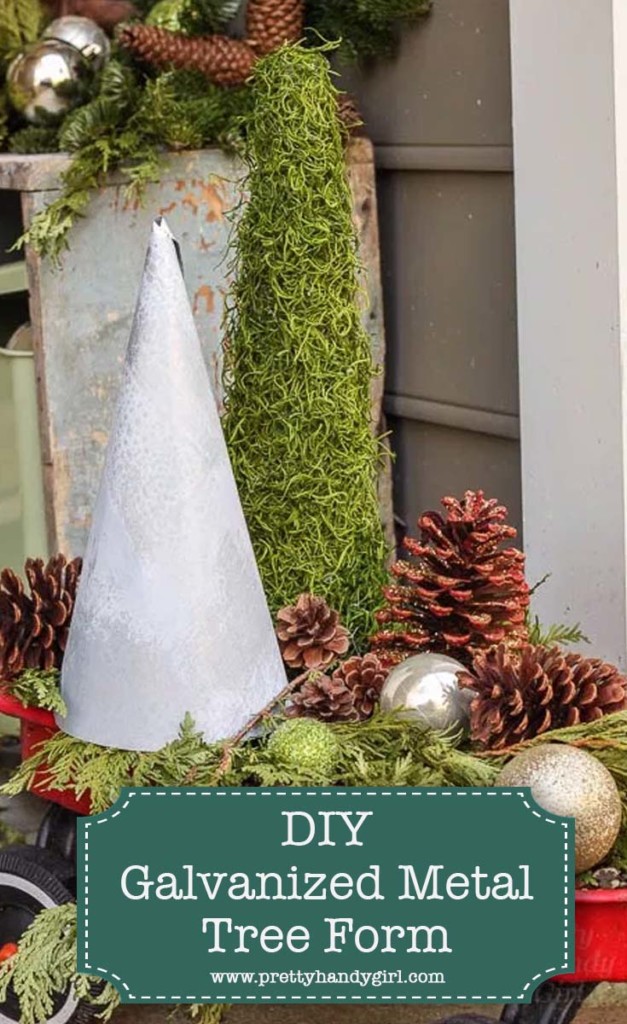
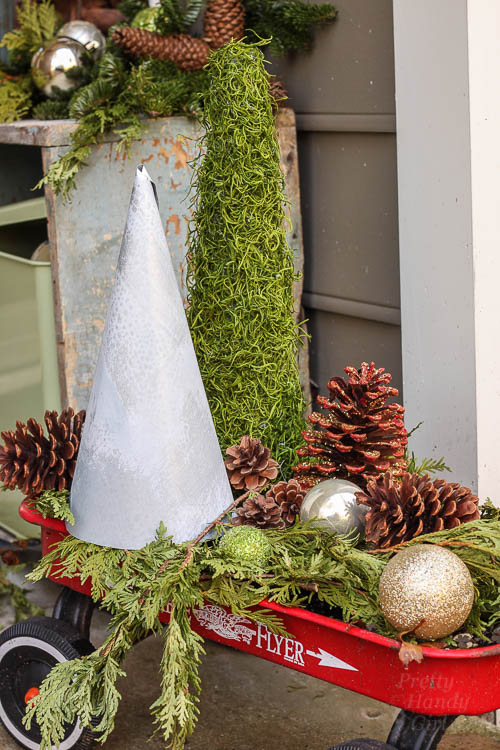
Want to make a super cute and fast galvanized tree form? This little galvanized tree will fit in with some of your holiday vignettes, especially if you like the rustic look.
Last year I had fun playing with DIY galvanized metal (otherwise known as aged quickly sheet metal). I made these cute galvanized magnetic windows. . .
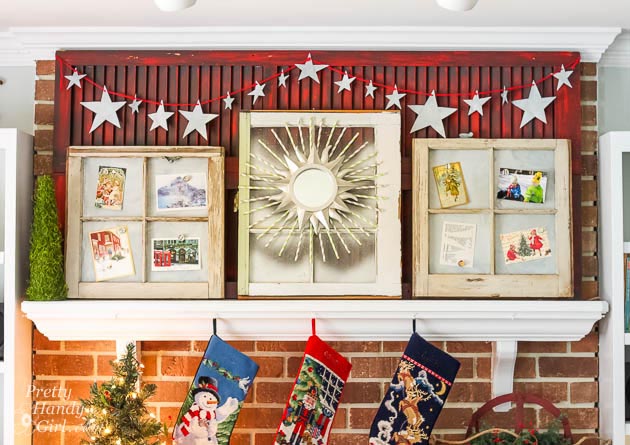
. . . and a galvanized star garland.

After cutting out the star garland, I had some leftover galvanized metal. I decided to use it to make a galvanized tree form. Ready to learn how to make your own?
Materials:
(contains affiliate links)
- Galvanized Sheet Metal
- Zep toilet bowl cleaner
- Trash bag
- Pencil
- Tin Snips
- Gloves
Instructions:
Put on gloves when working with sheet metal. It’s a sharp material and can easily cut you.
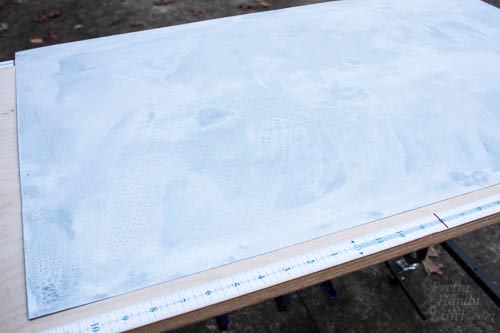
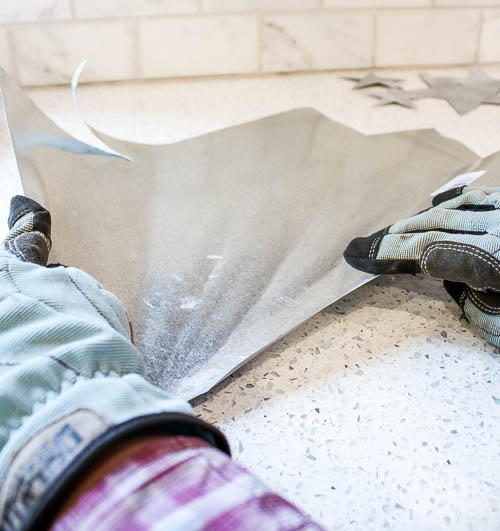
Follow the instructions to age metal quickly in this tutorial. After the metal has aged and dried. Cut off a large corner from the sheet metal material.
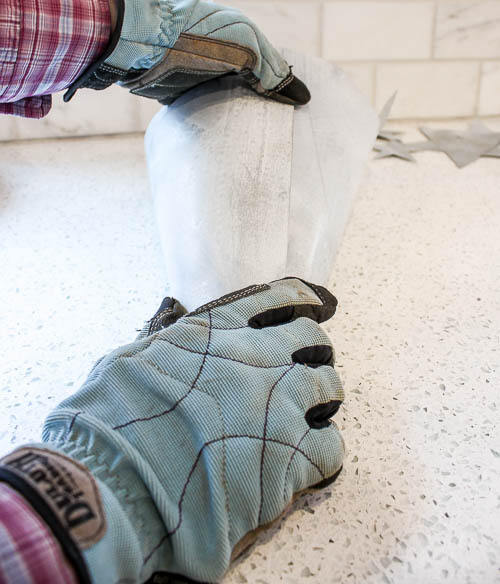
Begin to manipulate the two corner edges rolling in toward each other.
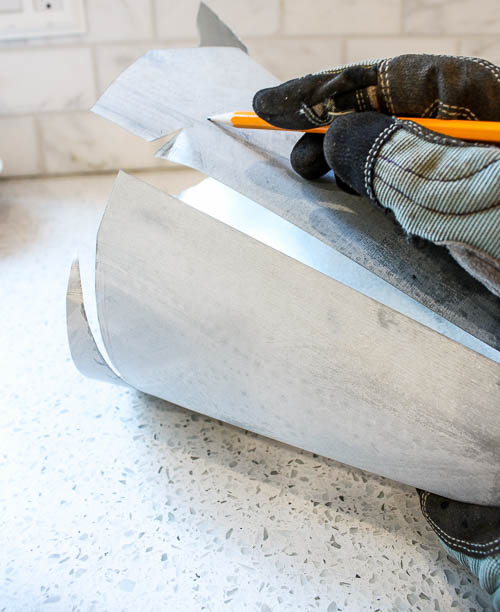
Tightly roll the corner into a cone shape. Roll the metal tighter than you want the shape to appear.
Mark a straight line along the bottom edge of the cone shape to the height you want. Cut along the line with tin snips.
Set your galvanized tree form with a grouping of other tree forms or natural materials and enjoy!
Hope you have fun making a whole forest of galvanized trees. 😉

Pin for later!





Great idea. On other sheet metal projects..like your cute stars, do you think I can do a tin punch (using drill) pattern along the edges that give it a little “old timey” effect.
Love your blog…Thank you for sharing. You are an inspiration! And we are “tool time” kindred spirits!! 🙂
Merry Christmas to you & yours!!
B
Thanks for posting such a good blog .