wood cake stand

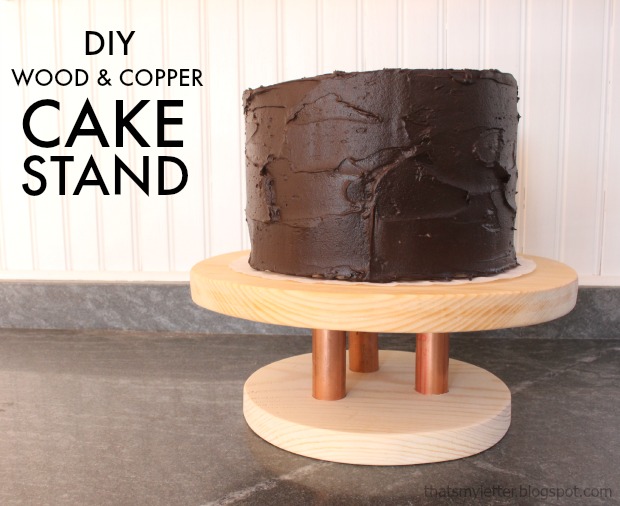
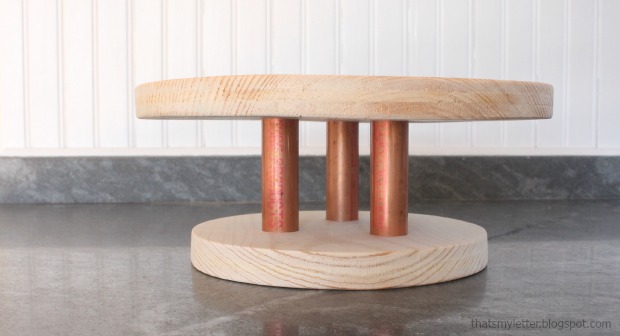
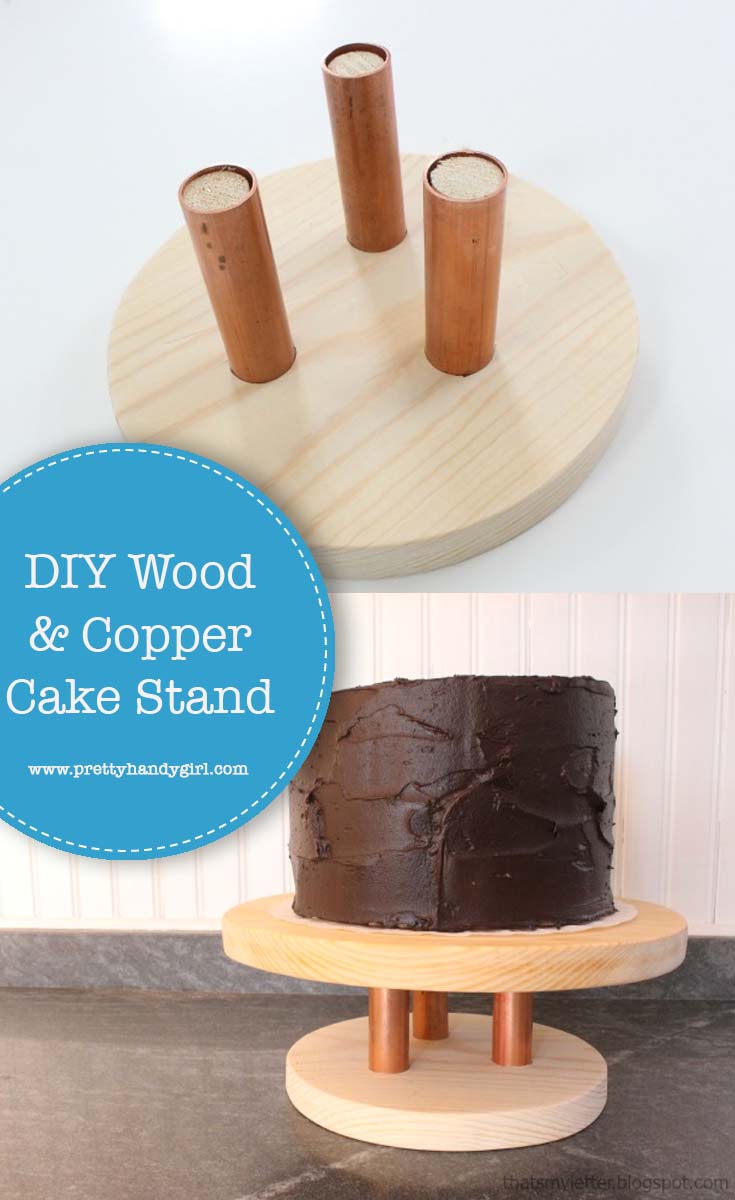
Hello Pretty Handy Readers – Jaime here today from That’s My Letter to share a diy project that combines two of my favorite materials: wood and copper. I’m sharing how to make this wood and copper cake stand.

This is a fairly simple project that could be tailored to fit your style with paint or stain.  I choose to leave the wood natural, only sealing it with clear polyurethane, because I love the contrast of the wood against the chocolate frosting (and most cakes around our house are made with chocolate frosting!).

wood cake stand 2

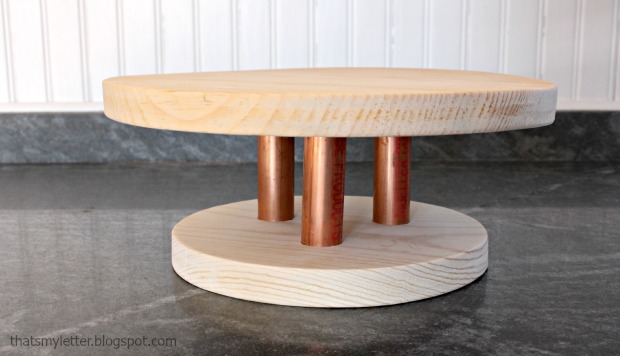
The warm shiny copper is the star of the show here and can easily be found at any hardware store.

wood cake stand 1


Supplies:

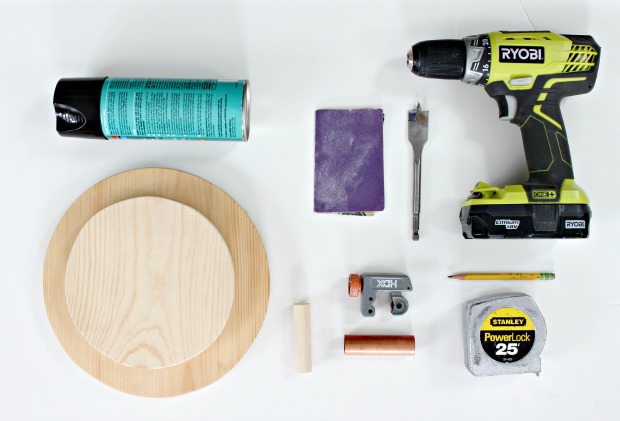
wood cake stand supplies

  • 1×12 pine board scrap @ 10″l
  • 1×8 pine board scrap @ 7 1 /4″l
  • 3/4″ copper piping @ 12″
  • 3/4″ wood dowel @ 12″
  • pipe cutter
  • jigsaw
  • finish nailer & 1 1/4″nails
  • drill & 7/8″ spade bit
  • measuring tape
  • pencil
  • sandpaper
  • clear satin spray polyurethane

Instructions:

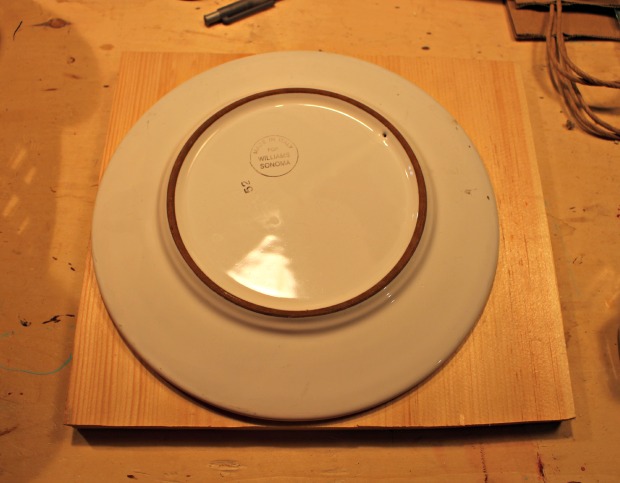
Step 1: Use a plate or other 10″ circular object to trace a circle shape onto 1×12 scrap.

wood cake stand step 1

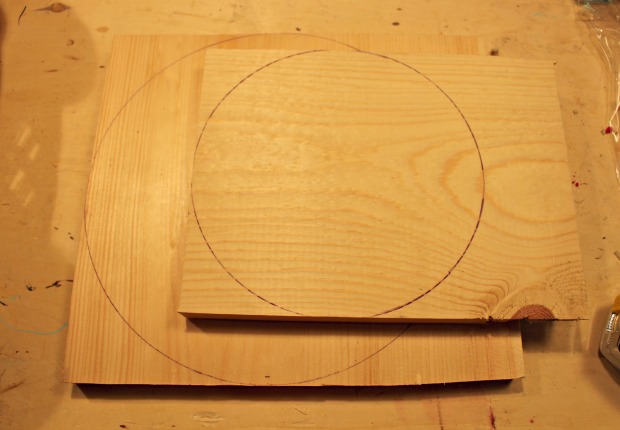
Step 2: Trace both a large circle shape onto the 1×12 and a smaller circle shape onto the 1×8.  Then cut out circles using a jigsaw and sand edges well.  Spray with clear satin polyurethane before assembly.

wood cake stand step 2

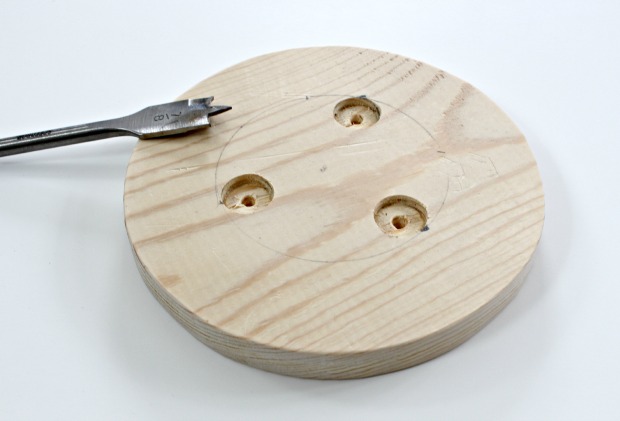
Step 3: On the smaller circle draw another even smaller circle (about 4″ in diameter).  Make 3 equidistant holes with 7/8″ spade bit drilling only partially down into wood.

wood cake stand step 3

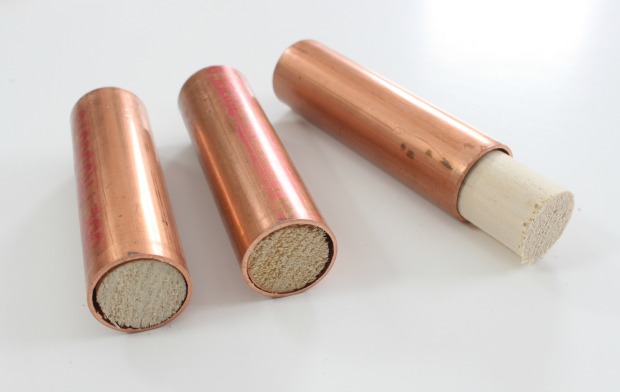
Step 4: Cut copper using pipe cutter into 4″ lengths.  Cut wood dowel to 4″ lengths and shove inside copper pipe.

wood cake stand step 4

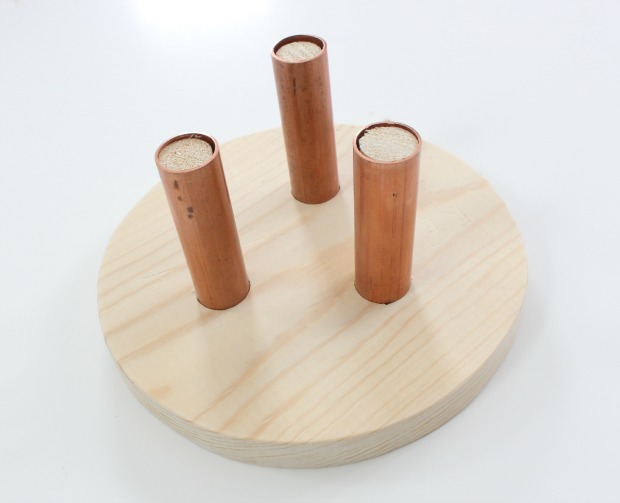
Step 5: Place copper & wood sections into pre-drilled holes in smaller wood circle.  You can use some glue here. I chose to secure with a finish nail from the bottom as well.  Now center the larger wood circle on top and trace the copper pipes with a pencil.  Pre-drill holes into the underside of the top larger wood circle and attach the top (use glue if desired).

wood cake stand step 5

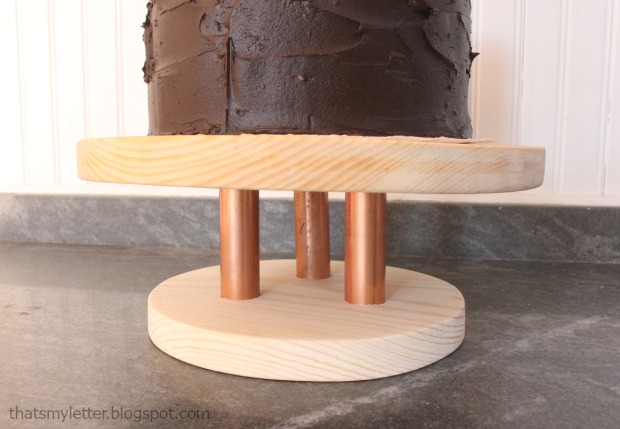
My copper pipes are very snug in the holes but I did use a little glue to be sure the wood doesn’t come off.

wood cake stand step 6

Maybe your next party needs a simple cake stand?  Good luck with all your diy projects.

Jaime signature


~learn more about Jaime~


Pin for later!

This wood and copper cake stand from Pretty Handy Girl is a fairly simple project that can be tailored to fit your style with paint or stain! | DIY cake stand | DIY wood projects #prettyhandygirl #DIYcakestand #DIYwoodproject

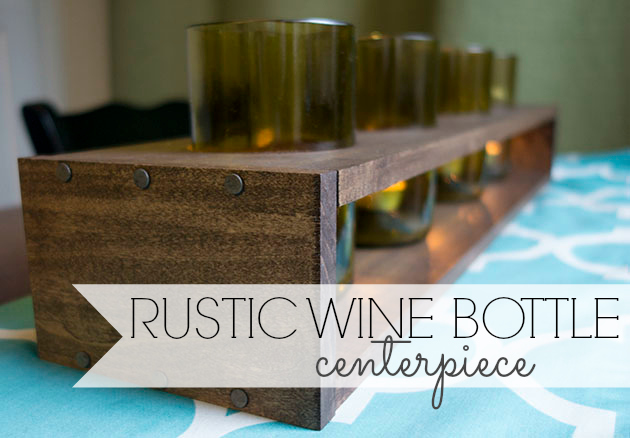
rustic wine bottle centerpiece

Hey everyone!  Jacque here from The DIY Village again to bring you another quick DIY tutorial! A few years ago I was given a really cool set of drinking glasses made out of old wine bottles.  Recently we purchased some new glasses but I wasn’t ready to donate the old glasses quite yet and decided to come up with a way to recycle them and keep them functional in our home.  After some thought, my rustic wine bottle centerpiece was born.

MATERIALS:

  • 1/2″ x 4″ x 4′  Poplar Board – Cut into 2- 5 1/2″ wide pieces
  • 1/2″ x 5 1/2″ x 4′ Poplar Board – Cut in half
  • 12 – 8 Penny Nails (Truss Hanger Nails)
  • 1/8″ Drill Bit
  • Drill
  • 3 1/2″ Hole Saw
  • Clamp
  • Sandpaper
  • Drill Press
  • Straight Edge (Speed Square)
  • Sliding Rule Square
  • Walnut Gel Stain
  • Foam Brush
  • Paper Towels
  • Pencil

Instructions:

measure in

Start by cutting the 5 1/2″ board in half to leave you with  two boards approximately 24″ long.

measure over 7

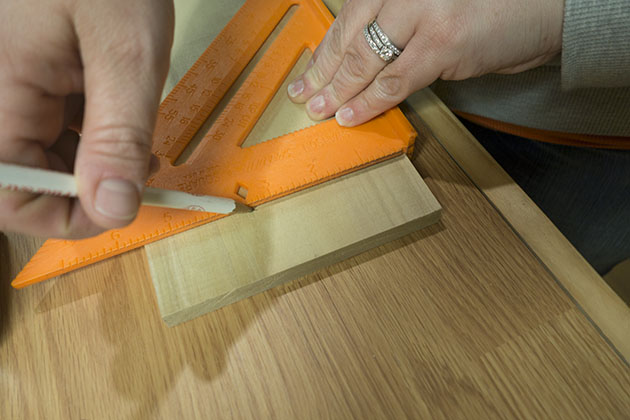
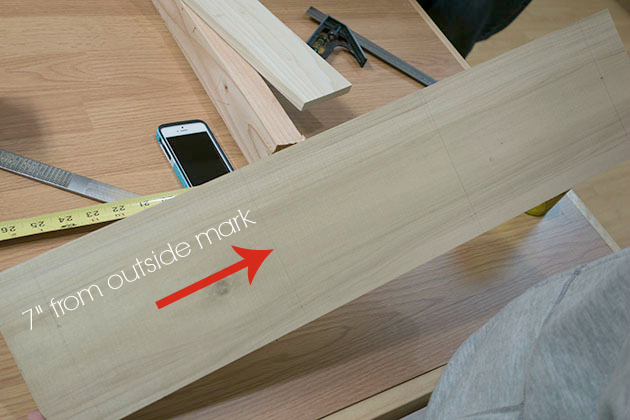
Measure 3.5″ out from the center line and mark a line with your speed square. Repeat on the opposite side of your center line. Measure 7″ out from the two center lines and make a mark with your speed square. These will be the center points for your four openings.

find center

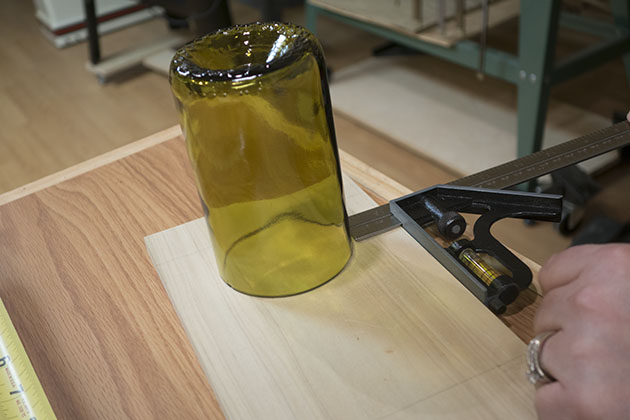
Use the wine bottle glass as a guide to help center the glass on the board.  Set the sliding rule square and use as a guide so that the glasses will be straight across the rest of the board.  Using a pencil to trace around the outside edge of the glass, repeat for all four holes. Read more

12 DIY Home Storage Tutorials | Pretty Handy Girl

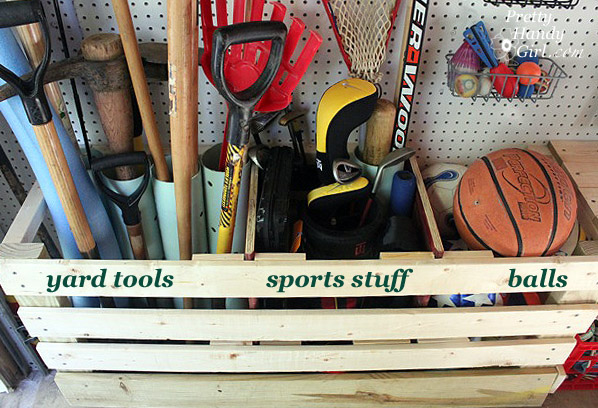
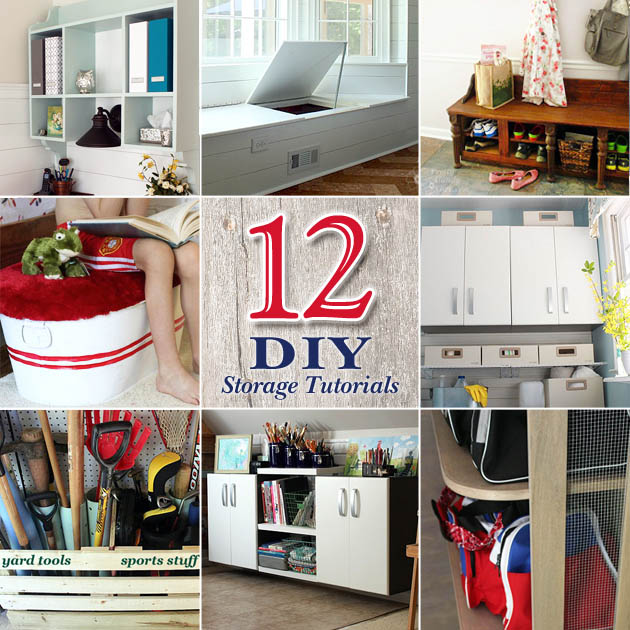
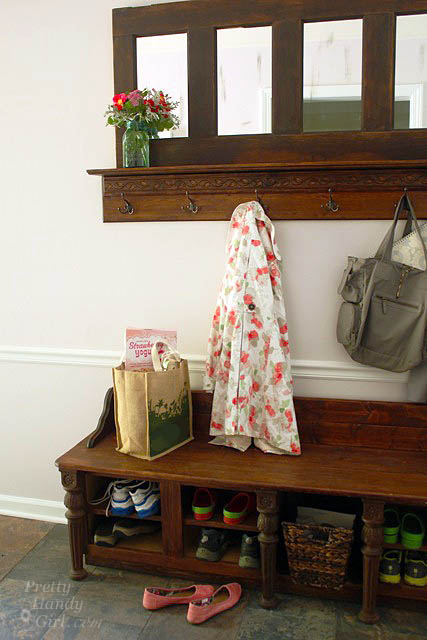
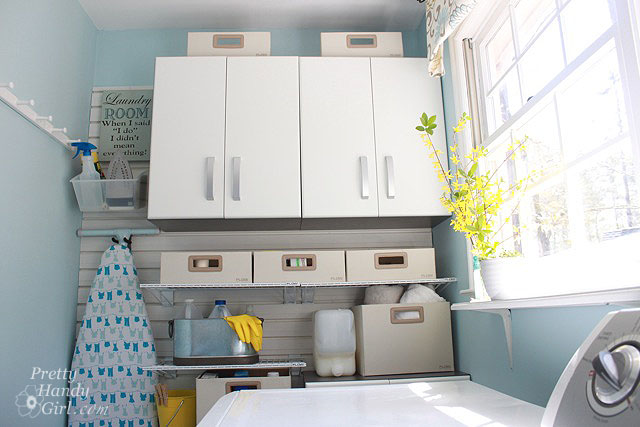
It’s January and you know what that means! Time to clean and purge the house of all the excess stuff. Last year I was too busy with projects to purge, so this year I’m taking advantage of some warmer days to clean out our home. I hope you’ll excuse me while I’m in clutter busting HELL mode. In the meantime you might enjoy these 12 DIY Storage Projects to help you organize your home (and hide clutter.)

mudroom_shoe_storage_bench
Make a Coat Rack from an Old Door
 and Make a Shoe Storage Bench with Kitchen Cabinets

full_flow_wall_above_washerLaundry Room Storage using Flow Wall Read more

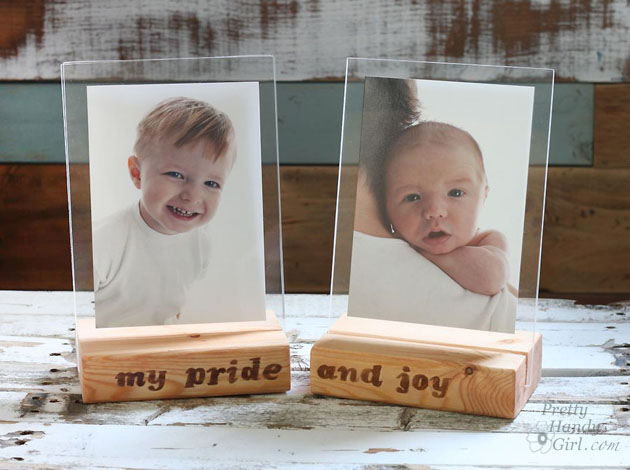
wood-block-picture-frames

Wood Block Floating Picture Frames | Pretty Handy Girl

We are days away from Christmas and I’m sure there is someone on your list that you just can’t figure out what to get for them. I have the perfect solution! Make them a wood block floating picture frame using scrap 2×4″ lumber and plexiglass.

If you don’t have scrap 2×4’s lying around, you can purchase a 2x4x8 foot stud for less than $4! You could make 16 photo frames out of that one board! (Granted, you’ll need to buy the plexiglass for each.)

Materials:

  • 2 – 2 x 4s (cut to 6″ lengths)
  • 4 – 6″ x 9″ pieces of plexiglass (3/32″ thickness)
  • Ipswich Pine Stain
  • gel stain or Minwax Express color
  • small detail paint brush
  • pencil or pen
  • photos
  • tape
  • rag
  • optional: scrapbook paper, double stick tape

Tools:

Instructions:

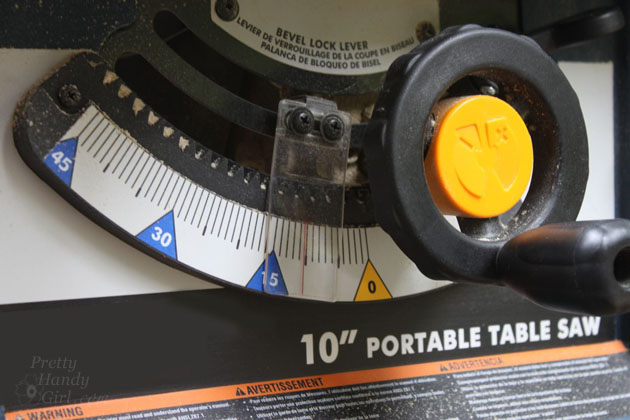
Set your table saw to a 10 degree bevel.

Wood Block Floating Picture Frames | Pretty Handy Girl

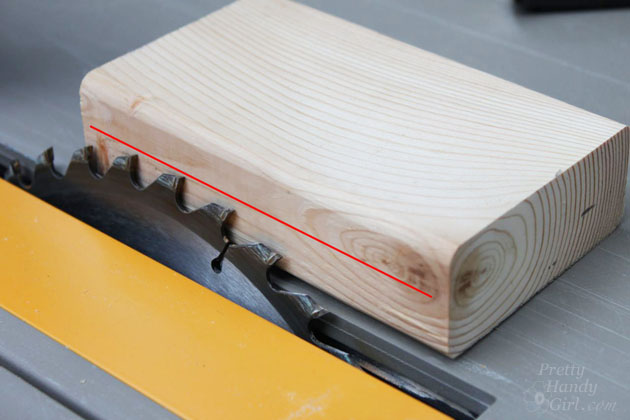
Set the saw blade to a depth halfway through your block (about 7/8″ deep.) Set the fence to 2″ from the blade.

Wood Block Floating Picture Frames | Pretty Handy Girl

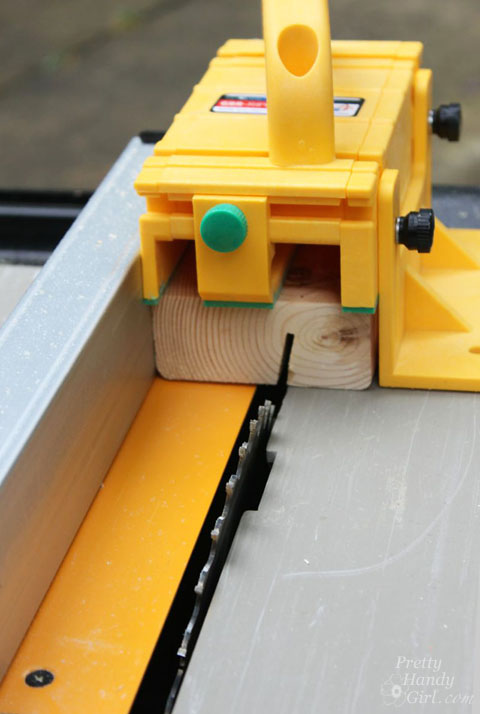
Use your GRR-RIPPER to safely guide the 2×4 over the saw blade. Check to see if two pieces of plexiglass will fit in the groove created by the saw blade.

Wood Block Floating Picture Frames | Pretty Handy Girl

If not, nudge the fence over slightly and make a second pass over the blade. Check to see if the plexiglass will fit now. If not, repeat the process until they fit snugly. Read more

Build Your Own Giant Chalkboard | Pretty Handy Girl

Build Your Own Giant Chalkboard | Pretty Handy Girl

Have you scoured antique stores or Craig’s List looking for a big giant vintage chalkboard? Those vintage school green chalkboards are highly sought after. But, hard to find. I have good news for you! You can build a Giant Chalkboard any size you want! (Although, typically you’ll be restricted to 4′ x 8′ if you want to use a sheet of masonite.) And you can mix your own chalkboard paint in any color.

Take out your notebooks, your pencils, and get ready to take notes.

Materials:

  • Masonite sheet cut to desired size (mine is 22″ x 48″)
  • 1×4″ pine boards for frame
  • 1 cup flat latex paint in color you desire
  • 2 tbsp. of unsanded grout
  • Pencil
  • Stain
  • White paint
  • Paint brush
  • Sanding block
  • Container to mix paint in
  • Kreg Jig
  • Drill
  • 1 1/4 inch pocket screws
  • Staplegun
  • 1/2″ staples

Instructions:

Build Your Own Giant Chalkboard | Pretty Handy Girl

Pour 2 tbsp. of unsanded grout into your empty container. Add 1 cup of flat latex paint and stir well. (Yes, I used satin and it still worked.)

Build Your Own Giant Chalkboard | Pretty Handy Girl

Paint the masonite with the chalkboard paint. Pull your brush in one direction. Then smooth out the paint by dragging the brush in a perpendicular direction.

Build Your Own Giant Chalkboard | Pretty Handy Girl

Let the paint dry. Lightly sand and add a second coat of chalkboard paint.

Build Your Own Giant Chalkboard | Pretty Handy Girl

Let that coat dry and sand smooth.

Assembling the chalkboard frame: Read more