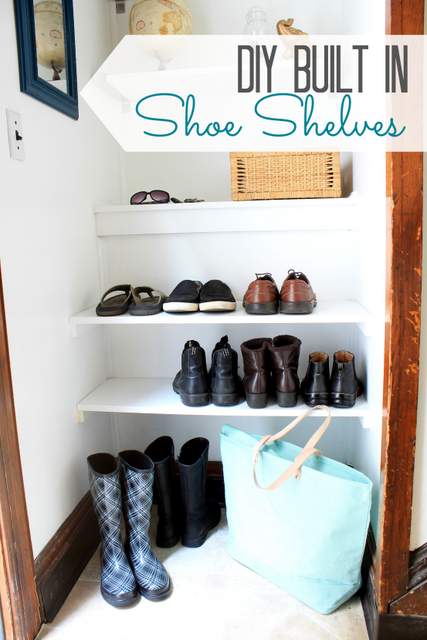
Built In Shoe Shelves

Built In Shoe Shelves

Hello, it’s Jessica from Decor Adventures and I’m back this month to show you an easy project to bring some organization to your home. Now that fall is approaching, you might be thinking about getting your closets, foyers and mudrooms in shape for the changing weather. One project that can make your space nice and tidy is adding built in shoe shelves. Today I’m going to show you how to easily build shelves to keep those sneakers, sandals and boots neat and tidy. Plus, it will save you some space too.

Materials:

  • Miter saw
  • Pencil
  • Ruler
  • Level
  • 1″ x 2″ wood, for supports
  • 12″ deep MDF or pine boards
  • Cordless drill with drill bits
  • 2.5″ Wood screws
  • Primer
  • Paint

Optional:

  • Wall anchors
  • Paintable caulk

Instructions:

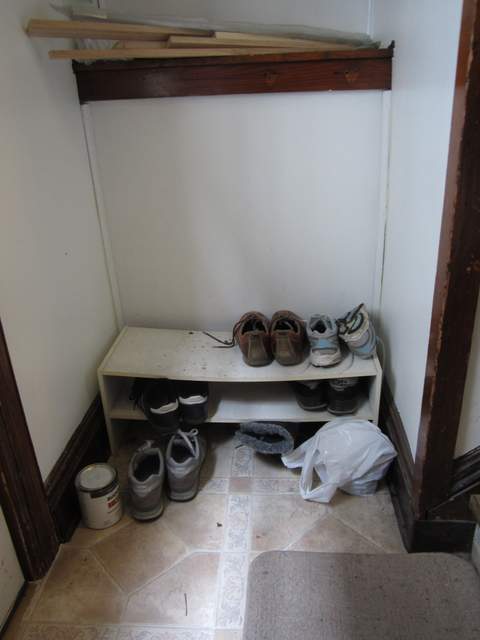
In our side entry to our house we have a small landing at the stairs leading up to the kitchen. It’s a perfect place for shoes, coats and accessories. Unfortunately, our method of lining up our shoes wasn’t working. I thought built in shelves would be a great solution. The shelves ended up saving us space and giving us more room.

Before Building Shelves

Sometimes those awkward spaces can be a blessing in disguise.

Instructions:

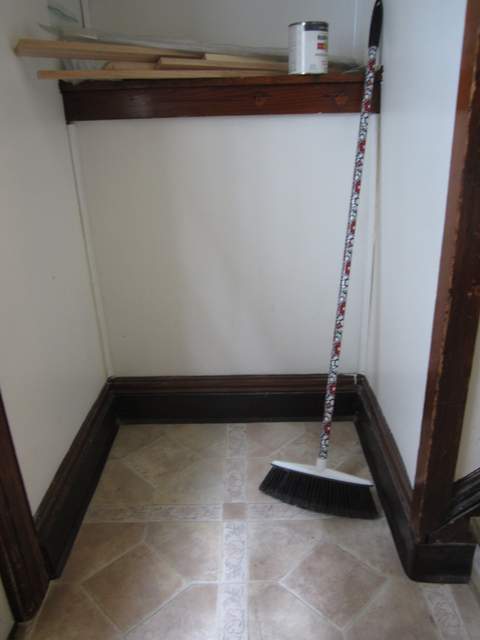
1. First, prep the area by removing anything you were storing and sweeping it out. If you want to add a fresh coat of paint to the walls, now is a great time to do that.

Preparing to Build Shelves

2. Measure how wide and deep you want the shelves to be. (Most shoes fit on 12″ deep shelves, unless you are Big Foot.) Mark the walls at the height of each shelf. (We made the lowest shelf tall enough to fit boots underneath on the floor and the highest shelf about half that height for items like sneakers and shorter shoes.) Read more

personalized wall shelf

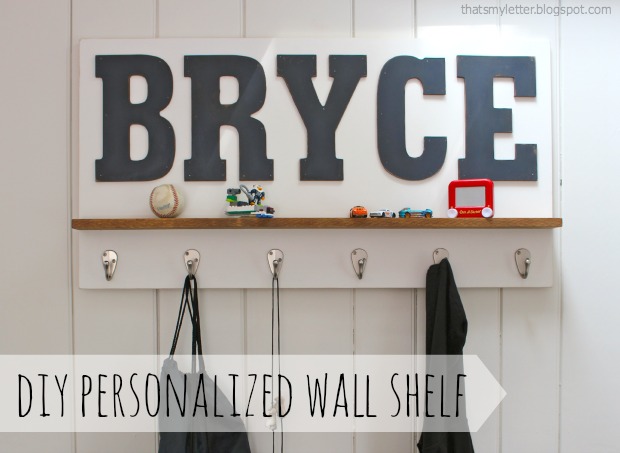
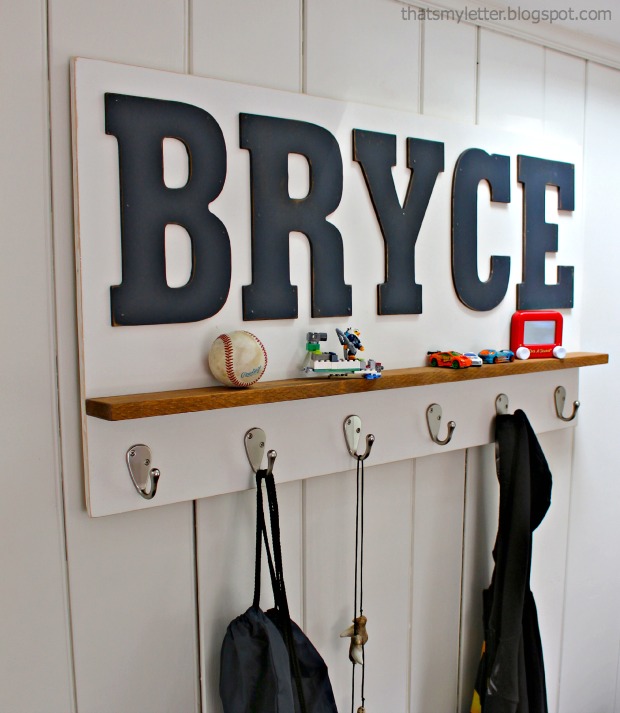
Happy Wednesday Pretty Handy Readers!  Today’s project is a DIY personalized wall shelf and I’ll show you how to make it.  I’m Jaime from That’s My Letter, a fellow DIY blogger who builds, paints and sews.  I made this wall shelf as a gift for Bryce’s birthday, it makes a great statement AND it’s useful too!

personalized wall shelf 1

Just a bit of painting and assembly to make this awesome, personalized wall shelf.  And of course you can adjust the paint colors to fit your scheme.  Bryce happens to have navy painted walls in his bedroom so I know this wall shelf will really pop once hung in his space.

personalized wall shelf 2

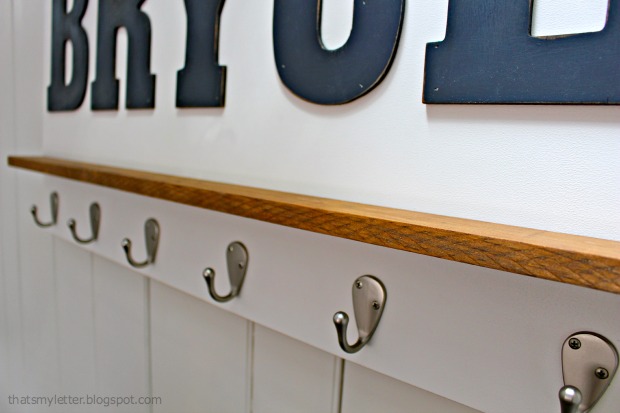
The stained wood shelf adds just a touch of warmth and coordinates well with the hardwood floors.  For a deeper shelf, use a wider board. I used a 1×3 but you could use a 1×4 or larger.

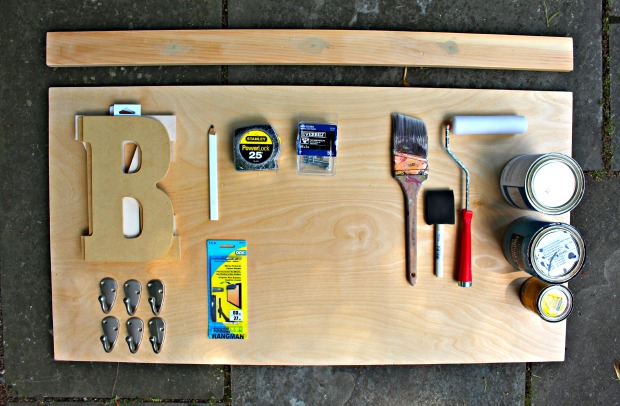
Materials:
(Amazon affiliate links included)

personalized wall shelf supplies

  • 1/2″ or 3/4″ plywood cut to desired size (approx. 2′ x 4′)
  • scrap piece of 1/2″ plywood approx. 4″ x 36″
  • 1×3 pine board cut to width of plywood
  • 9″ MDF Pre-cut letters
  • Single robe hooks
  • French cleat kit
  • paint, roller & brush
  • stain & foam brush
  • sandpaper
  • tape measure
  • pencil
  • wood glue
  • 2″ wood screws
  • 3/4″ wood screws
  • drill & bits
  • nailer & finish nails

Instructions:

Before beginning, layout your letters onto plywood and cut the plywood to size based on the length of the name.

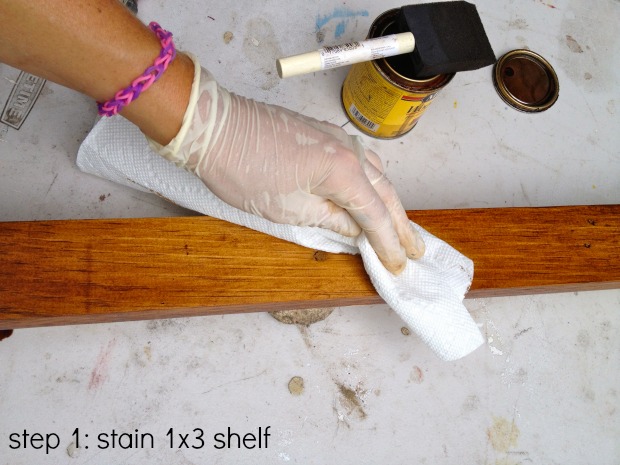
Step 1: Apply stain to the 1×3 shelf piece on all sides using a foam brush. Wipe off the excess.  Set the shelf aside and let it dry.

personalized wall shelf step 1

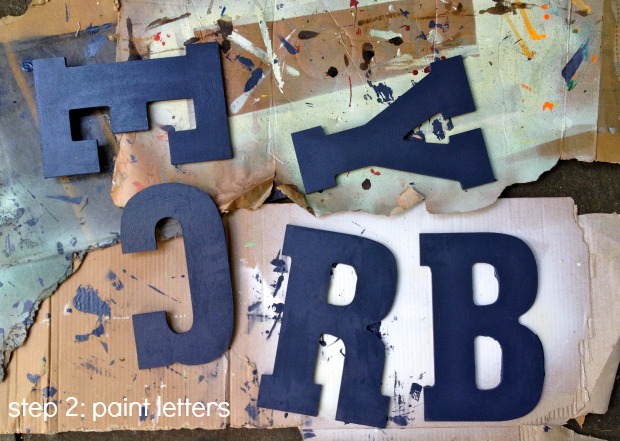
Step 2: Paint your letters.  Paint your plywood back (not shown).

personalized wall shelf step 2

Step 3: Distress the edges of the letters using sandpaper. Read more

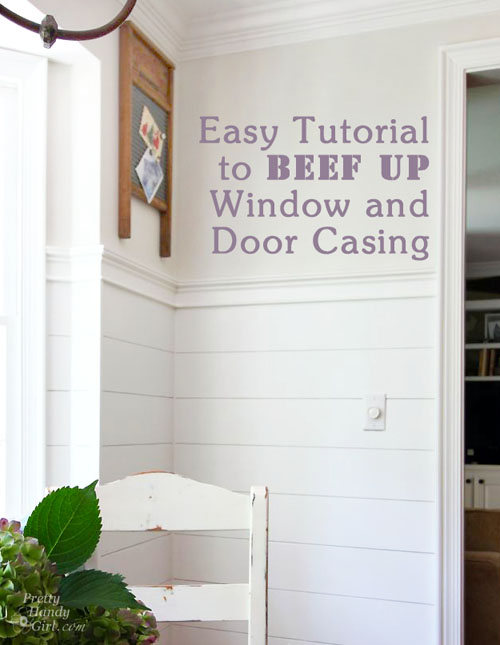
Beef Up Door and Window Casing with Back Band | Pretty Handy Girl

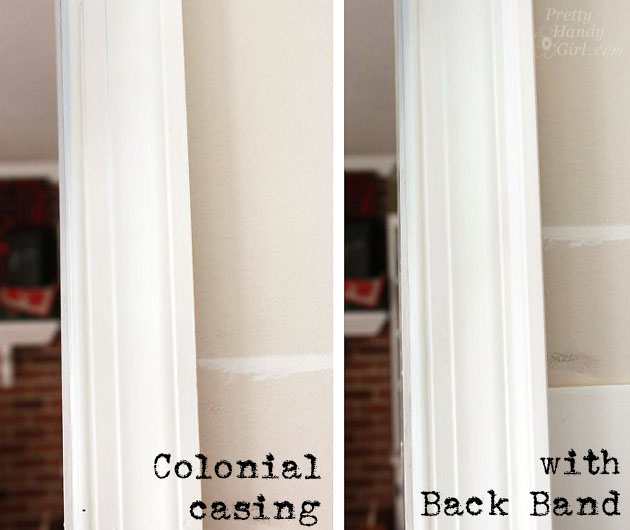
Want an easy way to add more architectural interest to your standard colonial door and window framing? Adding an extra piece of moulding, called back band, can add that extra boost of architectural interest.

Add Architectural Interest to Casing | Pretty Handy Girl

And the good news is that you can do this to your existing trim moulding. No need to remove or start fresh! The only thing you will need is paint on hand to paint the moulding after you BEEF it UP! In essence, We’re gonna PUMP it UP!

Materials:

  • Back band moulding
  • Finish nailer
  • 2″ finish nails
  • Caulk
  • Paint
  • Miter saw or  hand saw with miter box

Instructions:

There’s really not much to this tutorial. Line up the back band against your existing door or window frame. Measure or mark the back band where you need to cut your miter. Read more

DIY Chalkboard Memo Board (4th grade project) | Pretty Handy Girl

DIY Chalkboard Memo Board (4th grade project) | Pretty Handy Girl

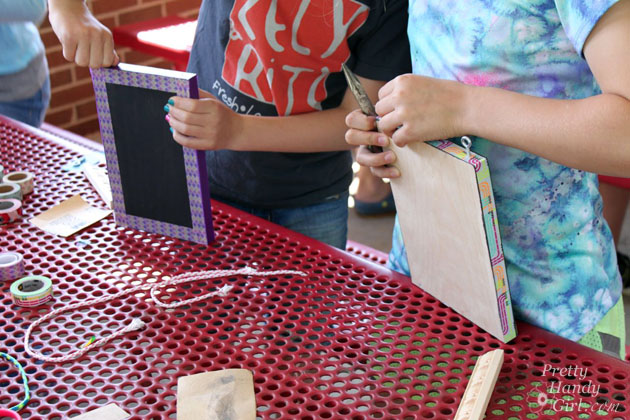
Before the end of the school year a REALLY GOOD friend of mine asked if I would give a talk in her daughter’s class about what I do for a living. I hemmed and hawed because I rarely have the free time. But, the main reason I was hesitant was because I didn’t know how to talk to 4th graders about what I do. Saying I’m a blogger is something that is hard for me to vocalize. “I write a blog” sounds simple and easy. But, in actuality, I do so many other things to make this blog a reality. Just a few of my job descriptions are: writer, photographer, builder, crafter, teacher, photo editor, business woman, manager, social media coordinator, graphic designer, web designer and all around handy girl! How could I explain all of that to the students?

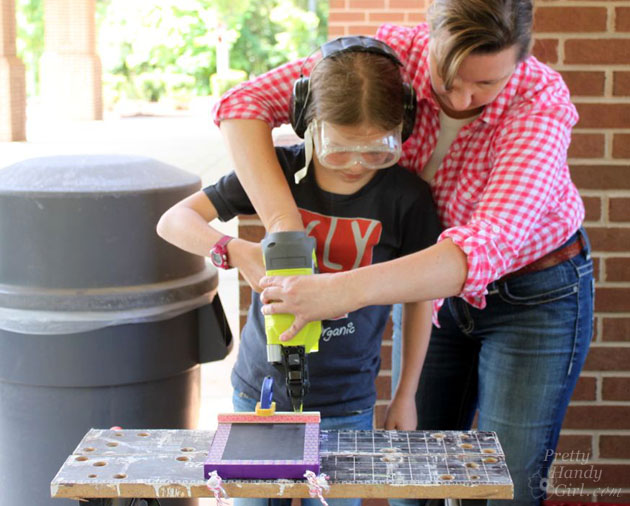
Suddenly, an idea hit me! I would waltz into that classroom and use my platform to break down the stereotypes about women and handy people within 30 minutes (or less!) Then I’d empower the 4th grade students by letting them build their own chalkboard memo board AND use a power tool! Lofty goals, but I felt sure I could do it. Little did I know that the students wouldn’t be the only one empowered.

The quiz:

I started out by talking to the kids about what a handy person is. They shared terms that fit the definition of a handy person: fixes things, builder, carpenter, plumber, woodworker, and home improvement specialist. Then I showed them a slide presentation and gave the kids a quiz asking them to tell me which of these people are handy:

DIY Chalkboard Memo Board (4th grade project) | Pretty Handy Girl

I showed them one picture at a time and as expected, they got all of the answers wrong.

The answers: Read more

DIY Marble Toss Game | Pretty Handy Girl

DIY Marble Toss Game | Pretty Handy Girl

The summer is dragging on and the kids don’t have any summer camps for the next few weeks. That means: 1) I need to find a way to keep the kids entertained. 2) I need to keep them from pushing me over the brink of insanity. 3) I need to keep them from pushing each other off a cliff.

engraved-marble-toss

I came up with a fun marble toss game that will keep them busy. It was an easy game to make and I used some of the scrap wood laying around my workshop. Feel free to substitute materials and make modifications.

I enjoyed using the Dremel Fortiflex to carve the intricate letters and numbers. I have to admit I’m enjoying working as a brand ambassador for Dremel and testing their tools.

Let’s get your marble game face on!

(I’ve included affiliate links for your convenience. I earn a small percentage from a purchase using these links. There is no additional cost to you. You can read more about affiliate links here.)

Materials:

Optional: White pin stripes

Cut list:

  • 1 – 1/4″ x 10.5″ x 24.5″ plywood (face)
  • 1 – 1/2″ x 23″ x 9.25″ plywood (for side supports)
  • 2 – 1×3″ cut to 8.5″ (for base supports)
  • 1 – 2×4″ cut to 8.5″ (for upper support)

Tools Used:

Instructions:

Begin by drawing a horizontal line across the 1/2″ plywood.

mark-triangle-half

The angle will be approximately 22˚degrees.

22-degrees

Use the Dremel Ultra-Saw (jig saw or circular saw) to cut your plywood board in half diagonally.

cut-on-line-ultra-saw

You should have two identical triangles for the side supports. Read more