Make Your Own Light Fixture

Make Your Own Light Fixture

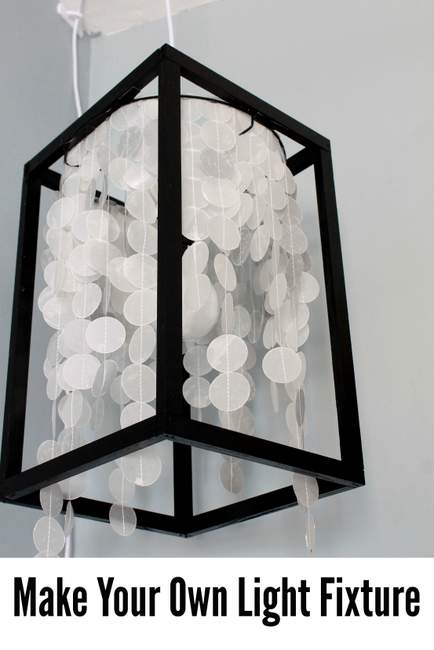
Hello, it’s Jessica here from Decor Adventures. This month I have what came out to be one of my favorite projects to date. It’s how to make your own light fixture using just wood trim and wax paper, and I promise it will look great in any room in your house.

Everyone loves Pinterest for inspiration and ideas, and I’m no exception. I was looking through my pins the other day and saw this one of a stunning (and I’m sure expensive) light fixture. I instantly thought how easy it would be to DIY that light and set out getting my supplies ready.

Materials:
(contains affiliate links)

For Wood Frame

  • 3/4″ x 1/2″ pine wood
  • Hand saw or Miter saw (or have it cut at the home improvement store)
  • 9166 CORNER CLAMP
  • Nail gun and air compressor and nails
  • Spray paint
  • Old lamp shade or washer top of wire lamp shade frame
  • Hot glue gun and glue sticks
  • Gorilla tape
  • Lampshade Pendant Kit

For Capiz Shells

  • Wax paper
  • Iron
  • Circle Punch
  • Sewing machine and thread
  • Scissors

Instructions

For this tutorial, you’ll learn how to make and attach the black wood frame to a light pendant kit after you make and put on the faux (wax paper) capiz shells. For a step-by-step of how to make the shells, see my post on how to make a wax paper capiz shell chandelier and follow the instructions on how to iron together the wax paper and sew them together.

How to make the wood “frame” for your light fixture:

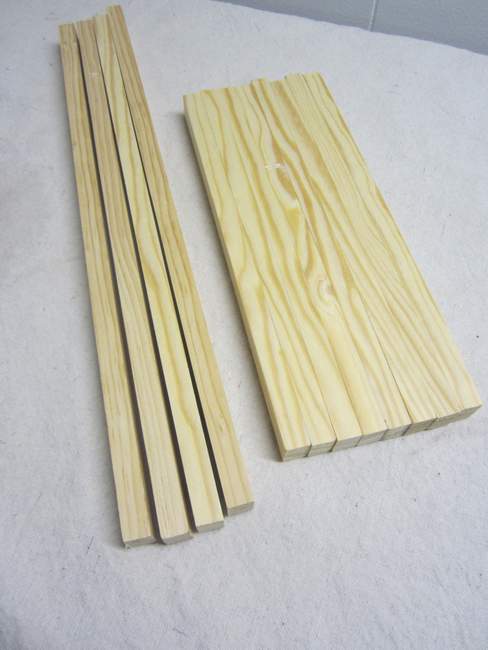
Cut your 3/4″ pine trim into 12 pieces. Eight of them will be the same (shorter) length and 4 of them will be the same (longer) length. My pieces are 9 1/2″ and 14 1/2″. Make sure your 8 smaller pieces are the exact same length and same goes for your longer ones. If they aren’t, your 3-D frame will not fit together perfectly.

Make Your Own Light Fixture

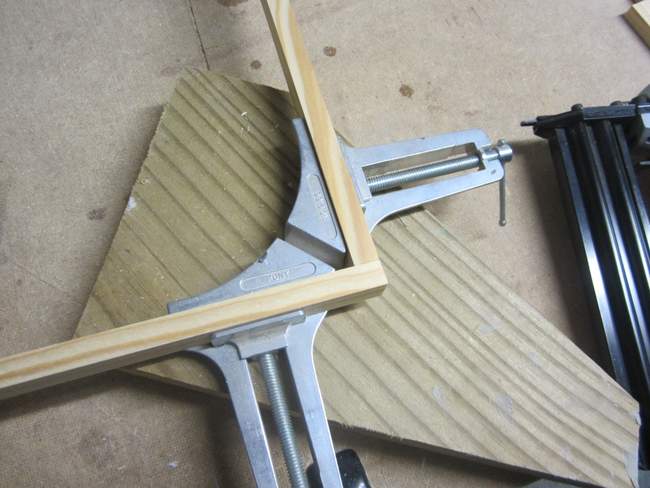
To assemble your boxes perfect for easier nailing, use a miter corner clamp. These are available at the home improvement store for about $25 and can be used for a lot of different projects.  Insert two of your smaller pieces into each side of the clamp, making sure the ends line up.

Using a Miter Corner Clamp

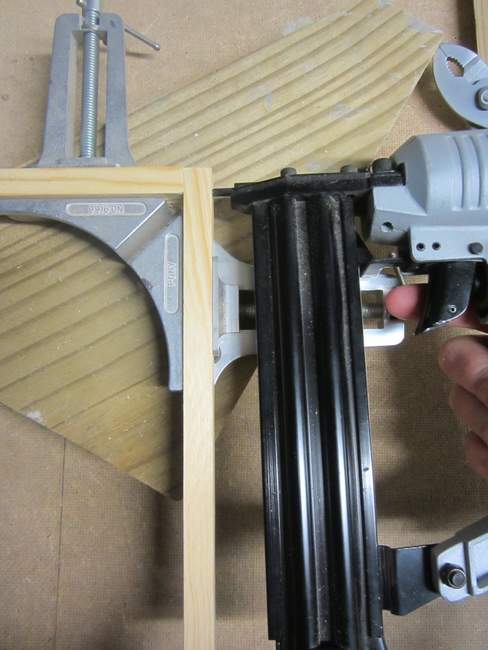
Using your nail gun, nail into the wood to secure a corner.

Make Your Own Light Fixture Read more

How to Fill Holes and Knots in Wood | Pretty Handy Girl

How to Fill Holes and Knots in Wood | Pretty Handy Girl

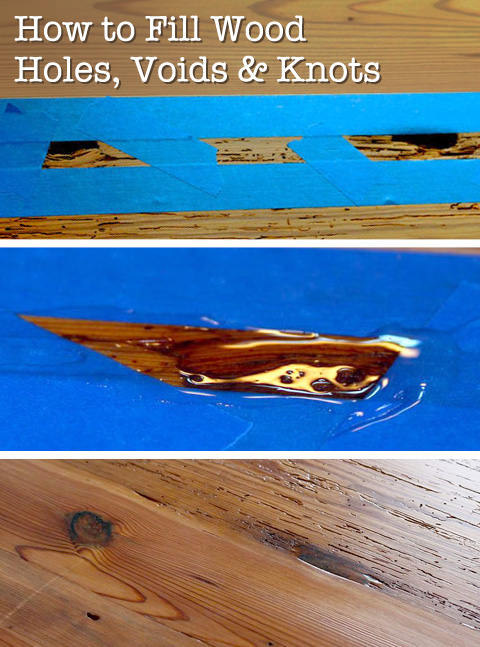
Occasionally, you will get a piece of gorgeous wood that has voids or knots in it. You wouldn’t want to add wood putty, because it wouldn’t retain the look of the knots. But, you want a smooth surface. The solution is to fill the wood knots and voids with epoxy. The results will be beautiful and you’ll be hard pressed to find the patch afterwards.

Materials:

(contains affiliate links)

How to Fill Holes and Knots in Wood | Pretty Handy Girl

Instructions:

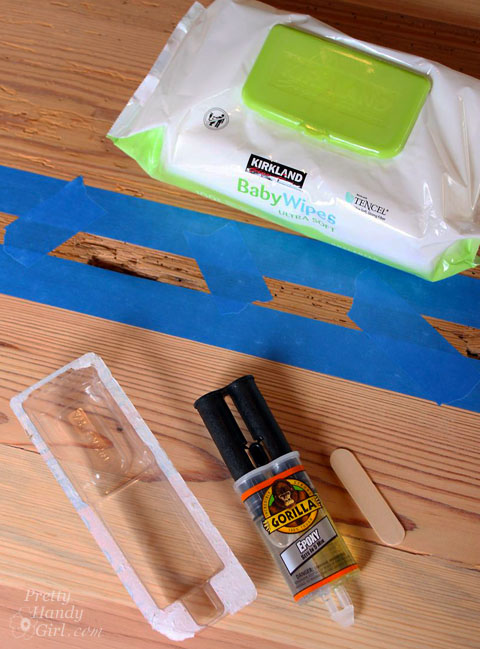
Begin by taping off the area around the holes, voids or knots. Press the edges of the painter’s tape down to seal it against the wood.

How to Fill Holes and Knots in Wood | Pretty Handy Girl

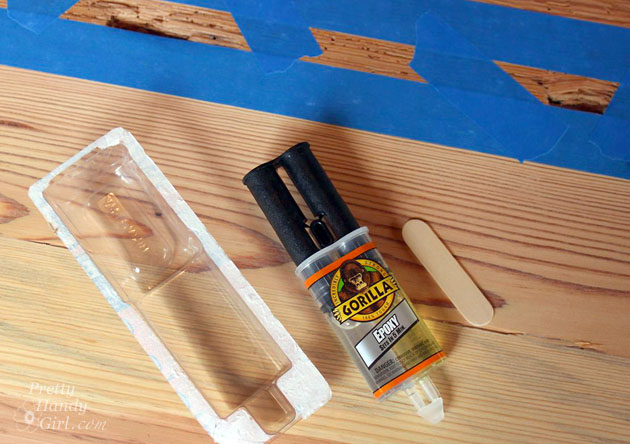
Remove the epoxy from the packaging. (I used Gorilla Glue Epoxy glue that sets up in 5 minutes.)

How to Fill Holes and Knots in Wood | Pretty Handy Girl

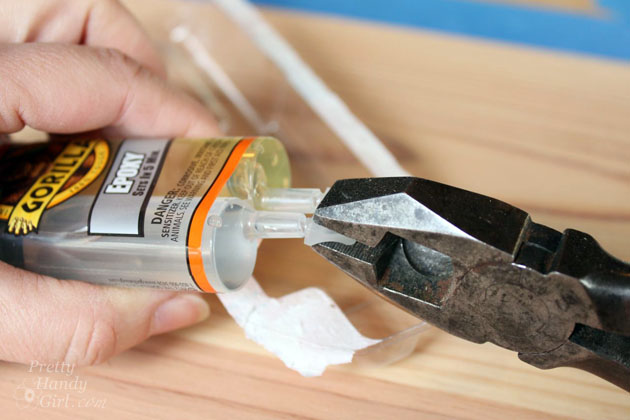
Snip or snap off the tip of the epoxy tubes.

How to Fill Holes and Knots in Wood | Pretty Handy Girl

Press the cap out of the plungers before trying to depress the plunger. Retain the cap to use if you have any leftover epoxy. Read more
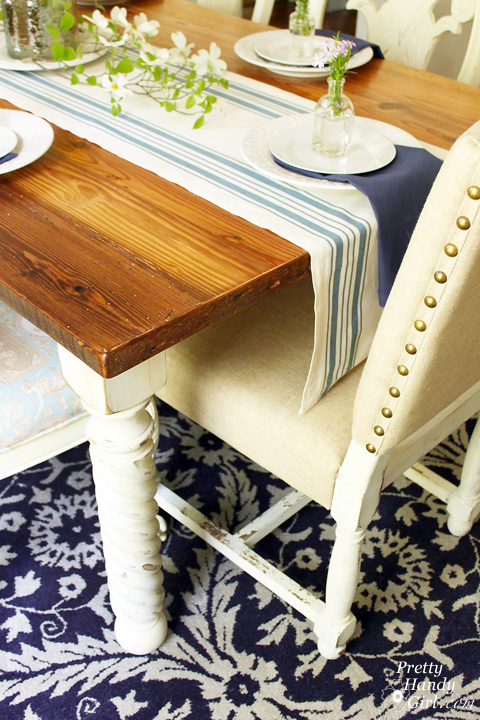
Reclaimed Lumber Farmhouse Table | Pretty Handy Girl

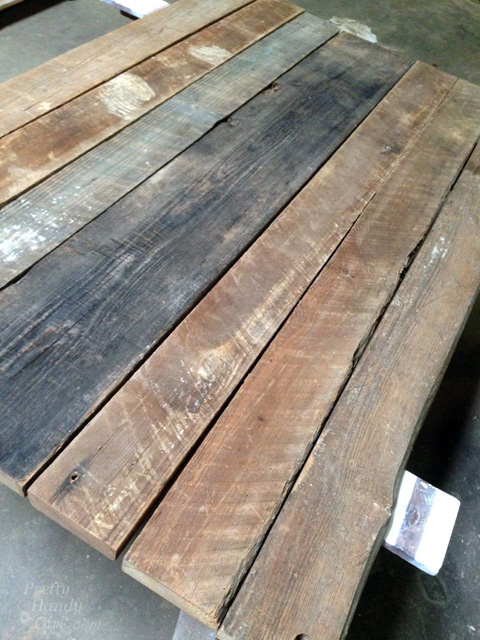
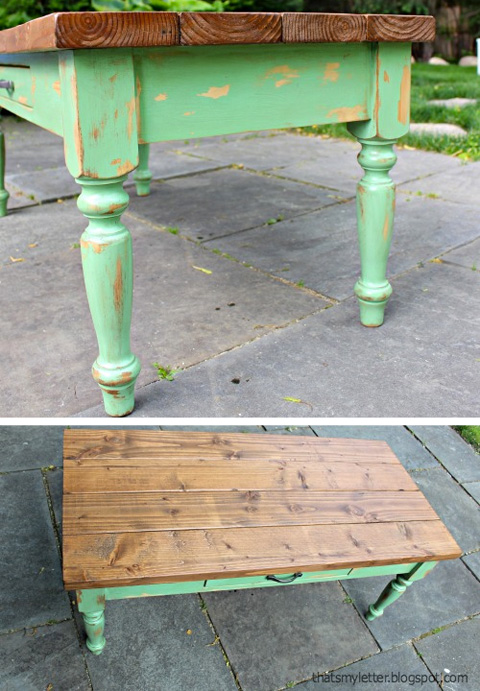
I’ve always wanted a rustic wood farmhouse table. I wanted a table that looked worn, well-loved and appeared to be over 100 years old. It’s very hard to achieve that look with new lumber. To get that rustic look, you either need old reclaimed lumber or the skills to stain and distress new wood. I chose the first option and bought reclaimed rafters from The ReUse Warehouse in Durham, NC.

Reclaimed Lumber Farmhouse Table | Pretty Handy Girl

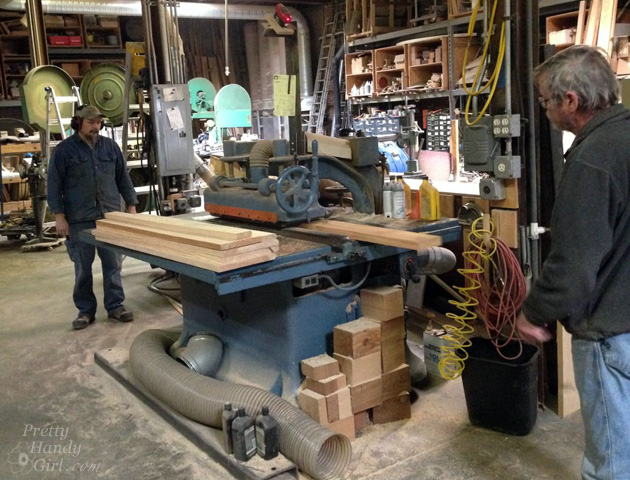
They were very rustic to say the least. I was prepared to plane and glue them together myself, but I don’t own a planer (insert sad trombone sound.) Instead, I brought the rafters to Mark Kegler of Kegler’s Woodwerks. Mark has ALL the woodworking equipment and he convinced me to let him glue the tabletop together since I realized I also don’t have 5 bar clamps (Christmas wish list updated now.)

For fun I thought I’d show you the behind the scene pictures of the table top as it was being planed and ripped. That way you can view the process should you decide to piece together your own reclaimed lumber table top.

Behind the Scenes at the Shop:

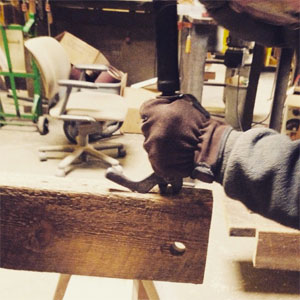
First they ran a metal detector over the beams and then removed nails with an extractor.

tool-in-wood-shop

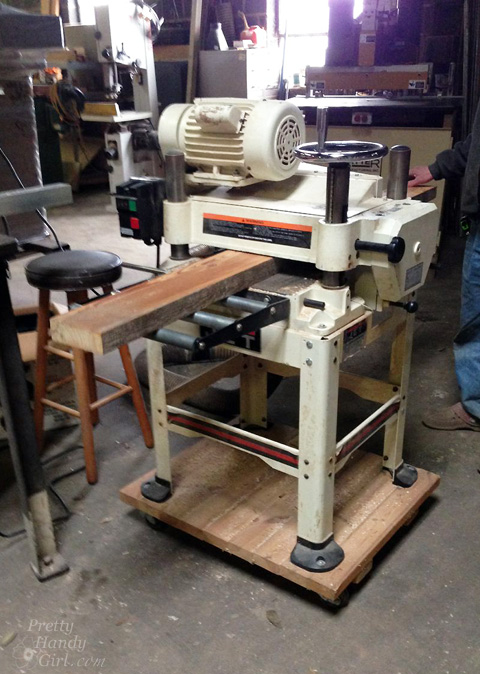
Next, the rafters were fed through a planer to give them all a uniform thickness.

Reclaimed Lumber Farmhouse Table | Pretty Handy Girl

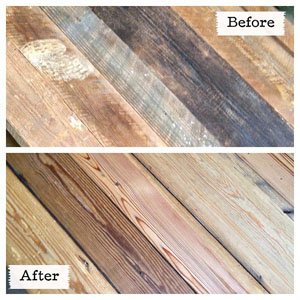
It was like Christmas morning watching the wood as it came out and I could see the of the beautiful grain revealed.

reclaimed-lumber-before-after

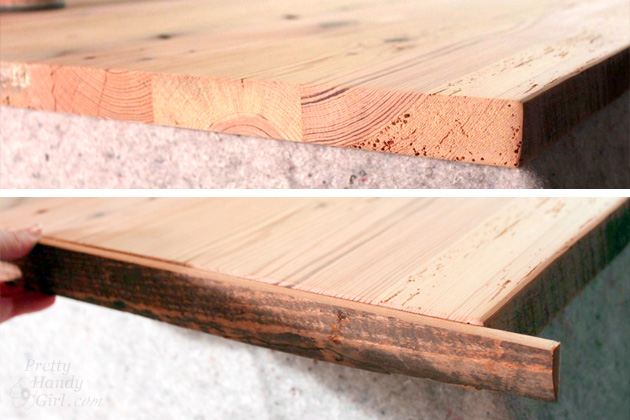
Mark and Randy used a straight line rip saw to cut the edges straight with the exception of two rafter edges that would be used for a live edge on the table. I was able to salvage the edges that they ripped off for later use.

Reclaimed Lumber Farmhouse Table | Pretty Handy Girl

The boards were glued with wood glue and clamped together. Then they were left to cure overnight. In the morning, the short ends of the table were cut square.

Back at home I built the table base (the apron and legs).

Finishing the Reclaimed Wood Table Top:

Remember the salvage I kept from Mark’s shop? I used it to cap the table as edge band to hide the end grain. Hold the edge band up against the end, mark and cut the excess off.

Reclaimed Lumber Farmhouse Table | Pretty Handy Girl

Add wood glue to the inside of the edge band. Read more

How to Build a Table | Pretty Handy Girl

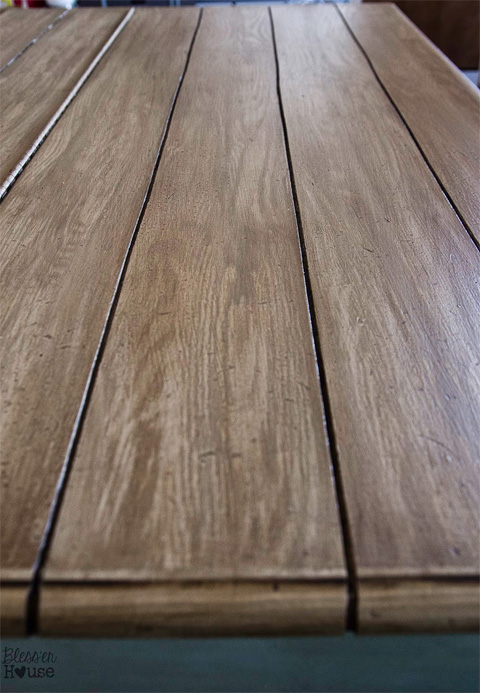
Building a Farmhouse Table has been on my mind for several years. I was never crazy about our hand-me-down dining set. But, I never had the time to build a table from scratch. Now that the table is done, I don’t know why I put it off for so long. Building a table is relatively easy DIY project. You basically need four table legs, 1″ x 4″ boards for the apron and a table top. Depending on your style, you can use anything for the top. You can cut grooves into an existing table top to create the plank look, like Lauren from Bless’er House did:

Faux Plank Table Top by Bless'Er House

Or you could use 2″ x 6″ lumber to create a new table top like Jaime from That’s My Letter did:

2x6 Lumber Table by That's My Letter

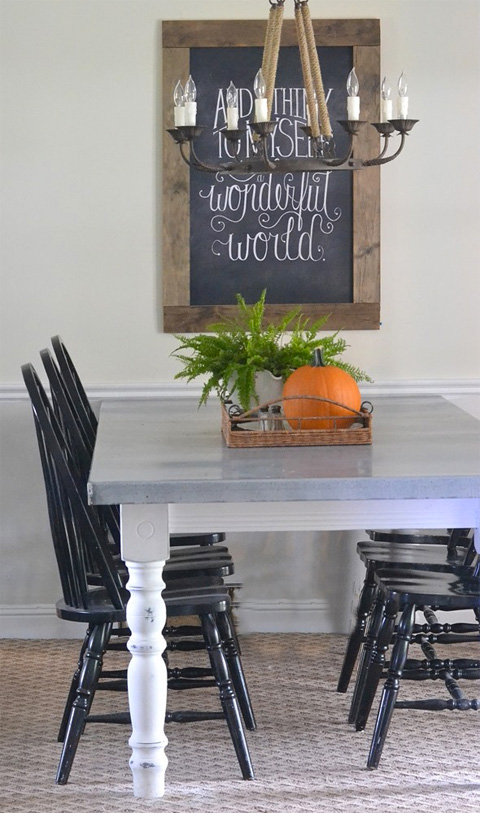
Or wrap MDF with galvanized sheet metal for a zinc top, like Traci from Beneath My Heart did:

Zinc Topped Table by Beneath My Heart

Feel free to create a table top with something less conventional like a slab of marble, tempered glass or an old door! Use your imagination and creativity.

I chose to work with reclaimed lumber for a true farmhouse table top. I bought reclaimed rafters from The ReUse Warehouse in Durham, NC. When I paid for it, the lumber looked like this:

Reclaimed Lumber Farmhouse Table | Pretty Handy Girl

But, was transformed into this:

Reclaimed Lumber Farmhouse Table | Pretty Handy Girl

Here are the details for creating the reclaimed wood table top.

Today we’re going to learn how to build the table base!

How to Build a Table Materials:

(I’ve included affiliate links for your convenience. I earn a small percentage from a purchase using these links. There is no additional cost to you. You can read more about affiliate links here.)

  • 4 Table legs (rope twist legs I used from Osborne Wood Products)
  • Table top
  • 1″ x 4″ Premium Pine (poplar or other straight knot free wood)
  • Kreg JigHow to Build a Table
  • 2″ Pocket Hole ScrewsHow to Build a Table
    (you may also need different depth screws if you have a thin table top)
  • Tape MeasureHow to Build a Table
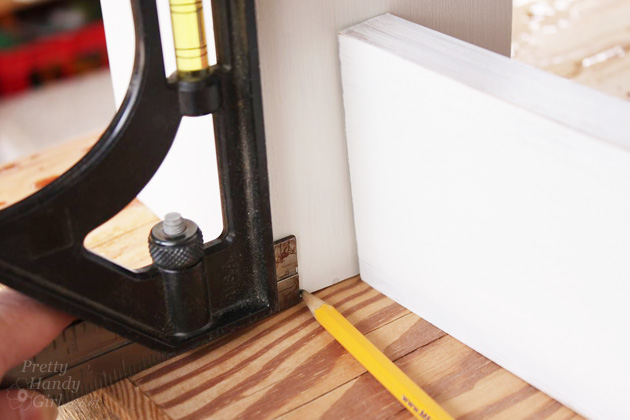
  • Combination SquareHow to Build a Table
  • ClampsHow to Build a Table
  • Pencil

Optional: 2″ x 4″ board for additional center support

How to Build a Table Instructions:

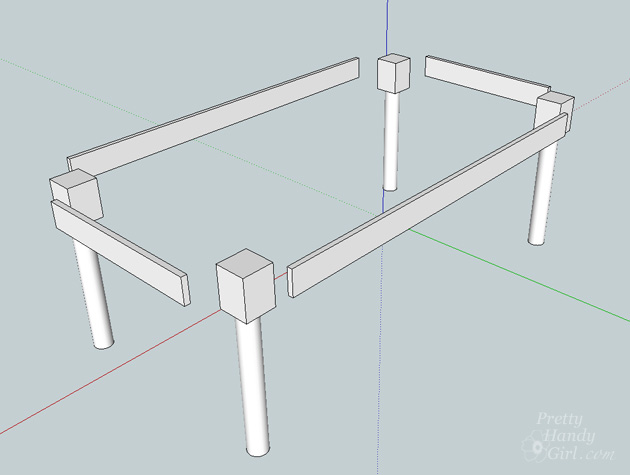
Measure your table top and subtract 8″ from the length measurement (my table is 71″ long, so the measurement I need for the base is 63″.) Measure the table top width and subtract 5″ from that measurement (my table is 42″ wide, so the measurement I need for the base is 37″.)

Next measure the thickness of the top of your table legs. Then double that number. This will give you the width of both legs per side. Subtract this number to get the length of your apron rails. (For example, my table base final measurement is 63″ x 37″. My table legs are 4″ wide x 2 = 8″. Therefore my two side rails need to be 55″ and the end rails should be 29″.)

How to Build a Table | Pretty Handy Girl

Cut the 1″ x 4″ boards to the size you figured out above.

Lay your legs and apron rails upside down on a flat surface. Double check your measurements, square and the table top dimensions against the table base. Read more

Hang Art Without a Frame

Hang Art Without a Frame

One way to change the look of a space is to hang up new art. With so many attractive options for your walls, it’s easy to do. Posters, photos, wallpaper and other memorable art can look great, even without a frame. Having art framed professionally can get expensive. Even store bought frames can break your budget. But I have an easier way to hang art without a frame, and it will cost you less than $10.

These maps of Paris and Rome came from a local art supply store for only $5 each. Since they had been sitting in my closet for a while, I thought they would be perfect for this project and give new life to the living room. Each poster will have two pieces of trim, one along the top and one along the bottom.

Hang Art Without a Frame

Materials:

Art Supplies

  • Poster
  • 3/4″ wood
  • Drill and 1/16 drill bit
  • Small cup hooks
  • Small loop chain
  • Wire cutters
  • Gorilla tape
  • Paint and paint brush (optional)

Read more