Sport Gear Storage in a Small Space | Pretty Handy Girl

My home is protected by ninjas! Well, actually Tae Kwon Do athletes, but they are ninjas in training. So, don’t even think about breaking into our house or they will open up a can of whoop ass on you! 😉

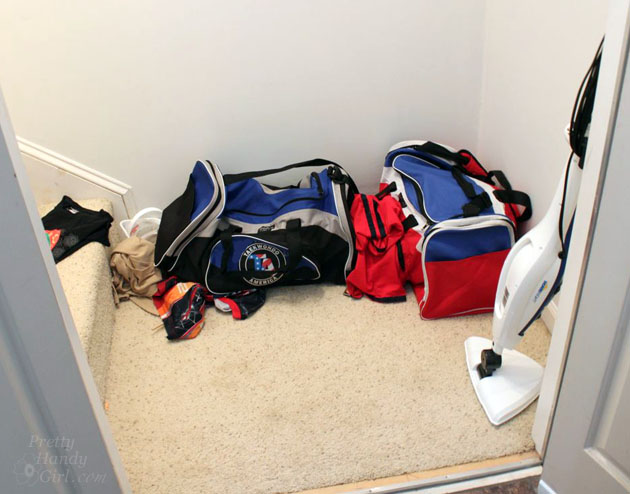
Unfortunately, where my boys are plentiful in kicking and punching skills they lack in the picking up your stuff department. Which means that the bottom of the stairway to our bonus room is usually the dumping ground for their gear bags, clothing and gear.

Sport Gear Storage Shelves in a Small Space | Pretty Handy Girl

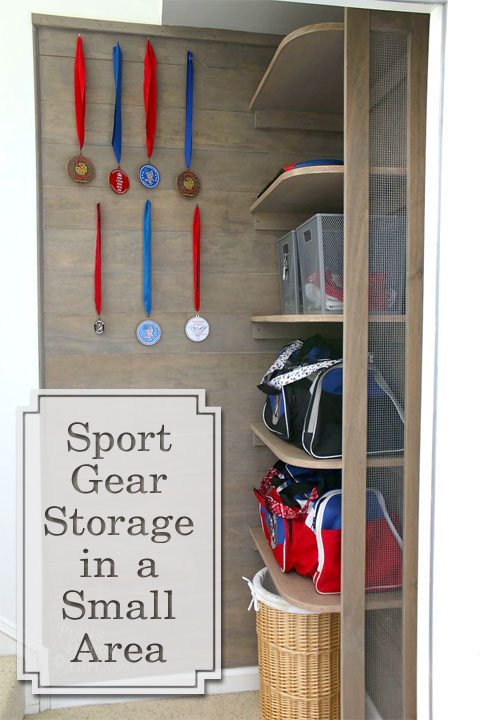
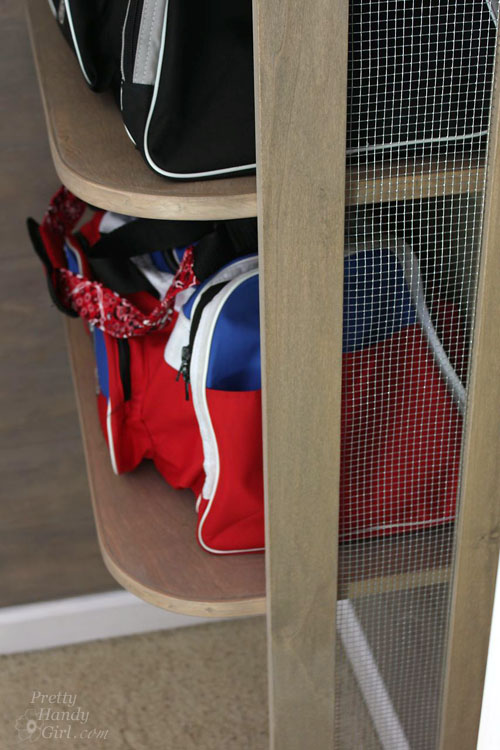
I knew I could “up” the amount of storage we had in this small unused space by going vertical. I designed and created Sports Gear Storage Shelves in the small space at the base of our bonus room stairs. Adding mesh siding gives the storage system a locker vibe and allowed for better air flow around stinky sports gear.

Sport Gear Storage Shelves in a Small Space | Pretty Handy Girl

Want to know how to build your own Sport Gear Storage Shelves? Hang out for a while and I’ll walk you through the step-by-step tutorial.

Materials:

Cut List:

  • 5 – 15″ x 24″ plywood (shelves)*
  • 5 – 1 x 3 x 15″ (shelf cleats)
  • 5 – 1 x 3 x 23″ (shelf cleats)
  • 2 – 1 x 3 x 88″ (sides of support frame)
  • 2 – 1 x 3 x 4.5″ (top & bottom of support frame)
  • 1 – 5.5″ x 84″ piece of wire mesh
  • Rip edge banding 1/4″ thickness from one 1 x 3″ board

* You should be able to get a sixth shelf cut from your plywood if you wish to use it for a base.

Instructions:

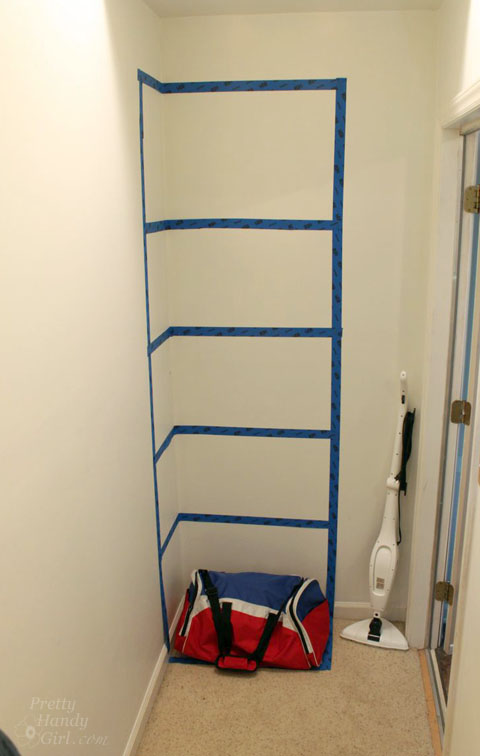
Before beginning to build, sketch out your design with painter’s tape. Take note of the height of any baskets or gear bags you will store on the shelves. This should give you the ability to visualize the storage shelves and make any alterations to your design before you build. Once you are happy with the layout, write down your shelf heights.

Sport Gear Storage Shelves in a Small Space | Pretty Handy Girl

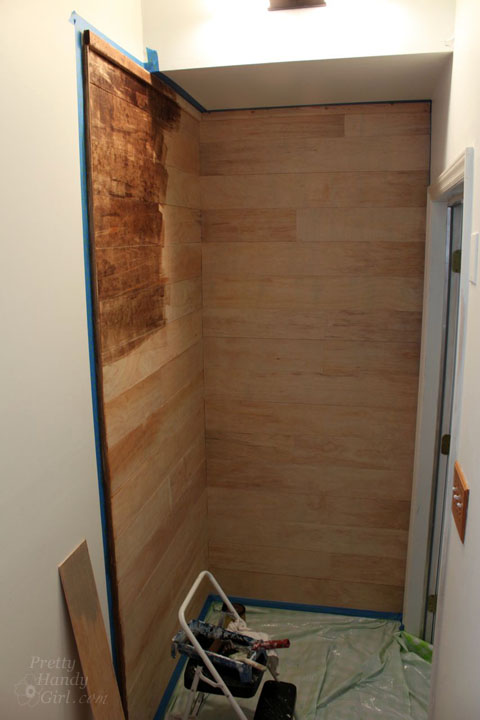
You may wish to clad the walls in wood planks like I did before you build the shelving. If you decide to add the planks, here’s the tutorial for planking your walls.

Sport Gear Storage Shelves in a Small Space | Pretty Handy Girl

Measure and mark the heights of your shelves.

Sport Gear Storage Shelves in a Small Space | Pretty Handy Girl

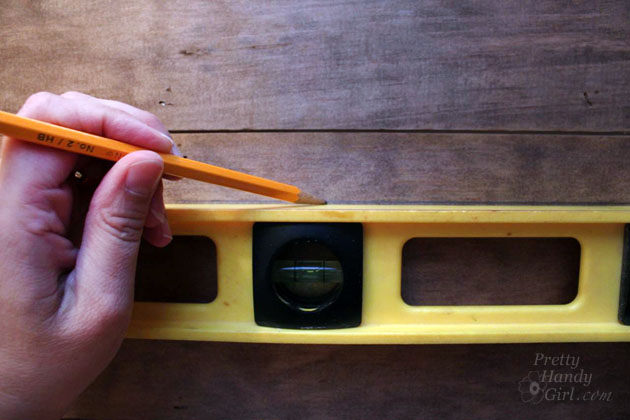
Using a level, draw a pencil line where the shelves will rest.

Sport Gear Storage Shelves in a Small Space | Pretty Handy Girl

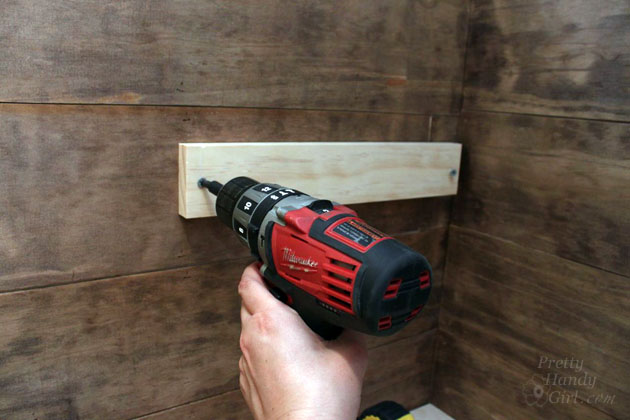
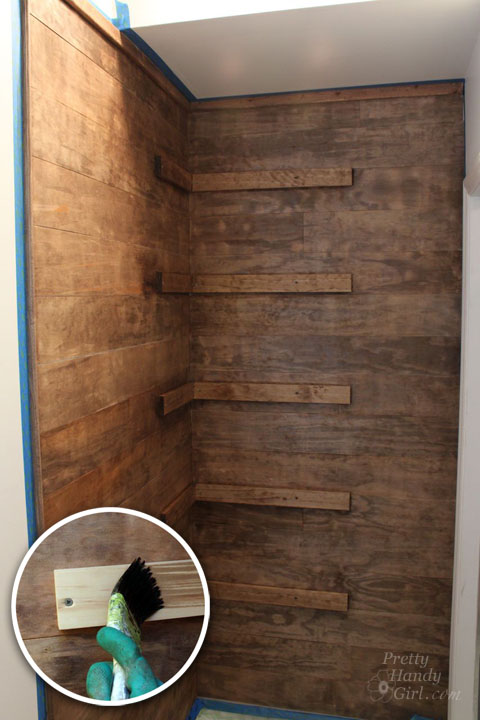
Secure the 1×3″ cleats below the pencil line using 2 1/2″ wood screws into studs.

Sport Gear Storage Shelves in a Small Space | Pretty Handy Girl

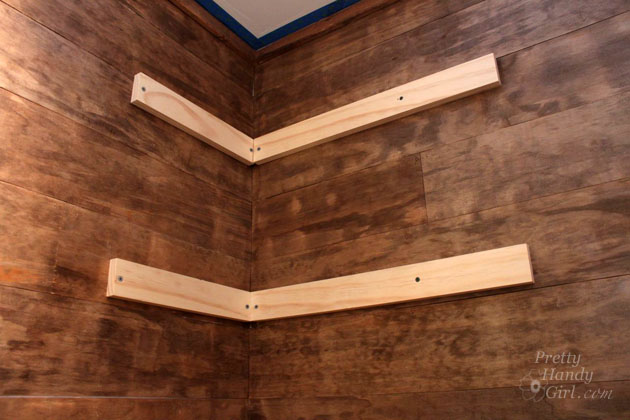
Continue securing shelf cleats to the wall with screws into available studs.

Sport Gear Storage Shelves in a Small Space | Pretty Handy Girl

Paint or stain the cleats to match the wall color.

Sport Gear Storage Shelves in a Small Space | Pretty Handy Girl

Building Curved Shelves with Edge Banding: Read more

31 Days of Handy Home Fixes | Pretty Handy Girl
 

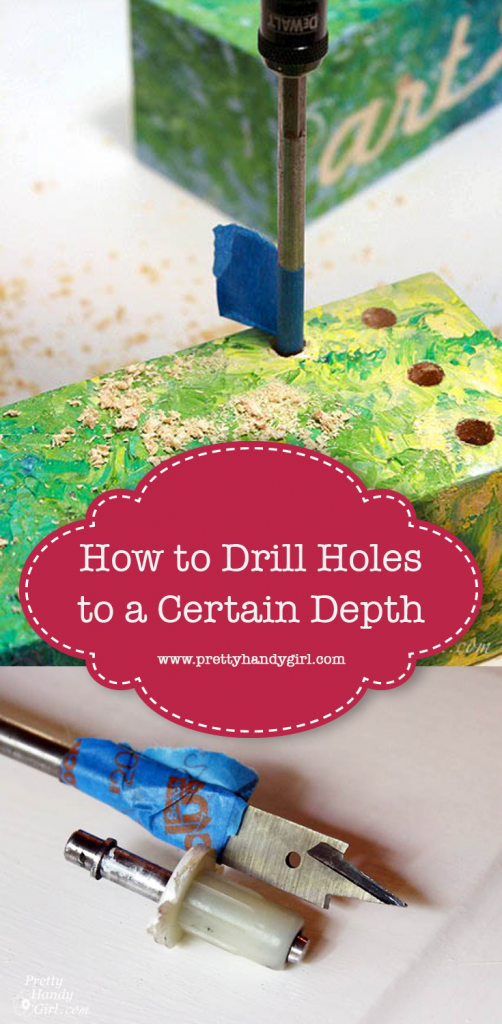
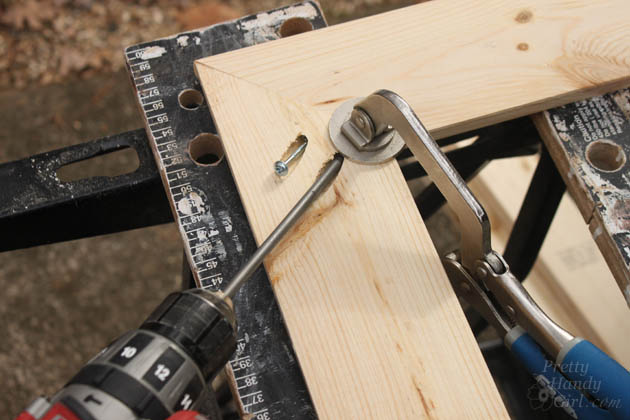
Occasionally you need to drill a hole to a specific depth. Or you want to drill a hole into but not through your wood. This simple trick helps you do just that!

Day 19 – Drill Holes to a Certain Depth

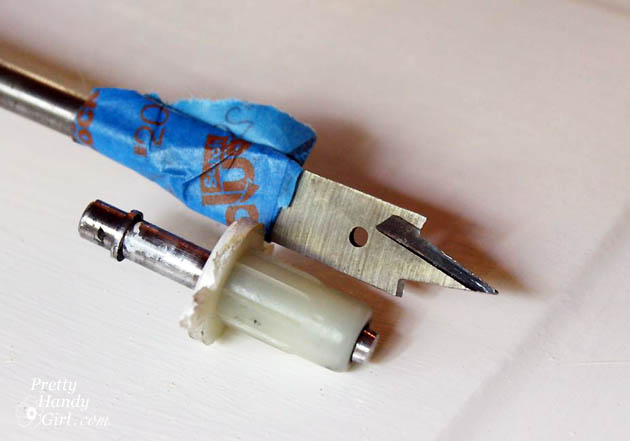
When I was drilling the top of the new closet doors, I marked the depth of the door pin onto the drill bit with painter’s tape.

How to Trim Closet Doors with Dremel UltraSaw | Pretty Handy Girl

As I was drilling, I know to stop when the tape reaches the wood.

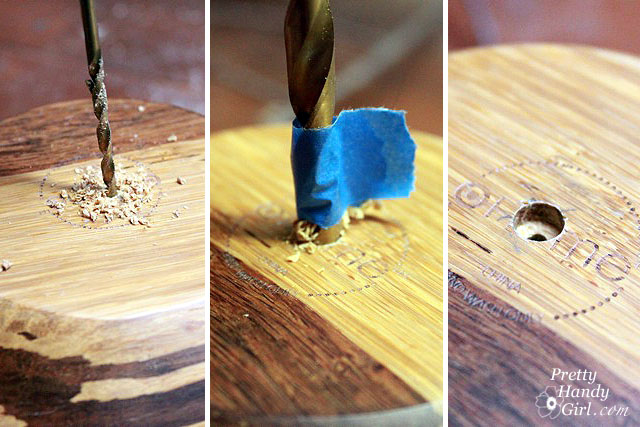
Similarly, when creating these fun art utensil holders for my mom, I put a piece of painter’s tape to mark how deep to drill without going through the other side.

drill_holes

You can also use the tape trick to create countersink holes. Drill with the smaller bit first, then center the larger bit and drill just deep enough to bury the screw head.

drilling_countersink_hole

I hope you are enjoying these quick little tips and tricks. I’m on the homestretch and still have some great tips to share! Stay tuned.

PHGFancySign

Pin for later!

how to drill to a certain depth

I’m participating in Nester’s 31 Days Challenge. Check out all the other bloggers who are participating!

31 Day Writing Challenge

Don’t miss a single tip! Sign up to get all the tips in your email:


Sign Up for Email Subscription


Other tips in the 31 Days of Handy Home Fixes series:


interior cedar shutters

Hello Pretty Handy friends, Jaime from That’s My Letter here today to share how to build functional interior cedar shutters using inexpensive AND readily available hardware.

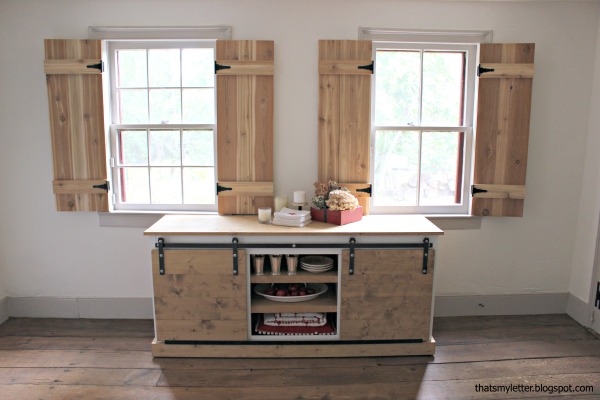
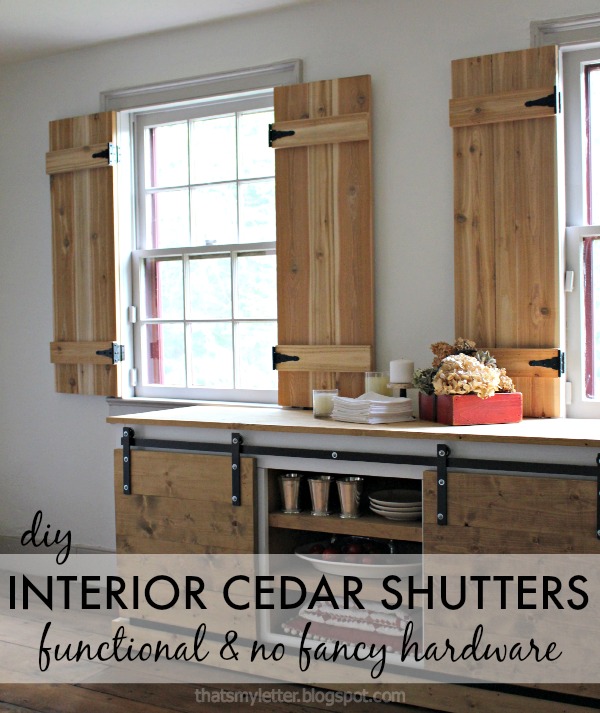
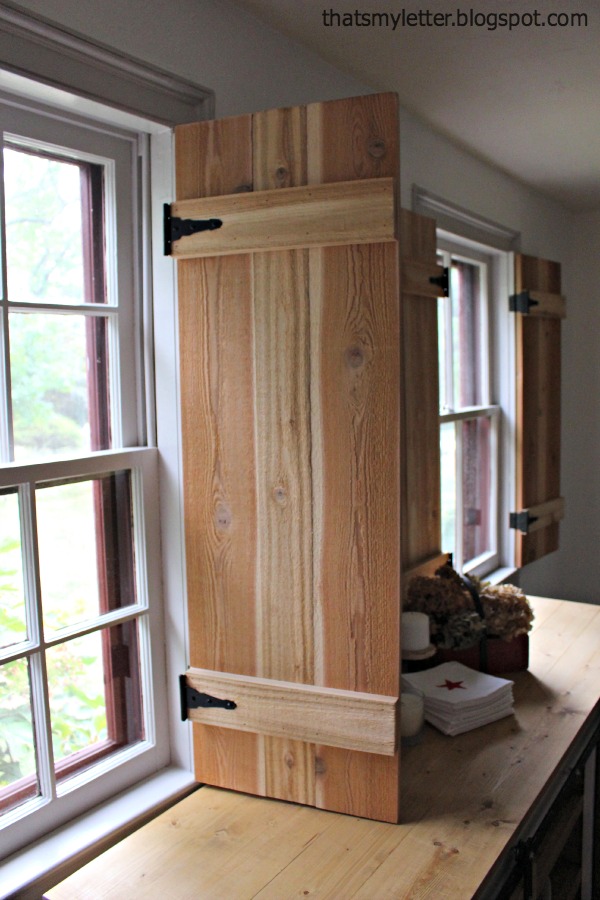
I have been itching to build some cedar shutters for our living room for quite some time now.  I had two requirements: 1) they had to be completely functional to block out the hot summer sun (which also makes them great for privacy) and 2) use no fancy hardware.  I didn’t want to special order any shutter hardware and I like to build using readily available supplies.

interior cedar shutters partial open

You can find the cedar planks and hardware at your local home improvement store.  Ready to learn how to build the shutters and install these beauties?

interior cedar shutters closed 1

You can see just how much light the shutters will block out once closed.  I plan to keep the shutters open except during the extremely hot summer days.

interior cedar shutters front view

Interior cedar shutters make a great alternative window treatment if you’re not into fabric panels.  They truly are a statement piece (and hopefully distract from the fact that my windows don’t match!).  I also built the sliding door console last Spring, a link to all the details on that piece is in this post.

Materials:

  • cedar boards (1×6 and 1×4)
  • saw
  • nail gun
  • 1 1/4″ finish nails
  • 1×2 pine board
  • 2″ wood screws
  • drill & bits
  • pencil
  • measuring tape
  • wood putty
  • sandpaper
  • paint
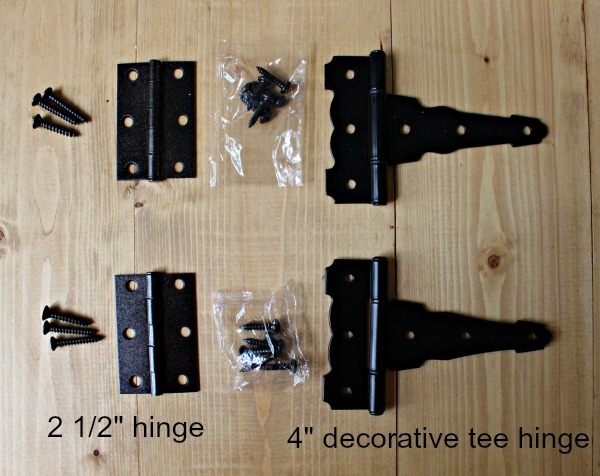
  • hinges (pictured below) & screws

interior cedar shutters hardware

Hardware: (for one pair of shutters)

  • 2 – 2 1/2″ hinge (spray painted oil rubbed bronze) & 12 screws
  • 2 – 4″ decorative tee hinge & 12 screws

Instructions:

MEASURE YOUR INTERIOR WINDOW SPACE.  MEASURE IT AGAIN.  MEASURE IT AGAIN. The top of the window may vary from the bottom. Read more

How to Build Custom Rustic Crates | Pretty Handy Girl

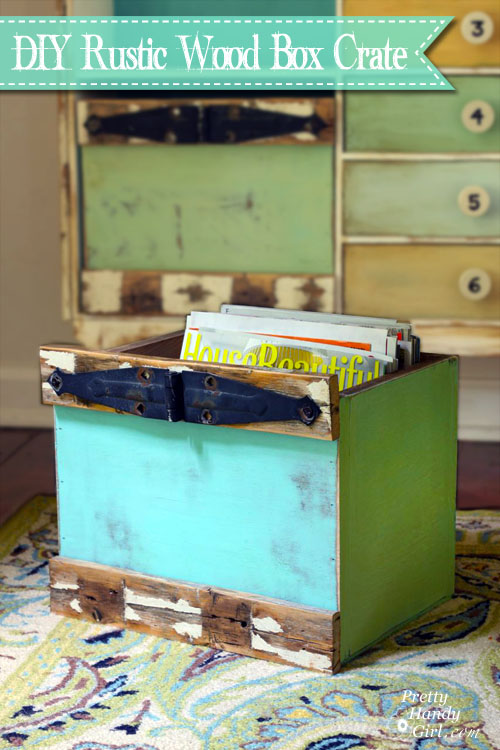
How to Build Custom Rustic Box Crates | Pretty Handy Girl

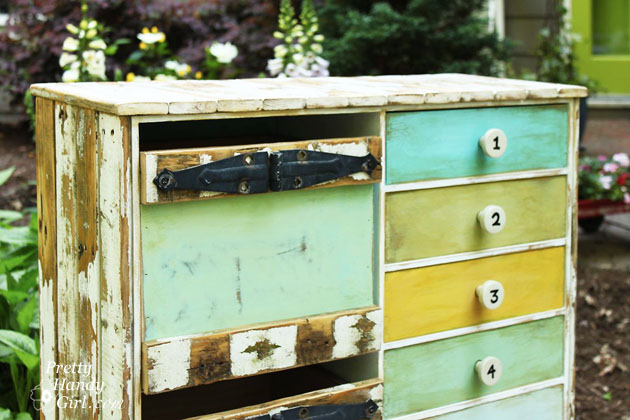
Making custom rustic wooden box crates is super easy. You can build your crates to fit in a book case or use them as drawers in a cabinet. When I was giving my IKEA cabinet a makeover, I chose to remove a door and build custom box drawers instead.

How to Build Custom Rustic Crates | Pretty Handy Girl

Here’s the super easy tutorial so you can build your own:

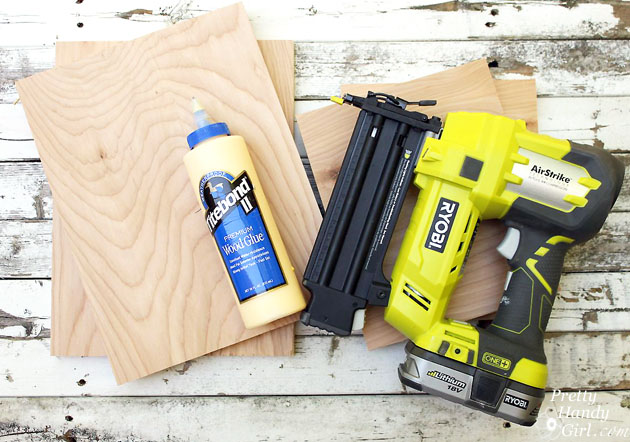
Materials:
(some links are affiliate links)

Tools:

Instructions:

Begin by cutting the 1/2″ plywood into four pieces the size you want for your crate sides.

How to Build Custom Rustic Crates | Pretty Handy Girl

Test fit the sides together. Add a line of glue to the ends of the plywood. Read more

Rustic IKEA Hack Cabinet Transformation | Pretty Handy Girl

Rustic IKEA Hack Cabinet Transformation | Pretty Handy Girl

Rustic is not usually a word used to describe IKEA. IKEA is better know for their modern furniture, simple lines, meatballs and funny Swedish words. Today I’m going to change how you perceive IKEA furniture forever! Are you ready for this? Well, hang onto your hästes (Swedish for horses) because you’re going to see a transformation nothing short of amazing! You too can customize your plain jane furniture by adding legs and cladding the exterior with reclaimed picket fence wood.

This tale starts with a hunter green stained IKEA storage chest that I bought for our first apartment and stained myself (can you tell what decade it was? Hint: hunter green, honey pine, throw some burgundy in there and I’m sure you’ll be guessing no more.) It moved from room to room each time we settled into a new home. But, it never really fit in.

ikea chest in guest room

The cabinet was short and not very deep. Plus, it bore the mark of the popular 90’s hunter green. It was ugly. Why didn’t I get rid of it years ago? Maybe I was attached to it because it was the first piece of furniture I ever stained myself. And it brought back fond memories of calling the fire department because I smelled gas. Turns out you aren’t supposed to use an oil-based stain indoors, especially if you have a gas stove. Lesson learned.

Rustic IKEA Hack Cabinet Transformation | Pretty Handy Girl

Fast forward two decades and it’s still hanging around. The other day as I was lamented the fact that our foyer is too small to fit a cute dresser, I found myself looking at this sad little IKEA chest. I picked it up and put it in our foyer. The fit was perfect in the small space behind the front door! But, it was short and let’s not mention the hunter green again. Plus, it just wasn’t cute. And it doesn’t reflect my warm and weathered style. But, you know me, I wasn’t deterred.

I did some mental gymnastics and began to hatch a plan to create a marriage that would last longer than two decades.

Old picket fence pieces

It began with some pieces of old picket fence that I found by a dumpster. They were perfectly chippy and rustic! Luckily the 3M Lead Check results were perfectly negative. I carefully took the fence apart and removed all the nails.

Lead check picket fence paint

Ready to see how I convinced the two polar opposites that they belonged together — rustic and modern — to create a match made in heaven? Let’s explore this couples’ counseling further:

Read more