Trying to get into the Valentine’s Day spirit? Need to inject a little romance into your home? Yup, me too! Here are several unique Valentine’s Day Wreaths to help you decorate for February 14th.

Unique DIY Valentine’s Day Wreaths

valentines-wreath-branches-close_up_wood_heart_wreath

Have some downed tree branches in your yard? Make this Valentine’s Day rustic tree branch heart.

This upcycled book page rose wreath is the perfect addition to any house.

Check out this tutorial from Pretty Handy Girl and see how easy it is to create a heart shaped topiary. Keep it for yourself or give it to the one you love. | Non-candy Valentine's Day gifts | #prettyhandygirl #Valentinesday #DIYtopiary #plant

Train some ivy vines around a copper pipe to make this beautiful heart shaped topiary.

Be still my heart, this Home is Where the Heart Is Wreath belongs on my door.

This PVC heart decoration is easy to make with various sizes of PVC pipe!
Call me plumb crazy, but I think this adorable PVC pipe art would make a beautiful wreath.


Have some extra ribbon you’ve been hanging onto? This ribbon wreath is a pretty way to use it.

I get it, you want a wreath you can leave up through Valentine’s Day and beyond. This Modern Floral Wreath should make you happy.

DIY Rosemary Wreath & Juniper Garland | Pretty Handy Girl

This last idea is a start shaped wreath, but you could easily bend it into a Rosemary Heart Wreath.

I hope those gave you some great last minute decorating ideas. Enjoy and Happy Valentine’s Day to you.

Need something to do with the kids for Valentine’s Day? Here are several DIY Valentine’s Day cards:

Skip the candy with these DIY melted crayon valentines from Pretty Handy Girl! | DIY Valentine's Day gifts #holidaygifts #prettyhandygirl

Glitter Cut Out Valentine Name Tags| Pretty Handy Girl

If you liked these ideas, you’ll love these Fall DIY Wreath ideas.

24 Creative Fall Wreaths | Pretty Handy Girl

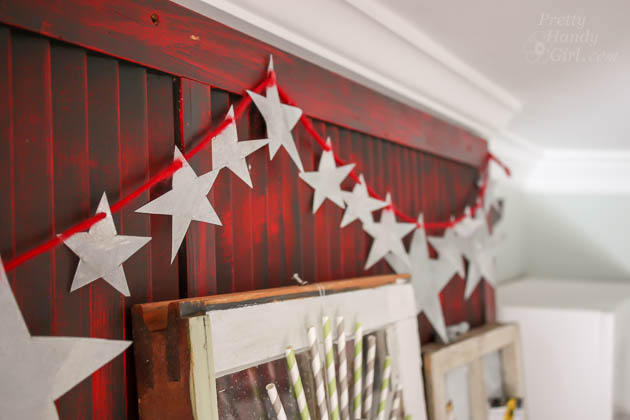
Galvanized Metal Star Garland | Pretty Handy Girl

Galvanized Metal Star Garland | Pretty Handy Girl

Remember when I told you I’ve been on a galvanized metal kick? Yes, you may have noticed my Rustic Metal Magnetic Window Frame on Monday. When I put the windows over our fireplace mantel, I knew there was something missing. I tried a few different garlands in the space, but nothing felt quite right. When I gazed upon the leftover galvanized metal, the idea to create a Galvanized Metal Star Garland was born.
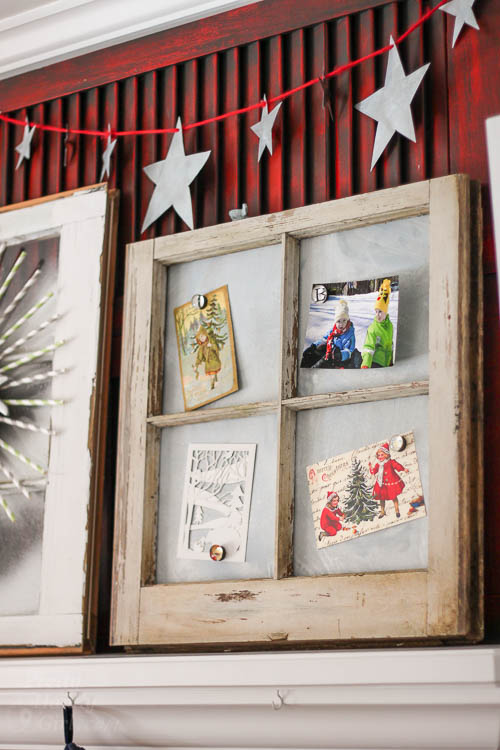
Galvanized Metal Magnetic Windows | Pretty Handy Girl

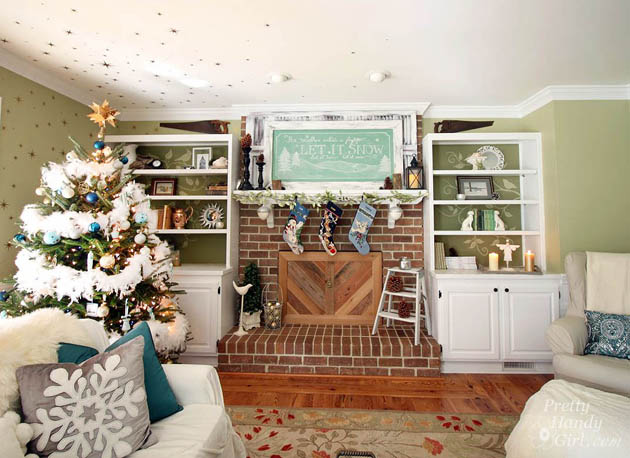
Today’s post is part of the Deck the Halls DIY-Style tour hosted by Jen Woodhouse, If you are just hopping over today from Sawdust and Embryos, amazing vignette, right?! My favorite is the monogrammed scroll snowflake. Welcome to my little slice of DIY Blog heaven. I can’t wait to show you how I made several elements over our fireplace mantel.

Deck the Halls DIY Style | Pretty Handy Girl

The Galvanized Metal Star Garland is so incredibly easy to make. You’ll be looking for more places to decorate with a garland of stars.

Ready to get started? Grab these things and let’s make something stellar!

Materials:
(contains affiliate links)

Instructions:

Draw stars on your galvanized sheet of metal. If you prefer a beautifully aged metal patina, you can follow this tutorial to make your metal age quickly.

Galvanized Metal Star Garland | Pretty Handy Girl

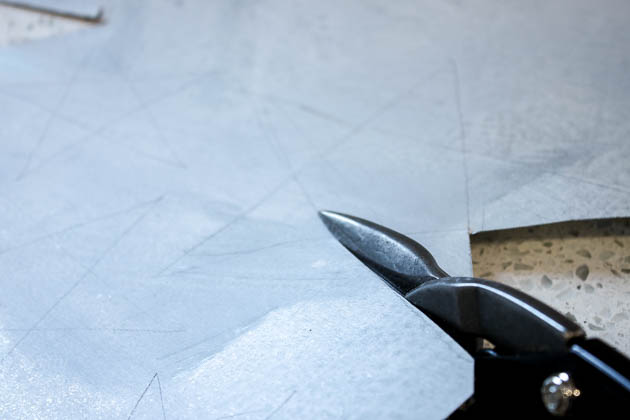
Cut out the star shapes with tin snips.
Galvanized Metal Star Garland | Pretty Handy Girl

Rub the pencil marks off the stars with a gloved hand. Read more

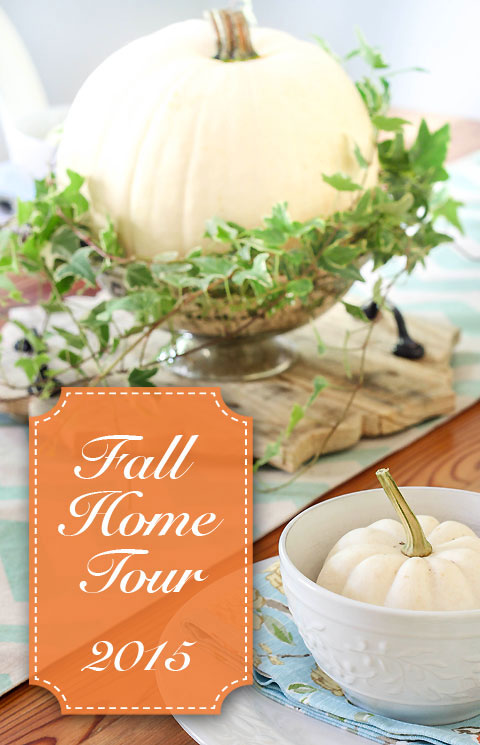
Fall Home Tour 2015 | Pretty Handy Girl

Fall Home Tour 2015 | Pretty Handy Girl

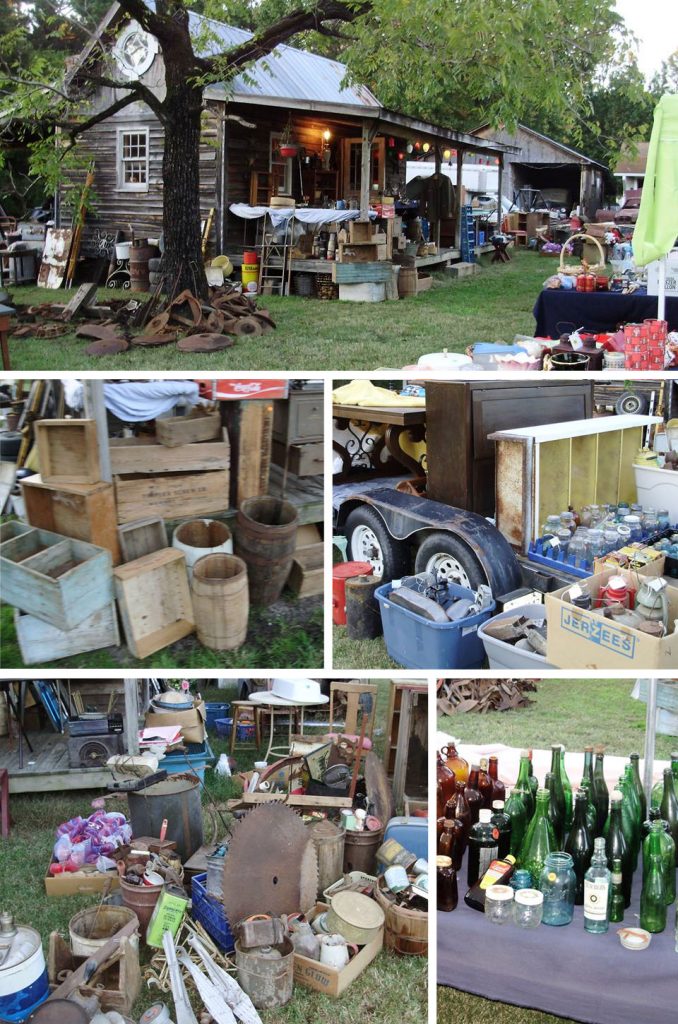
When I got back from my extended stay in Houston (after my sinus surgery), I was so anxious to decorate for fall. All those magazines I’d been perusing and all the beautiful Instagram photos had me craving some beautiful autumn decor. It took me a few days to get my energy back after I got home. In fact, I was still feeling a little worn out when I spotted this post on Facebook about a local multi-family yard sale that ran Monday – Saturday.

Rustic Yard Sale

I thought it was a joke or a dream. But, something told me (more like fifty of my fans on Facebook) that I should get off the couch and high tail it to this sale. My sweet friend Candace from Rusted Roots Blog was easily persuaded to meet me there, so I wouldn’t be the only fool who fell for a yard sale mid-week.

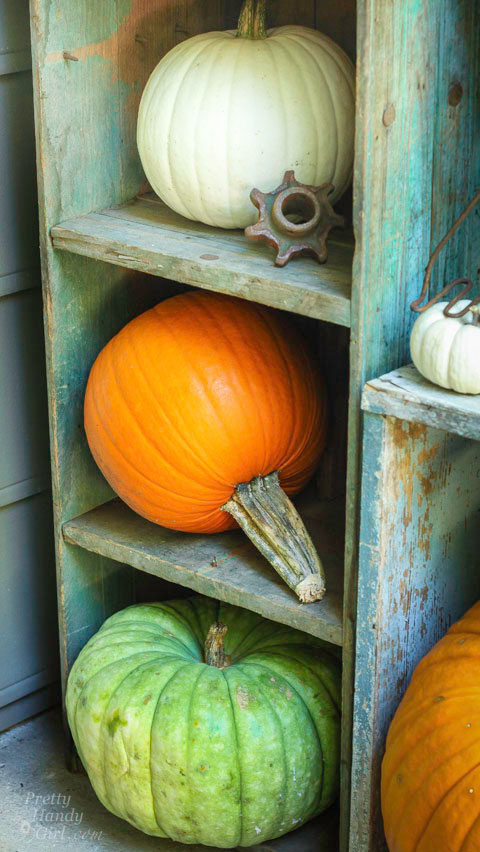
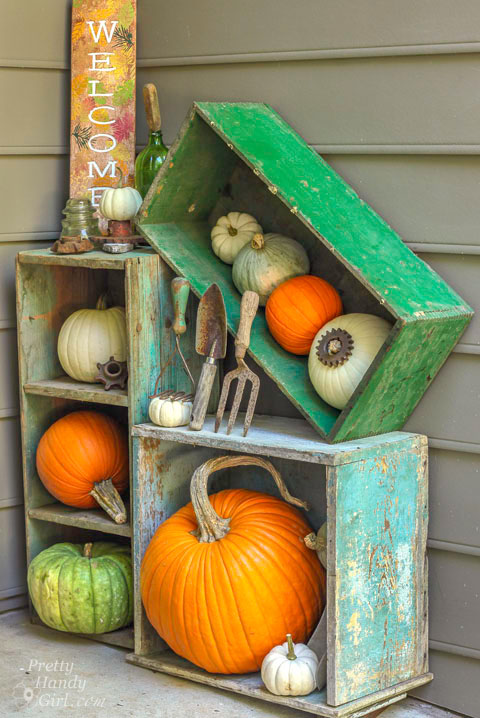
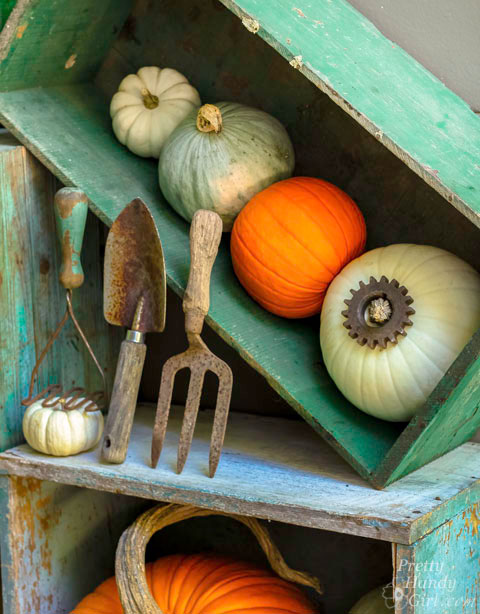
We both filled our cars with some great finds! I got home and quickly put together a little pumpkin and rustic relics display by our side door.

Fall Home Tour 2015 | Pretty Handy Girl

Fall Home Tour 2015 | Pretty Handy Girl

Fall Home Tour 2015 | Pretty Handy Girl Read more

Pretty Handy Girl Living Room Reveal | Pretty Handy Girl

Cory Rolling Storage Ottoman from La-Z-Boy | Pretty Handy Girl

I’m so excited to finally reveal our living room makeover to you. I partnered with La-Z-Boy to furnish our living room almost exclusively with La-Z-Boy furniture and accessories. The furniture from La-Z-Boy arrived a while ago, but the rug was backordered for several months. My La-Z-Boy in store designer asked me twice if I wanted to chose another rug, but I’m so glad I decided to wait. I love the rug and can honestly say that it was well worth the wait!

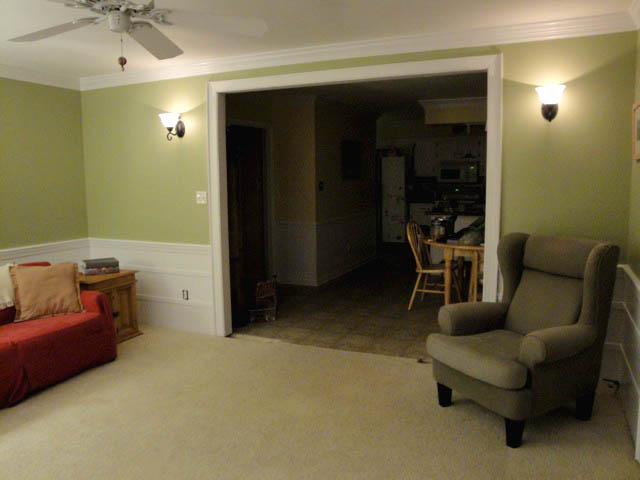
Before we get to the tour, I think it’s only fair to show you a few pictures of the progression of the living room over the years. About a year after we bought the house in 2007, I painted the walls a lighter sage green and added sconces. We also paid a contractor to double the width of the opening to the kitchen. That made a huge difference. You can see the missing flooring where the small opening used to be below:

doorwayopenedup

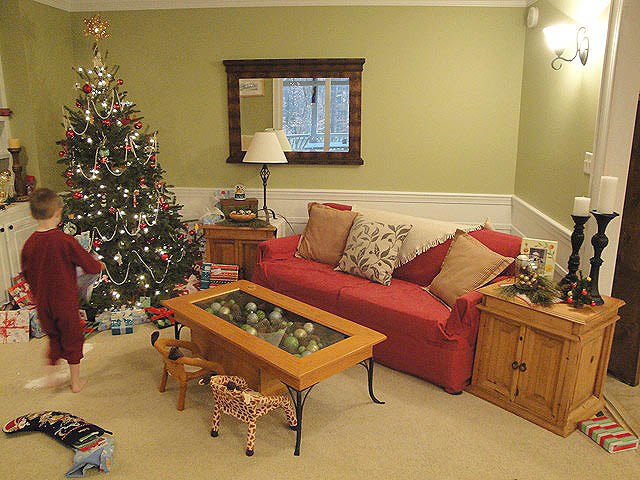
The sofa was a hand-me-down from my Godfather’s parents.

Xmasmorning

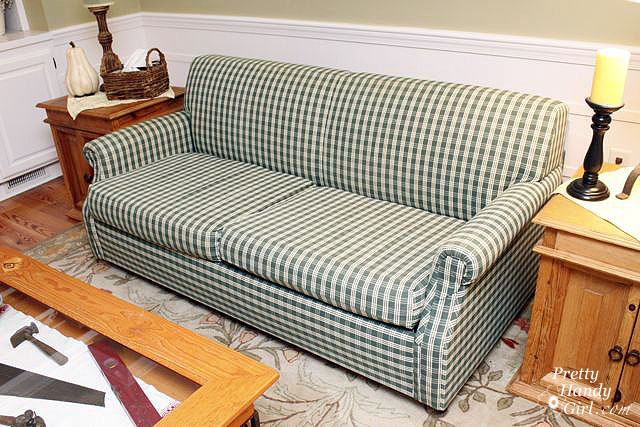
Underneath the red slipcover was this fabulously reupholstered sofa. Can you tell what year I re-covered it?

plaid_sofa

Ummm, hello 1990’s hunter green plaid. I don’t have a photo, but under this plaid monster is the original fabric from the 60’s. It was a floral woven tapestry fabric. I still can’t believe we sat on this sofa that was over 50 years old. It was hard as a rock.

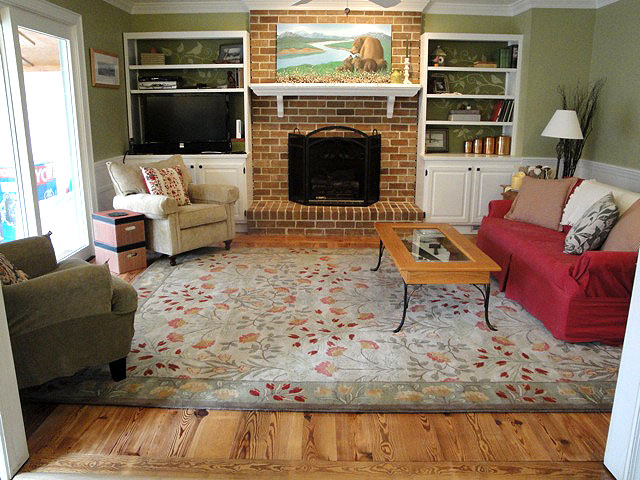
In 2009, I pulled up the wall-to-wall carpeting and installed antique heart pine wood flooring. I also painted the previously painted white fireplace to look like brick again.  You read that right, the brick is painted!

livingroomdone2

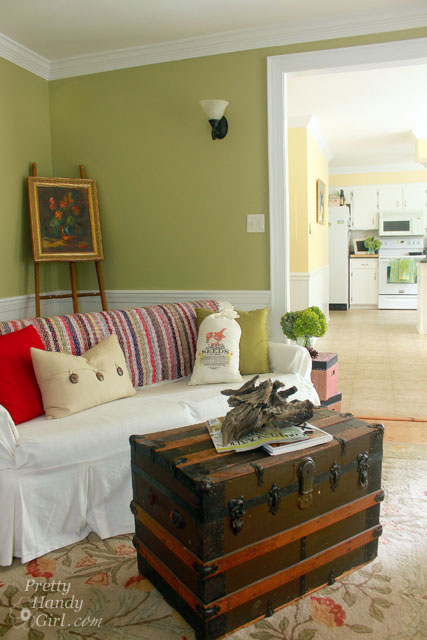
In 2011, I covered the sofa with a new slipcover, but it was still the same uncomfortable hard sofa. We also tried positioning the sofa at an angle in the room.

living_room_vertical

This past winter we moved the furniture around again and for the first time we felt that we had found an arrangement that worked for us.

Pretty Handy Girl's Holiday Home Tour 2014

If you recall, I took a little field trip to our local La-Z-Boy furniture gallery back in December. I met with Lexie, the designer, who was invaluable with her expertise and design advice. Then you all helped me by voting for your favorite fabric selection (big virtual kisses and hugs from me to you for that!)

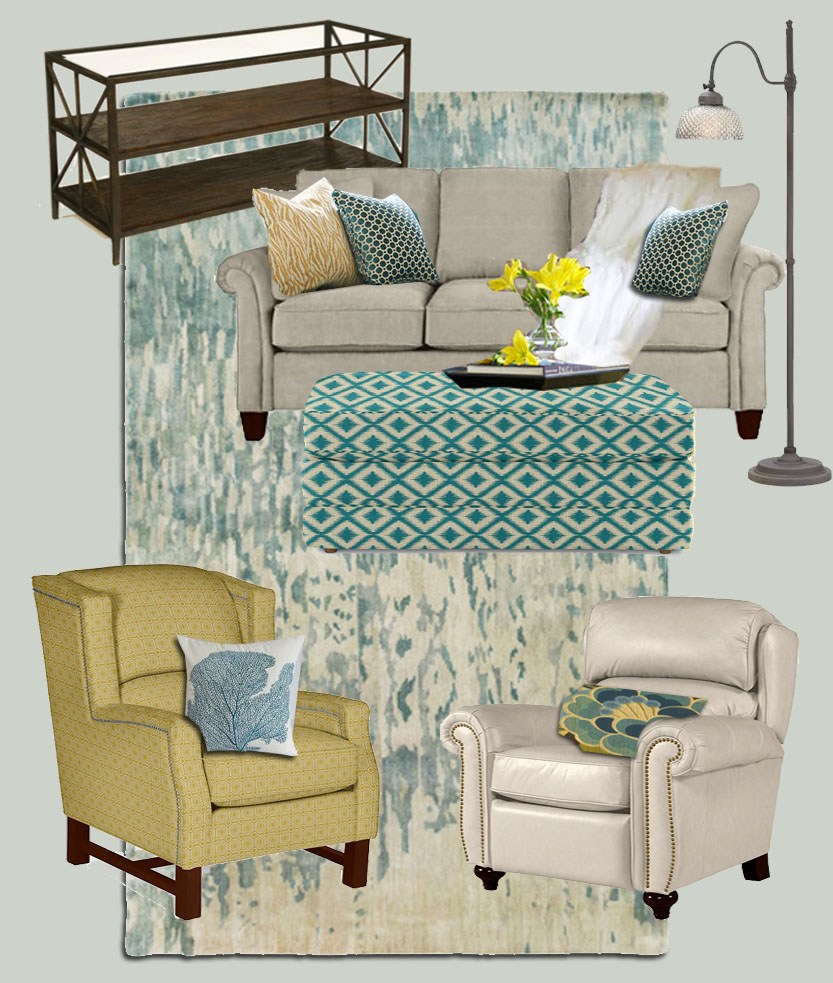
The voting was a tie, so I combined fabrics from the two winners and ultimately chose this combination:

La-Z-Boy Living Room Mood Board | Pretty Handy Girl

Ready to see how they look in the living room? Are you telling me to shut up already and get to the reveal? Your wish is my command, here is our living room reveal:

(I’ve included affiliate links for your convenience. I earn a small percentage from a purchase using these links. There is no additional cost to you. You can read more about affiliate links here.)

Read more

Build Your Own Giant Chalkboard | Pretty Handy Girl

Build Your Own Giant Chalkboard | Pretty Handy Girl

Have you scoured antique stores or Craig’s List looking for a big giant vintage chalkboard? Those vintage school green chalkboards are highly sought after. But, hard to find. I have good news for you! You can build a Giant Chalkboard any size you want! (Although, typically you’ll be restricted to 4′ x 8′ if you want to use a sheet of masonite.) And you can mix your own chalkboard paint in any color.

Take out your notebooks, your pencils, and get ready to take notes.

Materials:

  • Masonite sheet cut to desired size (mine is 22″ x 48″)
  • 1×4″ pine boards for frame
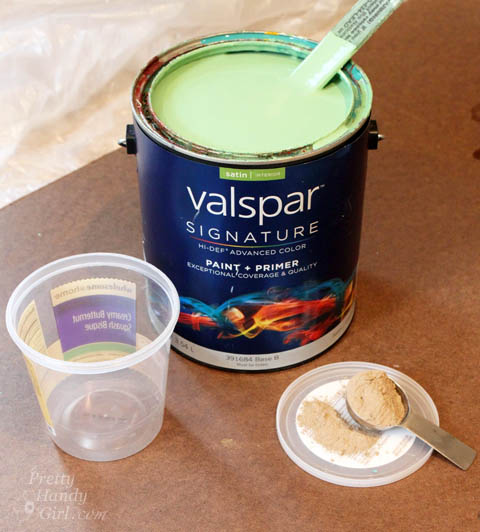
  • 1 cup flat latex paint in color you desire
  • 2 tbsp. of unsanded grout
  • Pencil
  • Stain
  • White paint
  • Paint brush
  • Sanding block
  • Container to mix paint in
  • Kreg Jig
  • Drill
  • 1 1/4 inch pocket screws
  • Staplegun
  • 1/2″ staples

Instructions:

Build Your Own Giant Chalkboard | Pretty Handy Girl

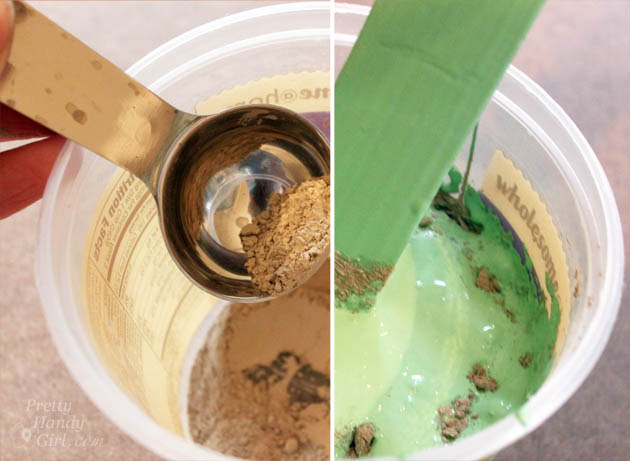
Pour 2 tbsp. of unsanded grout into your empty container. Add 1 cup of flat latex paint and stir well. (Yes, I used satin and it still worked.)

Build Your Own Giant Chalkboard | Pretty Handy Girl

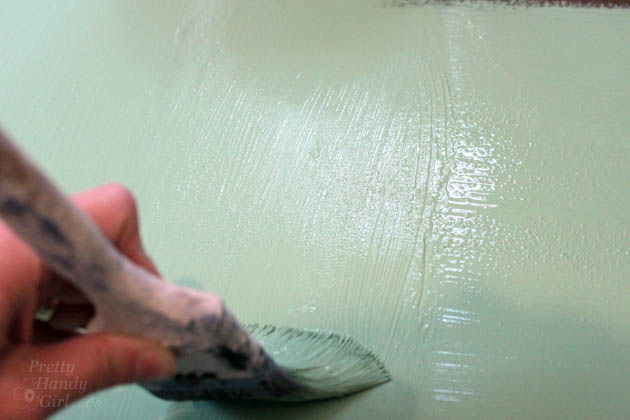
Paint the masonite with the chalkboard paint. Pull your brush in one direction. Then smooth out the paint by dragging the brush in a perpendicular direction.

Build Your Own Giant Chalkboard | Pretty Handy Girl

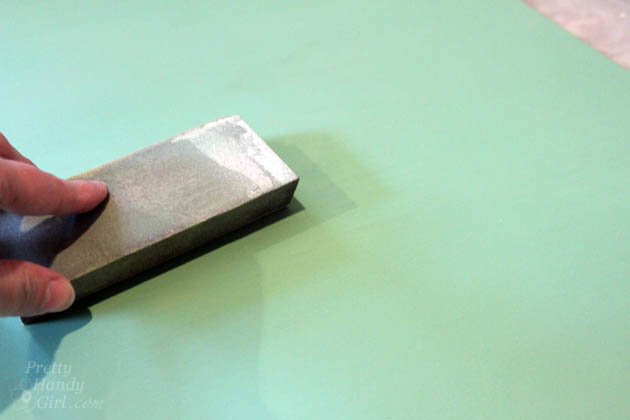
Let the paint dry. Lightly sand and add a second coat of chalkboard paint.

Build Your Own Giant Chalkboard | Pretty Handy Girl

Let that coat dry and sand smooth.

Assembling the chalkboard frame: Read more