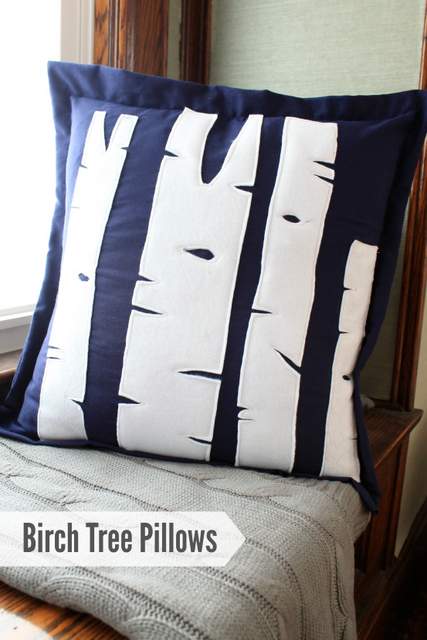
Birch Tree Pillows
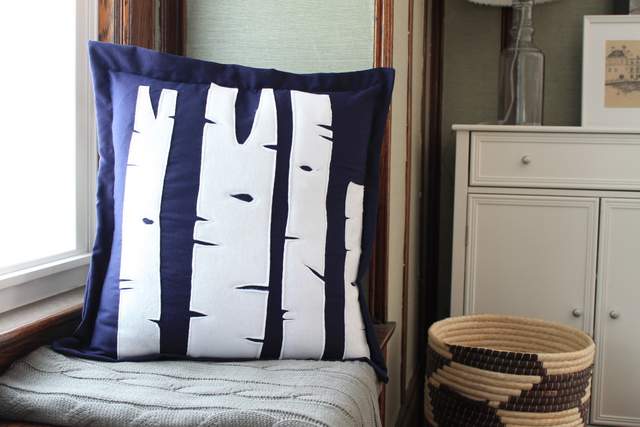
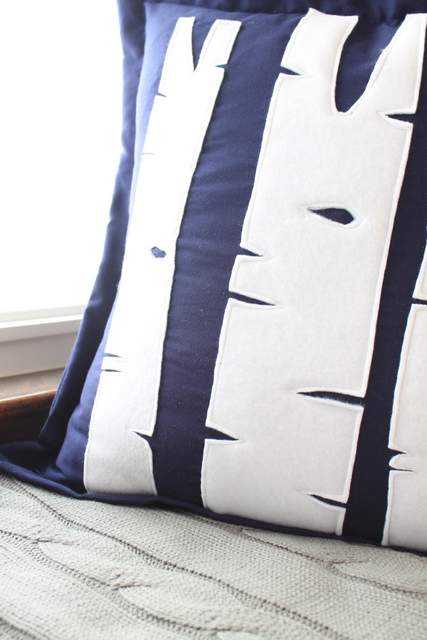
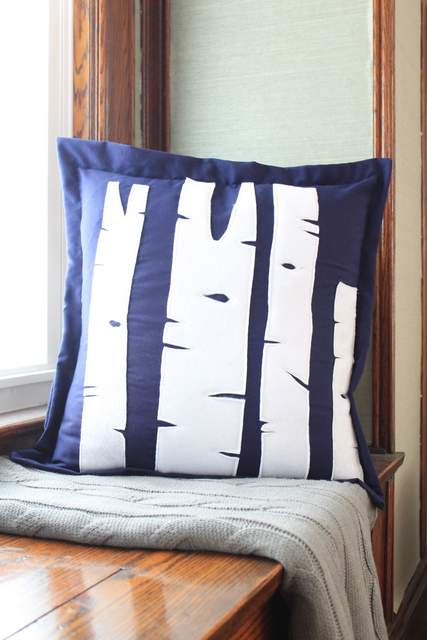
One thing that gets me ready for the fall season is to bring natural elements into my home. Although, they don’t actually have to be real, you can create them with some fabric and a little sewing. I’ve wanted to change up the pillows in our living room for a while, and these birch tree pillows are the perfect touch for fall. They are super easy to make, without any special tools!
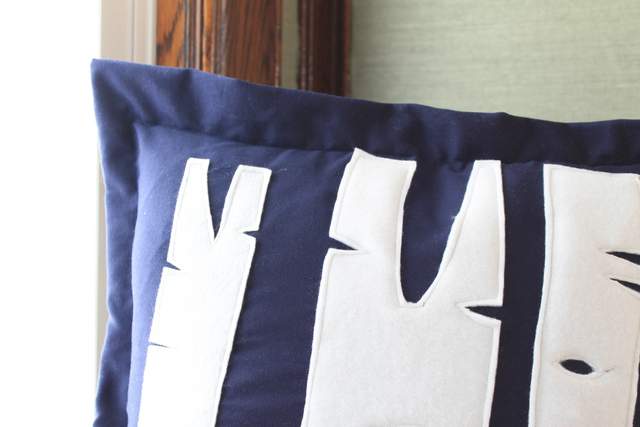
I made these with fabric I had on hand and 20″ pillow forms, however you can adjust the size based on pillow forms you have. I also made them with a 1″ “trim” around the edges as an envelope cover (meaning the pillow form slips inside the cover without the use of a zipper.)
Materials
- Fabric in your choice of color for the pillow base
- White felt for the trees
- Measuring tape
- Scissors
- Pencil
- Fabric glue, optional
- Sewing machine
- 20″ pillow form
Instructions
1. Prepare the fabric to sew it into a pillow cover by cutting a piece that is 21 1/2″ x 45″ long. This shape will make up the front of the pillow and overlap in the back to form the envelope. Iron the cut piece to remove any wrinkles.
2. Sew a hem on both of the shortest 21 1/2″ ends so you have a nice finished seam on each. You will see one of these from the back of the pillow. Set this piece aside for the moment.
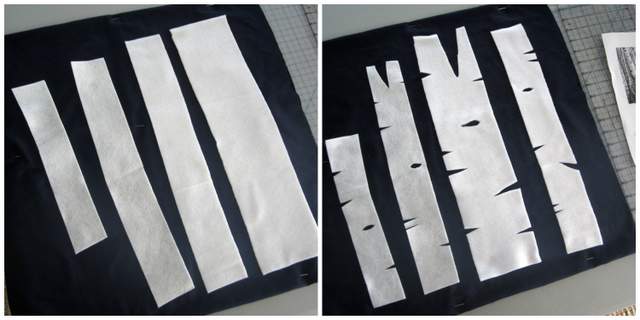
3. Cut out your birch trees. Use a pattern or picture to cut out birch trees from the white felt. Google “birch trees” to find reference pictures online. For this pillow I cut 4 trees (feel free to cut more if your pillow will allow it.) It’s easiest to cut them into rectangles first, and then cut out the notches and holes just like a real tree. Place them in the center of the long piece of fabric.
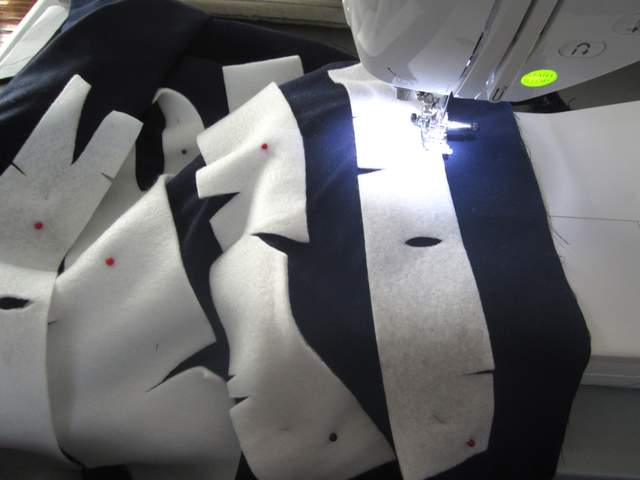
4. To attach the trees to the fabric. You can use fabric glue (which takes overnight to dry.) Or you can sew them on. To sew them, pin the trees in place and stitch around the shapes.
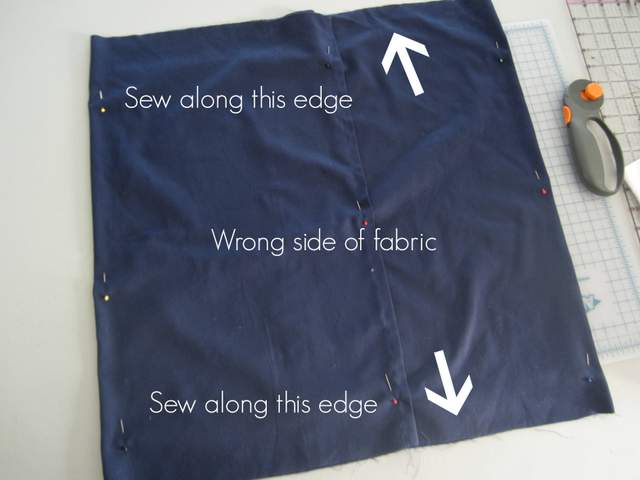
5. Next you will sew the entire pillow cover together. Fold the long piece with the right sides in (the side with the trees). The back pieces of fabric will overlap over the front. Pin the open pillow sides together and sew along the raw fabric edges.
6. After it is sewn, turn the cover inside out. Sew around the pillow one inch inside of each edge, to create a trim of the fabric once it is right side out. The last step is to insert your pillow and you are finished.
You can create other looks for your pillows with different fabrics and shapes for the trees. Personally, I think they will look great on the couch all winter long!
Come see my office fireplace makeover and my DIY Fall Wall Art that you can change for the seasons over at Decor Adventures. Happy October!




I love how this turned out! Really pretty!
This is so lovely! I have fabric and white felt so I know what I might be doing this weekend. 🙂
I love this. Birch trees look so cool to me. I love them as candle holders too.