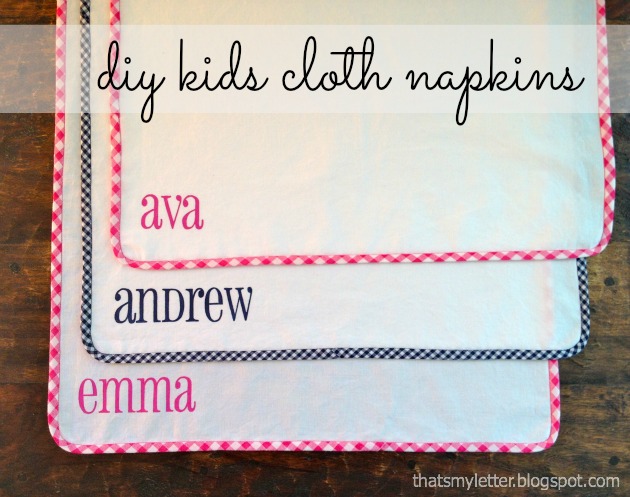
DIY Kids Cloth Napkins Tutorial
Hello Pretty Handy Girl readers, contributor Jaime back again to share an earth-friendly, fun and very useful tutorial as we begin to think about back to school! Today we are talking about creating DIY Kids Cloth Napkins.
Let’s make personalized cloth napkins for kids, I promise they will be the talk of the lunch table at school this year!
I was sending my kids to school nearly every day with a large paper towel to place on the lunch table, gosh knows I don’t want my kids eating directly off the school lunch table! Then it occurred to me that using all those paper towels was extremely wasteful.
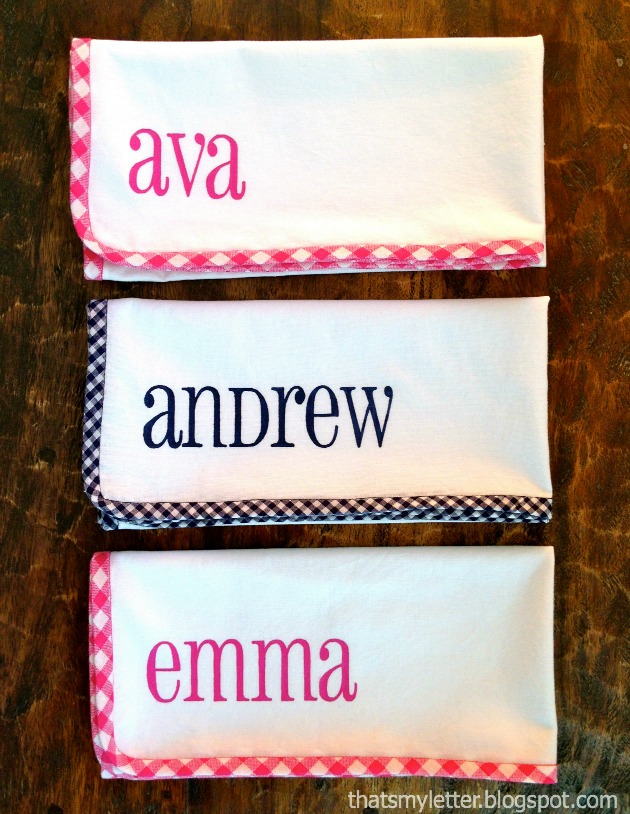
The solution: make them personalized cloth napkins which can be washed and reused AND makes for most stylish lunch spot at the table!
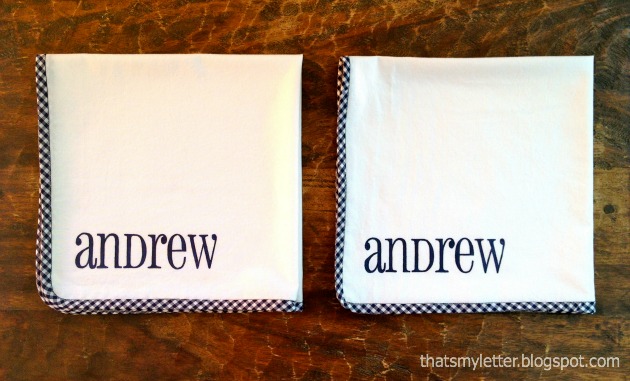
I actually made two cloth napkins for each child so when one is in the wash we have a spare.
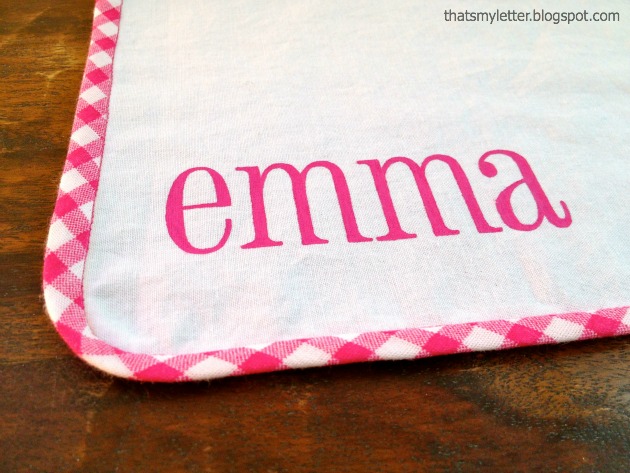
The names are handpainted using acrylic craft paint and I promise you can do this too:
Wouldn’t these make great gifts or party favors? Combine them with a fun toy (or game) and moms will be thanking you for cutting back on their paper towel consumption.
Supplies required:
- 100% white cotton fabric, pre-washed (1 yard will yield 4 -18″sq. napkins or 9 -12″ sq. napkins)
- cotton gingham fabric (or trim fabric of your choice)
- matching thread
- sewing machine
- rotary cutter, self-healing mat and ruler
- straight pins
- computer and printer
- light box
- tiny paintbrush
- acrylic paint
** I choose to make the cloth napkins, you could easily purchase a package of ready-made cotton dinner napkins and add the trim or skip the trim altogether and go right to step 9 to paint the name.**
Instructions:
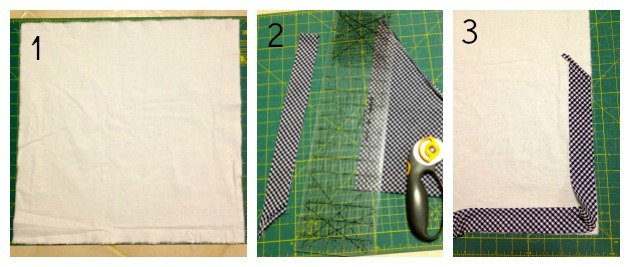
Step 1: Cut white cotton fabric to size, my napkins are 18″ x 18″ and very generous (you could go smaller if you wish.)
Step 2: Make the binding. Cut 1 1/2″ wide bias strips from gingham fabric. To cut on the bias, line up ruler at a 45 degree angle from the selvedges, for an 18″ sq. napkin you need 80″ of bias strip, sew cut strips together until you have 80″ of bias strip.
Step 3: Line up binding at edge of napkin and sew with 1/4″ seam allowance, curve at the corners.
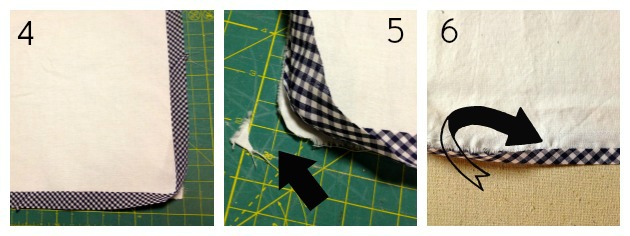
Step 4: Press binding open and down.
Step 5: Trim corner of white cotton for a smooth curve.
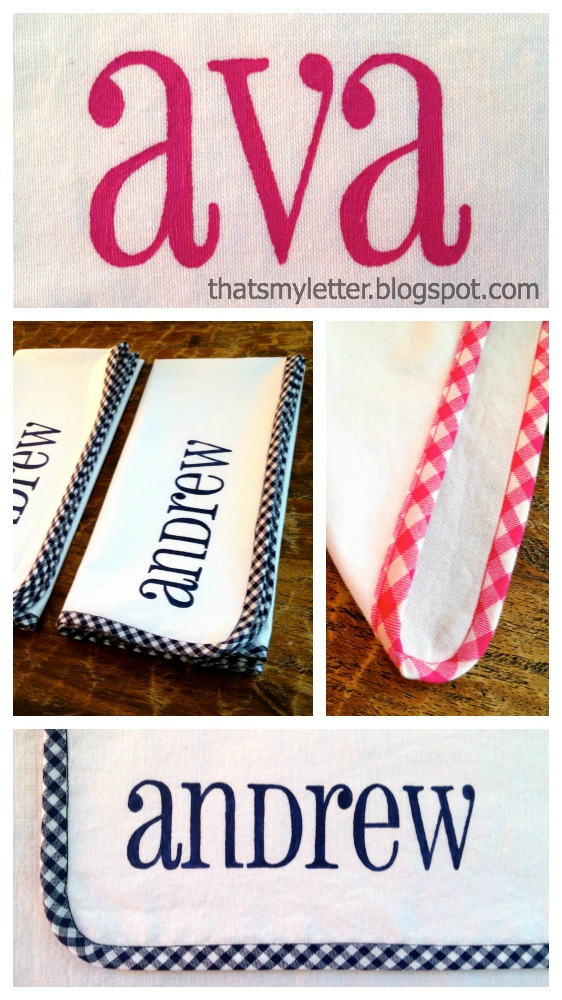
Step 6: Flip napkin over to back side, fold and press a generous 1/4″ of raw edge of binding.
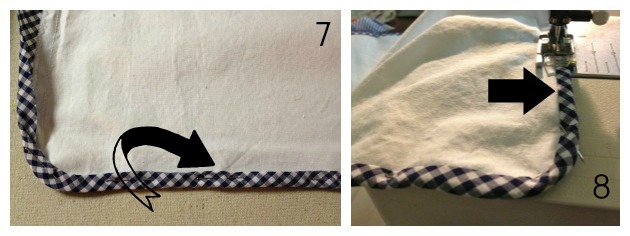
Step 7: Fold binding again and press to hide raw edge. The edge of this fold needs to rest just beyond the seam.
Step 8: Sewing on the front side, straight stitch in the ditch (Confused? Watch this video tutorial to show how to stitch in the ditch.) This stitching holds the binding in place and provides a nice finished look.

Step 9: Print out name. I used Pharmacy font at 125 point. Any font with some bulk and thickness will work, avoid thin lines.
Step 10. Place napkin corner on top of print out and line up. Pin napkin to paper to hold in place.
Step 11: Place napkin with pinned printout on top of light box (you can also hold the napkin up to a window and sketch the letters with a pencil or disappearing ink pen first.) Paint inside the letters following the printout as a guide.
I have washed these cloth napkins almost 100 times and the paint has not faded one bit. My kids are already asking for different themed cloth napkins: birthday, holidays, seasons, the variations are endless.


These are lovely. Just wondering how long they needed to dry once painted?
Wonderful idea – Be good for adults to eat lunch at their desks – they can get pretty nasty germ wise
Diana that is a great idea. I just might make a couple for my hubby who loves to bring a healthy lunch to work rather than buy. Maybe a ‘grown up’ version would be suitable. Thanks for sharing.
Did you use one layer of cotton or two? It is hard to tell and the instructions don’t specify.
Adrienne, one layer of white cotton. The binding will end up being multiple layers if you include the seam allowance and folding of raw edges. Hope that helps!
Wow! I like this tutorial. My daughter would definitely love this. Thanks for sharing! 🙂
Ok, I’ve been sewing my entire life practically and have never heard this term “stitch in the ditch” or have I seen a better way to cleanly sew on a binding…thanks! Shows that you can always learn something new!
Those turned out so cute! The light behind the fabric is a genius idea.