DIY Oilcloth Drink Coasters
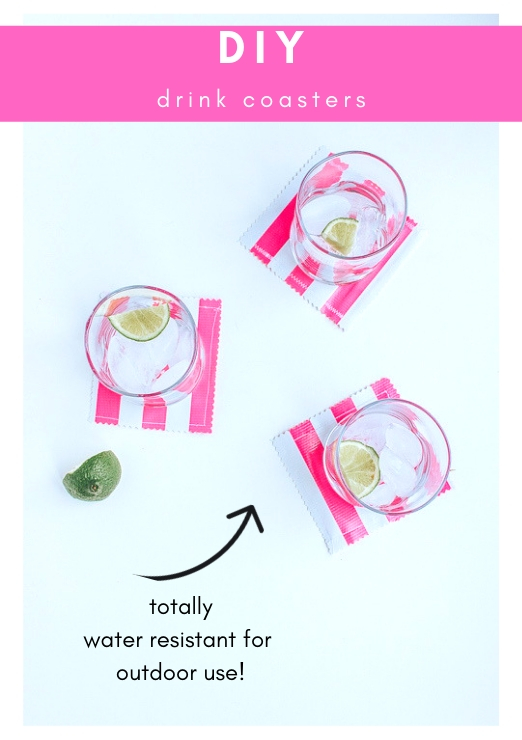
DIY Oilcloth Drink Coasters
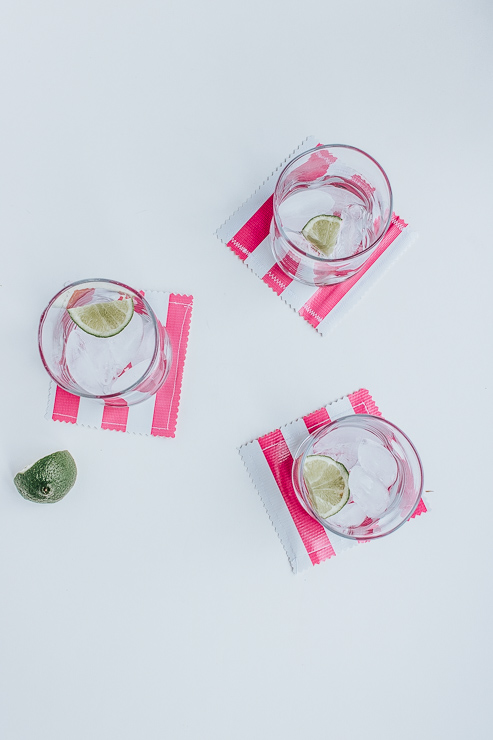
Hi there! I’m so thrilled to be back today with this super quick and easy project. The weather in Seattle has been totally amazing lately and it’s got me thinking about summer. And, summer entertaining is on the brain! This project will look great on your patios and outdoor spaces. Bonus, it’s totally water resistant too. Let’s take a mini-break and learn how to make these adorable DIY oilcloth drink coasters for gifting or entertaining.
What in the world is Oilcloth?
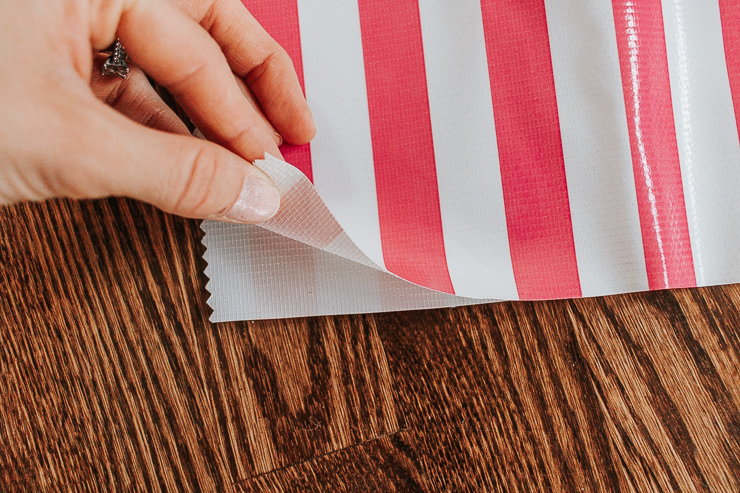
Oilcloth is a type of fabric. It has vinyl on one side and kind of a soft mesh of cotton on the other side. Vinyl has a slippery and plastic-like feel to it. The best part about vinyl is you can wipe it clean and it’s water resistant! This makes oilcloth a perfect fabric choice for outdoor items like tablecloths, COASTERS, beach bags etc.
The other great thing about oilcloth is that it just happens to be made in a multitude of funky patterns and bright colors. This fabric was made for Summer! When you get a minute – run a google search for ‘oilcloth fabric’ and you’ll see what I mean. Such pretty patterns!
So this is the perfect little accessory for all those Summer fiestas and BBQ’ s you have in the works. Or even for gifting away as little favors. Tie a cute burlap string around them and presto! You have a lovely handmade housewarming gift.
Perhaps you own a pool or live near the beach? Or know someone who does? These coasters make a fantastic DIY gift idea for them.
Here’s the best part: these stylish oilcloth coasters took me 10 minutes to make – start to finish.
Materials:
(I’ve included affiliate links for your convenience. I earn a small percentage from a purchase using these links. There is no additional cost to you. You can read more about affiliate links here.)
- Oilcloth Fabric – I chose these hot pink stripes from Fabric.com
- Sewing Machine
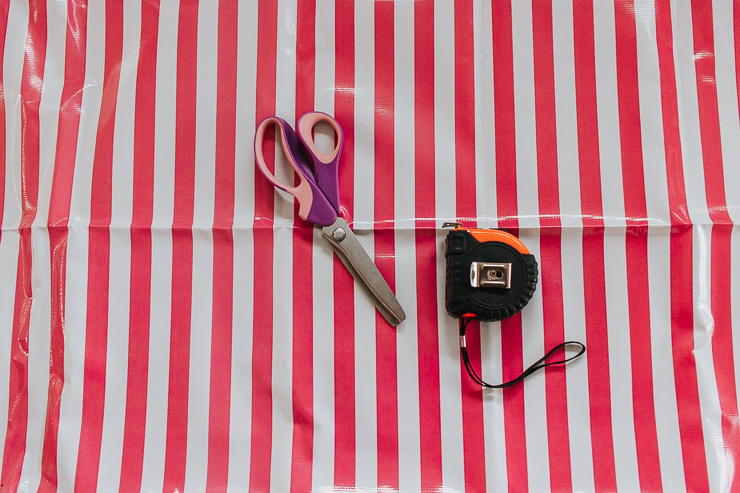
- Pinking Shears – these are simply scissors with a serrated edge. They are used to cut a zig zag pattern in fabric to prevent fraying.
- Tape Measure (for measuring your coasters to a perfect square)
Instructions:
Start by folding your oilcloth in half. We need two exact squares to make one coaster (both front and back will be the vinyl, water-resistant side).
Step 1: Measure out a perfect square on your oilcloth fabric.
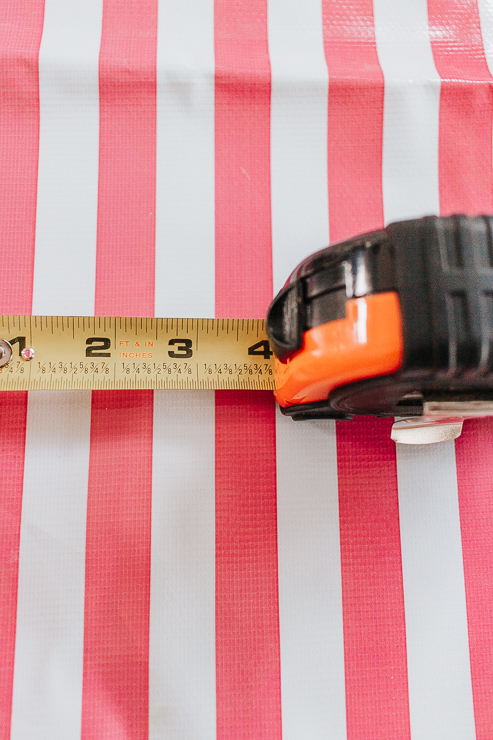
I measured approximately a 4 inch square coaster. (It’s totally up to you on sizing. Most drink coasters are between 3-5 inches square. For fun you can also cut circles instead of squares. Use a bowl or circle template to make a perfect circle.)
Step 2 : Use your pinking shears to cut out your measured square.
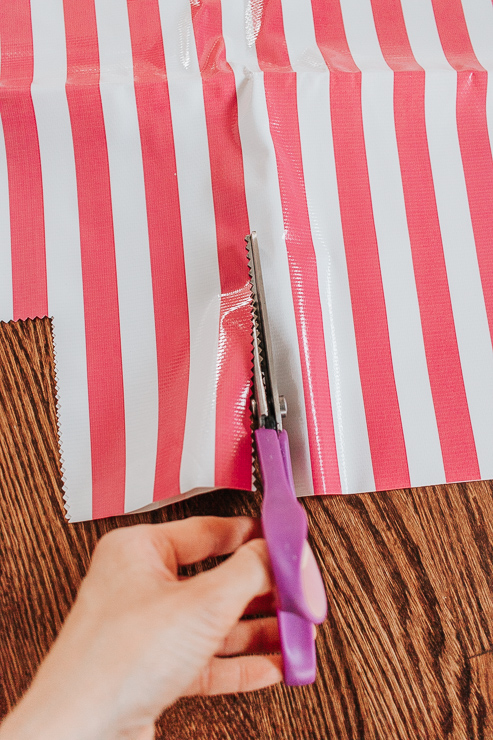
Since your fabric is folded in half – you can pretty much cut two squares at once. You can also use regular scissors here and even them with pinking shears after sewing.
Step 3: Line up your two squares and sew them together vinyl sides out.
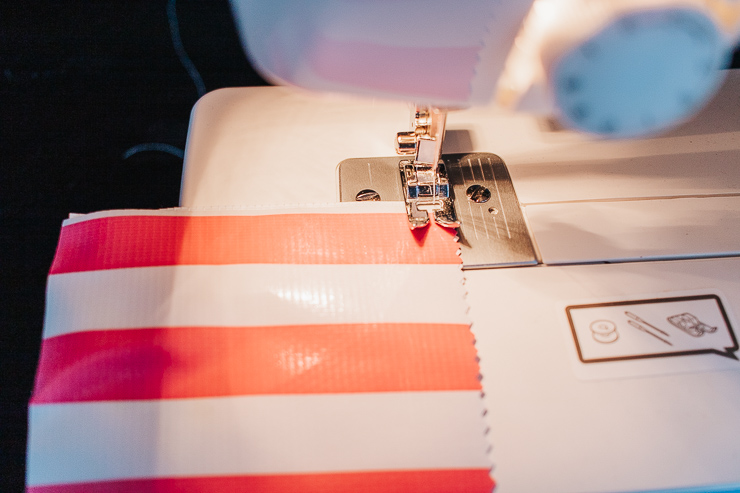
Use use small binder clips (another little sewing trick I use a TON) to hold your two pieces of fabric together while sewing. I wouldn’t suggest using pins because the holes will be visible even after removing them.
A straight stitch is fine, but feel free to try something fun like a zig zag stitch.
Tips for sewing and working with oilcloth fabric :
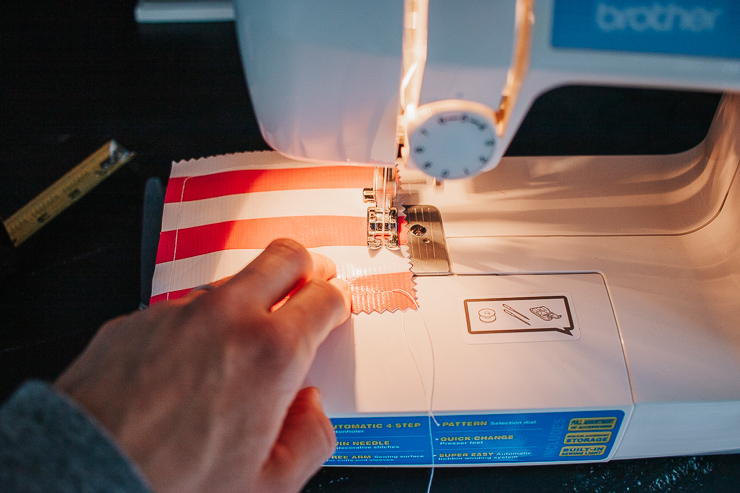
- Because oilcloth is vinyl and kind of plastic feeling, it will stick under your presser foot. To combat this, use two hands to feed the coaster through.
- An alternative is to purchase a Teflon presser foot – they are fairly inexpensive and won’t stick to the vinyl fabric as easily.
- DO NOT IRON OILCLOTH. It will melt and the mess won’t be pretty. If your oil cloth is wrinkled, lay it out and throw some heavy books on top for a few days. This usually presses the wrinkles out. Oilcloth also “releases” more wrinkles when warmed up a bit. Therefore you can try laying it by a sunny window. Don’t microwave your oilcoth. 🙂
Step 4: Use your pinking shears to clean up the edges of your coasters
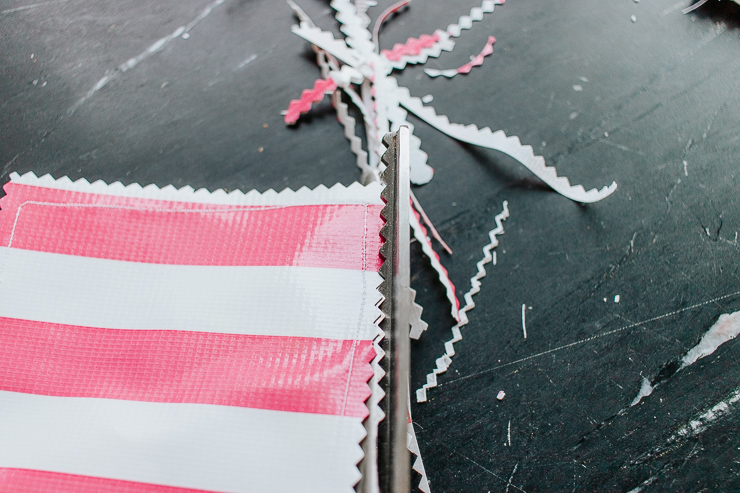
Simply snip along the edge without cutting through the seam to straighten and clean up the ends.
Guess what? All done! See how fast it was making these DIY oilcloth drink coasters?
These coasters look so cute and are perfect for Summer! Pin this image to share with a friend:

I don’t know about you, but I may need to mix up a batch of margaritas tonight. I hope you guys enjoyed this tutorial!
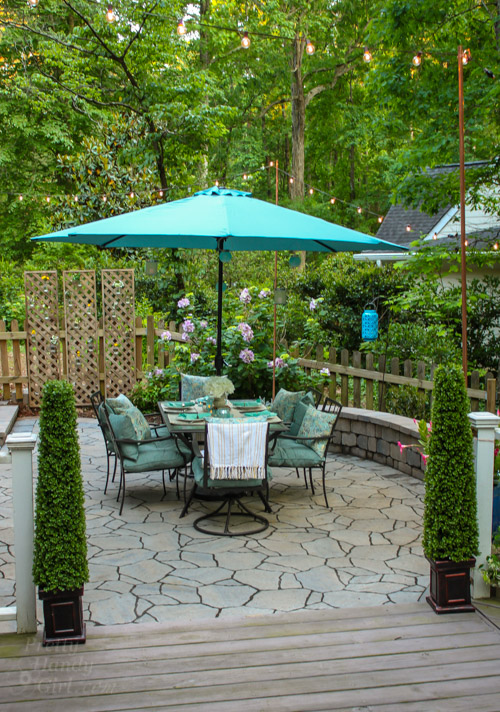
If you enjoyed this tutorial, you might want to check out my tutorial on DIY frayed napkins. They also make a nice gift and pretty setting for your tables. And for even more inspiration – be sure to check out Brittany’s amazing backyard and patio reveal, what a beautiful space!
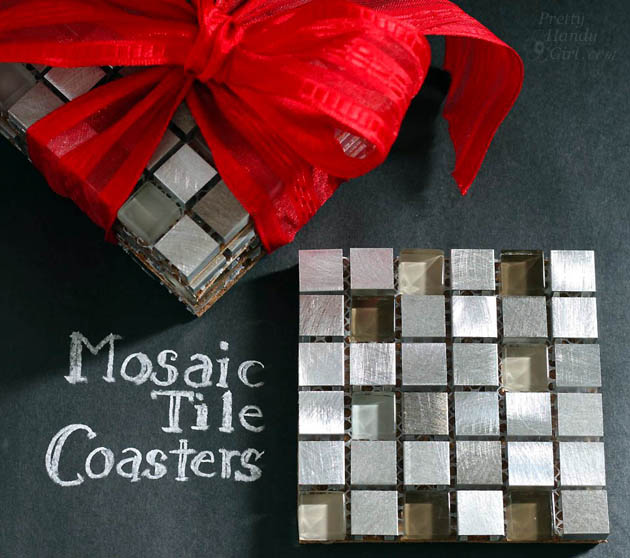
You may also like this tutorial for making mosaic tile coasters…
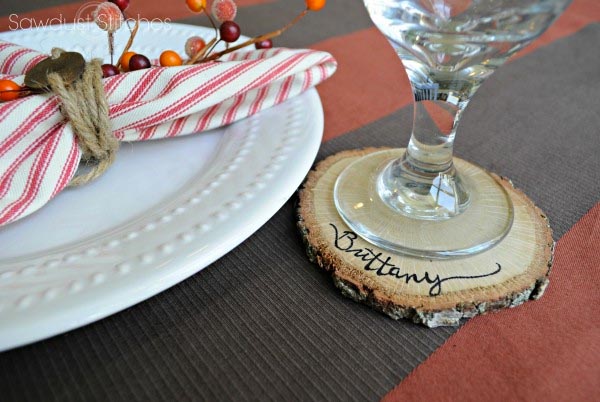
…or DIY personalized wood slice coasters.
I’ll be back here next month and I’m looking forward to connecting with you all again soon.

~ See More of Karen’s Tutorials ~

 Hello! I’m Karen, the creator of the Home Decor and DIY Blog: Decor Hint . I’m a Native of the East Coast, but I currently live in beautiful Seattle with my hubby, our two wonderful children and our spunky wheaten terrier.
You can usually find me with some sort of craft in one hand and a coffee in the other. And I’m always rearranging furniture or moving lamps from room to room. I have a passion (read: obsession) for decorating, DIY, and gardening. In short, I love making my house into a home.
Like many, I’m inspired by what I see in home decor magazines, but I’m not so inspired by the price tags. Consequently, I love finding and creating beautiful budget-friendly home decor items. In a head to head competition, I bet you’d never know the difference between the designer items and my DIY creations! Many of my DIY projects focus on sewing, crafting, upcycling and organizing. Some of my favorite projects have been making pretty wreaths , sewing my own tassel hand towels, and crafting these trendy wood bead garlands . I can’t wait to inspire you and spark your creativity through my DIY projects.
You can always connect with me on Pinterest , Twitter or Instagram.
They’re so lovely and look to be fairly simple to create yourself. Great way to personalise your favourite drink! Cheers 🙂
I love how cute and simple these are!
Paige