17 DIY Garden Flags | Pretty Handy Girl

Did you know a placemat is the same size as a garden flag? Yes! It is. Check out these ideas for garden flags for every season. If you don’t have fabric, use one of your old placemats to make some of these DIY Garden Flags for Every Season.

17 DIY Garden Flags | Pretty Handy Girl

DIY Garden Flags for Every Season

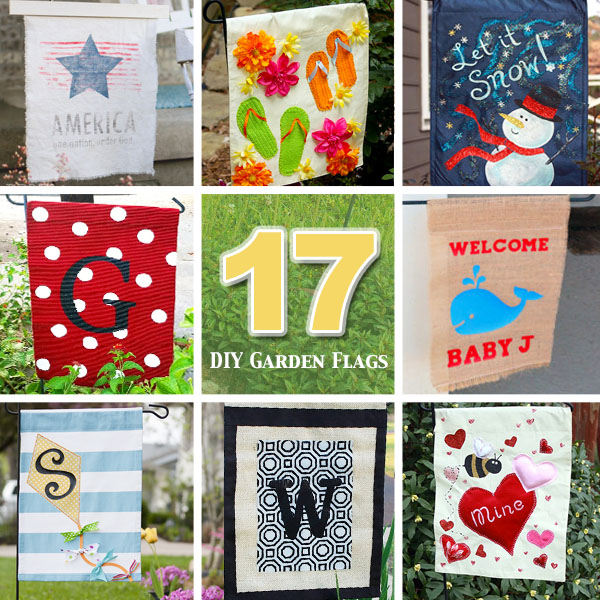
One of the easiest and cutest ways to decorate your home’s entrance is with garden flags. If you use a placemat, there’s little—if any—sewing! Find the perfect DIY Garden Flag for your home and for any season below. Click on the link to take you to the full tutorial.

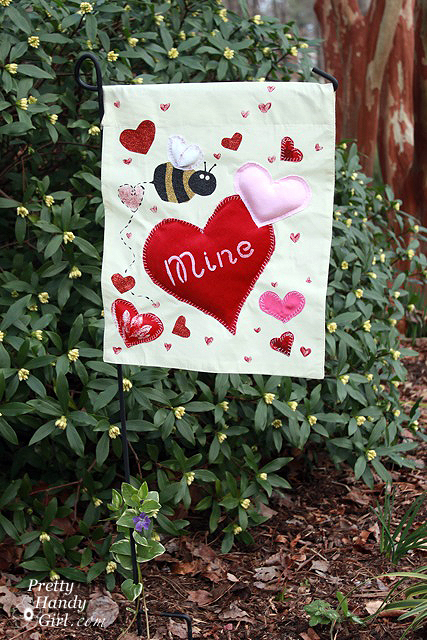
valentine-garden-flatValentine Garden Flag


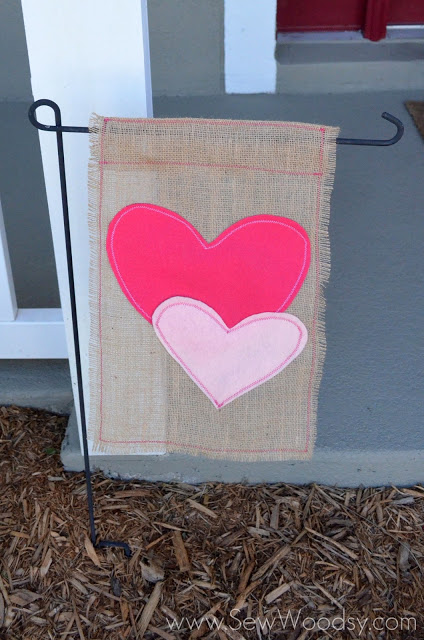
Valentine Burlap FlagValentine Burlap Flag by Sew Woodsy


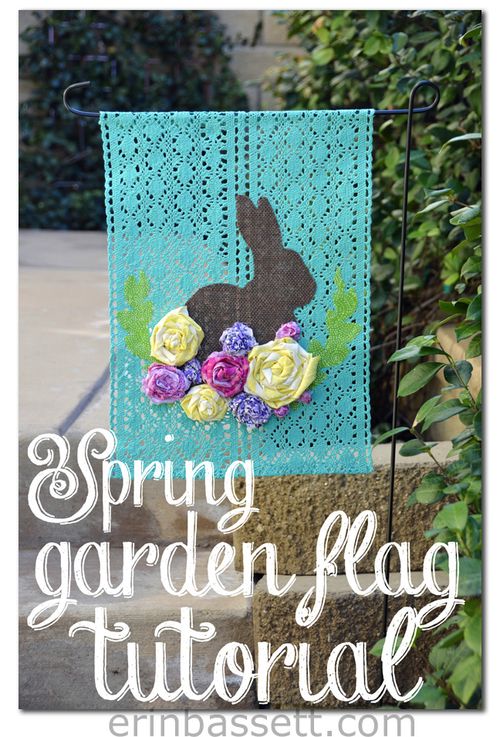
Spring Garden FlagSpring Garden Flag by Erin Bassett


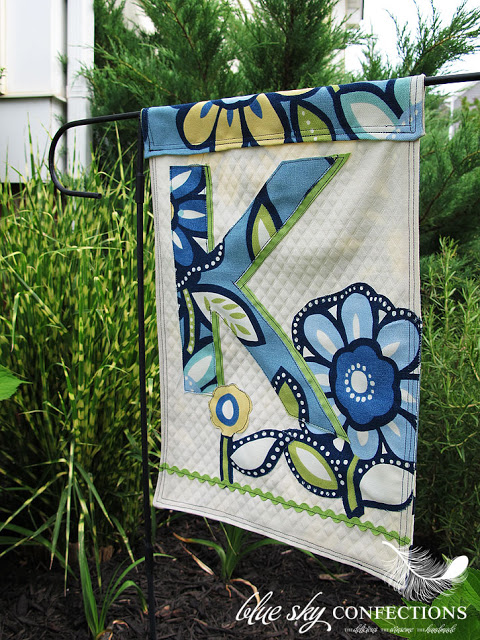
Garden-FlagMonogram Garden Flag by Blue Sky Confections


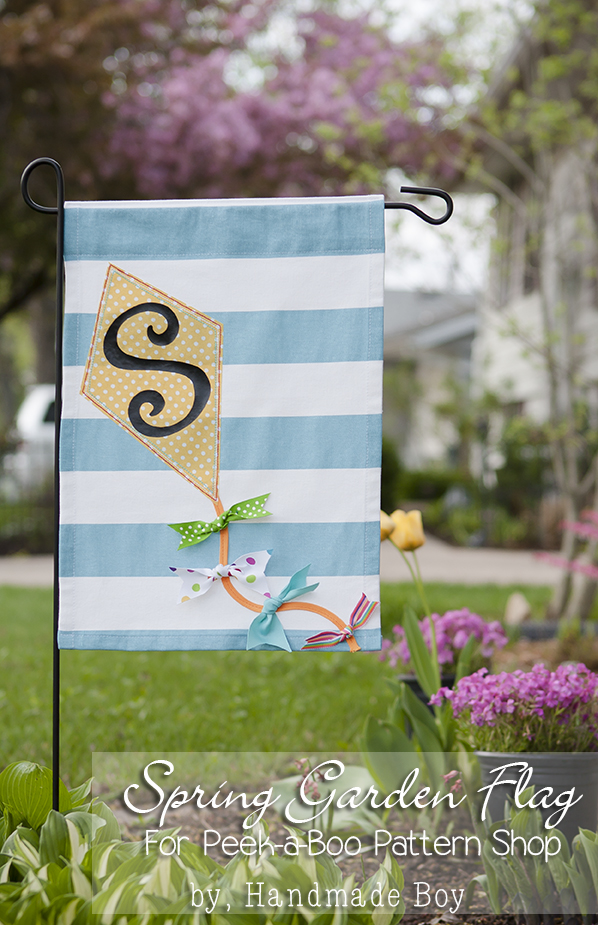
Monogram Garden FlagSpring Garden Flag by Peek-a-Boo Pages


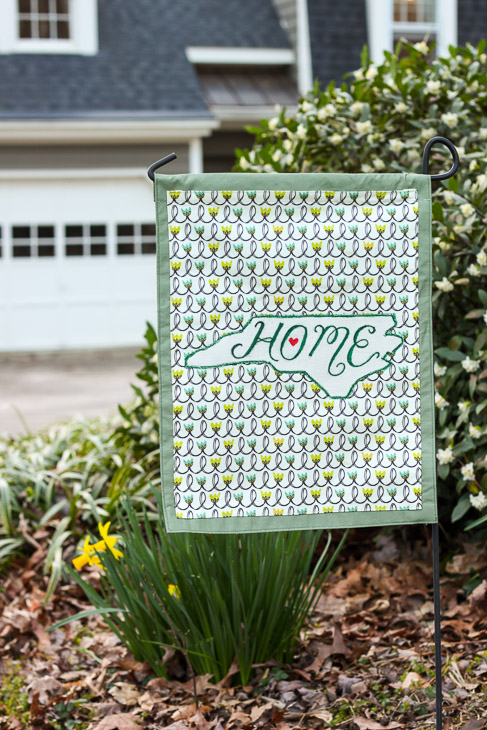
Home State Pride Spring Garden Flag | Pretty Handy Girl

Home State Pride Spring Flag from a Placemat


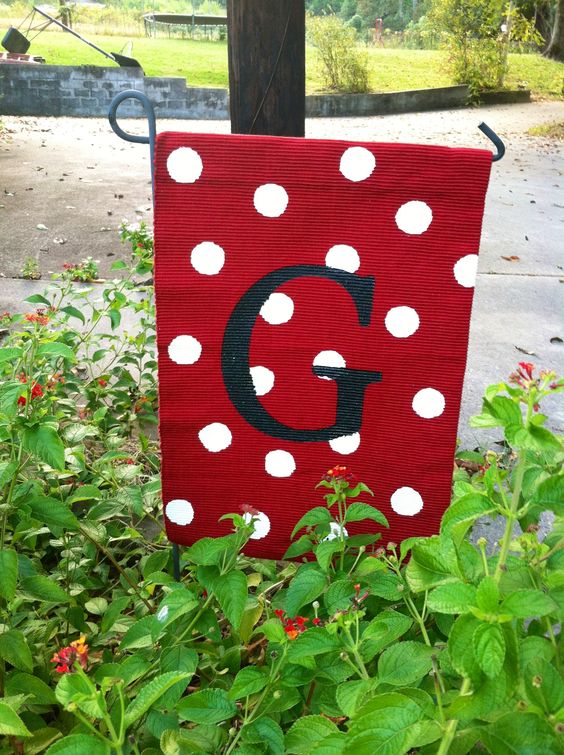
Monogram-Garden-FlagMonogram Garden Flag on Pinterest


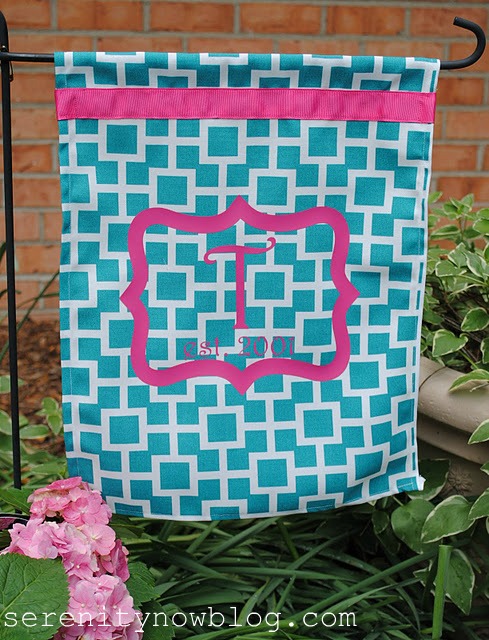
DIY Monogram Garden Flag Sewing Tutorial Silhouette Heat Transfer Project Serenity Now blogMonogram Garden Flag by Serenity Now


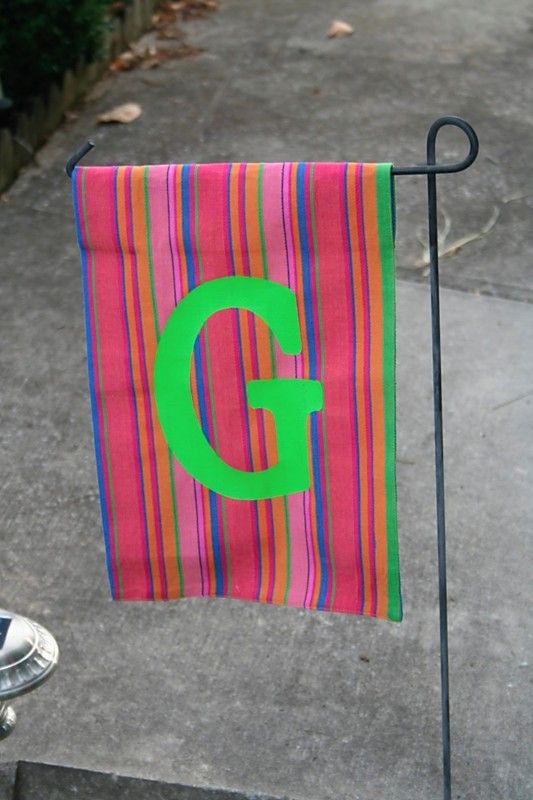
Garden-FlagMonogram Garden Flag from Placemat


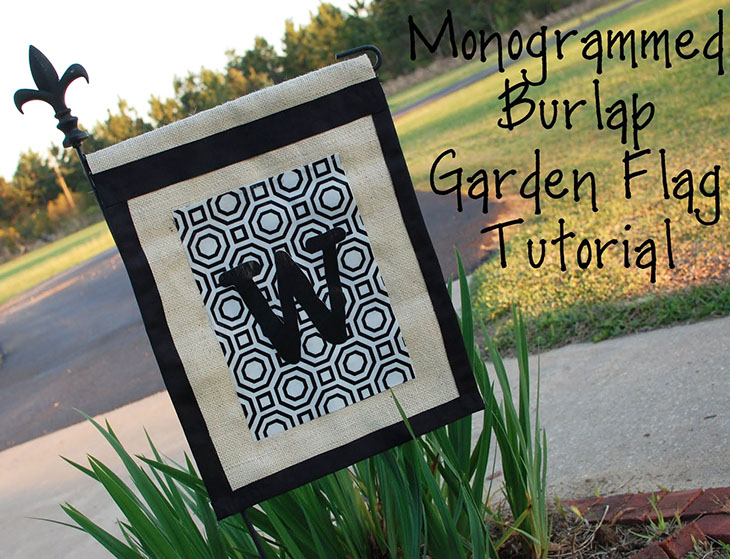
 Black & White Monogram Burlap FlagMonogram Burlap Garden Flag at Tatertots & Jello


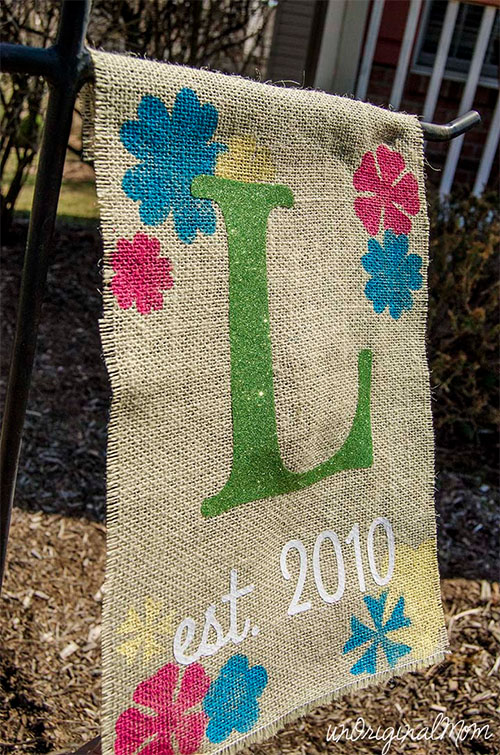
Burlap Monogram Flag Monogram Garden Flag by Unoriginal Mom


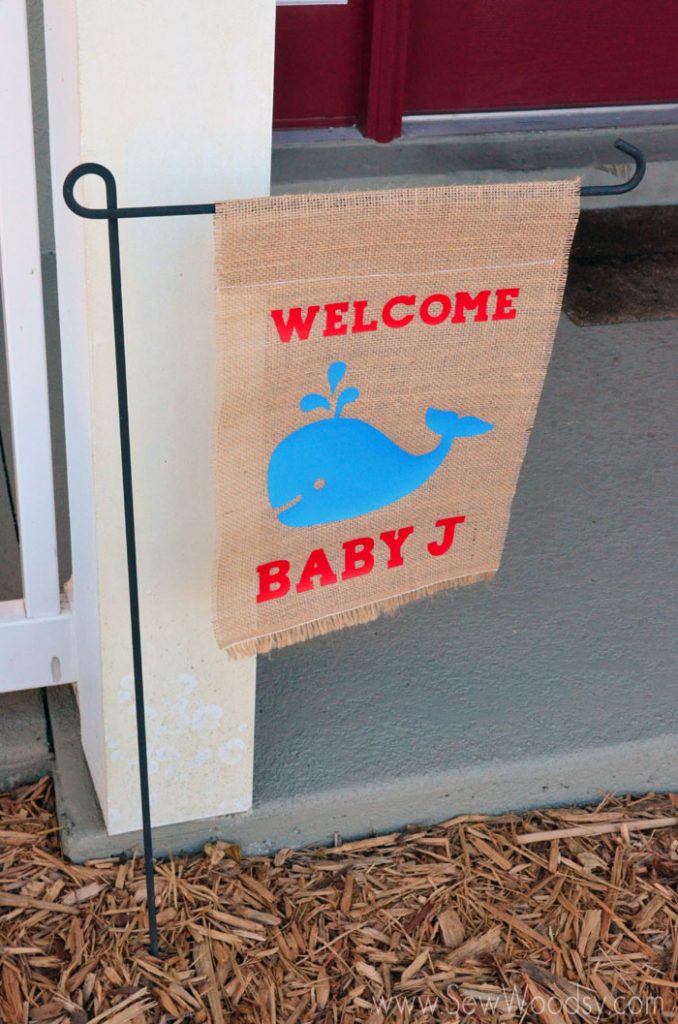
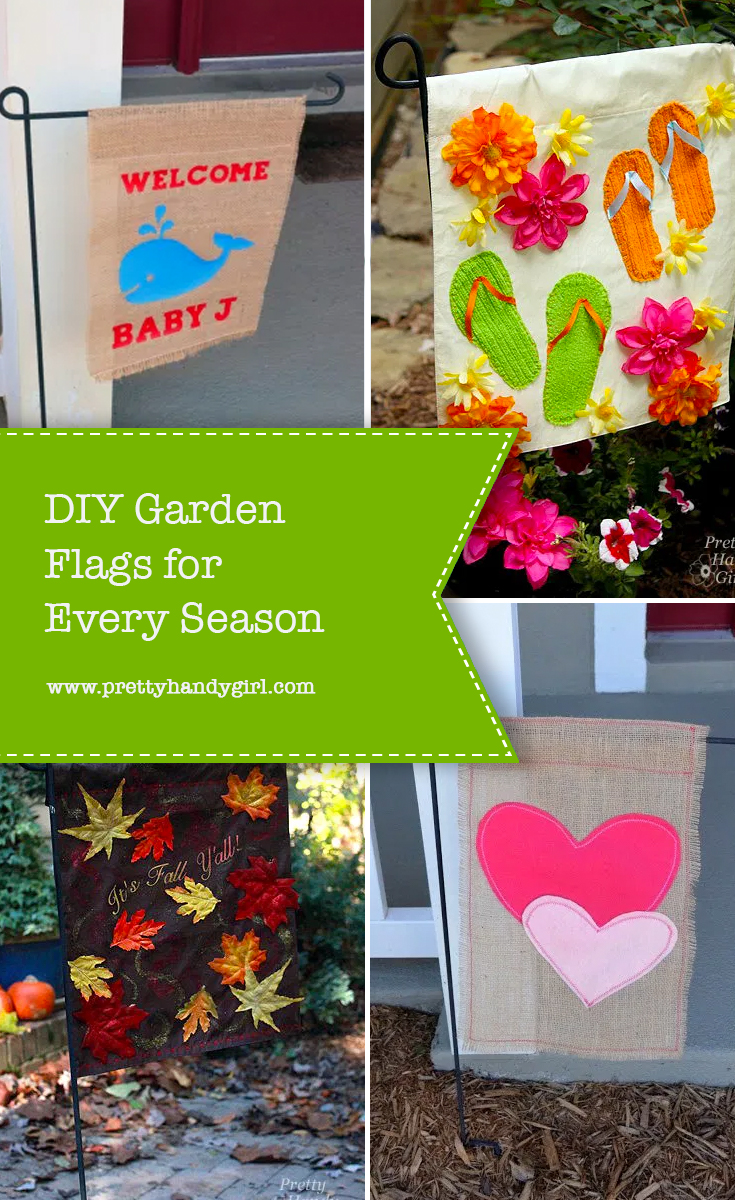
Welcome Baby J Whale FlagBaby Shower Flag by Sew Woodsy


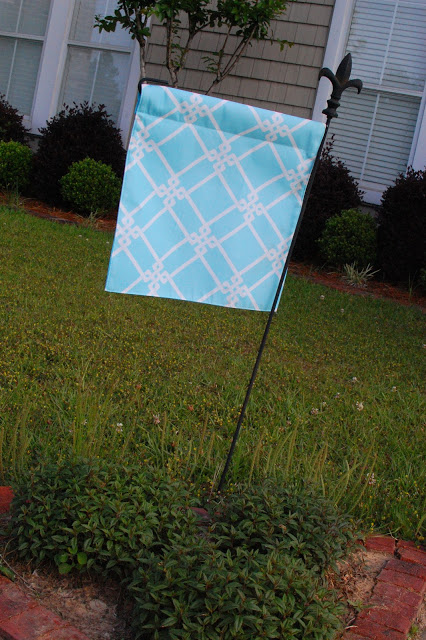
Make a Summer Garden Flag from a Dollar Store Placemat | Pretty Handy GirlSummer Garden Flag from Placemat


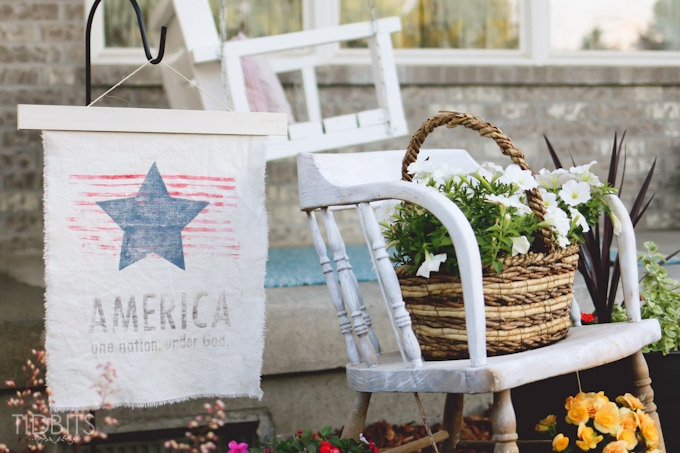
Patriotic-Garden-FlagPatriotic Garden Flag by Ella Claire Inspired


Garden-Flag-from-PlacematGarden Flag from Placemat by Random Thoughts of a Super Mom


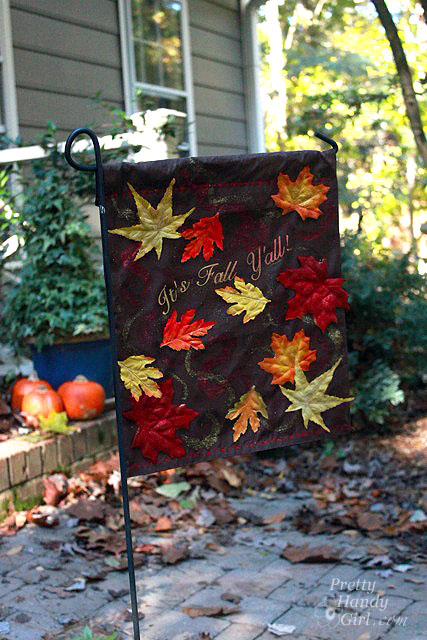
Fall Garden Flag from Placemat


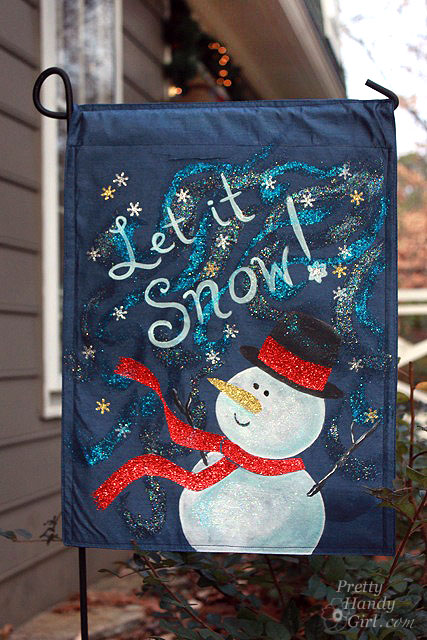
Snowman-Flag-from-PlacematSnowman Flag from Placemat

Are your creative juices flowing now? Which flag is your favorite?

Thanks for letting me spend some time with you today. I hope a garden flag is on your to-do list now.


Pin for later!

DIY Garden Flags for Every Season | Pretty Handy Girl

Need a quick gift using scrap wood? A Creative Block Desk & Art Utensil Holder is an easy and fun gift to make and certainly a project that you can customize to meet your needs. Best of all, the kids can help with the painting step!

create_art_block_holders_sm

Creative Block Desk & Art Utensil Holder

Mother’s Day is this coming weekend! Have you decided how to show her your appreciation and love?! I did! My mother is a professional artist. She creates amazing paintings that inspire others and brightens their homes. For Mother’s Day I wanted to brighten her studio with these art utensil holders. I call them “Creative Blocks.”

Go ahead and raid your scrap pile and join us as we make these colorful and fun Creative Block Desk & Art Utensil Holders.

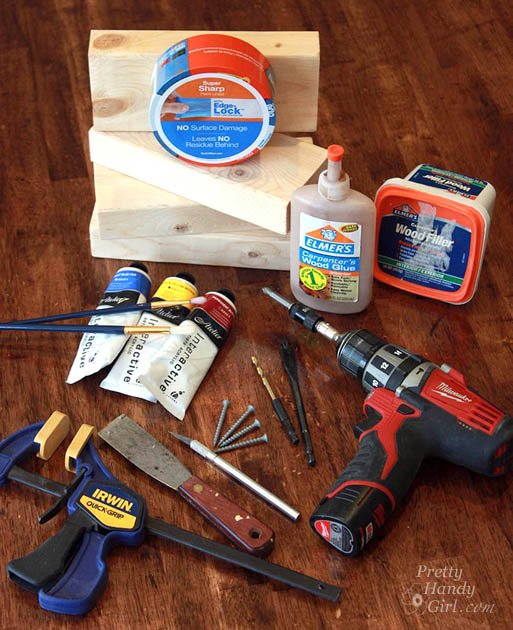
Materials:

(I’ve included affiliate links for your convenience. I earn a small percentage from a purchase using these links. There is no additional cost to you. You can read more about affiliate links here.)

materials_wood_blocks_sm

Instructions:

1. Block assembly: Select two 2×4″ scraps cut to the same length. Spread glue on one board and sandwich them together.

glue_blocks_together_sm

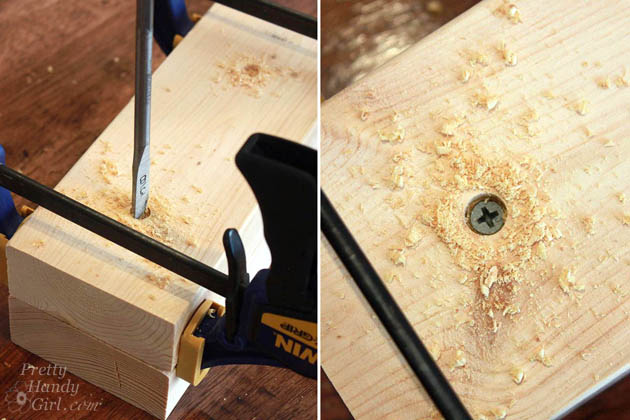
Clamp the wood together and drill two small holes to countersink the heads of the screws. Drive two screws into the bottom of the wood to hold the pieces together.

drill_blocks_together_sm

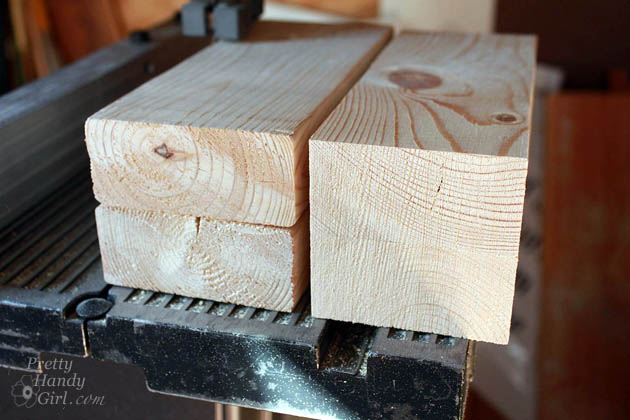
Use a band saw, jigsaw, or table saw to trim off the rounded edges of the wood so you have a square block of wood with straight corners.

square_off_2x4s_bandsaw_sm

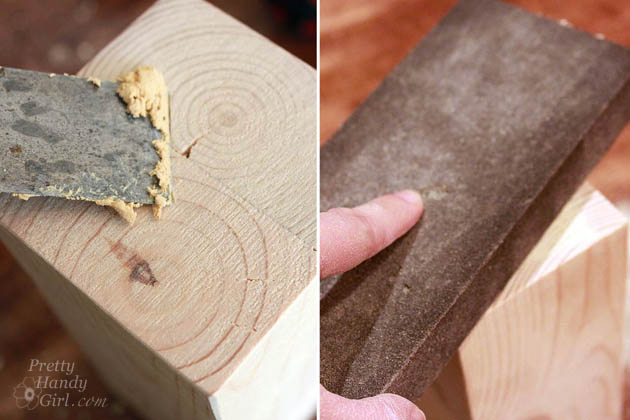
Putty any cracks or holes. Sand until smooth.

putty_and_sand_blocks_sm

2. Creating the mask:

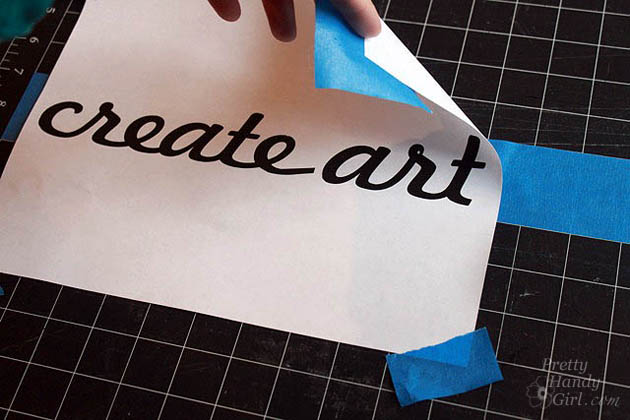
If you have a craft cutter (Silhouette or Cricut) you can create a mask in vinyl easily. But, if you don’t you can use the computer to print out your words. Lay the print out on top of a strip of Painter’s Tape. Use a few pieces of tape to secure the corners.

create_art_printout

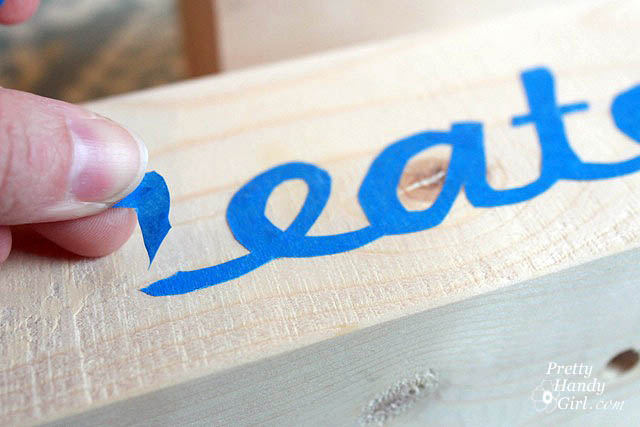
Trace around the words with the X-acto knife (be sure to have a few fresh blades on hand.) Transfer the resulting cut-out tape onto the block of wood. Press the edges of the tape mask to secure the tape.

add_scotch_blue_tape_letters

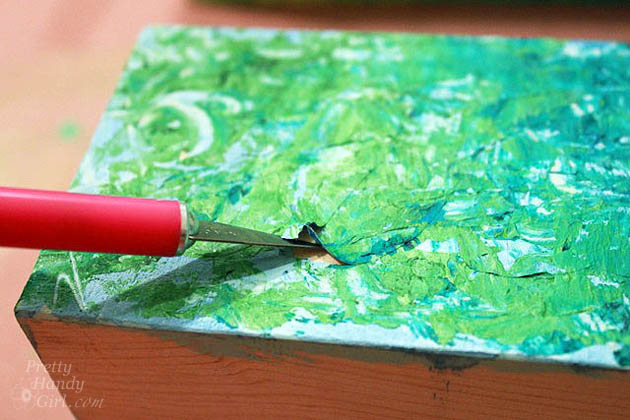
3. Painting the block: Paint a base color onto the block. Then use a brush and/or palette knife to dab thick paint over the block (minus the base.) Use the X-acto knife to gently peel off the tape mask. Let the paint dry thoroughly overnight.

lift_tape_up

4. Drilling Holes:  After the paint has dried completely, mark the location of the utensil holes with a pencil. Put a piece of painter’s tape on the drill bit to mark the depth of your holes. Clamp the block and drill holes at each pencil mark.

drill_holes

Dump sawdust out of the holes.

Wrap up the blocks in gift wrap and enjoy the look of joy as your Mom opens her Creative Block Mother’s Day gift!

create_pencil_holder_sm

art_brush_holder

You know, as an artist myself, I almost loved these too much to give them away. But, my Mom is worth it. (And I can make another set if I want ;-).)

create_art_block_holders_sm

For more last-minute Mother’s Day gift ideas and many other creative projects, check out the Gift Ideas section here on the blog.

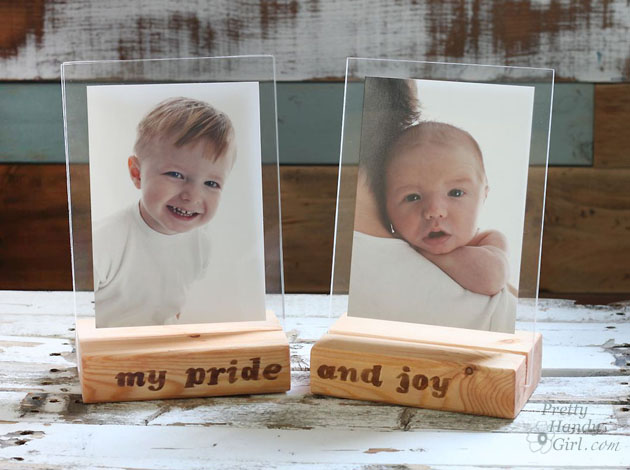
PHGFancySignIf you liked this project, you’ll love these floating picture frames using more 2×4 scrap wood.

wood-block-picture-frames

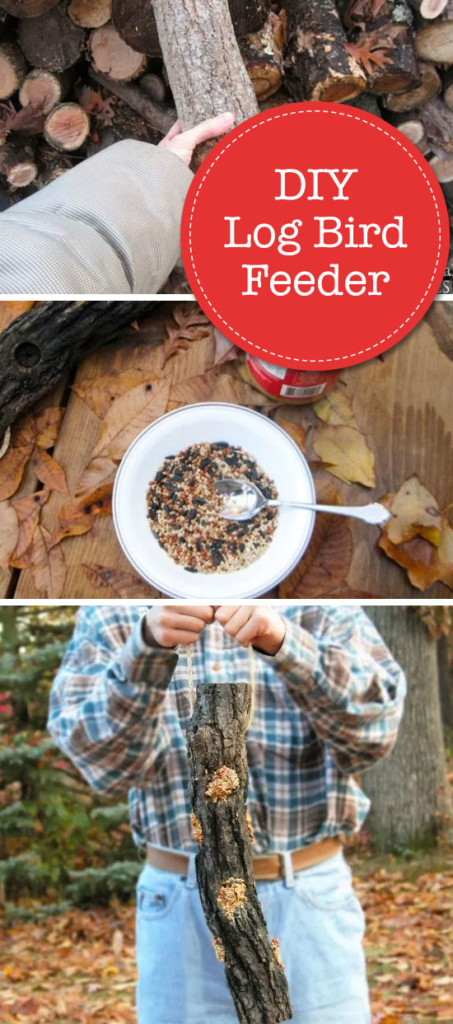
Give your feathered friends a treat from spingtime through winter. Make this easy-peasy DIY log bird feeder with one tool and a few basic materials by Prodigal Pieces for Pretty Handy Girl www.prodigalpieces.com #prodigalpieces

Hello readers, I’m Larissa coming to share with you a nature-inspired DIY project. Today, we’ll learn how to create a special DIY Log Bird Feeder treat for our feathered friends. The best part is that this can be a family fun activity to do AND to give as a gift for anyone who loves bird watching.
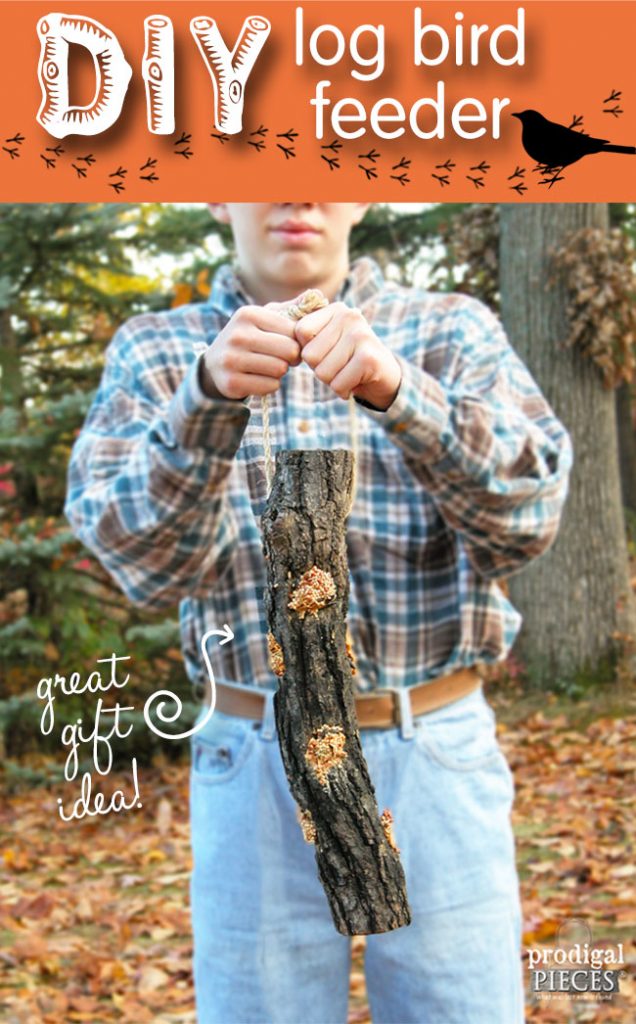
Give your feathered friends a treat from spingtime through winter. Make this easy-peasy DIY log bird feeder with one tool and a few basic materials by Prodigal Pieces for Pretty Handy Girl www.prodigalpieces.com #prodigalpieces

DIY Log Bird Feeder

We are avid bird lovers in our home and were delighted when a friend of mine gave us this bird feeder made from a piece of firewood and rope. How easy is that?

Give your feathered friends a treat from spingtime through winter. Make this easy-peasy DIY log bird feeder with one tool and a few basic materials by Prodigal Pieces for Pretty Handy Girl www.prodigalpieces.com #prodigalpieces

What a delight it is to see our tree clinging birds (nuthatches, tufted titmice, and woodpeckers) come for a visit and see their excitement at the treat they’ve found, especially the birds that overwinter. Did you know that migratory birds will remember your home the next time they’re passing through and will come back again year after year if you continue to provide nourishment for them? It’s like a reunion each spring and winter. Fun!

So, let’s grab some materials and get ready to create a DIY log bird feeder!
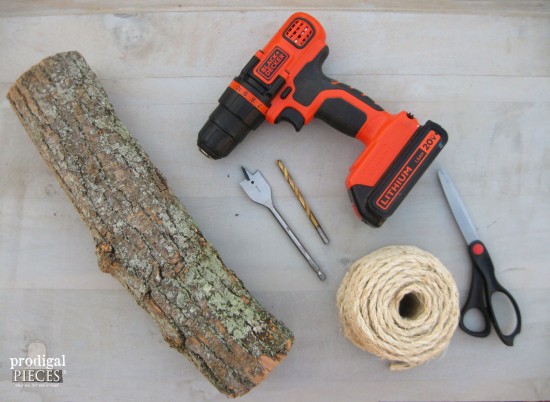
Give your feathered friends a treat from spingtime through winter. Make this easy-peasy DIY log bird feeder with one tool and a few basic materials by Prodigal Pieces for Pretty Handy Girl www.prodigalpieces.com #prodigalpieces

Materials:

(I’ve included affiliate links for your convenience. I earn a small percentage from a purchase using these links. There is no additional cost to you. You can read more about affiliate links here.)

Picking Your Log:

We are blessed to have a fireplace, so we always have a stash of firewood on hand. For your log, you can use a downed branch or head to your own stash to grab a piece of wood.
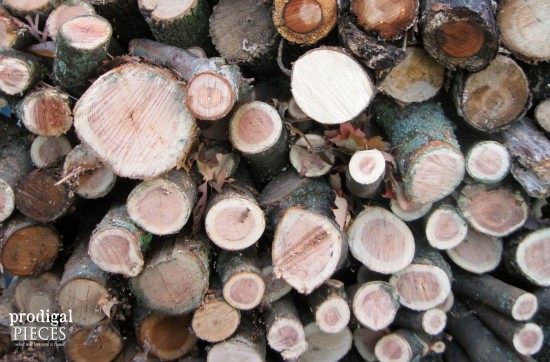
Give your feathered friends a treat from spingtime through winter. Make this easy-peasy DIY log bird feeder with one tool and a few basic materials by Prodigal Pieces for Pretty Handy Girl www.prodigalpieces.com #prodigalpieces

The tree-clingers prefer a chunky bark, but any tree variety will do.
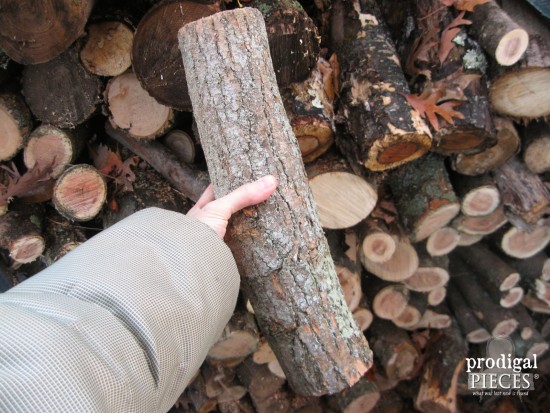
Give your feathered friends a treat from spingtime through winter. Make this easy-peasy DIY log bird feeder with one tool and a few basic materials by Prodigal Pieces for Pretty Handy Girl www.prodigalpieces.com #prodigalpieces

Instructions:

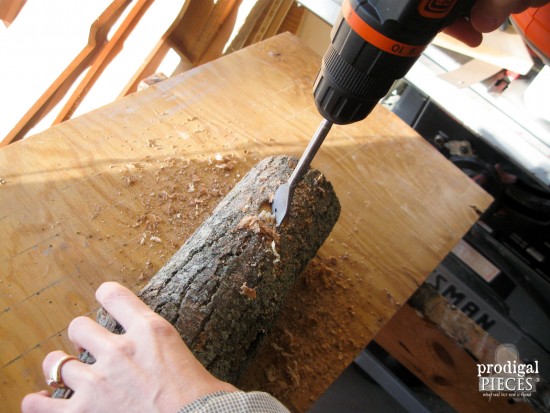
Clamp your log and keep your hand clear from the drill bit. Wear appropriate eye protection.
Give your feathered friends a treat from spingtime through winter. Make this easy-peasy DIY log bird feeder with one tool and a few basic materials by Prodigal Pieces for Pretty Handy Girl www.prodigalpieces.com #prodigalpieces

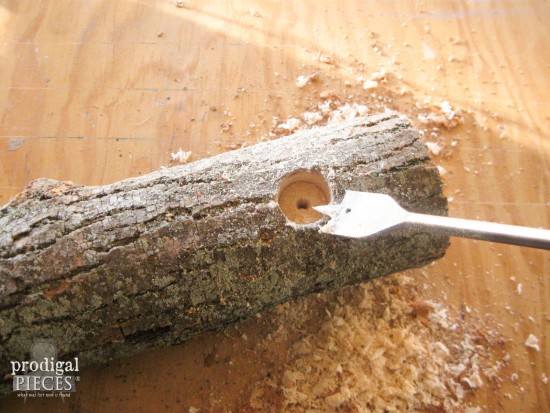
To start, use a 1″ spade bit to drill a hole approximately 1/2″ deep, 2 inches down from the top.
Give your feathered friends a treat from spingtime through winter. Make this easy-to-build DIY log bird feeder with one tool and a few basic materials.

Drill a second hole on the same face about 6″ below the first.

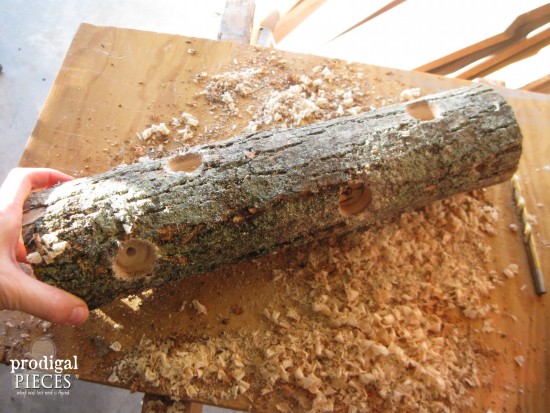
Roll the log a quarter turn and drill in the next face starting with the first hole about 5″ from the top and then a second hole 6″ below that one. (This does not have to be exact and gives a more rustic feel when randomly chosen.)
Give your feathered friends a treat from spingtime through winter. Make this easy-peasy DIY log bird feeder with one tool and a few basic materials by Prodigal Pieces for Pretty Handy Girl www.prodigalpieces.com #prodigalpieces

Repeat those steps until you have two sets of matching faces on opposing sides.

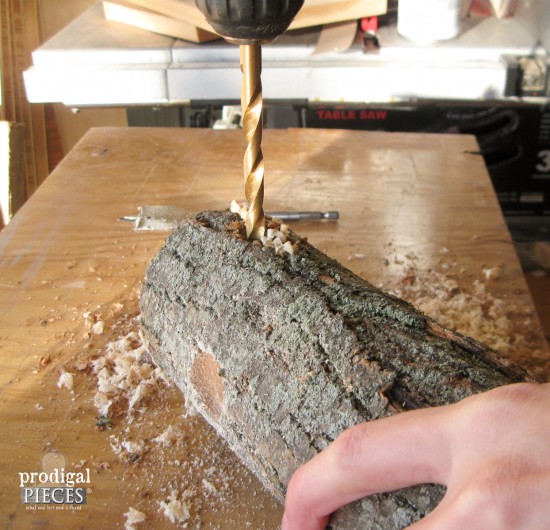
Drill your rope hole using a 5/16″ bit. Starting on the face that has the first hole 5″ down, drill your rope hole 2″ from the top, making sure to go completely through the log.
Give your feathered friends a treat from spingtime through winter. Make this easy-peasy DIY log bird feeder with one tool and a few basic materials by Prodigal Pieces for Pretty Handy Girl www.prodigalpieces.com #prodigalpieces

Cut a 2′ or longer piece of rope and thread it into the hole. If you turn the rope in the direction of the braid (counter-clockwise) while inserting it, that will help the rope go through smoothly.
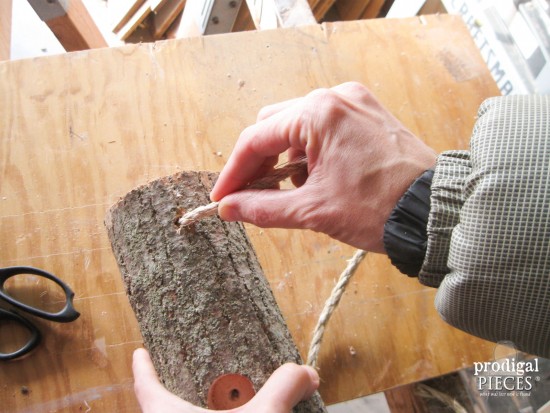
Give your feathered friends a treat from spingtime through winter. Make this easy-peasy DIY log bird feeder with one tool and a few basic materials by Prodigal Pieces for Pretty Handy Girl www.prodigalpieces.com #prodigalpieces

Once through, tie the rope ends together using a basic knot.
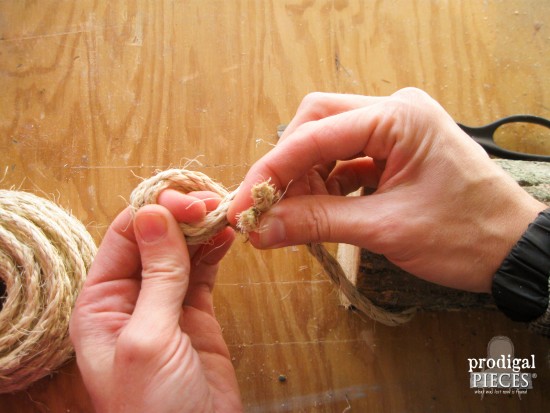
Give your feathered friends a treat from spingtime through winter. Make this easy-peasy DIY log bird feeder with one tool and a few basic materials by Prodigal Pieces for Pretty Handy Girl www.prodigalpieces.com #prodigalpieces

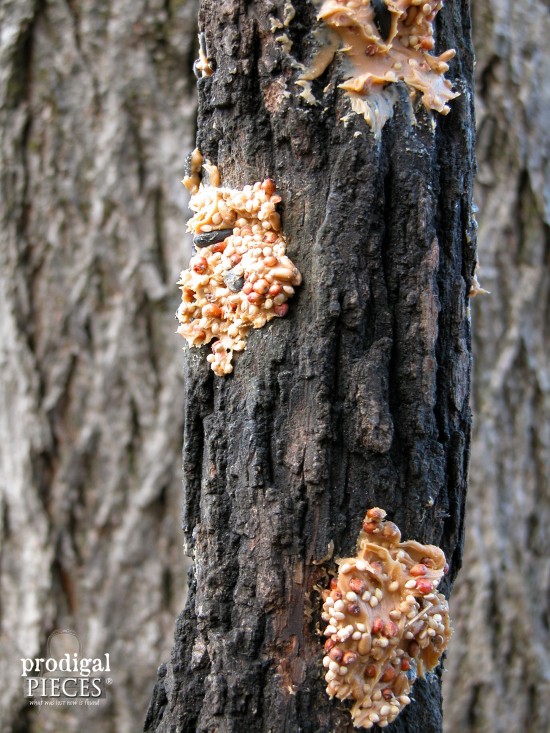
On to the fun part! Birds burn a ton of protein flitting about, so they need to store up as much as they can. We prefer to use chunky peanut butter and then roll it in seeds like this.
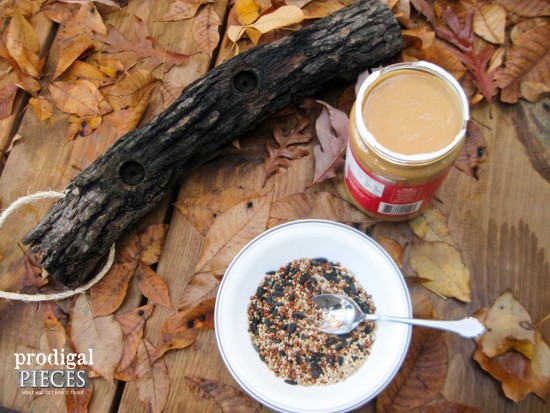
Give your feathered friends a treat from spingtime through winter. Make this easy-peasy DIY log bird feeder with one tool and a few basic materials by Prodigal Pieces for Pretty Handy Girl www.prodigalpieces.com #prodigalpieces

Grab a tablespoon of peanut butter and place it in a bowl of birdseed.
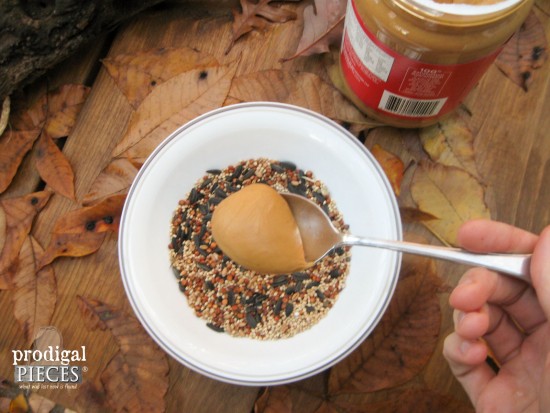
Give your feathered friends a treat from spingtime through winter. Make this easy-peasy DIY log bird feeder with one tool and a few basic materials by Prodigal Pieces for Pretty Handy Girl www.prodigalpieces.com #prodigalpieces

Then sprinkle the peanut butter with seed.
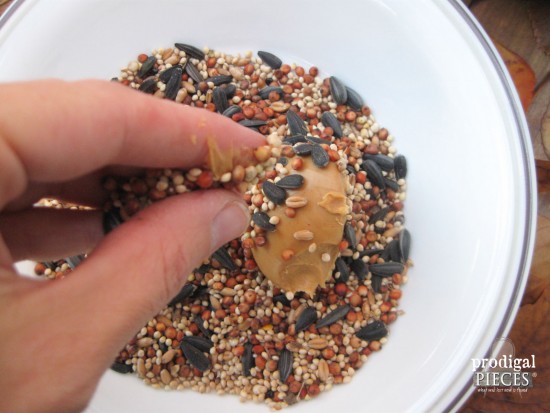
Give your feathered friends a treat from spingtime through winter. Make this easy-peasy DIY log bird feeder with one tool and a few basic materials by Prodigal Pieces for Pretty Handy Girl www.prodigalpieces.com #prodigalpieces

After coating with the seed, press the mixture into the holes using the back of a spoon, or if you’re nutty like me (catch the pun?) it’s more fun to use your fingers.
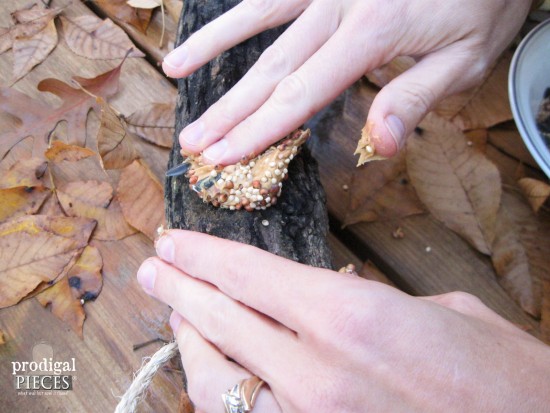
Give your feathered friends a treat from spingtime through winter. Make this easy-peasy DIY log bird feeder with one tool and a few basic materials by Prodigal Pieces for Pretty Handy Girl www.prodigalpieces.com #prodigalpieces

The kids love this part!

Give your feathered friends a treat from spingtime through winter. Make this easy-peasy DIY log bird feeder with one tool and a few basic materials by Prodigal Pieces for Pretty Handy Girl www.prodigalpieces.com #prodigalpieces

You’re done and it’s ready to hang. Yay!
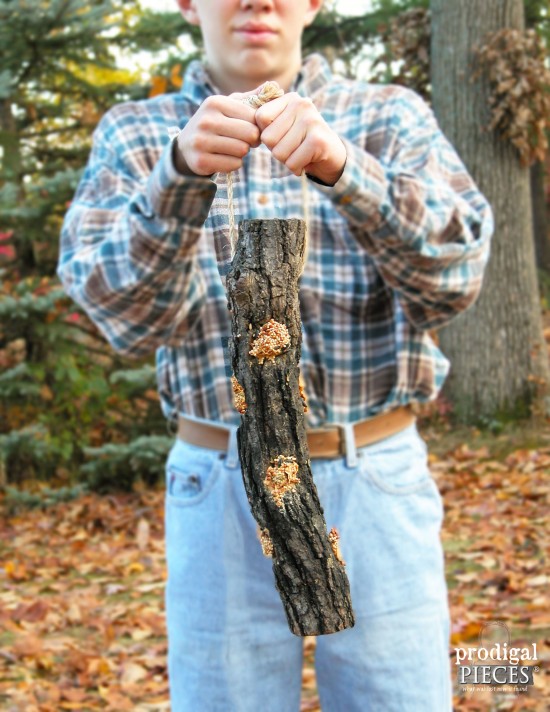
Give your feathered friends a treat from spingtime through winter. Make this easy-peasy DIY log bird feeder with one tool and a few basic materials by Prodigal Pieces for Pretty Handy Girl www.prodigalpieces.com #prodigalpieces

For a fun twist, and if you’re feeling handy, you could also add dowels for other species to be able to roost at each hole, but for this project I kept it simple.

Got questions? Please feel free to ask.

If you enjoyed this project, do pin and share!

blog signature copy

Pin this project for later!

DIY Log Bird Feeder Pin Image


Liked this project? Then you’ll love these birdhouses:

Make Your Own Laundry Detergent for Only $1.25 per year

Today’s tip is one that is gentle on your washer (HE and regular), but most importantly it will save you money! If you’ve ever looked at the cost of laundry detergent, you may have choked at the cost. I have a wonderful recipe to make your own Liquid Laundry Detergent for only $1.25 per year! And the detergent is low suds and low residue which will keep your washer and clothes cleaner.
Make Your Own Laundry Detergent for Only $1.25 per year

How to Make DIY Laundry Detergent

If you think this detergent couldn’t possibly work on dirty clothes, think again. I can tell you that in addition to our regular clothing, I’ve been using this recipe for 9 years on my boys’ clothes, on my own work clothes, and my husband’s karate clothing. And it really works. Whatever stains don’t come out in the wash are no match for my DIY Miracle Stain Remover.

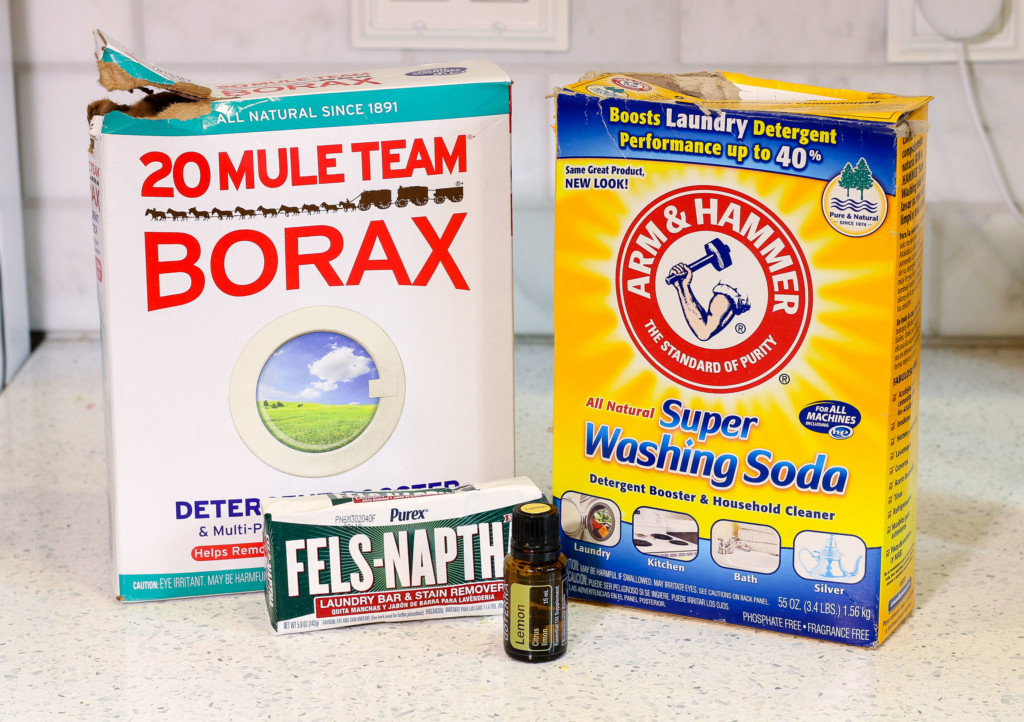
The ingredients for the laundry detergent are simple and can be purchased at your grocery store. Just look on the high or low shelves in the laundry detergent aisle. If you can’t find them there, you can also look at your local hardware or home improvement store.

To make the detergent, you only need about 15 minutes and then let the detergent sit overnight. The next morning, you stir, add more water and you are done! Do you think that’s too much time to devote to making laundry detergent? What if I told you that this batch lasts our family of four (did I mention two of them are young boys) six months or more.

Make Your Own Laundry Detergent for Only $1.25 per year

Click Here to Download the Printable Version of the Recipe

Laundry Detergent for $1.25 a Year

Several of you asked me to make a video showing how I make my own detergent. For your convenience you can watch the video, then scroll down to read the directions.

Ingredients:

(I’ve included affiliate links for your convenience. I earn a small percentage from a purchase using these links. There is no additional cost to you. You can read more about affiliate links here.)

DIY Laundry Detergent Ingredients

Please note, you can purchase these items cheaper at your local grocery store or hardware store. The links are here to help you see what the box looks like or to order if you can’t get to the store.

Optional: Essential Oil for Scent (see below for scent ideas)

Instructions:

  1. Cut Fels Naptha Bar in quarters. Grate one quarter of the Fels Naptha Bar using a fine cheese grater.
  2. Boil 1 cup of water. Pour grated Fel Naptha into pan of boiling water. Stir continuously until the soap has dissolved. Meanwhile, pour 2 1/2 quarts (10 cups) of water into a large container or bucket. Pour dissolved Fels Naptha into the bucket of water. Stir.
  3. Add 1/4 cup Super Washing Soda and 2 TBSP Borax to the bucket.
  4. Add 2 1/2 quarts more water and stir.
  5. Cover the mixture and let is sit overnight out of reach of pets or children. Uncover the bucket and stir the gelatinous mix.
  6. Add 5 Quarts (20 cups) of water to the bucket. Stir.
  7. Add 15-30 drops of essential oil of your choice.

Some essential oil scents you may like:

Citrus scents: lemon, lime, orange, bergamot, or grapefruit
Herbs scents: peppermint, spearmint, rosemary, basil
Other scents to try: Eucalyptus, chamomile, cypress, lemongrass
Want to fight mold & mildew? Use Tea Tree Oil (Melaleuca)

Blends to try:

  • basil & lemon
  • lavendar & lemon
  • orange, bergamot, and lemon
  • chamomile, lavender, and orange
  • lemon & tea tree

Miracle Stain Remover Recipe:

If your clothing gets stained, try soaking in this miracle stain remover a day or two before laundering. You’ll be amazed how the stain lifts out effortlessly.

miracle stain remover

How did I figure out my cost per year?

I had to do a little guestimating to figure out my cost. In the nine years I’ve been making this recipe, I’m only on my second box of Borax and Arm & Hammer Washing Soda.

Each batch of DIY laundry detergent consists of at least 4o cups. If you use the required 1/4 cup per load (do not use more, as more detergent won’t get your clothing cleaner) you can easily get 160 loads from each batch.

All this to say, I came up with a very conservative estimate that I pay $1.25 for laundry detergent per year!

Make Your Own Laundry Detergent for Only $1.25 per year

Storing Your Laundry Detergent:

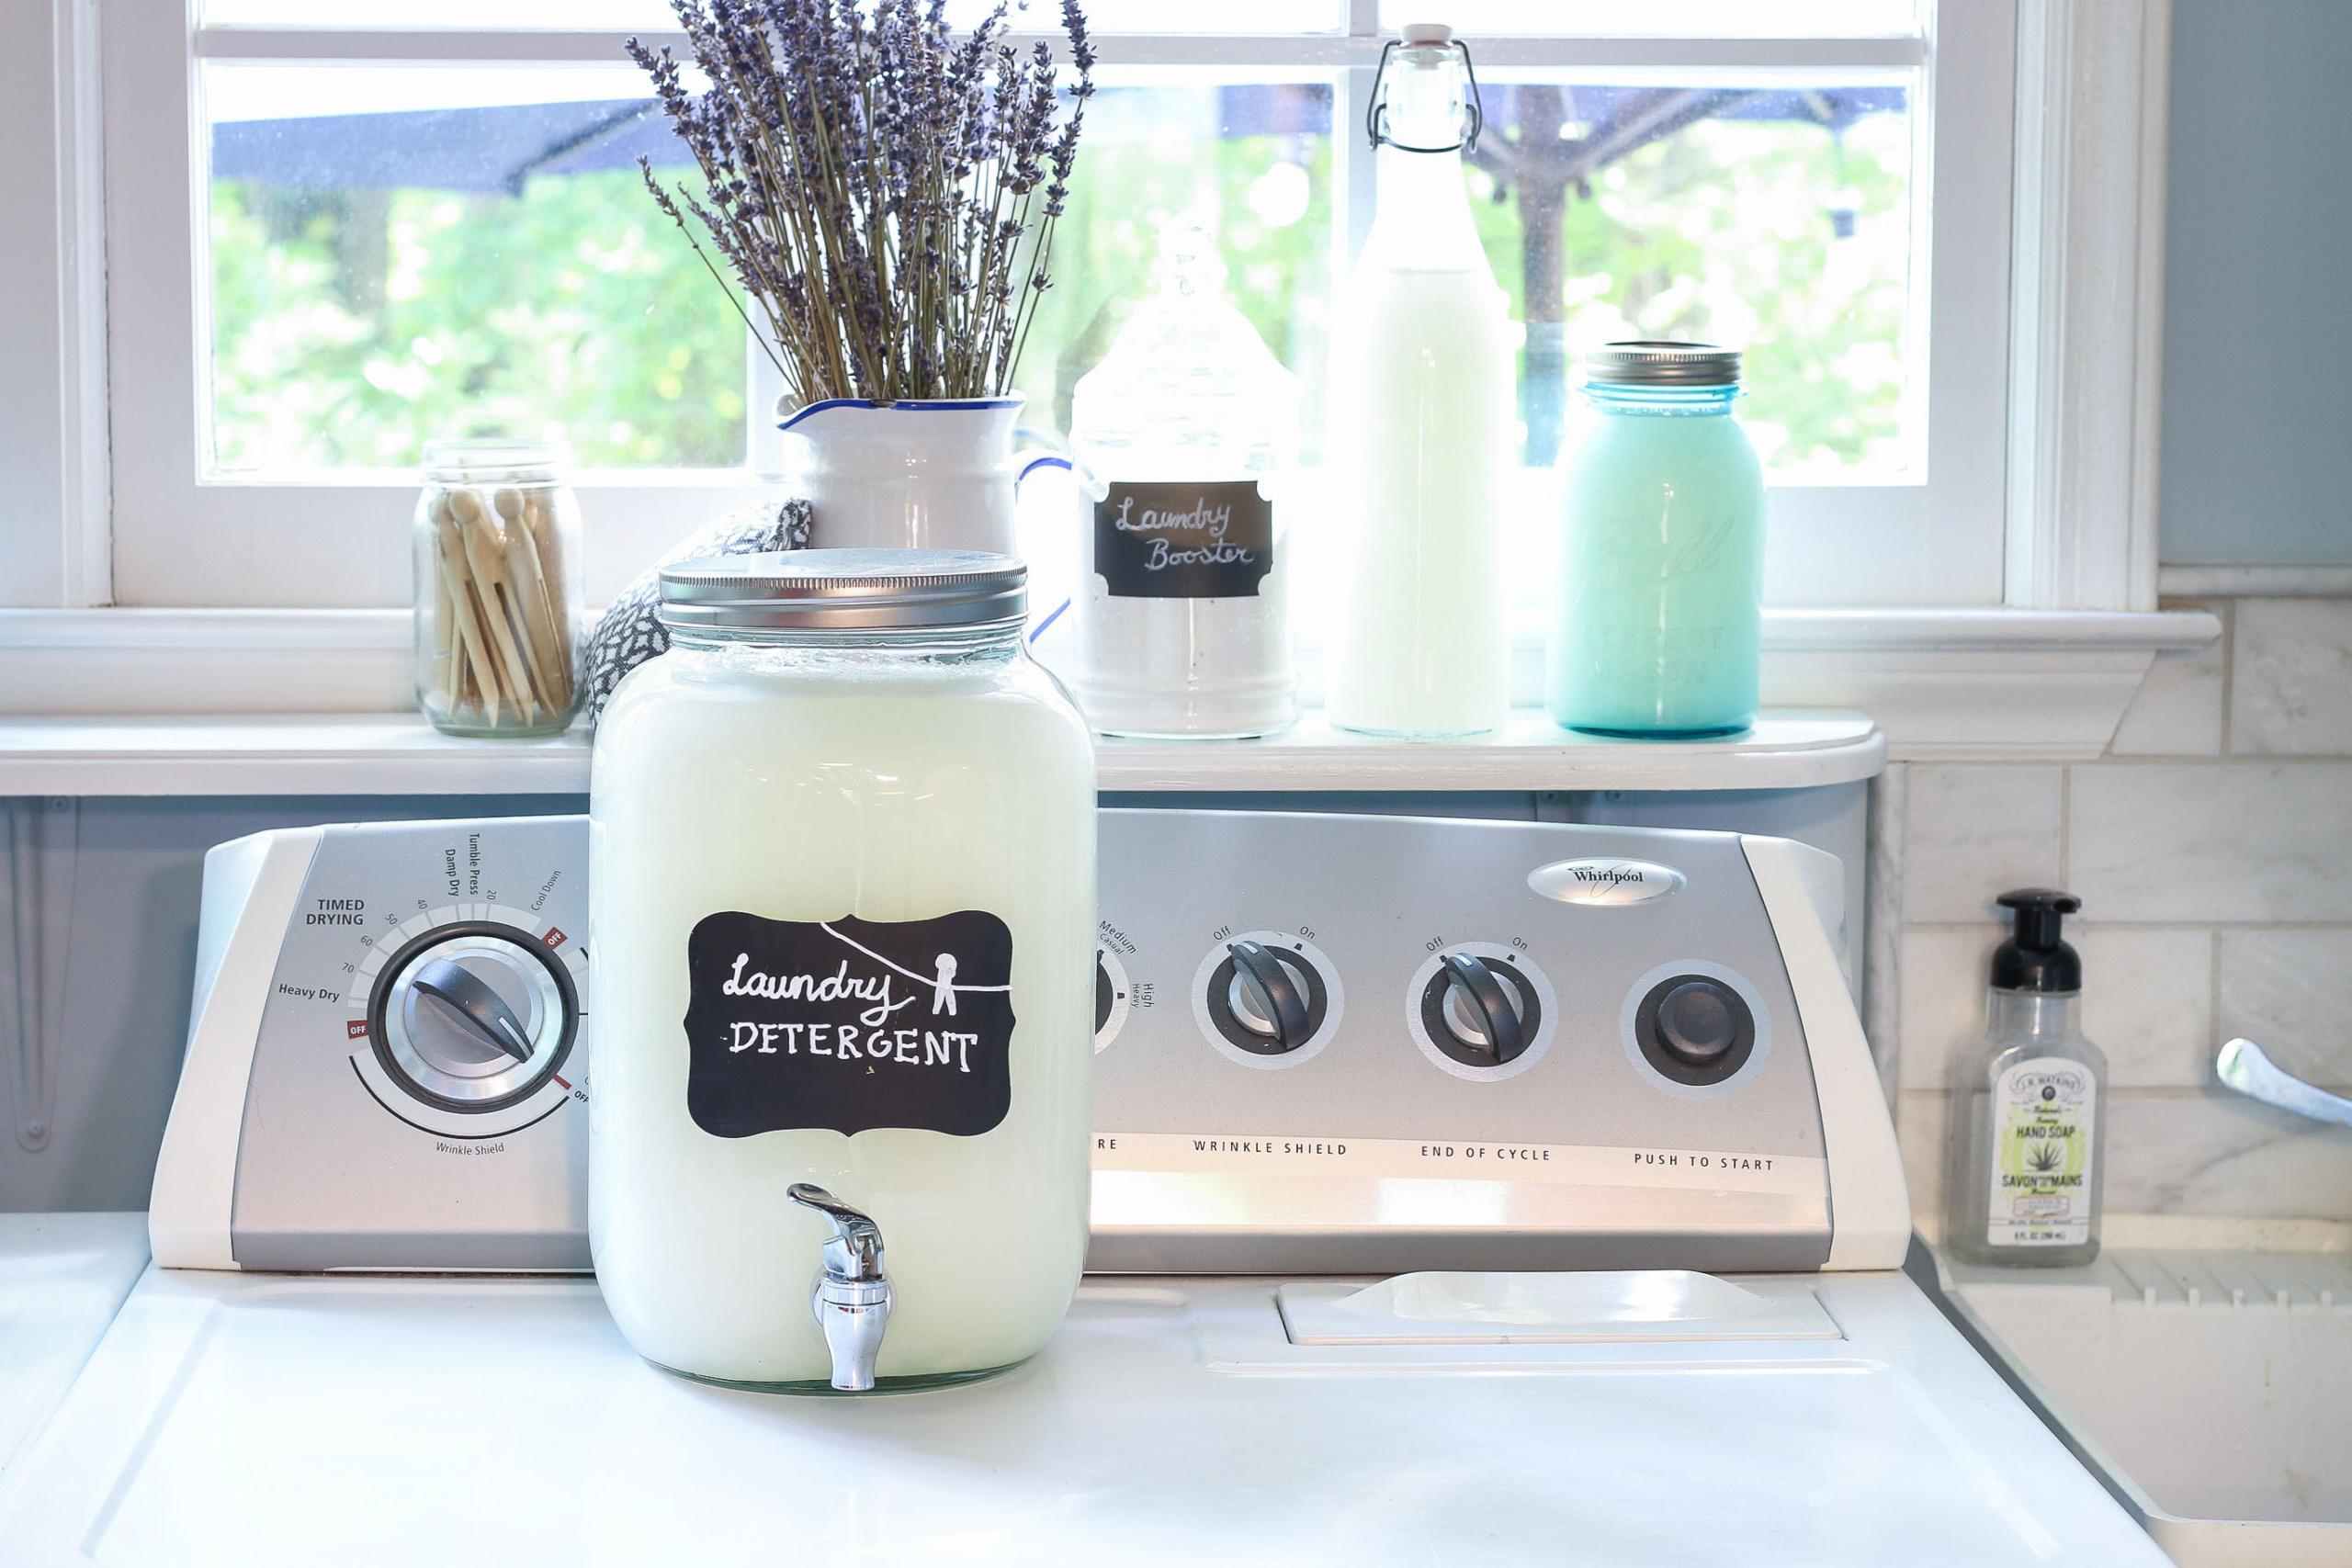
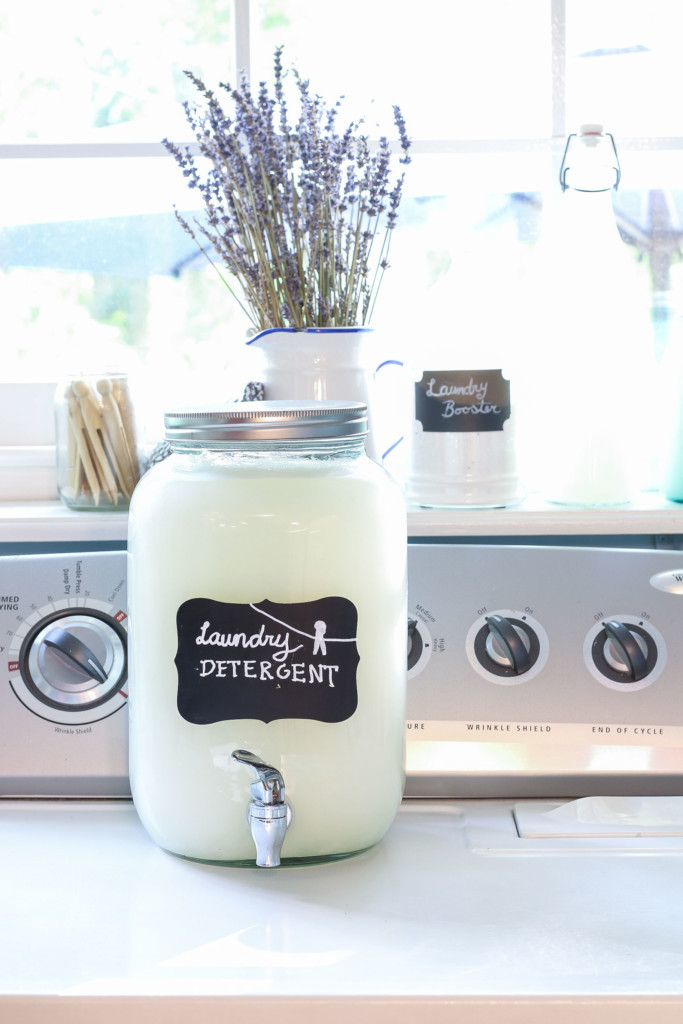
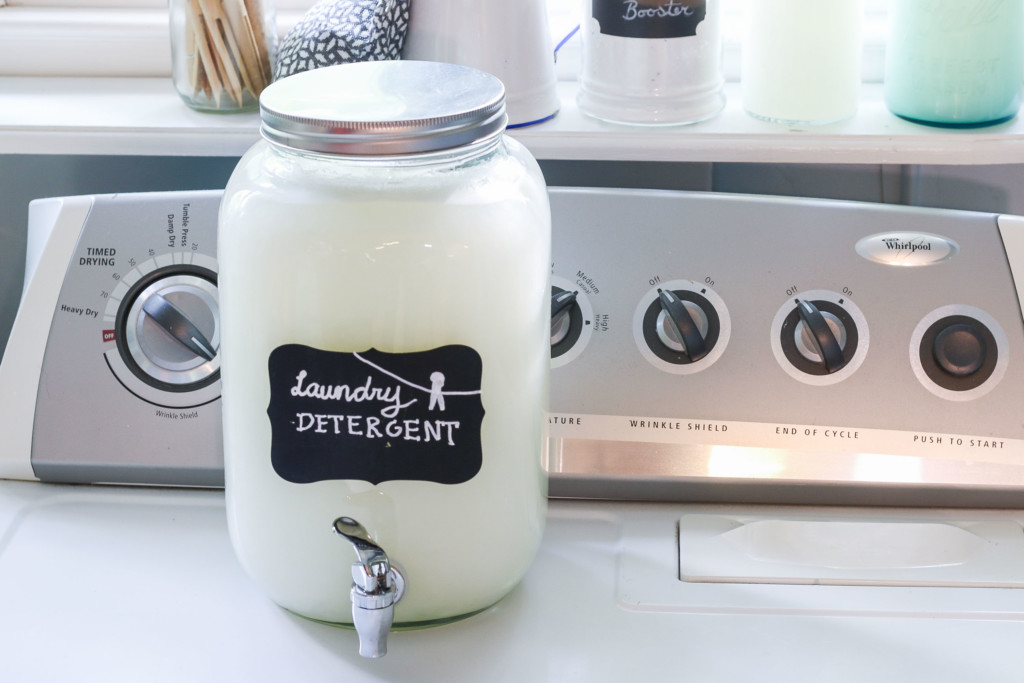
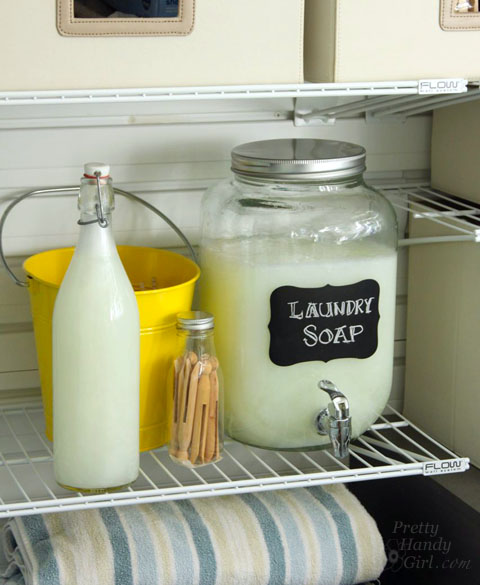
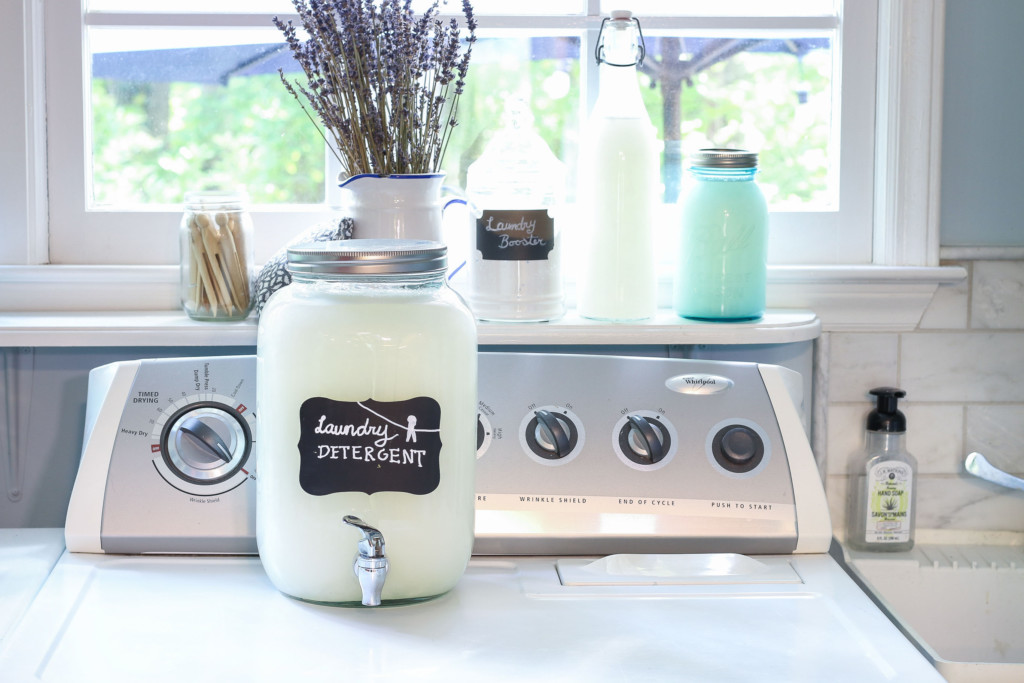
When I first started making this recipe, I used my empty laundry detergent container. But, it was often too small for the batch size. Next, I used an empty 2.5 Gallon Water Jug. But, several years ago I bought a big glass drink dispenser and a smaller bottle with a flip top stopper. The smaller bottle is filled and used for dispensing detergent into the 1/4 cup measuring cup and then added to the washer. The large drink dispenser holds all the excess detergent. This is a prettier solution to storing all the detergent.

DIY Laundry Detergent | Pretty Handy Girl

Gift Idea:

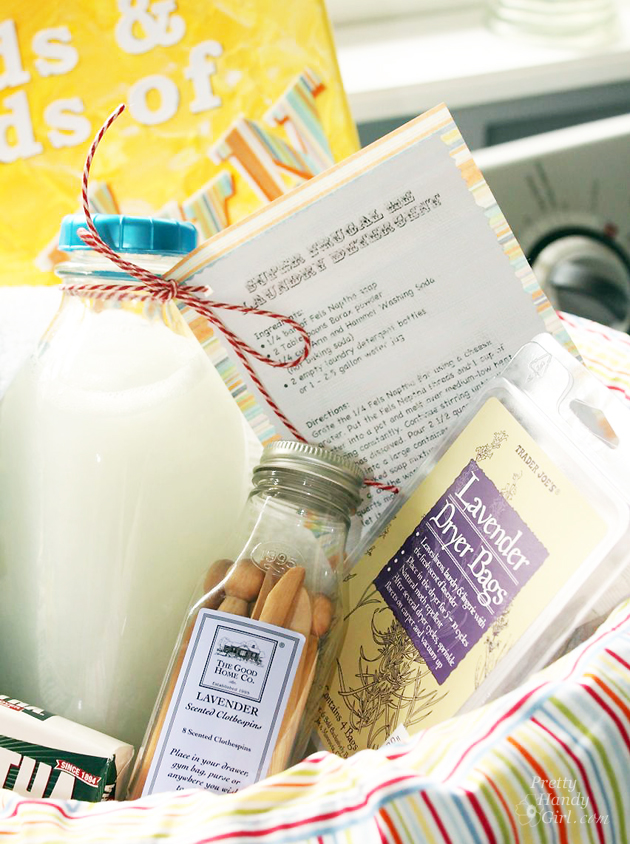
Once you try this DIY laundry detergent, I know you’ll love it. And then you’ll want to share this recipe with everyone you know! I like to share the recipe with a small sample amount in a laundry themed basket.

DIY Laundry Detergent |Pretty Handy Girl

If you want more uses for that big box of Borax, check out my 2 Ingredient Ant Killer!

PHGFancySign

Pin this page for later!

Make Your Own Laundry Detergent for Only $1.25 per year


Don’t miss a single tip! Sign up to get all the tips in your email:


Sign Up for Email Subscription


Make it May a Stay at Home Series by Pretty Handy Girl

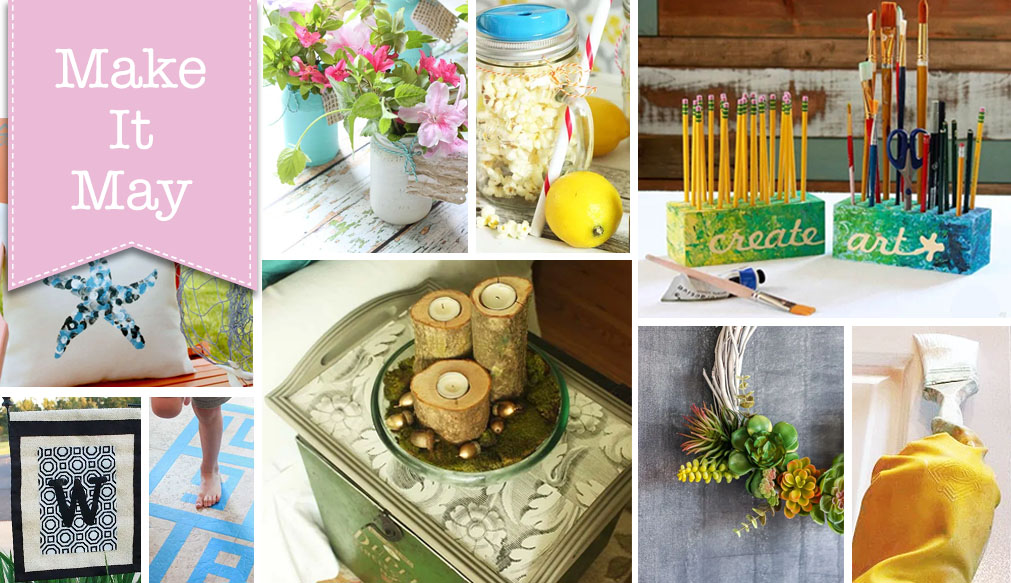
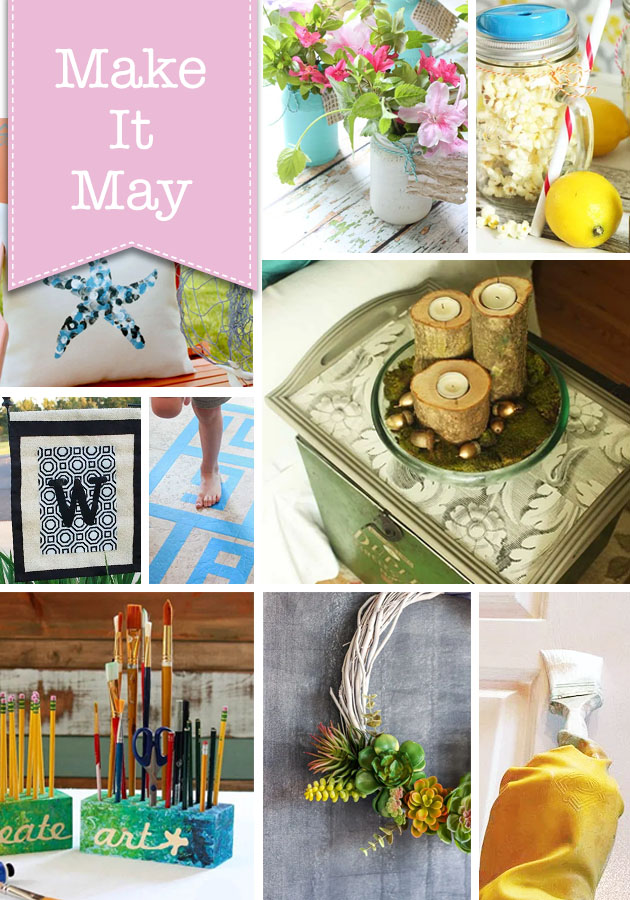
Make It May! A Stay at Home Series

My friends, I know with confidence that COVID-19 has changed your life. I truly hope you and your loved ones are safe and healthy during this scary outbreak. While my entire family is home with me 24/7, I’ve been keeping busy with home and garden projects. All while also trying to keep up with cooking and caring for my family. But, I’m also trying to carve out time for myself to keep me sane. Personally, I know a little sunshine, sweat, and creativity will get me through this ordeal. Although I can get outside, I know many of you still have to work or don’t have the ability to get outside. Please share how you’re staying sane in this insane time! Specifically, what are you doing to “Make It” through?

With the goal of helping us all “Make It” through May, I’m going to be sharing some hand-picked tutorials with you that I know you can make while staying home and with limited supplies.

From Monday – Friday look for one “Make It May” project a day. If you haven’t already, you’ll want to subscribe to my email list to get each project delivered to your email. (Did you know if you subscribe to my email list you can simply reply to any email to chat with me? You can ask me questions, tell me how your project turned out, or just say Hi!)

This morning’s Make It May project was the recipe for making your own laundry detergent. You may wonder why anyone would want to make detergent when you can buy it at the store? I’ve been making my own laundry detergent for nine years now and one batch lasts us 6-9 months.

Make Your Own Laundry Detergent for Only $1.25 per year

We just ran out last week and luckily I didn’t have to “run out” to the store to buy more. Plus, did I mention the detergent I make costs us $1.25 per year? It’s true! If you missed that tutorial this morning, here it is again.

Next week I’ll be bringing you five tutorials you can make for yourself, make with the kids, or make as a last-minute Mother’s Day gift! I can’t wait to share all 21 projects with you!

Once the projects publish you can see All the Make It May Projects Here!

Have a great weekend and don’t forget to subscribe below.