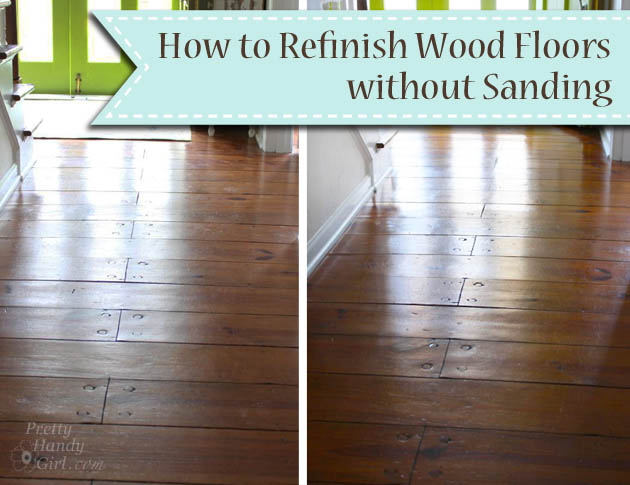
How to Refinish Wood Floors without Sanding
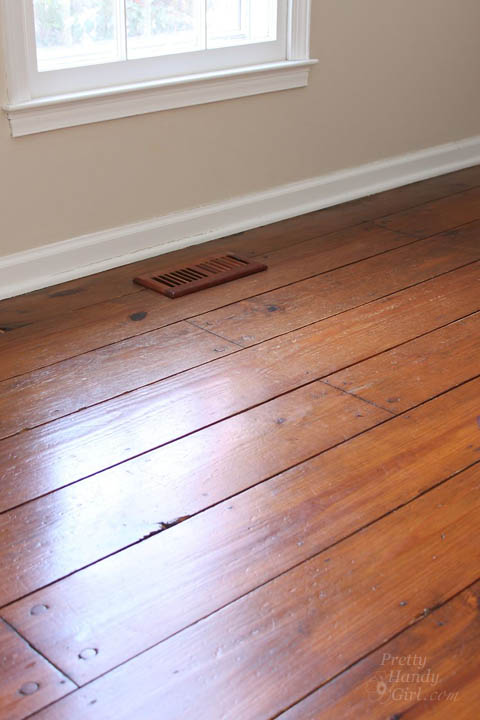
I love our antique heart pine floors! They are beautifully distressed. The round pegs and square nails securing them in place add loads of character. However, the square nails sit flush with the surface preventing us from ever being able to refinish them with a sander. The nails would tear up the sandpaper in no time. But, that’s no problem because I know a way to Refinish Wood Floors without Sanding!
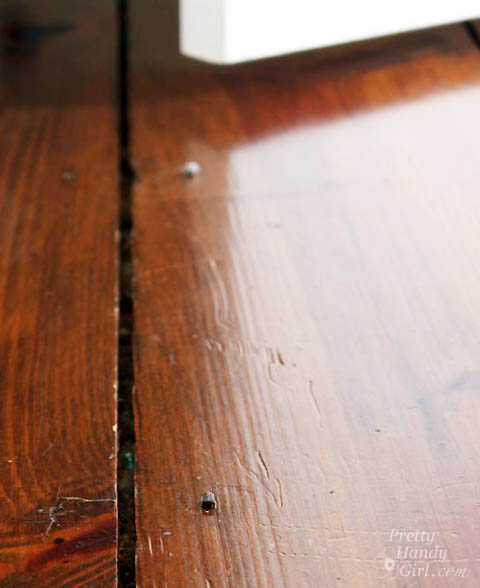
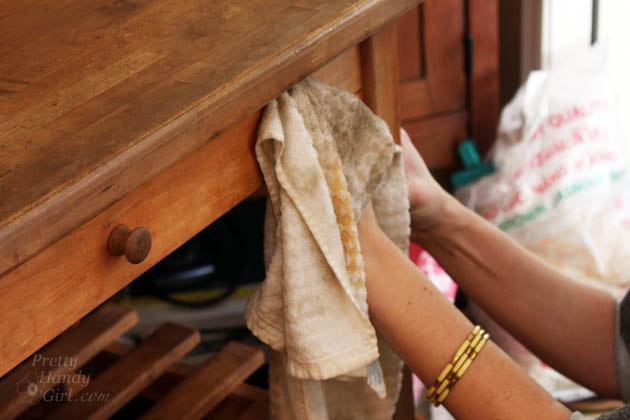
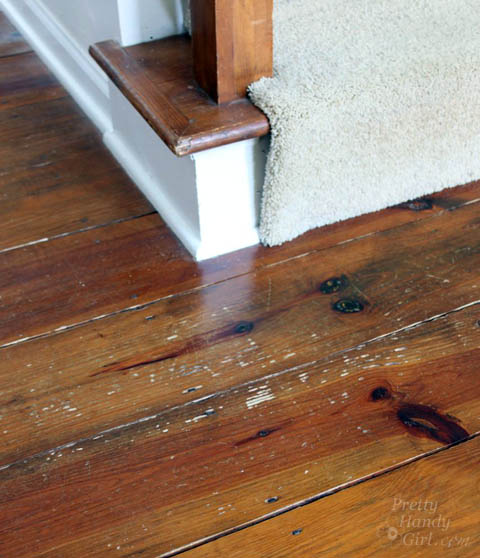
From time to time, our floors start to look dull…
…and the scratches are more noticeable. This is when I know it’s time to refinish them.
The first time I refinished our floors, it was several years ago when we were painting the office and dining room. I decided to try to refinish the floors because the rooms were already devoid of furniture. Several neighbors had recommended Bona® Hardwood Floor Cleaner and Bona® Hardwood Floor Polish. I was skeptical, but the results were beautiful floors that had luster, but still showed their beautiful age.
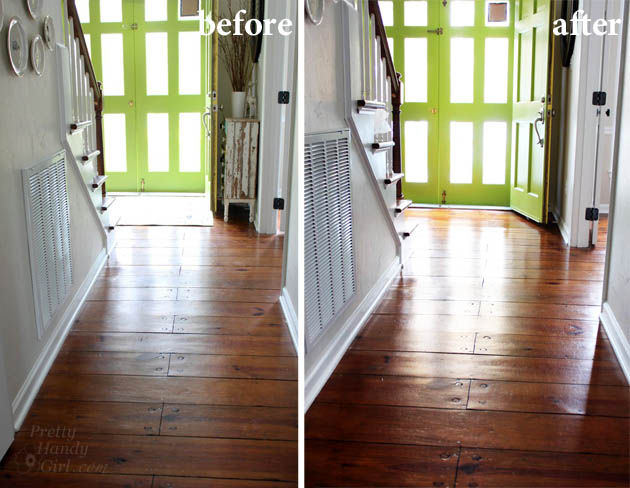
The Bona® Hardwood Floor Cleaner did a fabulous job of cleaning the floor without damaging them. And, the Bona® Hardwood Floor Polish provided a strong finish without any waxy build up. The high gloss protective layer adds some shine, but isn’t overly shiny. The polish also fills micro-scratches, evening out the appearance of the floor.
Fast forward to this past week when Bona asked me to write a sponsored post for them, I jumped for joy because I already use and love the Bona® Hardwood Floor Products! (Here’s my full disclosure: Yes, this is a sponsored post. No, I was not told what to write. And yes, I probably would have blogged about my experiences using Bona® Hardwood Floor Products at some point anyway. Win-win.)
I highly recommend trying the combo of the Bona® Hardwood Floor Cleaner and the Bona® Hardwood Floor Polish before spending huge amounts of money to have your floors refinished. (Bona® Hardwood Floor Cleaner & Polish will not work on floors that have an oil or wax coating. Test in an inconspicuous area to be sure it will work for your floors.)
Here’s how to Refinish Your Wood Floors without Sanding:
Materials:
(I’ve included affiliate links for your convenience. I earn a small percentage from a purchase using these links. There is no additional cost to you. You can read more about affiliate links here.)
- Vacuum or broom
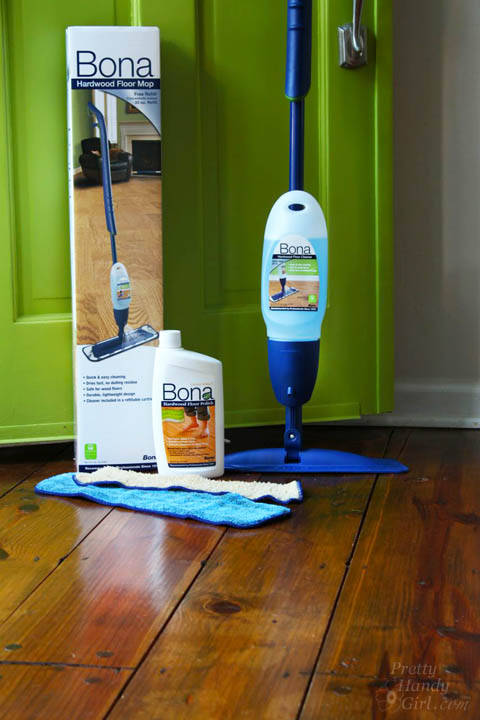
- Bona Hardwood Floor Spray Mop, includes 28.75 oz. Cleaner Cartridge
- Bona Hardwood Floor Polish – High Gloss
(32 oz. for 500 sq. feet)
- Bona Microfiber Applicator Pad
Instructions for Cleaning the Wood Floors:
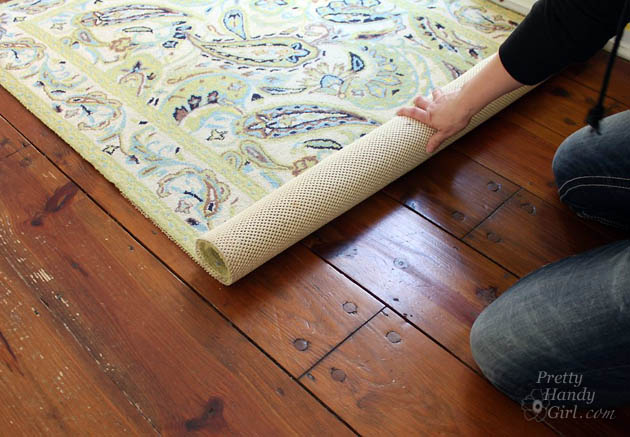
Remove all rugs and furniture from the room. If you have heavy furniture pieces that are never moved, you can leave them in place.
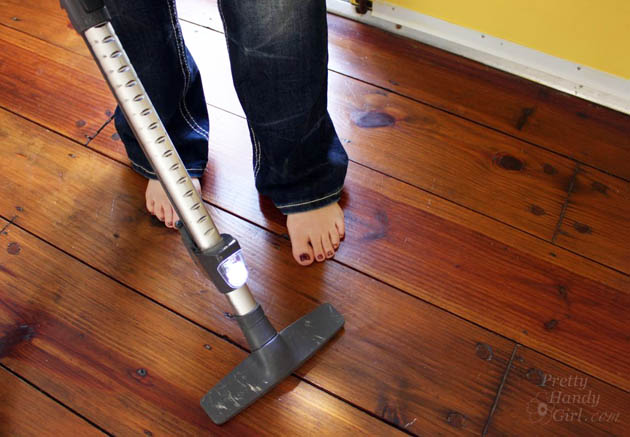
Vacuum or sweep the floors to remove all dirt and debris.
Assemble your Bona® Hardwood Floor Spray Mop as shown here: Read more