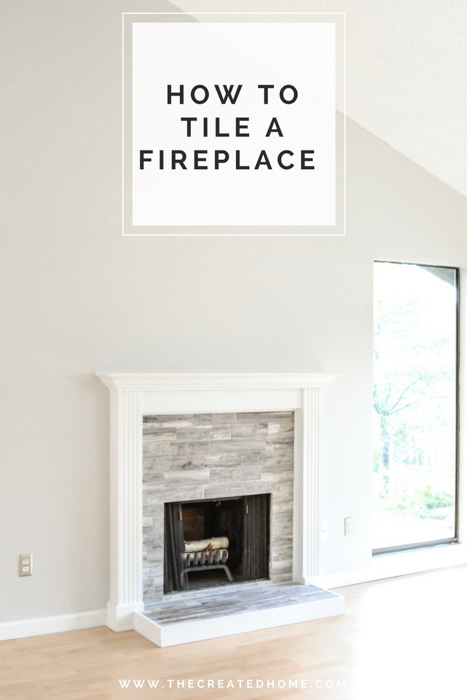
How to tile a fireplaceHow to Tile a Fireplace

Hello Pretty Handy Girl Readers! Sarah here from The Created Home. Today I’m sharing how you can update and customize your fireplace by doing your own tile work. Don’t be intimidated, tiling is actually quite accessible for DIYers, and once you get the hang of it you’ll be unstoppable. You may even find that you really enjoy it!

As with any DIY, especially one you are new to, you will need to read all the way through to make sure you are familiar with the process and always take proper safety precautions. Use ear and eye protection when you are using a tile saw. Read the manual for your tile saw and make some test cuts to get the feel for using it.

Note: This tutorial will not cover the grouting step. The tile I chose for this project was close together and did not require grout. I’ll cover that in more detail in just a bit. To learn how to grout, read Brittany’s tutorial on grouting and sealing tile.

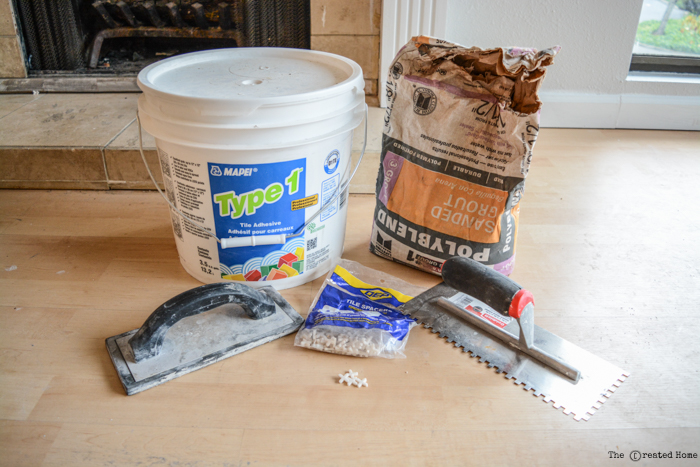
Materials:

(I’ve included affiliate links for your convenience. I earn a small percentage from a purchase using these links. There is no additional cost to you. You can read more about affiliate links here.)

tiling supplies

How to Tile a Fireplace: Make a plan

Entire tutorials can be written about how to choose and plan out your tile. There are a LOT of options out there. Bear in mind that a patterned tile will require more work when laying out, as the pattern needs to be visible and centered in the space. Example: In this fireplace I would have loved to use a cement tile look, but the tiles I found were 8″ and the sides of the firebox only allowed for 6 ½” (which would have looked awkward with the designs I liked.)

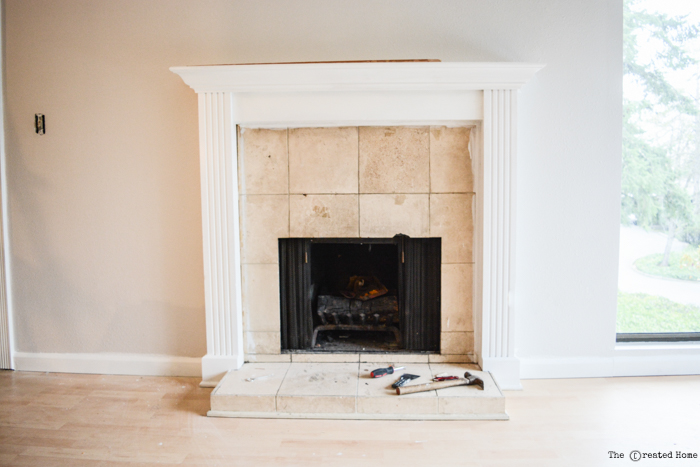
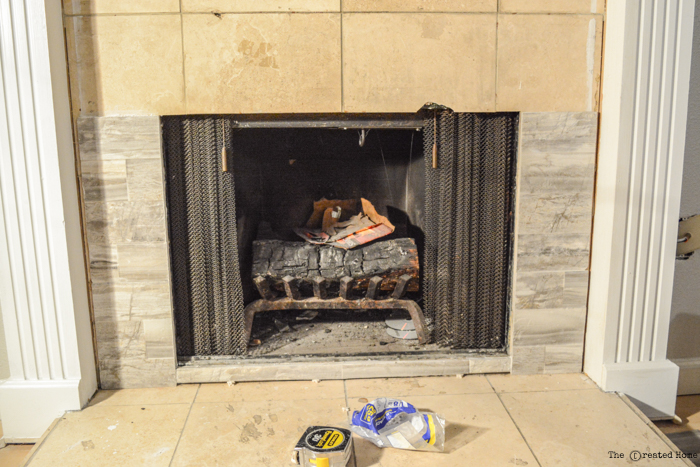
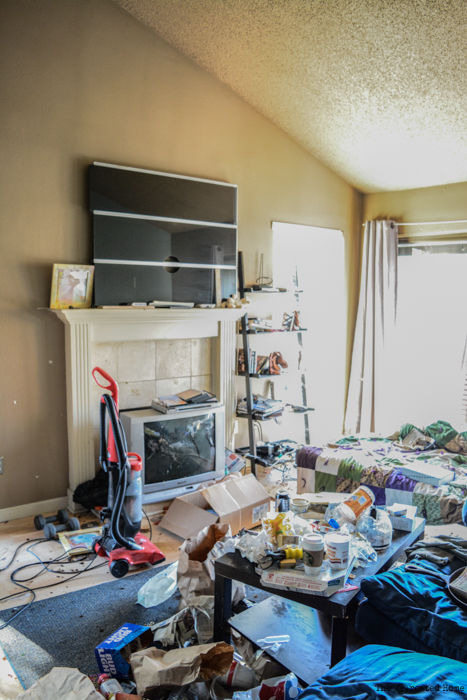
Ugly Before Shot:

tile fireplace before

A second thing to keep in mind is that knowing the square feet to be covered is only half the battle. Chances are you’ll have a number of small pieces to cut which will render some part of each tile unusable. It’s a good rule of thumb to always get 10 – 15% more tile than you need.

Once you have the tile you will need to plan your layout. Where will a row have to be ripped to fit? Where will the pattern repeat? What order will the tile need to be applied? For this project my husband and I spent just as much time making the plan as actually installing the tile.

Get to work:

For this project we chose to tile over existing tile, which was far simpler than removing what was there (even with the poor shape it was in.) If your tile doesn’t have adhesion issues this may be a great route for you. We tested the waters [tile] here and found that the damage to the existing tile was superficial, albeit highly unattractive.

damaged tile fireplace

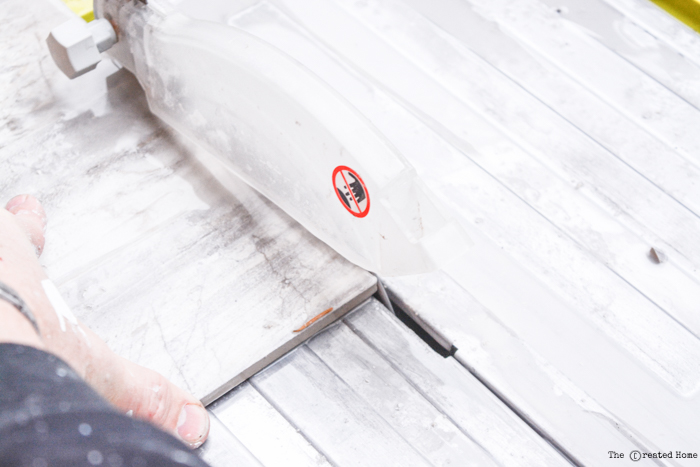
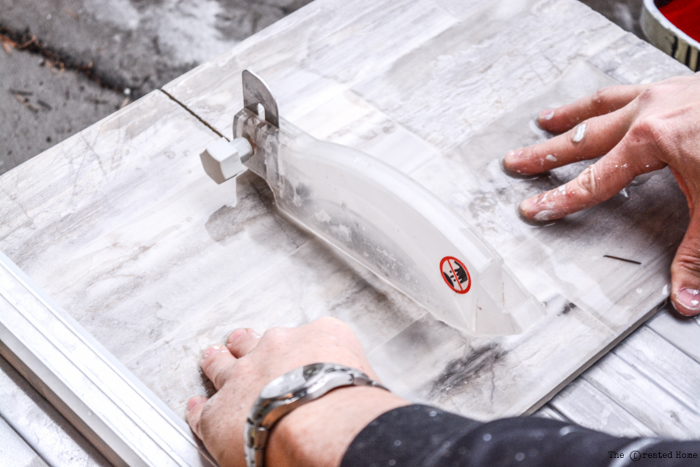
Once you have a game plan it’s time to make your first cut. A tile saw (or wet saw) cuts much like a table saw, but it needs a constant source of water to keep the blade cool and the dust down. Keep a pail of water on hand to refill the saw as needed. Some tile saws can be hooked up to a water source via a hose.

tile saw wet saw

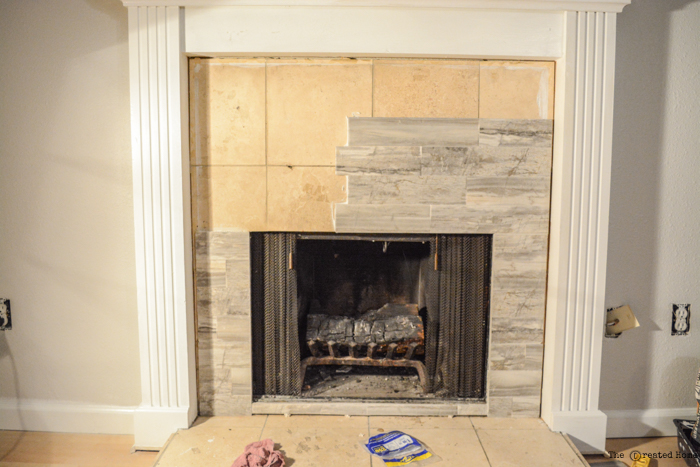
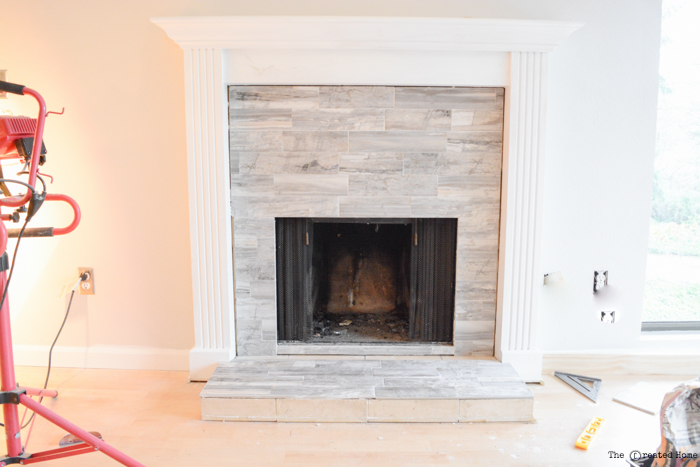
You will be covering the edges where the tile runs into the wood mantle surround with some sort of trim, so it’s not important that you are dead on with every cut fitting perfectly against that edge. This is also useful if you run into issues with things being out of square (which happens frequently). You can see in the photo below the tile does not fit snuggly, or uniformly along the far sides.

How to Tile a Fireplace

Using a Wet Saw: a few tips

I recommend using a tile saw rather than a snap cutter (which just doesn’t work very well). It can be intimidating at first, but go slow, use caution, and follow some basic rules to ensure a professional looking, safe job.

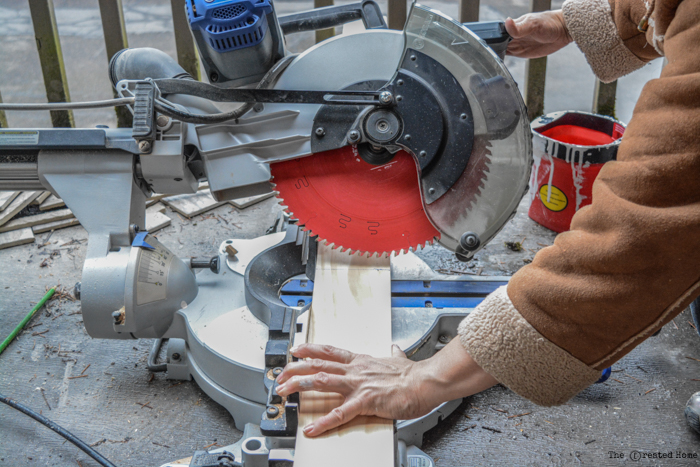
The first rule, is to keep those fingers away from the blade. Make your cuts slow and steady. Water should be flowing around the blade constantly as you gently push the piece through. You can avoid chipped ends by pushing the piece through very, very slowly as you reach the end, being careful not to force the blade. Too fast and the corner of your tile will likely chip off.

wet saw tile saw fireplace

Use your fence to make sure your cuts are straight. You may have to trim off ends if you tile is staggered, as ours was. Place the trimmed end to the outside, where it will be covered with molding.

How to Tile a Fireplace

How to Tile a Fireplace: adhering the tile

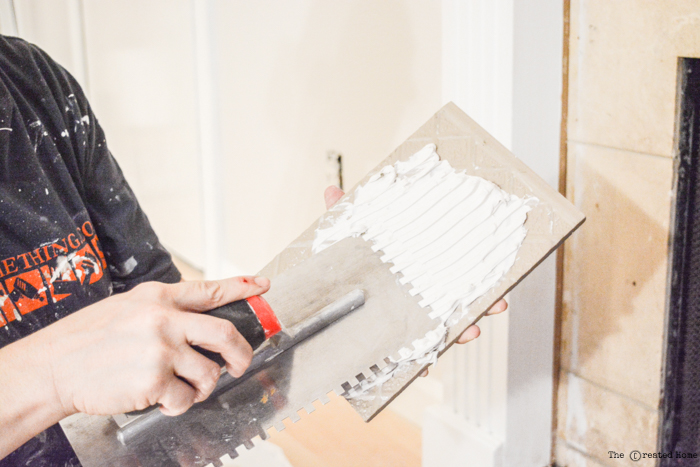
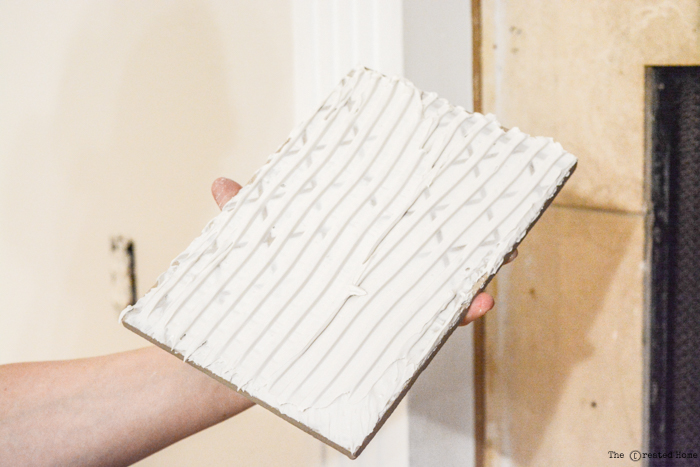
Tile adhesive comes either pre-mixed or in powder form. Pre-mixed is great for small jobs like a fireplace, but either route is fine. Use the notched trowel to spread the adhesive on the back of the tile piece, covering the entire back.

how to tile

The notches will leave tracks, like so:

how to tile

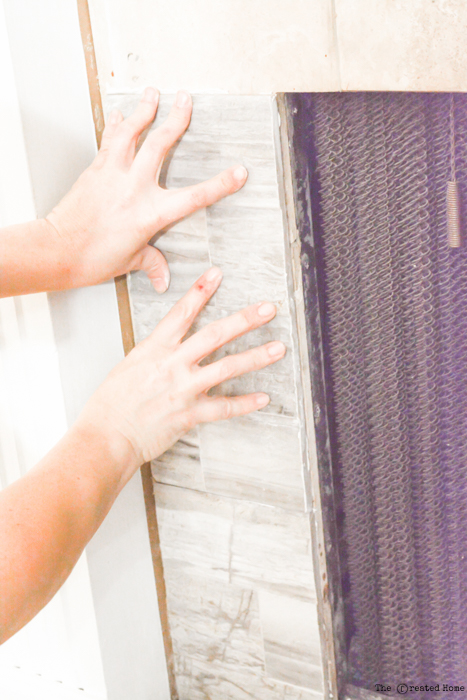
Position the tile where you want it and push firmly, wiggling it around a bit so those tile tracks fill and the tile is firmly adhered along every point to the fireplace.

how to tile a fireplace

If you are grouting between your tiles you will use spacers around each piece. The pieces we used required being set close together to mimic the look of the “preset” tiles. We used the adhesive to fill any small gaps that did show. Again, be sure to check out Brittany’s grouting tutorial if you plan to use grout.

how to tile a fireplace

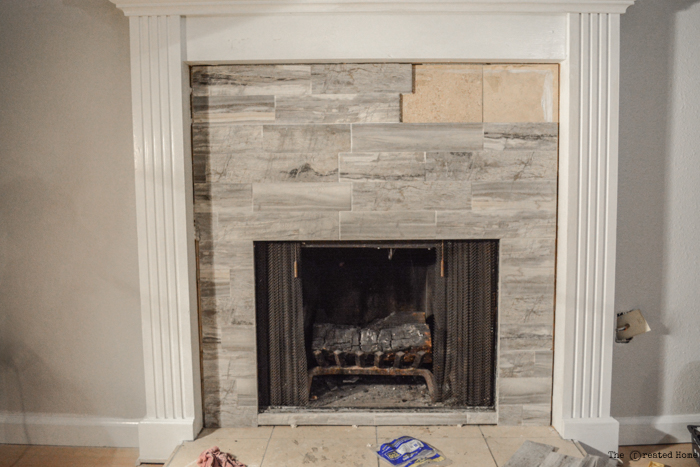
Continue adding the tiles to the desired pattern. Be sure to account for how your final row will fit, as it will in all likelihood require cutting the tile crossway to fit correctly. The good news is you will be able to hide the seam at the top with some molding.

tiling over existing tile - How to Tile a Fireplace

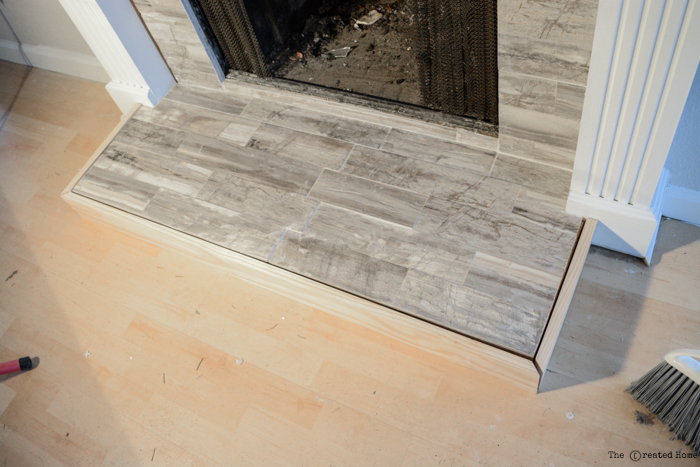
This fireplace required tile down on the hearth as well, which meant notching around the mantle. To make those cuts be sure you are cutting the tile face up and draw lines to help guide your cuts. The blade will undercut a bit farther than your top cut, but it will be hidden underneath. You’ll quickly discover that most lines are not square, and probably have a gap something like this. Use some caulking to seam it all together and it will look just fine.

tiled hearth

Finishing the Fireplace: adding trim

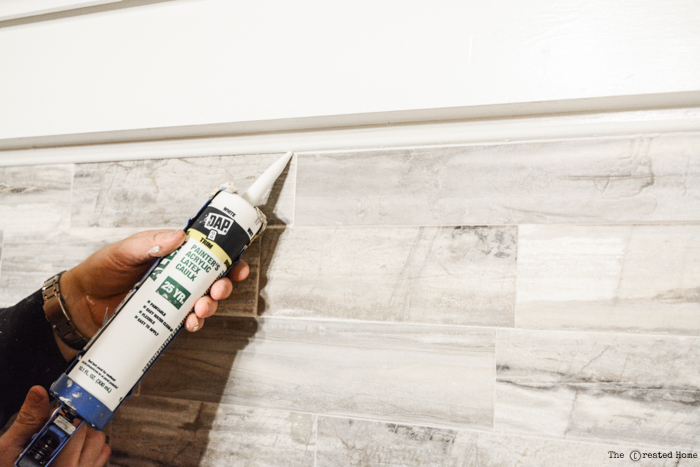
Molding completes the finished product and hides those seams. Quarter round is a great option for the fireplace. Paint the molding to match the mantle. Attach by driving brad nails through the quarter round at an angle so it goes into the hearth. Caulk around the molding for a seamless look.

fireplace molding

Bonus Content: wrapping the hearth

The front of the hearth here had tile, and I decided the better look would be to wrap it in wood instead to tie it into the white of the mantle and break up the tile a bit. It’s the same look I created when we redesigned our own fireplace.

how to tile a fireplace

To create this look you will need a piece that is the same width as the height of the hearth front inclusive of the tile you just added. If you are lucky you won’t have to rip a piece down to fit.

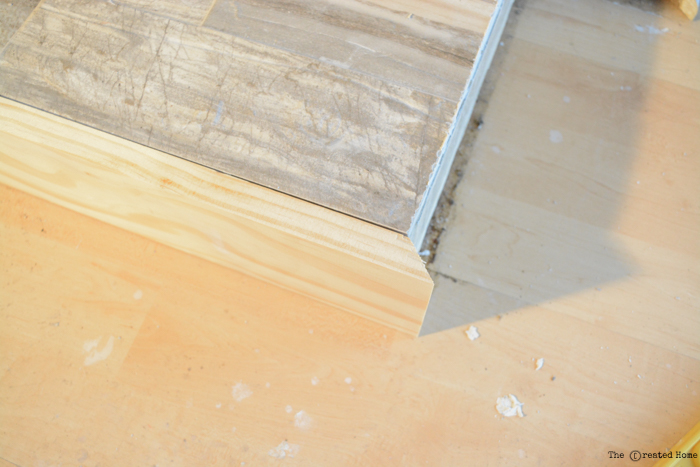
The sides of that front can be square cut or mitered. To miter the front, cut one end at a 45 degree angle. I prefer to use the saw’s bevel function to get this cut nice and straight.

bevel cut

Place the piece against the front of the hearth and line up where it will sit.

miter cut hearth front

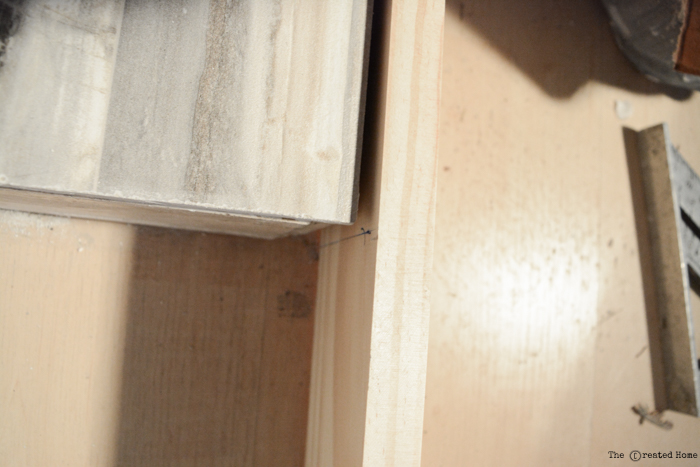
Mark the other end where the short end of the 45 will sit. This is easier and more accurate than simply measuring.

marking cut

It also helps to sketch the angle of your cut while the wood is in place to ensure you don’t cut the wrong way (it’s easy to do).

How to Tile a Fireplace

Cut 45˚ for the side pieces, then measure and make the 90 degree cuts. You can easily cut those back to fit, so cut a little at a time. Paint the molding. Attach by finish nailing the angles together, and then either nail or glue it to the face of the hearth. We used construction adhesive and clamps, letting them sit overnight.

Stand back and enjoy your hard work!

how to refinish a fireplace with tile

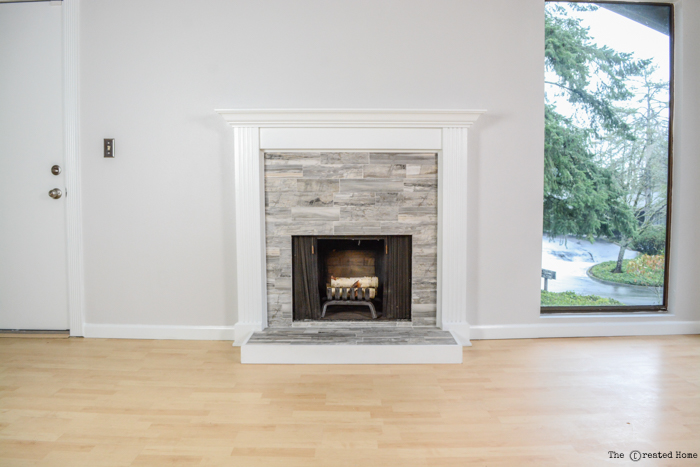
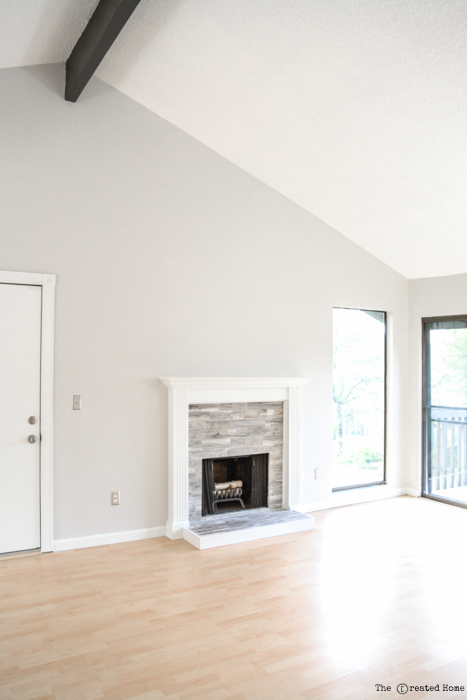
As you can see, not only are there a lot of options for refinishing a fireplace, there are a ton of options for tile itself. Tiling is a great way to go that doesn’t have to cost a lot of money. Our cost for this fireplace was just over $100.

When we started, this fireplace was far from the focal point of the home, as you can see . . .

fireplace before

. . .and here’s the dramatic finished look.

How to Tile a Fireplace

Now it’s your turn! Put those tiling skills to work and tile it up! In no time at all you’ll be chatting with company and casually mention, “Oh yes, the fireplace. did that. No big thing.” And don’t forget to share your before and after photos so we can all admire the transformation with you.

Happy tiling!

~See More of Sarah’s Projects~

Check out these other posts to up your tiling game!


How to Re-Paint Dated DecorWant to know How to Repaint Dated Decor?
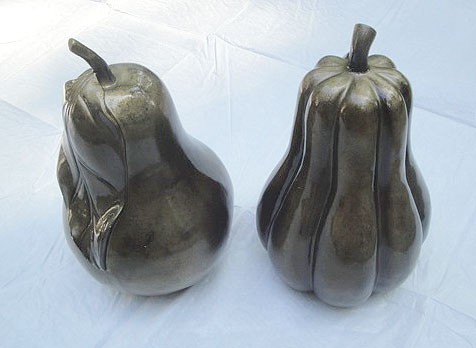
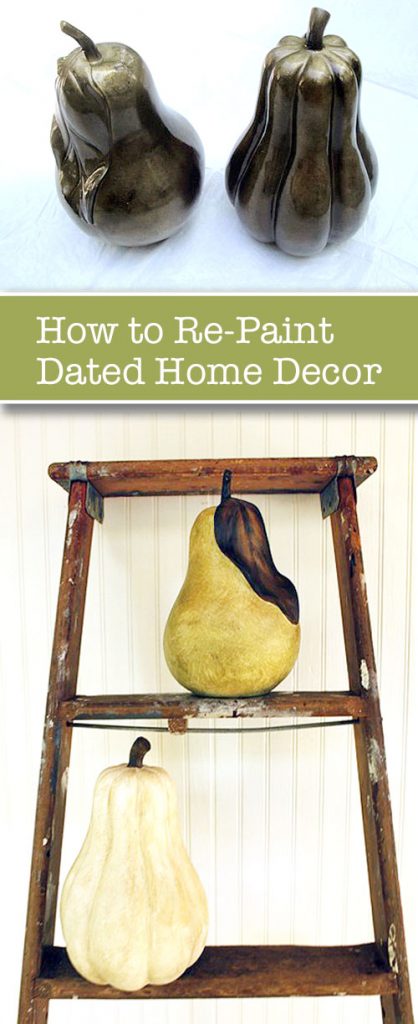
Raise your hand if you are a thrift shopper? No, what about yard sales? Have you ever seen any ugly ceramic decor items that shouldn’t have survived the 70’s or 80’s? Nodding your head YES? I thought so. Today I’m going to show you How to Repaint Decor. Those dated monstrosities can look like something you bought from Ballard Design or Pottery Barn! Don’t believe me, well check out this groovy pair (emphasis on pear. LOL.)
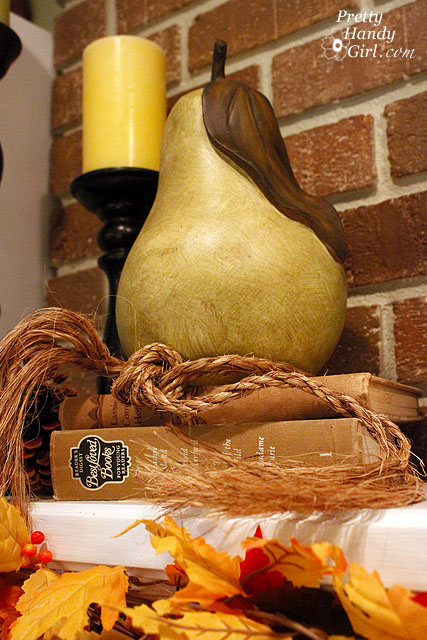
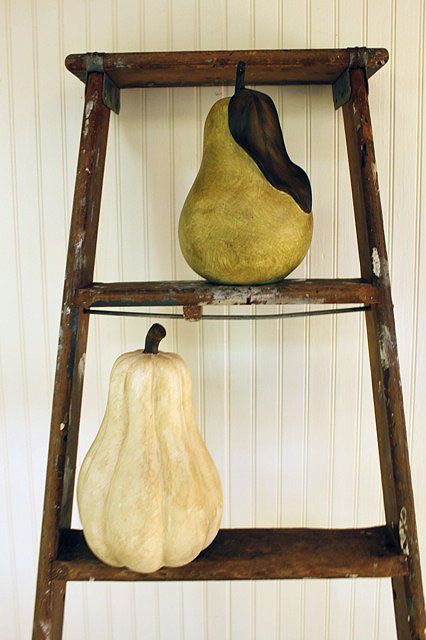
Would you believe this is the same fruit duo?

Yup! I scored them both for $5.

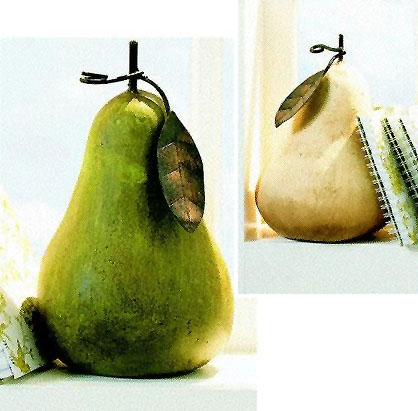
Now, have you seen these deliciously rustic pears from Ballard Designs? Yes? Did you happen to catch the price tags? $49 each!

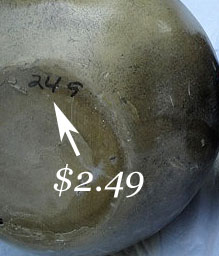
Umm, no thank you, I’ll stick with my $2.50 fruit—Thank you very much. Let me show you how you can paint any ceramic, pottery, or china decor item to give it a new updated look. You’ll need a few things first.

Materials:

(I’ve included affiliate links for your convenience. I earn a small percentage from a purchase using these links. There is no additional cost to you. You can read more about affiliate links here.)

Optional: Rustoleum Comfort Spray Paint Handle (saves your fingers from cramping!)

Instructions:

Clean your decor item with soap and water. Dry thoroughly.

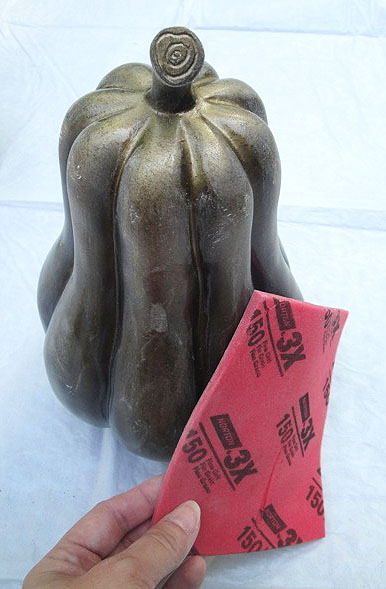
Lightly sand the surface to give a little roughness.


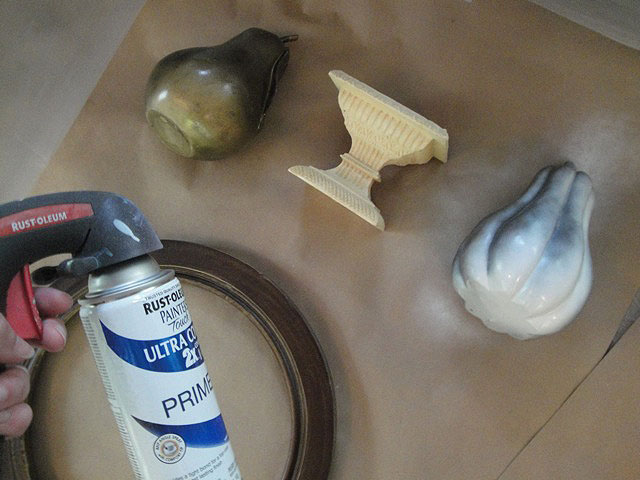
Lay your decor item(s) on paper and spray with several thin coats of spray primer. Allow the primer to dry.


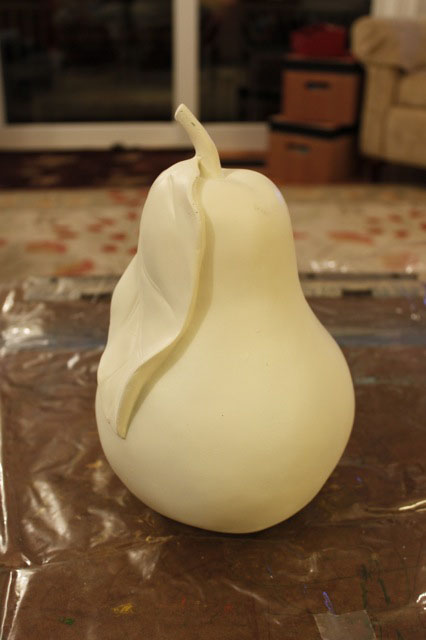
Spray several light coats of Rustoleum’s Heirloom White spray paint. Allow to dry.


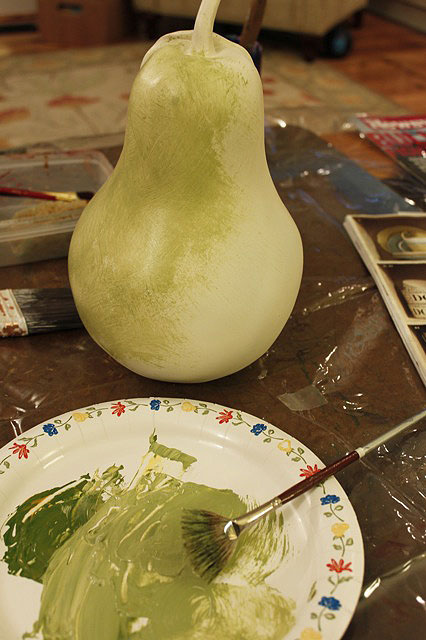
If you want, you can leave the base color white. But, if you want to color your item, mix a base color with the acrylic craft paints. Using the fan brush use a “cross-hatch” pattern to apply the paint onto your item. (This gives more depth and interest than painting on a thick coat of paint.)

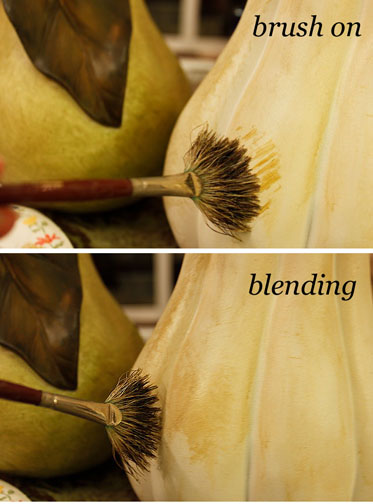
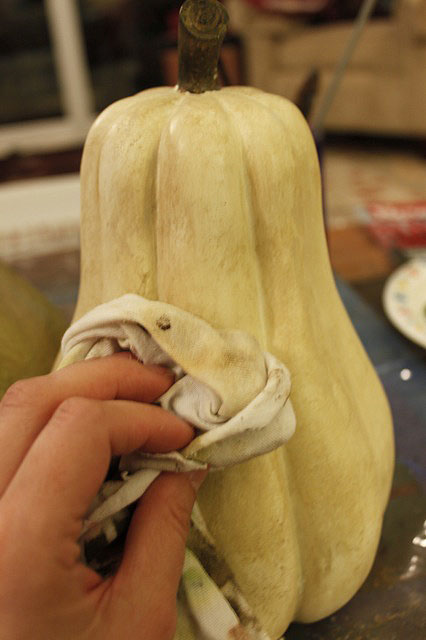
Next mix your glaze by combining acrylic paint (Mix raw sienna (dark brown), burnt sienna (red brown) and yellow ochre until you have a nice golden brown antiquing color.) Pour a small circle of glaze material onto your plate. Dip the fan brush into the glaze medium and then into the mixed acrylic paint. Dab off some paint onto the paper plate (you don’t want your brush to be saturated.) Brush the glaze onto the item and use the fan brush to blend the glaze around. Feel free to use the same cross-hatch pattern you did earlier.

Work in small areas and brush the glaze around until your brush doesn’t have any more glaze on it.
Then use a rag to dab around the decor item until you are happy with the results.

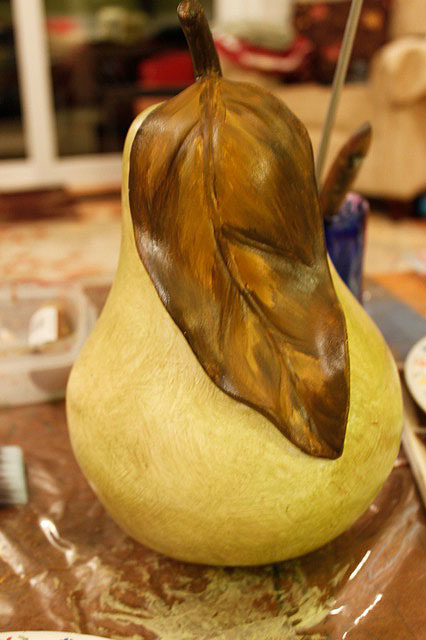
Paint any features onto your decor item (stems, branches, faces, etc.) To paint the pear’s leaf, try a dark brown (raw sienna) and a yellow ochre for the highlights. Acrylic paint is really forgiving. If you don’t like it you can paint over it.


I couldn’t be happier with the results of my repainted home decor! I saved myself about $95 for two decor items!
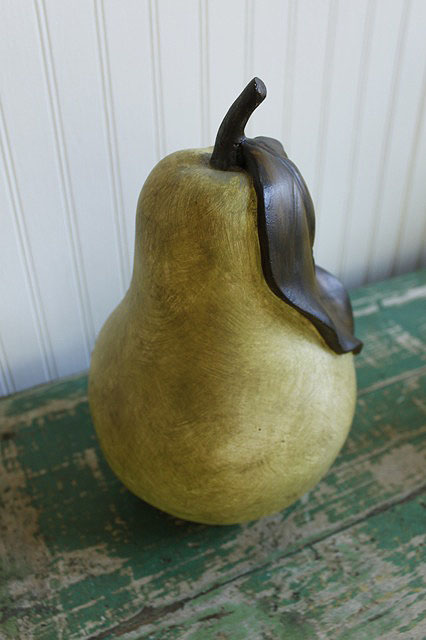
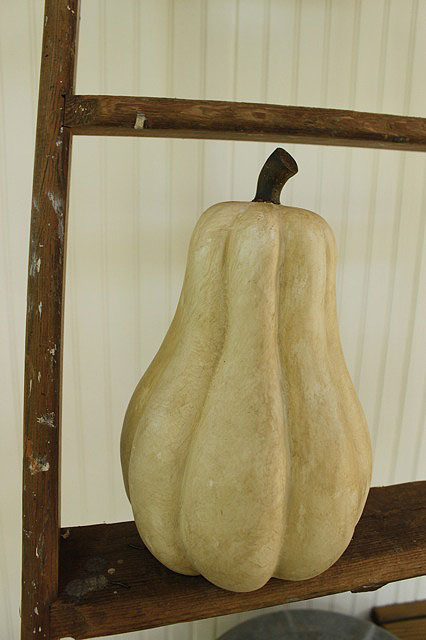
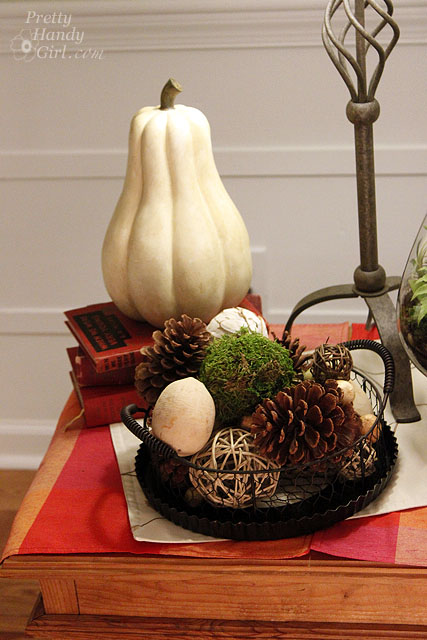
This fruit decor is perfect for any season . . .

But, I like to bring them out in the fall.


Happy thrifting y’all! Never leave cheap dated decor behind again.

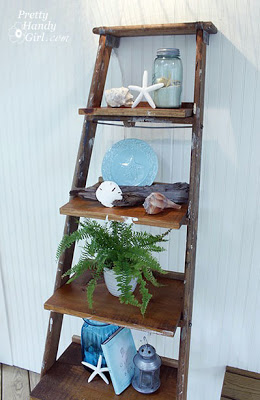
Did you see that ladder above? It is the other half of this ladder and I added shelves to create my own ladder display shelves!

Ladder Shelves

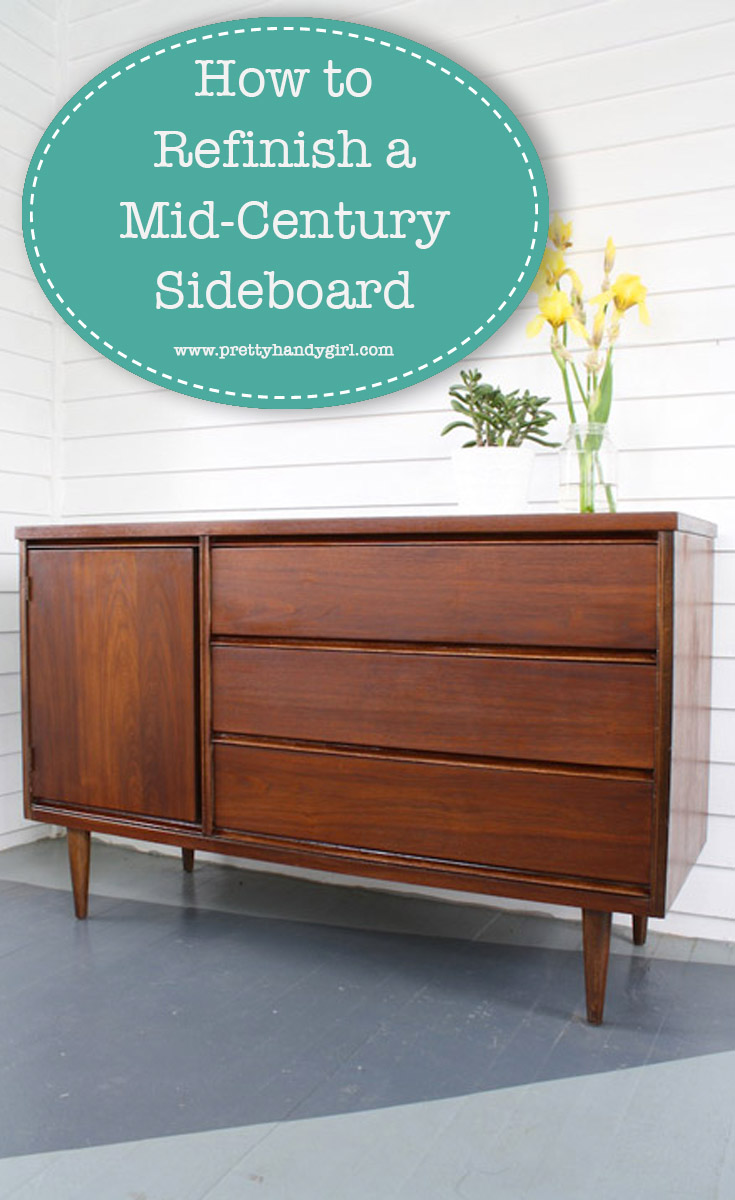
A refinished wooden sideboard left with a natural stain – not painted! Learn how to refinish this sideboard.

Have you ever turned down a piece of furniture that looks ruined? Aha, today’s rocker is Emily and she has the superpower to make furniture look brand new again!  On the Rockstar DIY stage today is a performance you won’t forget. Emily will single-handedly take you through the steps of Refinishing a Mid-Century Sideboard.

Rockstar DIY Series

If you haven’t met Emily yet, she is truly a Rockstar! Emily lives in Rochester, NY and is ALWAYS working on an amazing home improvement project.

Emily-MerryPad

Emily can be found with a hammer, saw or drill in her hands at MerryPad. She has painstakingly renovated two homes. And, as if she wasn’t busy enough with home projects (and taking care of a baby and her step-daughter), she can also be found blogging at DIYNetwork’s Made + Remade. That girl is a machine!

Oh, I hear the sound of a sander, so put your hands together and give it up for Emily!

page_break_2

Hey guys! Super nice to meet you. If we haven’t already met, I figured there’s one thing you should know about me: I really like getting my hands dirty. Building furniture can be fun, and learning how to maintain my home has brought me a lot of pleasure, but if you see me and you notice my hands and arms are coated by stain? Well, you’ll know that I’ve been having a really good time (and I’ve probably run out of mineral spirits, again). Refinishing and restoring furniture–and cabinets, and floors, among other things–is one of my favorite DIY endeavors, always a fun learning experience, and always an opportunity to bring new life into an item that was once beautiful. I’ve had some lucky secondhand finds over the years, from bedside tables to chairs, but one of my favorite transformations was this Bassett Sideboard that I scored from a garage sale for $15.

How to refinish a vintage midcentury sideboard with scratches and water damage.

T’was one of my first refinishing projects, swoon.

If you’re tackling your first refinishing project (or just looking for tips), here are the products and tools I used for this makeover:

  • Detail palm sander and normal sandpaper to get into small crevices
  • Rags (general clean up cloths, and old rags or socks for applying the stain)
  • Tack cloths (the tack cloths are wonderful for cleaning all evidence of sanding dust before staining)
  • A paint brush and high-density foam roller (for application of the conditioner and polyurethane topcoat)
  • Pre-stain wood conditioner
  • Oil-based stain (for this piece I chose English Chestnut by Minwax)
  • Gloss polyurethane

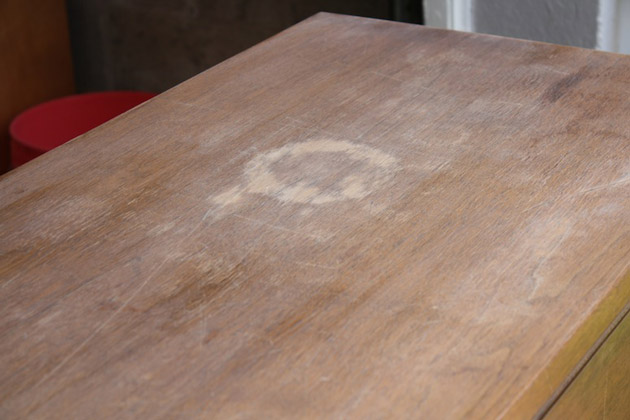
An extraordinary amount of sanding went into eliminating the damage that had existed in the top surface. Scratches are relatively easy to cure, but you never know how bad the water damage is until you start sanding deep, as evidenced by this progress photo:

How to refinish furniture with scratches and water damage.

Elbow grease and a few more courses of low-grit sandpaper (80-120) helped to transform the surface of the sideboard into a raw wood state and eliminate the visible water rings. You might find that your water damage runs deeper – every case is different. Read more

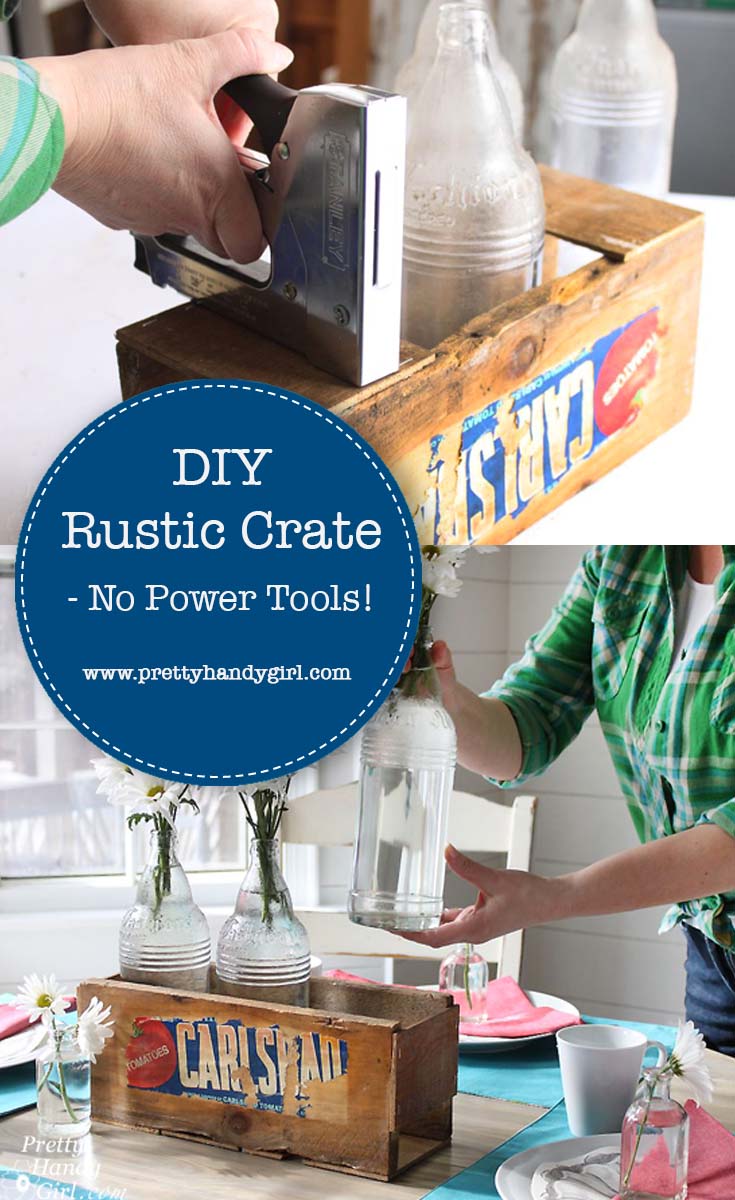
How to Build a Rustic Crate Centerpiece (No Power Tools Needed!) #DIYCourage | Pretty Handy Girl

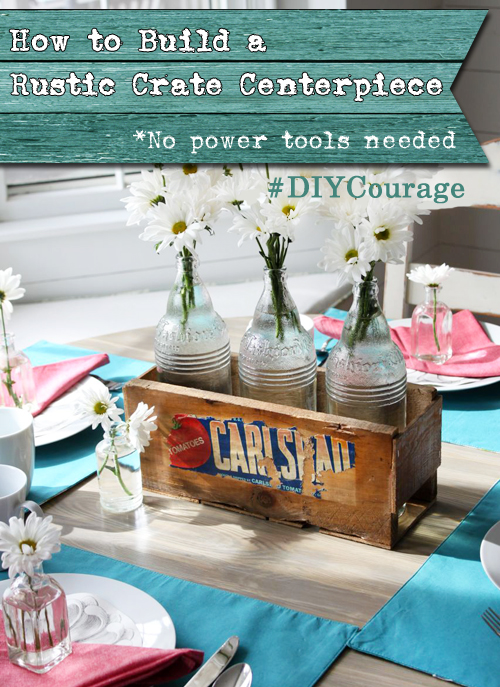
It occurred to me the other day that many woodworking projects may deter people simply because they don’t have power tools or they don’t know how to use them yet. For that reason, I created this tutorial to help you Build a Vintage Produce Crate Centerpiece using no power tools!
How to Build a Rustic Crate Centerpiece (No Power Tools Needed!) #DIYCourage | Pretty Handy Girl

Build a Vintage Produce Crate Centerpiece – No Power Tools!

Many people are turned off by DIY projects because they fear using a power tool. Although I can tell you, I know you can learn how to use power tools safely, let’s go ahead and skip them today so you can get your hands busy creating a beautiful crate. This little vintage produce crate can be used anywhere in your house on display. Use it as a centerpiece, or in the office to hold files or utensils, or fill it with flowers or small items to give as a gift.

Regardless of how you use this little vintage crate, you’re going to love making it.

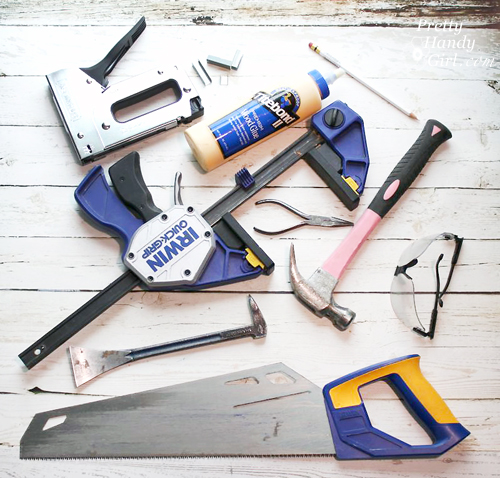
Materials:

(I’ve included affiliate links for your convenience. I earn a small percentage from a purchase using these links. There is no additional cost to you. You can read more about affiliate links here.)

How to Build a Rustic Crate Centerpiece (No Power Tools Needed!) #DIYCourage | Pretty Handy Girl

Optional: 

Instructions:

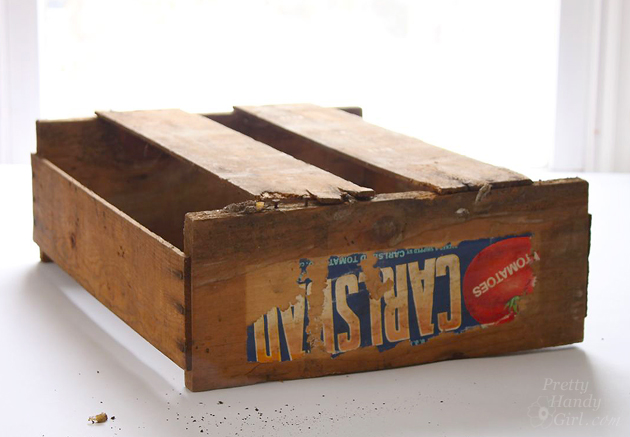
I happen to stumble across this vintage produce crate and vintage bottles that a neighbor was giving away. If you don’t have a neighbor who periodically gives away vintage produce crates, you can ask your local grocery store for produce crates you can salvage. Or you can purchase a produce crate on Amazon. Or look for thin slats at the hardware store to use for this crate. (Then you can learn how to fake the Aged Wood Look yourself.)

How to Build a Rustic Crate Centerpiece (No Power Tools Needed!) #DIYCourage | Pretty Handy Girl

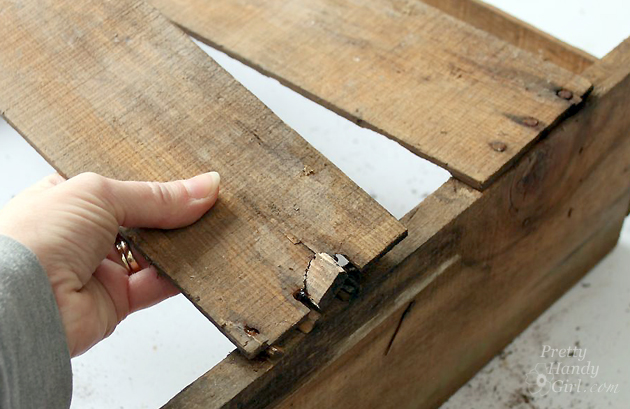
The crate I had was very rustic. So rustic, that I was able to pull the bottom slats off the crate with my bare hands. (In hindsight, I should have been wearing my gloves to avoid splinters.)

How to Build a Rustic Crate Centerpiece (No Power Tools Needed!) #DIYCourage | Pretty Handy Girl

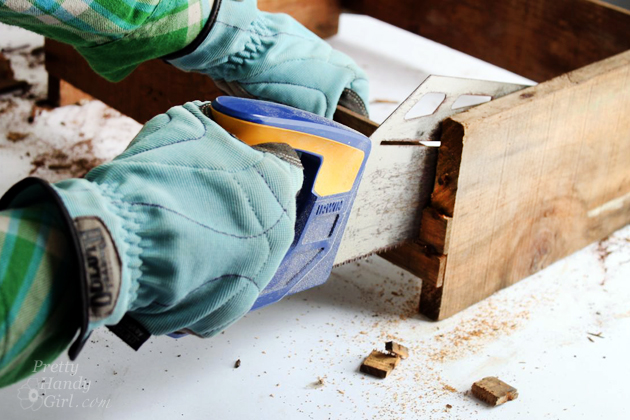
If you want to spare your hands, use a handsaw to remove the slats. Set them aside for use later.

How to Build a Rustic Crate Centerpiece (No Power Tools Needed!) #DIYCourage | Pretty Handy Girl

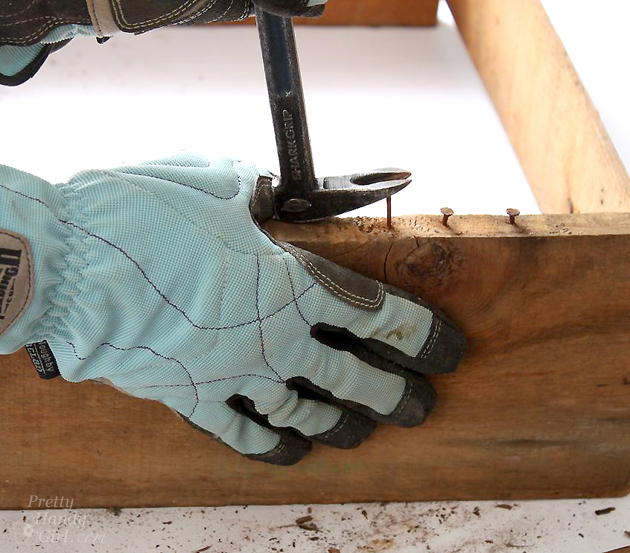
After removing the slats, pry up the nails with a prybar. Be sure to wear gloves to protect your hands. Stubborn nails can usually be wiggled out with the needle-nosed pliers.

How to Build a Rustic Crate Centerpiece (No Power Tools Needed!) #DIYCourage | Pretty Handy Girl

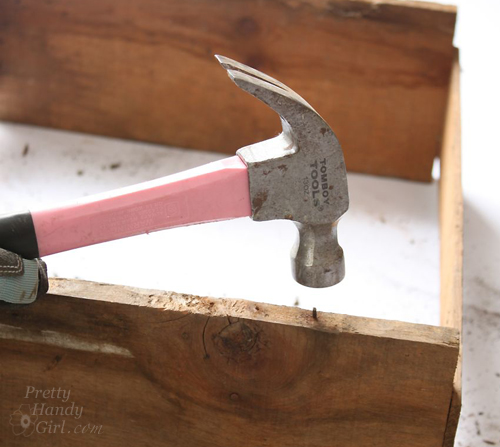
Any nails that are too rusty to remove can be hammered into the wood.

How to Build a Rustic Crate Centerpiece (No Power Tools Needed!) #DIYCourage | Pretty Handy Girl

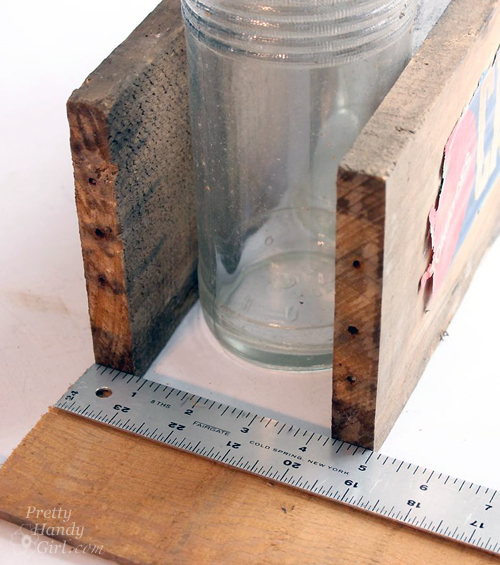
Align the front and back of the produce crate with the bottles or vases you will display in your crate. Or use 5″ as a general measurement from the outside front to outside back. Measure the distance to cut your sides, or just lay one of the slats next to the front and back and mark where to cut it with a pencil.

How to Build a Rustic Crate Centerpiece (No Power Tools Needed!) #DIYCourage | Pretty Handy Girl

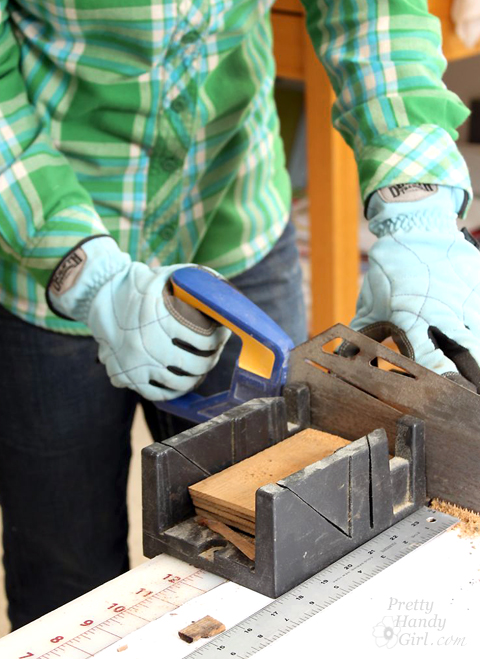
Cut down the salvaged slats to 5″ widths (or your own bottle measurement). Using a miter box will help keep your cuts square.

How to Build a Rustic Crate Centerpiece (No Power Tools Needed!) #DIYCourage | Pretty Handy Girl

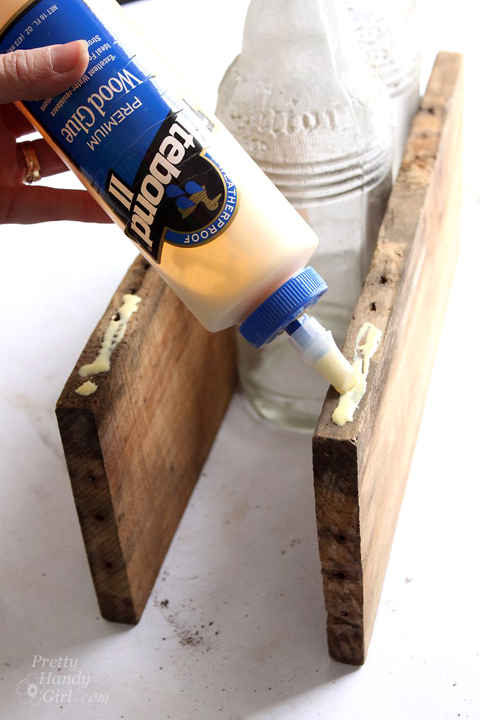
Squeeze wood glue onto the bottom of the produce crate front and back pieces.

How to Build a Rustic Crate Centerpiece (No Power Tools Needed!) #DIYCourage | Pretty Handy Girl

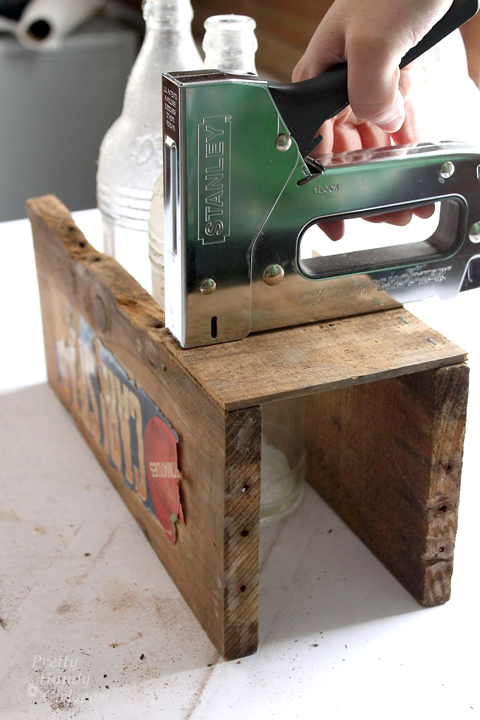
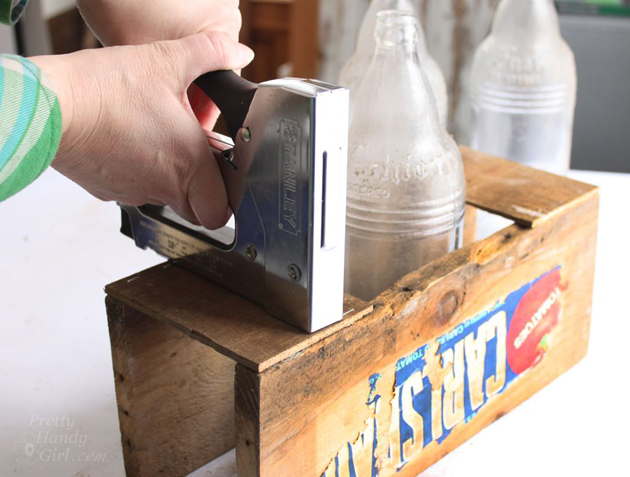
Set one of the 5″ slats into the glue and staple the slat into the crate front and back. Three staples per side should hold the slat while the glue dries. If the slat doesn’t lie flush with the crate, you might need to clamp the slat while the glue dries.

How to Build a Rustic Crate Centerpiece (No Power Tools Needed!) #DIYCourage | Pretty Handy Girl

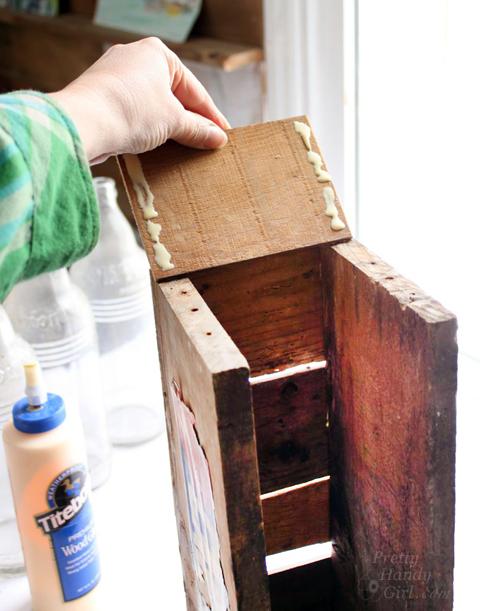
Repeat for the opposite side by stapling the slat to the bottom. Continue working toward the center of your crate.

How to Build a Rustic Crate Centerpiece (No Power Tools Needed!) #DIYCourage | Pretty Handy Girl

Attach one slat to the sides of the crate with wood glue and staples.

How to Build a Rustic Crate Centerpiece (No Power Tools Needed!) #DIYCourage | Pretty Handy Girl

You’ll notice I left spaces between the slats for that vintage produce crate look. If you want, you can butt the slats tight up against one another. Clamp your crate as the wood glue dries.

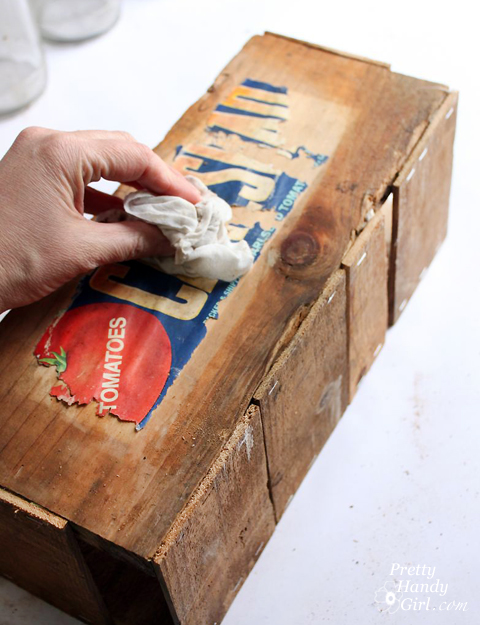
If you have a true vintage produce crate, you might need to secure what is left of the label. Gently wipe the crate and label with a damp rag.

How to Build a Rustic Crate Centerpiece (No Power Tools Needed!) #DIYCourage | Pretty Handy Girl

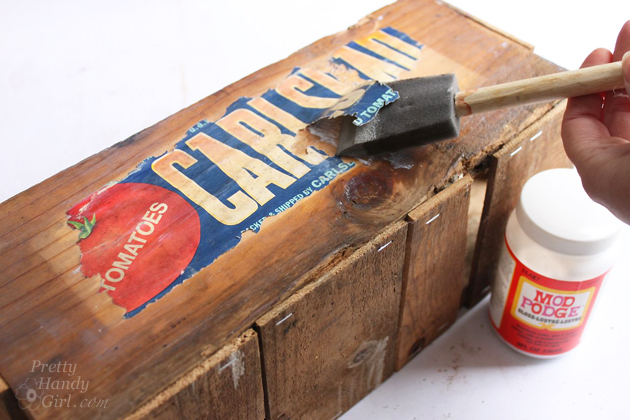
Apply a coating of Mod Podge to the underside of any parts of the label that are peeling up. Then apply a second coat of mod podge over the entire label to seal it to the crate.

How to Build a Rustic Crate Centerpiece (No Power Tools Needed!) #DIYCourage | Pretty Handy Girl

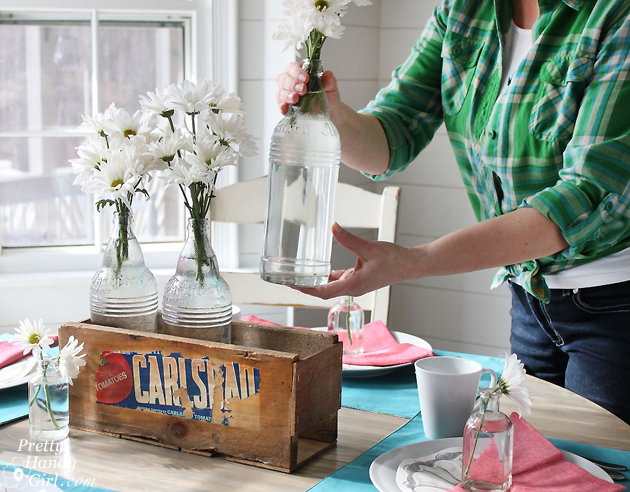
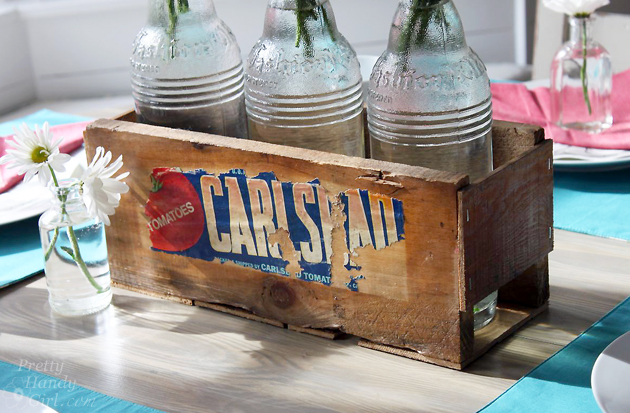
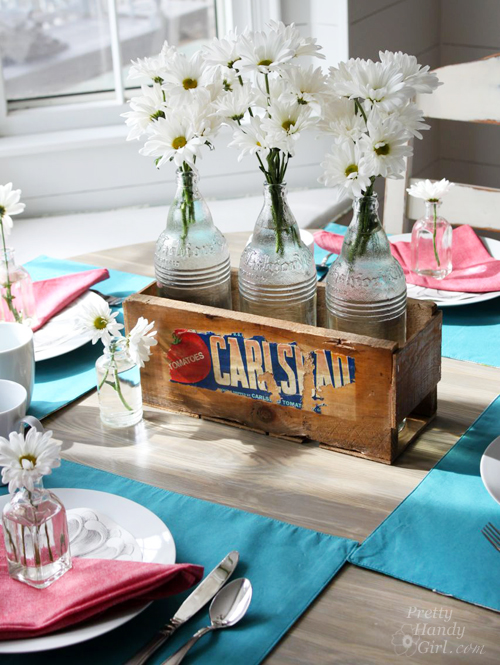
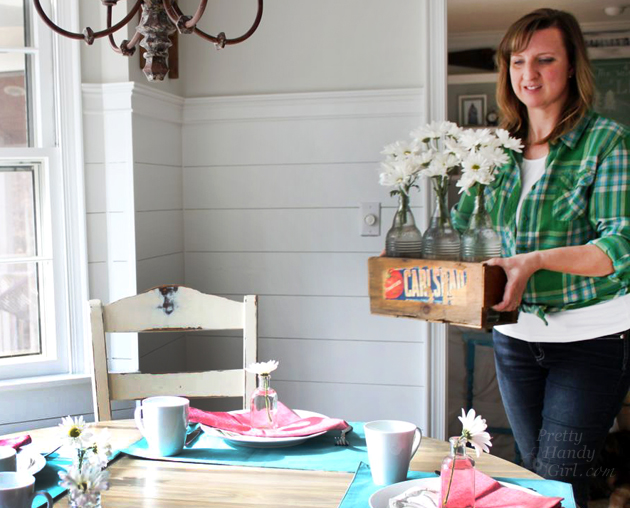
When the crate is dry, load it up with vintage bottles filled with fresh flowers.

How to Build a Rustic Crate Centerpiece (No Power Tools Needed!) #DIYCourage | Pretty Handy Girl

Place it on your table and invite a friend for lunch.

How to Build a Rustic Crate Centerpiece (No Power Tools Needed!) #DIYCourage | Pretty Handy Girl

The conversation will surely turn to your Rustic Produce Crate Centerpiece you made yourself.

How to Build a Rustic Crate Centerpiece (No Power Tools Needed!) #DIYCourage | Pretty Handy Girl

Which you can proudly say you made…by hand…without any power tools.

How to Build a Rustic Crate Centerpiece (No Power Tools Needed!) #DIYCourage | Pretty Handy Girl

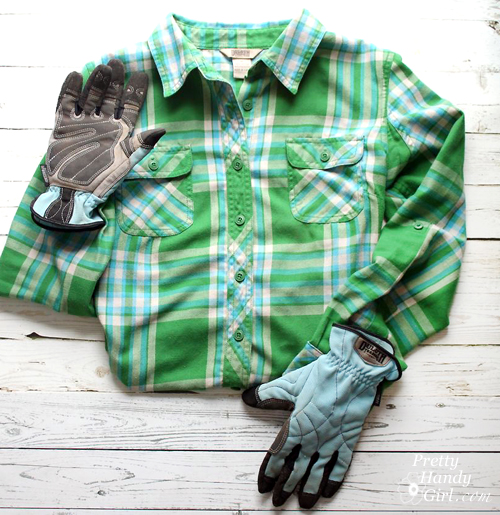
Want to know where I got my shirt? The Duluth Trading Company Crosscut Performance Flannel Shirt is super comfortable. It’s like wearing your PJs all day. The flexible gussets in the back give you more freedom of movement while working. FYI, the crosscut flannel shirt is on clearance right now. If you don’t see the color you want, check back in early fall to snag your favorites (but don’t wait, they go fast.)

How to Build a Rustic Crate Centerpiece (No Power Tools Needed!) #DIYCourage | Pretty Handy Girl

PHGFancySign


Pin for later!

Build a Vintage Produce Crate Centerpiece using no power tools whatsoever! | Pretty Handy Girl #DIY #rusticcrate #DIYcrate

How to Refinish Wood Floors without Sanding | Pretty Handy Girl

How to Refinish Wood Floors without Sanding | Pretty Handy Girl
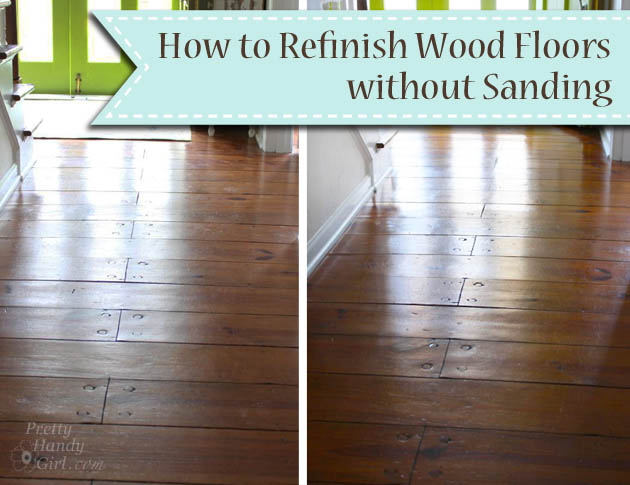
How to Refinish Wood Floors without Sanding

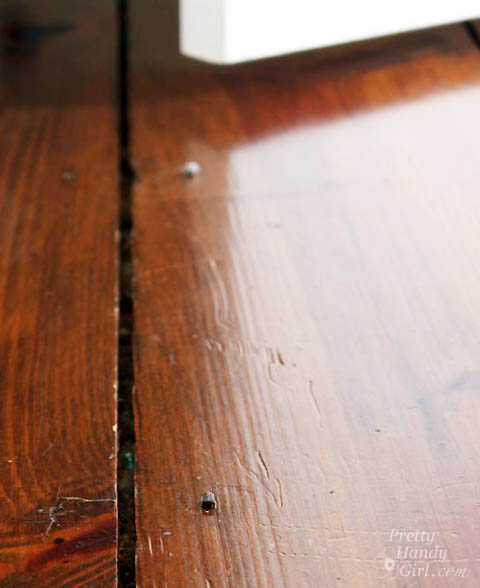
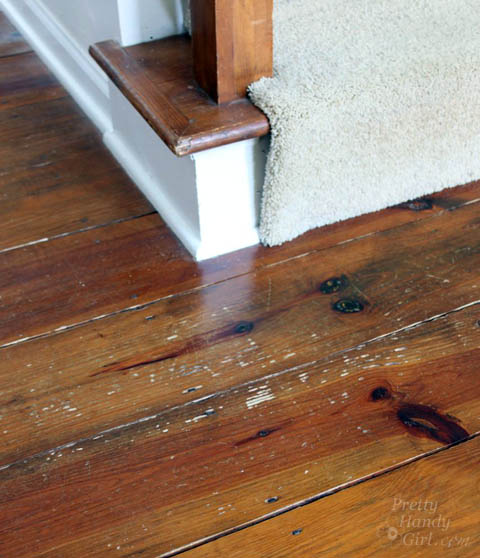
I love our antique heart pine floors! They are beautifully distressed. The round pegs and square nails securing them in place add loads of character. However, the square nails sit flush with the surface preventing us from ever being able to refinish them with a sander. The nails would tear up the sandpaper in no time. But, that’s no problem because I know a way to Refinish Wood Floors without Sanding!


How to Refinish Wood Floors without Sanding | Pretty Handy Girl

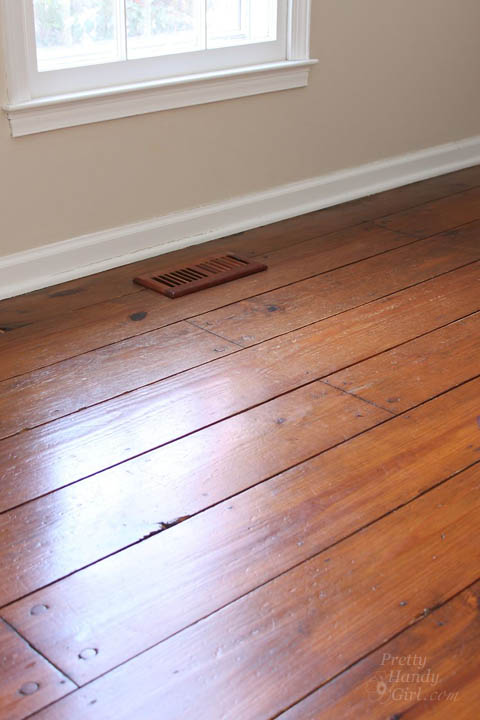
From time to time, our floors start to look dull…

How to Refinish Wood Floors without Sanding | Pretty Handy Girl

…and the scratches are more noticeable. This is when I know it’s time to refinish them.

How to Refinish Wood Floors without Sanding | Pretty Handy Girl

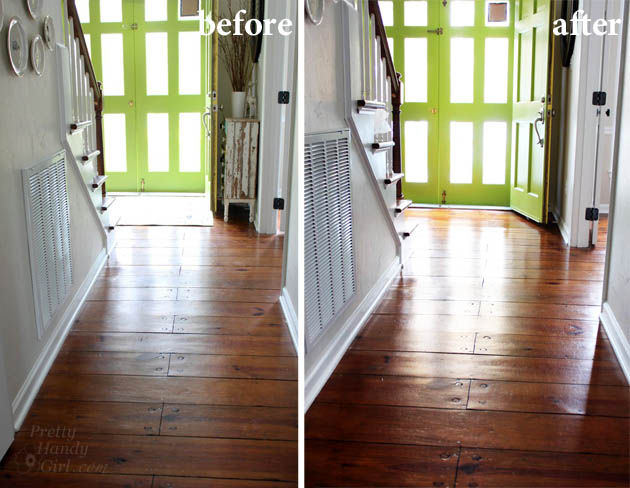
The first time I refinished our floors, it was several years ago when we were painting the office and dining room. I decided to try to refinish the floors because the rooms were already devoid of furniture. Several neighbors had recommended Bona® Hardwood Floor Cleaner and Bona® Hardwood Floor Polish. I was skeptical, but the results were beautiful floors that had luster, but still showed their beautiful age.

Before and After Finishing Wood Floors without Sanding | Pretty Handy Girl

The Bona® Hardwood Floor Cleaner did a fabulous job of cleaning the floor without damaging them. And, the Bona® Hardwood Floor Polish provided a strong finish without any waxy build up. The high gloss protective layer adds some shine, but isn’t overly shiny. The polish also fills micro-scratches, evening out the appearance of the floor.

How to Refinish Wood Floors without Sanding | Pretty Handy Girl

Fast forward to this past week when Bona asked me to write a sponsored post for them, I jumped for joy because I already use and love the Bona® Hardwood Floor Products! (Here’s my full disclosure: Yes, this is a sponsored post. No, I was not told what to write. And yes, I probably would have blogged about my experiences using Bona® Hardwood Floor Products at some point anyway. Win-win.)

I highly recommend trying the combo of the Bona® Hardwood Floor Cleaner and the Bona® Hardwood Floor Polish before spending huge amounts of money to have your floors refinished. (Bona® Hardwood Floor Cleaner & Polish will not work on floors that have an oil or wax coating. Test in an inconspicuous area to be sure it will work for your floors.)

Here’s how to Refinish Your Wood Floors without Sanding:

Materials:

(I’ve included affiliate links for your convenience. I earn a small percentage from a purchase using these links. There is no additional cost to you. You can read more about affiliate links here.)

Instructions for Cleaning the Wood Floors:

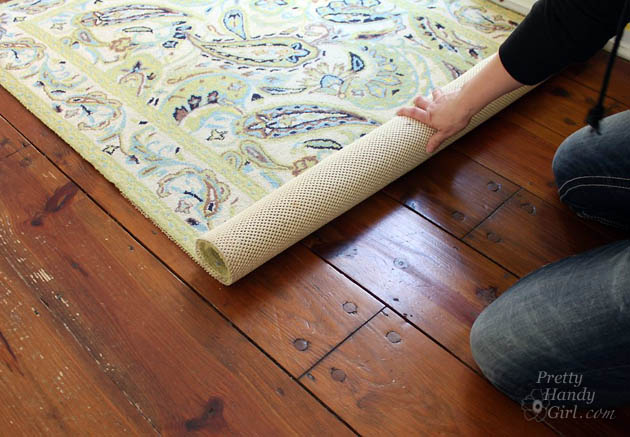
Remove all rugs and furniture from the room. If you have heavy furniture pieces that are never moved, you can leave them in place.

How to Refinish Wood Floors without Sanding | Pretty Handy Girl

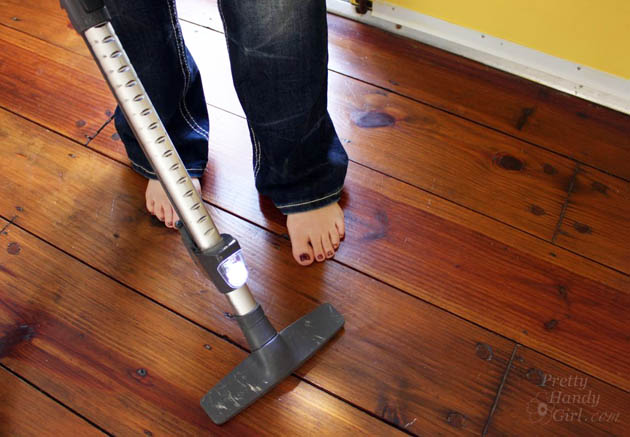
Vacuum or sweep the floors to remove all dirt and debris.

How to Refinish Wood Floors without Sanding | Pretty Handy Girl

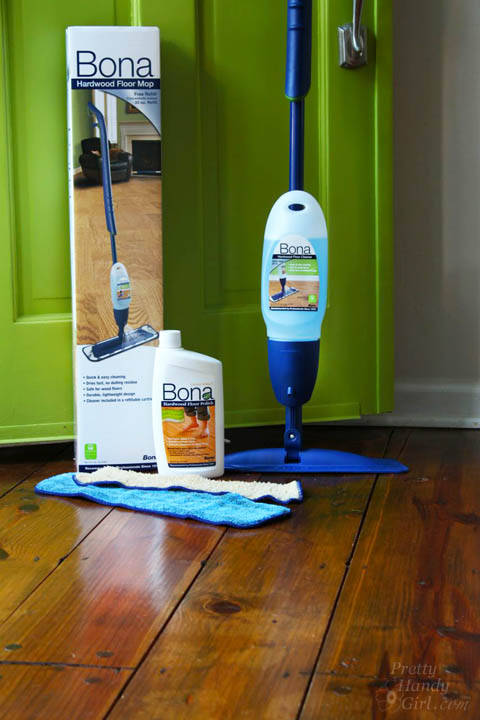
Assemble your Bona® Hardwood Floor Spray Mop as shown here: Read more