You know those projects that you complete 80% of the room and think to yourself, “This is good for now. I’ll do the rest in a day or two.” Yup, the boy’s bathroom was one such 80 percenter. I finally took the time to finish the last 20 percent of this bathroom makeover by giving it a refresh with some paint and new knobs.
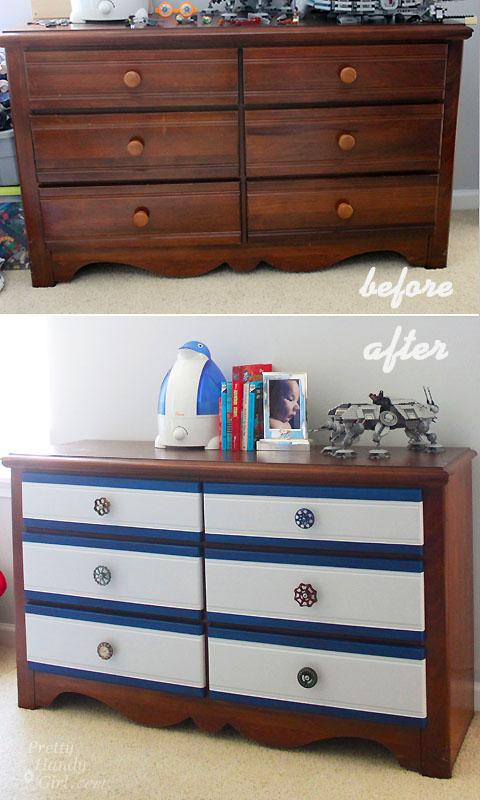
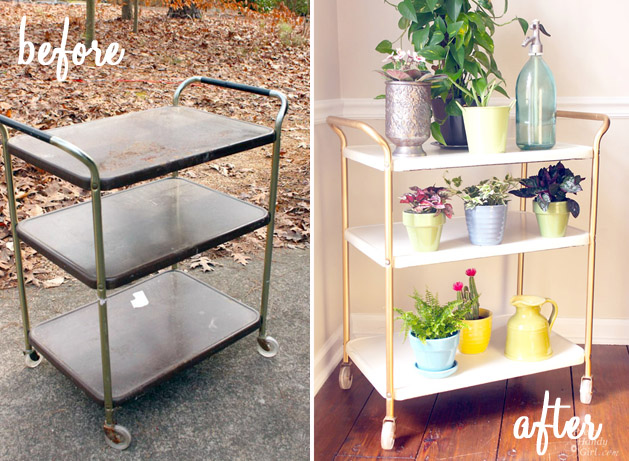
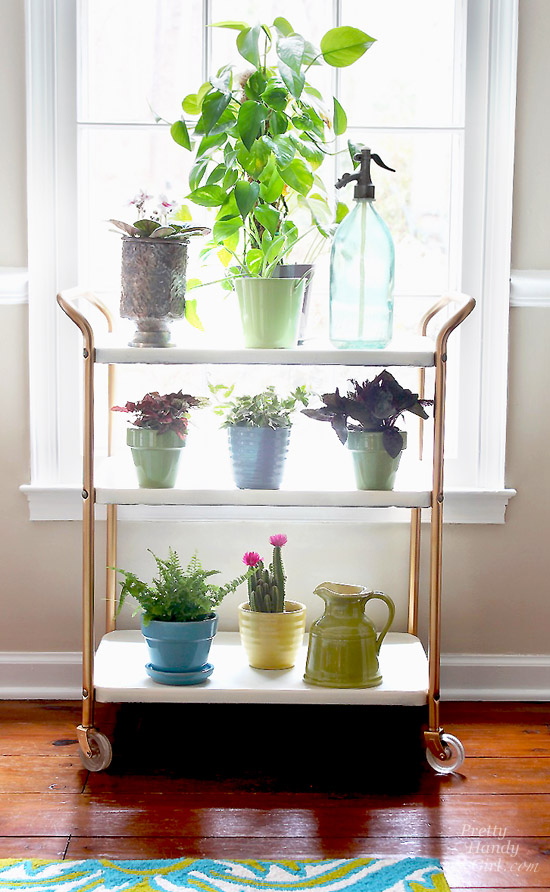
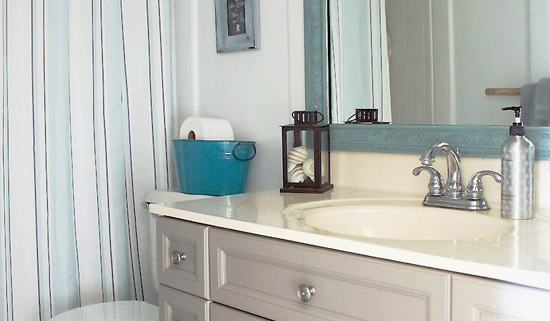
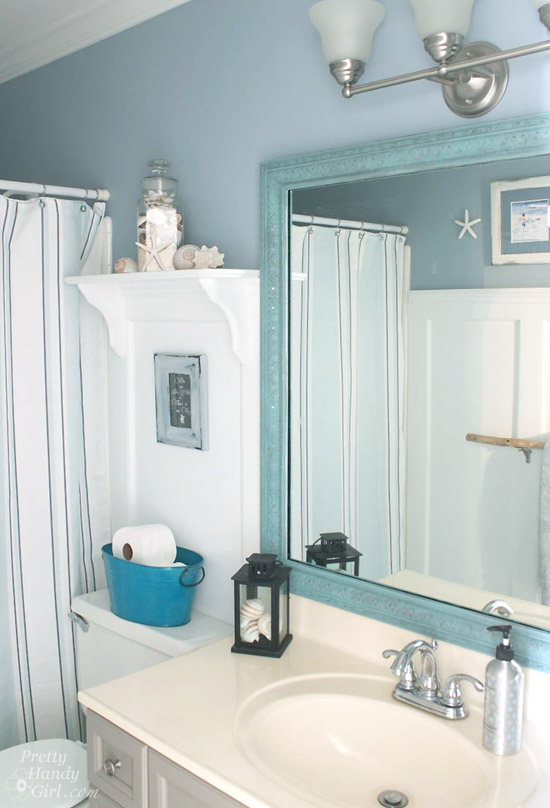
The bathroom used to look like this:
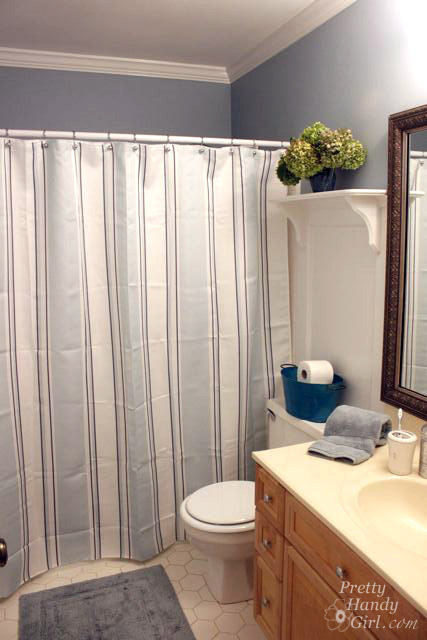
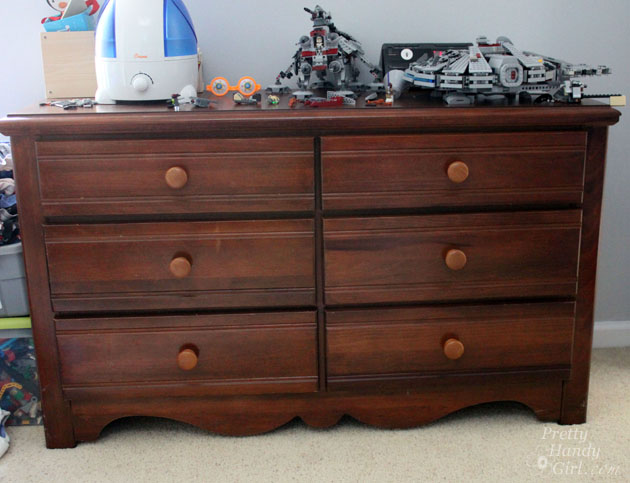
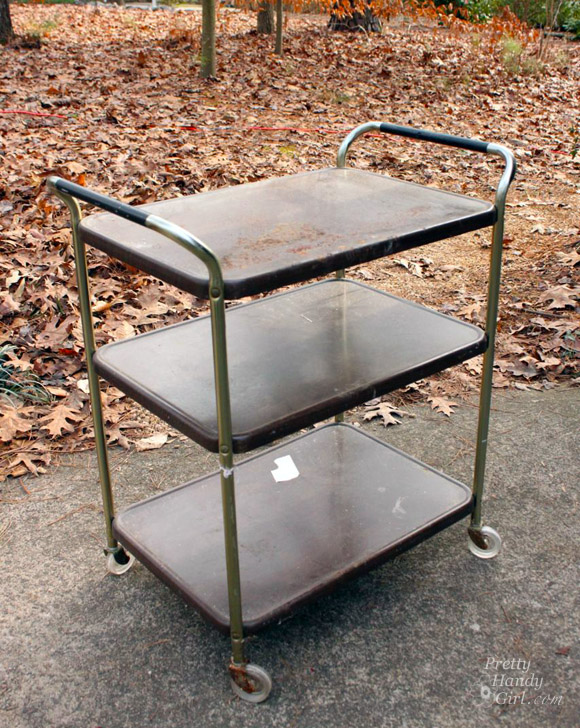
But, before that, it looked like this:
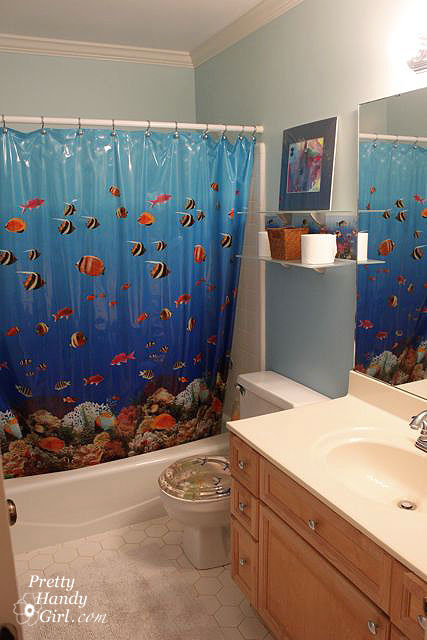
I find it comical that I took an underwater themed bathroom and gave it a seaside retreat feel. I guess you could say I pulled this big whopper from within the ocean and laid it out on the beach. LOL.
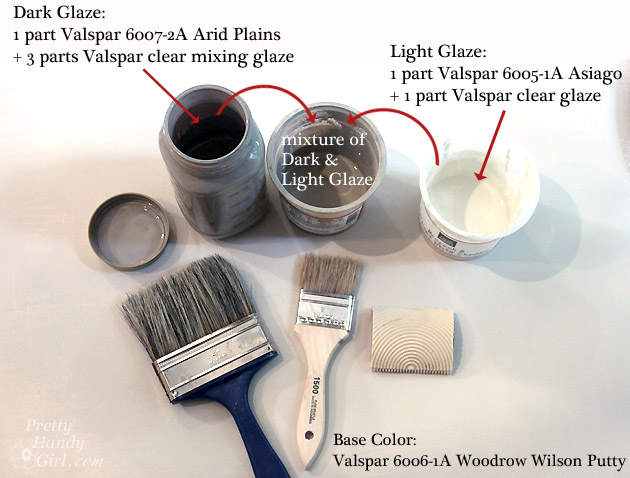
Let’s break it down now. Here’s how to paint a bathroom vanity so it will withstand the abuse of two young boys: Read more