Painted Vanity Nightstand | Pretty Handy Girl

Painted Bedside Vanity | Pretty Handy Girl

In the quest to makeover our master bedroom and save money, I’ve been painting several pieces of furniture to coordinate with the new bed I built.

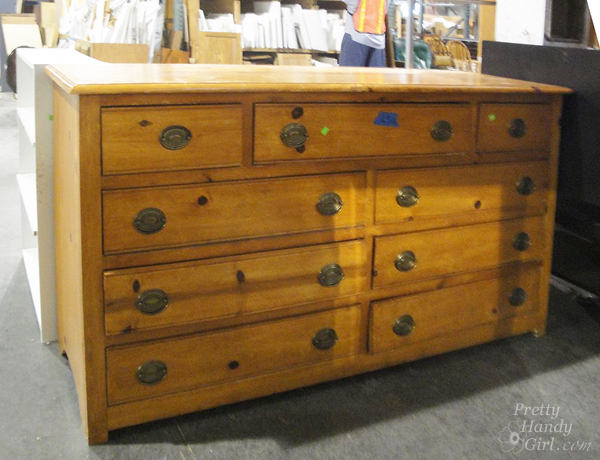
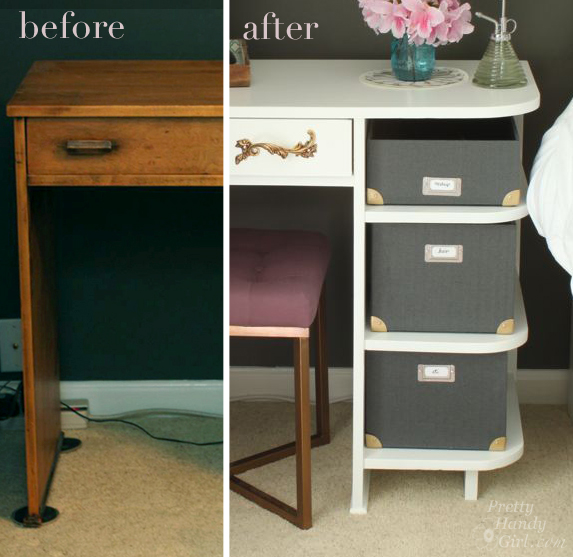
One of the pieces I painted was this small desk that doubles as a nightstand. Our bedroom isn’t very large and our master bathroom is even smaller than what can be described as a “master” anything! Doing my hair and makeup in our bathroom isn’t a viable option, especially when both Pretty Handsome Guy and I wake up at the same time. When I saw this little desk at a local thrift store, I grabbed it. Especially because she was only $20!

Painted Bedside Vanity | Pretty Handy Girl

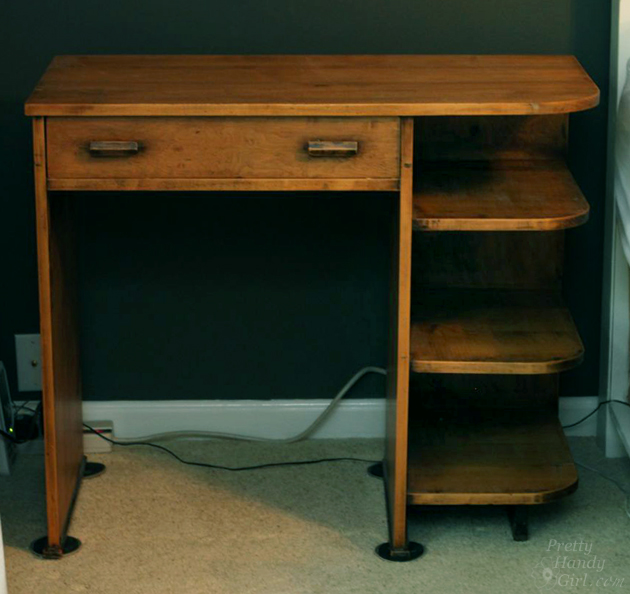
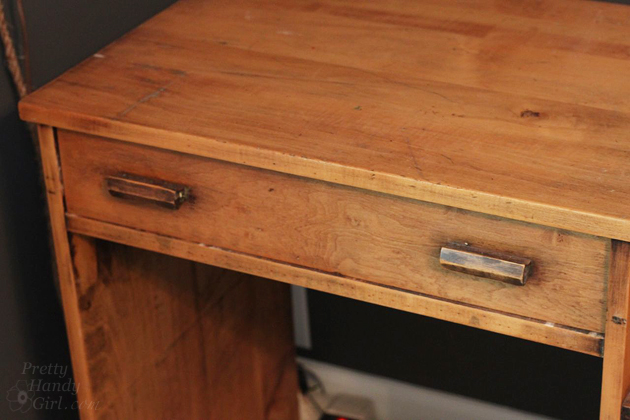
She had lots of age, but not much character.

top-of-wood-vanity

However, she was the perfect size and had just enough storage for a makeup vanity.

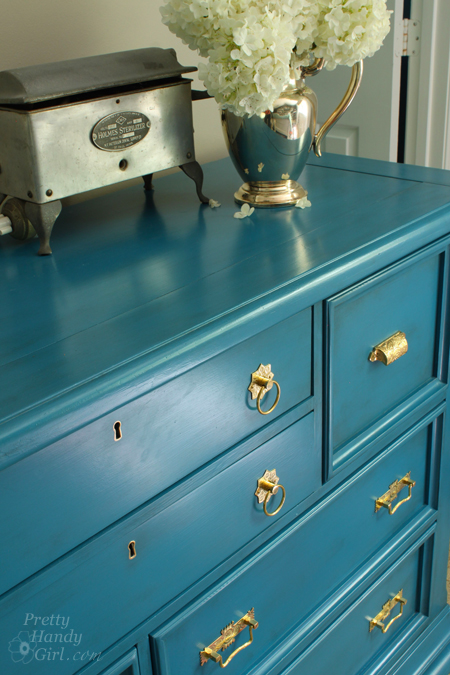
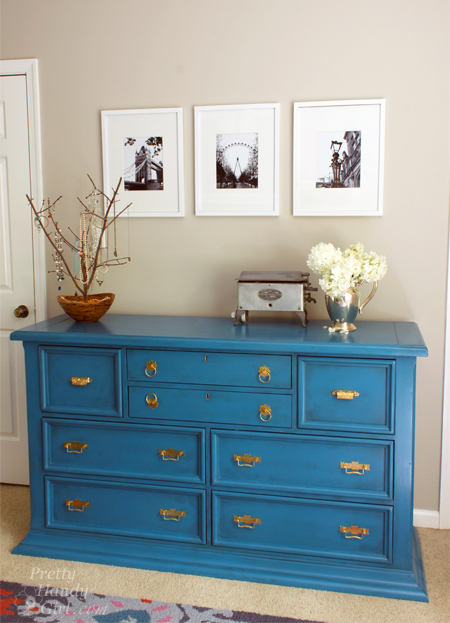
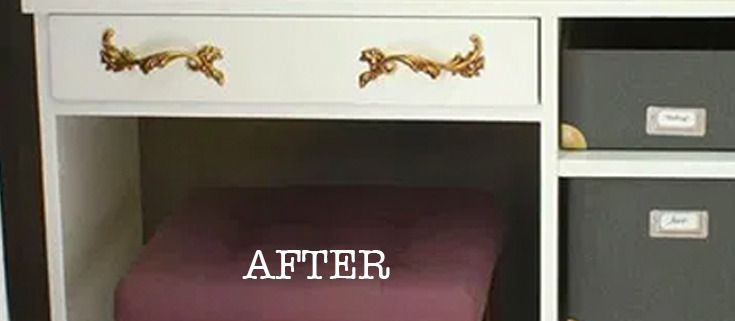
With a light sanding, primer and a coat of Benjamin Moore Advance paint, she is now showing her more glamorous side. Read more

Facelift for a Knotty Pine Dresser | Pretty Handy Girl

Facelift for a Knotty Pine Dresser | Pretty Handy Girl

You know you’ve seen those knotty pine dressers from yesteryear. Their spotlight has faded and they are finding themselves at thrift shops, ReStores or worse yet…at the curb.

Facelift for a Knotty Pine Dresser | Pretty Handy Girl

I’m begging you to let this knotty eyesore back into your home. It doesn’t have to be banished. It’s KNOT her fault she was built from cheap pine. All this dresser needs is a new coat of paint and some beautiful brass knobs and all her flaws and knots will be forgotten.

Facelift for a Knotty Pine Dresser | Pretty Handy Girl

Extra observant points to anyone who realized that this blogger forgot to take a good before picture! She looked very similar to the knotty pine dresser shown above, except she had wooden circle knobs and an unfortunate set of bun feet. I did remove the bun feet from the dresser when I first brought it home. Mama ain’t got no need for buns in this oven (or on my dresser.)

Here are the details on how to refinish a knotty pine dresser and give it a complete makeover!

Materials:

  • Sandpaper
  • BIN primer
  • Damp rag
  • Paint brush
  • Foam paint roller
  • Quart of Benjamin Moore Advance paint (Deep Ocean)
  • Valspar asphaltum glaze
  • Brass hardware (I bought mine from House of Antique Hardware)
  • Drill with bits
  • Screwdriver
  • Level

Instructions:

This tutorial will be fairly brief, if you need more photos and explanation, you can view my previous dresser painting adventure.

Begin by removing all the drawers and knobs. Lightly sand the dresser and drawer fronts. Wipe off any sanding dust. Read more

DIY Button Pendant Light | Pretty Handy Girl

DIY Button Pendant Light |Pretty Handy Girl

While I was house touring on Tybee Island and having  fun antique and salvage shopping in Savannah, I spied some bare lamp shade frame hanging lights. They immediately inspired me to design a DIY Button Pendant Light for over my bedside table in our master bedroom. Part of the desire was born out of the necessity to have more space on my bedside because the table actually doubles as my makeup vanity.

DIY Button Pendant Light | Pretty Handy Girl

Making a Button Pendant Light is an easy DIY project, but you’ll need some patience while threading the buttons. I’ll also show you how to wire a lamp socket and lamp plug! Ready to get started?

(I’ve included affiliate links for your convenience. I earn a small percentage from a purchase using these links. There is no additional cost to you. You can read more about affiliate links here.)

Materials:

DIY Button Pendant Light |Pretty Handy Girl

Optional:

Instructions: Read more

5 Minute Ceiling Fan upgrade | Pretty Handy Girl

5 Minute Ceiling Fan Update | Pretty Handy Girl

When I was updating my son’s bedroom, I gave the ceiling fan a 5 minute update! You can easily change the look of a ceiling fan by quickly swapped out the light shades. I removed the scalloped edged glass shades and replaced them with square ones for a more “gender neutral” look.

5 Minute Ceiling Fan upgrade | Pretty Handy Girl

New glass shades cost anywhere from $3 – $10 each at Lowe’s or other home improvement stores. The shade size is pretty much universal, but make sure you are buying the smaller shades versus larger ones that are sold for pendant lights. To be sure, bring one of the old shades with you or measure the diameter of the mouth on the existing shades.

Here’s the quick 5 minute how to swap out your ceiling fan light shades: Read more

How to Tile a Small Table Top

How to Tile a Small Table Top

Hello and happy summer pretty handy readers. It’s Jessica from Decor Adventures. With the weather getting warmer, I’m completing lots of outdoor projects these days. One DIY adventure I’ve never actually tackled is tiling, but I’ve always wanted to. Today I’m going to show you how to tile a small table top. It’s easier than you think and is perfect for the outdoors too.

Tile a Small Table Top Materials:

How to Tile a Small Table Top

  • Small table
  • Tile adhesive (also called mortar or thinset)
  • Tile (enough to cover the top of the table)
  • Notched trowel
  • Rubber float
  • Grout
  • Grout sponge
  • Tile cutters
  • A bucket
  • Paint for the table (optional)
  • Water
  • Plastic gloves
  • Eye protection


Tile a Small Table Top Instructions

First, prepare your table. The small table I’m using was the one we used for my pet parrot when I was little! His name was Woodstock, and no he didn’t talk. I guess my mom taught me and my sister to talk instead :-). The table had sentimental value, so I knew I wanted to create something special with it.

Read more