DIY Wall Mounted Test Tube Vases
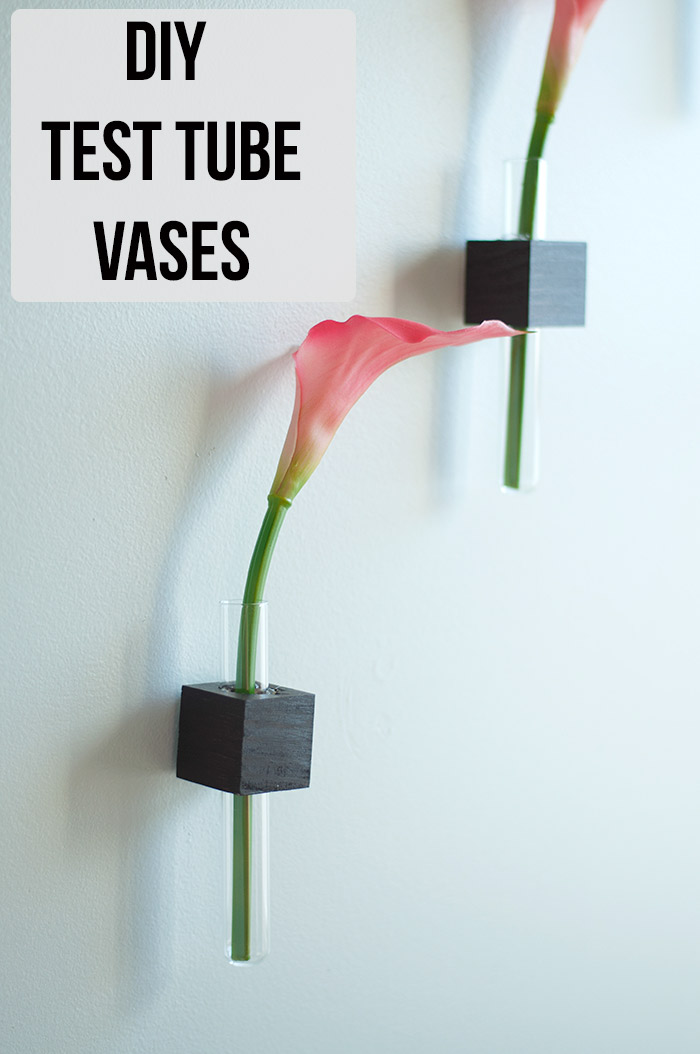 DIY Wall Mounted Test Tube Vases
Happy Valentine’s Day! Hi all, I’m back again from Anika’s DIY Life. I am sharing this super easy and quick tutorial to make DIY wall mounted test tube vases. The best part is they look really cute on the wall and can be displayed in any room!
Personally, I hung mine in the guest bathroom that is currently being updating. These simple vases bring in much needed color and also ties in with the dark vanity.
Materials:
(I’ve included affiliate links for your convenience. I earn a small percentage from a purchase using these links. There is no additional cost to you. You can read more about affiliate links here.)
- Test tubes (20 x 150mm glass test tubes)
- 2″x 2″ board – A small piece of scrap will do.
- 7/8″ spade bit
- Drill
- Miter Saw or hand saw
- Paint or stain of your choice
- Hot glue
- 3M Command Strips
Instructions:
Step 1 – Measure and mark 1 ½” on a 2″ x 2″ board. (2″ lumber is actually 1 ½”. To cut out a cube, you need to cut at 1 ½”.) Find the center (at 3/4″) and mark the location for the hole.
Step 2 – Clamp the 2″ x 2″ to the workbench and use a 7/8″ drill bit to bore a hole through the board.
Tip: You may need to make a small pilot hole first with a small drill bit to keep the spade bit from wandering.
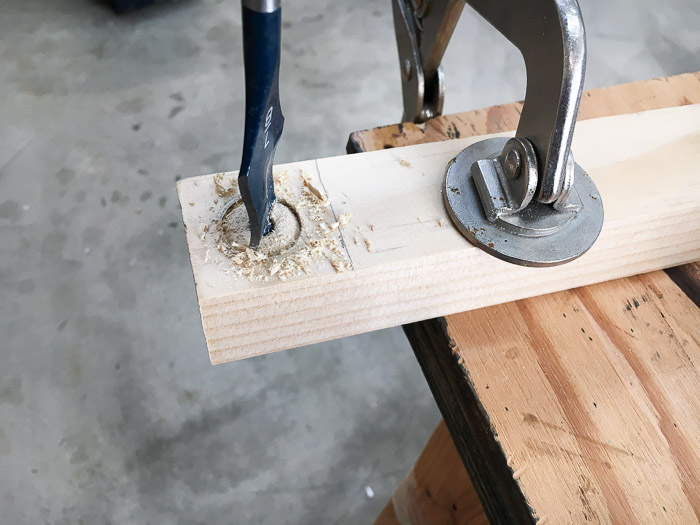
Step 3 – Once the hole is drilled, cut your board at the marked location using a miter saw or hand saw.
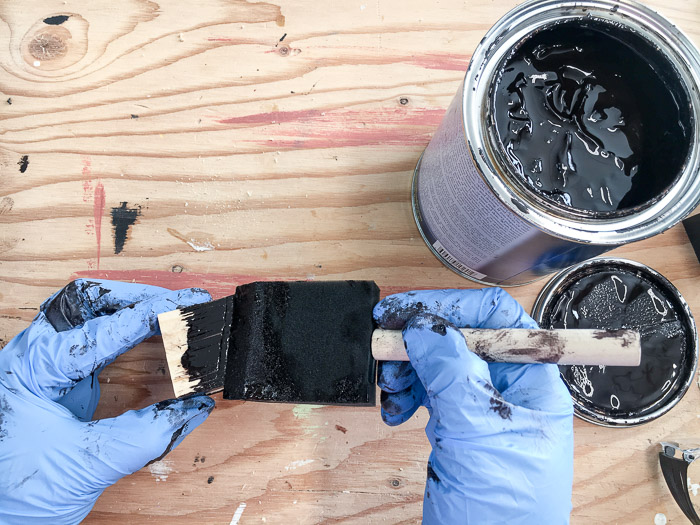
Step 4 – Paint or stain the cubes in the color of your choice. (I used a Java colored gel stain to match my bathroom vanity.) If you would like to use fresh flowers and water in these test tubes, be sure to add a durable coat of polyurethane on the cubes to protect from splashes.
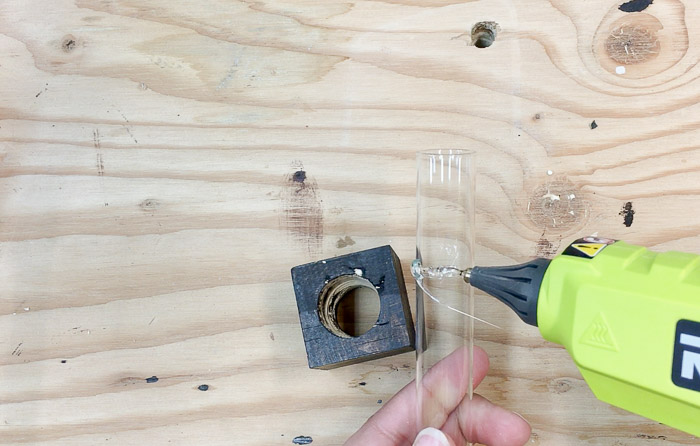
Step 5 – Add a line of hot glue about 2″ down from the top rim of the test tube. Place the test tube inside the cube to glue it in place.
Step 6 – Trim mounting strips to size if they are longer than the cubes. Mount the vases on the wall using 3M Command Strips (removes without damaging walls when you are ready for a change) and add your favorite real or artificial flowers. These vases are very light so the strips work great! Even if you are using fresh flowers, the command strips make it easy to take them off the wall and dump out the water.
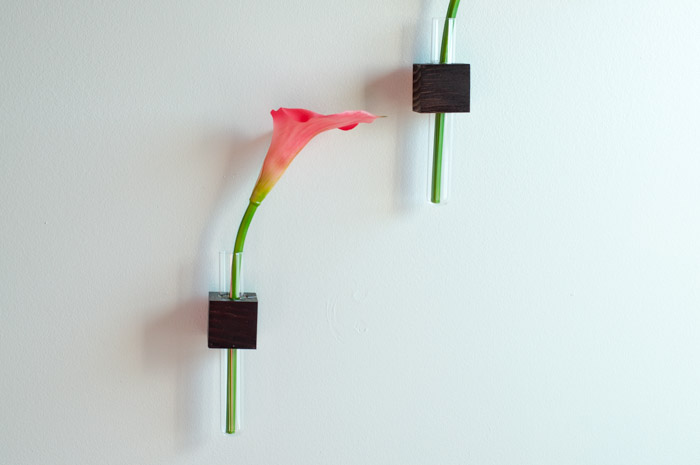
I decided to add 3 of these on the bathroom wall. They are so easy and quick to make. You should make as many as you like to fill an entire wall or gift to friends!
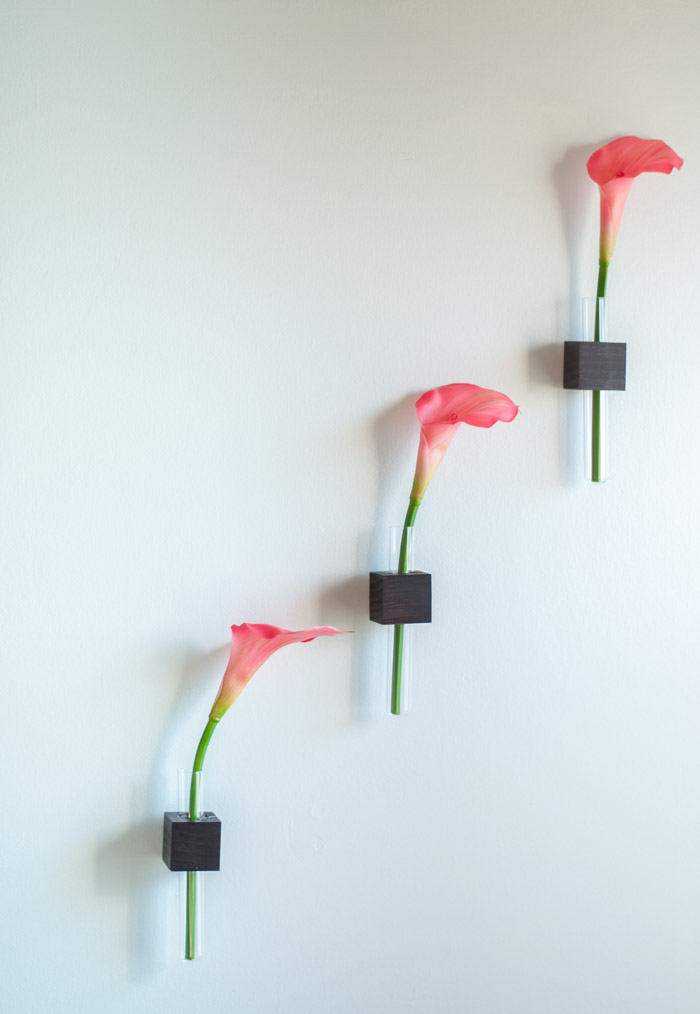
Don’t they look pretty? Come follow along with the bathroom remodel on my blog as I share all the little and big projects that went into it!
If you love easy scrap wood projects, I have a whole bunch of them on my blog. Be sure to check them out!

~See more of Anika’s tutorials~
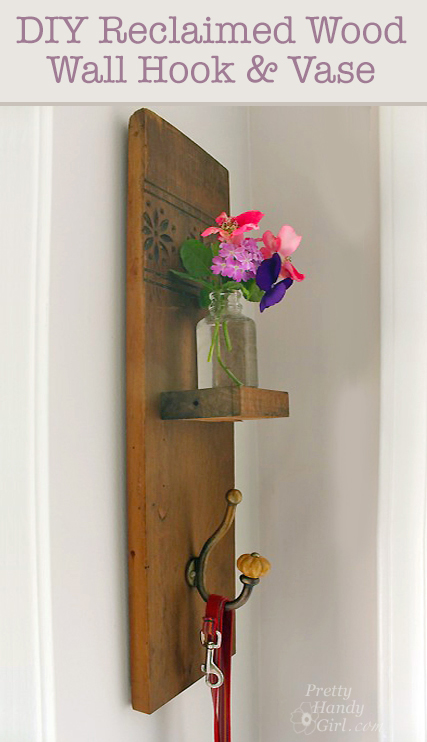
Also, you might love these simple and creative flower vase projects Brittany created:
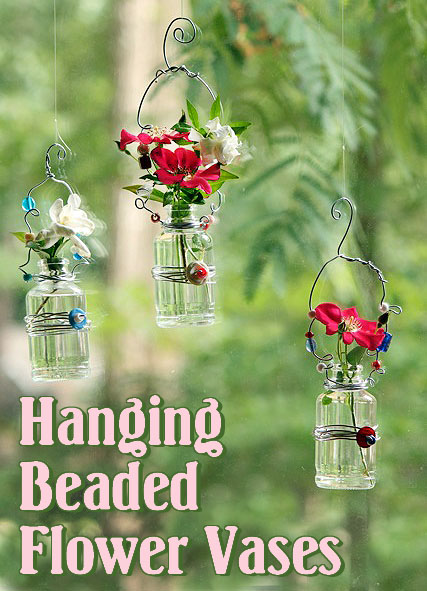
These hanging beaded vases are my favorite!

These are so so cute. Thank you. Great post
They look beautiful without taking up too much space!