
Cordless Drill Storage Center
 Cordless Drill Storage Center
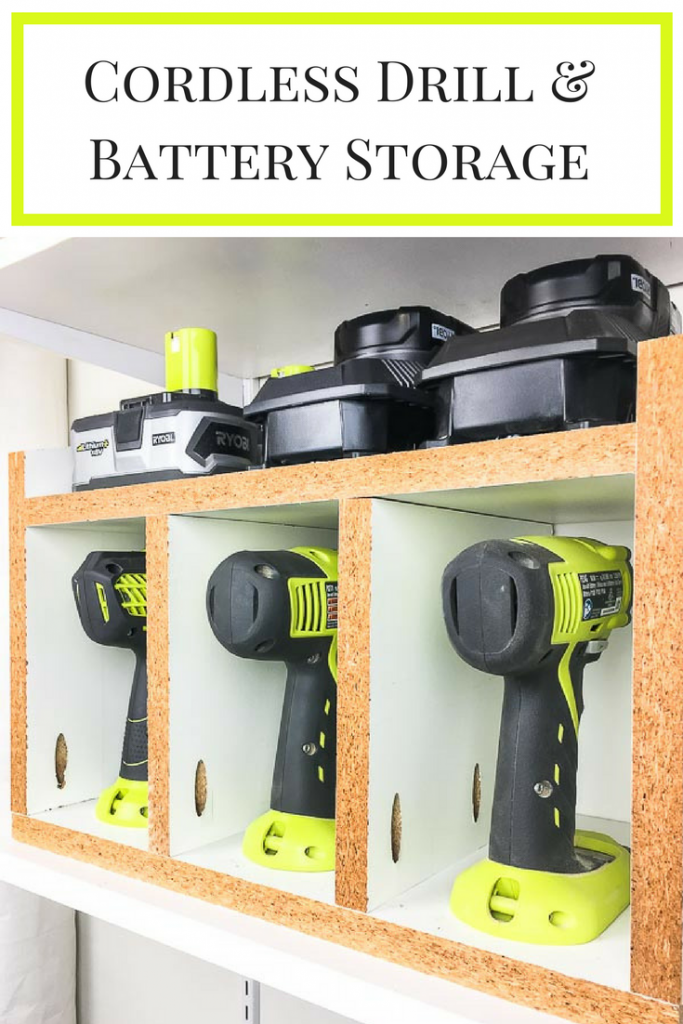
Keep your tools contained and extra batteries close at hand with this cordless drill storage center! It provides space for three drills, batteries and a charging station, so you can keep everything powered up and ready to go.
Hi there, Pretty Handy Girl readers! I’m Vineta from The Handyman’s Daughter, back with another tutorial for you! I have a series on my blog called Workshop Wednesday, where I share ways to make your workshop more organized and efficient. This month I’m bringing Workshop Wednesday over to Pretty Handy Girl with this Cordless Drill Storage Center!
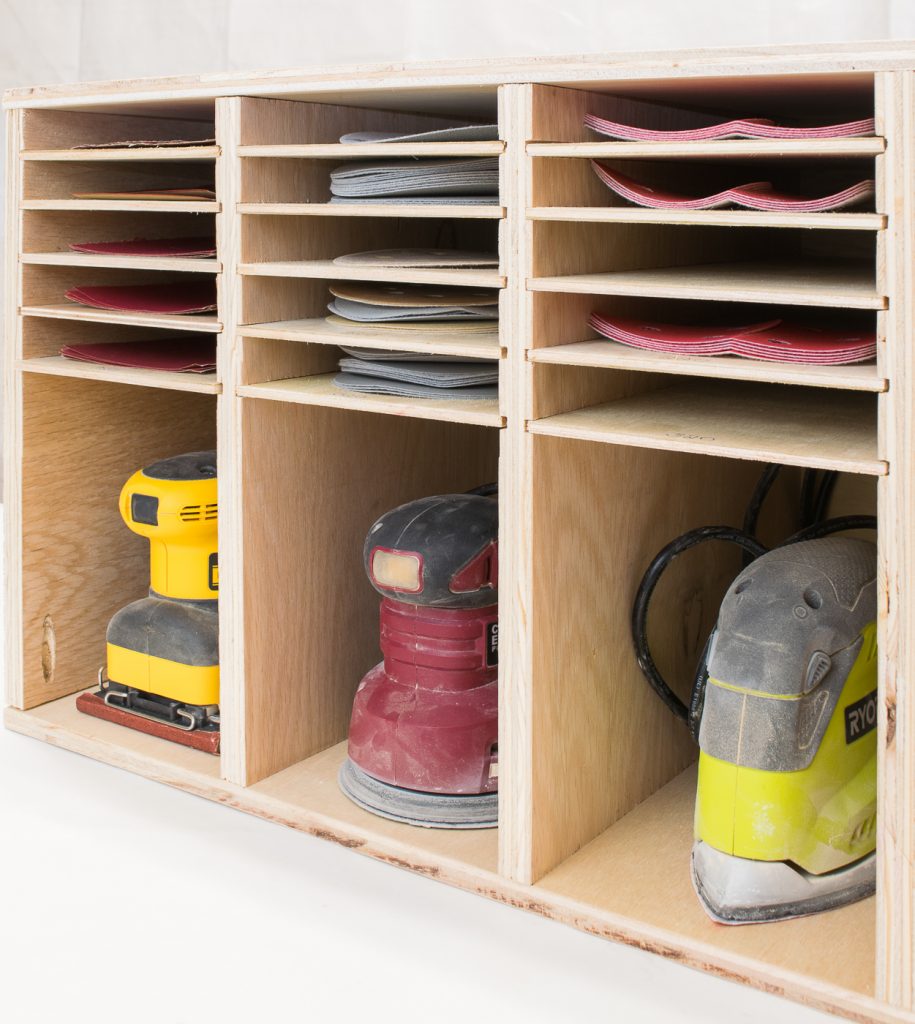
I’ve found the best way to keep track of tools is to give each their own home. So far, I’ve built a circular saw stand and a sandpaper and sander storage unit, both of which have done wonders for my workshop’s organization.
Now it’s time to give my cordless drills and batteries a home of their own!
Materials:
(I’ve included affiliate links for your convenience. I earn a small percentage from a purchase using these links. There is no additional cost to you. You can read more about affiliate links here.)
- 3/4″ plywood, MDF or melamine
- 1/4″ plywood
- Kreg jig
- 1 ¼” pocket hole screws
- 1 ½” brad nails
- Speed square or combination square
- Tape measure
- Pencil
Cut list:
To save money, I used a melamine shelf left over from a previous project. It wasn’t pretty, but workshop storage doesn’t need to be! The shelf was 9 ¼” wide, making it the perfect size for my drills. Feel free to substitute your own 3/4″ material.
- 1 – 9 ¼” x 17 ¾”
- 1 – 9 ¼” x 16 ¼”
- 2 – 9 ¼” x 12″
- 2 – 9 ¼” x 8″
- Cut a piece of 1/4″ plywood to 17 ¾” x 12 ¾” for the back.
Instructions:
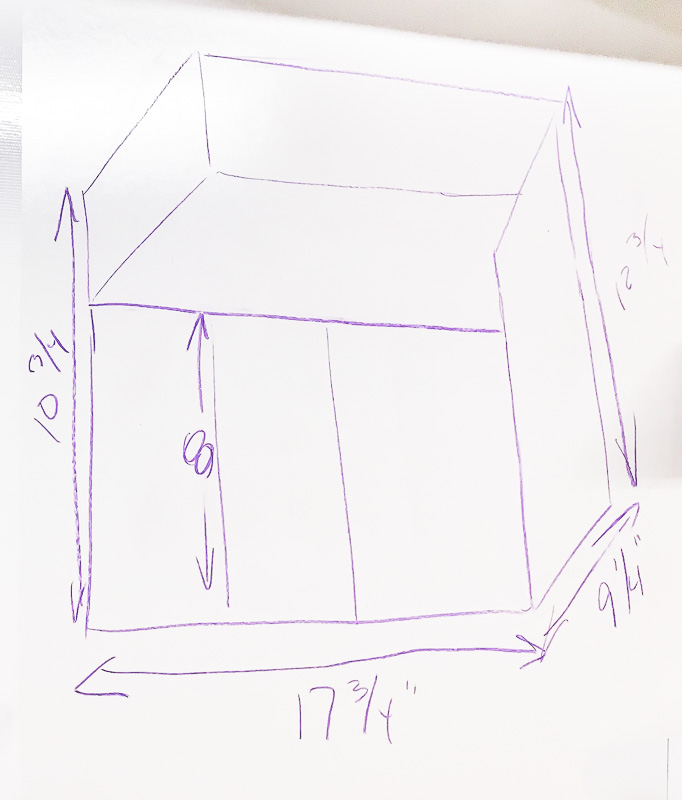
Before starting this project, I drew a quick sketch on the whiteboard wall in my workshop. This is handy to have as reference during the building process! The back of the box is taller than the front in my original plan, but that detail isn’t necessary.
Drill pocket holes along one 9 ¼” side of the 8″ and 12″ pieces.
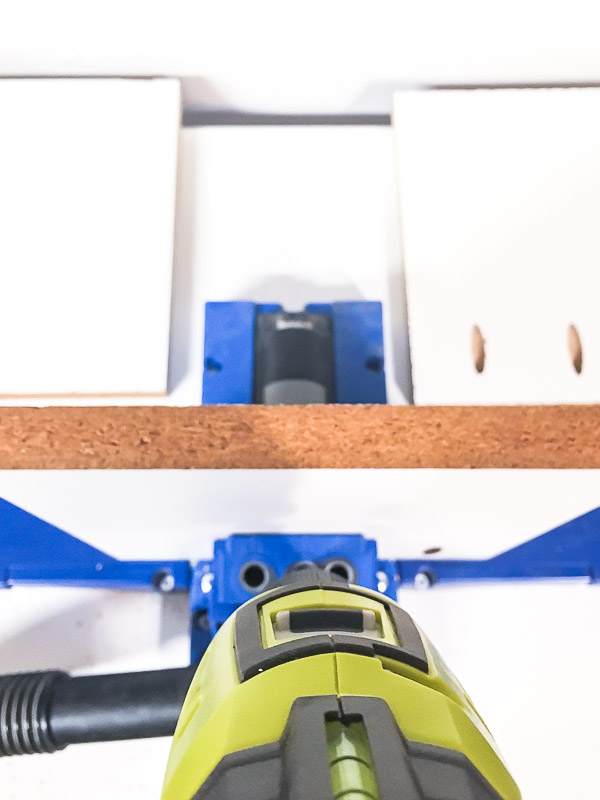
Attach the two 12″ pieces to the ends of the 17 ¾” piece with pocket hole screws. The two 8″ pieces should be spaced about 5″ apart in between the two 12″ pieces.
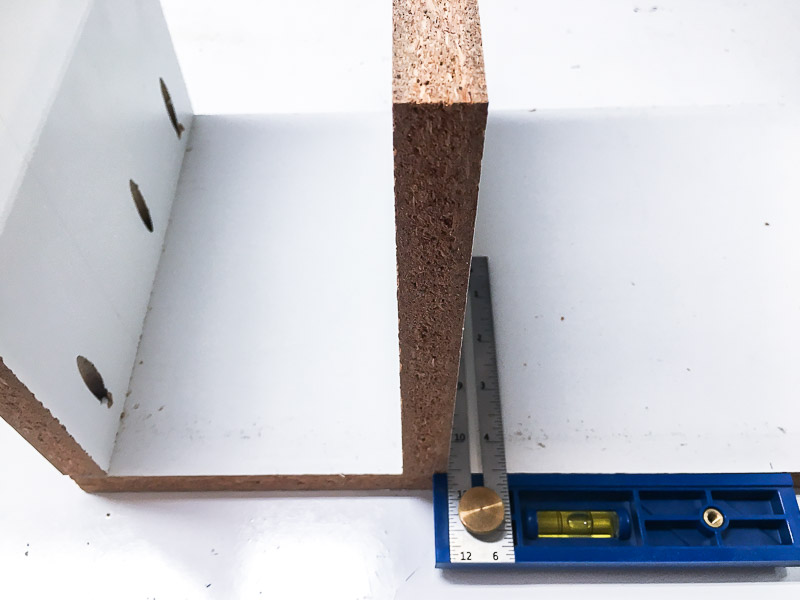
Drill three pocket holes into each end of the 16 ¼” piece. Set this piece on top of the 8″ center pieces with the holes facing up and attach it to the sides with pocket hole screws.

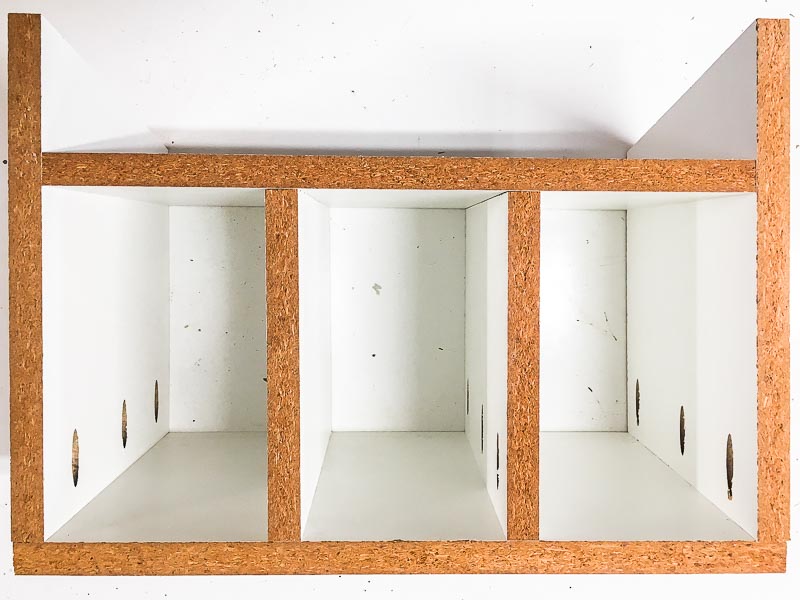
At this point, your cordless drill storage box should look like this…
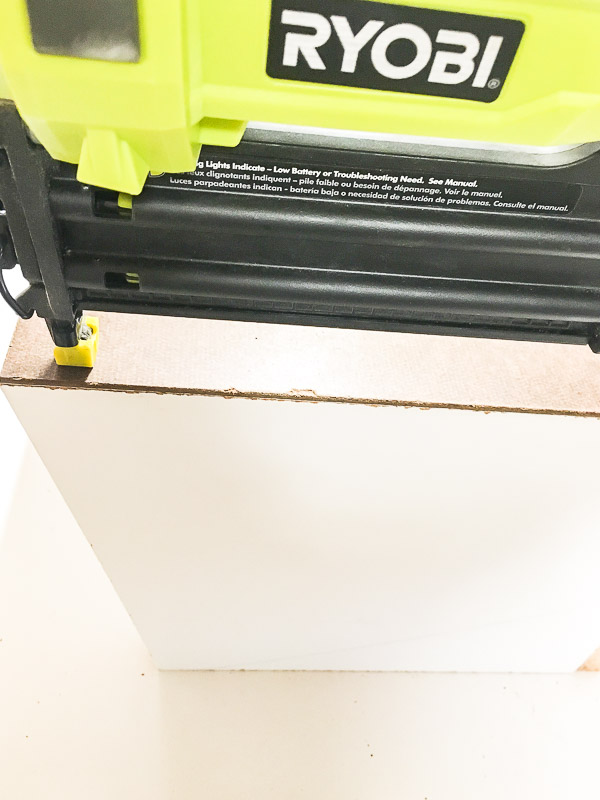
Add the 1/4″ plywood back with 1 ½” brad nails. (I used leftover whiteboard on mine.)
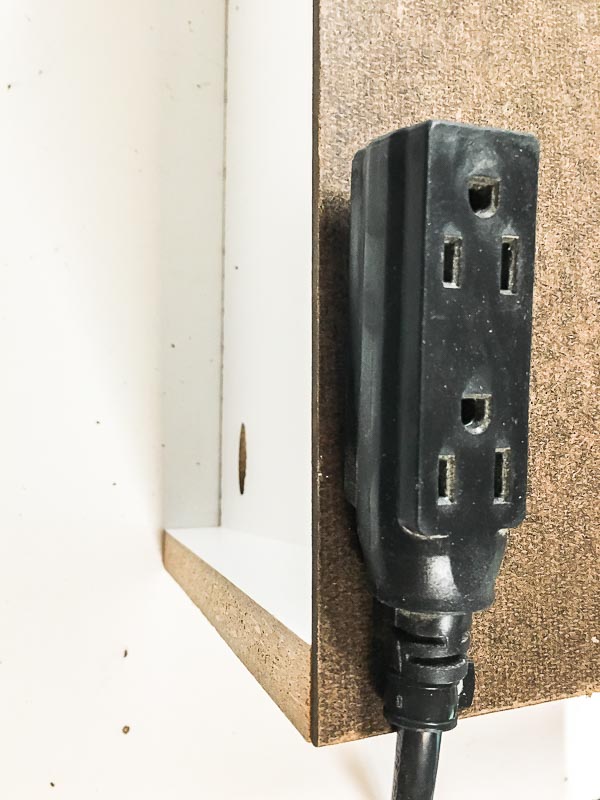
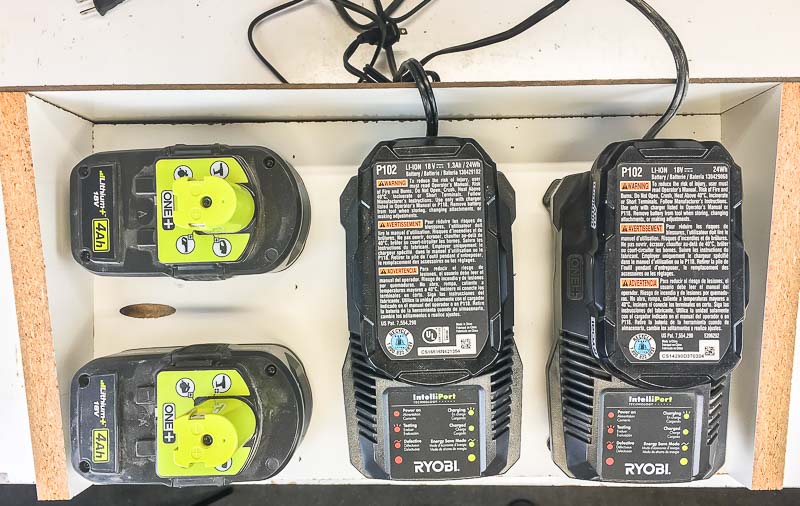
To accommodate my two battery chargers, I attached an extension cord with two outlets to the back of the box.
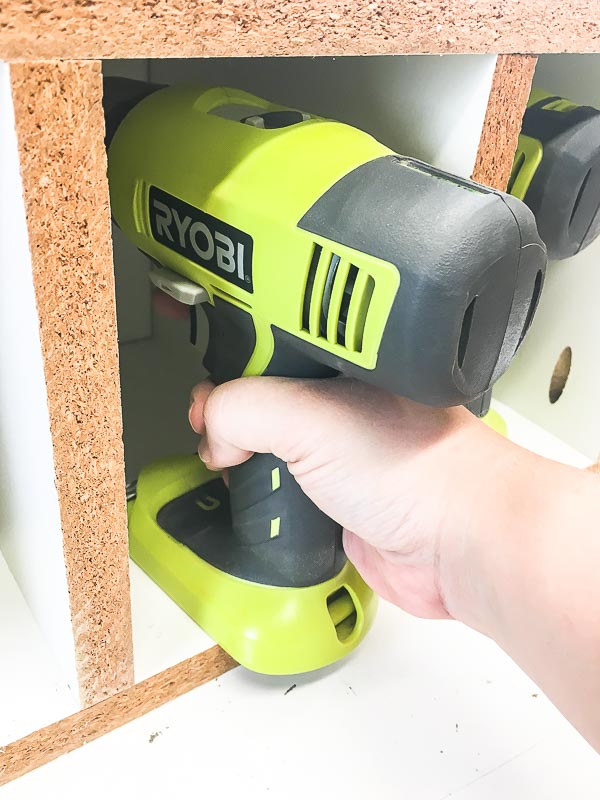
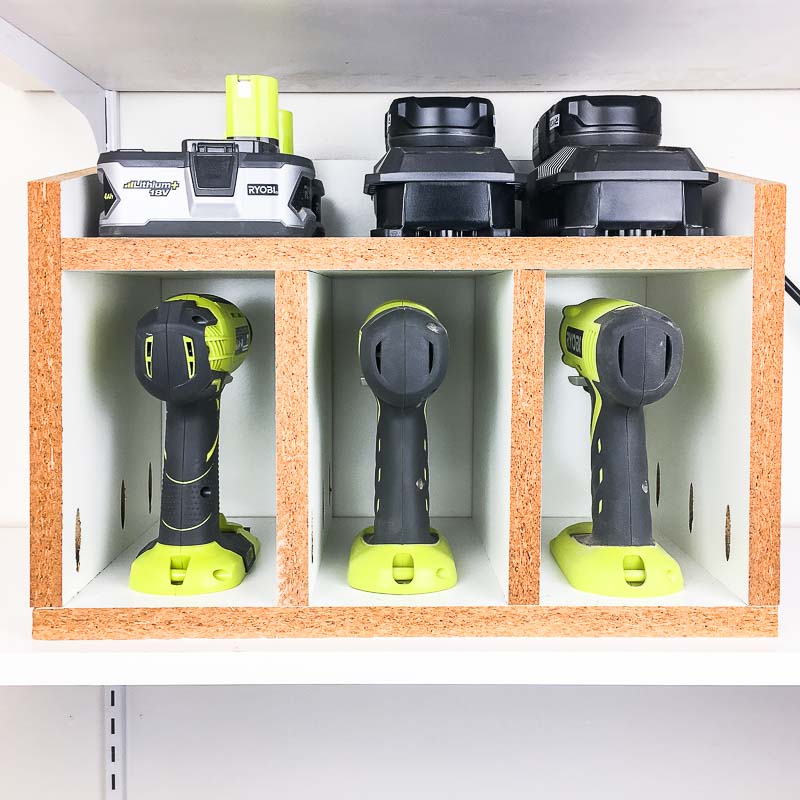
Now the Cordless Drill Storage Center is ready to be loaded up! Two drills and an impact driver each have their own slot.
The top holds two battery chargers and at least two extra batteries. Plenty of power for my next project!
Now I can easily grab the tool I need and get to work!
The Cordless Drill Storage Center fits perfectly next to my circular saw stand. Much better than a jumble of tools on the shelf!
Don’t forget to check out my other Workshop Wednesday posts over at The Handyman’s Daughter!
Until next time!


Oh my Brittney, what a lovely idea. As always, you did an excellent job, bit in the creativity, and the purpose of it. I love it. I wish I had one to.
Totally agree! Having each device in its own place make easier to work with and to keep it safe. Great idea of the shelter.
Hi,
They look great! Makes everything so much easier when it’s organised. I like the idea of doing this, very much, but am wondering, with your power tools exposed like that, don’t you get dust all over them? I’m going to reconfigure my workshop soon, and am looking at all my options. I know, when I use my table saw I end up with the entire space coated in sawdust. It’d be tedious having to clean all that, so I’ve been thinking of using cupboards and drawers for storage. How do you keep it clean?
Thanks very much.