How to Install Rain Gutter Bookshelves
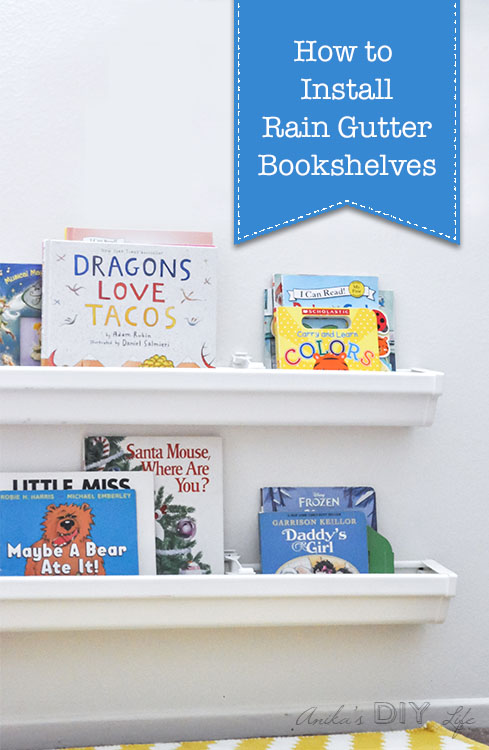
Hi, everyone! It is Anika from Anika’s DIY Life again. Today, I want to share an easy and cheap project that is perfect for any kid who loves to read! I have been working on making the kids’ playroom more functional and organized. The room is long and narrow, so I built a toy organizer along one wall. The corner of the opposite wall seemed like a good spot to create a reading nook. Of course, any proper reading nook needs book storage! Enter rain gutters from the home improvement store. I have used rain gutter bookshelves in previous homes to easily and inexpensively add book storage. Get ready to learn how to install rain gutter bookshelves!
It is well known that the best way to encourage little kids to read books is to have the front of books visible to little readers. Rain gutter bookshelves hold books in this face front view which is perfect to peak a child’s curiosity. The kids’ bedside table with book storage also works great for this purpose!
Here is a step-by-step guide for how to install the rain gutter bookshelves.
Materials:
(I’ve included affiliate links for your convenience. I earn a small percentage from a purchase using these links. There is no additional cost to you. You can read more about affiliate links here.)
- Vinyl rain gutters (choose from a variety of colors)
- Vinyl rain gutter hangers
- K-type vinyl end caps
- Hand saw
- Stud finder (my favorite stud finder!)
- Level
- Long straight edge – yardstick or pine board
- #8 – 1 ½” screws
- Pencil
- Sandpaper
- Tape measure
- Drill
Instructions:
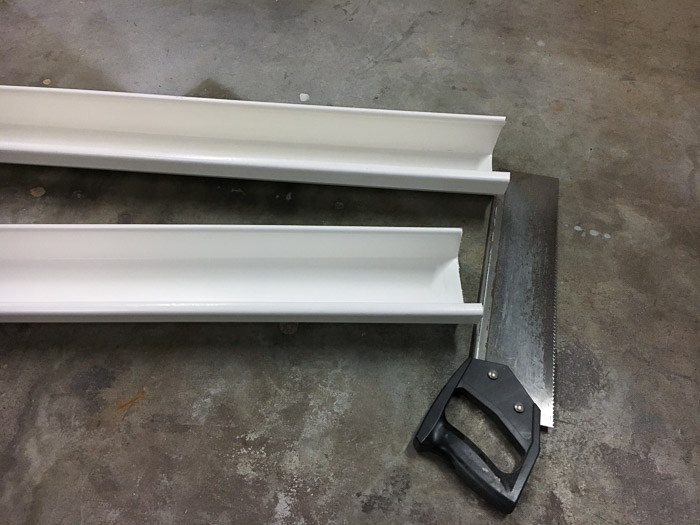
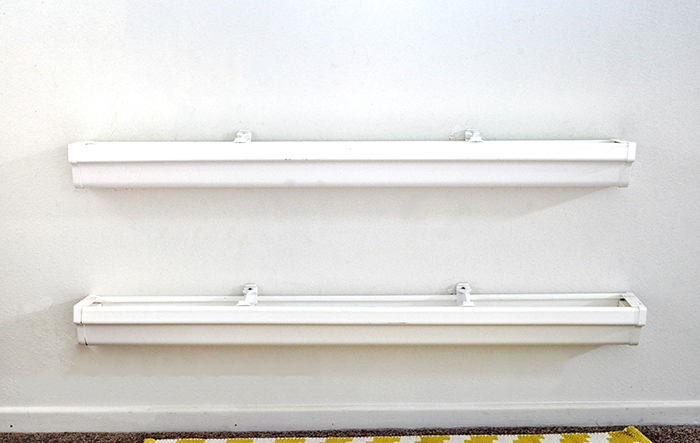
Step 1 – Start by deciding the length of the bookshelves you want and cut the rain gutters to size with a hand saw. (For my project I cut two 40″ bookshelves to fit under a window.) Sand all the rough edges.
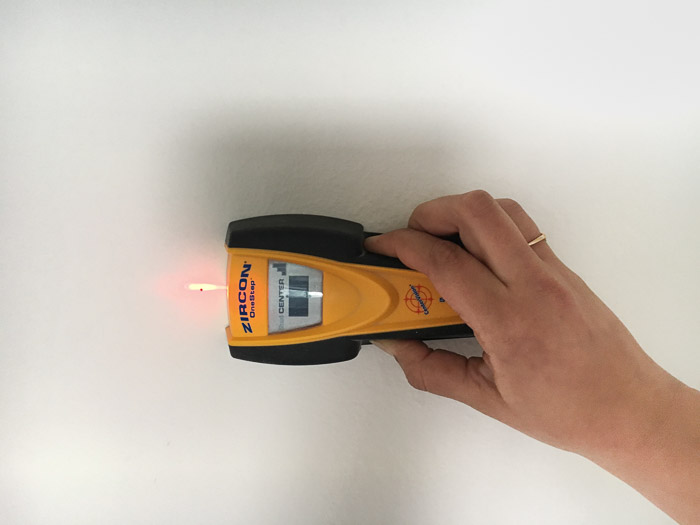
Step 2 –Find the studs in the wall using the stud finder and mark them with pencil. (Don’t have a stud finder? Here are 5 Ways to find Studs without one.) Wall studs are typically 16″ apart, so for the 40″ shelves I anchored two anchors at 32″ apart. For shelves longer than 48″ you might need more hangars.
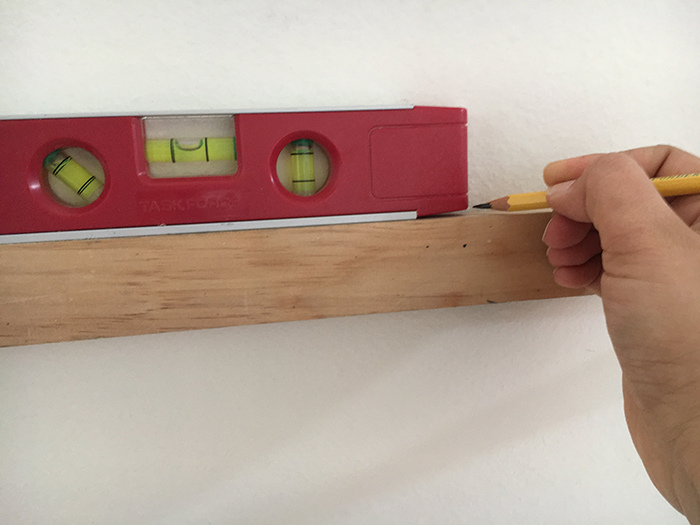
Step 3 – Use a level mounted onto a straight edge while you mark the locations for the hangars. This will insure straight shelves.
Step 4 – Install the hangers using the 1 ½” screws. The screws should go in at an angle. Make sure the tip of the screw is positioned on the spot you marked when you start to drive the screw in. It is important to anchor the hangers to studs. Unfortunately, you cannot use anchors because of the angle the screws go into the wall.
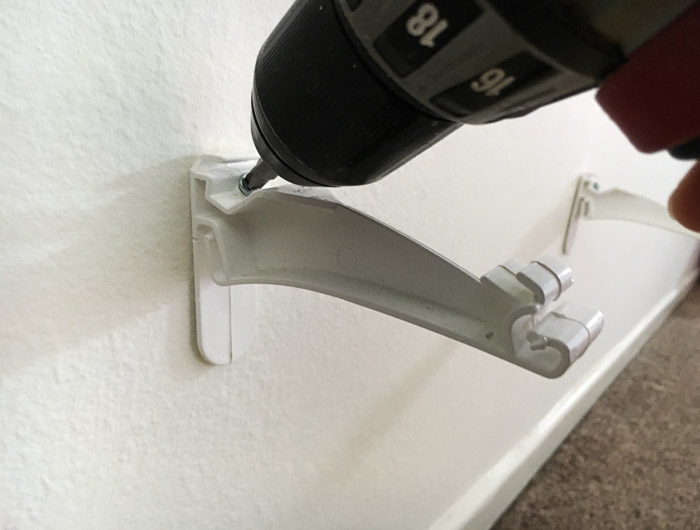
(I found that about 15″ spacing between the bookshelves is sufficient height to accommodate most picture books.)
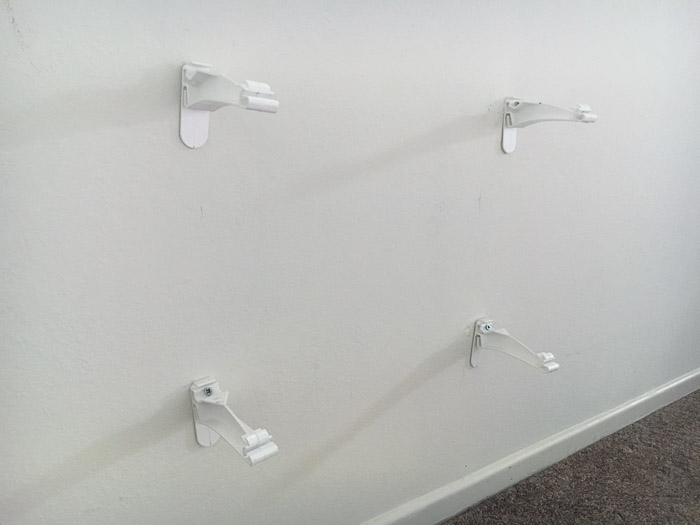
Step 5 – Carefully slide the rain gutter through the hangers.
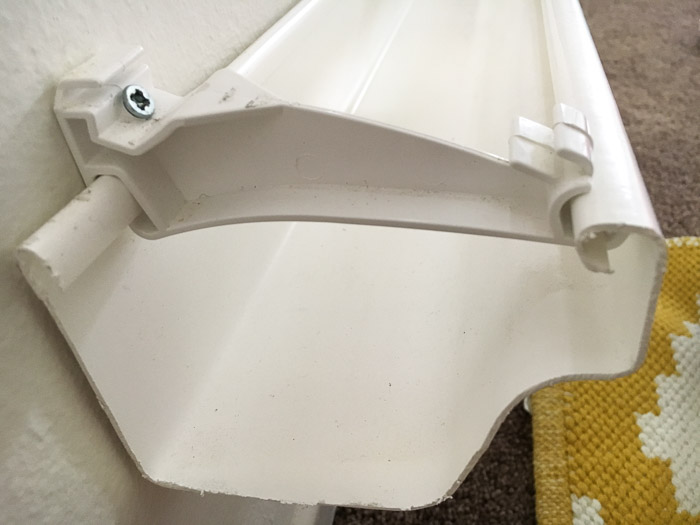
Step 6 – Install the end caps. They can be a bit tricky to get on and may need a little “persuasion”. Once you get them on, they should stay on nice and tight.
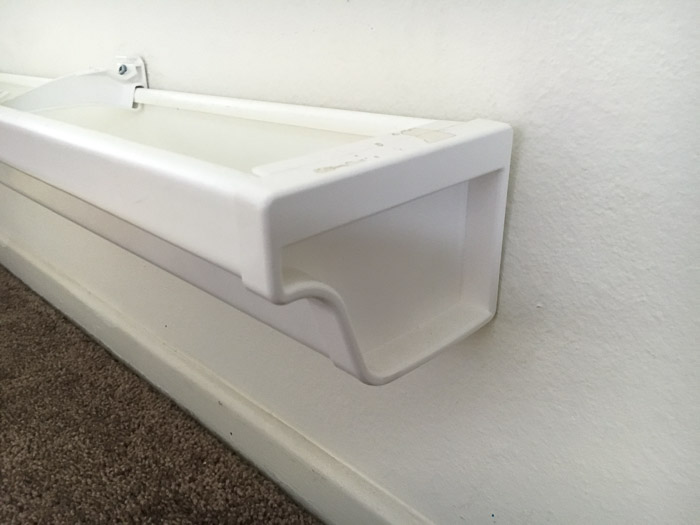
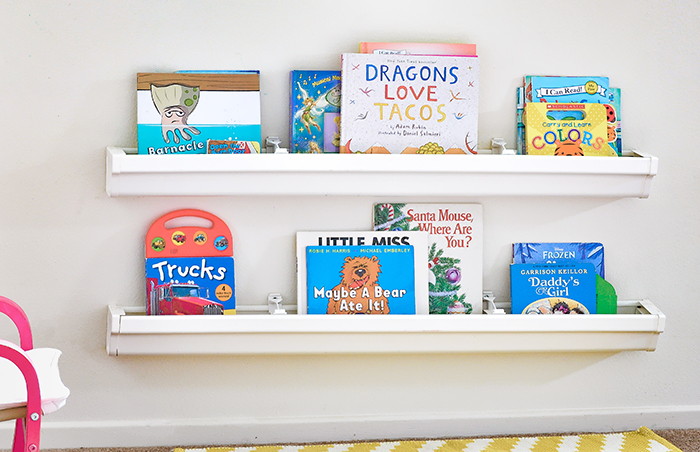
That’s it! Here are the installed rain gutter bookshelves:
Behold, an inviting wall full of colorful books. Instant fuel for lots of reading!
I am off to add more fun details to our reading nook. I have an accent wall planned along with some more unique projects. Be sure to follow along at Anika’s DIY Life to see how this space evolves.
Until next time!







woow this is a smart idea, thank you so much for the sharing and the tute.
I was surching for something like that, because i do laying on bed my work, and knifes and pair of cissors are often dissapaired under neath me.LOL
I thinks something smaller is the solution for me.
You’ve made my day;-D
I am so glad you found this tutorial helpful. It would definitely make a great addition next to the bed. I actually a while back even used it next to my daughter’s bed to hold books at night.
Beautiful, I love these. You are so creative in such a positive way. As alway, job well done
Thanks Ivory! Your words made my day 🙂