Fixing Common Gift Wrap Problems | OMG! So funny, you have to read this. | Pretty Handy Girl

Fixing Common Gift Wrap Problems | OMG! So funny, you have to read this. | Pretty Handy Girl

Hi all, Pretty Handsome Guy here filling in for Brittany. Last night Brittany and I were wrapping presents and I thought I’d share with you some common gift wrap problems and how to deal with them.  Think of this as the polar opposite of her Creative Gift Wrapping series of posts.

The Squish and Tape and Tape and Tape
Fixing Common Gift Wrap Problems | OMG! So funny, you have to read this. | Pretty Handy Girl

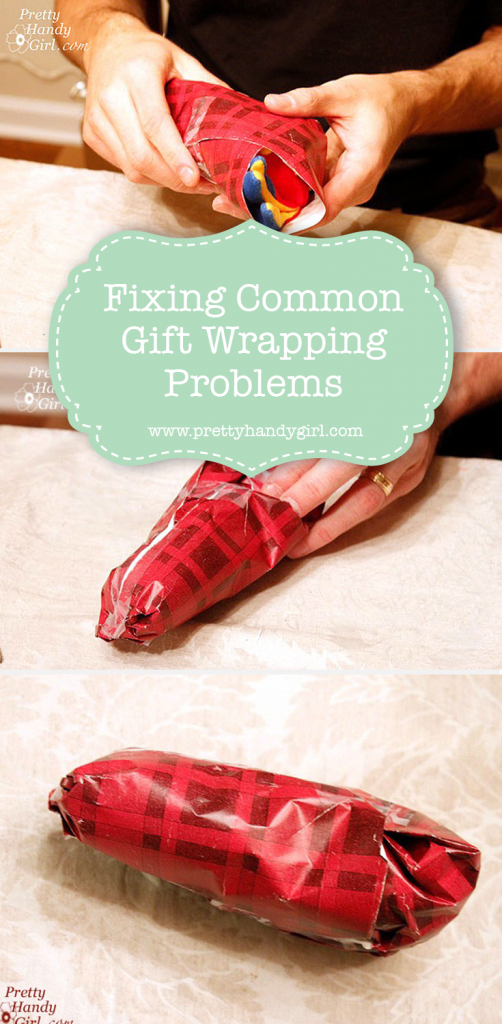
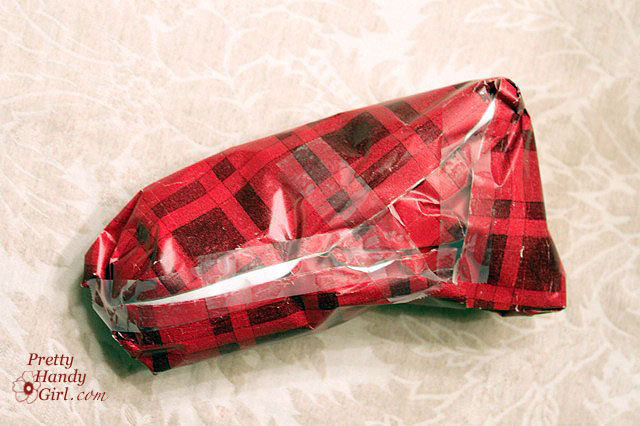
Do you ever end up with a present that hangs out of the wrapping paper?
Fixing Common Gift Wrap Problems | OMG! So funny, you have to read this. | Pretty Handy Girl

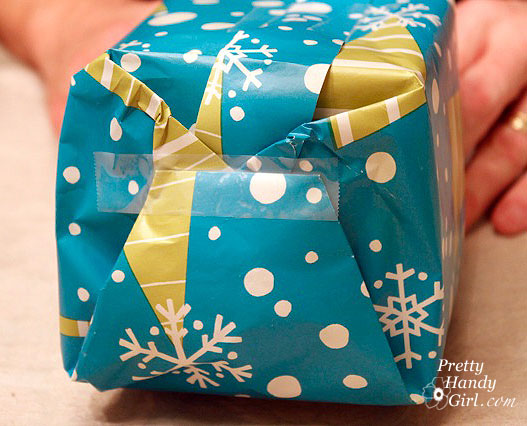
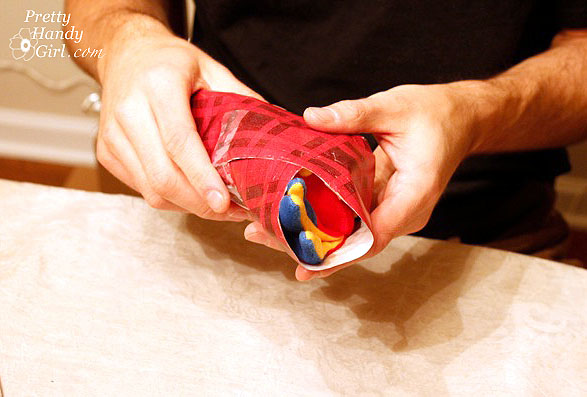
No problem, simply squish the gift inside the packaging as far as you can…
Fixing Common Gift Wrap Problems | OMG! So funny, you have to read this. | Pretty Handy Girl

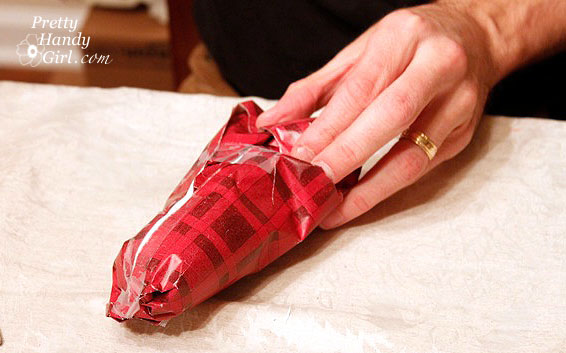
…and quickly fold over the end and slap on some tape. Then use some more tape to close the gaps,
Fixing Common Gift Wrap Problems | OMG! So funny, you have to read this. | Pretty Handy Girl

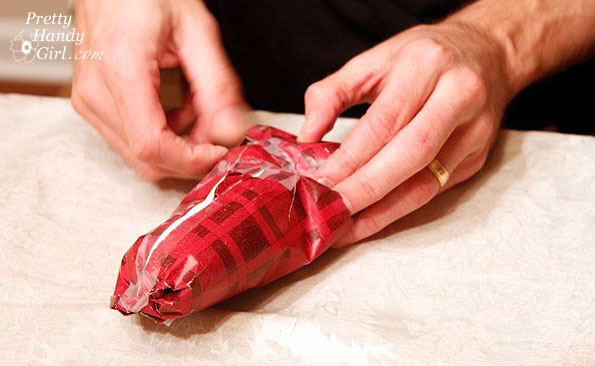
and just for good measure add some more tape. Hey, tape is cheap, no need to be stingy with it!
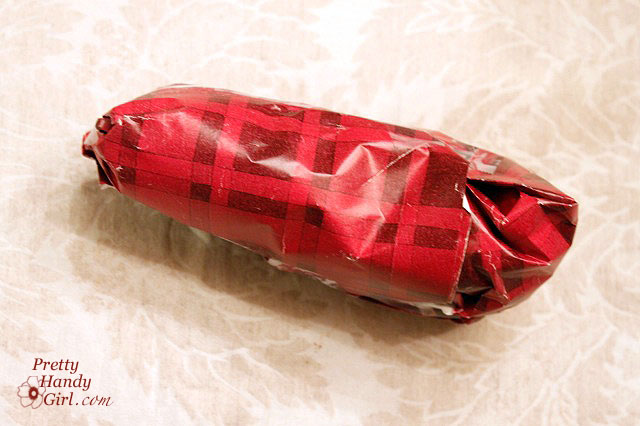
Fixing Common Gift Wrap Problems | OMG! So funny, you have to read this. | Pretty Handy Girl

All done, and the goal of hiding the present has been achieved!

The Panel (not to be confused with the type of pants pregnant women wear.)

Fixing Common Gift Wrap Problems | OMG! So funny, you have to read this. | Pretty Handy Girl

How many times have you cut your wrapping paper only to realize that it is too short to go around the package? When it comes to wrapping presents I adhere to the adage “measure never, just cut it”.  I mean seriously people we aren’t building a house here, what you are wrapping is meant to be destroyed anyways.
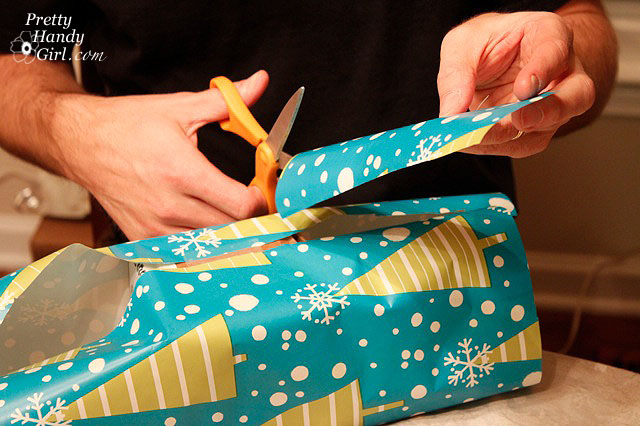
Fixing Common Gift Wrap Problems | OMG! So funny, you have to read this. | Pretty Handy Girl

Here is the solution! It is called the panel. Simply cut another piece of wrapping paper the width of the gap (or maybe a little wider.)
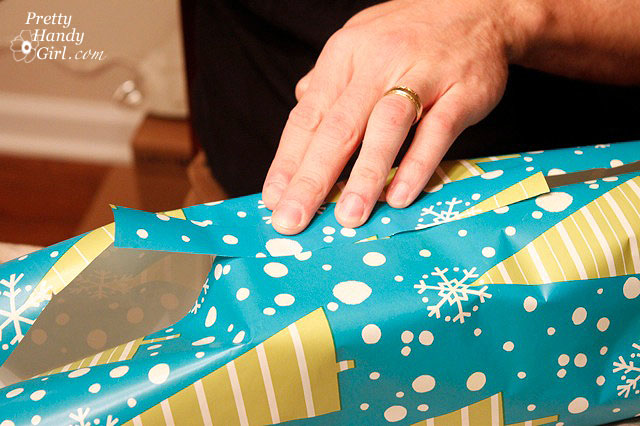
Fixing Common Gift Wrap Problems | OMG! So funny, you have to read this. | Pretty Handy Girl

Tape it on (no need to match up the pattern, no one will see the bottom when it is under the tree.). Bonus points if you can manage to use 2-3 different types of wrapping paper – just tell everyone it is a “holiday medley”.
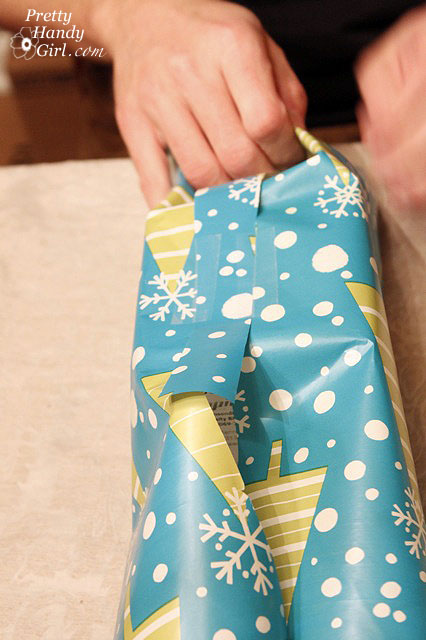
Fixing Common Gift Wrap Problems | OMG! So funny, you have to read this. | Pretty Handy Girl

Super easy solution and the best part is that you don’t have to go back and cut a whole new piece of wrapping paper.  The environment will thank you for this one.

The Nip, Tuck & Roll

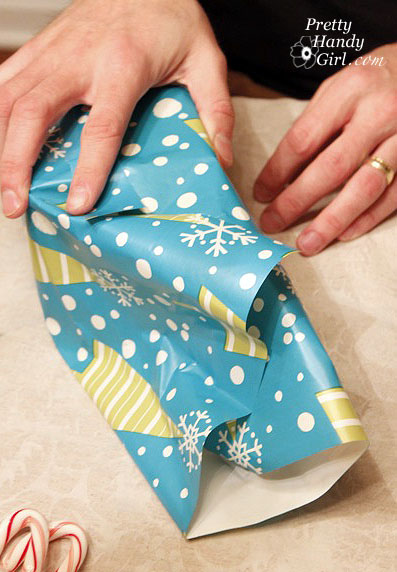
Now we are down to one of the most common wrapping problems. What to do when you have too much wrapping paper on the ends of your package.  And yes I realize most of these “problems” are a function of not measuring in the first place but whatever.
Fixing Common Gift Wrap Problems | OMG! So funny, you have to read this. | Pretty Handy Girl

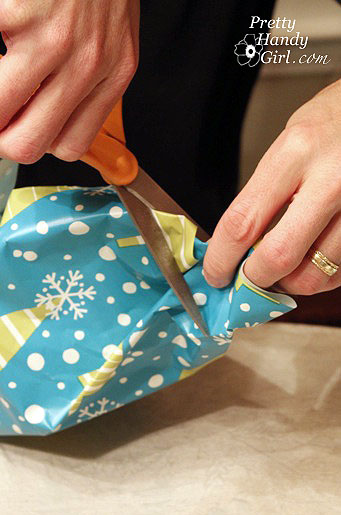
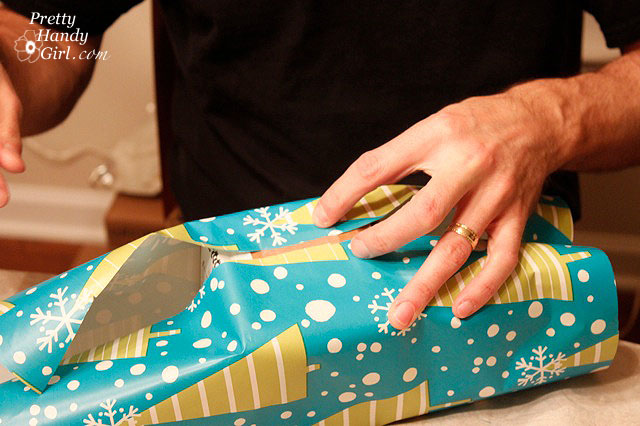
Normally I would simply roll the sides in until they meet the package, but in an effort to neaten things up a bit, you can simply gather the end in your hands and snip off the excess.
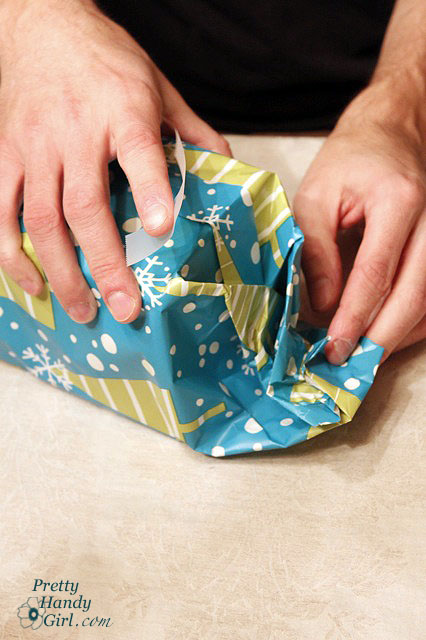
Now simply fold in the end towards the box.
Fixing Common Gift Wrap Problems | OMG! So funny, you have to read this. | Pretty Handy Girl
Continue to roll the paper in…

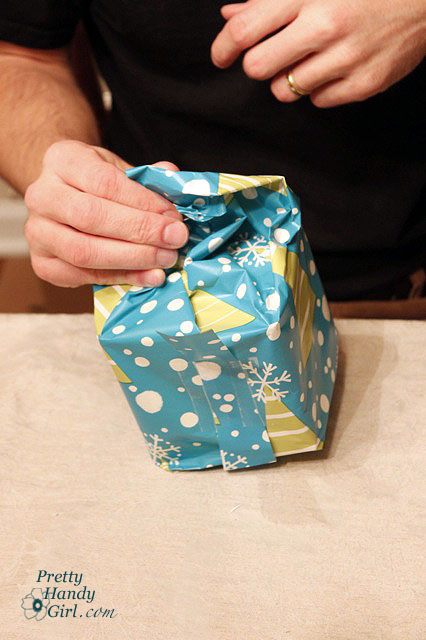
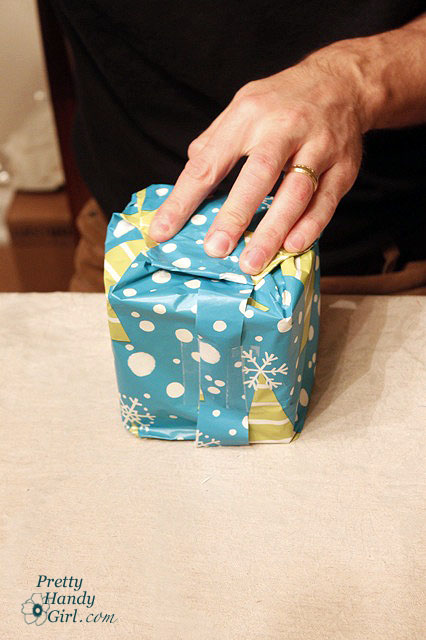
…until you reach the box, then smash the end down with your hand to flatten it.
Fixing Common Gift Wrap Problems | OMG! So funny, you have to read this. | Pretty Handy Girl
And tape your end down.
Fixing Common Gift Wrap Problems | OMG! So funny, you have to read this. | Pretty Handy Girl
Done. Problem solved, any questions?
Adding a Gift Tag (bet you’ve never seen it done this way!)
Fixing Common Gift Wrap Problems | OMG! So funny, you have to read this. | Pretty Handy Girl
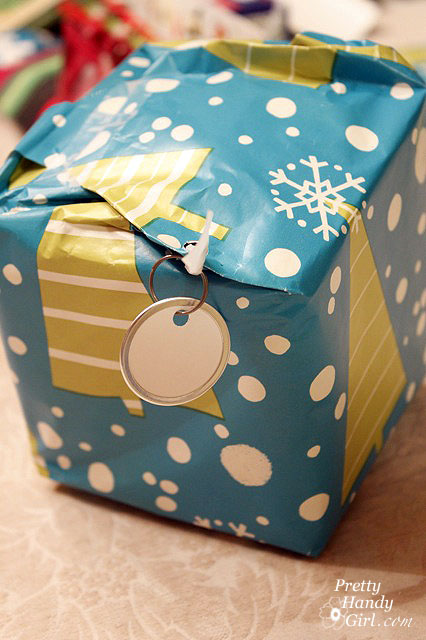
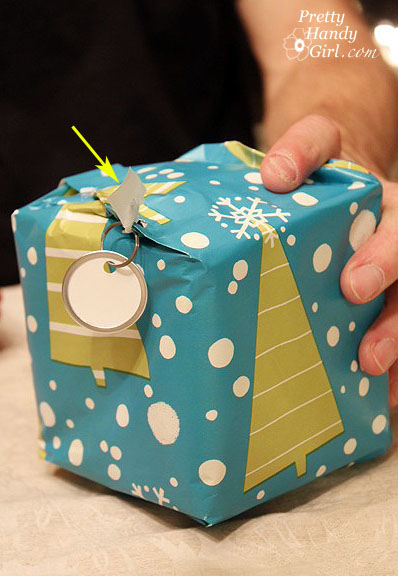
I found the little key tags that Brittany bought for tagging her presents. Creative idea and all but sheesh a lot more work than a stick-on “To/From” tag.  But I devised a new way to attach them to the gift without ribbon.
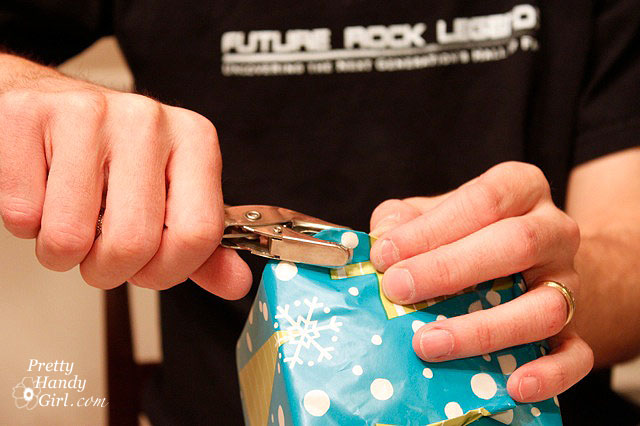
Simply grasp a corner of your package and use a hole punch to make a hole in the gift wrap.
Fixing Common Gift Wrap Problems | OMG! So funny, you have to read this. | Pretty Handy Girl

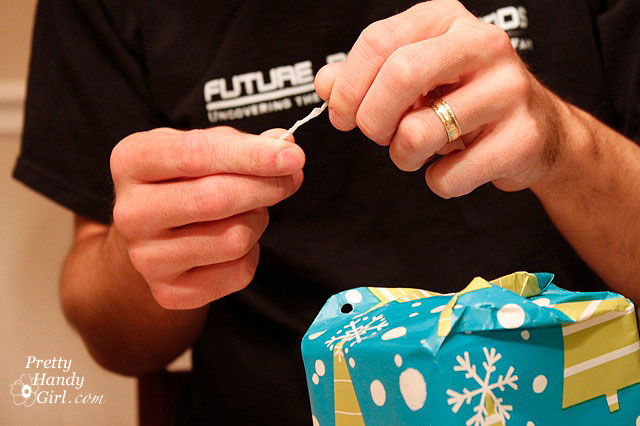
Then take a piece of tape and twist it into what I call a “tapepick” (looks like a toothpick.)
Fixing Common Gift Wrap Problems | OMG! So funny, you have to read this. | Pretty Handy Girl
Thread the “tapepick” into the hole you made in your gift wrap.
Fixing Common Gift Wrap Problems | OMG! So funny, you have to read this. | Pretty Handy Girl
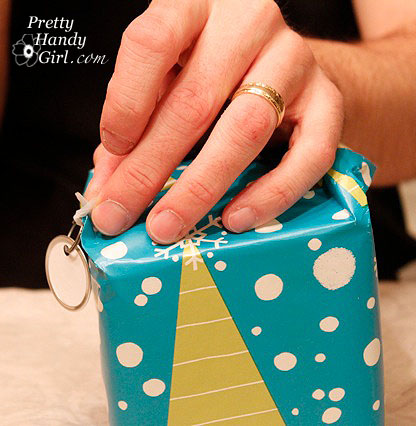
Then grab another piece of tape and fold it over the ends of your tapepick to secure them.
Fixing Common Gift Wrap Problems | OMG! So funny, you have to read this. | Pretty Handy Girl
That’s it. Thanks for reading my post today. Hopefully Brittany will invite me back to show you how I make a bed in less than 10 seconds!
– Pretty Handsome Guy

Pin for later!
how to fix common gift wrapping problems

Personalized Rustic coasters sawdust2stitches for www.prettyhandygirl.com

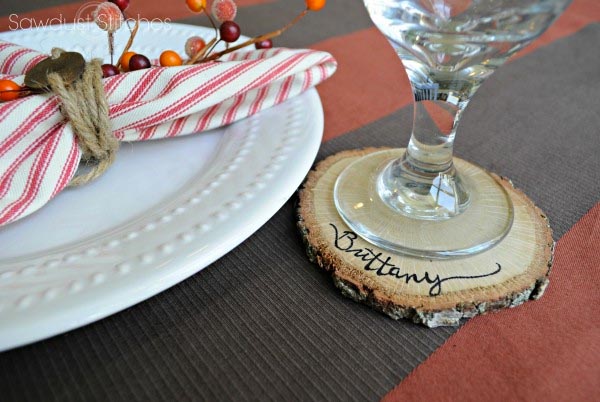
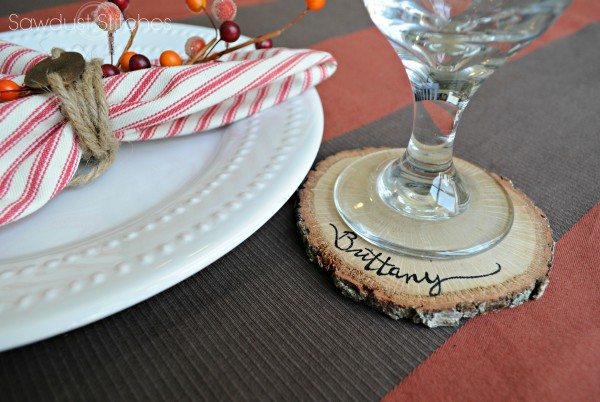
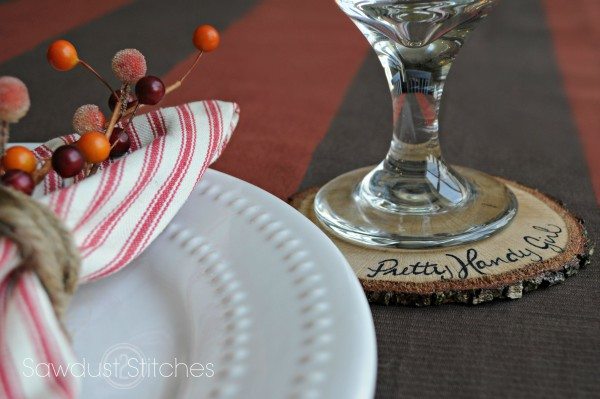
Today I have the ever fabulous and always vivacious Corey on stage. She will be sharing how to make these Personalized Wood Slice Coasters.

Rockstar DIY Series

Corey is the rockstar designer behind Sawdust 2 Stitches. As if you had any doubt, this girl is multi-talented with her building and sewing skills! You’ll definitely want to check out her amazing gallery of tutorials.

Hey, I think I hear a chainsaw? Take it from here Corey!

page_break_2

Hey all, this is Corey from Sawdust 2 Stitches. I am one of THOSE people, that when I get an idea, I run with it… and I run fast. One day I decided that I didn’t like the tree in our front yard. Long story short, I had a small supply of wood logs at my disposal.

As the Holiday Season is quickly approaching, I decided to slice up the stump and use them in a plethora of festive decor. One such idea was Personalized Wood Slice Coasters. These are great for anyone attending and/or hosting a holiday dinner! This little tutorial will have you prepared to make the atmosphere absolute perfection. Or if you are attending an event these would make thoughtful hosts gifts.

Rustic coasters sawdust2stitches for www.prettyhandygirl.com

Materials:

  • Log or Wood Slices
  • Pencil
  • Fine Tip Sharpie
  • Poly Acrylic
  • Foam Brushes

Instructions:

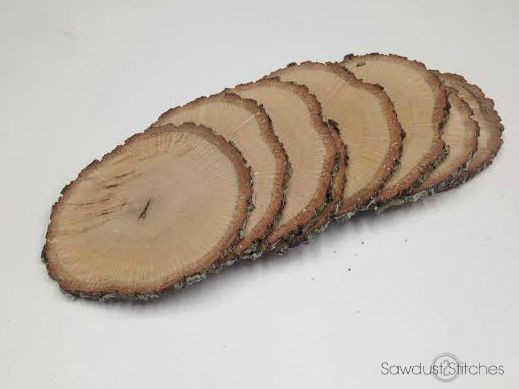
As I stated earlier, I had wood logs at my disposal and I chose to slice them about 1/4″ thick on my compound saw. One thing to consider, if you are using fresh wood they will be undergoing a drying process for a few weeks, and they can crack! I had some of mine do this, but truth be told, I kind of liked it. It added a little character. However, if you would prefer them not crack-less variety there are ways to lessen the possibility. I have been told that if you store the wood slices in in a double bagged brown paper sacks, it will prevent them from drying to quickly. Simply open the bag every day to let in fresh air, and then reseal it.

HOWEVER if you don’t have time for that, many craft stores have wood slices available and ready to use.

wood slices

Once the slices are ready to use, I began by drawing on my design with a pencil first. ( If you hate your handwriting you can always use a stencil or transfer paper. ) Read more

Building-Custom-Bookshelves

Matt & Jacque are here today to show you an amazing feat. They will show you how to build custom built in bookcases. You may remember this DIY Performing duo as former contributors. I know you’ve missed them and I’m sure you’re excited to see Matt & Jacque back again!

matt-jacque

Matt & Jacque are the powerful DIYers at The DIY Village. They tackle all types of home improvement projects while raising their daughter Josslyn. These are some busy renovators.Rockstar DIY Series

I believe that’s the whine of two drills that I hear! Let’s give it up for Matt & Jacque.

page_break_2

Matching-Built-In-Bookcases

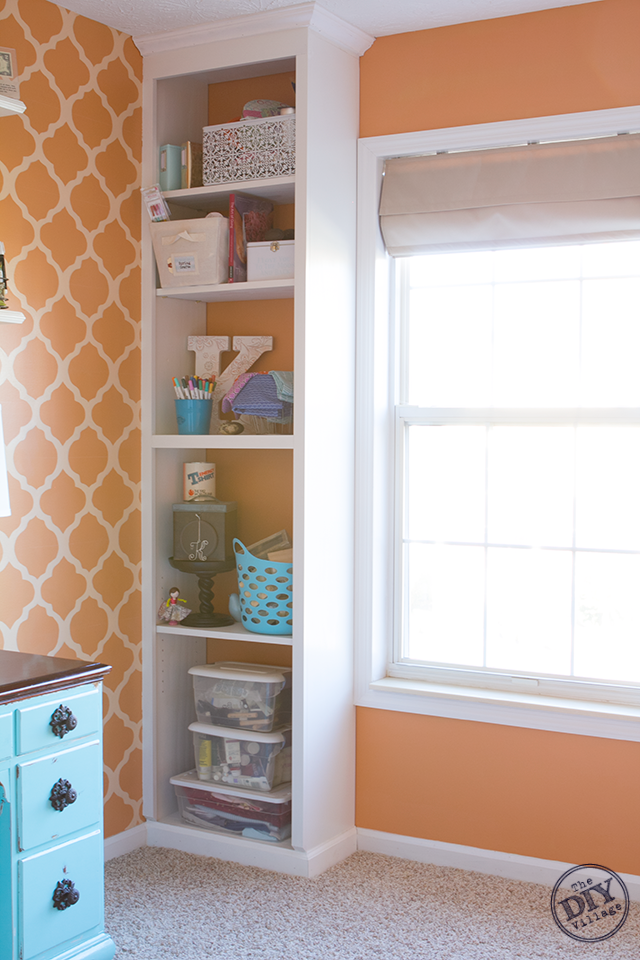
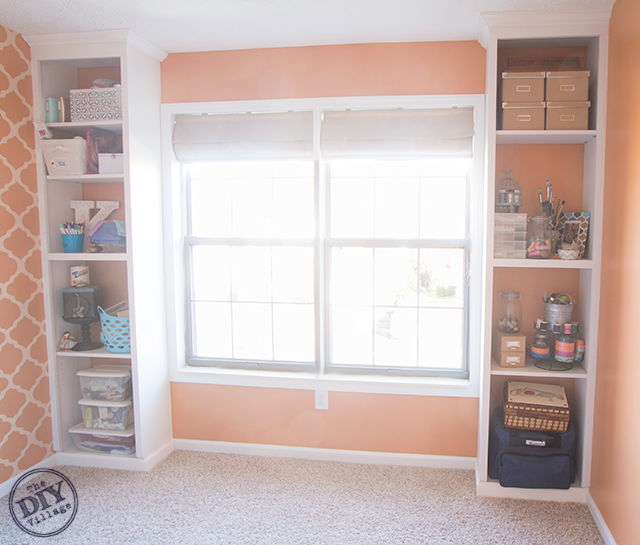
I’m a firm believer that one can never have enough storage within their home! Especially, when you’re talking about a craft room! When we purchased our current house, my husband and I agreed would convert one of the bedrooms into a room where I could let my craft “freak” flag fly. Looking back on that decision, I still wonder what he was thinking, but nonetheless, fast forward three years. I have accumulated quite the inventory of supplies and came to the conclusion that the only storage solution would be the addition of matching built-in bookcases.

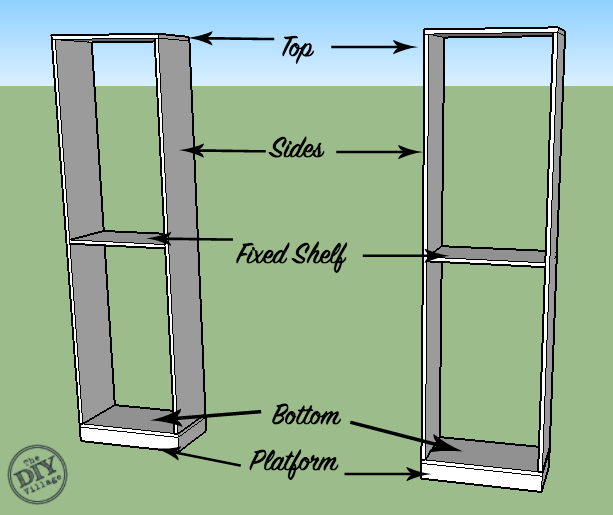
First off, let’s take a quick look at the basic structure that will make up the bookcase. (I won’t be including any dimensions, as you’ll need to work within the spatial constraints of your own home) The basic frame of the bookcase can be built using 1×12’s, along with a small platform that is made from 1×3. I have a large double window in this room so the best place to install the bookcases is on either side of the window, flanking the window.

Custom-Built-In-Bookcases

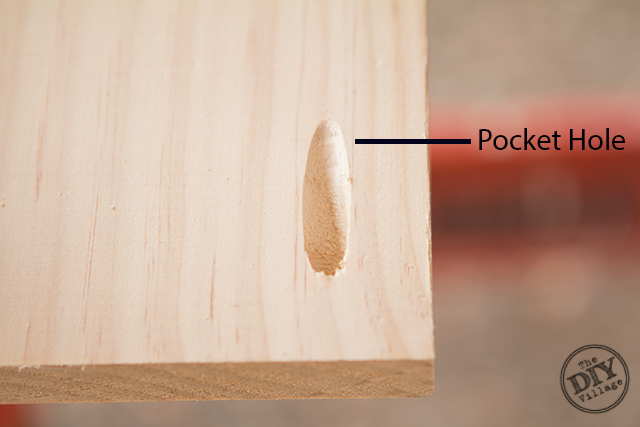
One of the easiest ways to assemble your bookcase frames is by using pocketholes.

Pocket-Hole-Joinery

Using a pocket hole jig will make easy work of your assembly. With all of your lumber cut to length, you’ll need to drill pocketholes at the top and bottom of each side. Read more

state-pride-magnetic-key-holder-22

State Pride Magnetic Key Holder

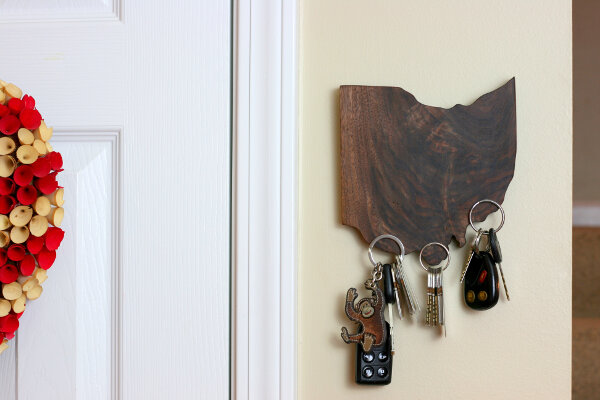
Today on the Rockstar DIY stage is Brad! Brad is our first guy rocker to join the tour. He has an amazing creative brain and woodworking skills that will blow your mind. Brad has created this State Pride Magnetic Key Holder for you to build. And if you look close you’ll notice that it’s magic because there are no hooks in sight!

I told you he’d blow your mind. Brad normally rocks on his home turf at FixThisBuildThat.

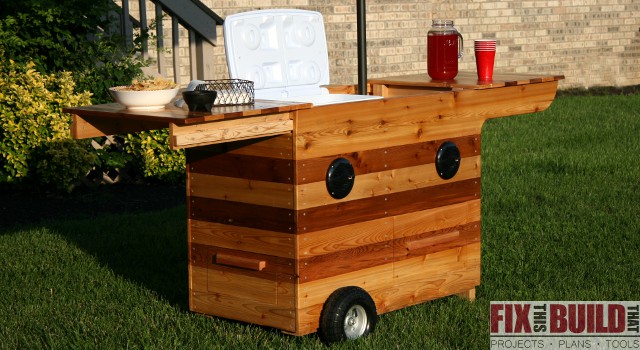
You may have seen his amazing Party Station recently. This cart comes complete with a spot for your beverage cooler, storage drawers and speakers. See, I told you he rocks!

Rockstar DIY Series

I hear the whine of the scroll saw now, so let’s give it up for Brad!

page_break_2

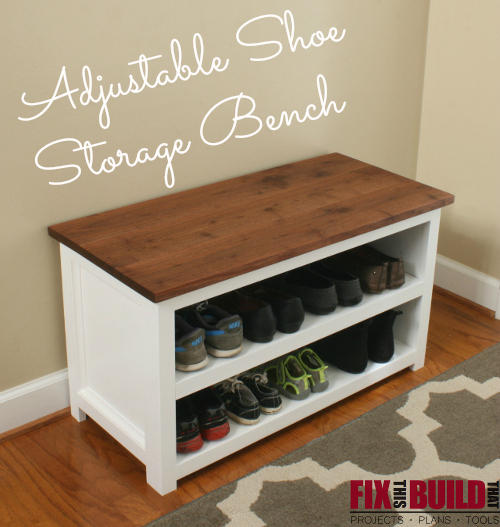
Hey, everyone! Like Brittany said, I’m Brad from FixThisBuildThat.com. My site is all about helping you with Woodworking & DIY Projects, Posts and Plans. And today I’m happy to be here on Pretty Handy Girl to show you how to make this fun State Pride Magnetic Key Holder. If you want to check out some of my other work you can see one of my most popular posts, the Adjustable Shoe Storage Bench.

I’ve always been in love with state signs and cut outs and I’ve made several large state signs. But I wanted do something smaller, and I also wanted to solve the issue of always looking for my keys. In my house finding a set of keys is a little like playing Marco Polo…except the keys don’t usually call back!

I had a really nice piece of figured walnut I wanted to use for something and that’s when it hit me. State sign + really nice wood + key holder = Awesome project. I’d seen some similar things around the interwebs so I knew the perfect project to solve my issue.

Here is what you’ll need for this project.

Materials:

  • Approx 6″x6″ piece of 3/4″ wood (size varies by state)
  • 12 neodynium super magnets – 0.47″ dia x 0.10″ thick
  • Quick set epoxy
  • Picture hanger hardware
  • Spray adhesive
  • Jigsaw or scroll saw
  • Drill
  • 1/2″ forstner drill bit (brad point or twist will work too)
  • Sandpaper
  • Stain/Finish of your choice

Instructions:

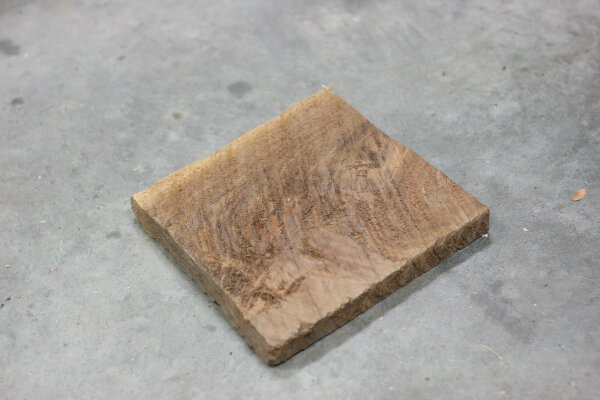
Here is the piece of wood I started with. It is approximately 6″ by 6″ rough cut walnut that was just under 7/8″ thick. I had to do some serious sanding to this thing, but knew there was beautiful grain underneath to uncover.

State Pride Magnetic Key Holder

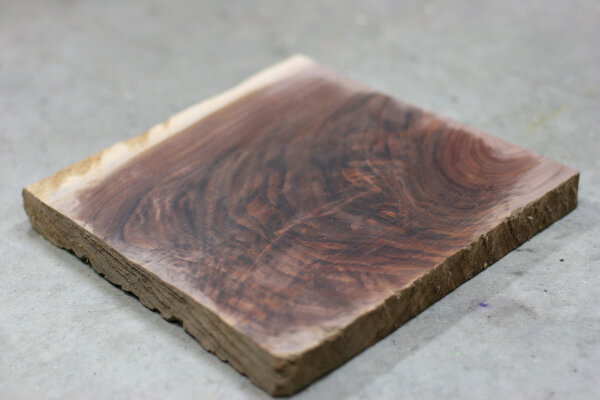
After a ton of sanding I got it down smooth to 3/4″ and here is what was underneath it…gorgeous! (I added a little mineral spirits to show off the grain)

State Pride Magnetic Key Holder

If you have a special small piece of wood this is the perfect project for it. If you don’t have any nice hardwoods laying around this could be your perfect chance to try working with walnut, cherry, maple, mahogany or something else. Go to your local woodworking or lumber store and see if they have any small offcuts. If you want to stay with wood from the home center then a 1×6 or 1×8 will do just fine as well.

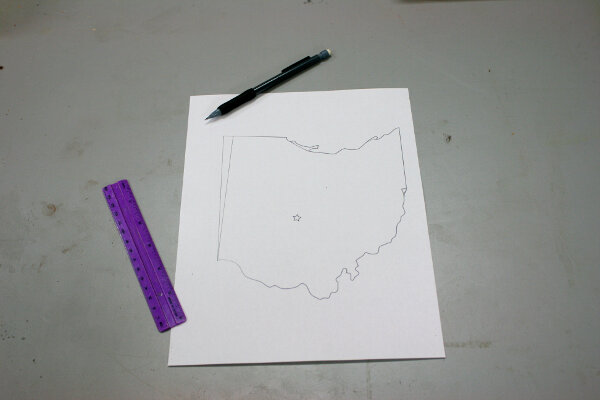
I decided to use Ohio as my state for this project. My wife and I lived there for 13 years, but really it’s just because it fit way better on my board than Tennessee would have 🙂 To get the state shape onto my wood I used a printed outline of Ohio. I found a site called Coloring Castle that has state outlines for kids to color. The outlines are softened a little so it was just what I wanted.

I copied the image of Ohio and pasted it into Powerpoint and sized the image until it fit my board the way I wanted it. You can use a host of different programs or photo editors to do this.

After I printed out the Ohio shape I decided to take a little creative license with the shape of the state. I wanted straight sides and didn’t want to mess with some of the more intricate tight curves like the peninsula up top. So I just drew in new lines where I wanted to cut. Empower yourself and redraw state lines as you see fit!

State Pride Magnetic Key Holder

Next you need to temporarily glue the outline to the wood. Cut the shape out leaving about 1/4″ around the edges. Then spray a light coating of spray adhesive onto the backside of the cutout. Don’t go crazy here or you won’t be able to get the paper off without scraping or sanding. Practicing with some scrap wood and paper will give you a feel for how sticky your specific spray adhesive is. Read more

DIY scalloped planter box centerpiece - free plans Hertoolbelt

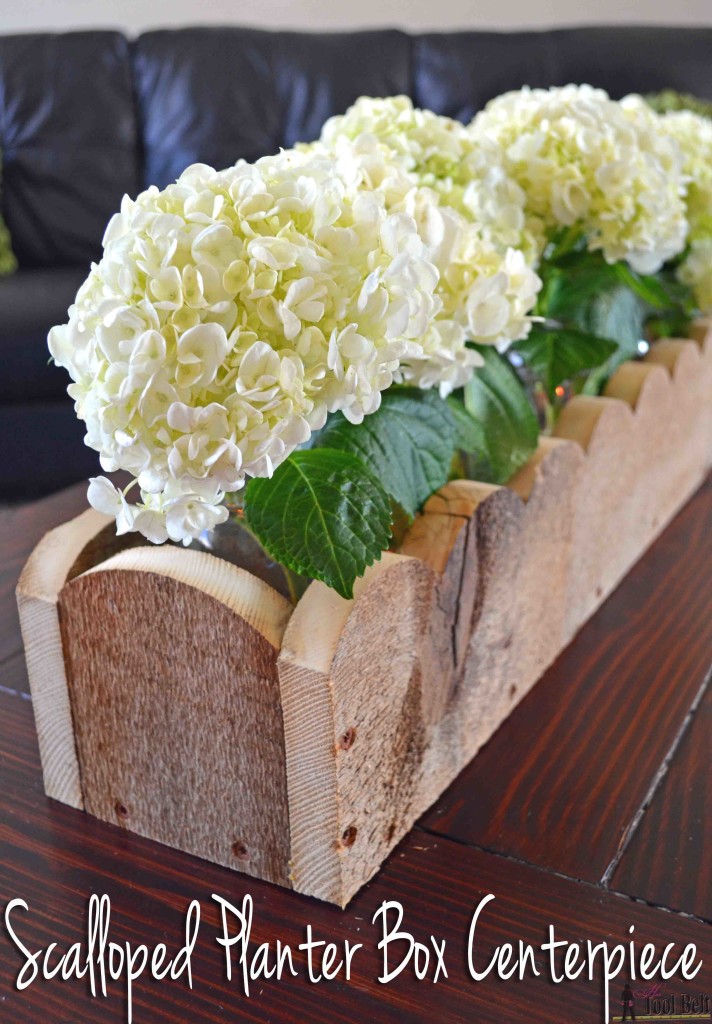
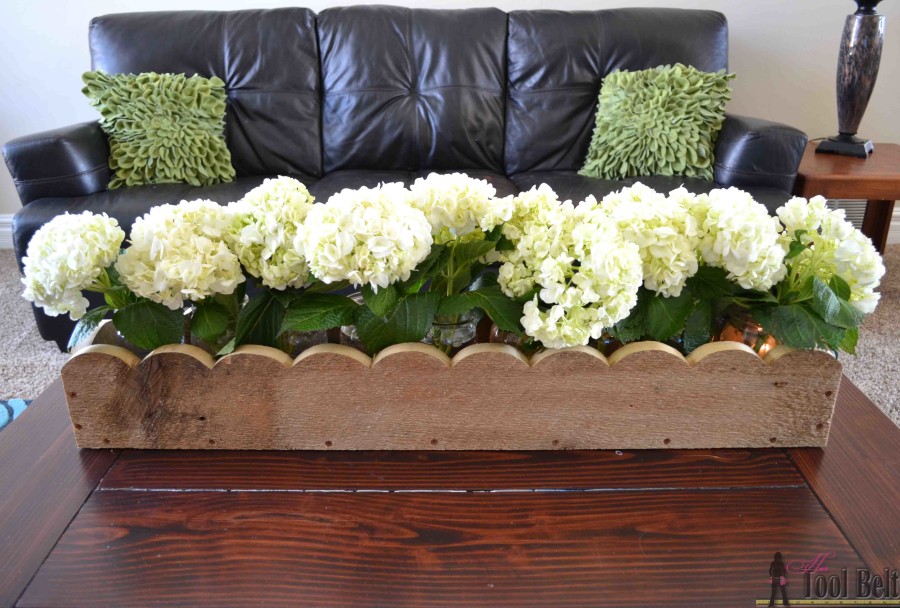
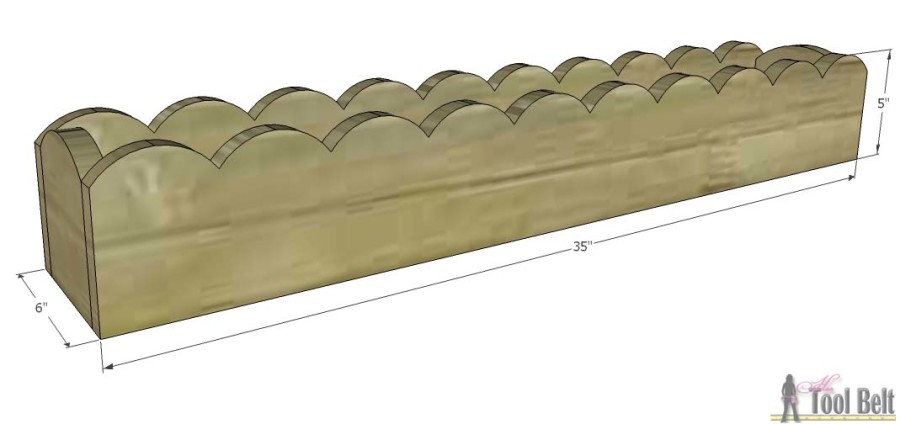
Today on the Rockstar DIY stage is Amy, with the tutorial to make this perfectly rustic Scalloped Planter Box Centerpiece.

Rockstar DIY Series

Amy is the creative artist and builder behind Her Tool Belt! You may remember her amazing rustic chevron twin bed that crashed Pinterest (well, not really, but it should have.)

Well, the very talented Amy is in the wings right now and I just got word that she’s headed to the stage. So, without any further delay, here’s AMY!

page_break_2

Hi! I am Amy from Hertoolbelt and I’m so excited to be visiting with you today. A couple of years ago I dismantled an old barn at my parents farm, now I have a good supply of barn wood. I enjoy building projects with barn wood because of the unique weathered and rustic look of each piece. It works great for planter box centerpieces. I like to have a few planter boxes on hand for party decorations. I wanted to make this one have a more feminine feel, so I added scallops.

DIY scalloped planter box centerpiece - free plans Hertoolbelt

How to Build a Scalloped Planter Box Centerpiece

DIY scalloped planter box centerpiece - free plans Hertoolbelt

Materials

  • 2 – 1″ x 6″ x 6′ boards (or barn wood), actual 3/4″ x 5 1/2″
  • 1 1/2″ minimum length screws (I used 1 5/8″ deck screws)
  • wood glue
  • sand paper

You can modify these plans for whatever size of centerpiece you need. I designed the inside width to fit mason jars.

Cut List

  • 2 – 3/4″ x 5″ x 35″
  • 2 – 3/4″ x 5″ x 4 1/2″
  • 1 – 3/4″ x 4 1/2″ x 33 1/2″

Step 1

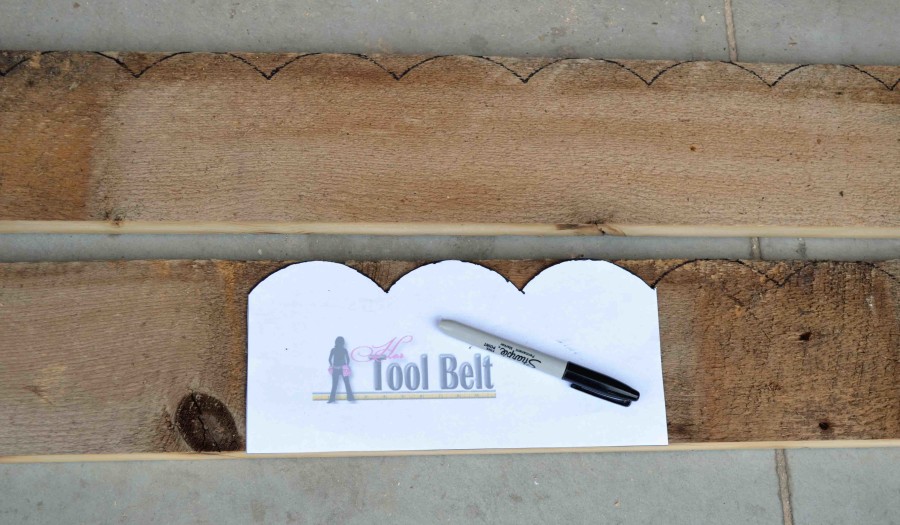
Cut the boards out according to the cut list above. Download and print the pattern for the scallop. When printing make sure your print settings are on 100%, not fit to page. Cut out the pattern and trace it on the 2 – 35″ boards.

DIY scalloped planter box centerpiece - free plans Hertoolbelt

Use a band saw, jig saw or scroll saw to cut out the scallop design (I used a band saw). Sand the cut edges as necessary.

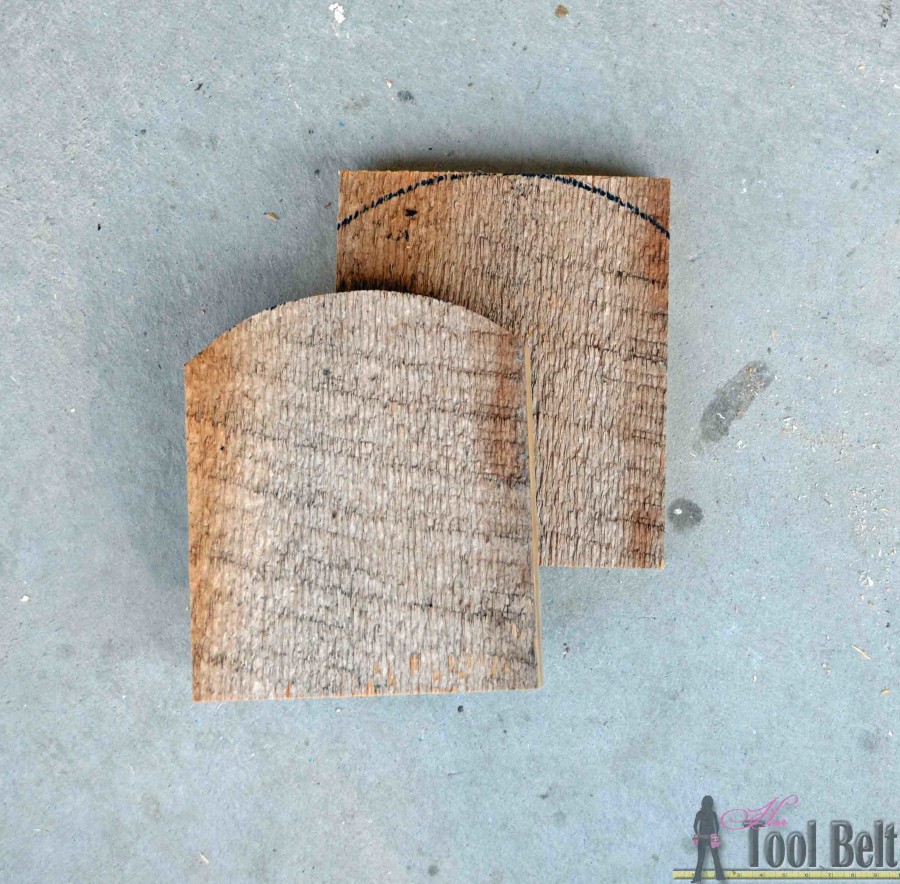
On the end pieces, if you want a curve, use a paint can to trace a curve. Cut out the curve and sand if needed.

DIY scalloped planter box centerpiece - free plans Hertoolbelt

Step 2 Read more