how to make glass bead magnets horizontal photo

Make glass bead magnets with the kids for a simple and easy craft project to help you get through those long summer days when the kids are home.
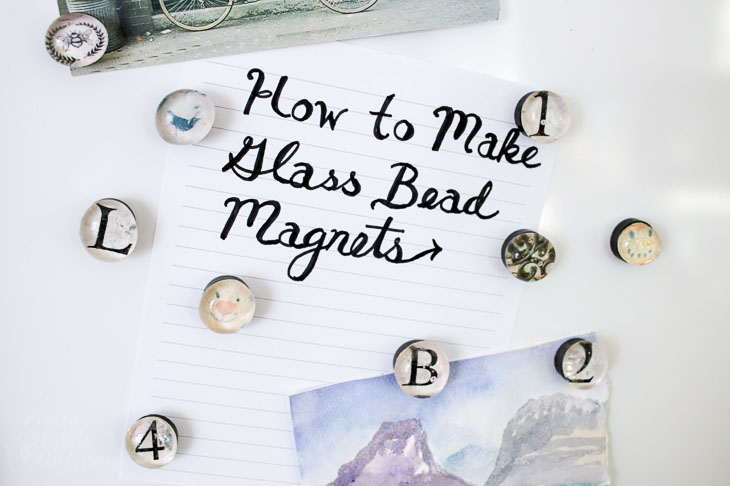
how to make glass bead magnets horizontal photo

How to Make Glass Bead Magnets

I love working with mod podge, especially for this decorative book with a secret hiding place and this vintage map lampshade. But, when it comes to a craft the kids can safely work on, I chose these Easy Decorative DIY Glass Bead Magnets.

We recently visited the Art Museum in Chicago and I found myself swooning over the beautiful paperweight collection. The glass magnifies the design inside the weights allowing you to see all the intricate details. While I don’t foresee making my own glass paperweights, the kids and I could get creative and use glass beads to make some beautiful magnets.
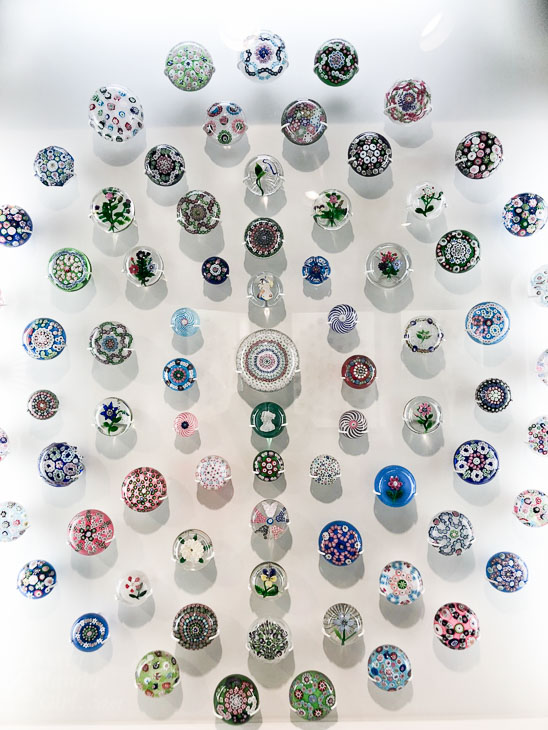
beautiful paper weight collection

A while ago, I happened upon a craft tutorial creating decorative push pins with glass beads. The next day my boys and I picked out glass beads and the rest of the supplies at AC Moore. My 3 and 6 year old were so excited when I pulled out the Oriental Trading Catalog and asked them to pick out their favorite pictures. We spent over an hour chatting and giggling as they cut out pictures from catalogs and magazines. If your children are looking for specific photos, you can always print them out from your computer first. Once you have your images, you are ready to get creative!

Materials:

(I’ve included affiliate links for your convenience. I earn a small percentage from a purchase using these links. There is no additional cost to you. You can read more about affiliate links here.)

glass bead magnet materials - scissors, mod podge, pencil, E-6000

Instructions:

Lay your bead on top of a picture you want to use.
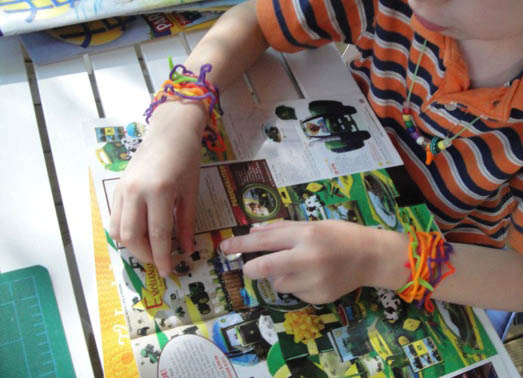
boy laying out glass beads onto magazine pictures

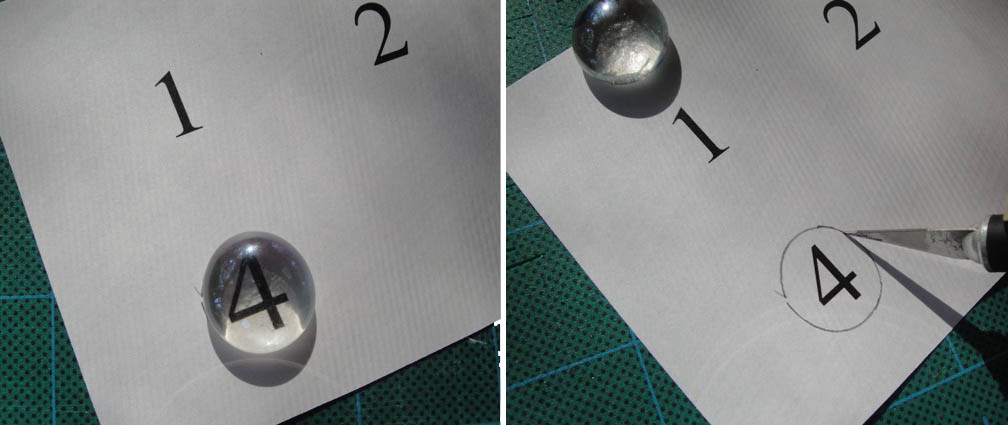
Trace around the pictures and cut them out with an x-acto knife.
Paint mod podge on the front of the picture.
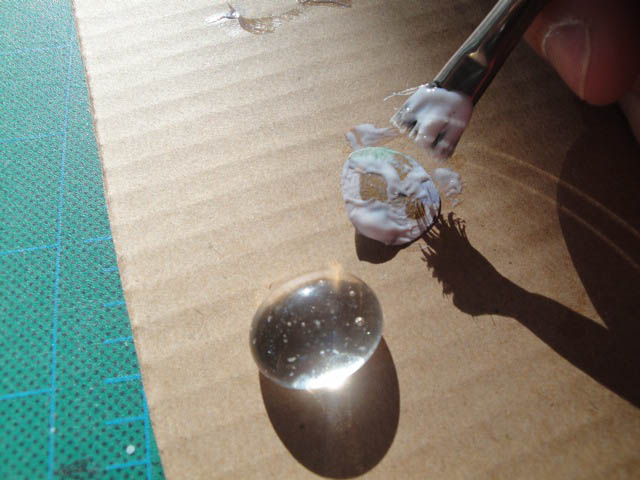
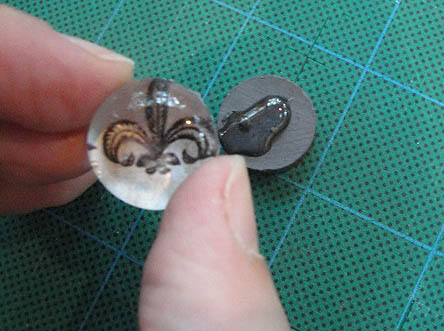
Center the glass bead on top of the picture. Then seal the picture by coating the back of the image with more mod podge.
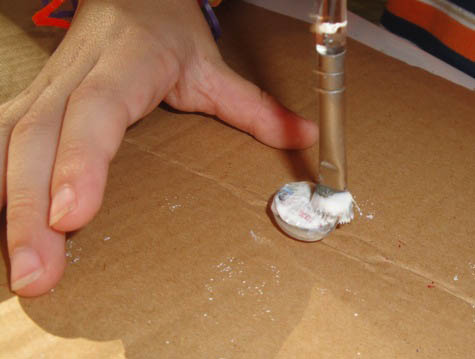
After the beads dry, take out the magnets. Apply a dab of E-6000 glue to the magnet…
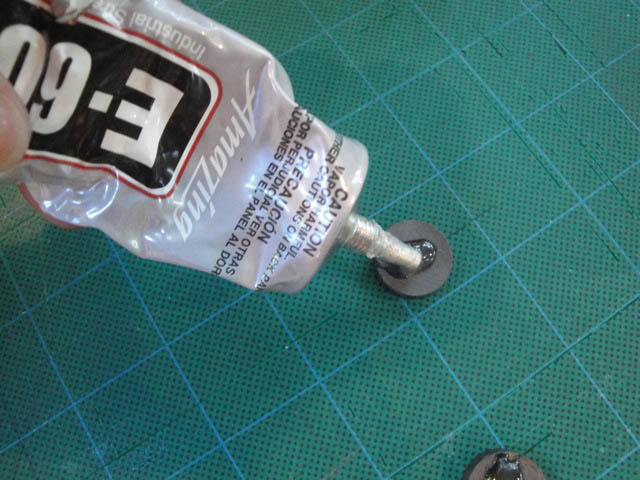
adding a small amount of E-6000 glue to the magnet

…then set the glass bead on top.


Within 30 – 45 minutes they should be dry and hardened.
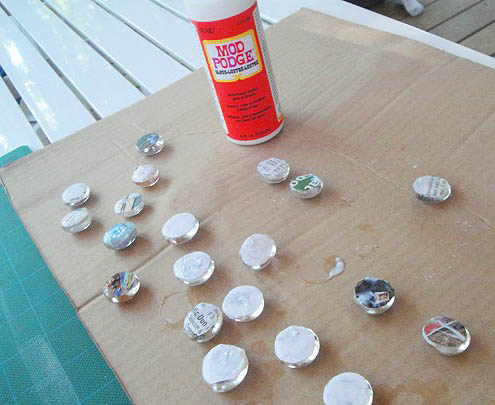
Now you have beautiful custom glass bead magnets.
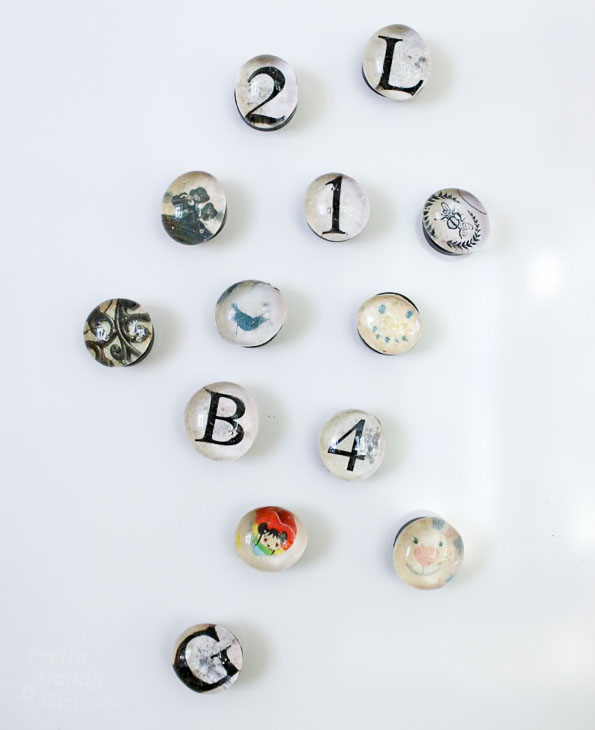
finished glass bead magnets

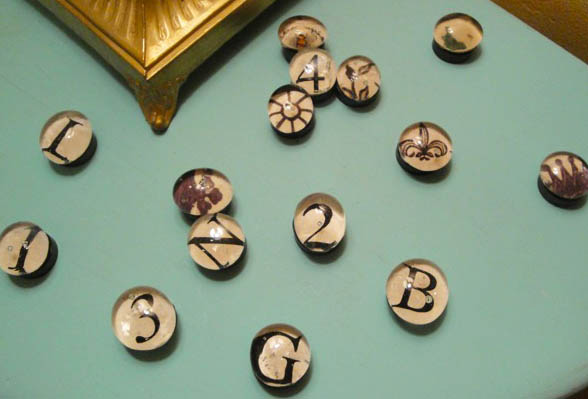
I chose mostly black and white images and graphic numbers and letters for my set.

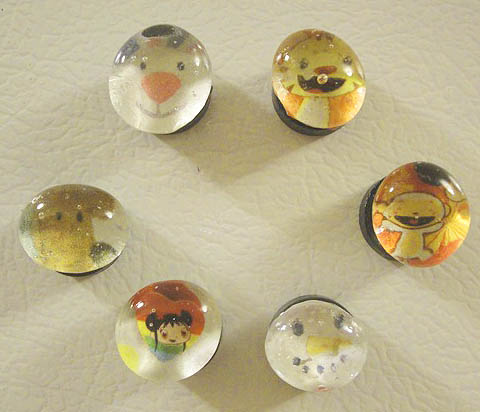
The kids on the other hand – well, let’s just say they do love their cartoon shows!

Let me know if you make your own glass bead magnets. What images will you use?

Be sure to pin this image for a friend. You know how hard it is to keep the kids entertained over the summer, right?!
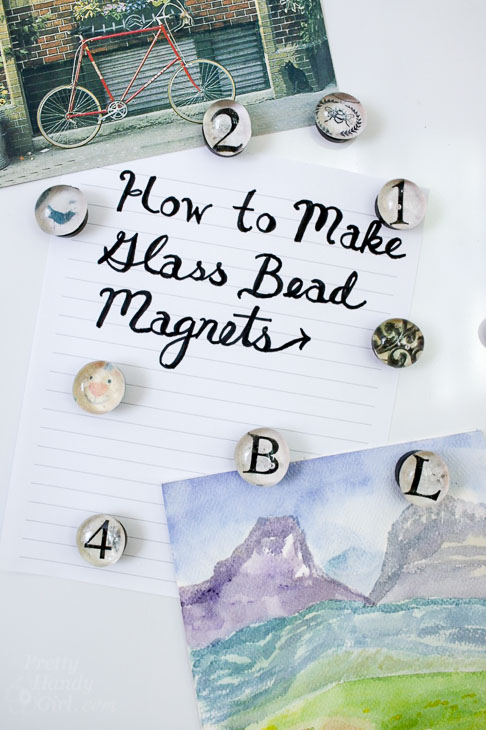
how to make glass bead magnets vertical photo

Rustic Metal Magnetic Window Frame | Pretty Handy Girl

Galvanized Metal Magnetic Windows | Pretty Handy Girl

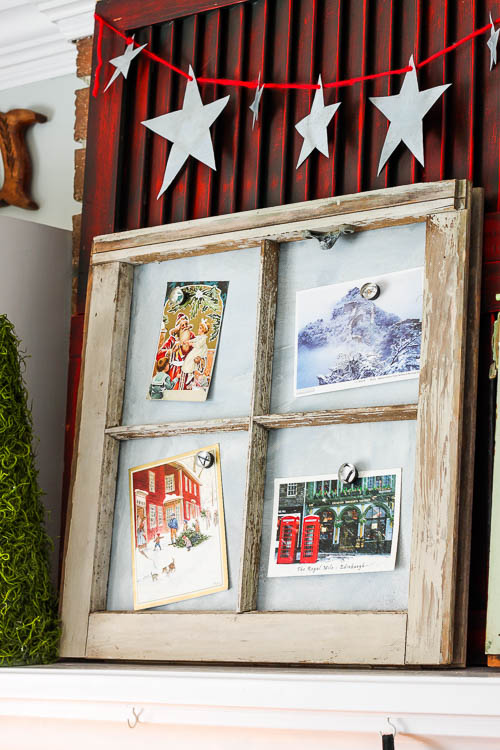
I was really inspired by Laura Putnam’s new book: DIY Rustic Modern Metal Crafts. I love the look of aged galvanized metal and knew that our home needed more of it. Today I’ll share with you a tutorial to create your own Rustic Metal Magnetic Window Frame, inspired by Laura’s Vintage Window Memo Board. But, you’ll definitely want to get a copy of Laura’s book to learn how to make 34 more storage and decor items using galvanized metal!

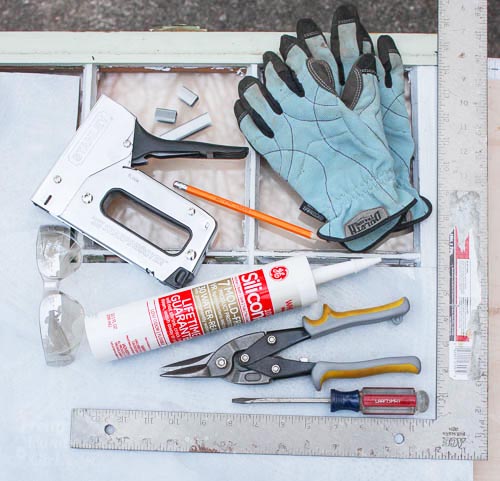
Materials:
(contains affiliate links)

Galvanized Metal Magnetic Windows | Pretty Handy Girl

Optional: Silicone Caulk (for more secure metal)

Instructions:

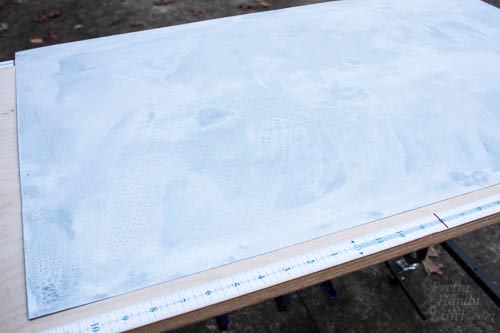
Ready to make your own Rustic Metal Magnetic Window Frame? If you have newer galvanized metal, you can easily add an aged patina to metal following this tutorial. Prepare ahead of time, because it might take up to 8 hours to get the look you want. The sheet you see below was left overnight in the solution to get a nice white patina.

aged-galvanized-sheet-metal

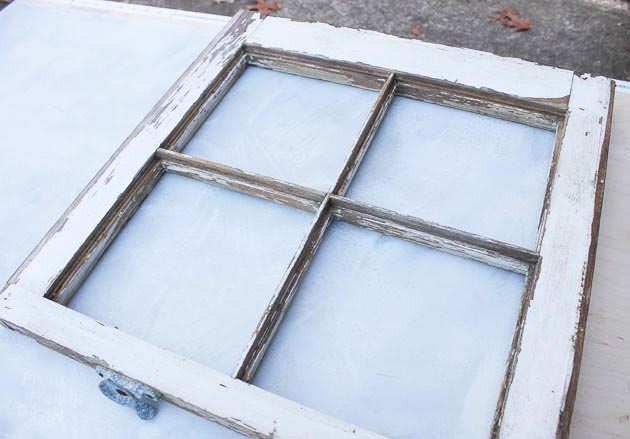
Remove the glass panes from your old window.

old-window-pane

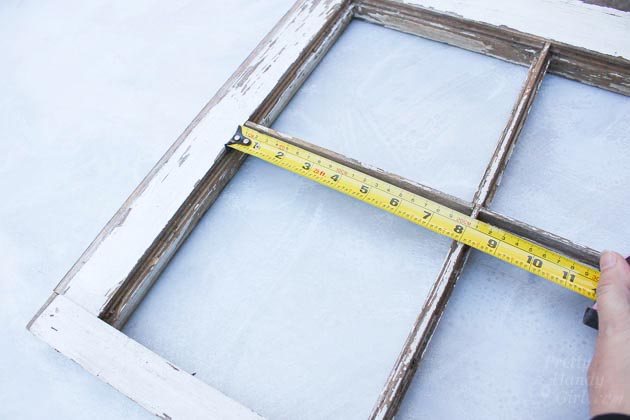
Measure the size of each pane.

measure-window-panes

Transfer your measurements onto the galvanized metal sheet. Read more

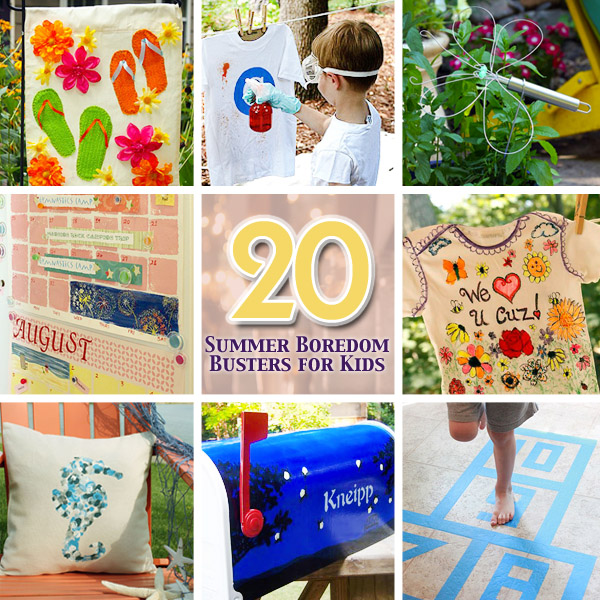
20 Summer Boredom Busters for Kids | Pretty Handy Girl

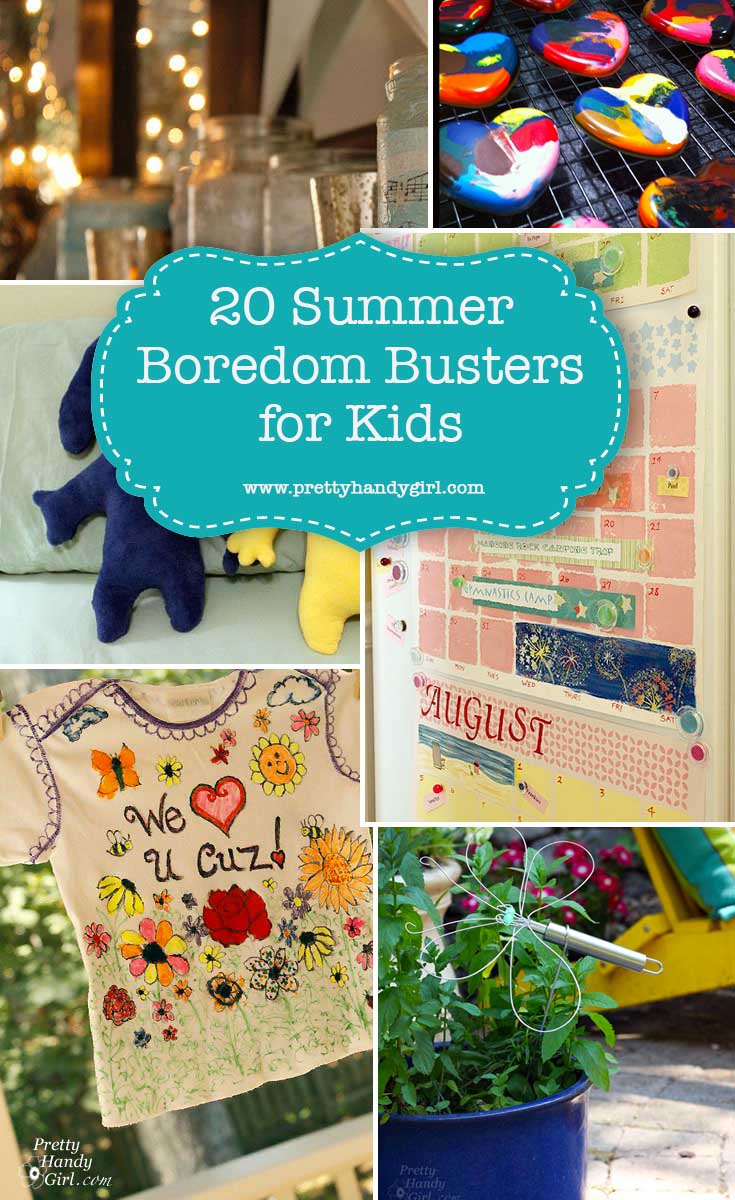
If you’re on a quest to keep the kids entertained, I have several Boredom Buster DIY craft projects for you and your kids that will keep you busy over the next few weeks or so.

side_view_calendars

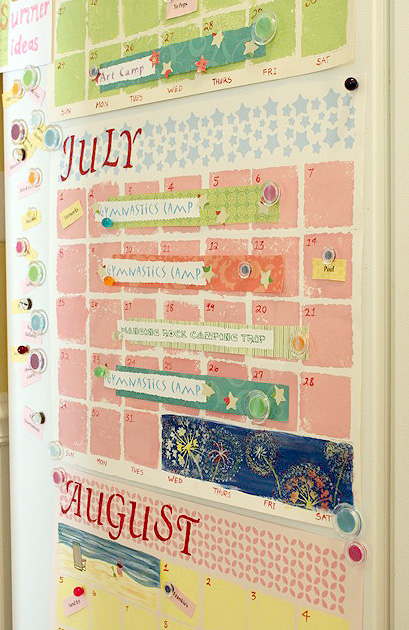
Summer Calendar & Bucket List


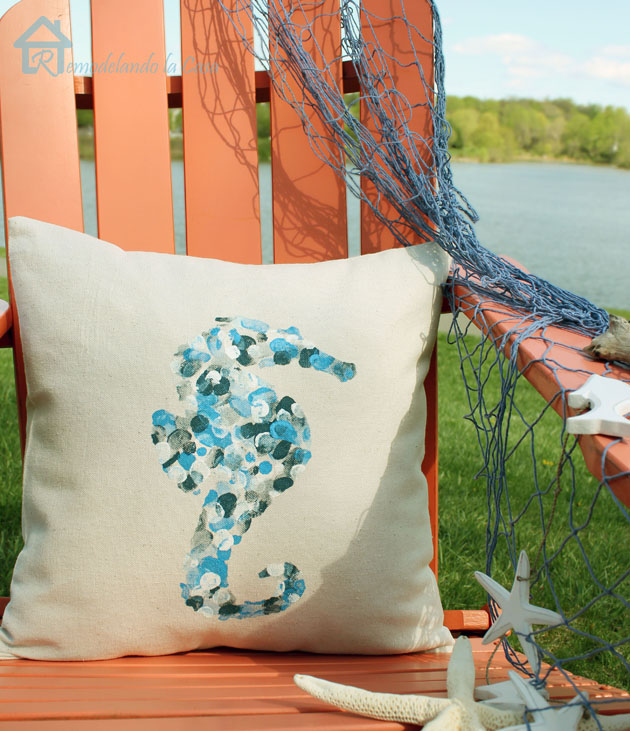
Thumbprint Pillow | Pretty Handy Girl

Kids’ Thumbprint Envelope Pillows


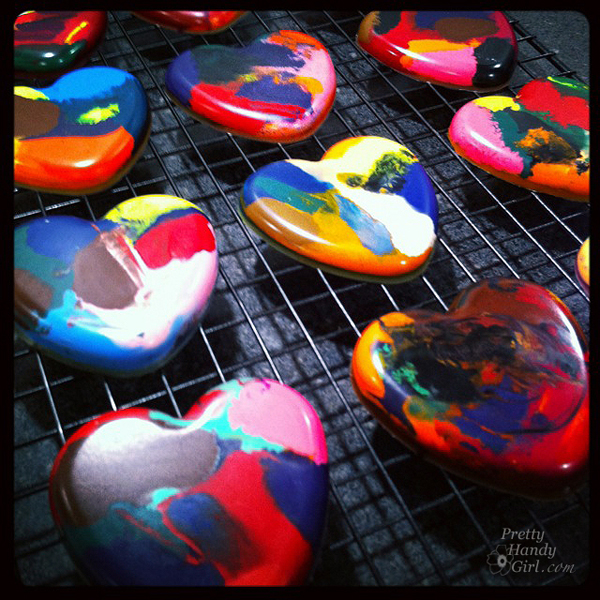
cooling_crayon_hearts

Melted Heart Crayons


Sunprints | Pretty Handy Girl

Sunprints (frame-worthy art)


DIY Magnets Noggin Characters | Pretty Handy Girl

DIY Character Magnets


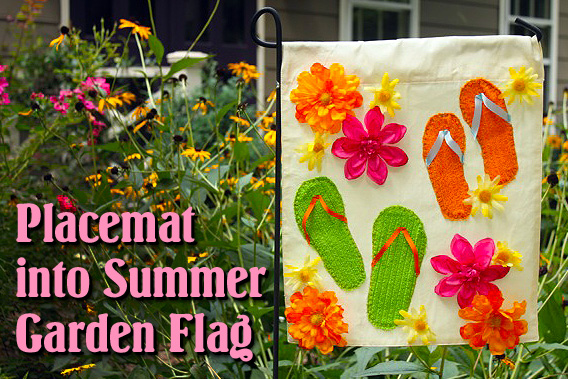
Placemat_summer_garden_flag_pin

Summer Garden Flag


Planning a beach vacation? Why not bring a few craft supplies to create some beach-themed crafts!

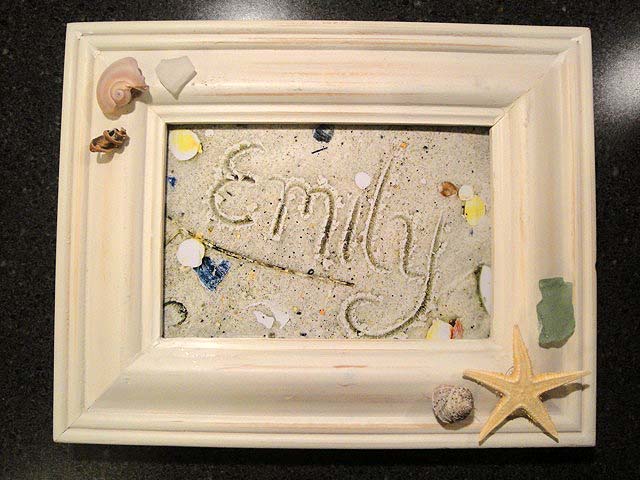
Writing Name in Sand Art | Pretty Handy Girl

Writing in the Sand Art


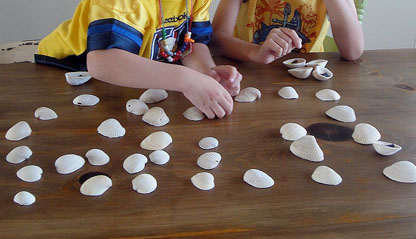
Sea Shell Memory Game | Pretty Handy Girl

Sea Shell Memory Game


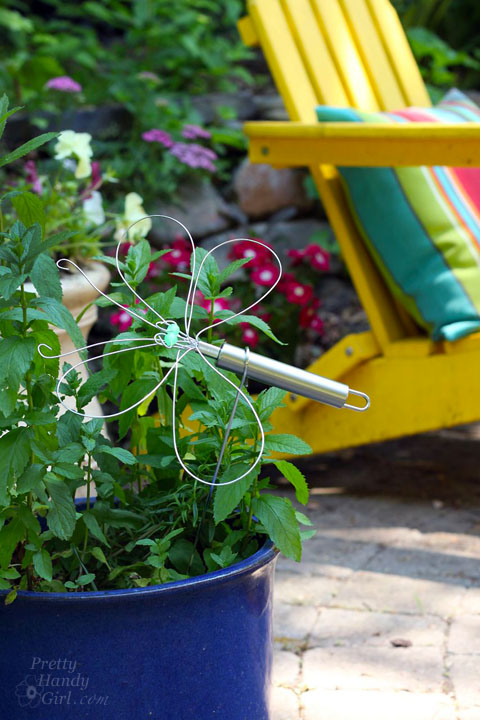
Dragonfly Garden Decor using a Dollar Store Whisk and Skewer | Pretty Handy Girl

DIY Dragonfly from a Whisk and Skewer


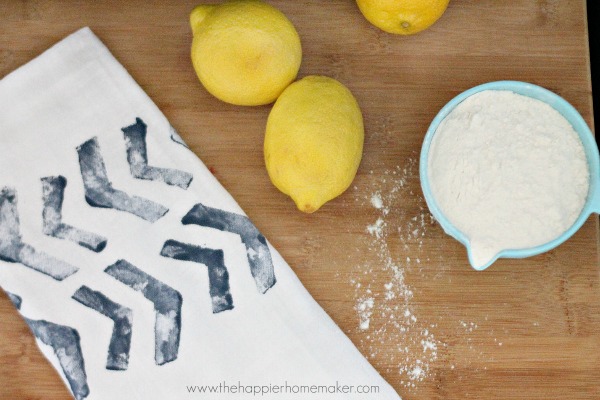
block print tea towel

Potato Block Print Tea Towels


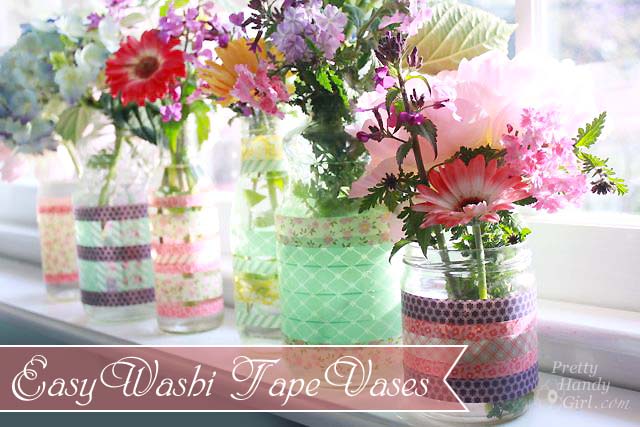
Easy_washi_tape_vases

Easy Washi Tape Vases


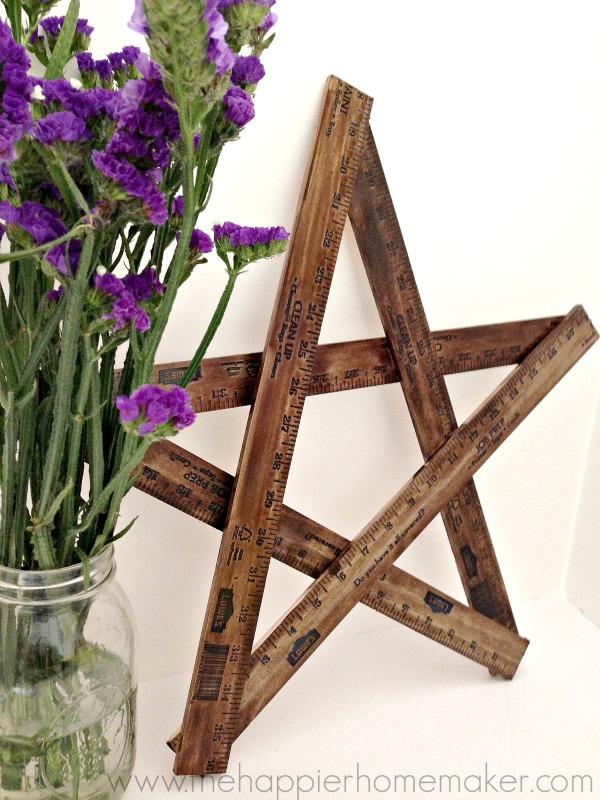
how to make a yardstick star

DIY Yardstick Star


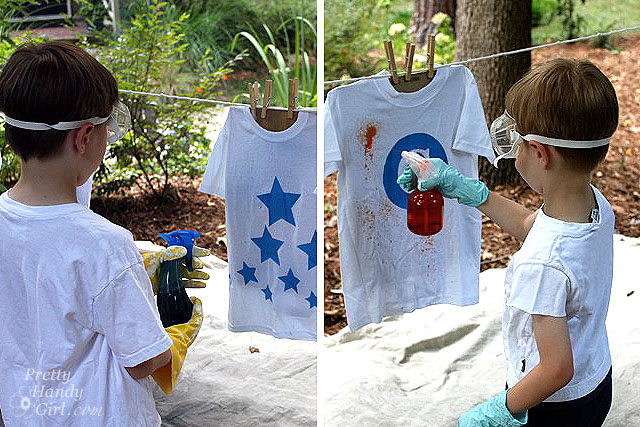
Spray-Dyed T-shirts | Pretty Handy Girl

Spray-dyed Shirts


Easy Decorated Chalkboard Clipboards | Pretty Handy Girl

Decorative Chalkboard Clipboards


Monster Dolls Designed and Made by Your Kids | Pretty Handy Girl

Kid Designed Monster Dolls


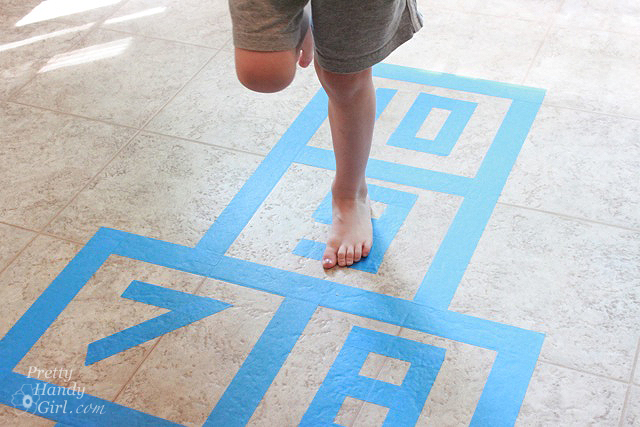
boy_playing_indoor_hopscotch

Indoor Hopscotch with Painter’s Tape


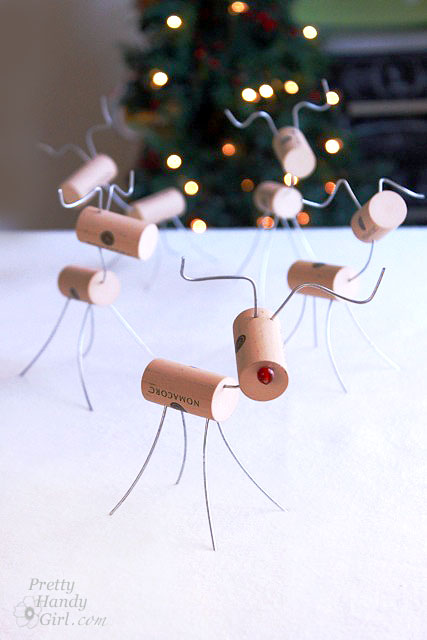
wine_cork_reindeer

Wine Cork Animals


finished_shirt_first_image

Doodle Shirts


PrettyHandyGirl_music_Votives_on_shelf

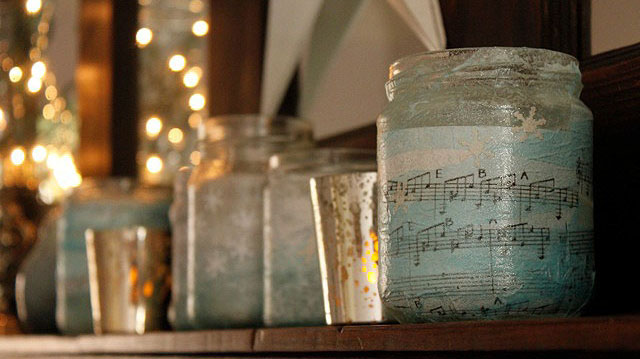
Decorated Glass Jar Votives


Magnetic Mailbox Cover | Pretty Handy Girl

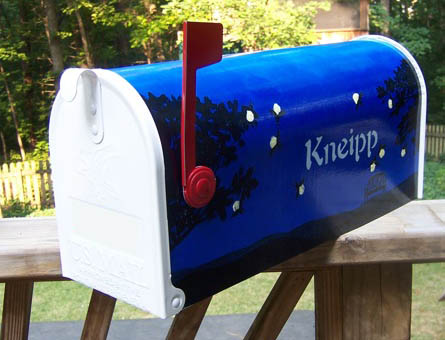
Custom Painted Magnetic Mailbox Covers 

Those ought to keep your kids busy for a little while and let you make summer memories that last forever. Happy Summer!

PHGFancySign


Pin for later!