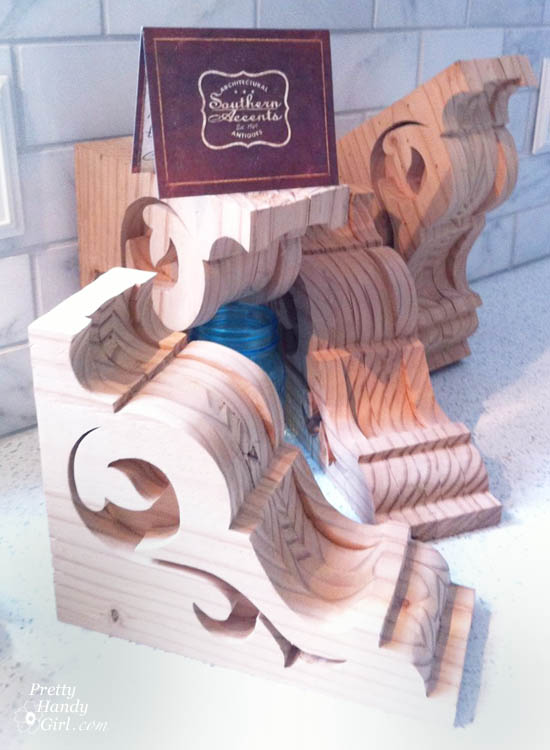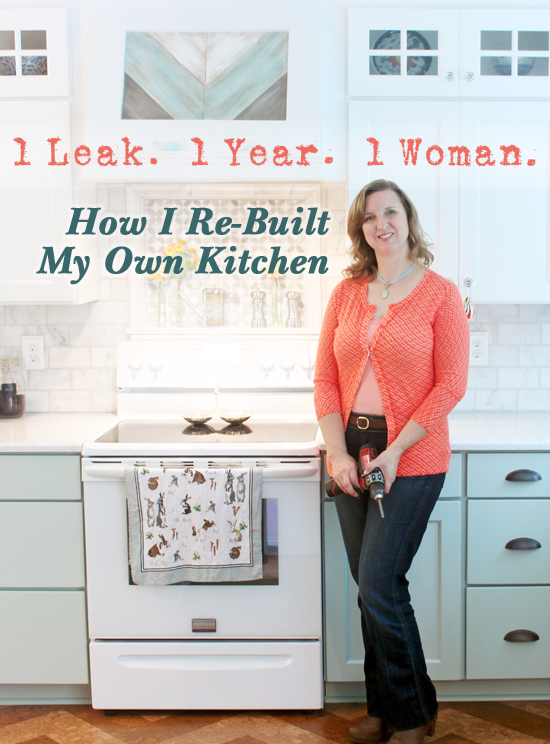
2013 Could be called the year of the kitchen renovation in our house. Or the year that nearly killed me. Or the luckiest year of our lives. I’m still debating the title. What I do know is that, I decided to take on my biggest DIY project to date. I re-built my own kitchen from bare studs and subfloor.
It started one morning as I was confronted with a foul odor. It’s only describable as that odor that usually lives in the high school gym locker room. I thought my 9 year old son’s feet were starting to stink. Unfortunately a stinky pair of shoes wasn’t the culprit, it turned out to be a very minor leak that turned into a very big kitchen renovation. We persevered through 45 days without a washer and dryer and many months without a kitchen. But, it was like being a contestant in Survivor. I lasted the year of construction; the set backs and sore muscles; and in the end I was rewarded with a brand new kitchen!
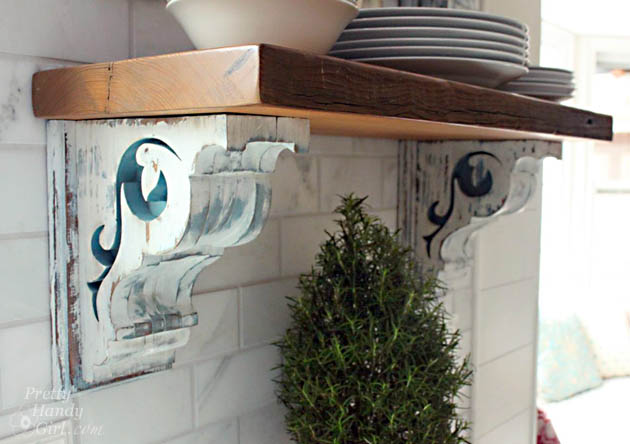
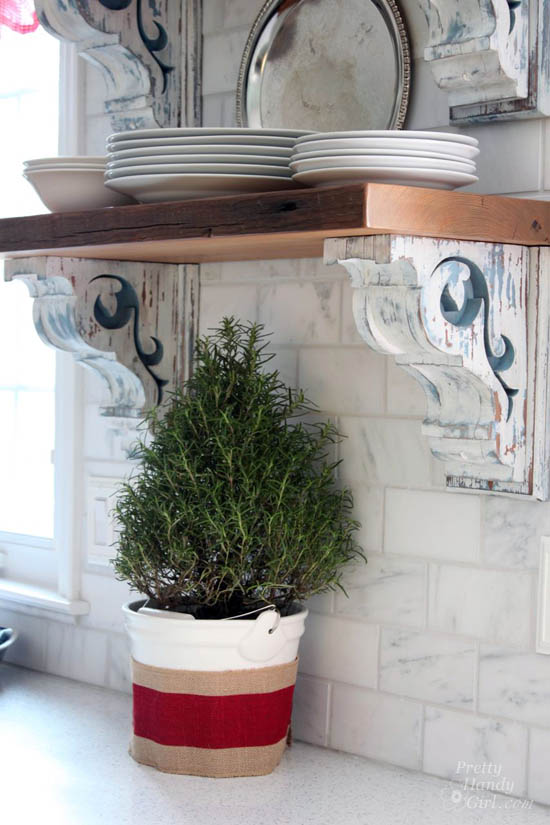
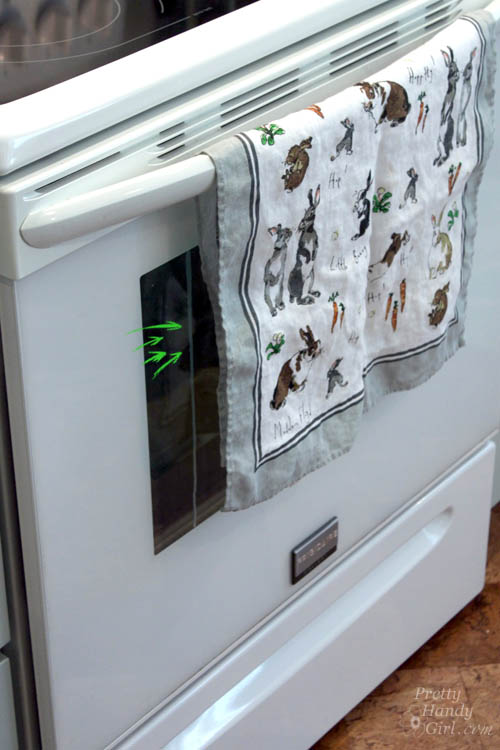
Today, I walk into our beautiful kitchen and I know it was all worth it! It was worth all the sweat equity, the daily Advil doses, and the tree falling on the house. If you want to reminisce with me as I recap my kitchen renovation of 2013, here’s your ticket to all the tutorials and posts: Read more