Pretty Handy Girl's Guide to Tiling a Backsplash: Part 2 - Grouting

How did you do yesterday with the How to Tile a Backsplash: Tile Setting tutorial? Not too bad, right? Well, today will be a very gratifying day. Today I’m going to show you how to grout (and seal) your tiles and finish off your kitchen backsplash. You are going to love the end result.

(I’ve included affiliate links for your convenience. I earn a small percentage from a purchase using these links. There is no additional cost to you. You can read more about affiliate links here.)

Materials:

  • Grout (Used: Mapei UltraColor Plus Rapid-Setting Sanded Grout color: Frost)
  • VanHearron’s Grout Once
  • Two buckets (same size or one larger)
  • Water
  • Ice
  • Grout Float
  • Spatula
  • Rag
  • Buffing pad
  • Sponge
  • Basin filled with clean water

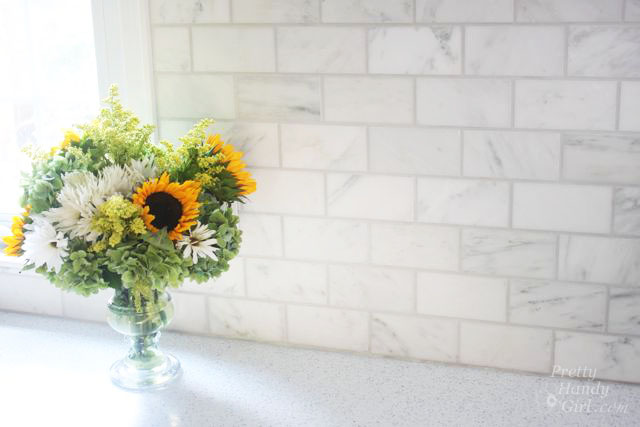
Prep work: If you are working with a natural stone tile, you may want to seal the tiles before grouting. I sprayed StainGuard5000 on a dry clean rag and wiped it onto all the tiles. Then buffed it off after five minutes.

Instructions:

If you are using a rapid setting grout, you might want to slow the “setting” process slightly. I learned this trick from our local tile shop: Start by filling one bucket with ice water. Nest the second bucket inside the first. Read more

PrettyHandyGirl's Guide to Tiling a Backsplash - Part 1: Tile Setting

This is the tutorial that I’ve been anxious to share with you! How to Tile a Backsplash! The reason I’ve been anxious to share is for two reasons!

1) The backsplash and tiling truly makes my kitchen feel luxurious. In addition to the cork flooring, it was one of the things I REALLY wanted to have in our kitchen. And this is definitely a project that anyone can take on (with a good tutorial.)
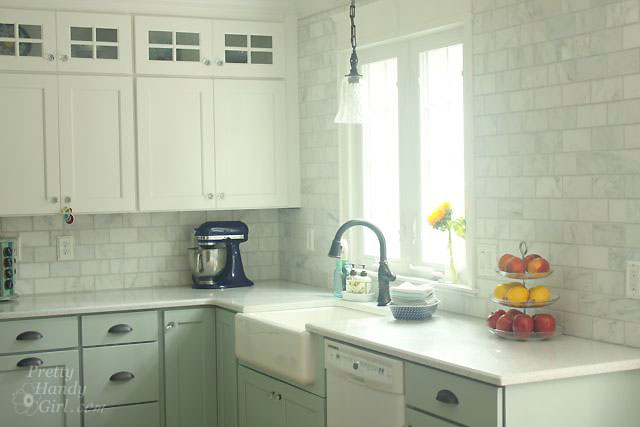
PrettyHandyGirl's Guide to Tiling a Backsplash - Part 1: Tile Setting

2) The source of my tiles is a best kept secret! I found the supplier online after researching and searching for affordable marble subway tiles. TheBuilderDepot.com was a site I stumbled across in my search. After contacting them and discussing my project, a response came immediately with ideas for my backsplash. My contact, David, was there for me throughout the process and gave me lots of ideas and tips along the way!  He even sent me a photo of my tiles before shipping them.
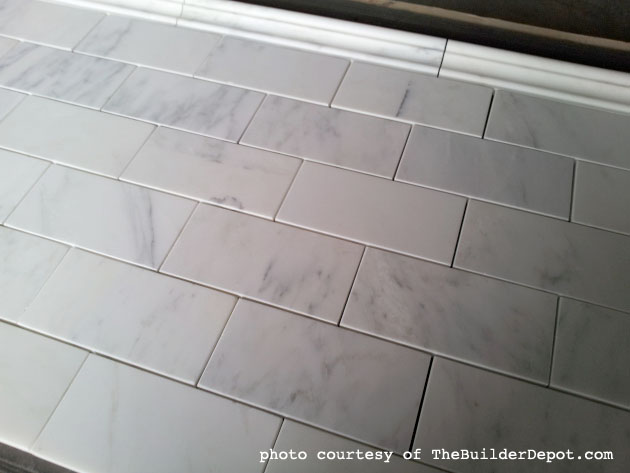
Venato Marble Subway Tiles from TheBuilderDepot.com

But, here’s the best part, in one of our email conversations I learned a little more about TheBuilderDepot and their company’s history. I want to share his email with you because I think it’s wonderful how they run their business:

We started our business in 2008 with $12K in sales and because of the financial meltdown and housing collapse banks told us we were crazy starting an “ecommerce” marble business.  None of them would loan any money, not even $1K.

Last year we grew to a $2.4m company (this year we are on target to double), employing locals and making an impact in the way consumers buy luxury natural stone.  Our vision was to offer a quality that is second to none, buy direct from Italy and quarries around the world, pay cash for everything buying 30,000 to 40,000 sq.ft. of product at a time from the quarries to keep costs low and quality high. 

 We have no debt as a business (that was not a plan but has worked out well) and avoid traditional marketing channels that are heavy on costs.  Basically a no frills marketing strategy. 

People think we are crazy when, if we cannot supply something or another supplier offers a better more affordable solution we refer them to a competitor.  We do not need the sales as we never anticipated growing this big, we are just interested in people creating pretty rooms with natural stone.

Part of the success is we ask what people are planning, then come up with some ideas of our own.  We are really passionate about Carrara.  The only company that separates into two collections.”

A company that has good business practice is worth supporting!

As mentioned in previous posts, when choosing companies to work with, I make sure to select brands and companies that I can stand behind. I have always maintained strict criteria when selecting companies to work with, and The Builder Depot goes above and beyond my criteria:

Before you source your next tile job, check out TheBuilderDepot.com. I think you’ll be pleasantly surprised ;-).

Ready to get messy? Let’s tile that backsplash!

Prep-Work: Read more

How to Frame and Install Window Casing and Trim by Pretty Handy Girl

Hello Friday!!! It’s been a chaotic week here, how about yours?

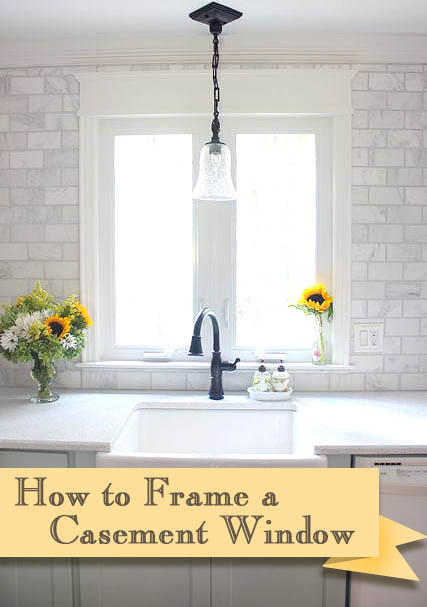
I’m excited to be sharing more tutorials from the kitchen renovation. I hope you’ll excuse me as we jump back and forth in the renovation process. I’ve been trying to get the most relevant tutorials to you as soon as I can. Speaking of relevant, I understand there are a lot of under-dressed windows out there that need trim or could use a little more “WOW Factor”!  Is that your  case—ment? Hahahaha. Well, sit down for a minute and I’ll go over the details for installing window trim and casing on a casement window. Have no fear if you have a double hung window or other, these techniques will work for those windows too.

Replacement vs. New Construction Windows:

handyman_installing_window

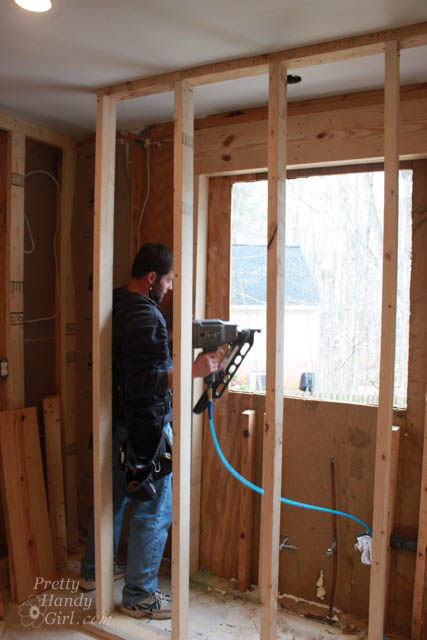
But, let’s back up for a minute. I wanted to share with you a little snafu that happened with our casement window. When I ordered it, the guy taking the order asked me a few questions and somewhere there was a translation breakdown. He thought I needed a replacement window because I was replacing an existing window. What he didn’t realize is that I was increasing the size of the window opening and therefore needed a new construction window. In the end, I was stuck with the replacement window, but my handman and I used as many weather-stripping, caulking and water barrier techniques we could think of to keep it water tight.

This is what you need to know when ordering a new window: If you are removing the old and putting in a new window into the same frame, you order a replacement window. If you are expanding or changing the size of your window opening you need to order a new construction window.

Materials:


Instructions for Installing Trim, Casing and Moulding on a Window: Read more

before_after_contest-winner

My goodness, you DIY creators really know how to “bring it” to the Before & After contest! I saw so many amazing ideas and projects. And I truly enjoyed browsing each and every project. I also tried to leave comments for everyone, but I have to admit my attempts were almost thwarted by the word verification tactics (please double check if you have word verification on. I know in Blogger it is defaulted on. I promise you will get more comments and really won’t see much spam if you turn it off.) 

I want to show you this week’s winner and then I want to share some of the other amazing Before & After projects. Are you ready?….Get Set…and the winner is:

Budget kitchen remodel by The Kim Six Fix

Kim’s Amazing Budget Kitchen Remodel from The Kim Six Fix

This gal gave her whole kitchen a budget renovation. And she did all her own electrical and plumbing to boot. When life hands Kim a challenge, she delivers a DIY smackdown. Take a few minutes and enjoy reading more about Kim’s renovation. And please pin from her post. It’s only fair since she did all the work.

Here were the amazing runners-up: Read more

How to Build a Custom Wood Range Hood by Pretty Handy Girl

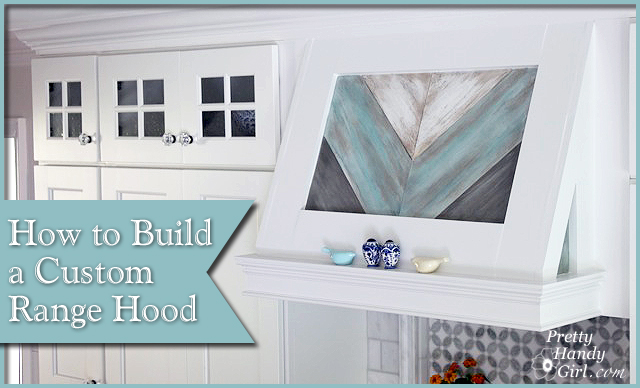
Have you seen the beautiful custom range hoods on my Pinterest board? From the beginning of our kitchen planning sessions, I knew I wanted to put in a custom wood range hood. But, finding a tutorial to build one was tough. The one that helped me the most was Cristina’s how to build a range hood tutorial.

build custom range hood

I knew when I built our hood that I’d need to take detailed notes and photos to help you accomplish your own project. I hope this tutorial helps you build your own range hood!

Build Custom Range Hood Materials: Read more