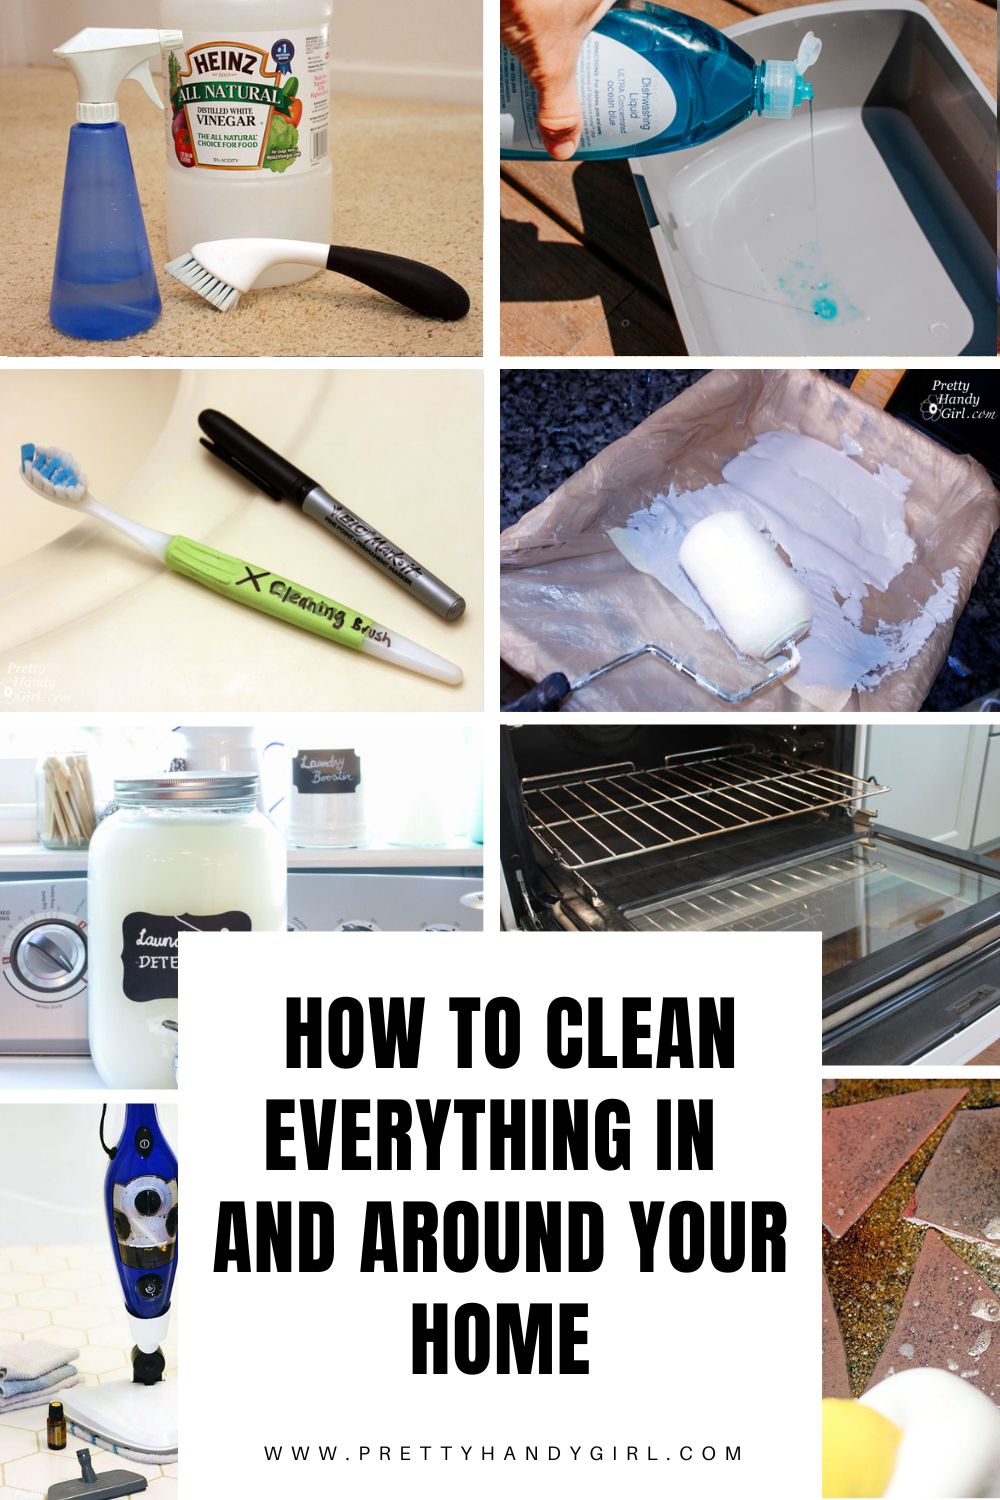
Discover the best DIY cleaning hacks and homemade cleaners to tackle every mess in your home—natural, affordable, and effective!
How to Clean Everything
If you’ve ever wandered down the cleaning aisle of your local supermarket wondering if you really need a specific cleaner for every little thing in your house, you’re definitely not alone.
It can get overwhelming fast and expensive too! The good news is, you can clean your whole home without stocking up on a million products.
With just a few basics and some of my favorite cleaning hacks, you’ll be able to tackle everything from kitchen messes to dusty corners with way less stress. Let’s keep it simple and get your home feeling fresh without overthinking it.
Common DIY Cleaning Products
Reduce the number of household cleaning products that are store-bought with DIY cleaning products that are natural. One of the easiest ways to simplify your routine is by making a few go-to solutions that handle most of your helpful cleaning tasks around the house.
Common DIY cleaning products include:
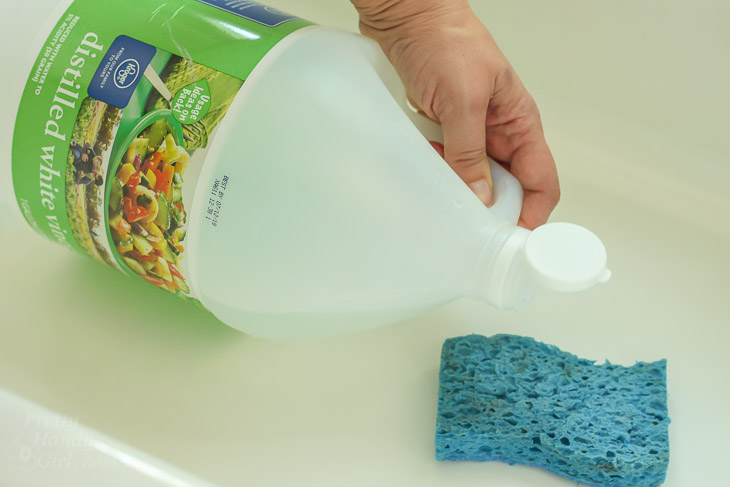
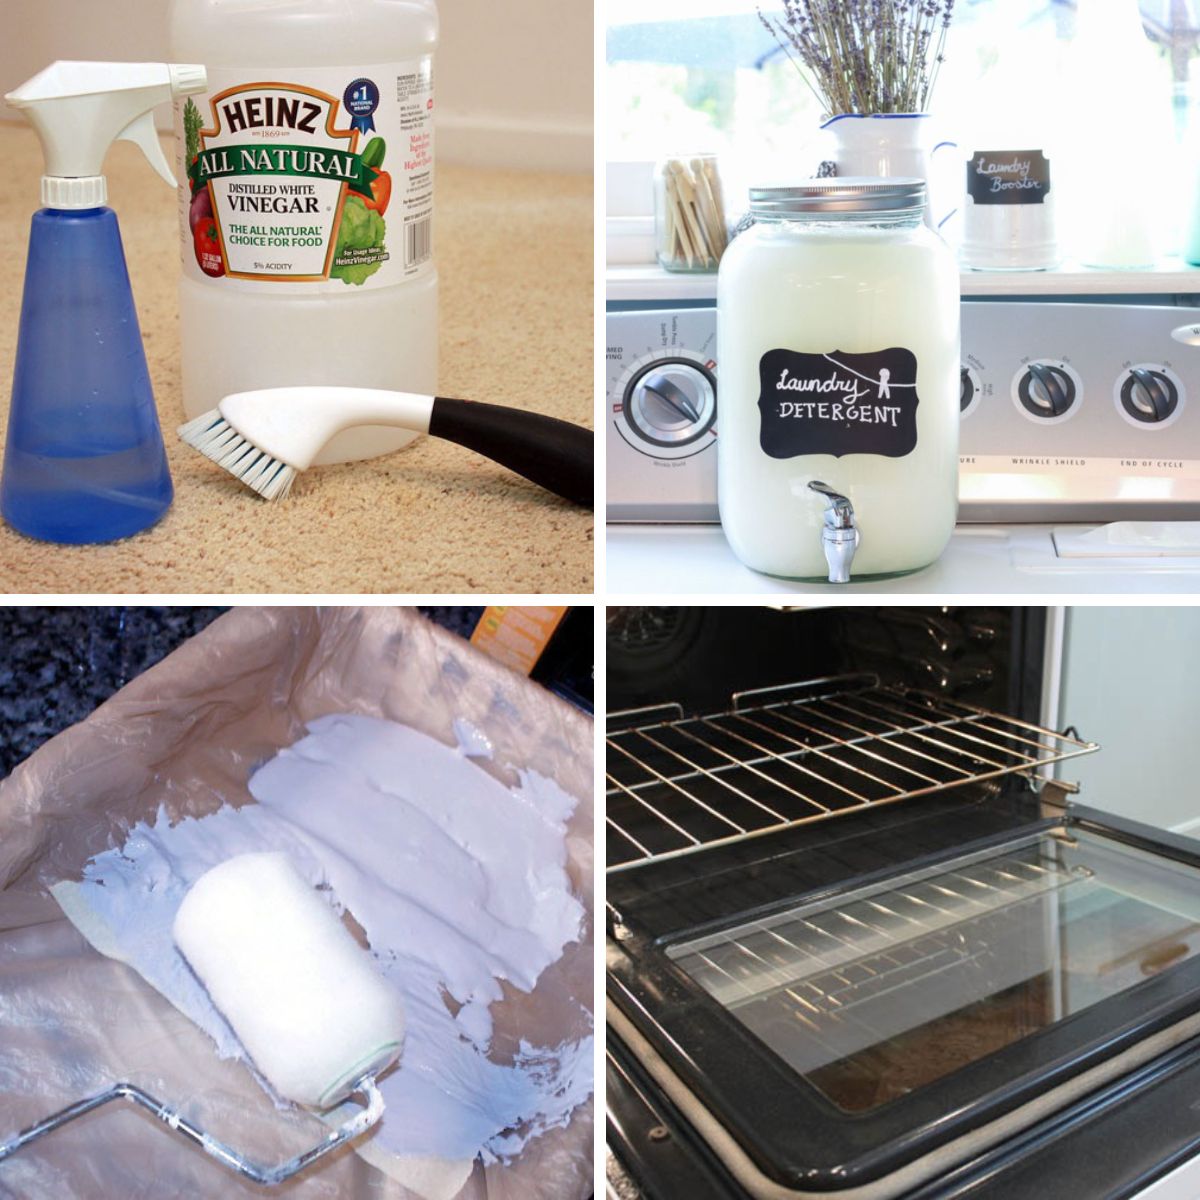
- White Vinegar
- Lemon Juice
- Essential Oils
- Shaving Cream
- Dish Soap
- Homemade Floor Cleaner
How to Clean Everything

10 Frugal House Cleaners to DIY
Looking to save money while keeping your home clean? Want to cut back on harsh chemicals while you’re at it? This collection features 10 frugal DIY cleaners I use in my own home, all made with simple household ingredients. Before long, you’ll have a sparkling clean space and a happier wallet too.

Miracle Stain Remover Plus a Healthier Alternative to Dryer Sheets
This miracle stain remover recipe has been tried and tested time and time again on some of the toughest stains. It's a great way to remove them. Plus, you’ll discover why you can finally skip dryer sheets for good!
Time to Clean Your Dryer Ducts and Prevent Fires
Once the temperatures drop and the heat turns on, the air inside your home becomes dry and static electricity makes its return. While it might seem like a harmless annoyance, it can actually pose a real risk if it sparks lint buildup in or around your dryer.
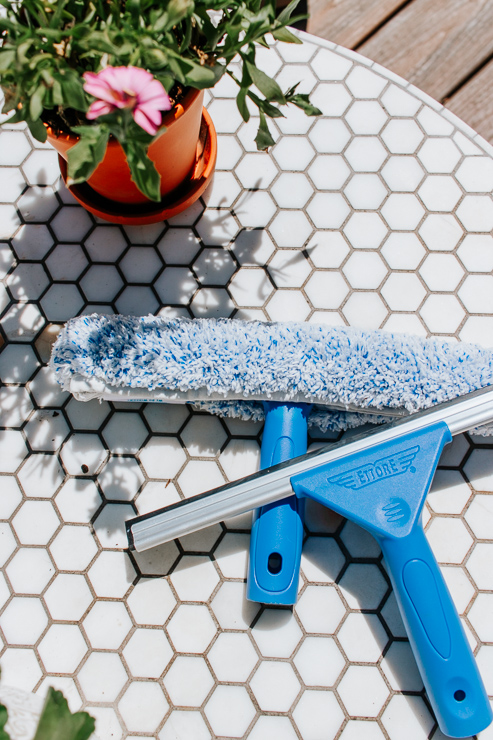
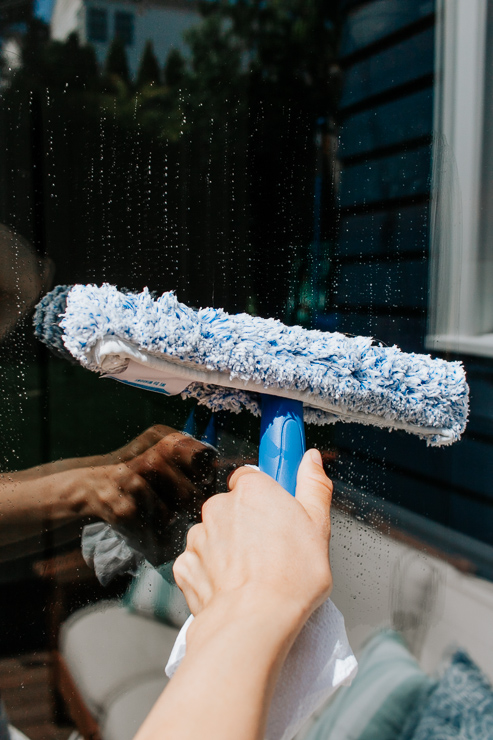
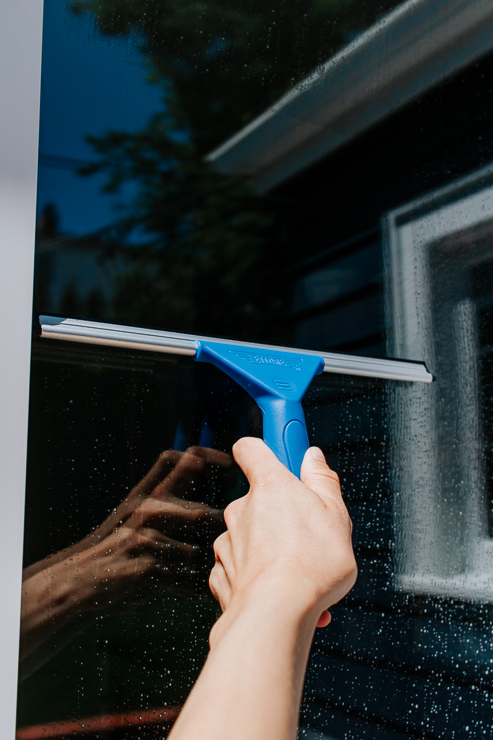
Clean Your Windows like a Pro
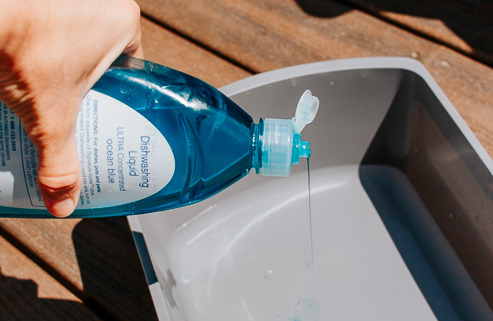
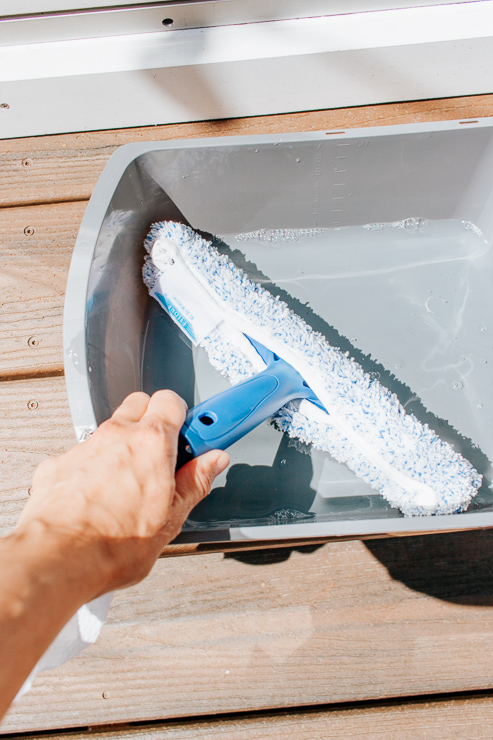
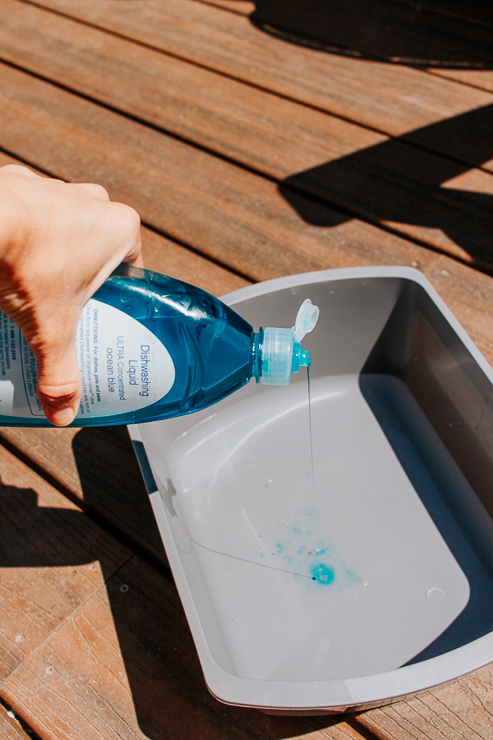
Looking for an easy way to boost both your home’s interior and curb appeal? Clean your windows! Sparkling glass enhances how your home looks from the outside while letting in more natural light to brighten things up inside. Easily clean them with a bit of dish soap and hot water.
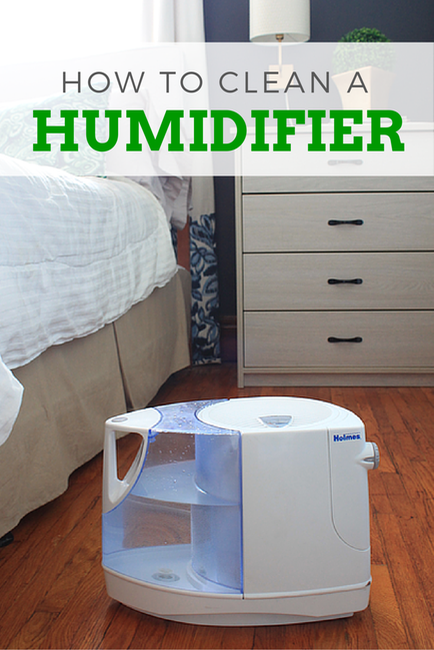
How to Clean a Humidifier
Maintain healthy indoor air by adding moisture to your home. A humidifier makes it simple, and keeping it clean and running smoothly. Sharing my best tips to make it super easy.
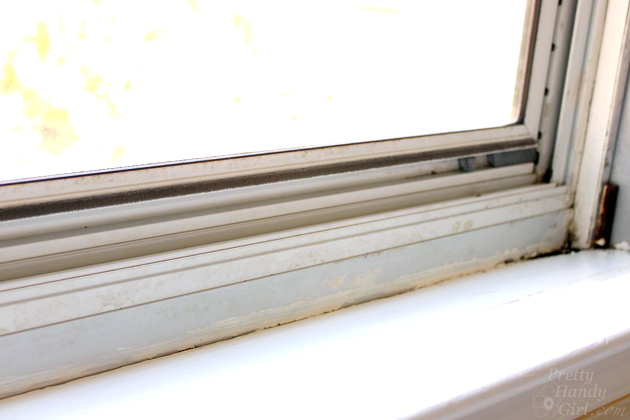
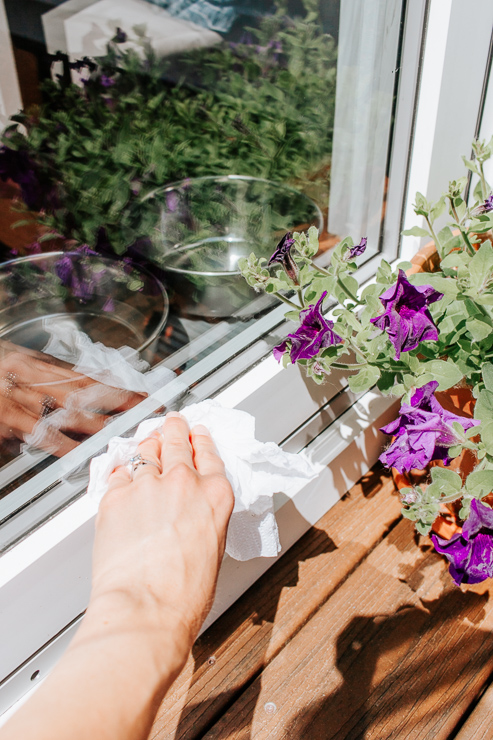
How to Easily Clean Mildew Off Windows
Winter can be hard on your home, especially your windows. The contrast between cold outdoor air and warm indoor air often leads to a buildup of mildew, particularly on aluminum storm windows. Before you open things up and welcome the fresh spring breeze, take a little time to quickly and easily clean that mildew away.

How to Clean a Stinky Boys' Bathroom
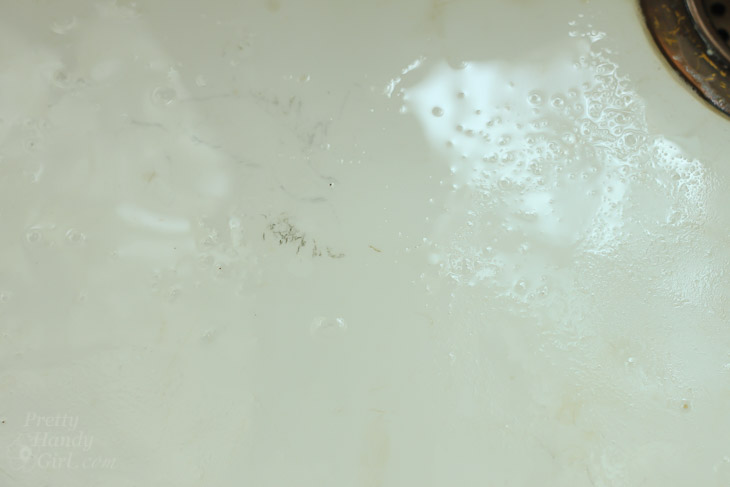
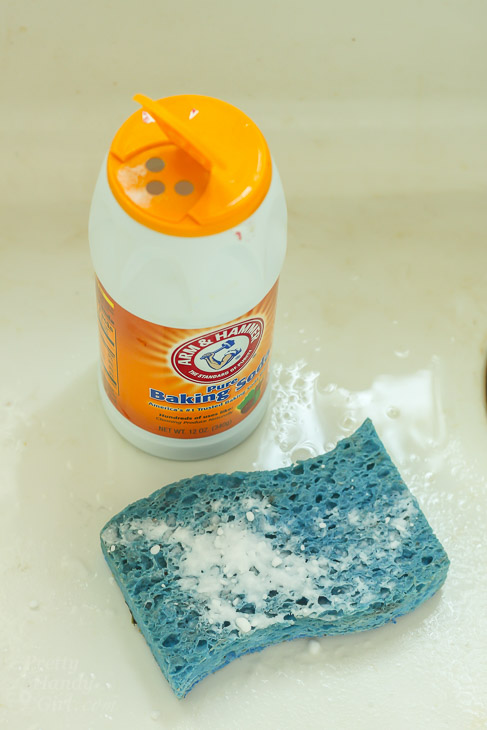
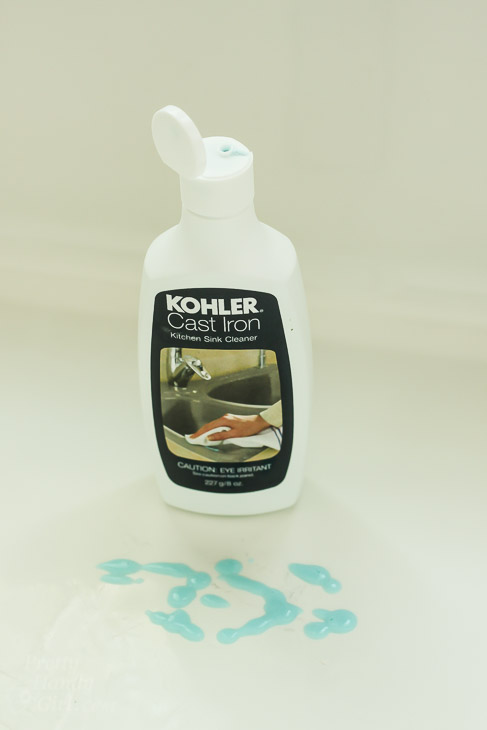
A boys’ bathroom can get messy and smelly fast, but you don’t need a cabinet full of products to get it back in shape. With just a few simple cleaning supplies, you can tackle odors, clean the toilet bowls, remove accumulation of soap residue, and leave the space fresh and clean again. This easy routine helps you get it done quickly so the bathroom looks and smells so much better in no time. Use microfiber cloth or even old socks!

Keep Old Toothbrushes for Cleaning
Never toss your old toothbrush! Those worn-out dental tools are actually perfect for cleaning and make excellent little scrub brushes for getting into tight spaces and tackling tough grime and hard water stains around kitchen surfaces or your bathroom.

Easy Clean Up Paint Tray Liner
I love painting rooms and find it to be a relaxing, almost meditative project that gives you instant satisfaction when you see the finished result. The only part I don’t enjoy is the cleanup afterward. A few years ago, I came up with an easy paint tray liner hack that makes cleanup simple and costs almost nothing to make.

How to Clean Inside Your Oven Door
Have you ever noticed random drips somehow getting inside your oven door, trapped between the glass where you can’t reach them? How does that even happen?! I’m going to show you how to get inside your oven door so you can clean out those sneaky messes once and for all.

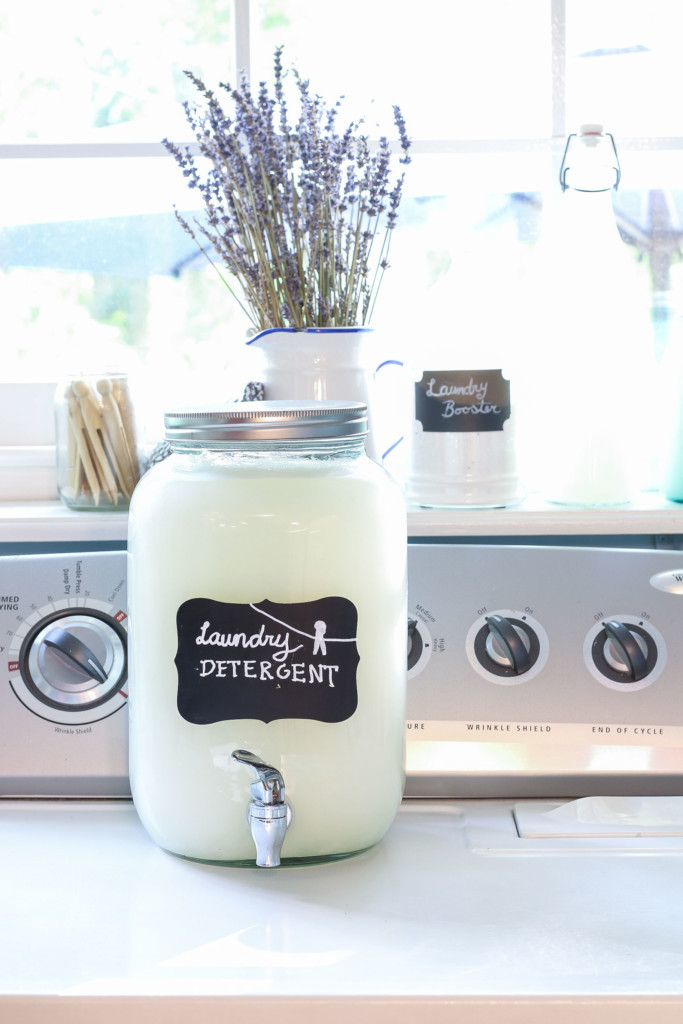
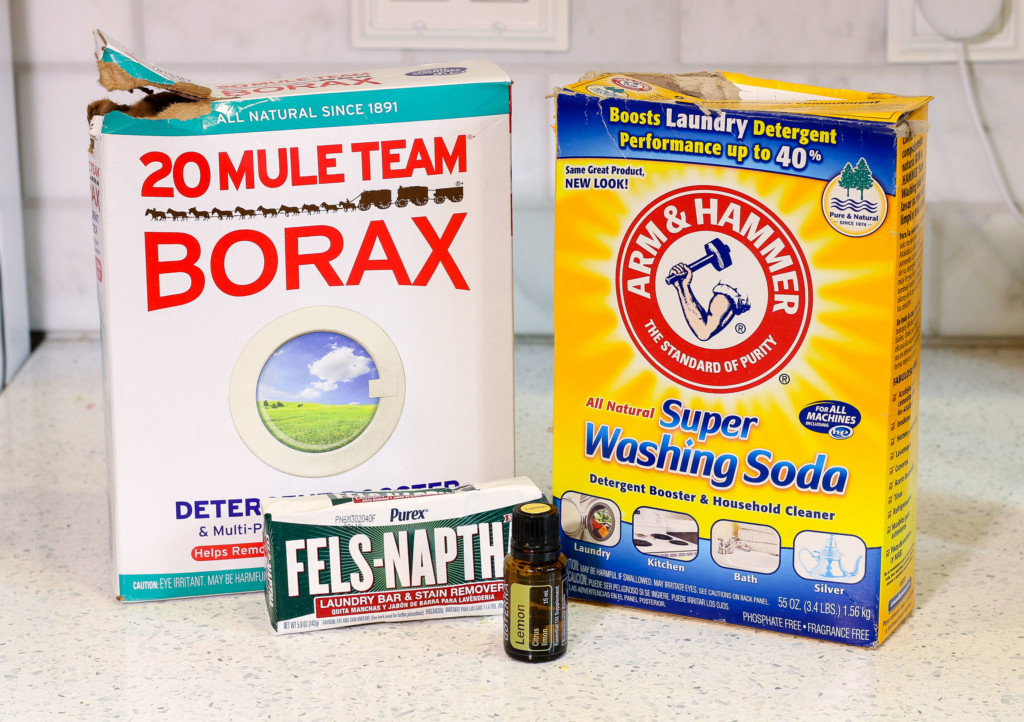
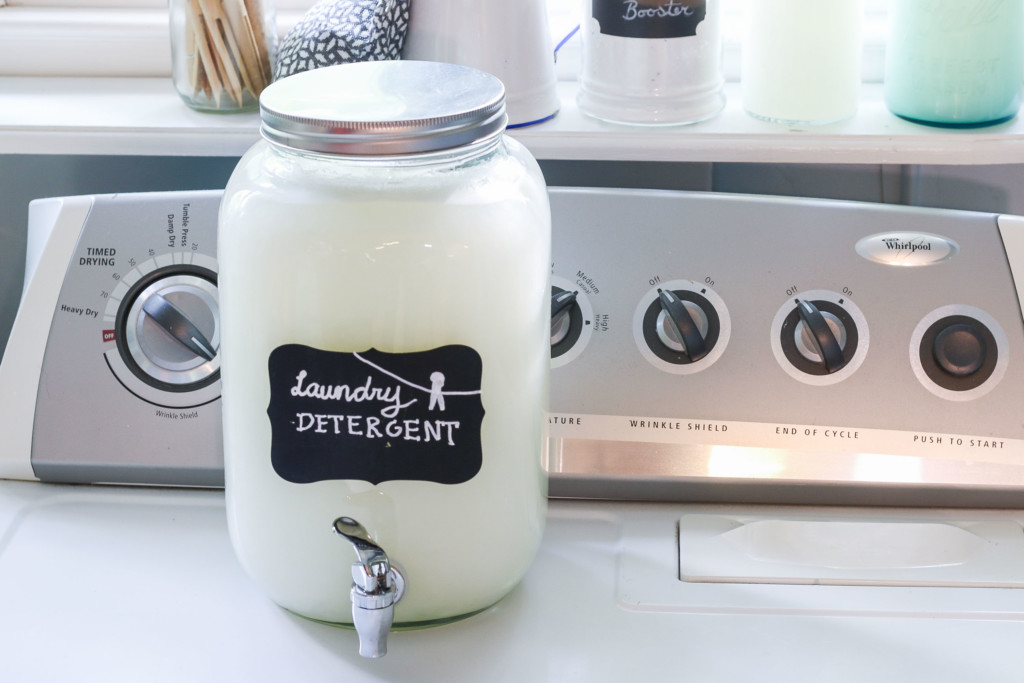
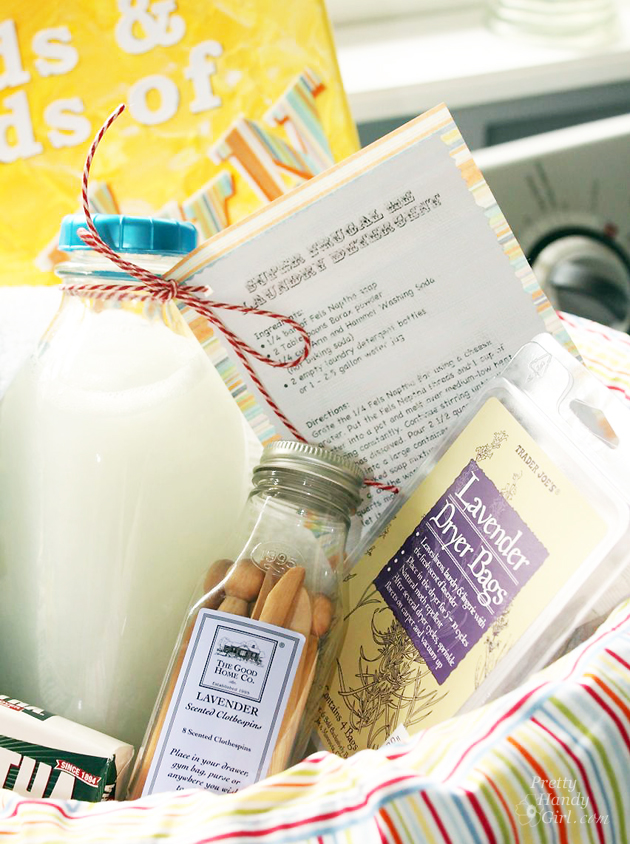
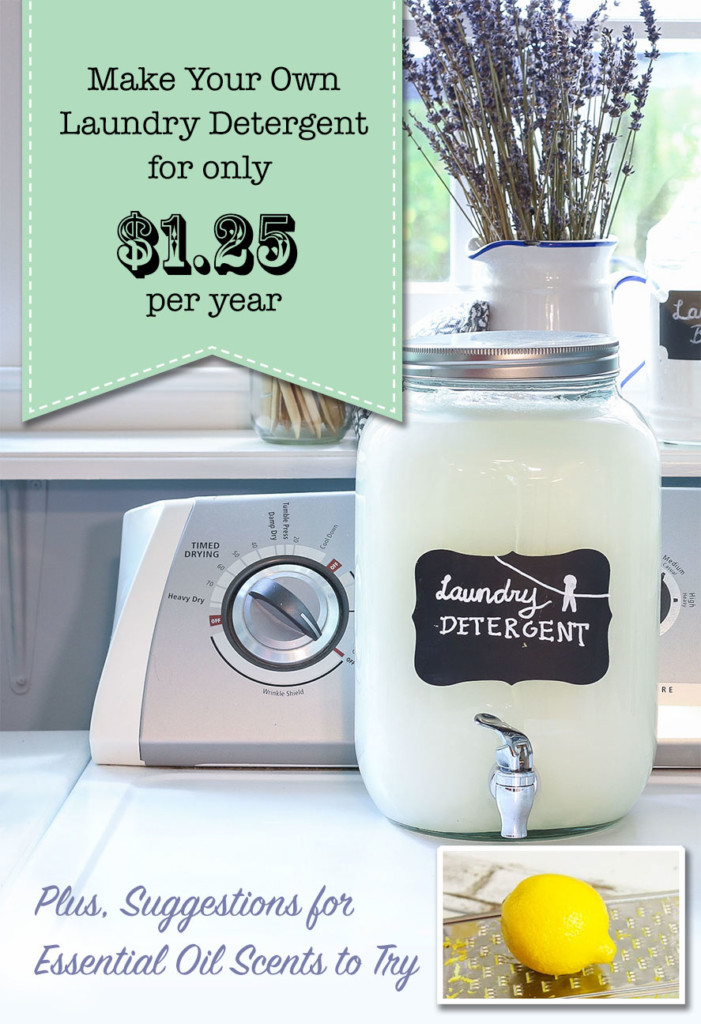
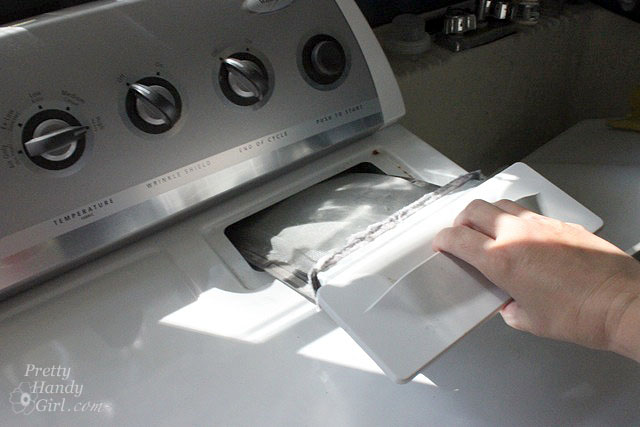
Make DIY Laundry Detergent for Only $1.25 per year
Today’s tip is a DIY laundry detergent recipe that’s gentle on both HE and standard washing machines, and best of all, it can help you save money! This handy mixture will last a long time.

Krud Kutter Exterior Clean Up without a Pressure Washer or a Ladder
Here’s the down-and-dirty true tale of how I cleaned our home from top to bottom without a pressure washer or ladder. I did it all using Krud Kutter, and it made tackling built-up grime so much easier than I expected.
Are you inspired to try these DIY cleaning hacks? Let me know if you give any of them a try.
Thanks for stopping by.

PIN FOR LATER