DIY Rustic Wood Lanterns
Lanterns are the perfect way to add warmth into your decorating. Today on the Rockstar DIY stage is Katie, with the tutorial to create these beautiful DIY Rustic Wood Lanterns.
You probably already know this Rockstar, because Katie is part of the Pretty Handy Girl rockin’ group. She is also the phenomenal DIY creator at Addicted 2 DIY. This girl doesn’t just build small lanterns, she also builds gigantic workshop garages from the ground up! She’s one bad ass DIYer.
I hear the rat-a-tat-tat of the nail gun, so she must be ready to take the stage. Take it away Katie!
Rustic Wood Lanterns
Hey everyone! It’s Katie again. I’m back to show you how to make these simple, DIY rustic wood lanterns. I love wood lanterns and have been wanting some for quite some time, but they can be pretty pricey. With some square dowels, a little plywood, and some nails, I was able to create these gorgeous lanterns in no time at all. I made mine from cedar boards that I ripped down into square sticks, but square dowels will work just fine. The sizes of these are based on 10″ x 6″ hurricane vases I bought at Michaels, but these can be easily customized to fit whatever size vase you have, or no vase at all!
Rustic Wood Lanterns Materials:
- 3 – 4′ long x 3/4″ square wood dowels (6 if you’re making two)
- 1/4″ plywood or hobby board*
- 1 1/4″ brad nails
- 5/8″ brad nails
- wood glue
- wood sealer (I used Thompson’s WaterSeal Timber Oil in Natural)
- hurricane vases (optional)
- candles (optional)
*NOTE: I used scrap 1/4″ plywood for the bottoms. You can purchase small pieces of plywood or even 1/4″ hobby board at your local home improvement store. It’s not absolutely necessary to use 1/4″ thickness. If you happen to have 1/2″ or even 3/4″ plywood lying around, I’d definitely use that. It makes this project even cheaper and everyone loves that!
Rustic Wood Lanterns Instructions:
Let’s get started assembling the lanterns.
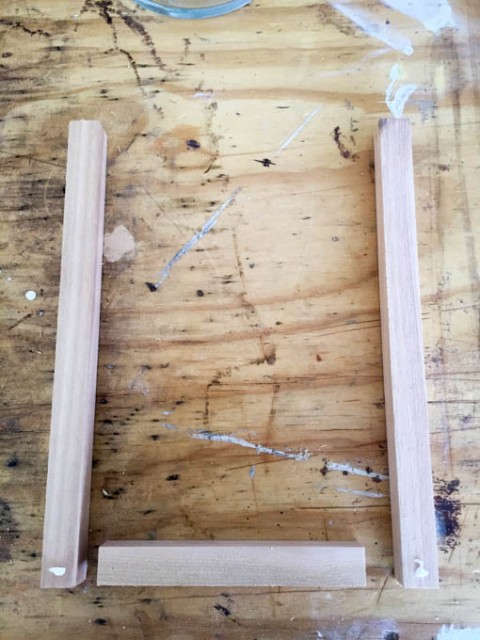
For each lantern, cut 4 – 12″ sticks of wood and 8 – 6.5″ sticks. Cut the base of the lantern into an 8″ square.
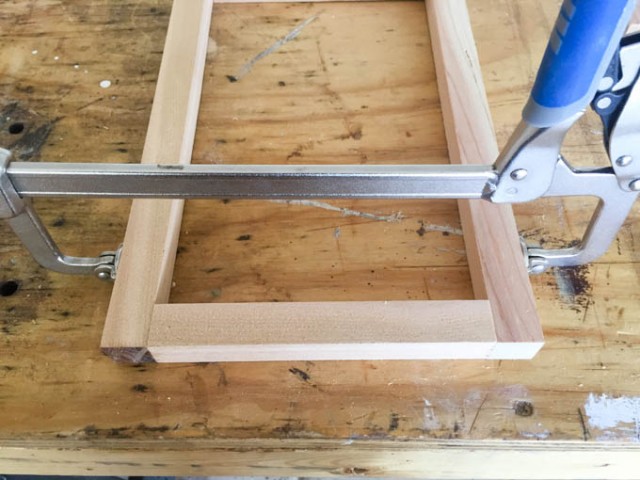
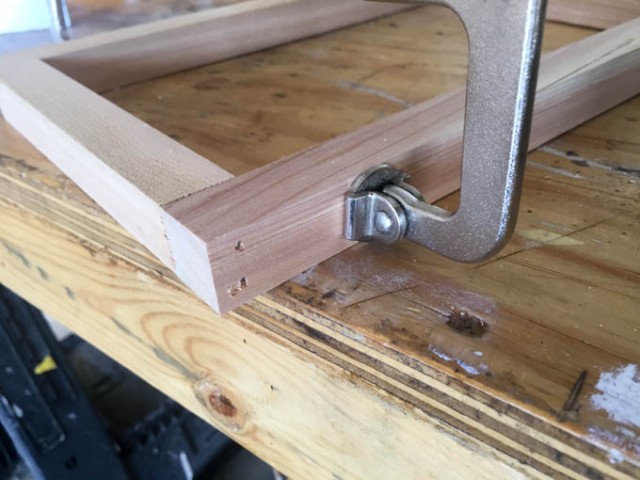
Assemble the frame of the lanterns using wood glue and 1 1/4″ brad nails.
Clamp the frame to hold the frame square while you shoot the nails into the wood.
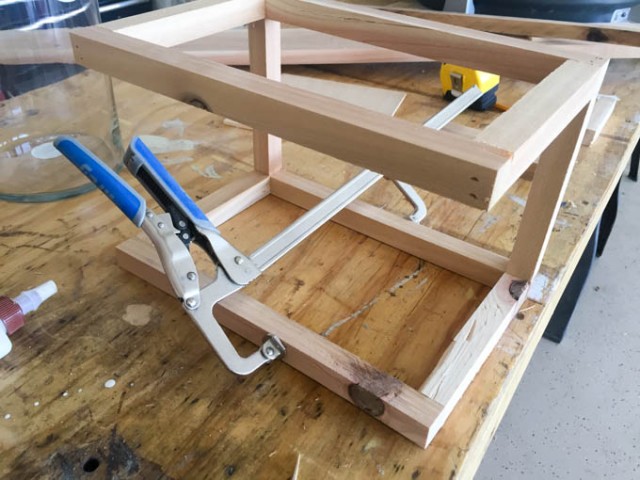
Continue rotating and assembling the frame of the lantern.
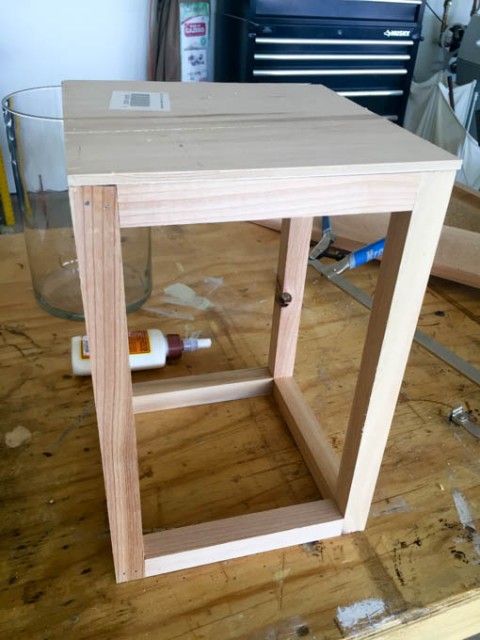
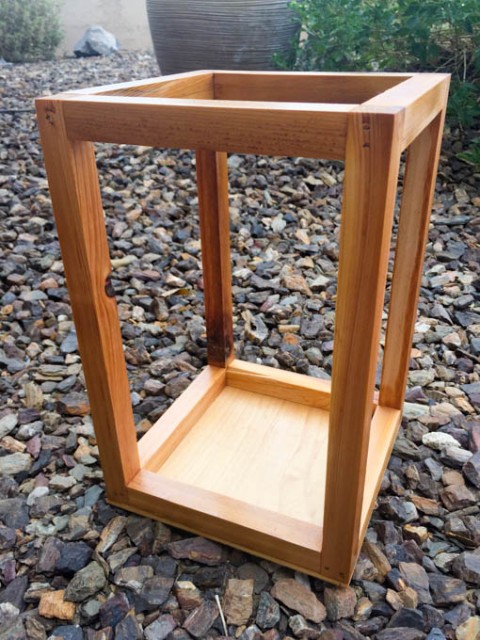
Once the frame is assembled, attach the bottom with wood glue and 5/8″ nails.
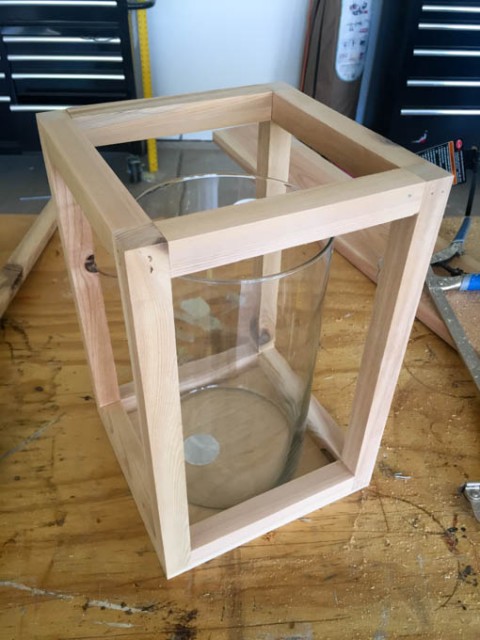
Turn the frame right side up and make sure your vase fits into the frame.
To seal your wood and also bring out some color, use a weatherproof wood sealer or oil. I used Thompson’s WaterSeal Timber Oil in Natural. It brought out the gorgeous color in the cedar and will protect it from the elements. Let it dry for 24 hours before you place it anywhere where the oils could seep out and leave a stain.
The lanterns can be filled with whatever you like. Candles, vase fillers, string lights, or gourds are all great ways to spruce them up. I got lucky and found these LED batter powered candles on clearance at Target for about $6.50! They were three to a pack, so it was a huge bargain.
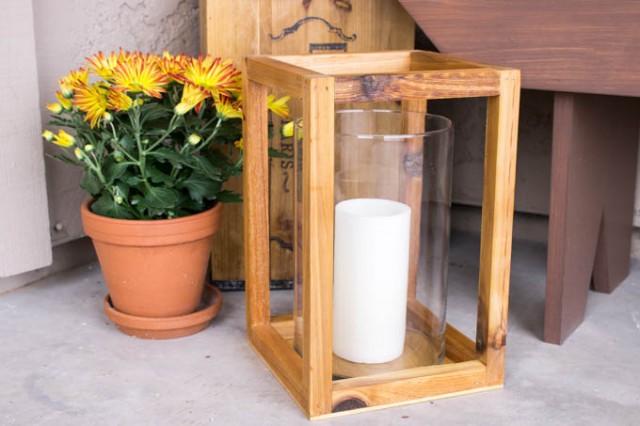
I am so happy with how these lanterns turned out and I love how affordable they were! They’re the perfect addition to my front porch decor.

I love versatile decor that you can leave as is or decorate for the seasons. They would be really fun to decorate for Halloween with spooky spiders and webs, or Jack-o-lantern faces. I’m sure I’ll have ideas at Christmastime too. Happy building!
Those are beautiful lanterns, and they look like they cost a lot more than Katie paid for the materials! Stay tuned for more of the Rockstar DIY series!
Here is a list of the project performances so far:
Pin for later!





I love these lanterns! I’ve made them as you’ve shown and I made them into a light fixture.
Thanks for the great idea!
http://inbetweenchaos.com/2016/09/19/diy-farmhouse-industrial-light/
Perfect! I was looking for an easy and expensive option for plant stands. I’ll just flip these over so the plant pot has a flat surface to sit on!
I was just thinking about what I should do with some scrap pieces of plywood, and then I read this! So pretty, and would be perfect for the pieces I have lying around!
Katie those are beautiful. I love the simplicity and the fact that you can use a real candle without the threat of burning the wood because it’s open at the top. Thank you for sharing such a pretty idea.
I’m loving this one! Be making one and place fresh flowers. Perfect near the main door. I can’t wait!
These are so upscale looking & beautiful, sweet tutorial Katie!