Kid-Friendly Craft: DIY Hummingbird Feeder

Happy Spring Everyone! What a difference a few weeks can make. Like many of you, I am grappling with the uncertainty of this challenging time. My children are now home with me every day, for the foreseeable future. In Seattle, life has completely changed. Almost everything is shut down, even playgrounds are closed at the moment. And so, I’ve been focused on creating little projects that my kids and I can do while stuck at home. Let’s talk about DIY Hummingbird Feeder.
I came across these DIY hummingbird feeders with jelly jars and was instantly inspired! I’ve had a hummingbird feeder on my Amazon wishlist for quite some time. I’m not sure why I never considered making my own instead. This turned out to be a very kid-friendly project and they even learned a little bit about hummingbirds.
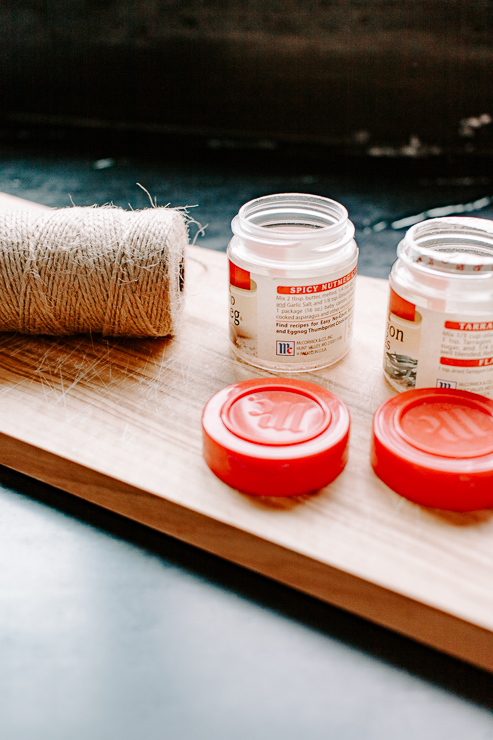
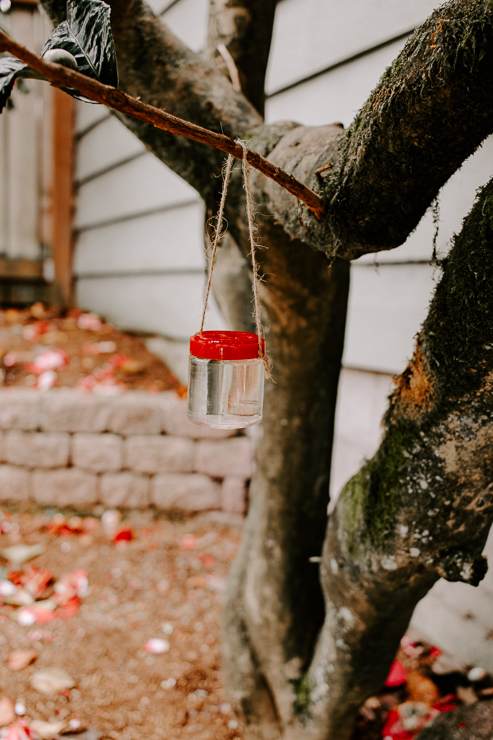
The only issue was, I didn’t have jelly jars. So I improvised a bit and used these 1oz McCormick spice jars. I emptied out the contents and washed them out thoroughly. These little spice jars are the perfect size for those dainty hummingbirds.
Materials:
(I’ve included affiliate links for your convenience. I earn a small percentage from a purchase using these links. There is no additional cost to you. You can read more about affiliate links here.)
- 1 oz Spice Jars or Jelly Jars
- Jute Twine
- Scissors
- Goo Gone
- Sugar and Water – (to make the hummingbird food, recipe below!)
Instructions:
Follow these steps to make your own hummingbird feeder.
Step 1: Prepare your spice jars
Thoroughly wash your spice jars and lids with hot, soapy water. You don’t want any lingering spice odors or tastes that will turn off potential hummingbirds. I also removed the stickers from the jars with a little goo gone.
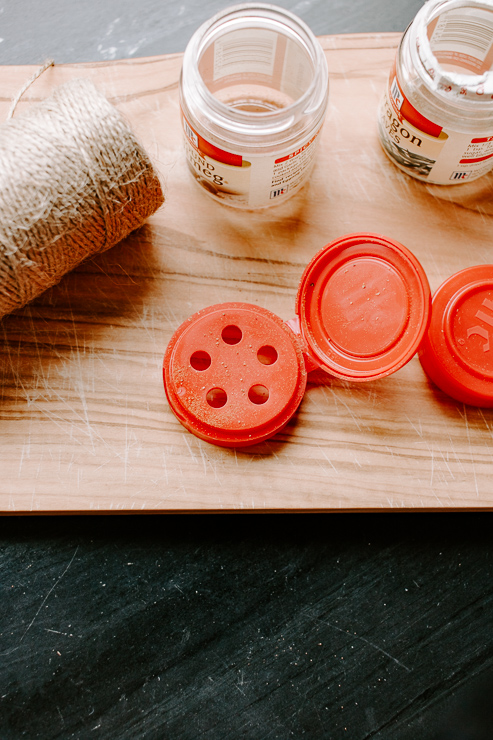
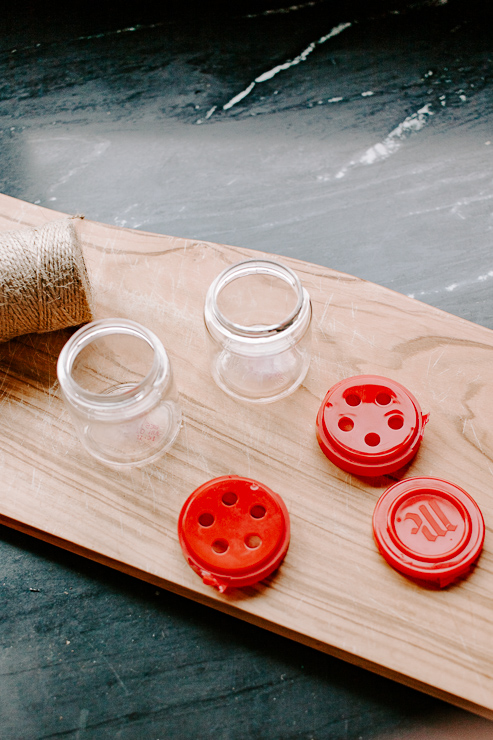
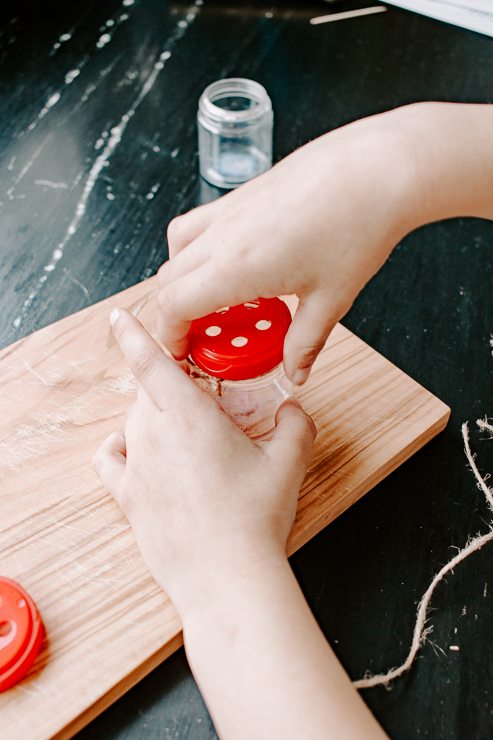
McCormick spice jars have a lid with holes in it, covered by a snap-top. All you need to do is rip off the snap-top section, we don’t need it. Hummingbirds will use their long beaks to drink the nectar from each hole.
Step 2: Make Hummingbird Nectar
The recipe for making Hummingbird nectar couldn’t be easier. It’s just sugar water – but you need to know the correct ratio. Too much sugar can be harmful to hummingbirds and too little sugar doesn’t provide enough calories for them.
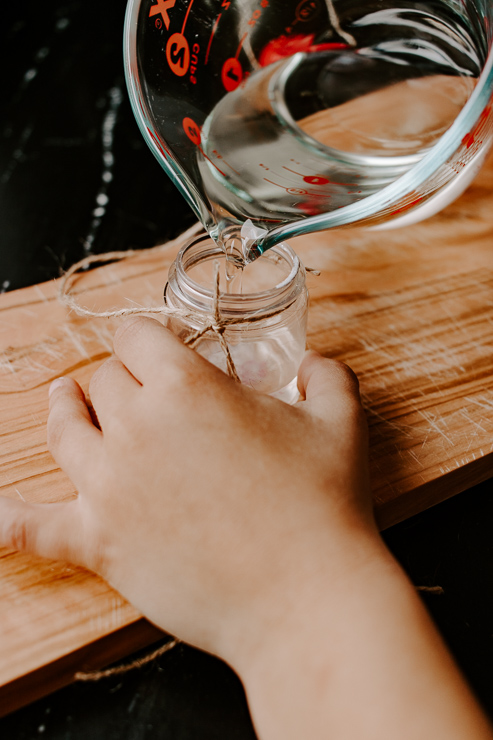
I followed the recipe from the Audubon website. It’s ¼ cup of refined white sugar and 1 cup of boiling water. Mix until the sugar dissolves. Cool the mixture and then fill your spice jars to the top. Now, just replace the lid with holes in it.
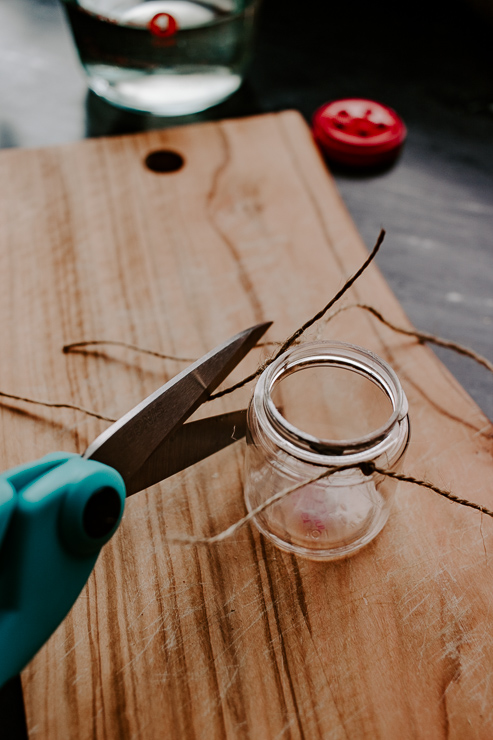
Step 3: Attach Jute Twine for Hanging
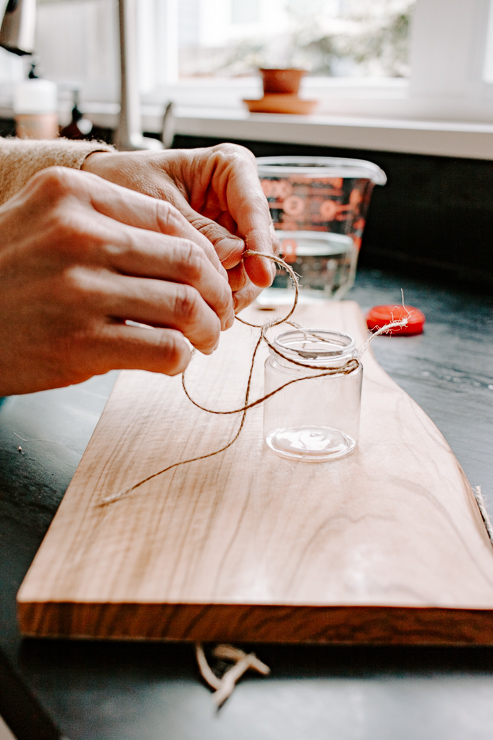
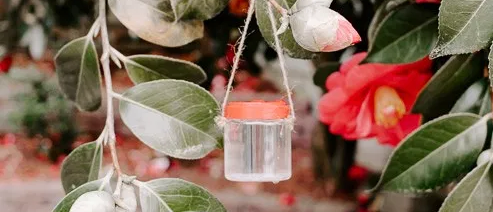
I used some jute twine to create a little loop for hanging. Tie your knots tight and make sure the lid is secure.
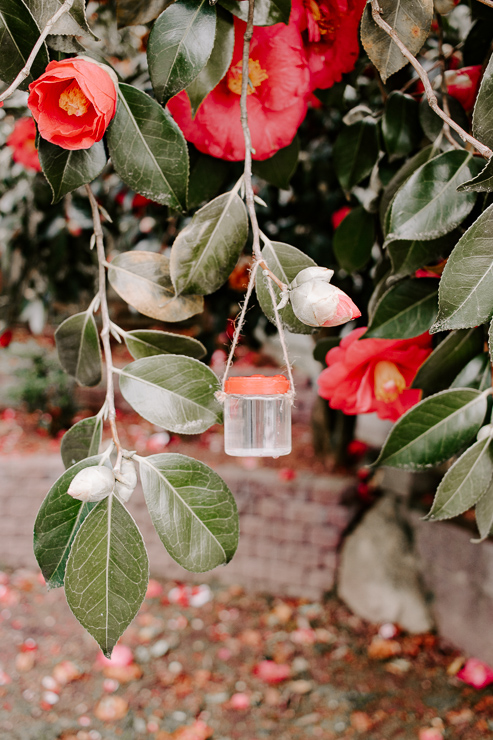
Now just hang it up somewhere outside and wait for those hummingbirds!

We haven’t had a visitor yet that I could photograph, but I know those hummingbirds are on the way.

Thanks so much for reading and being here today. 
~ See More of Karen’s Tutorials ~

 Hello! I’m Karen, the creator of the Home Decor and DIY Blog: Decor Hint. I’m a Native of the East Coast, but I currently live in beautiful Seattle with my hubby, our two wonderful children, and our spunky wheaten terrier.
You can usually find me with some sort of craft in one hand and a coffee in the other. And I’m always rearranging furniture or moving lamps from room to room. I have a passion (read: obsession) for decorating, DIY, and gardening. In short, I love making my house into a home.
Like many, I’m inspired by what I see in home decor magazines, but I’m not so inspired by the price tags. Consequently, I love finding and creating beautiful budget-friendly home decor items. In a head to head competition, I bet you’d never know the difference between the designer items and my DIY creations! Many of my DIY projects focus on sewing, crafting, upcycling and organizing. Some of my favorite projects have been making pretty wreaths, sewing my own tassel hand towels, and crafting these trendy wood bead garlands. I can’t wait to inspire you and spark your creativity through my DIY projects.
Liked this project? You’ll love this beautiful glass bottle hummingbird feeder using a bottle from the recycling bin.

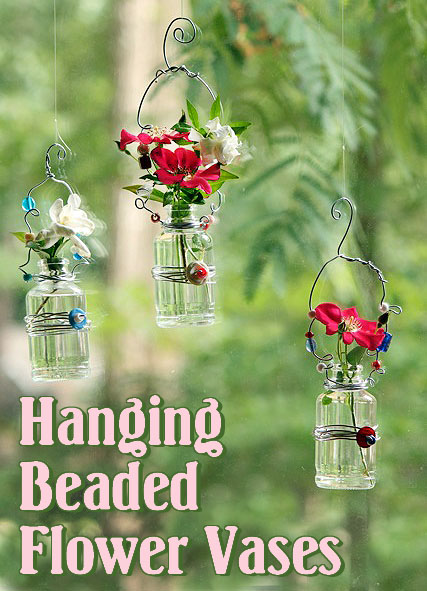
Check out these DIY Hanging Beaded Vases for another upcycled craft!
What kind of tree is that with the red flowers? Gorgeous! And such a great idea to use those small jars! I have a ton and they are perfect! Already with a red top and everything!