DIY Fabric Tile Coasters
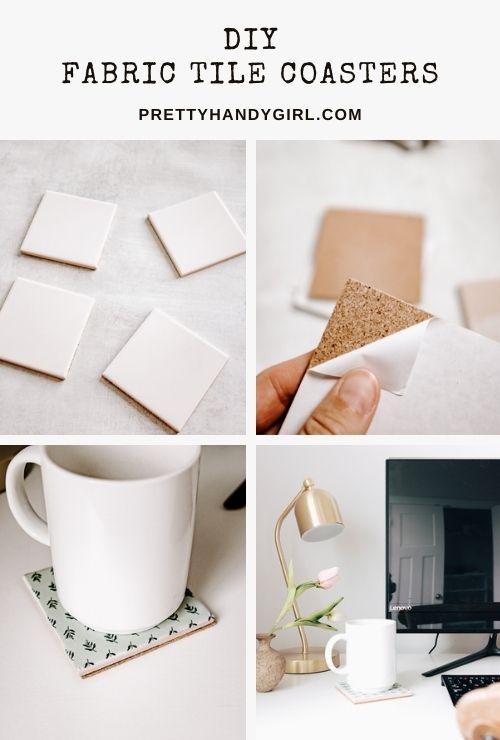
DIY Fabric Tile Coasters
Hello! How are we all doing?
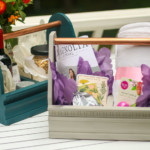
The holidays may look a lot different this year, but the same sentiments and traditions are still here. If you have a tradition of making handmade holiday gifts, I have the perfect craft for you today! These DIY fabric tile coasters are a cinch to put together and you can customize them with any fabric you like.

This project is not only easy, it’s inexpensive too. Pick up square tiles from a home improvement store for as little as 15 cents. Then grab some fabric scraps to make these coasters come together.
I’m sharing the full tutorial plus some tips on making your coasters waterproof! So, let’s get started.
How to Make DIY Fabric Tile Coasters
Materials:
(I’ve included affiliate links for your convenience. I earn a small percentage from a purchase using these links. There is no additional cost to you. You can read more about affiliate links here.)
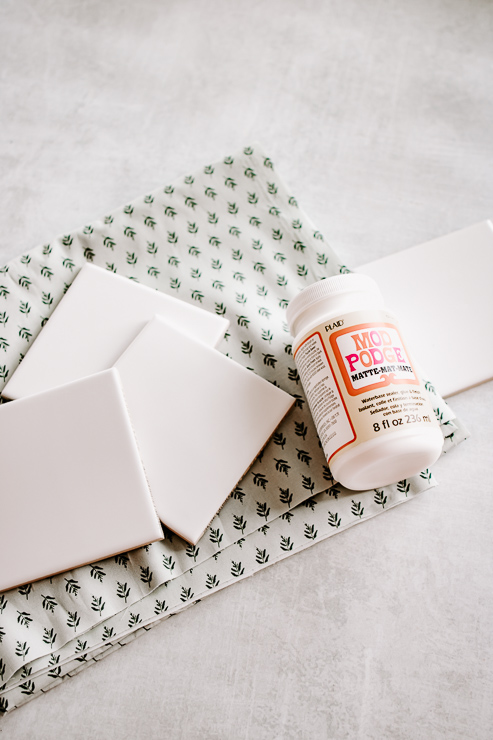
- Square tiles
- Cork Squares
- Mod Podge
- Fabric Scissors or Rotary Cutter
- Fabric
- Foam Brush
- Acrylic Sealer, Engine Enamel, or Resin
Instructions:
Step 1: Cut Fabric to Size
The first thing you need to do is cut your fabric to size. I tried this many different ways and by far the best looking option is to cut them slightly smaller than the tile. This will leave a small white border around the top of the coaster but it will look neater. Plus, it is much easier to apply this way.
Use a rotary cutter to get the neatest cuts, but if you don’t have one, use a pair of very sharp scissors or fabric scissors.
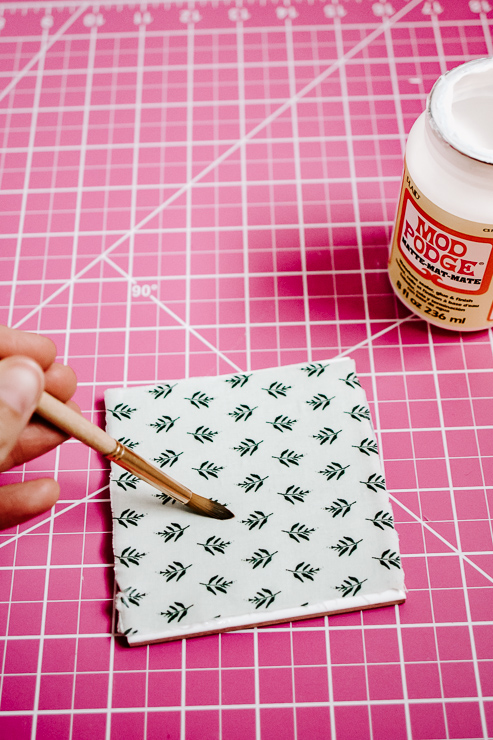
Step 2: Apply Fabric to Tile
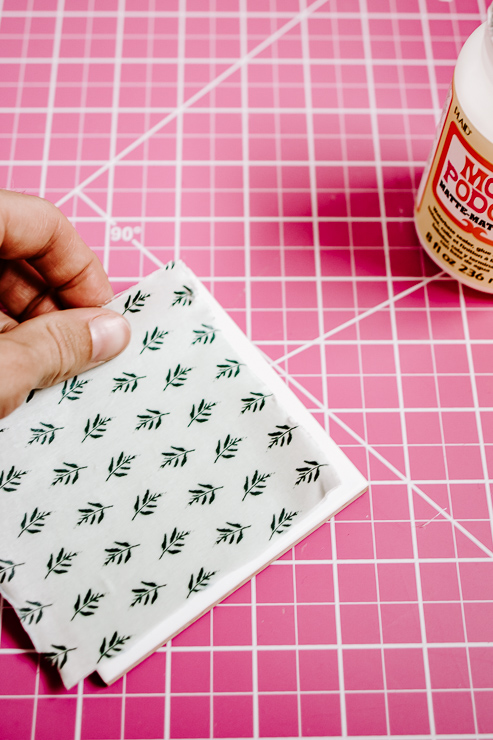
Take your foam brush and paint a layer of Mod Podge onto the top of your tile. Then, apply your fabric square to the tile, Smooth out bubbles as you apply.
Once your fabric is aligned properly and smooth, apply another layer of Mod Podge on top of the fabric.
Set aside your tile coasters to dry.
Step 3: Waterproof and Seal your Coaster
Once your Fabric and Mod Podge fully dries, you will notice it feels a little stiff and tacky. Eventually, this will go away but if you don’t have time on your hands and you really want to waterproof them, you’ll need to seal them.
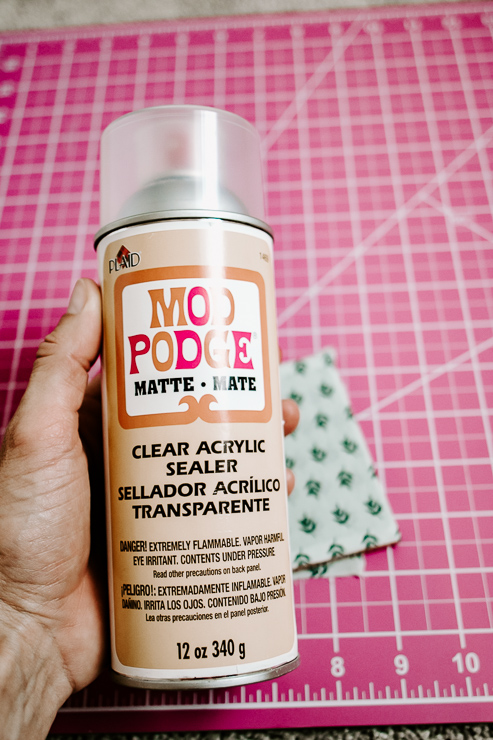
With any of these sealers, you want to spray outdoors or in an area with really good ventilation – as the fumes are pretty strong.
One way to seal them is to use an acrylic sealer spray from Mod Podge. You can buy this in gloss or matte. I only had matte on hand but I do think gloss is the way to go here.
Another sealer (which I haven’t personally tried yet) is called Engine Enamel. This is made by Rustoleum and is actually for cars! But I’ve heard it works here too. It will give a glossy finish to your coasters and protect them from water and heat.
Finally, a third option is to use resin. Resins can be more expensive than the first two options, so keep this in mind. EnviroTex Lite is a resin sold at Michael’s and other craft stores and gives your finished coaster a very high gloss, polished look. It’s really beautiful so if you are serious about your coaster making, this is definitely the winner here.
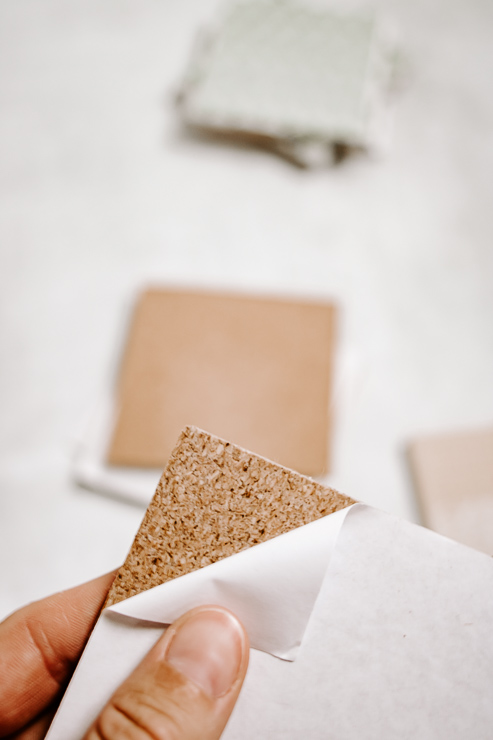
Step 4: Apply Cork to Bottom of Tile
After your coasters are dried and sealed, let’s finish the bottom. Tile squares can be a bit rough on the bottom, so we need to cover them.
I found these cork squares on Amazon and they fit perfectly! They are also sticky on one side, so you just need to peel off the back and apply.
Another option is to use felt squares and hot glue them to the bottom.
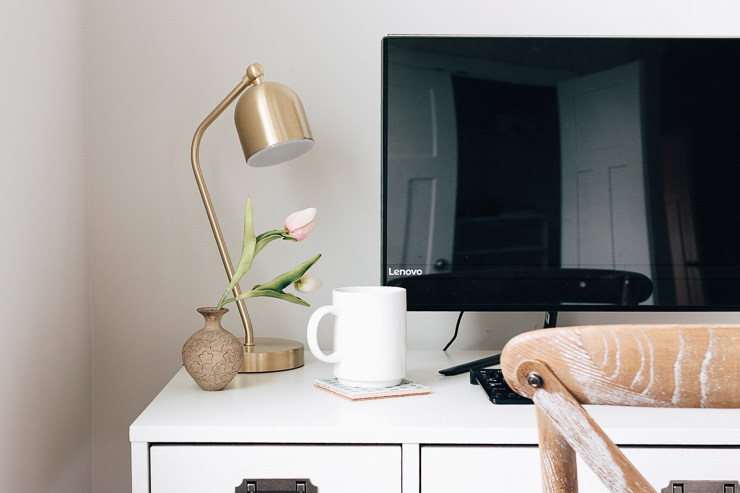
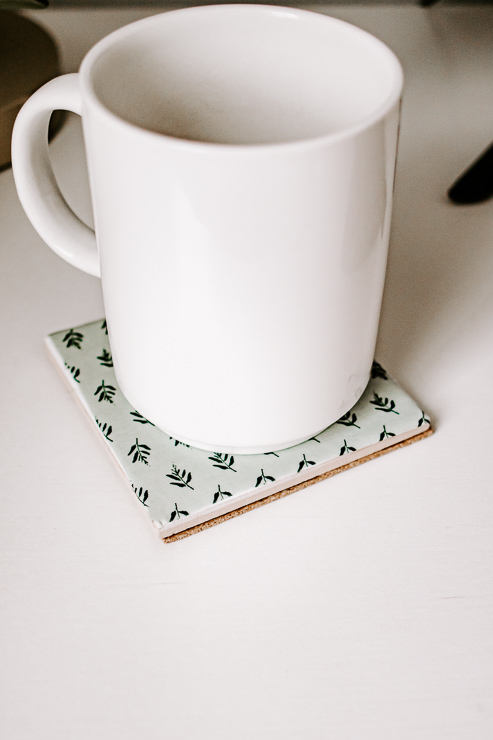
These coasters are easy to create and make wonderful handmade gifts – even for a hostess!

I hope you enjoyed this tutorial! Enjoy this holiday season, even if it does look a bit different. 🙂

~ See More of Karen’s Tutorials ~

 Hello! I’m Karen, the creator of the Home Decor and DIY Blog: Decor Hint. I’m a Native of the East Coast, but I currently live in beautiful Seattle with my hubby, our two wonderful children, and our spunky wheaten terrier.
You can usually find me with some sort of craft in one hand and a coffee in the other. And I’m always rearranging furniture or moving lamps from room to room. I have a passion (read: obsession) for decorating, DIY, and gardening. In short, I love making my house into a home.
Like many, I’m inspired by what I see in home decor magazines, but I’m not so inspired by the price tags. Consequently, I love finding and creating beautiful budget-friendly home decor items. In a head to head competition, I bet you’d never know the difference between the designer items and my DIY creations! Many of my DIY projects focus on sewing, crafting, upcycling, and organizing. Some of my favorite projects have been making pretty wreaths, sewing my own tassel hand towels, and crafting these trendy wood bead garlands. I can’t wait to inspire you and spark your creativity through my DIY projects.
You can always connect with me on Pinterest, Twitter or Instagram.

I have done everything but the acrylic sealer but the fabric keeps coming off of my coasters and it said 4 weeks to cure. Is this accurate.