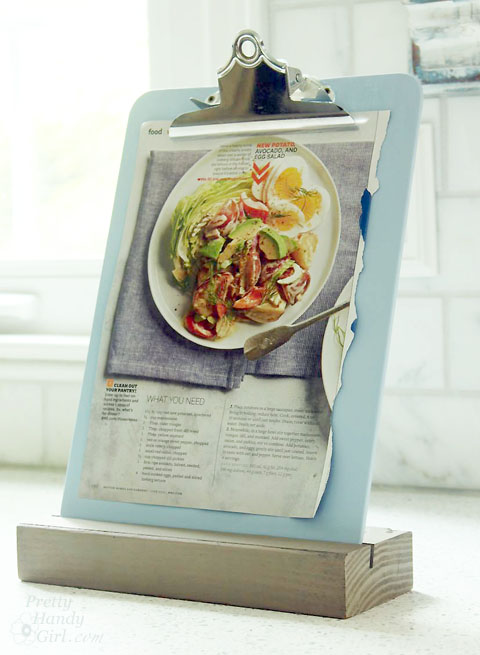
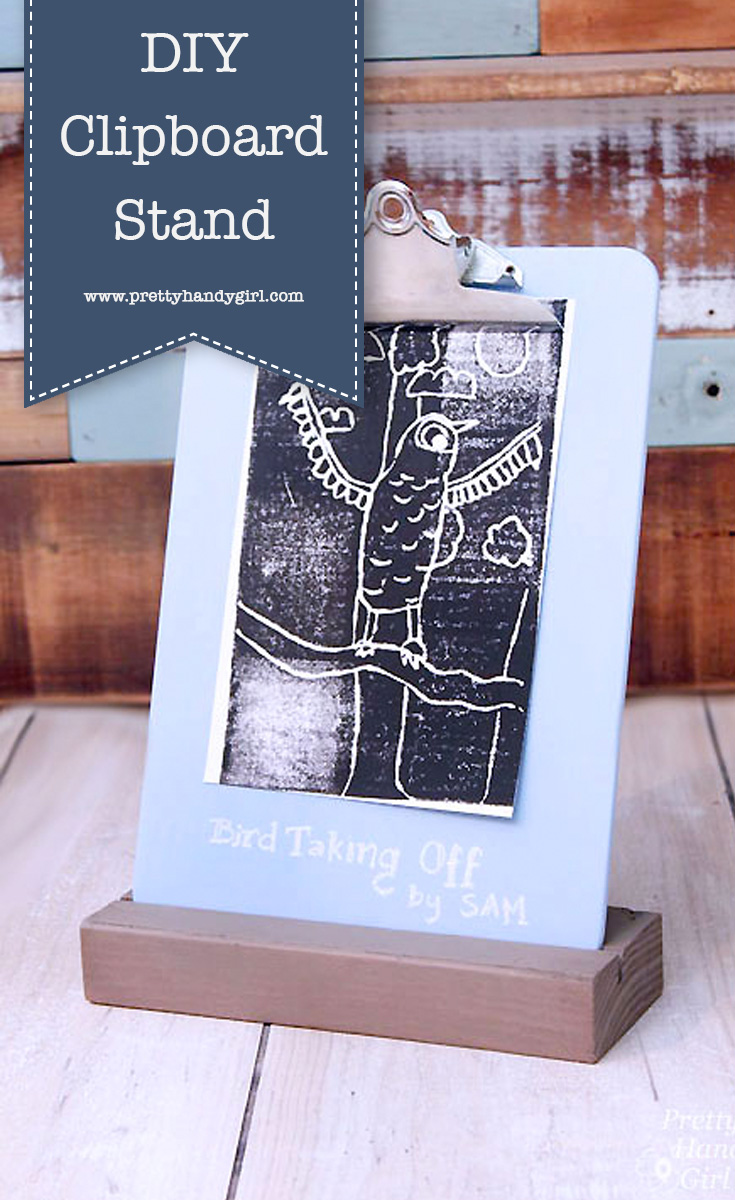
Easy Clipboard Stand
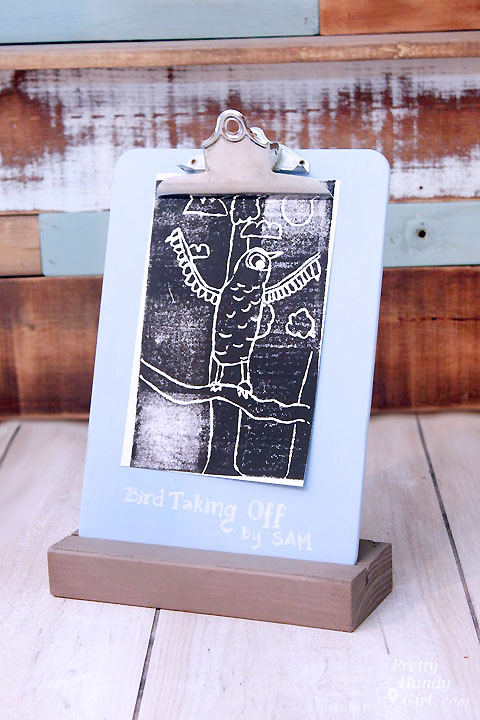
Today’s project is so easy, I named it the Easy Clipboard Stand (catchy name, no?) This is a great way to upcycle an old clipboard and a scrap 2×4. This clipboard stand is super versatile. It can be used as a traditional stand for announcements; a copy stand; a recipe holder; an art frame or anything you need to bring attention to. Plus, if you use a dark chalk paint color, it can be used as a chalkboard sign. Bonus.
Materials:
(contains affiliate links)
- 2×4 scrap of wood
- Clipboard
- Shim
- Chalk Paint
- Foam Brush
- Paint Brush
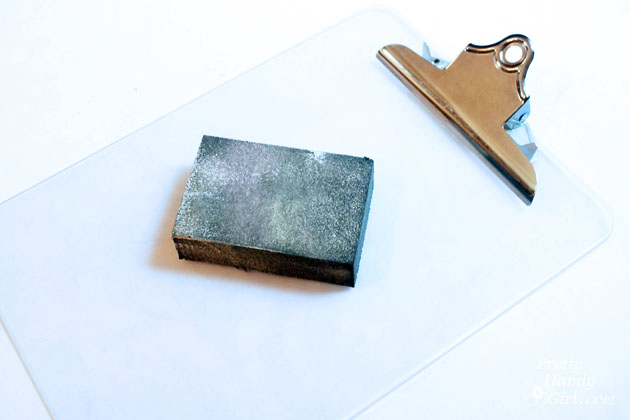
- Sanding block
- Antiquing Wax
- Clear Furniture Wax
Tools:
- Table Saw
- GRR-Ripper 3D Push Block
Instructions:
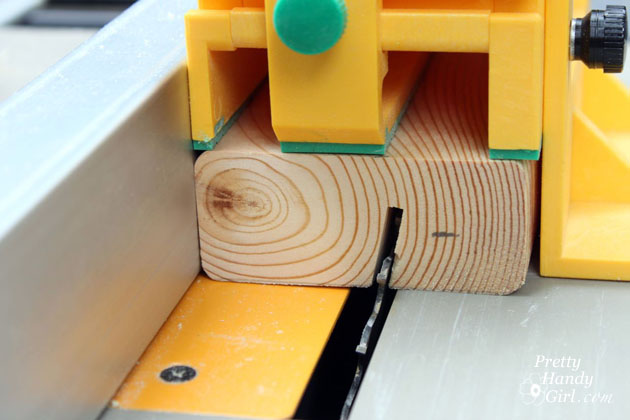
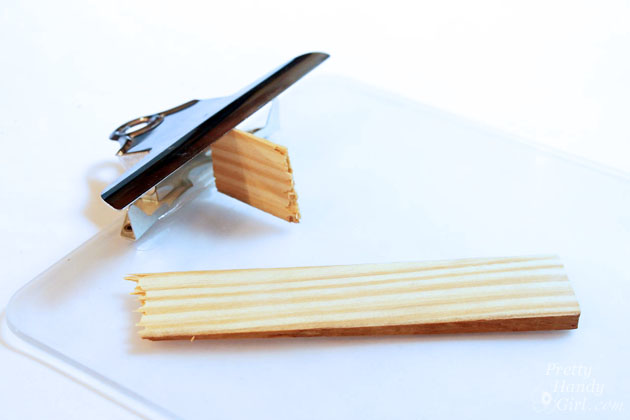
Cut the 2×4 scrap to the same width as the clipboard. Set your table saw blade approximately 2/3 height of the 2×4 block. Angle the blade to 15 degrees. Carefully slide the block over the blade. You’ll notice I use a GRR-Ripper Push Block to keep my hands away from the blade. (If you own a table saw, you need one of these!)
The 2×4 should look like the photo below.
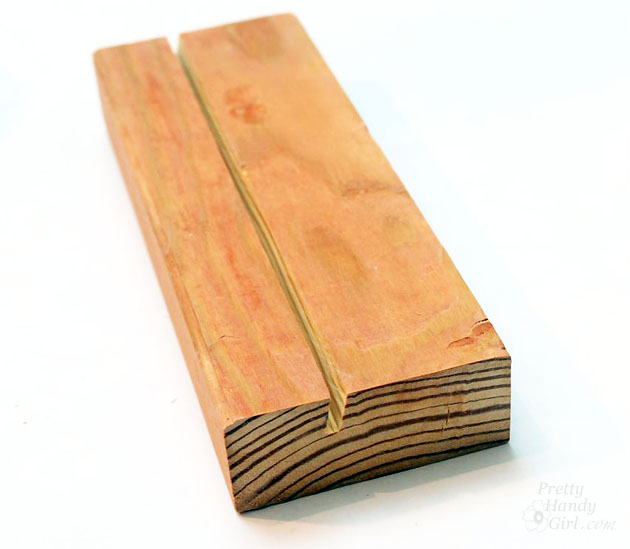
Test fit your clipboard. If it doesn’t fit, tap the fence on the table saw to move it slightly and cut another groove next to the first.
If your clipboard is plexiglass, sand the surface of the lightly. (Masonite clipboards shouldn’t need sanding.)
Insert a small broken shim into the clip to hold it open.
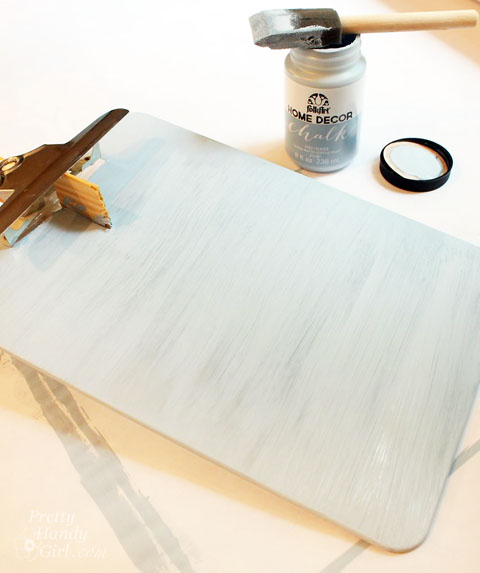
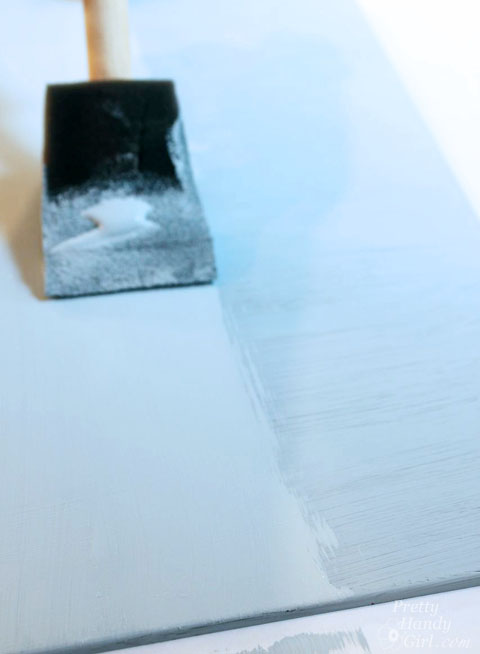
Paint one coat of chalk paint on the clipboard. Paint side-to-side for this coat.
When the paint has dried, reposition the shim. Lightly sand the clipboard.
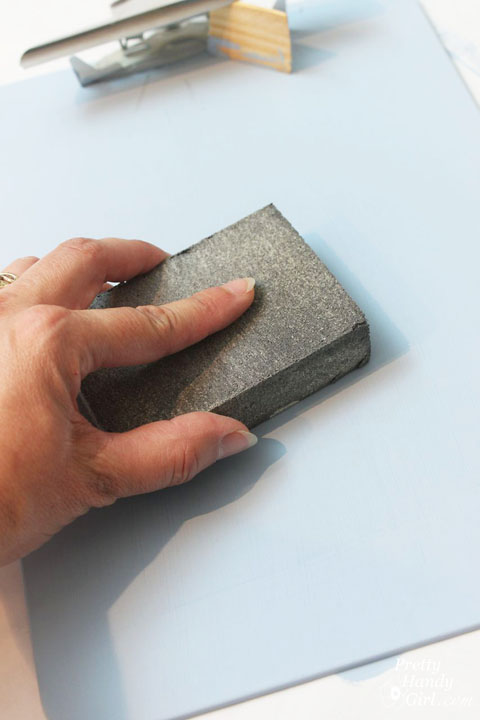
Paint a second coat on the clipboard. Your paint strokes should go top to bottom this time for maximum coverage.
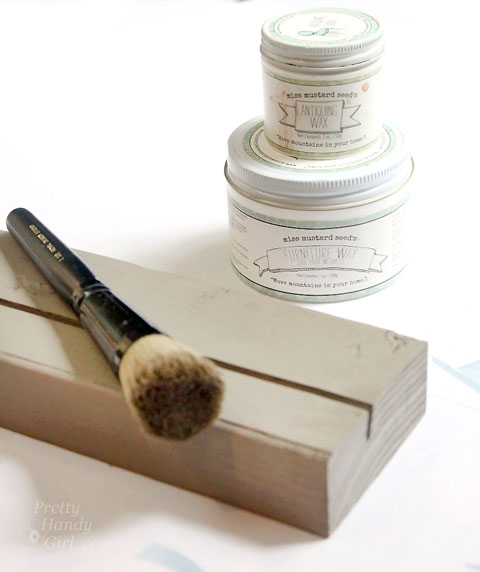
While the clipboard is drying, paint the 2×4 block with paint.

After the paint on the block has dried, you can add some depth and finish coat it with an antiquing wax and/or clear wax.
Insert the clipboard into the 2×4 base and enjoy your Easy Clipboard Stand anywhere!
Happy Upcycling!
![]()
Pin for later!
Home depot or lowes will make the cuts if asked nicely.
That’s an cool and easy to replicate kitchen tool.
This is a great project! Thank you!
Hi there! I love this DIY Clipboard stand so much! Thanks for sharing this great info
You are lovely for sharing this DIY Clip Board stand! I have a friend who is opening a rustic themed cafe, and these is perfect idea for displaying menu-special on the counter, or clip brochures and more…
Brittany,
how can something so utterly simple be so amazingly awesome?!?
It’s brilliant!
<3
Pia
ps
Is there any chance of the board tipping backwards?
That’s an cool and easy to replicate kitchen tool. The instrucion is very clean documentated, It’s good to see how to get the board colored. Very intresting blog here ( :
Kind regards,
Tobias Hochgürtel
Hey Brittany,
Excellent idea to make use of an old Clip Board. I guess we all have those lying around but not sure how best to use it – now we can implement your tip and create a useful clipboard stand.
Love the base that you have created, I do have a piece of wood that will make a great stand just need to figure out a way to cut,
thanks,
– Pakhi
Very simple but would come in so very handy for not only recipes, notes to post, menu, etc. Thanks Brittany!
Very cute! Wish I had a table saw. So simple, but still not able to do 🙁
This is fantastic, I have a metal clipboard I think would look super cute standing up in the kitchen, and of course it would be functional too 😉 Thank you for sharing!