thumbprint pillow tutorial

Envelope pillows are the easiest pillow covers to sew. Combine a beautiful pillow with a personalized thumbprint design and you have a great gift idea for parents or grandparents!
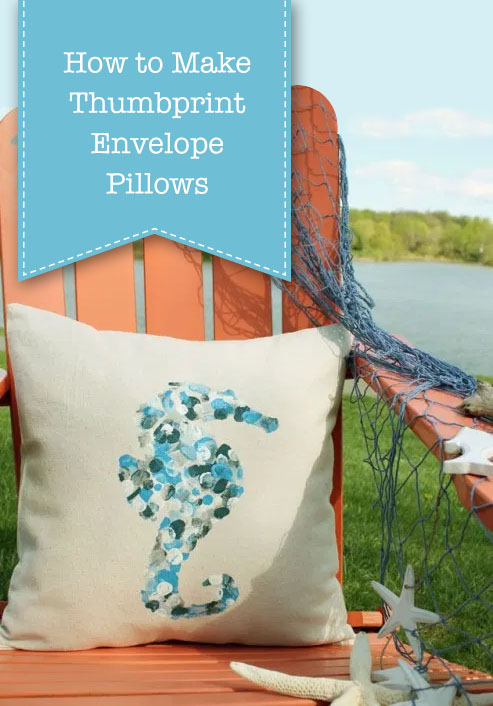
How to Make Thumbprint Design Pillows

How to Make Thumbprint Design Envelope Pillows

Hello, it’s Cristina from Remodelando la Casa once again happy to share an easy and fun project where kids are more than welcome to give a helping “thumb” 🙂
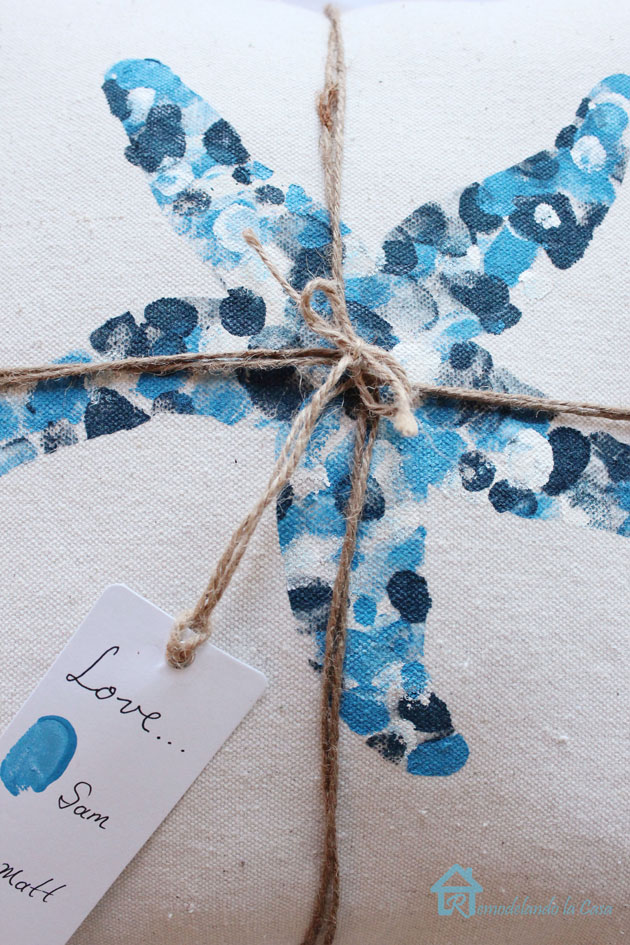
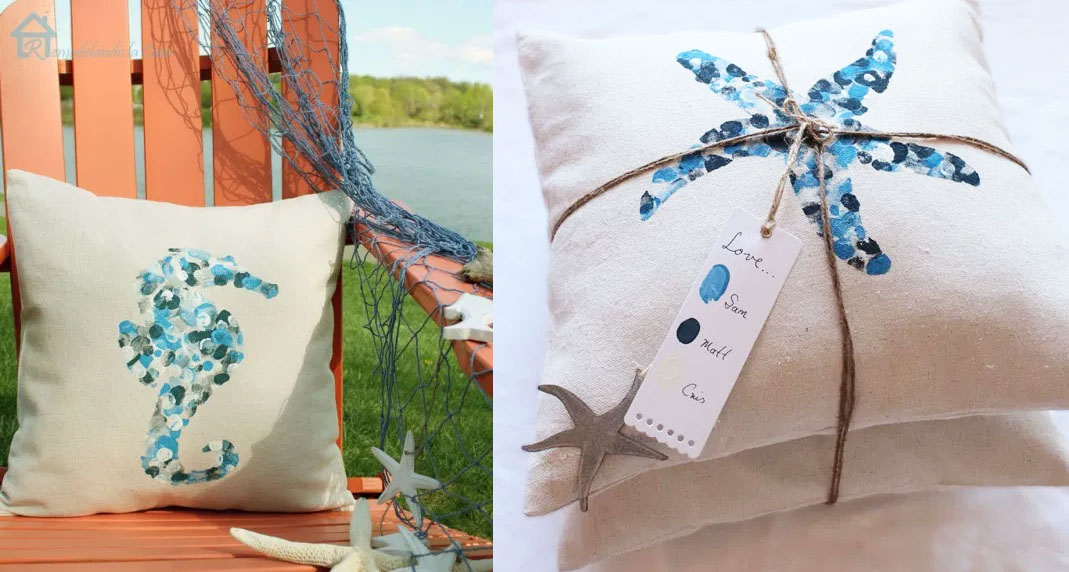
Thumbprint starfish pillow2 with tag

Envelope pillows are the easiest pillow covers I’ve sewn and let me tell you, my sewing skills are not that good.  A fabric rectangle is folded to create an “envelope”, four simple straight lines to sew and your cover is done! No zippers, no Velcro, the envelope holds the pillow really well.

Materials:

(I’ve included affiliate links for your convenience. I earn a small percentage from a purchase using these links. There is no additional cost to you. You can read more about affiliate links here.)

*Pre-wash and iron the fabric

Instructions:

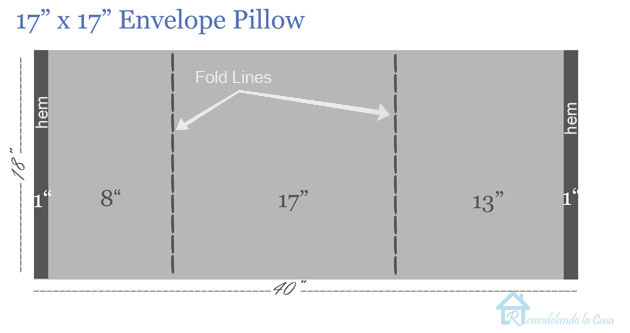
For a 17″ x 17″ pillow insert, use the following dimensions.

Envelope pillow 17x17

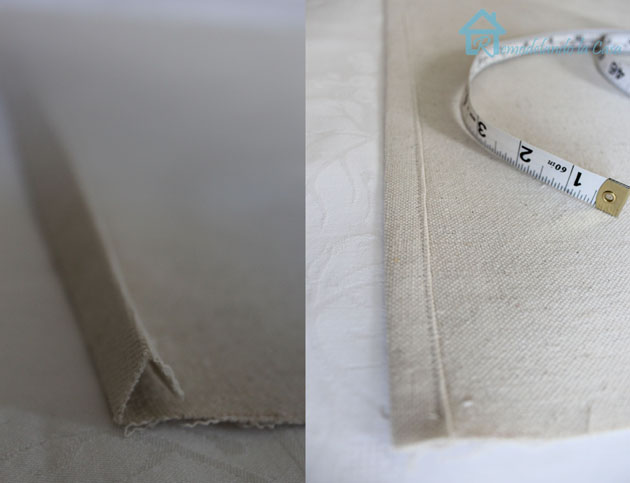
Once the fabric is cut to size (18″x 40″), hem the left and right edges.  (Fold  in ½”  twice, as seen in the picture below.  Iron it flat and hem.)  Do the same on the other side.

envelope pillow side hems

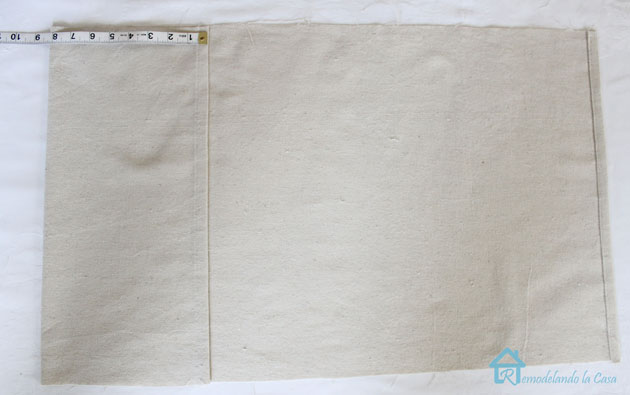
To create the opening on the back, fold the left side over and iron.

Envelo pillow first fold

Do the same on the other side.  These folded lines are a good visual point to help you center the design on the front face of the pillow later on.

envelope pillow second fold

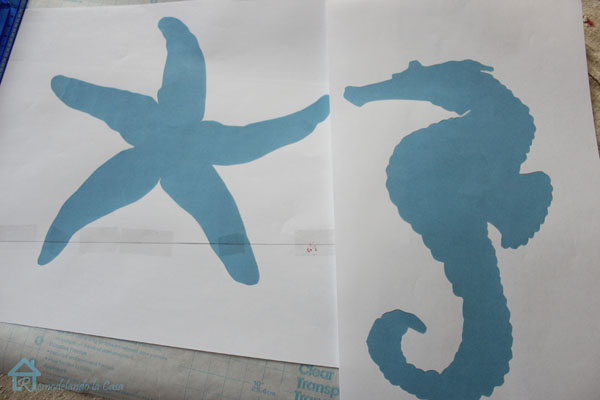
Before sewing across the top and bottom of the cover, let’s work on the design (the fun part!)  Print the starfish and seahorse silhouettes. (for these pillows print at 120%.)

starfish and seahorse silhouttes

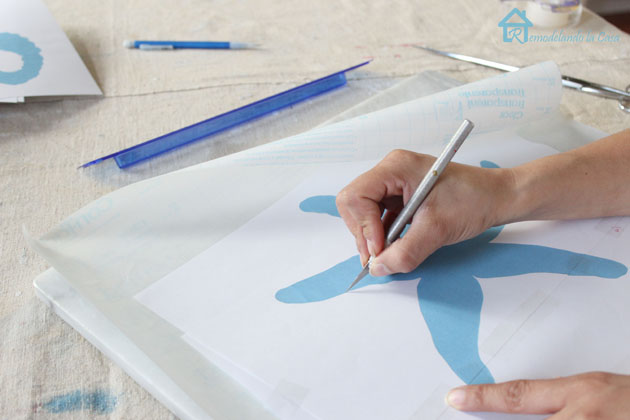
Place each design on top of a big piece of contact paper, tape it in place.

starfish profile

Using the x-acto knife, cut through the printout and the contact paper following the outline of the silhouette.

cutting starfish profile out

After cutting, peel off the outer piece of contact paper and center the design on your pillow cover.  Press the contact paper firmly all around the design to prevent paint from seeping through.

contact paper silhouete on fabric

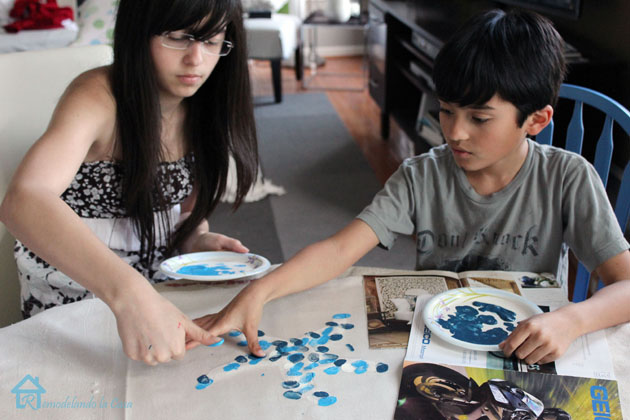
Now it’s time to call all those little artists and give them each a set of fabric paint.

kids thumbpainting

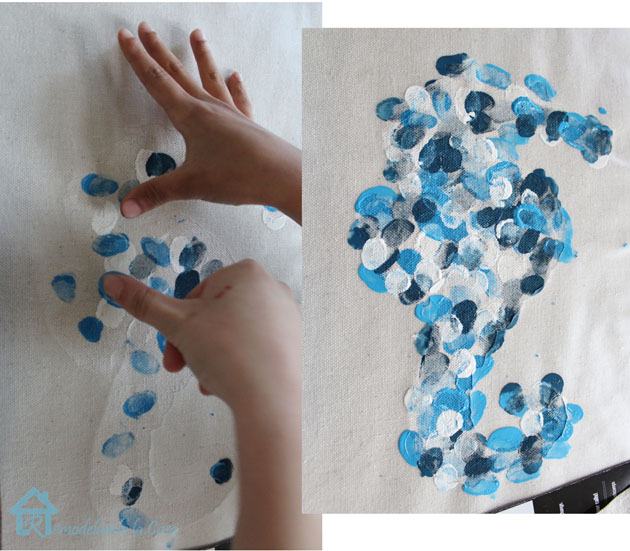
The thumb-printing / painting can begin…

thumb painting

…until the shapes are filled.

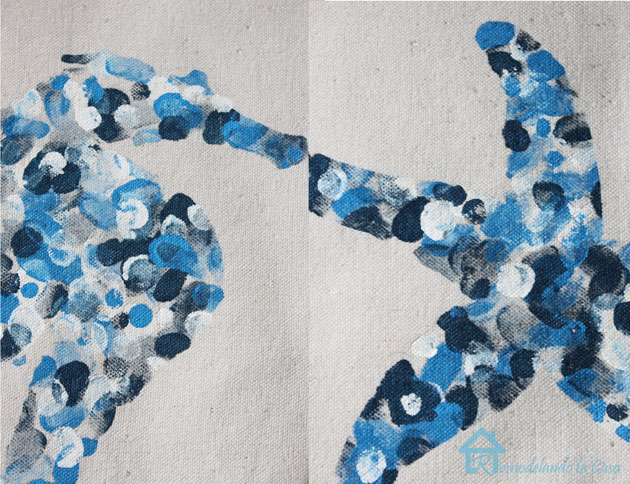
thumbprint starfish and seahorse

Let it dry according to the paint manufacturer’s instructions.  After the paint dries you can sew across the top and bottom, making sure the designs are on the inside.
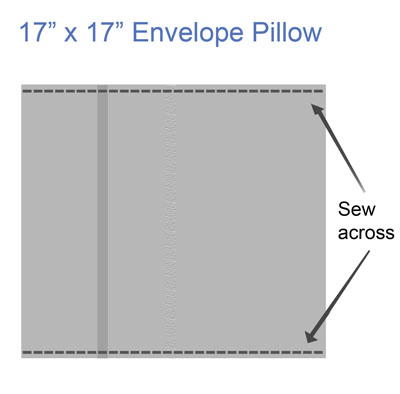
sawing across envelope pillowIf desired, wash and iron the pillow covers. Insert your pillow form.

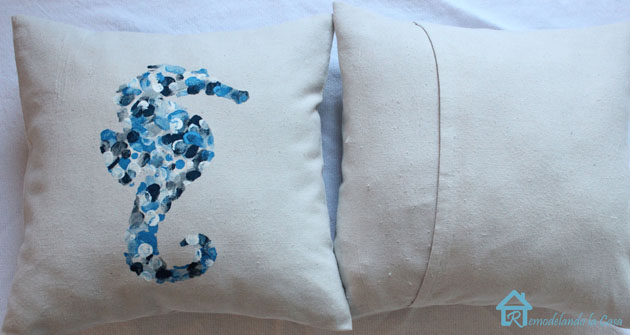
Thumbprint seahorse pillow front and back

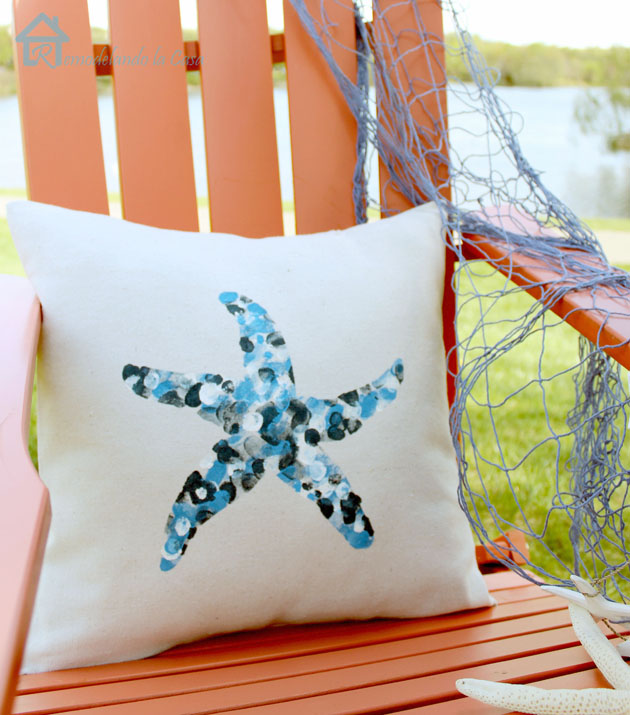
Place it on your favorite chair and enjoy!

Thumbprint starfish pillow1

Our pillows are a present for a special person close to our hearts.

Thumbprint pillows with tag-2

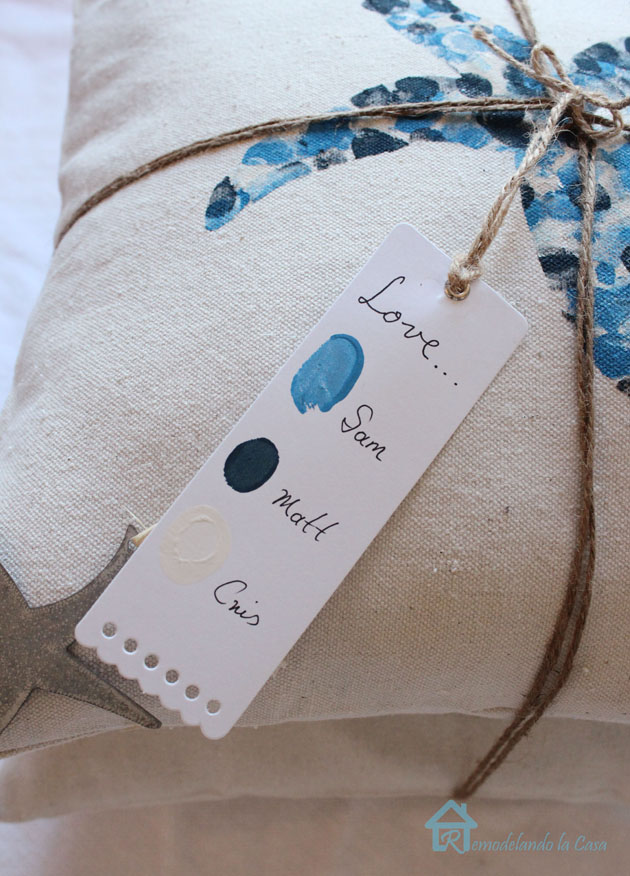
Of course, the artists had to sign it, or thumbprint it! Well, we did both!

Thumbprint pillows with tag

Are you ready to give the thumb printing a try?  Kids love it!  Hint, hint… this could be a nice project for Father’s Day (or Mother’s Day).

Photobucket

  ~ Learn more about Cristina ~

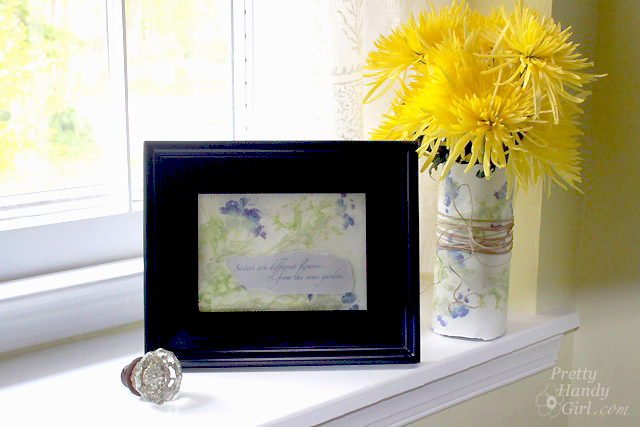
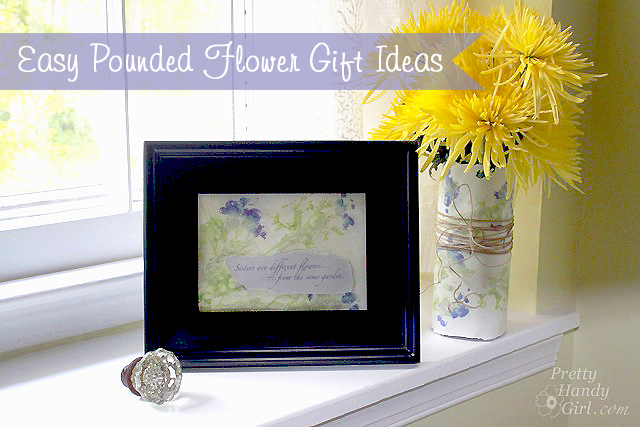
Spring is here and there are countless flowers awakening from the cold winter slumber. When it happens you can pick some blooms and turn them into easy gift ideas. Today I’ll show you how to make easy pounded flower art.

easy_pounded_Flower_Gift_ideasjpg

Easy Pounded Flower Gift Ideas

The results can be used for a framed quote, a paper-wrapped vase, notecards, and much more! I’d go so far to say, the results are close to high end (and expensive) handmade pressed flower paper.

Ready to make some beautiful pounded flower paper? I am (because I could also use an activity to get a little frustration out 😉.)

Materials:

(I’ve included affiliate links for your convenience. I earn a small percentage from a purchase using these links. There is no additional cost to you. You can read more about affiliate links here.)

materials

Instructions:

First, you’ll want to collect some flowers. Smaller colorful flowers work best. But, you can collect larger ones and experiment.

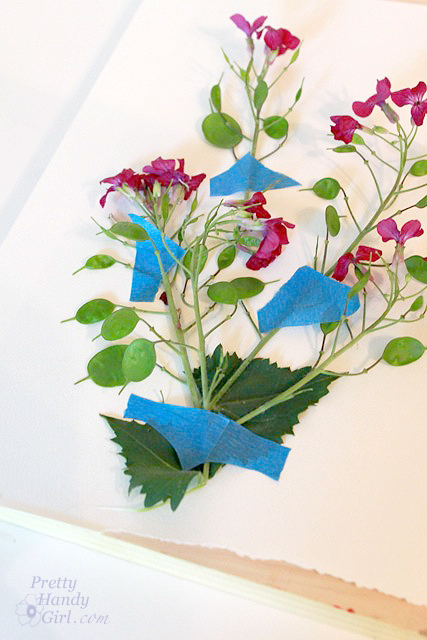
Lay one sheet of paper on top of the block of wood. Arrange your flowers on top of the paper and tape down any strands that don’t cooperate. (The flowers I picked are from a money plant that grows in our woods.)

tape_flower_into_shape

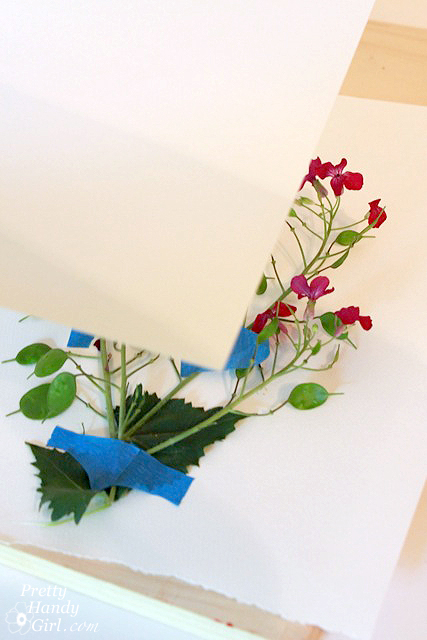
Lay a second sheet of paper on top of the flowers.

cover_flower_with_2nd_paper

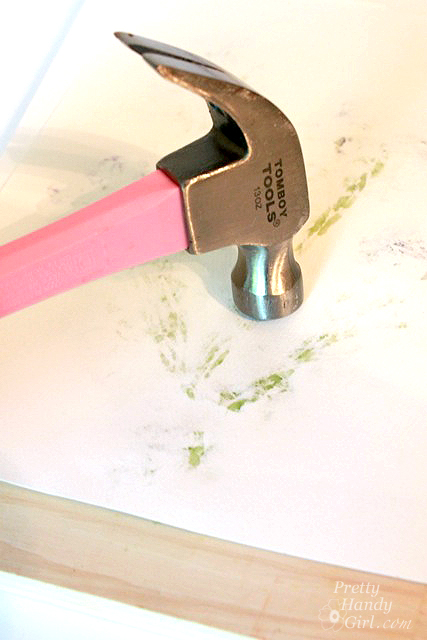
Pound the hammer around the paper until you have squished all of the flowers beneath. (This doubles as a stress relief exercise, trust me!)
hammer_paper_and_flowers

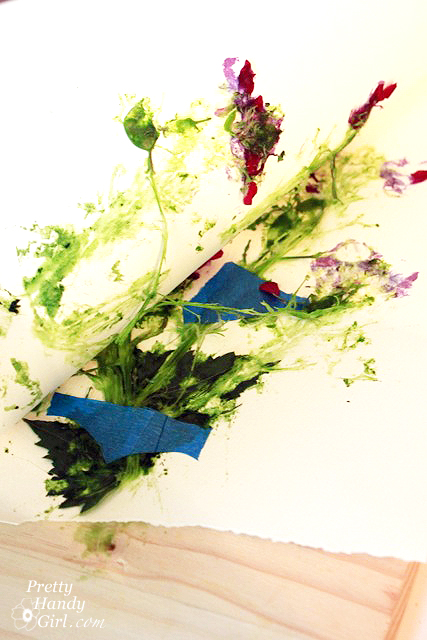
Peel apart the papers and you’ll have a pulpy mess.

pull_apart_papers

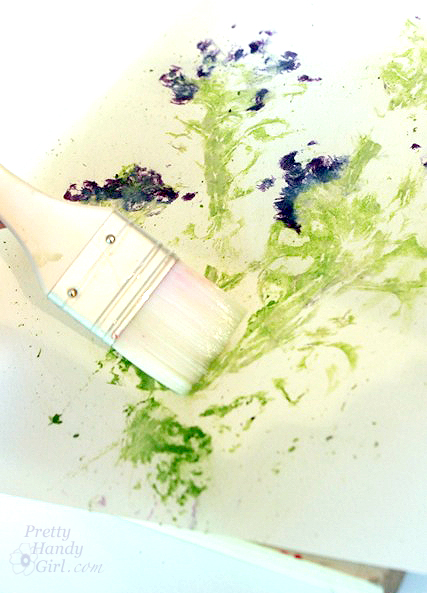
Remove the flowers and wipe off the excess bits and pieces with a clean chip brush.

wipe_off_flower_guts

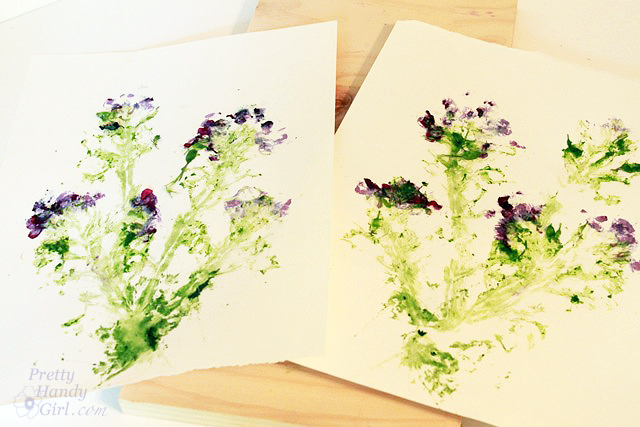
Look at that! You got two prints that are a mirror image.

duplicate_pounded_flower_prints

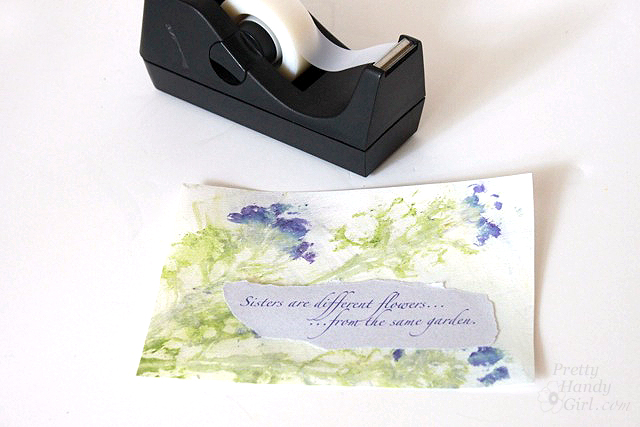
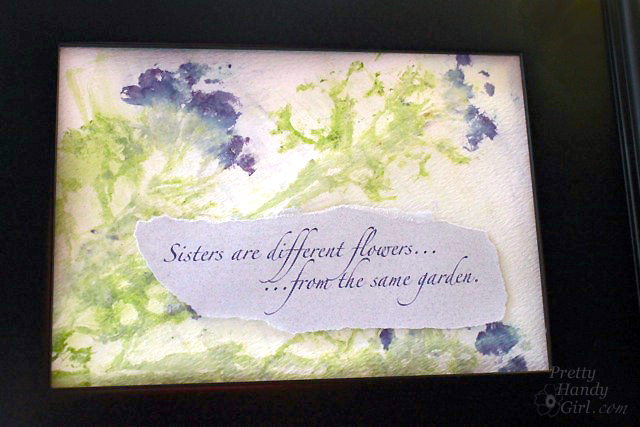
Print out a quote or type a message on coordinating paper and tear around it. Tape it onto flower paper.

tape_phrase_onto_paper

Put your verse artwork into a frame for a sweet gift to your sister, your mother, or a friend.

close_up_phrase_flower_art

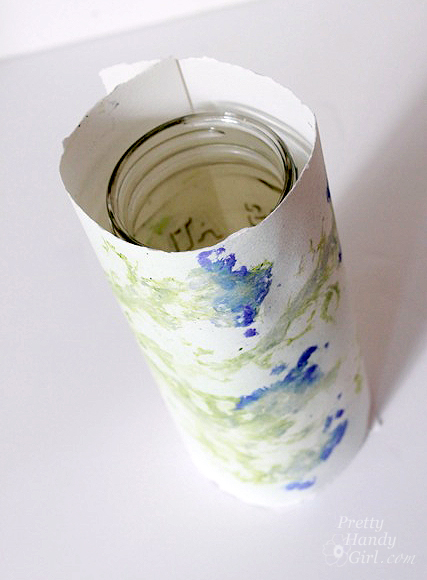
Take the other sheet and wrap it around a can, mason jar, or vase.

roll_paper_around_mason_jar

Wrap some twine around the paper to hold it in place. Add water to the vase and pop some fresh flowers in it.

close_up_pounded_flower_vase

Quick and easy gift idea, right?! Give a vase to brighten someone’s day. The best part of this gift is it only cost a pound! (Get it? Like a British £? I know, I have a corny sense of humor. You can blame it on my Dad, it runs on his side of the family.)

Maybe I’ve also been hammering a little too much lately. Leave me a comment if you have any corny jokes to share!

pounded_Flower_art

Do you have any creative ideas for using this pretty flower paper? I set some up for the kids and they had a blast pounding flowers.

PHGFancySign

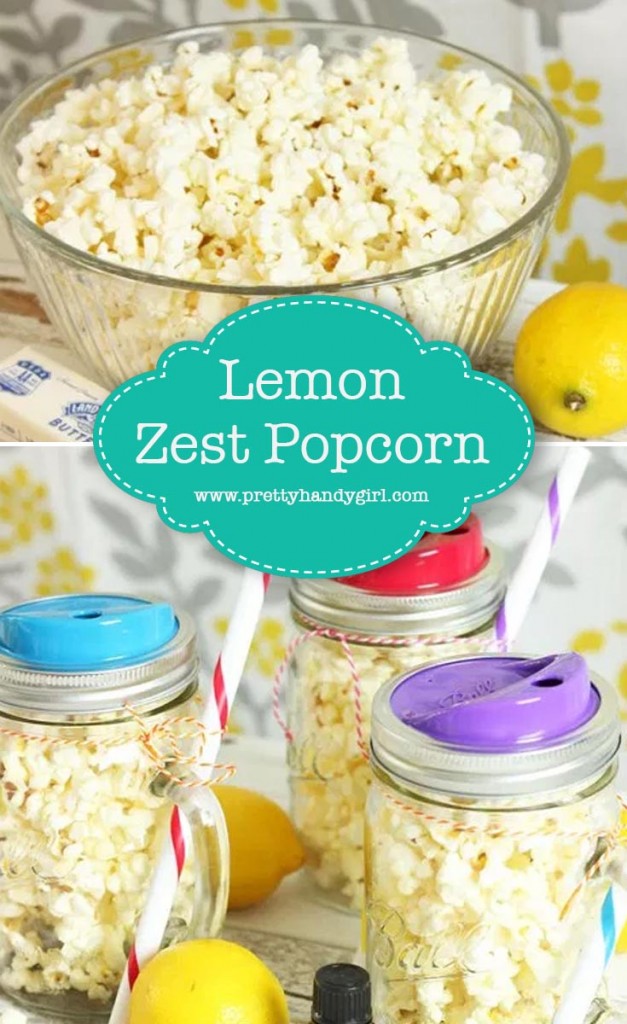
Lemon Zest Popcorn {Gift Idea} | Pretty Handy Girl

What could be more summery than the taste of lemon zest popcorn? If you’ve never tried lemon zest on your popcorn, you are seriously missing out!Lemon Zest Popcorn {Gift Idea} | Pretty Handy Girl

Lemon Zest Popcorn Recipe

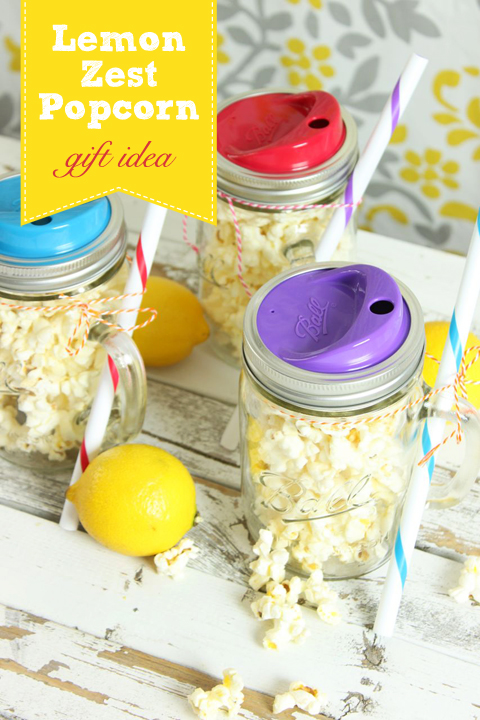
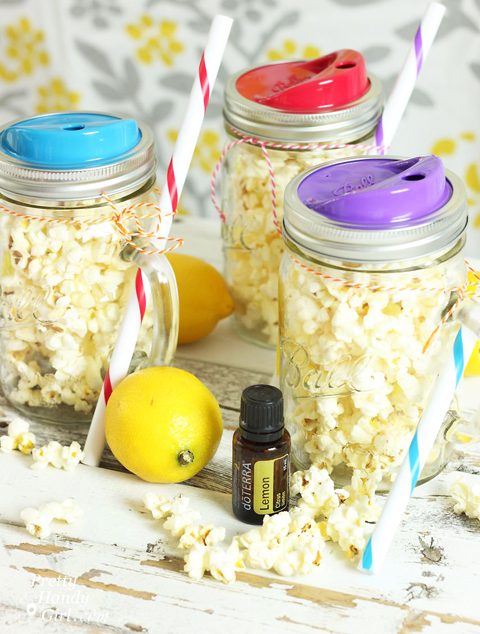
Want a summer recipe for popcorn? One that has that tangy zest and sweet buttery flavor. You’ll definitely love this recipe for Lemon Zest Popcorn. And as a bonus, you can make a big batch and give some in mason jars as a gift. This is an idea I had for an end of the year gift I gave my sons’ teachers. I included the mason jar full of popcorn in a tote bag with a few more summer-inspired gifts. (You can see the embellished tote bag I made here.) But, after you sample this popcorn, you may decide it’s too good to share. Let’s make this super simple summery treat!

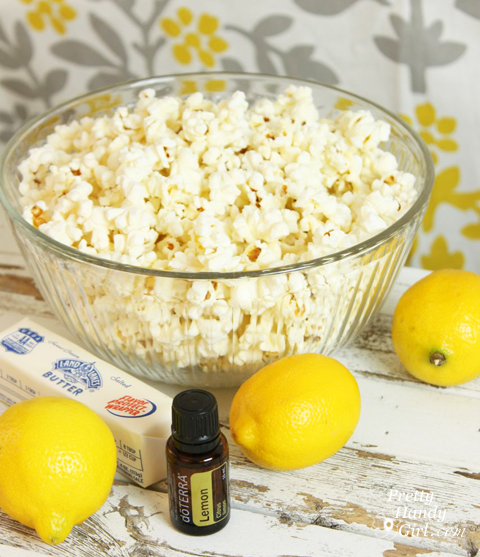
Ingredients:

(I’ve included affiliate links for your convenience. I earn a small percentage from a purchase using these links. There is no additional cost to you. You can read more about affiliate links here.)

Lemon Zest Popcorn {Gift Idea} | Pretty Handy Girl

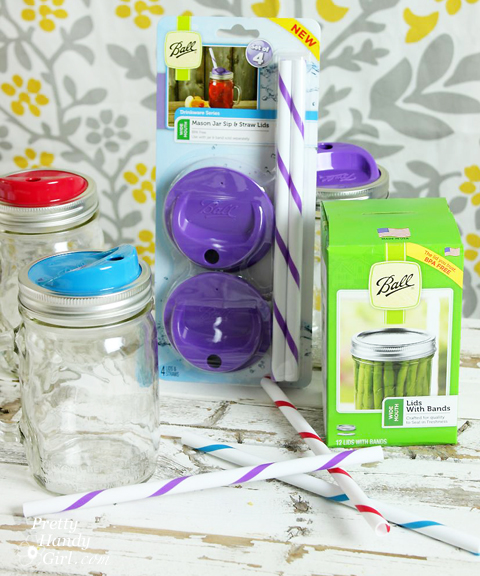
Optional: Drinking Mason Jar Mugs, Sip & Straw lids and Mason Jar lids

Instructions:

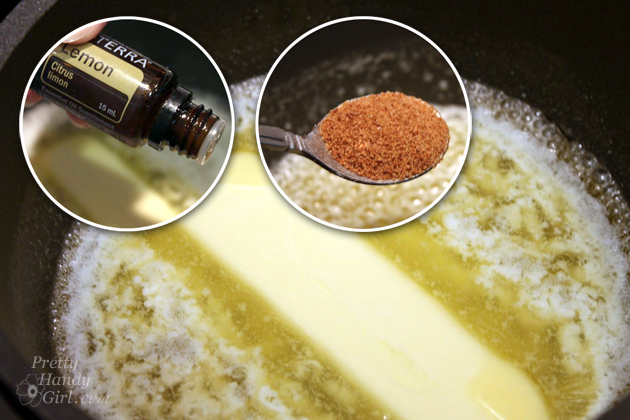
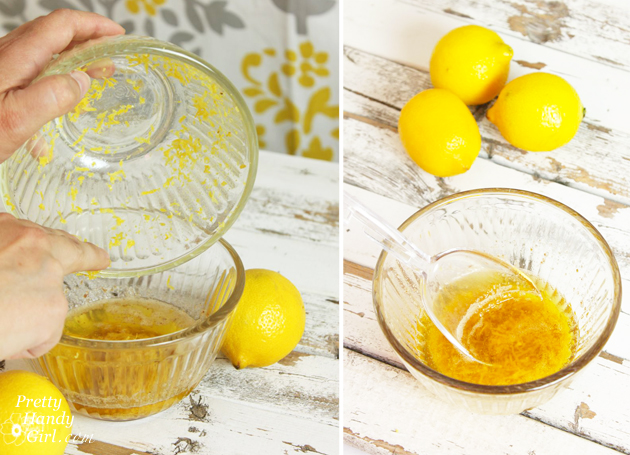
Melt butter in saucepan. Add 6 drops of DoTerra Lemon Essential oil (or you can add about a tablespoon or lemon juice). Add sugar. (I used coconut palm sugar, but you can use regular granulated sugar if you wish.) Mix well.
Lemon Zest Popcorn {Gift Idea} | Pretty Handy Girl

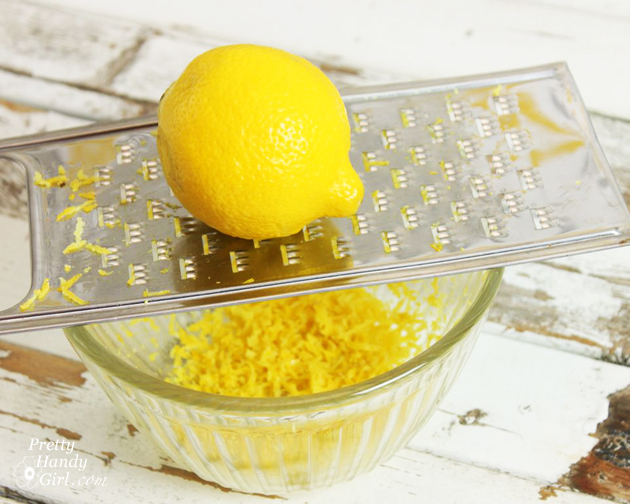
Meanwhile, grate one lemon for zest.

Lemon Zest Popcorn {Gift Idea} | Pretty Handy Girl

Add grated lemon peel to melted butter mixture and stir.

Lemon Zest Popcorn {Gift Idea} | Pretty Handy Girl

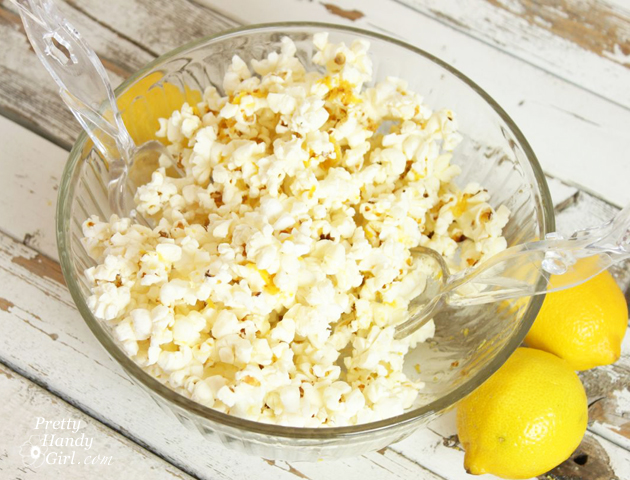
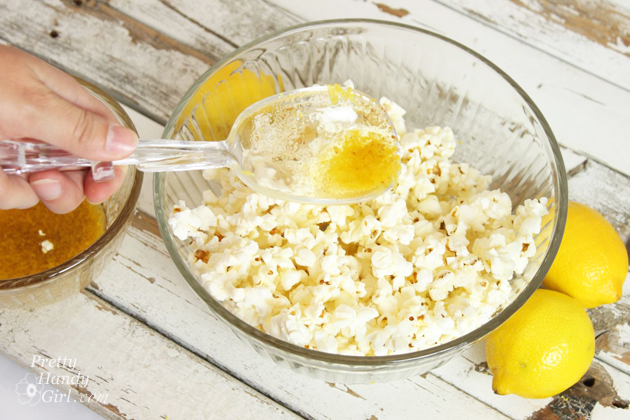
Spoon melted butter mixture over popcorn a little at a time.

Lemon Zest Popcorn {Gift Idea} | Pretty Handy Girl

Toss to coat after each lemon butter drizzle. Add salt to taste.

Lemon Zest Popcorn {Gift Idea} | Pretty Handy Girl

I purchased these adorable mason jar mugs with lids and straws. These have easily become my favorite glasses this summer. Did you know iced coffee tastes amazing in mason jars? You can make a healthy sugar busters iced coffee using this recipe.

Lemon Zest Popcorn {Gift Idea} | Pretty Handy Girl

Spoon popcorn into the mason jar mugs and add a lid plus a sip and straw lid. Tie the straw on with some butcher string and gift it to a friend.

The initial review for this popcorn came in from my kids’ principal. She ate it all within minutes of receiving the gift and said it was delicious!

Lemon Zest Popcorn {Gift Idea} | Pretty Handy Girl

Do you like lemon and butter? Do you have any ideas for other flavor combos? Do tell!

PHGFancySign

Pin for later!

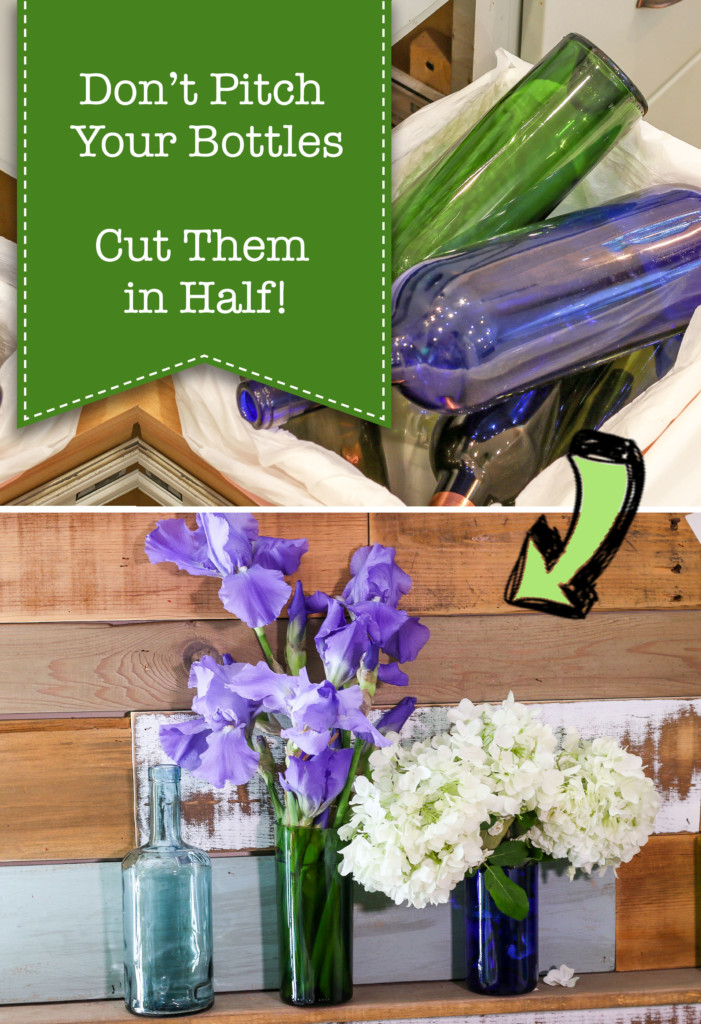
wine bottle vases

Are you a wine drinker? Nope? Well how about a beer drinker? Either way you can stop throwing away those pretty bottles and cut them to use as glasses, containers —or my favorite—flower vases!

don't throw away wine bottles. Cut them in Half

Don’t Pitch Bottles! Cut Them in Half!

About a year ago I bought a bottle cutter off Amazon. I had grandiose plans to make vases and drinking glasses galore. Instead the glass bottle cutter sat in the box. Recently I decided to take the leap and try it out. (Especially because my yard is overflowing with flowers to share.) I figured this was a great way to upcycle wine bottles and use them as free vases for friends and neighbors. Ready to learn how to make wine bottle vases, or drinking glasses, glass containers, or votive holders?

We’ll need a few tools to make this magic happen.  

Materials:

(I’ve included affiliate links for your convenience. I earn a small percentage from a purchase using these links. There is no additional cost to you. You can read more about affiliate links here.)

Feel free to watch the video or keep ready to learn how to cut glass bottles easily and safely.

Instructions:

Before cutting your bottle, you’ll need to remove the label. Here’s another tutorial to easily remove labels from bottles

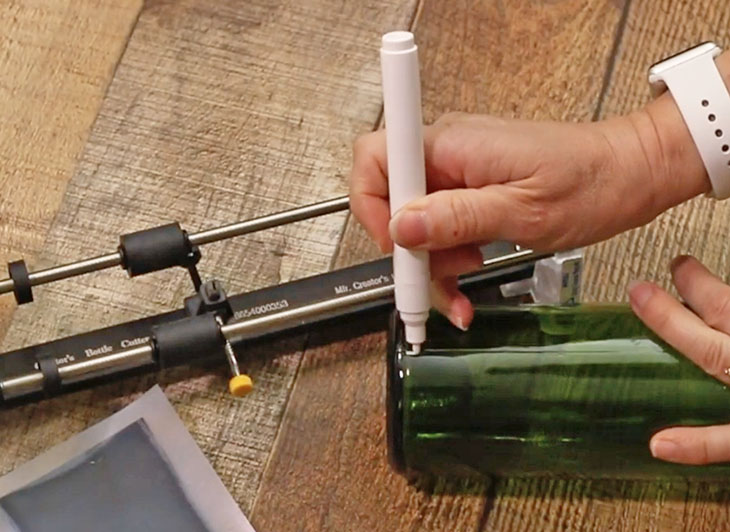
Make a small mark at the bottom of your bottle. This is where you will start and stop your cut.

mark bottom of wine bottle with white paint pen

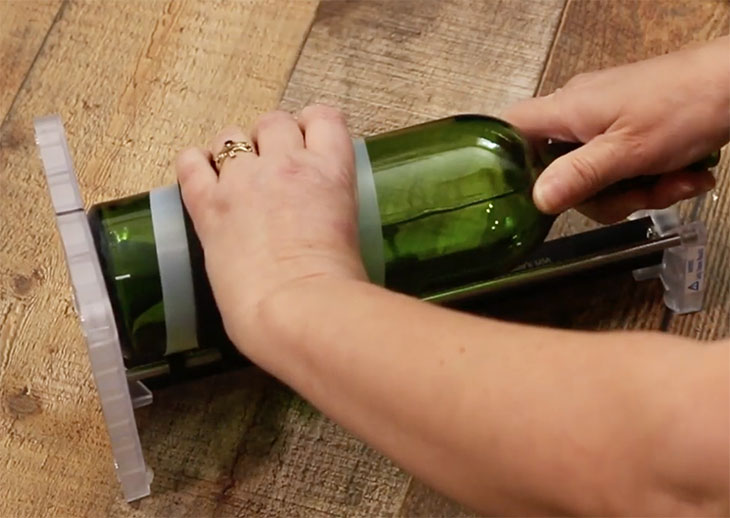
Adjust the glass cutting wheel to where you want to make your cut. Release the glass cutting wheel on the cutting jig. Slowly rotate the bottle until you have completed one full rotation.

turning bottle to cut

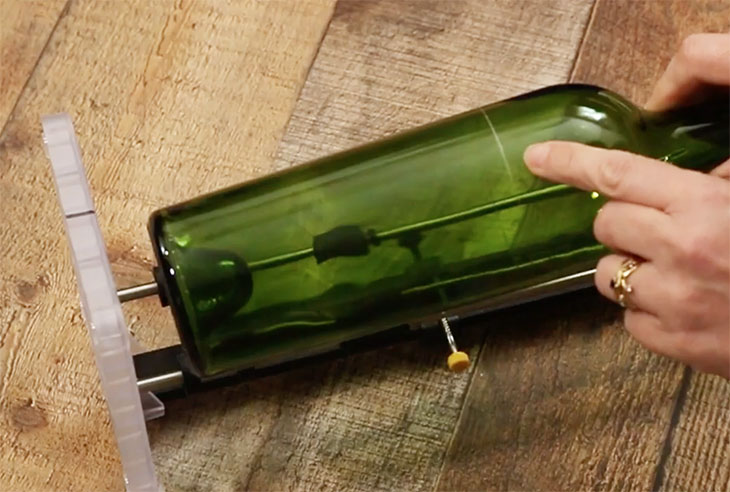
Remove the bottle and check that your bottle has been scored the full way around.

pointing out scored cut line on wine bottle

Time to move into the kitchen. Make sure you are wearing those safety glasses.

Have a pot of hot water on the stove almost to boiling. Next to this have a container with ice water ready.

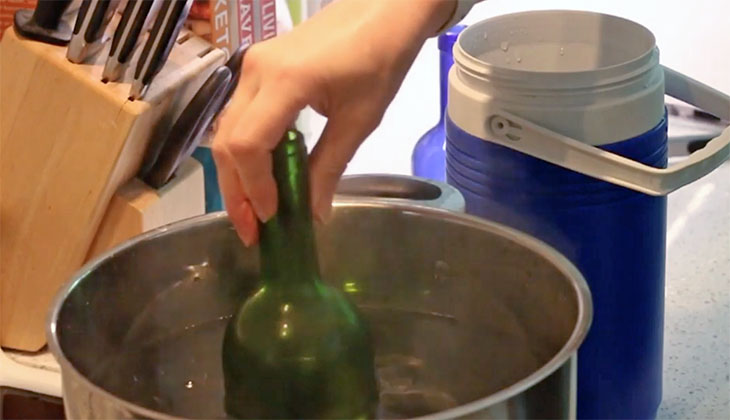
Dip the wine bottle into the hot water, making sure to submerge the bottle to the cut line. Hold it there for 15-20 seconds.

wine bottle in hot water

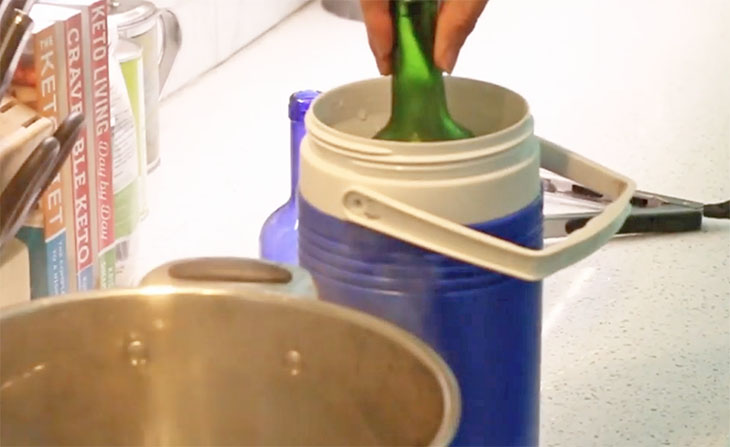
Then immediately immerse the bottle into the ice water. Try to separate the bottle (if it doesn’t separate on its own.)

wine bottle in ice cold water

If it won’t break, resubmerge into the hot water and then the ice water again. 

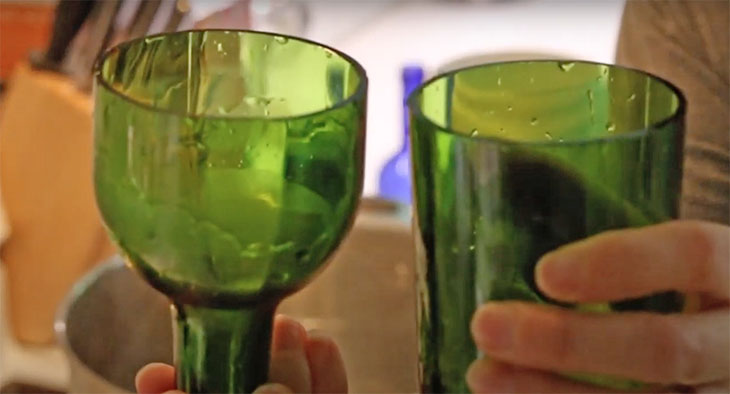
cut wine bottle in half

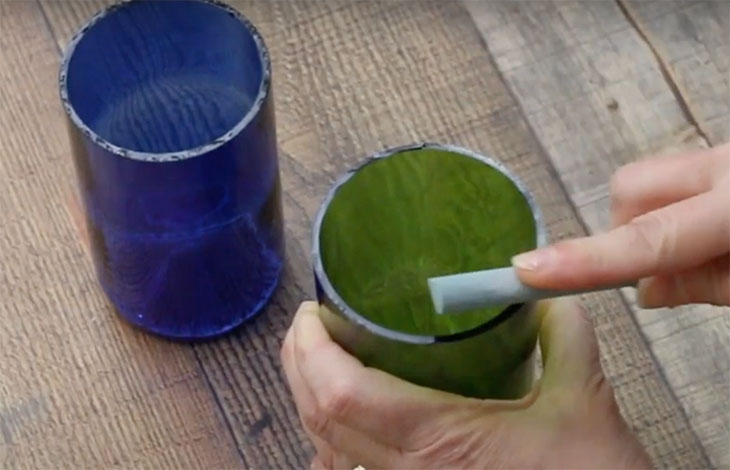
Once the bottle has separated, the edges need to be filed. For even smoother edges, sand the rim with progressively finer sandpaper. I started with 150 grit and worked up to 600 grit. 

Be sure to clean up your glass shavings, take care because they can cut you.

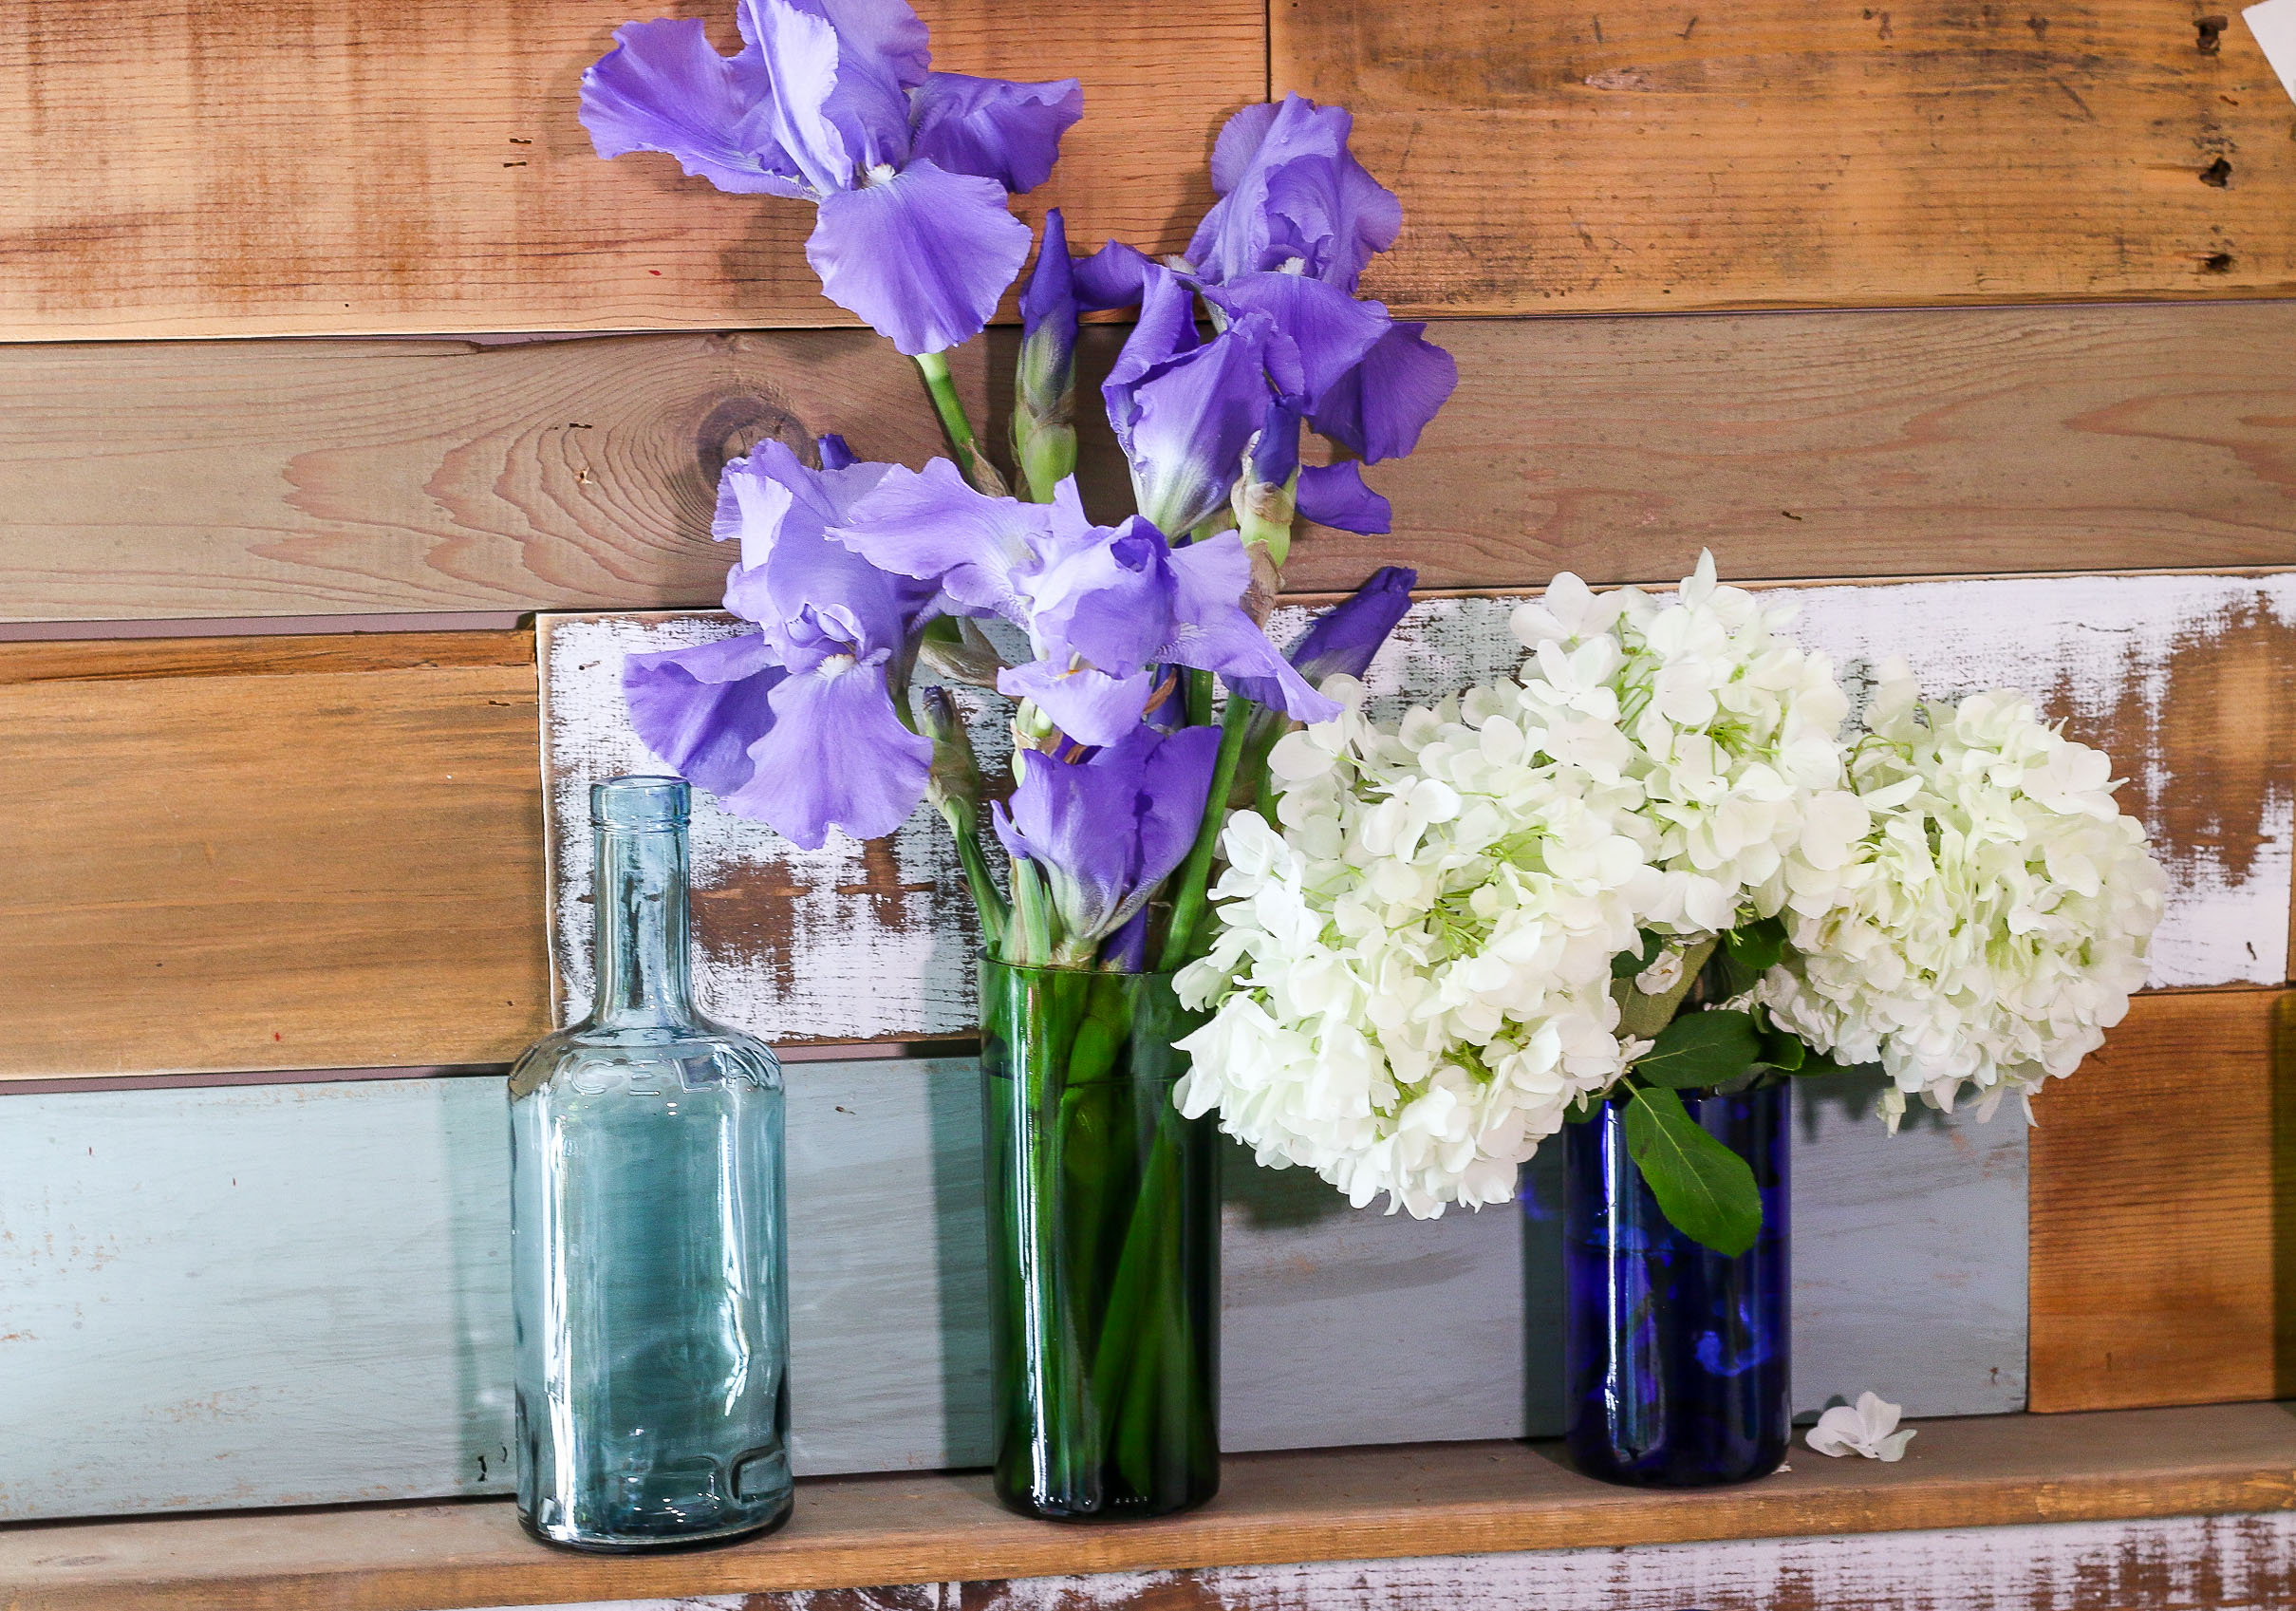
Now you can use your newly cut bottles as containers, drinking glasses, or vases!

Fill them with water and flowers to give as a gift. 

wine bottle vases

Now promise me you’ll never throw away glass bottles again. They are too pretty not to re-use. Especially once you have a bottle cutter.

Scrapbook Paper Lined Painted Trays | Pretty Handy Girl

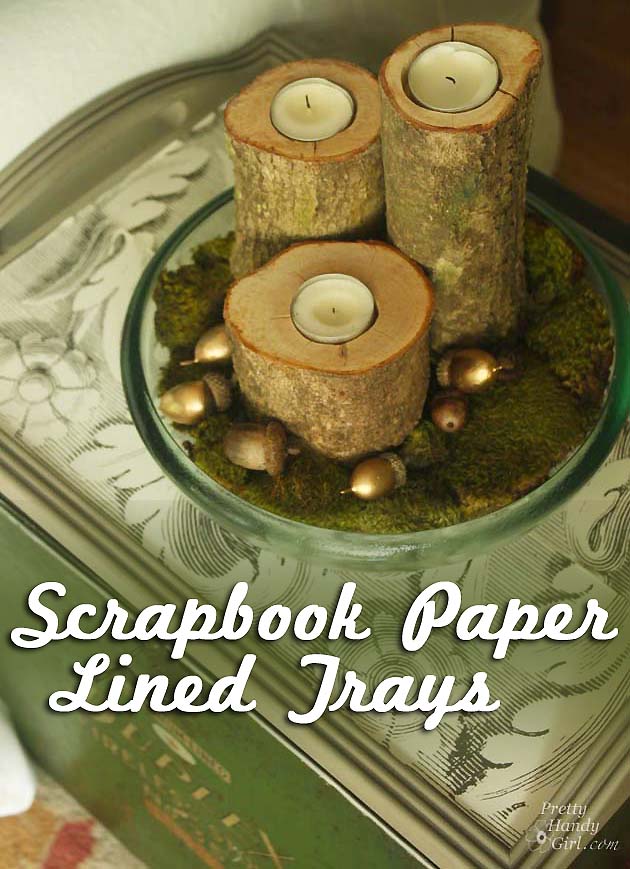
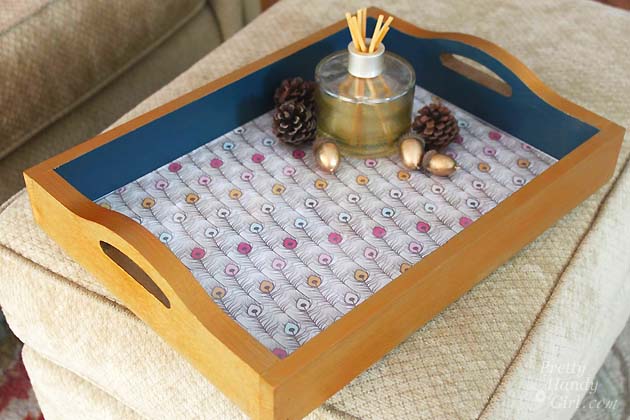
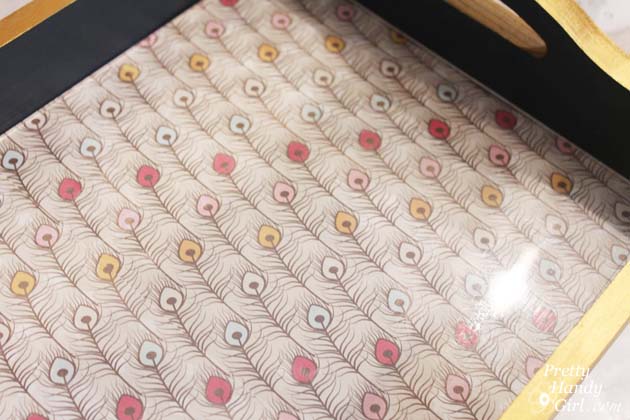
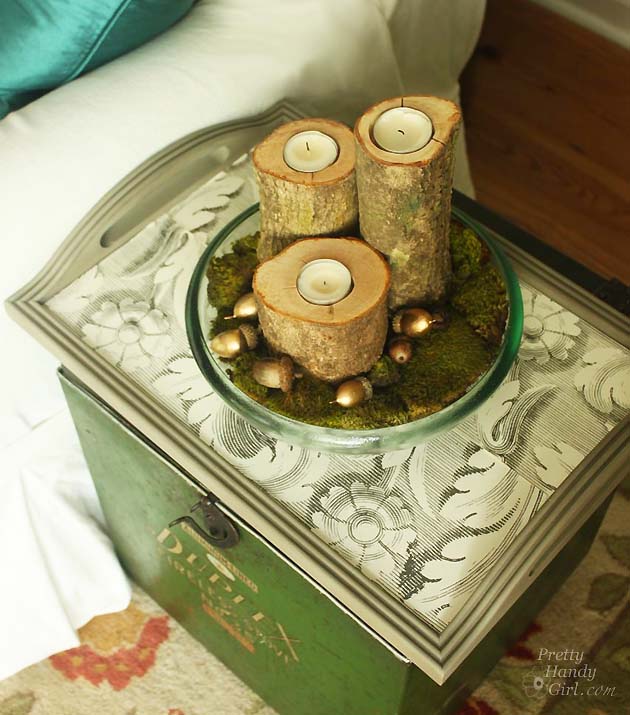
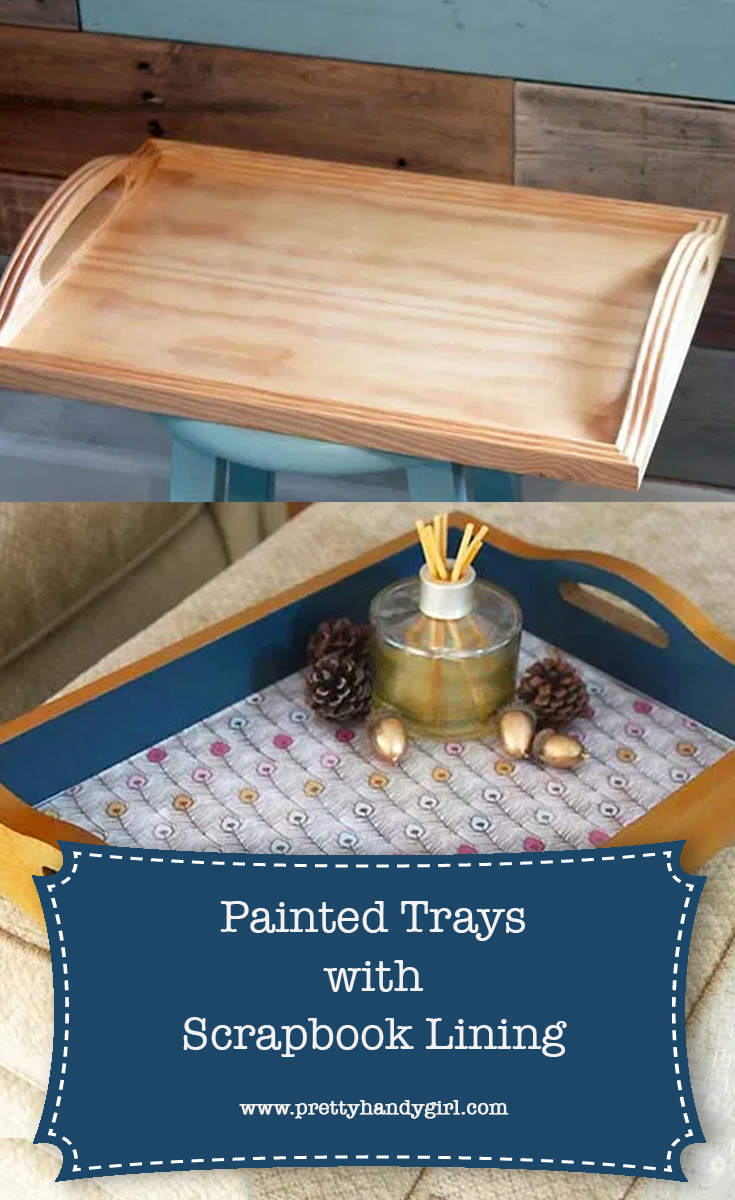
Look around your house or the next time you’re at a thrift shop. Find either an unpainted tray or a tray that needs a makeover. This is a quick project to create a Painted Trays with Scrapbook Lining for a beautiful and elegant tray to display or organize things in your home.

Scrapbook Paper Lined Painted Trays | Pretty Handy Girl

Painted Trays with Scrapbook Lining

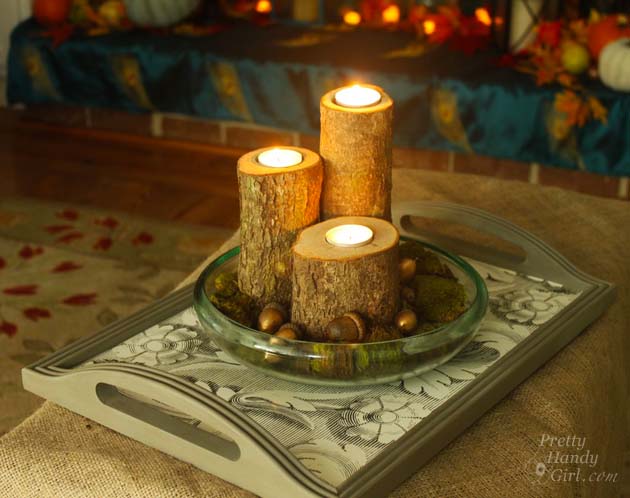
Today I have a really adorable and easy DIY idea for you! Scrapbook paper-lined and painted trays. These trays are so versatile, they can be used in the kitchen, bedroom, bathroom, or anywhere you want to corral items or have a flat surface available. They also make a great gift if you want to load them up with some smaller gift items. But best of all, you can change their look in a snap.

Scrapbook Paper Lined Painted Trays | Pretty Handy Girl

(I’ve included affiliate links for your convenience. I earn a small percentage from a purchase using these links. There is no additional cost to you. You can read more about affiliate links here.)

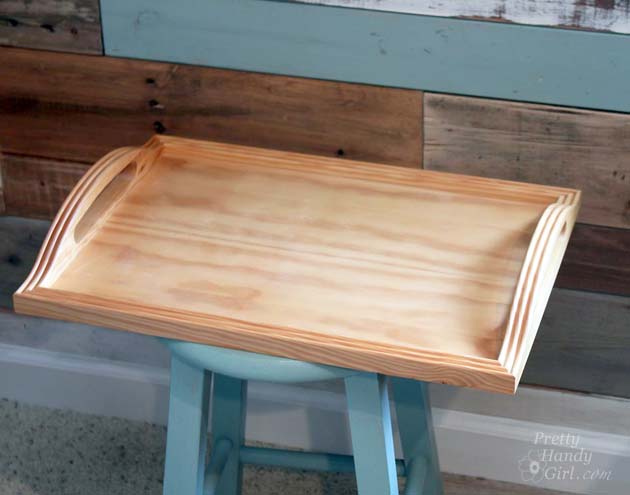
As I mentioned above unfinished trays can be purchased at many places. If you want a new one, look at your local craft supply store or order one online on Amazon for cheap.

You’ll also want some decorative scrapbook paper, gift wrap, or fabric to line the bottom of your tray.

Scrapbook Paper Lined Painted Trays | Pretty Handy Girl

Materials:

Instructions:

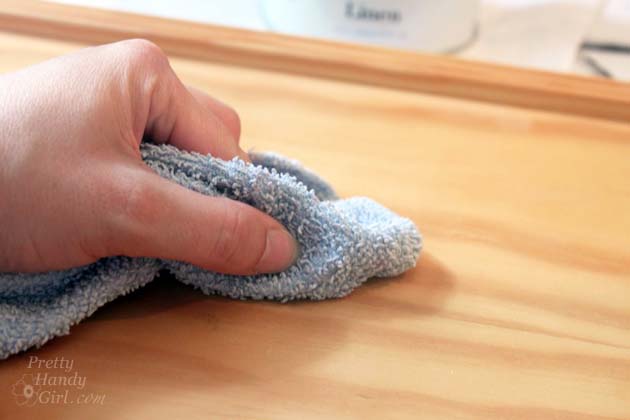
Lightly sand and wipe off tray with a damp rag.

Scrapbook Paper Lined Painted Trays | Pretty Handy Girl

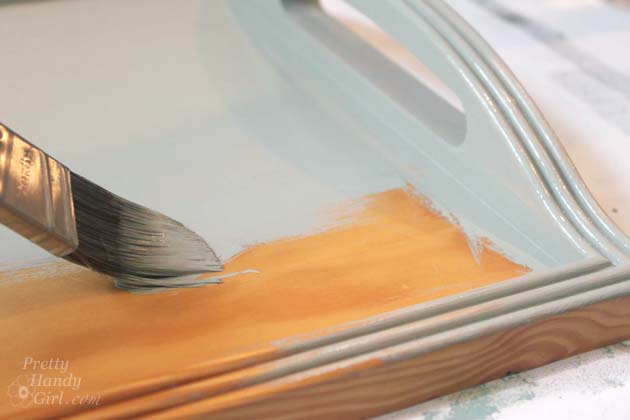
Prime tray (if using non-chalk paint.) Paint tray desired color. For this tray, I used Annie Sloan Chalk Paint in French Linen.

Scrapbook Paper Lined Painted Trays | Pretty Handy Girl

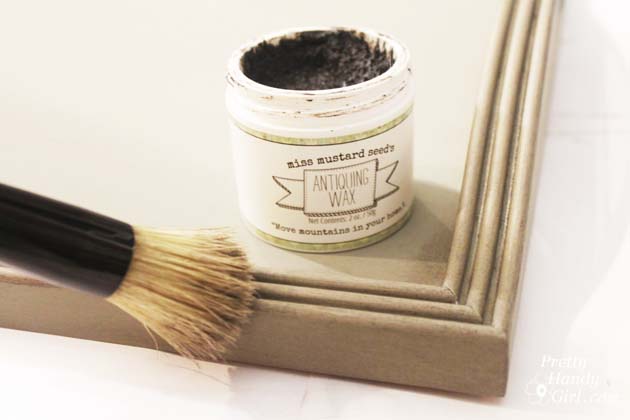
After the paint has dried, brush antiquing wax onto your tray if desired. Buff off excess with a dry rag.

Scrapbook Paper Lined Painted Trays | Pretty Handy Girl

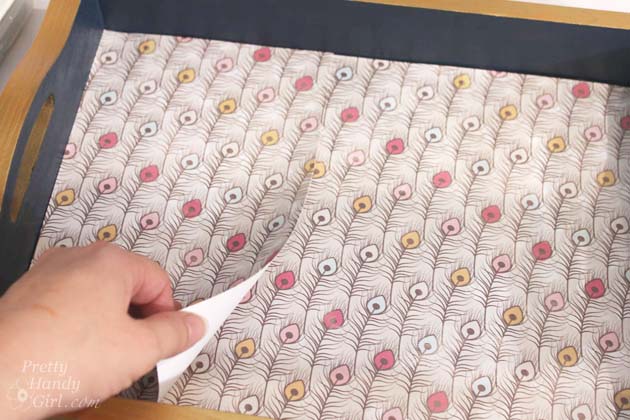
Cut scrapbook paper to fit inside the tray. When overlapping paper, make sure to line up the repeating pattern.

Scrapbook Paper Lined Painted Trays | Pretty Handy Girl

For the best durability, line the tray with a piece of glass or plexiglass cut to fit inside the tray. (Ask your local home improvement store to cut or order online.) If you want it to be permanent, seal the edges of the glass with clear silicone.

Scrapbook Paper Lined Painted Trays | Pretty Handy Girl

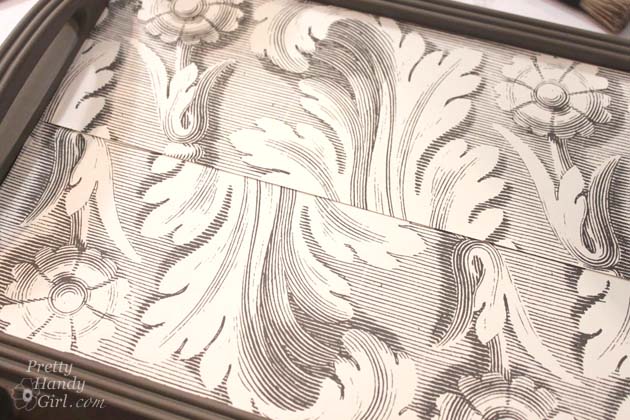
The paper you use to line the tray doesn’t have to necessarily be scrapbook paper. I got this paper from Ballard Designs. It’s actually cheese paper, but I loved the design. It doesn’t quite match up, so I just rotated the paper.

Scrapbook Paper Lined Painted Trays | Pretty Handy Girl

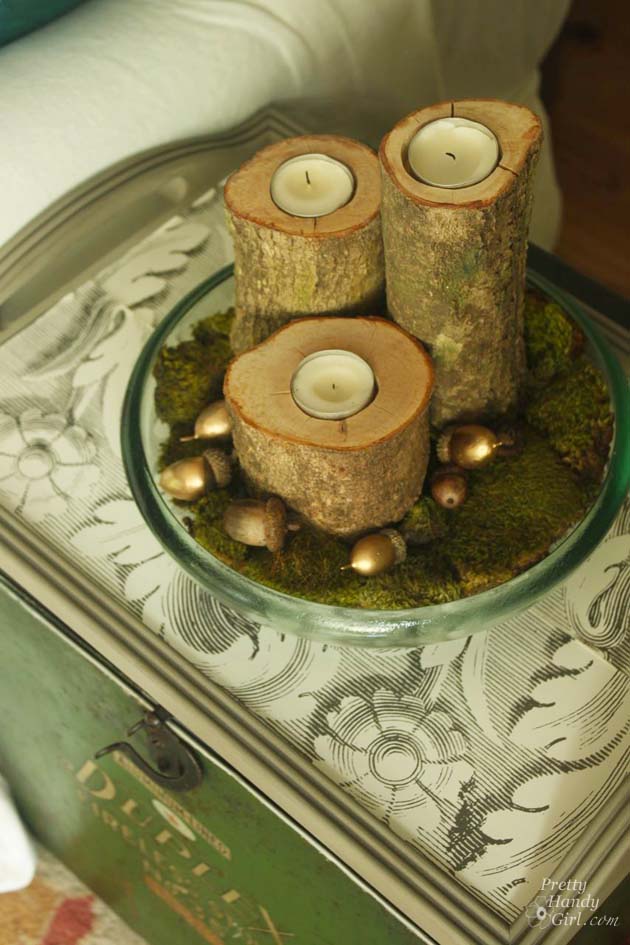
When you put something on top of the tray, you hardly notice the seam.

Scrapbook Paper Lined Painted Trays | Pretty Handy Girl

The nifty thing about these trays is the decorative paper can be swapped out when you bore of the design. (Unless, you seal the edges.)

Scrapbook Paper Lined Painted Trays | Pretty Handy Girl

Scrapbook Paper Lined Painted Trays | Pretty Handy Girl

Once again, I’m loving this idea too much…I might be keeping this one for myself ;-).

Scrapbook Paper Lined Painted Trays | Pretty Handy Girl

Do tell me if you love this idea or have any unique ideas for lining the bottom.

PHGFancySign

Pin for later!

DIY Painted Trays with Scrapbook Lining | Pretty Handy Girl