Vintage Map Lampshade | Pretty Handy Girl

Vintage Map Lampshade | Pretty Handy Girl
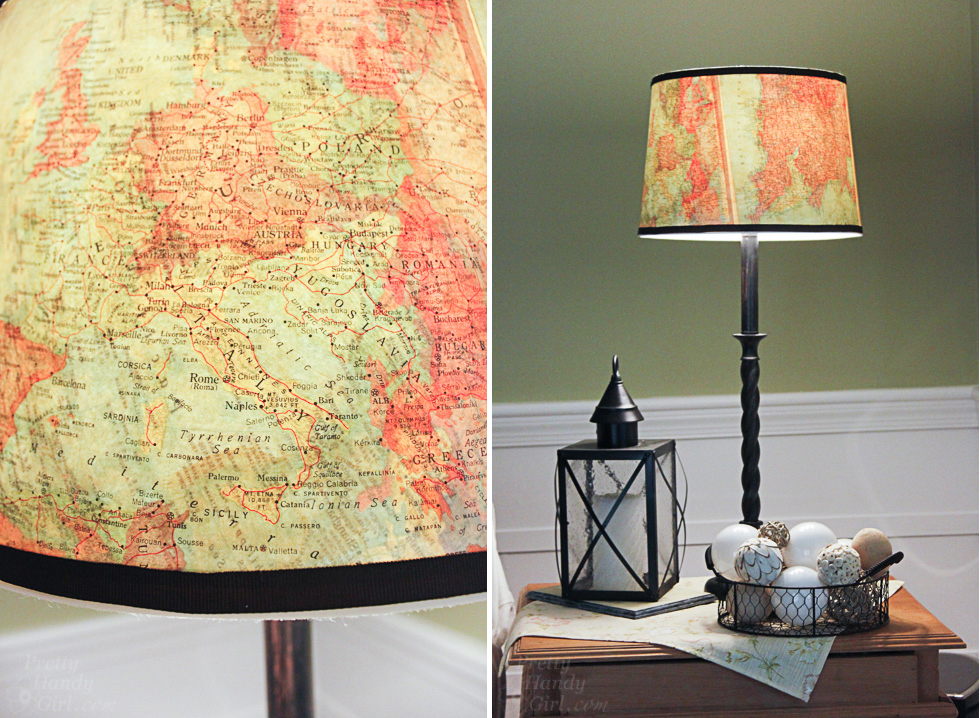
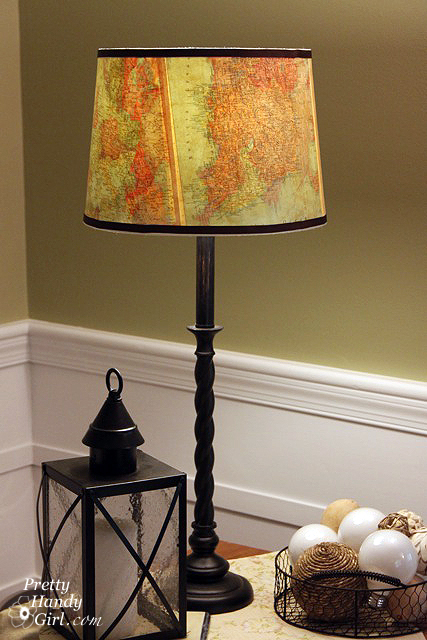
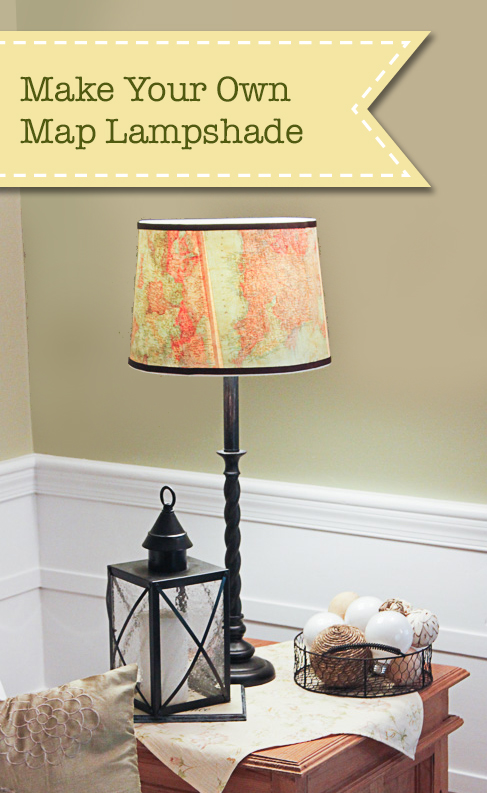
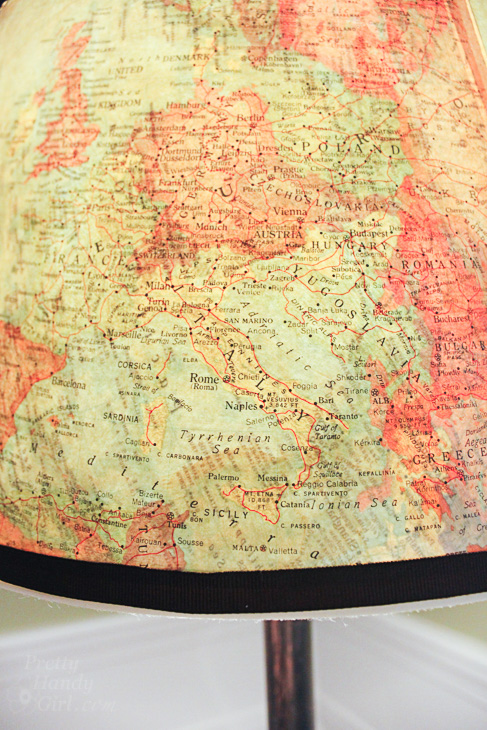
Do you want to update a plain vanilla lamp shade? Do you have a vacation you want to remember? You can do both with this vintage map lampshade!

The process to create a Vintage Map Lampshade is easy, especially if your lamp shade is close to a perfect cylinder. But, what do you do when you have a cone shaped shade? The instructions are a little more complicated, but I can show you how.

Pull up a seat and I’ll show you how to create a cool decorated lampshade. (Keep in mind you don’t have to use maps. You could use wallpaper, fabric, a poster, or anything you want!) Let’s do this.
Vintage Map Lampshade | Pretty Handy Girl

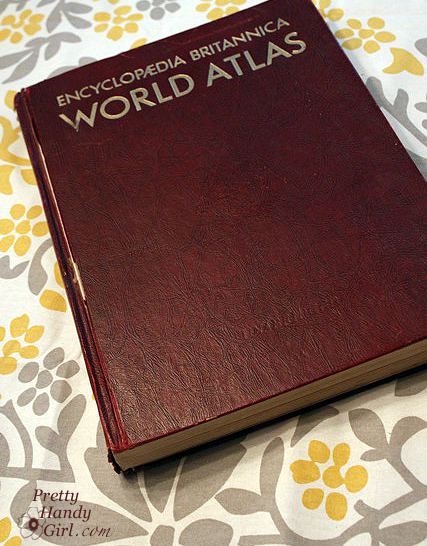
During a trip to my local thrift store, I discovered an old atlas and knew I could use it for oodles of projects. As I walked out of the store a flood of ideas came to me. One of them was to make a Vintage Map Lampshade.

Materials:

(I’ve included affiliate links for your convenience. I earn a small percentage from a purchase using these links. There is no additional cost to you. You can read more about affiliate links here.)
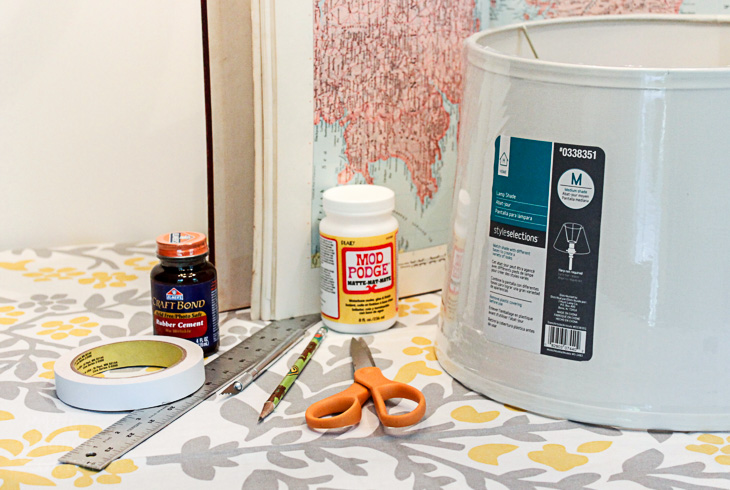
To add a vintage glaze you will also need:


Instructions:

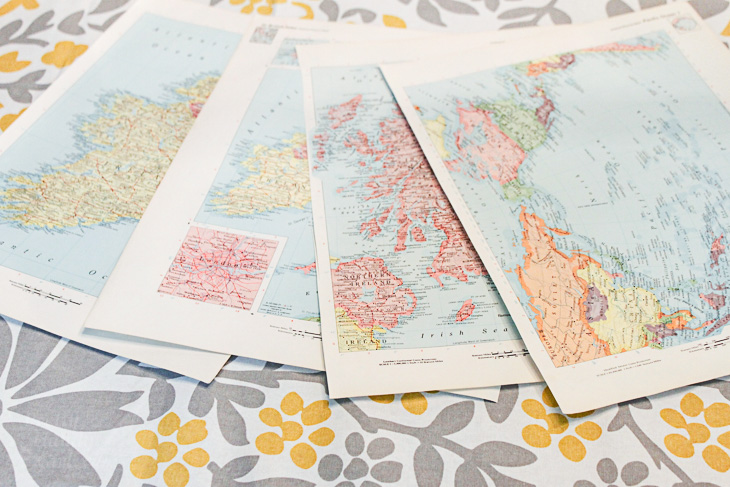
Start by selecting the maps or paper you want to use. Carefully cut them out along the spine using a fresh x-acto blade — don’t let your blade get dull. (I use a new one for each project. Your cuts are much cleaner when working with a fresh blade.)

Set your pages aside for now.
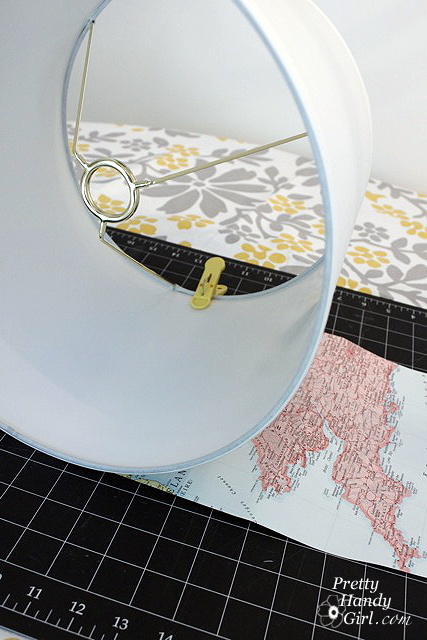
To make a template for your shade, roll out a large piece of craft paper. Lay your lampshade on the craft paper. Start at the vertical seam on the shade (to give you a visual of where to start and stop) and set your pencil along the bottom edge of the lampshade.
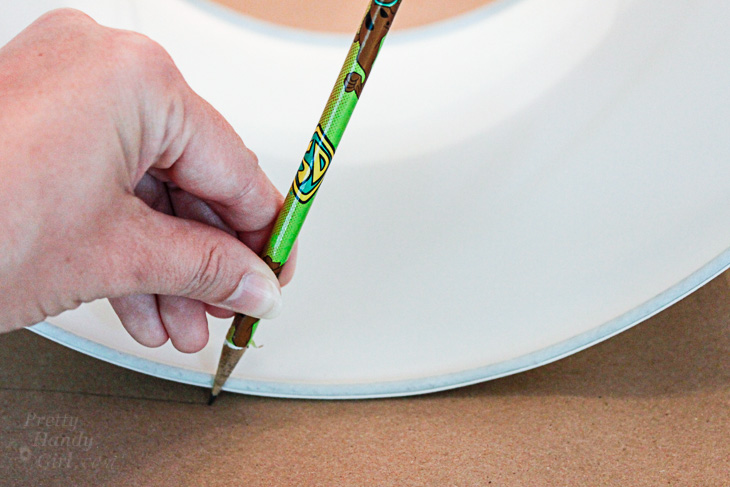
Gently roll the shade on the paper and mark along the bottom edge of the shade.
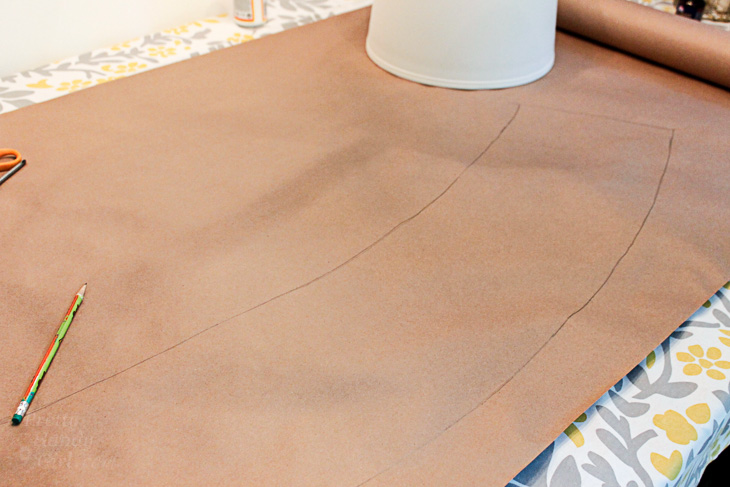
When you reach the end, reverse your shade and draw along the top edge. At the end, add an inch or two for overlap. Cut along the outlines to create your lampshade template.
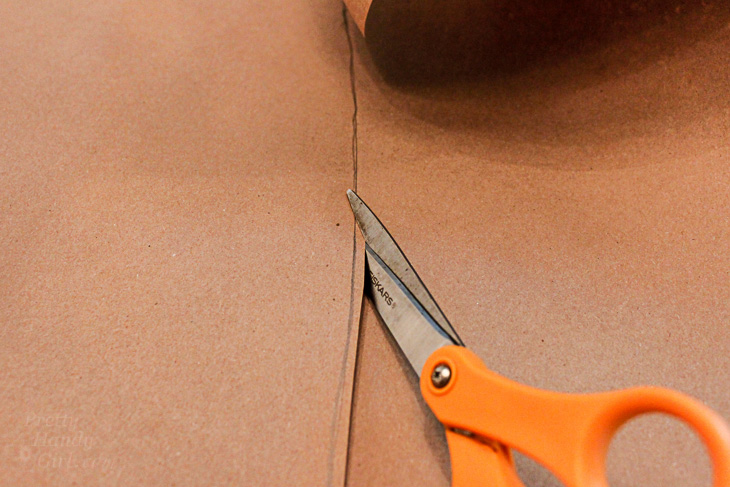
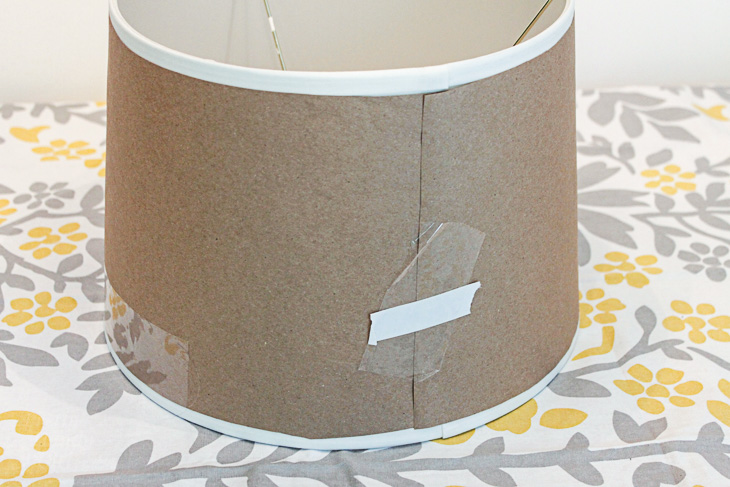
Tape the template onto your lamp shade using the low tack tape. Make sure it fits snugly.
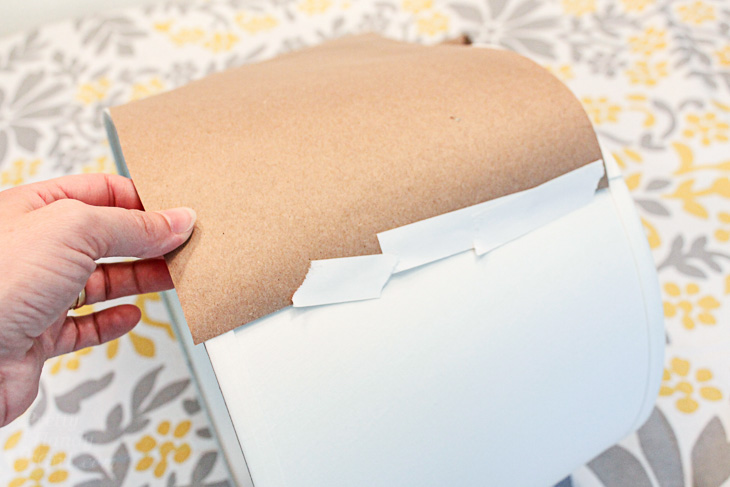
Trim any excess from the edge of your template. Should you choose, trim excess to allow room for the grosgrain ribbon.
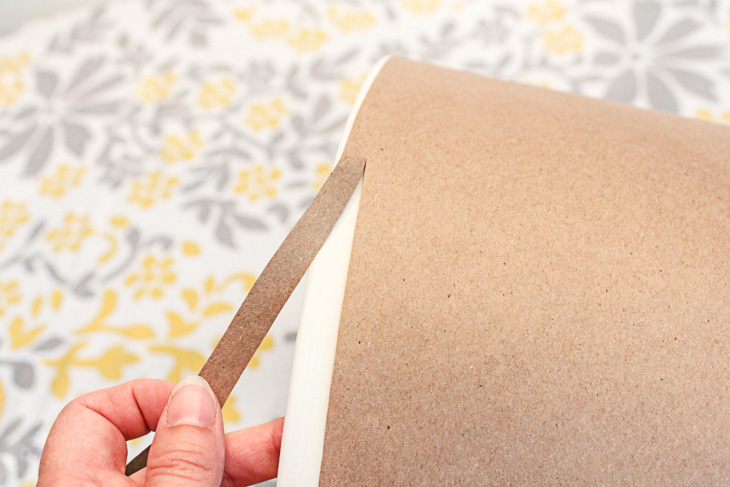
Make sure your template fits perfectly before you proceed.
Lay out your craft paper template on top of the map pages. Make any adjustments to the page layout.
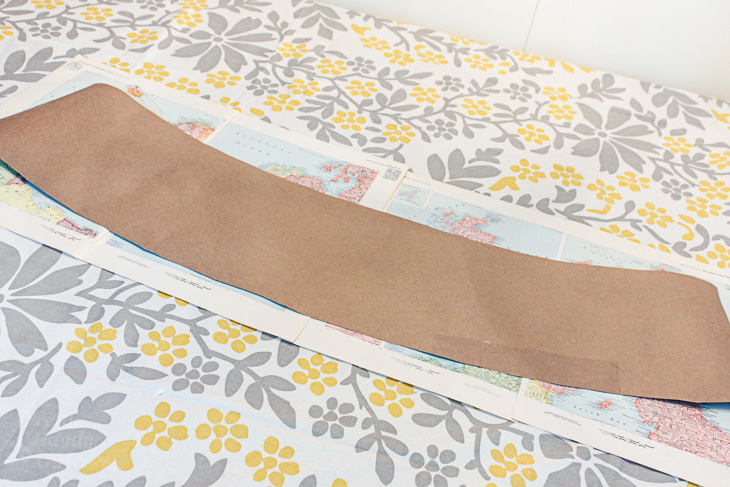
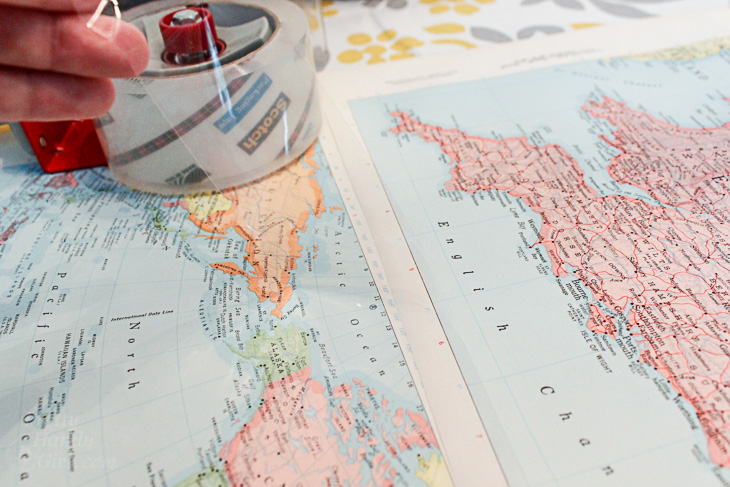
Tape your map pages together using clear packing tape on the inside only.
Trace the template on top of the map pages.
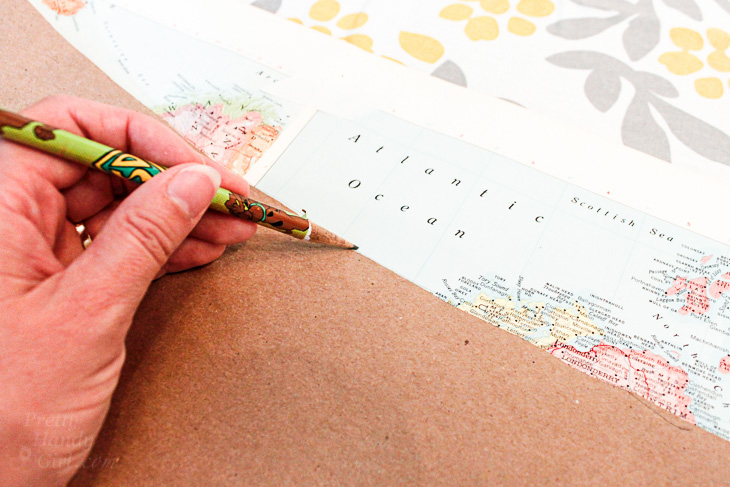
Cut out the shape along the pencil line.
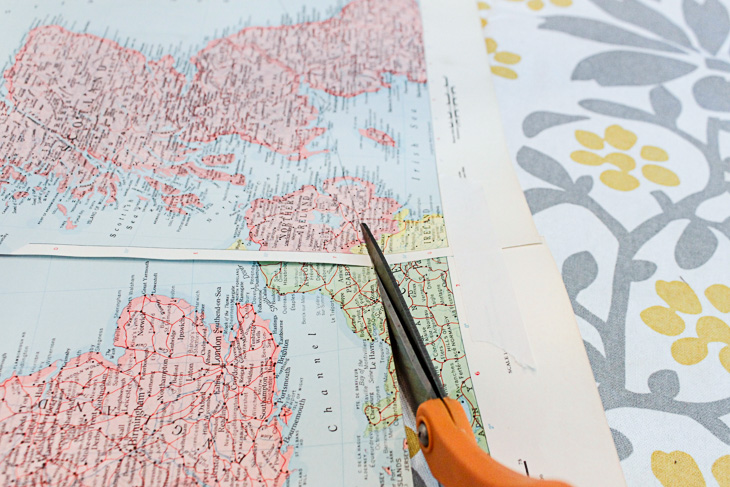
Wrap the lampshade with your cut out map pages.  Clip the edges with clothes pins.

Working in small 8″ sections, brush rubber cement onto the map and the lamp shade. Wait a minute or two for the glues to dry. Then press them together. This is the best way to get maximum adhesion when using regular rubber cement. It creates a stronger bond than just one coat applied and joined while it is still wet. Alternatively you could use spray adhesive (especially if you are using fabric.)
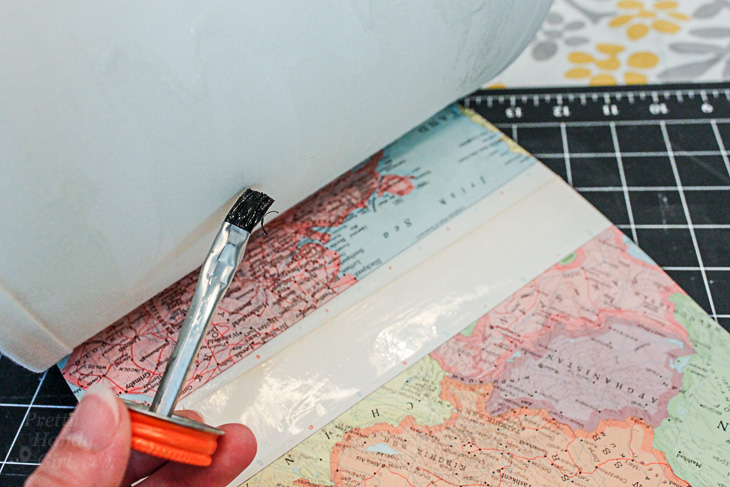
Continue by gluing another section until you reach the end. To finish the seams on the outside, brush some rubber cement under the seams where your maps overlap. Press and hold them down until the glue dries.
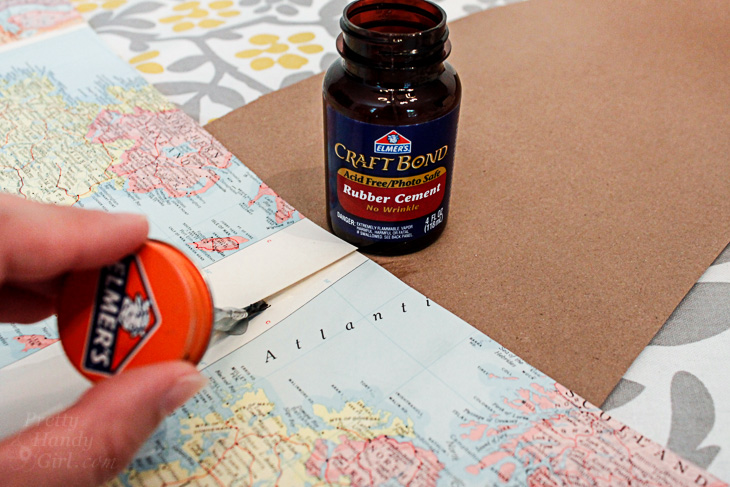
Add a Vintage Aged Glaze:

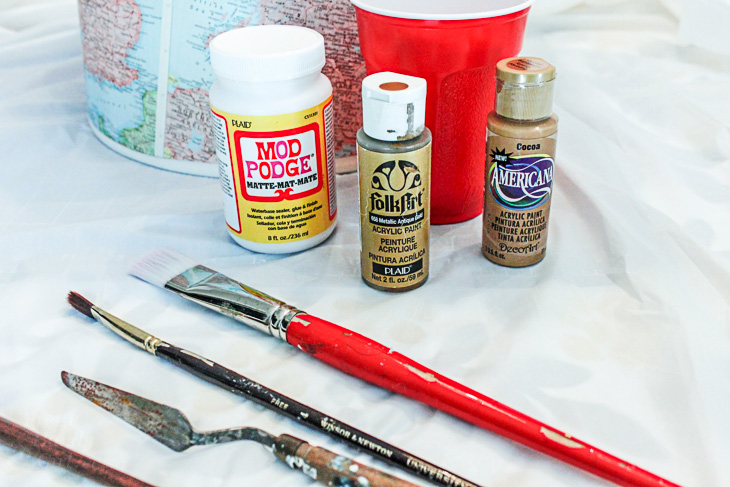
Time to give your maps a vintage aged look! Pour 2 parts mod podge into an empty cup. Add about 1 part cocoa paint. Mix them together. Test some of the glaze on a scrap piece of paper. If you like the glaze color, start brushing it onto the lamp shade. Be careful not to use too much of the glaze or the paper will start to wrinkle. (If it does, no worries, some of the wrinkles will come out when it dries. Any remaining wrinkles make it look old.)

Let the glaze dry.
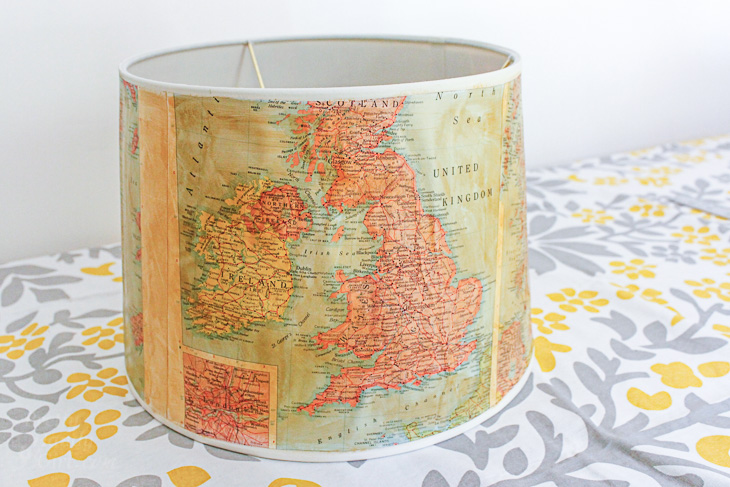
Cut two strips of grosgrain ribbon the circumference of your lamp shade plus an inch for overlap.

Hot glue the ribbon onto the top and bottom edges of your lamp shade. (Please, please, protect your fingers, read my hot glue gun safety post before working with hot glue!)
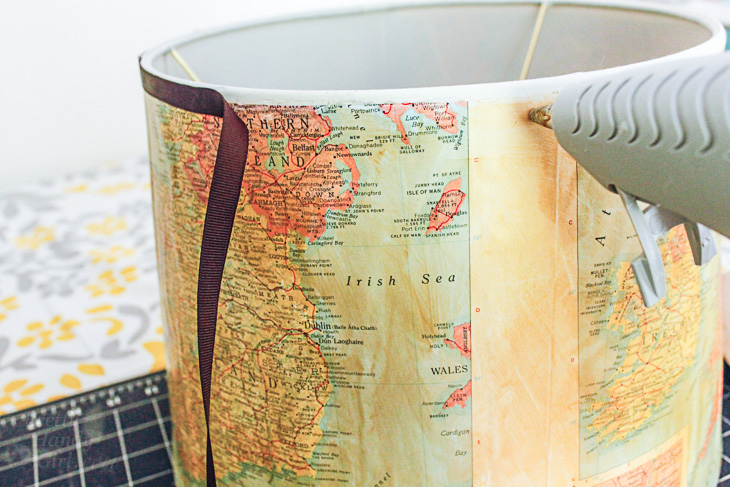

Put your lampshade on your favorite lamp.

Admire your unique lamp shade that brings back fond memories of a special trip.

If you make one of these, what map would be on your’s? Your home state? The place you were born? Where your family’s heritage resides? Or something completely different? I would love to hear your ideas.

Did you like this tutorial? Want to learn how to revamp another lamp shade with paint chips!
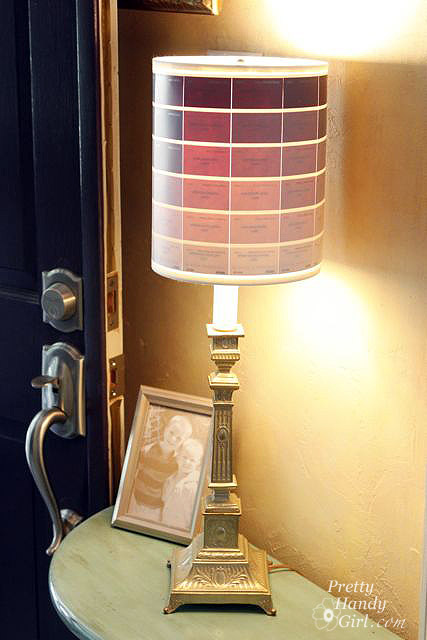
The result are a beautiful ombré lamp that is fun and colorful.


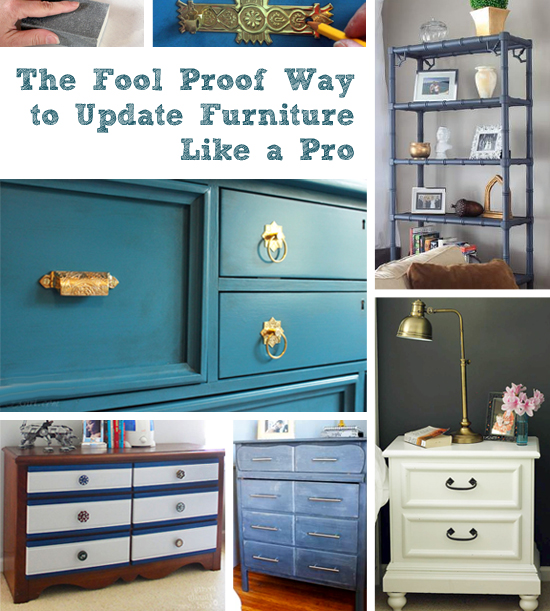
Fool Proof Way to Update Furniture Like a Pro

Fool Proof Way to Update Furniture Like a Pro

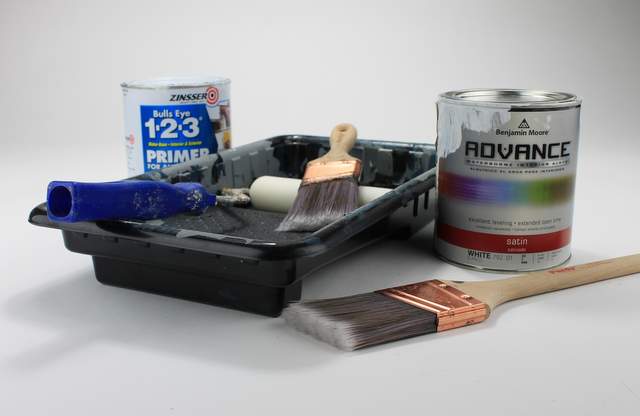
Hello friends! It’s Jessica from Decor Adventures, back this month with tips on The Fool Proof Way to Update Furniture Like a Pro! I have some tips to make your furniture finishes look like they were professionally done. Help you pick the best paint, primer and tools for the job. And finally a few quick and easy ways to update your furniture in minutes! If you’ve been craving updated furniture, but aren’t sure where to start, this is your chance.

Update Furniture Like a Pro Materials:
(Affiliate links.)

How to Paint Furniture Like a Pro

Prepare Your Furniture the Right Way

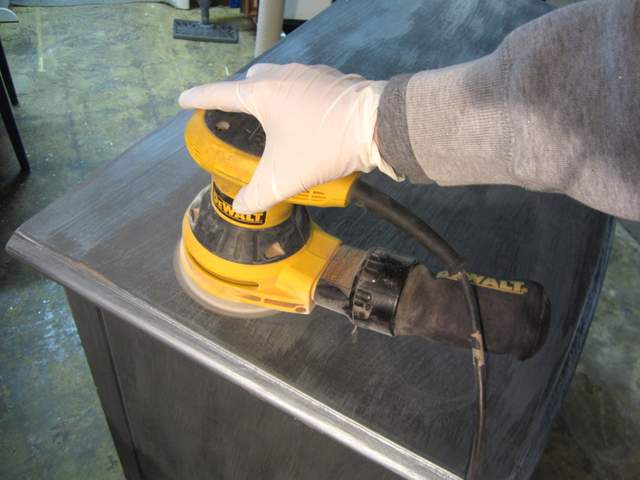
Sanding Dresser

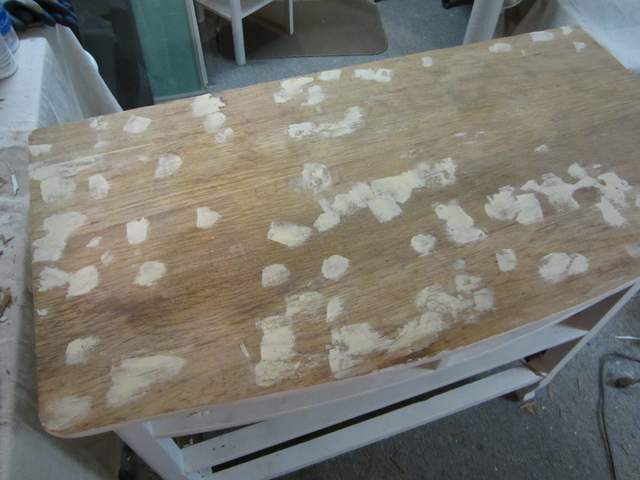
Proper preparation will make the whole project a success. First remove any hardware. Carefully look over your piece and fill any cracks or dents with wood putty.

How to Paint Furniture Like a Pro

Sand the putty and the rest of the furniture until the finish is smooth.

If you didn’t have to use any wood putty, a light sanding with a sanding block will go a long way to helping your paint stick and give you a smoother finish. Remove any sawdust, dirt and debris from the piece with a tack cloth or vacuum. Finish cleaning off the furniture with a damp rag and mild cleanser. Allow your furniture piece to dry.

Read more

Christmas journal

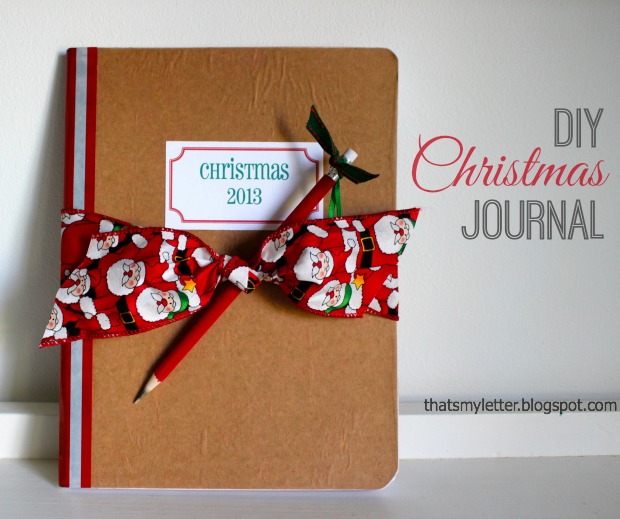
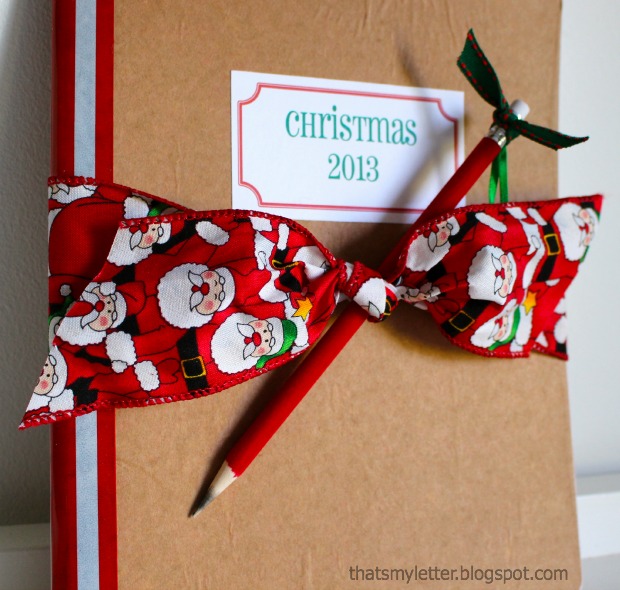
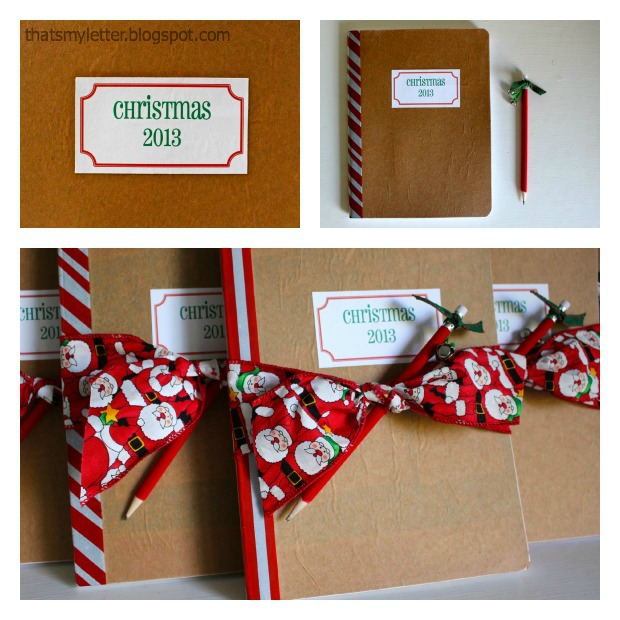
Need an easy DIY gift idea that any kid will love?  Jaime from That’s My Letter here to share DIY Christmas journals made from inexpensive kids composition books.

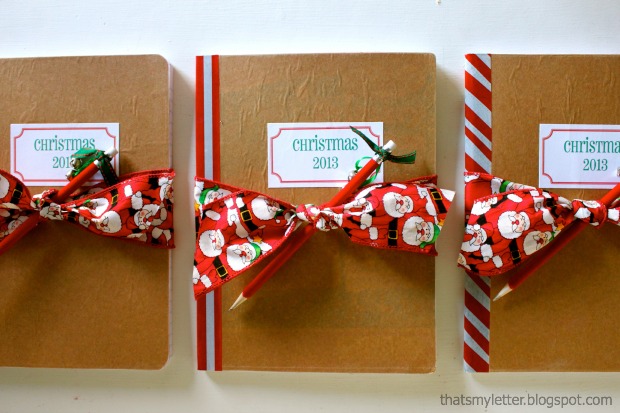
There’s still time to make this Christmas journal gift for all those kids on your list who love to write and draw, it makes a great small gift or a nice add on to a larger gift.

Christmas journal 1

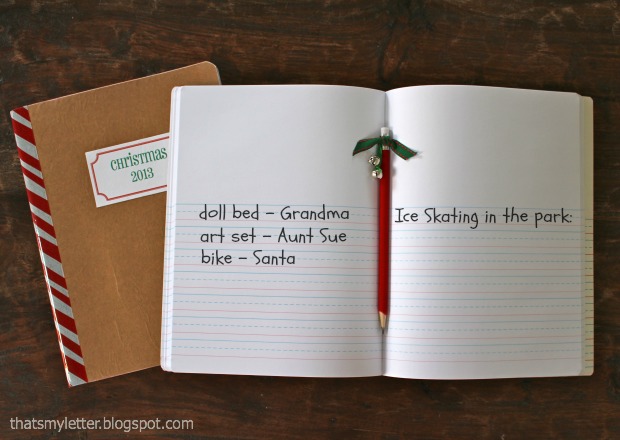
Take a peek inside and you’ll see the kids composition books are printed with lines just their size and bonus!  a place to draw pictures above the writing:

Christmas journal 3

Kids can use the journal to keep track of gifts received for thank you cards, adventures and travels during the school break, all the exciting events surrounding the holiday and on and on.

Wrap your  journal with a fun holiday pencil and printed ribbon:

Christmas journal 4

Supplies required:

Christmas journal 5

Instructions:

Step 1: Give the exterior cover (front and back) a quick sanding to rough up the ‘shiny’ surface – this will help the kraft paper adhere better. Read more

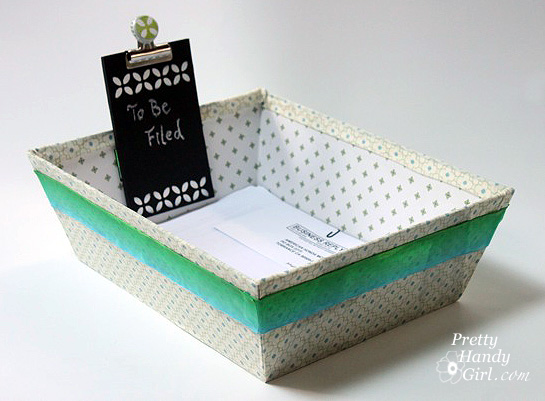
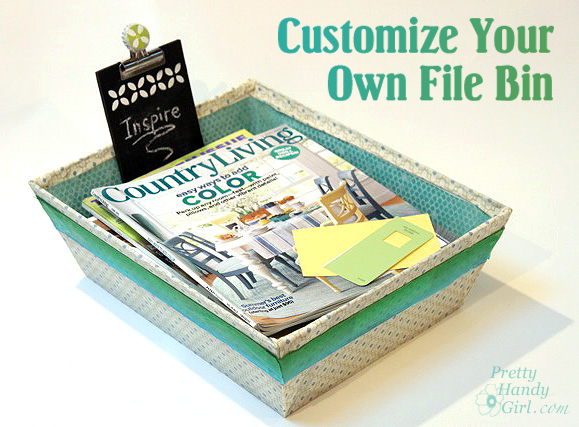
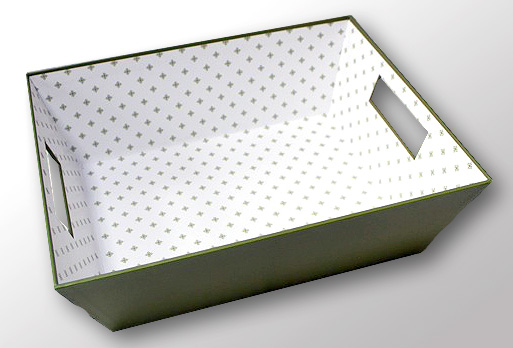
I’m just curious if I’m the only person who loses sight of her desk every week? I spend Monday mornings clearing the clutter and figuring out my plan of attack for the week. I could really save that 30 minutes each week by corralling my clutter in one place! On a recent excursion to Walmart, I found the perfect storage solution!


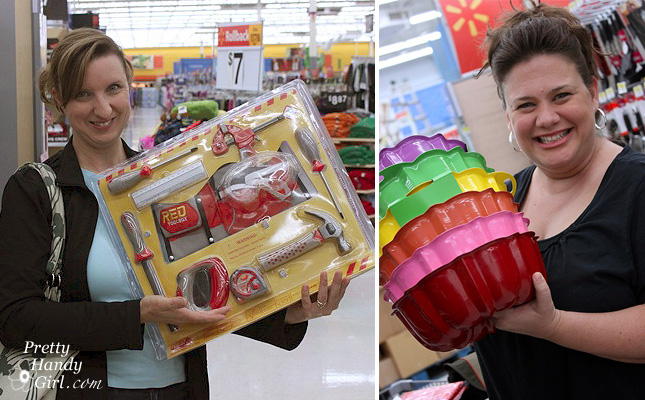
I also found lots of other goodies at Walmart. My friend Su and I had a blast shopping together. Su is the stay-at-home mom of five. She has a wonderful vivacious personality and is loads of fun to be around. If you haven’t met Su yet, head over to her blog The Intentional Home.

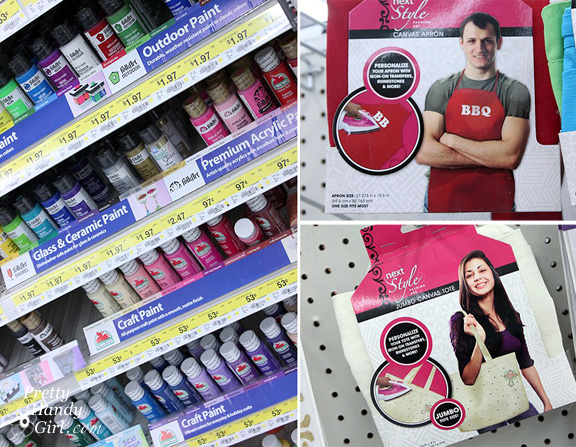
Being crafty gals, we set out to find some inspiration for a new craft project using the Plaid products that were sent to us.

(The Plaid paint selection is just like the candy aisle for me. Drooool!) In the past I have ordered aprons and canvas tote bags for teacher gifts, but now I know that I can pick them up at Walmart!

Sorry if I digressed a little, but that happens to me in those big super stores. Back to my storage solution. I found the perfect sized file bin at Walmart, but the design wasn’t cute enough for me. While browsing the aisles, I also picked up some cute pillow cases, and soon a plan was hatched to give my storage bin some personality. Here’s how I did it: Read more


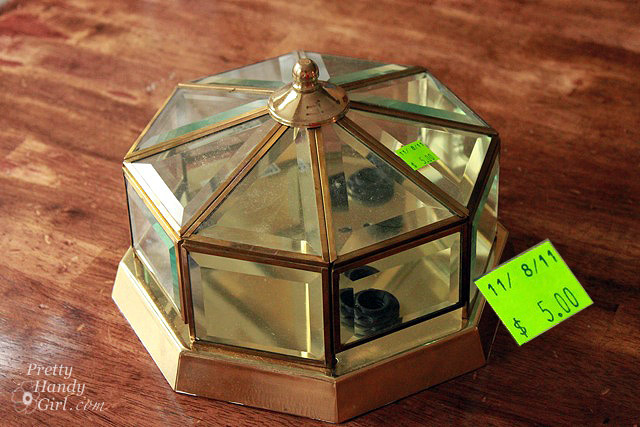
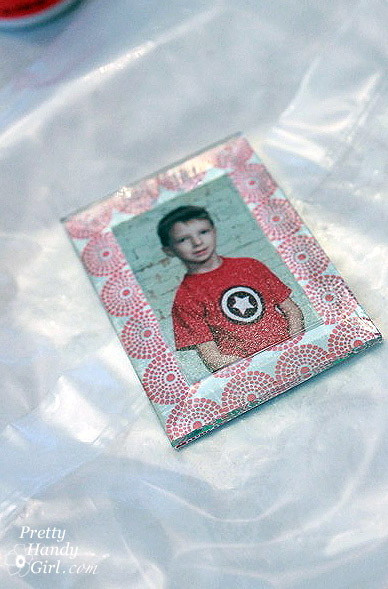
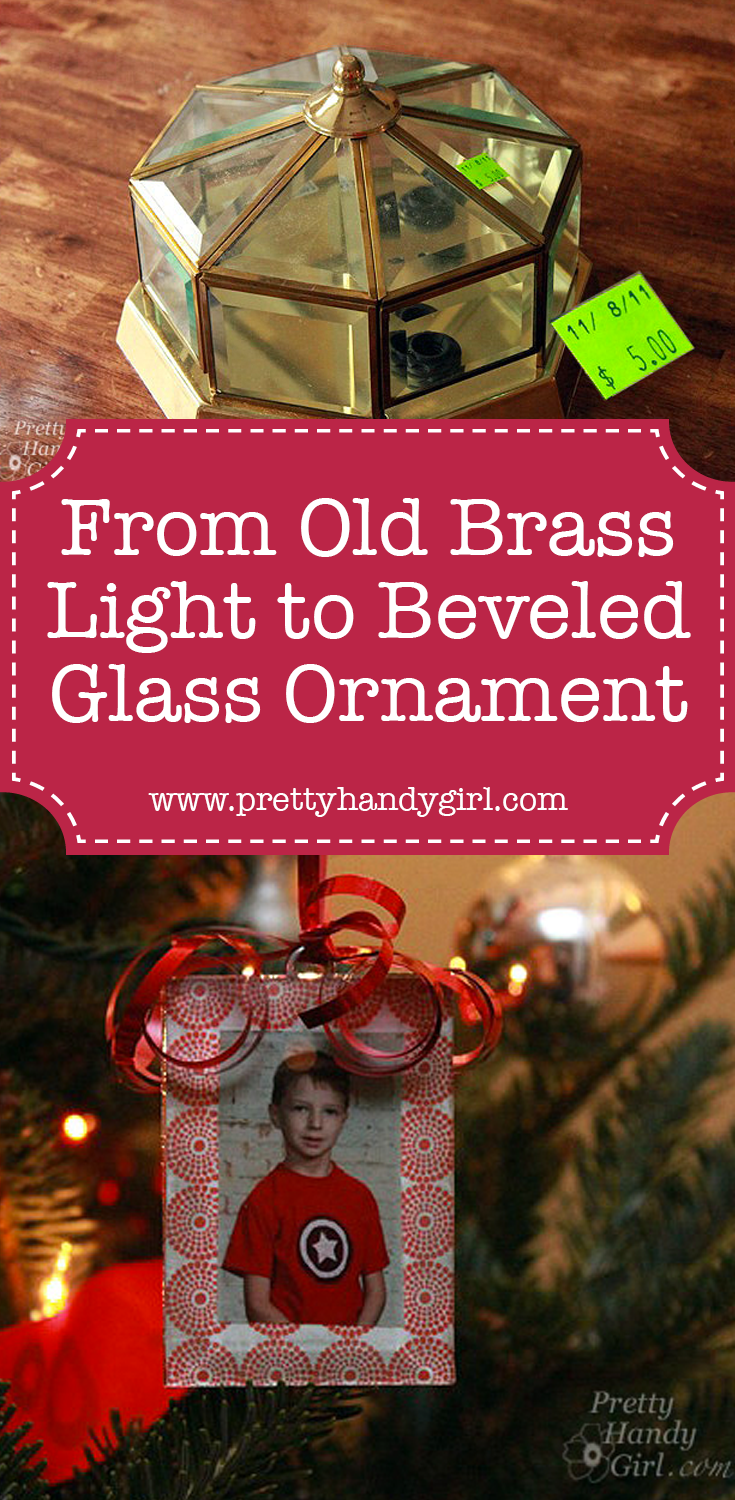
I had so much fun at the Habitat ReStore talk this past weekend. My favorite holiday decorations were these adorable beveled glass ornaments. Would you believe me if I told you that they began life as a dated octagon brass light fixture?

Well, they did! And here is the best part, for $5 you can score one of these fixtures at your local Habitat ReStore and make 16 ornaments from the one light!

Materials:

  • Beveled glass octagonal light fixture (the flimsier the brass the better)
  • Needle-nosed pliers
  • Wire cutters
  • Small flat head screwdriver
  • Gloves
  • Glass cleaner
  • Soft cloth
  • Scrapbook paper
  • Printed photos
  • Mod podge
  • Paint brush
  • Screw eyes
  • E-6000
  • Wax paper to protect work surface
  • Ribbon
  • Scissors


Instructions:

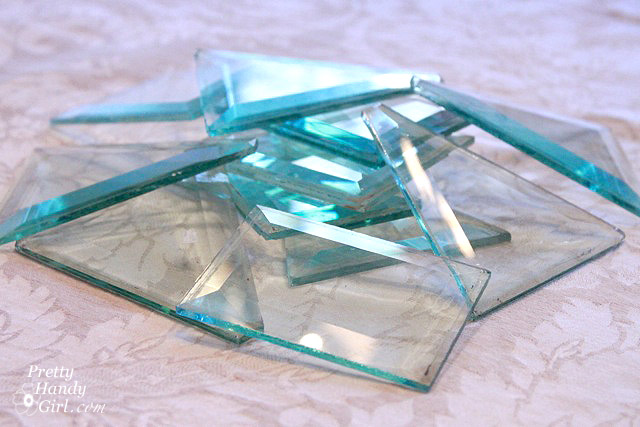
Put on your gloves for this first task! To free the beveled glass, you’ll need to poke, prod and cut at the brass surrounding the glass. Inserting a flat screwdriver will help to pry up the edges. As the edges come loose, cut into the metal with wire cutters, and pull it apart using needle-nosed pliers. All the while, use caution so as not to break the glass pieces.

After all the glass is free, clean both sides of the glass with windex and a soft cloth. Scratch off any dirt with your fingernail (or a razor blade).

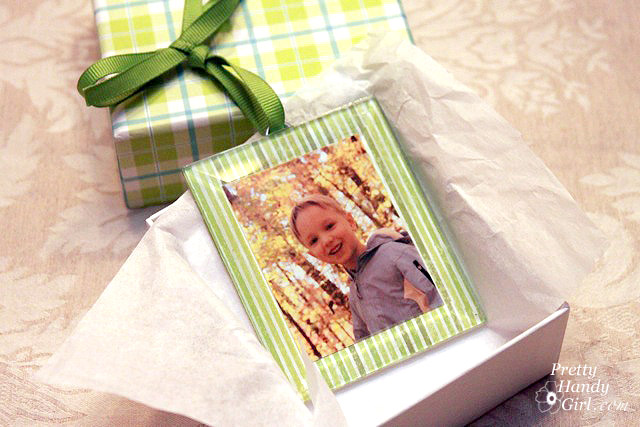
Cut photos to fit inside the middle of the beveled glass piece.

Trace around the glass and cut a piece of scrapbook paper the same size as the glass.

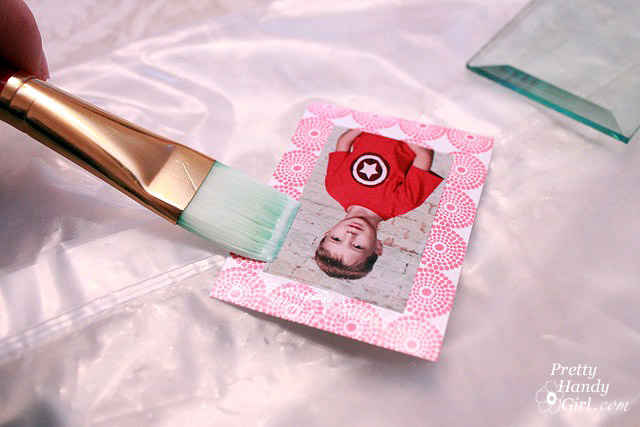
Coat the back of the photo with mod podge and center it on the scrapbook paper.

Gently coat the front of the scrapbook paper border with mod podge (do not paint mod podge onto the photo or streaking can occur.)

Press the flat side of the beveled glass on top of the scrapbook paper/photo.

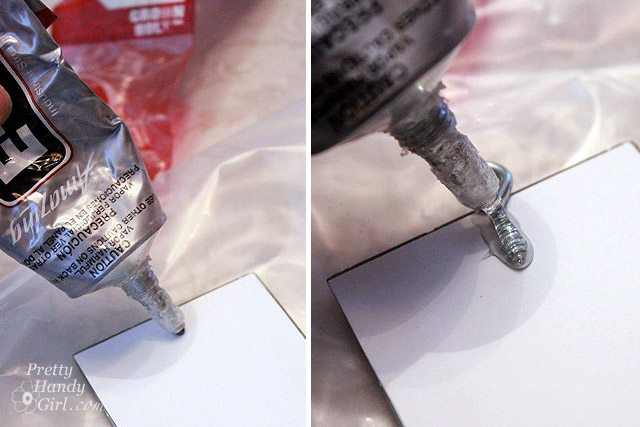
Flip the glass over and put a dollop of E-6000 at the top center of the scrapbook paper. Lay one screw eye into the glue, then cover the screw with a small dollop of E-6000 glue to secure the screw eye.

After the mod podge and E-6000 has dried, cut some pieces of ribbon and thread them through the screw eye. Make a loop with the ribbon and hang it on your tree!

Or give them as gifts to the Grandparents!

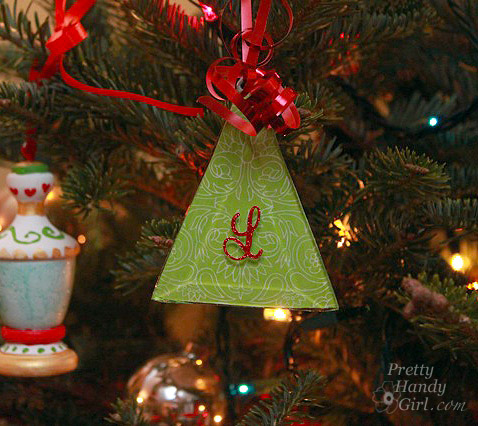
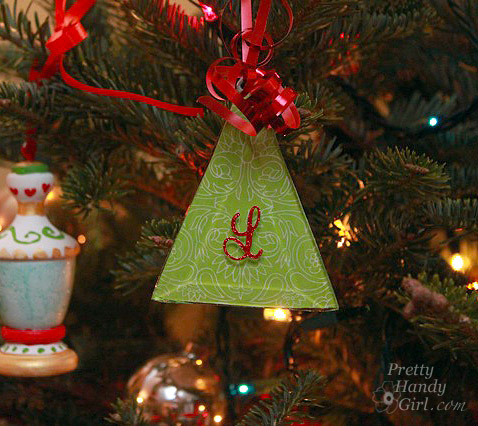
I made another ornament using scrapbook paper and stuck a monogram letter sticker on top of the glass. I also added a small quote on another ornament. The possibilities for this project are numerous!

I had to share with you a few other transformations that I showcased during the talk at the Habitat ReStore:

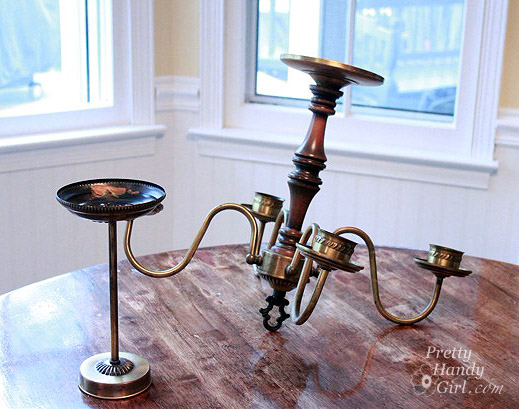
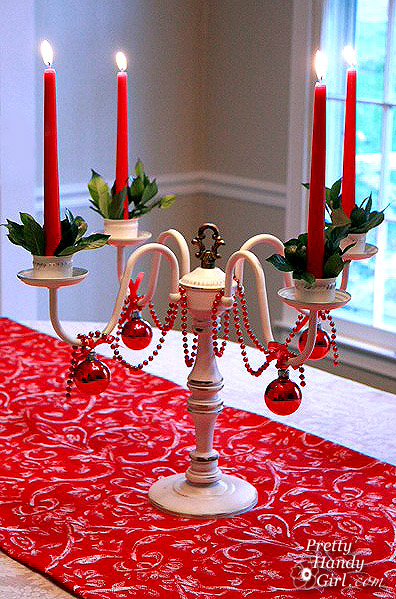
I took an old chandelier and flipped her over, coated her with primer, heirloom white spray paint and then added some distressing and finished with some antique gold Rub n’ Buff.

Now she’s a beautiful candelabra for our dining room table!

I used the canopy (round flat disk that attaches to the ceiling) as the base for the candelabra. When you take apart a light fixture, you can get creative by flipping and switching around parts and pieces.

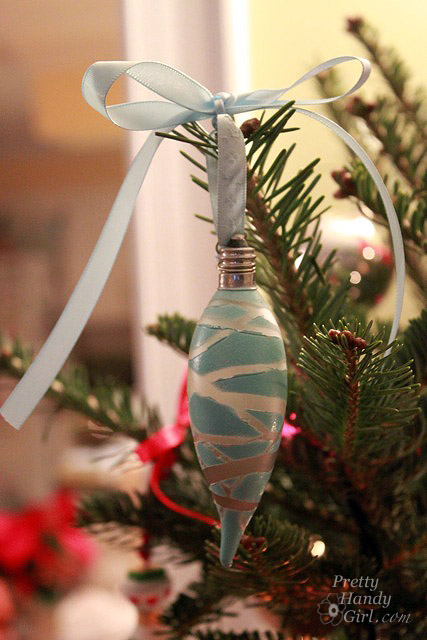
Old lightbulbs became adorable little ornaments with a few stickers and a coat of spray paint. My favorite is this clear bulb that I added a heart sticker to. When I peeled off the sticker a little heart shaped window remained. Peek inside to see the filament.

If you’ve ever wrapped an easter egg with rubber bands before dying it, you’ll recognize this pattern.

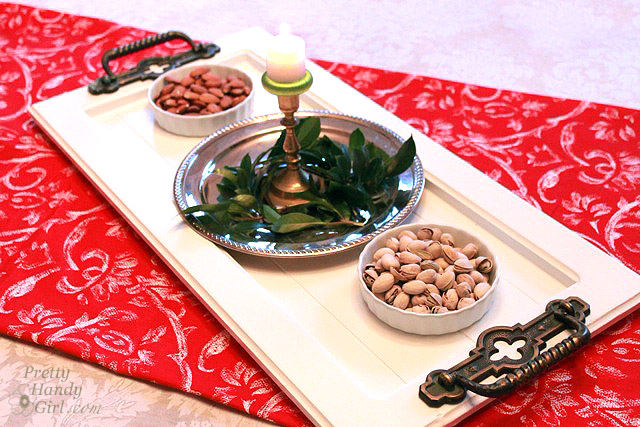
A $2 cabinet door and some chunky cabinet handles partnered to form a holiday serving tray. The handles also got a little Rub ‘n Buff for shine.

I’m sorry I don’t have the tutorials for you right now. Most likely at a later date, I’ll post them for y’all.
I have two announcements:

#1 – The winner of the RIT dye giveaway is: Judi! She said,  “Dye WOOD –really !!!! Can’t wait to see what all else you (and I) can dye !! Loving it !!”

RIT Dye

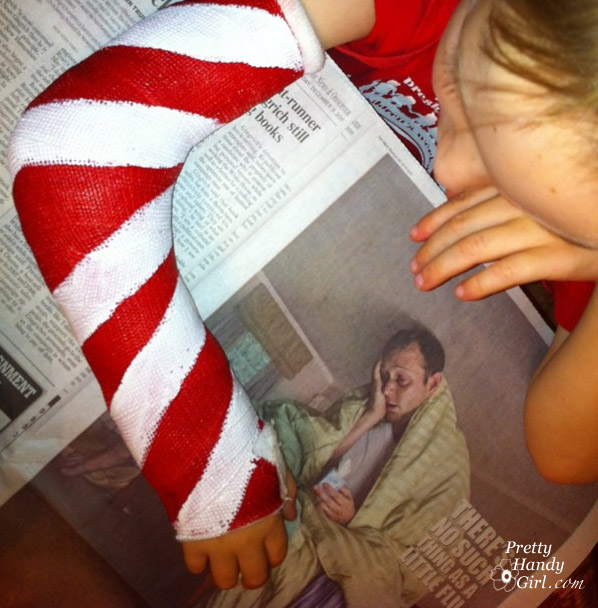
#2 – My son let me paint his cast like a candy cane! I used KILZ Clean Start (zero VOC) primer and a flat brush to give his cast the stripes. One of my facebook fans had the genius idea of asking Santa to sign it!

Let’s just hope that he can keep this cast for more than a week!


Linking up to Home Stories A2Z Tutorials & Tips TuesdaysCentational Girl’s Holiday Home Craft Link PartyNot Just a Housewife’s Show Me What Ya GotFunky Junk Interiors SNS


Pin for later!