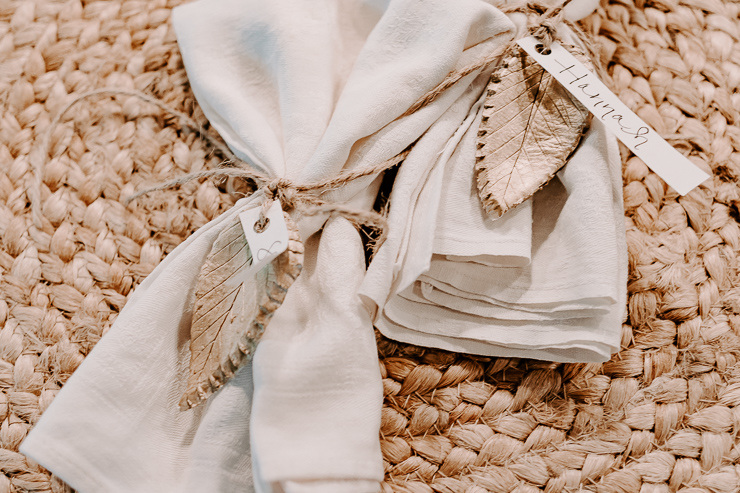
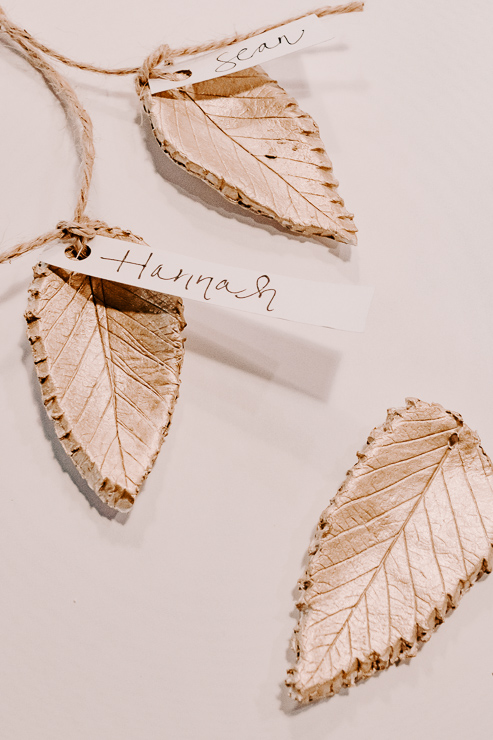
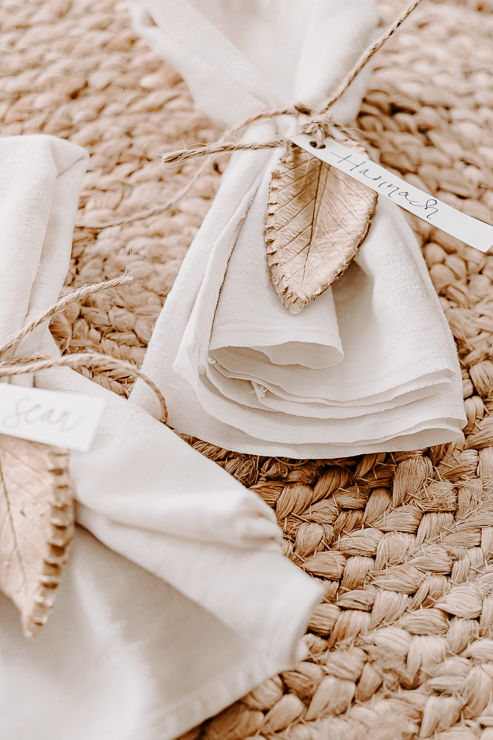
view of napkins tied with jute twine and a clay leaf place card

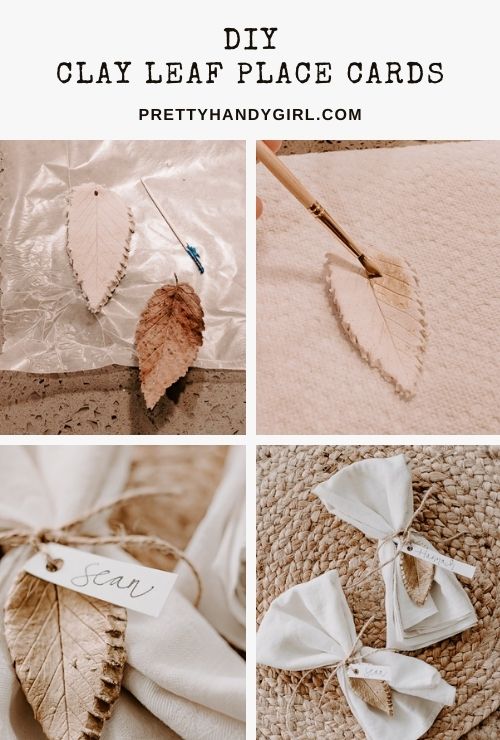
diy clay leaf place cards

DIY Leaf Place Cards for the Holidays

I hope your fall has been lovely so far.  The weather is just starting to turn here in NC.  I have to say, I love the weather here compared to Seattle.  We never experienced so much sun day after day!  Today, with Fall weather on my mind, I’m making you these DIY leaf place cards for the upcoming holidays.  These place cards are little clay leaves inspired by nature (hello, fall!) and painted in a beautiful gold color to elevate them for elegant dinners and parties.  

view of napkins tied with jute twine and a clay leaf place card

You’ll love my secret for getting those fancy leaf edges from your clay too – read on to find out how I do it.

These place cards can be used time and time again, just change out the name tag for each new guest.  

I hope you enjoy this craft!  

Materials:

  • Gold Paint
  • PaintBrush
  • Air Dry Clay
  • Flat Screwdriver
  • Rolling Pin
  • Toothpick
  • Leaves from Outside
  • Jute Twine
  • Wax Paper
  • Cardstock
  • Pen for Writing 

Instructions:

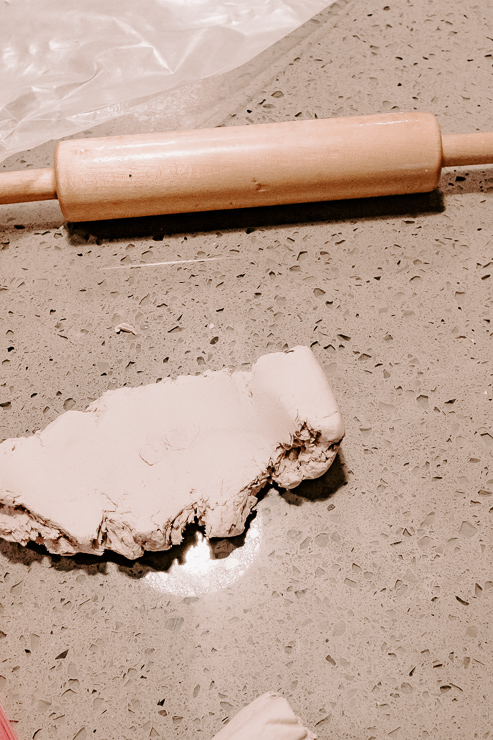
Step 1:  Roll our your Air Dry Clay

rolling out air dry clay

Grab a ball of air-dry clay and with slightly wet hands, roll it out using your rolling pin.  You want it to be about ¼ inch thick.  If you make it too thin, it will be too fragile and crack.  

Step 2:  Make a Leaf Imprint

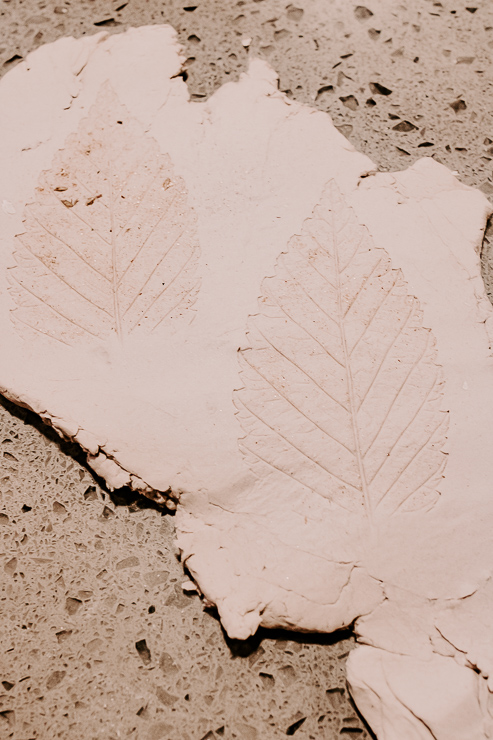
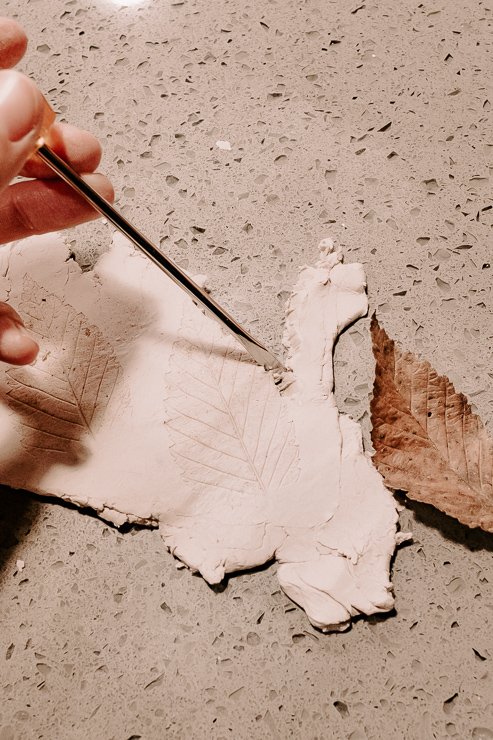
leaves imprinted in clay

Take your leaf, and lay it on top of your clay.  Using your rolling pin, roll carefully over the leaf several times, creating an imprint of the leaf onto the leaf.  

Step 3:  Cut your Leaf Out

cutting out leaves from clay

Here’s where the magic happens!  You should see a beautiful leaf imprint in your clay.  Take a flat screwdriver and make little divots on the side of your clay leaf, where the leaf would naturally have edges.  

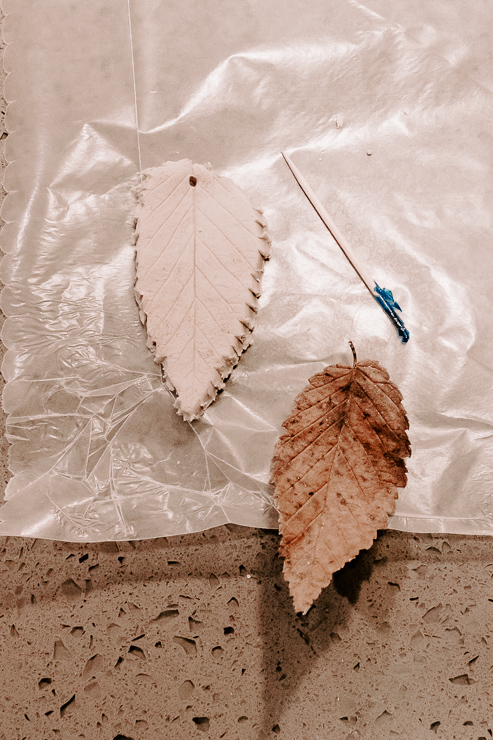
a leaf cut out of clay with a hole for hanging

Do this all the way around, and then carefully remove your leaf.  Using a toothpick, make a hole in the top of your leaf.  This will be for tying your jute twine later.  

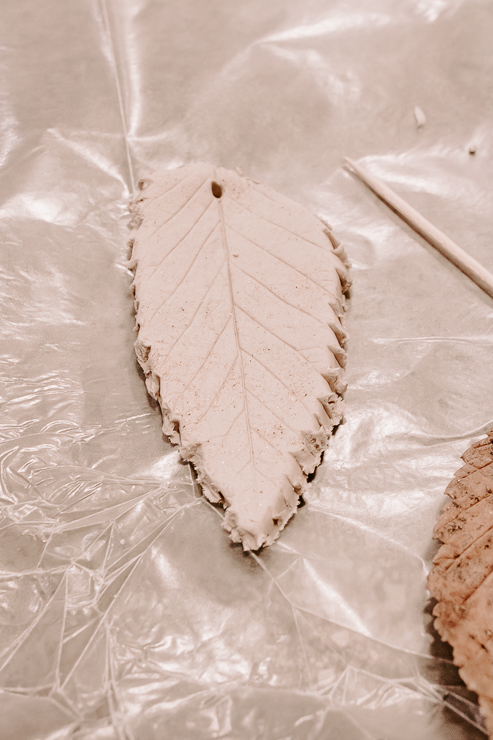
close up view of clay leaf

I take the leaf in my hands and slightly bend it to give it a more natural leaf shape, but you are welcome to keep it flat too.  Place your leaf on wax paper and allow it to air dry naturally for a couple of days.  

Step 4:  Paint your Clay Leaves

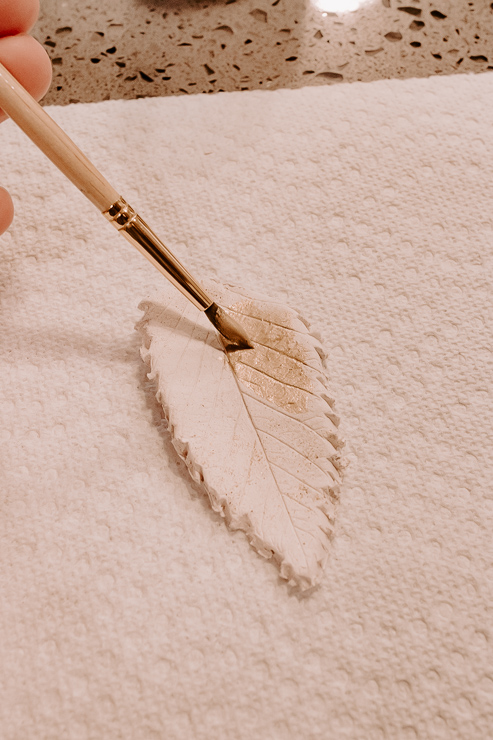
painting clay leaves gold

After your leaves dry, take a paintbrush and gold paint and lightly brush a few coats on the top and sides of your clay leaf.  Set them aside to dry.  

Step 5:  Tie on a Nametag

view of gold painted clay leaves

Our leaves are looking beautiful!  Now, all we need to do is cut a small tag of cardstock and write the guest’s name on it.  Use a hole punch to cut a hole in the cardstock.  Tie this to your leaf by threading your jute twine through the hole we created in the leaf in Step 3.  

napkins tied with jute twine and clay leaves with names

Simply beautiful!  

I like to tie my cloth napkins with jute twine, and then tie the clay leaf name tag to it.  

napkins tied with gold clay leaves and name tags

How pretty and unique are these!?  I’m sure you will get some comments from your guests.  And they will feel so special sitting at this elegant dinner with you.  

As I said earlier, you can reuse these DIY leaf place cards.  Once you get the hang of making one leaf, the rest don’t take long.  You can also try this project with different shaped leaves, such as maple leaves.  

napkins tied with jute twine and clay leaves with names

My daughter and I foraged for some leaves together.  She happened to find the pretty ones I ended up using.  Thanks, Hannah! 

Grab the kids and make this a family project.  It’s a great craft to do around the holidays.  

karen signature

~ See More of Karen’s Tutorials ~


karen from decor hintHello!  I’m Karen, the creator of the Home Decor and DIY Blog: Decor Hint. I’m a Native of the East Coast, but I currently live in beautiful Seattle with my hubby, our two wonderful children, and our spunky wheaten terrier.

You can usually find me with some sort of craft in one hand and a coffee in the other. And I’m always rearranging furniture or moving lamps from room to room. I have a passion (read: obsession) for decorating, DIY, and gardening. In short, I love making my house into a home.

Like many, I’m inspired by what I see in home decor magazines, but I’m not so inspired by the price tags.  Consequently, I love finding and creating beautiful budget-friendly home decor items. In a head to head competition, I bet you’d never know the difference between the designer items and my DIY creations!  Many of my DIY projects focus on sewing, crafting, upcycling and organizing. Some of my favorite projects have been making pretty wreaths, sewing my own tassel hand towels, and crafting these trendy wood bead garlands. I can’t wait to inspire you and spark your creativity through my DIY projects.

You can always connect with me on Pinterest, Twitter or Instagram.

If you liked this tutorial, you’ll love these fall tablescape ideas:

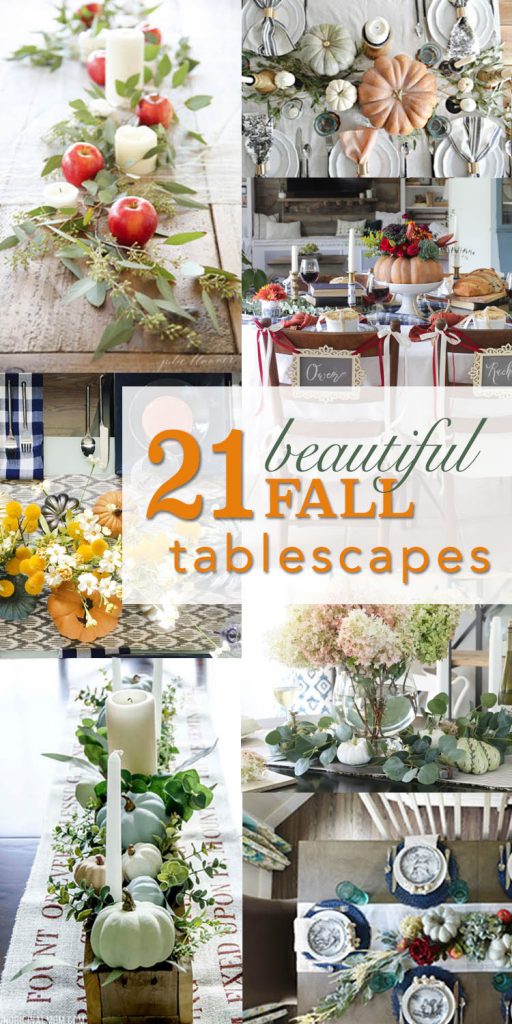
21 Beautiful Fall Tablescapes - Decorating Your Table for Fall

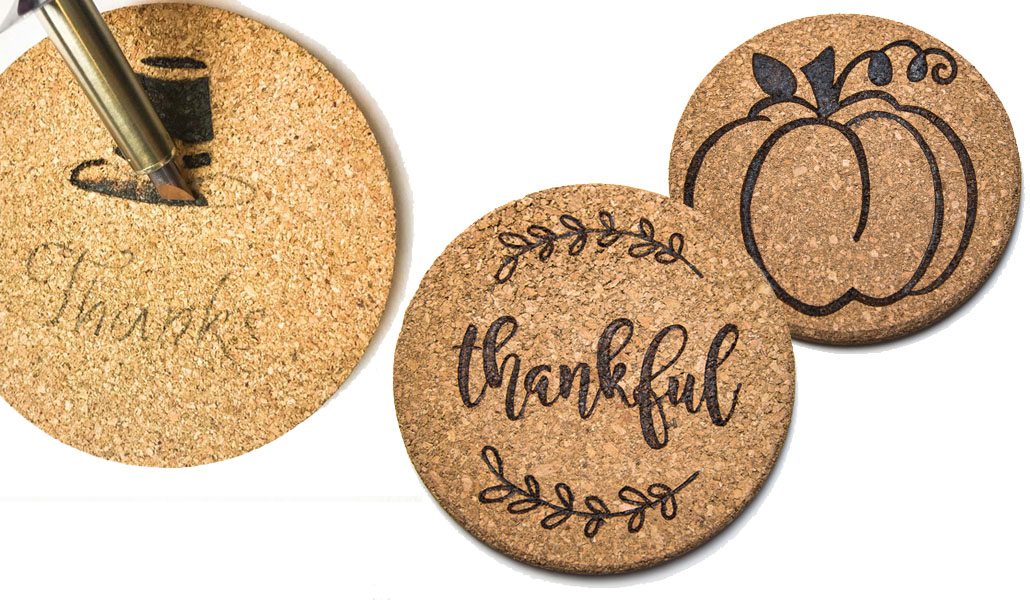
Wood Burning Cork Trivets - Great Gift Idea!!!

DIY Wood Burning Trivets and CoastersDIY Wood Burning Trivets and Coasters
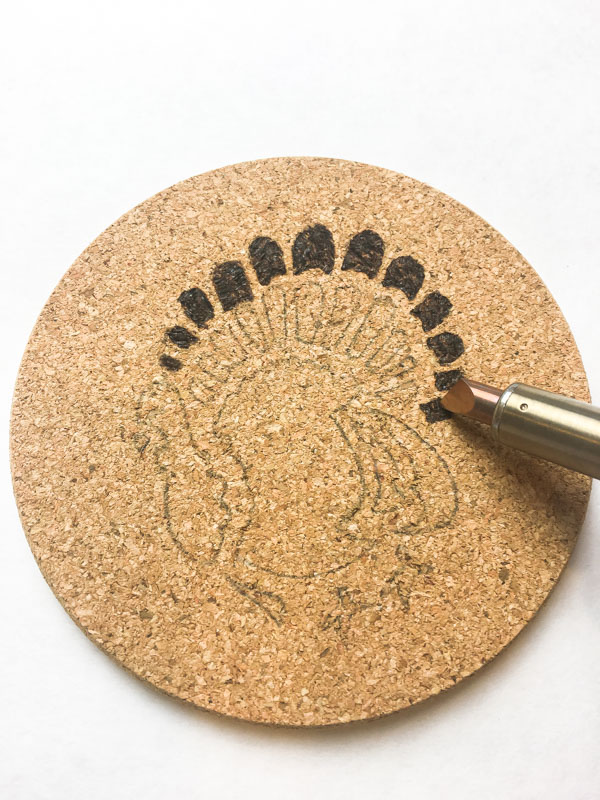
Hi there, Pretty Handy Girl readers! I’m Vineta from The Handyman’s Daughter, back with another tutorial for you! Every time we host Thanksgiving dinner, we seem to run out of trivets and coasters before the turkey hits the table. This year, I’m solving that problem by making a set of trivets especifically for Thanksgiving!

By using a wood burning tool, instead of paint, the design won’t be transferred to the bottom of a hot plate or glass. These trivets would make a great hostess gift if you’re not hosting the feast this year!

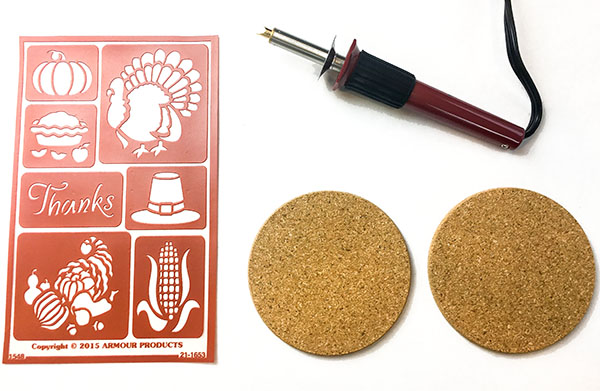
Materials:

(I’ve included affiliate links for your convenience. I earn a small percentage from a purchase using these links. There is no additional cost to you. You can read more about affiliate links here.)

Instructions:

Guess what! This was my first time wood burning, yet it was really easy to learn. If you can color inside lines, you can do this!

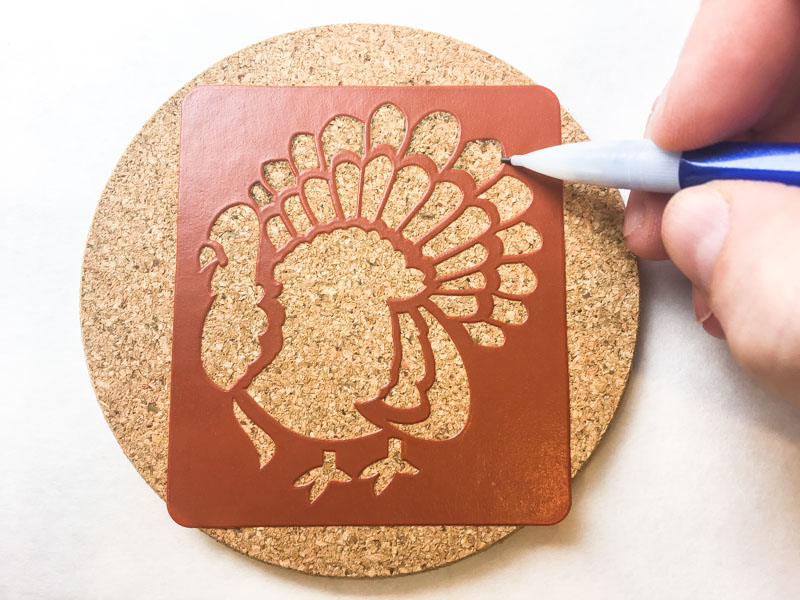
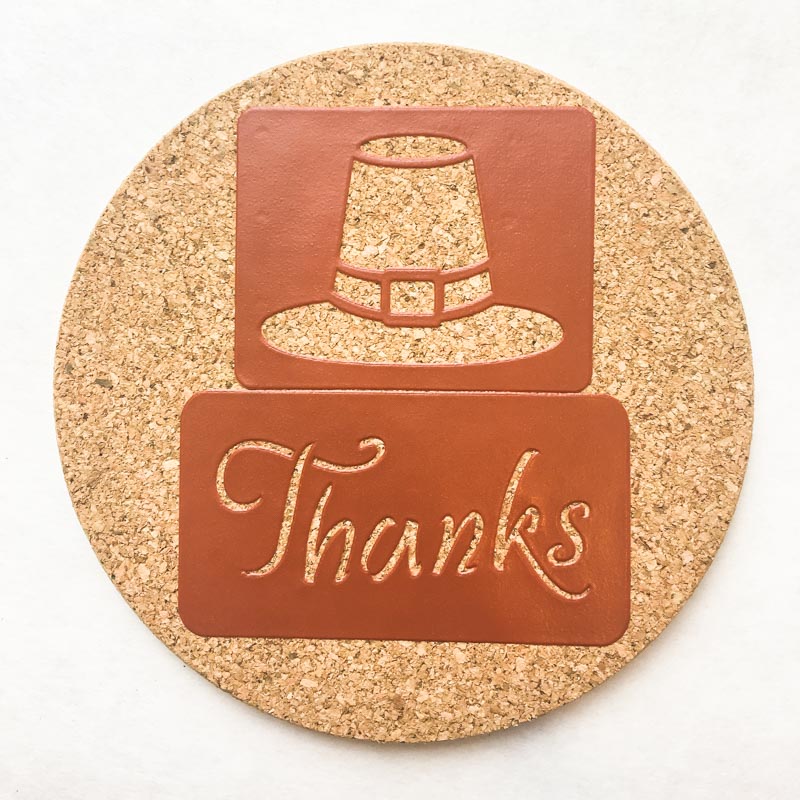
Brush off any loose cork from the surface of your coaster or trivet. Center your stencil on top, then trace around the outside edge with a pencil.

Trace around the edge of the stencil onto your cork trivets or coasters.

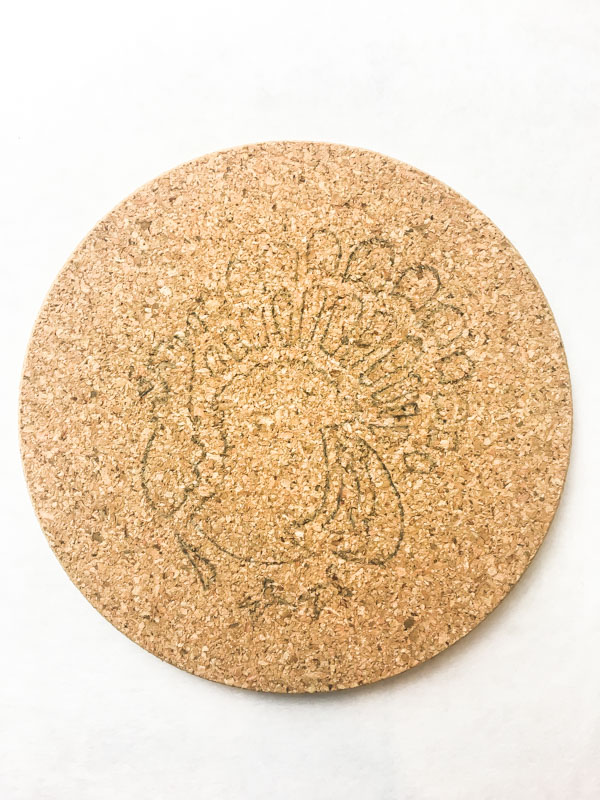
Remove the stencil and touch up any spots that are hard to see.

Remove the stencil to reveal your stenciled design on the cork trivets.

Open a nearby window before you start. Wood burning cork can create some smoke, and you don’t to set off the fire alarm when you have a hot tool in your hand!

Set your wood burning tool to medium heat. (The guide I used recommended a medium-high heat for burning cork.) Personally, I’d suggest staying on the lower heat end for more control over the color.

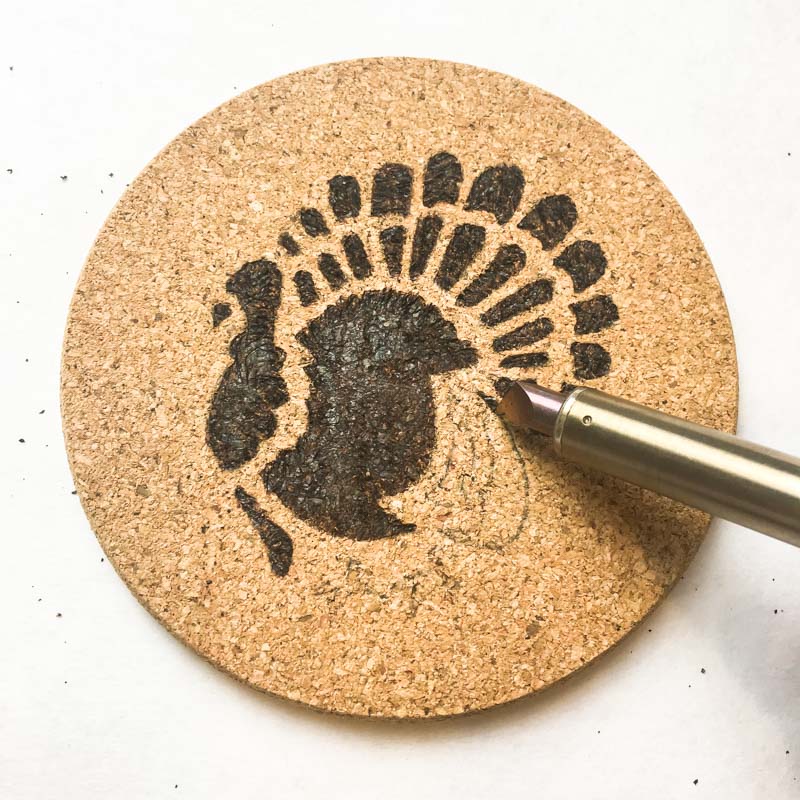
Use the tip of the wood burning tool to fill in the small penciled areas.

Use the tip of the wood burning tool to fill in small areas on your cork trivet design.

Use the tip to outline larger areas. Once the outside edge is done, fill in the centers. Slowly drag the flat edge across the surface to burn it to your desired color. The cork will flake off if you burn it to a crisp, revealing a new layer underneath. Just repeat the process with a little less heat.

Outline the edge of larger areas with the tip of the woodburning tool.

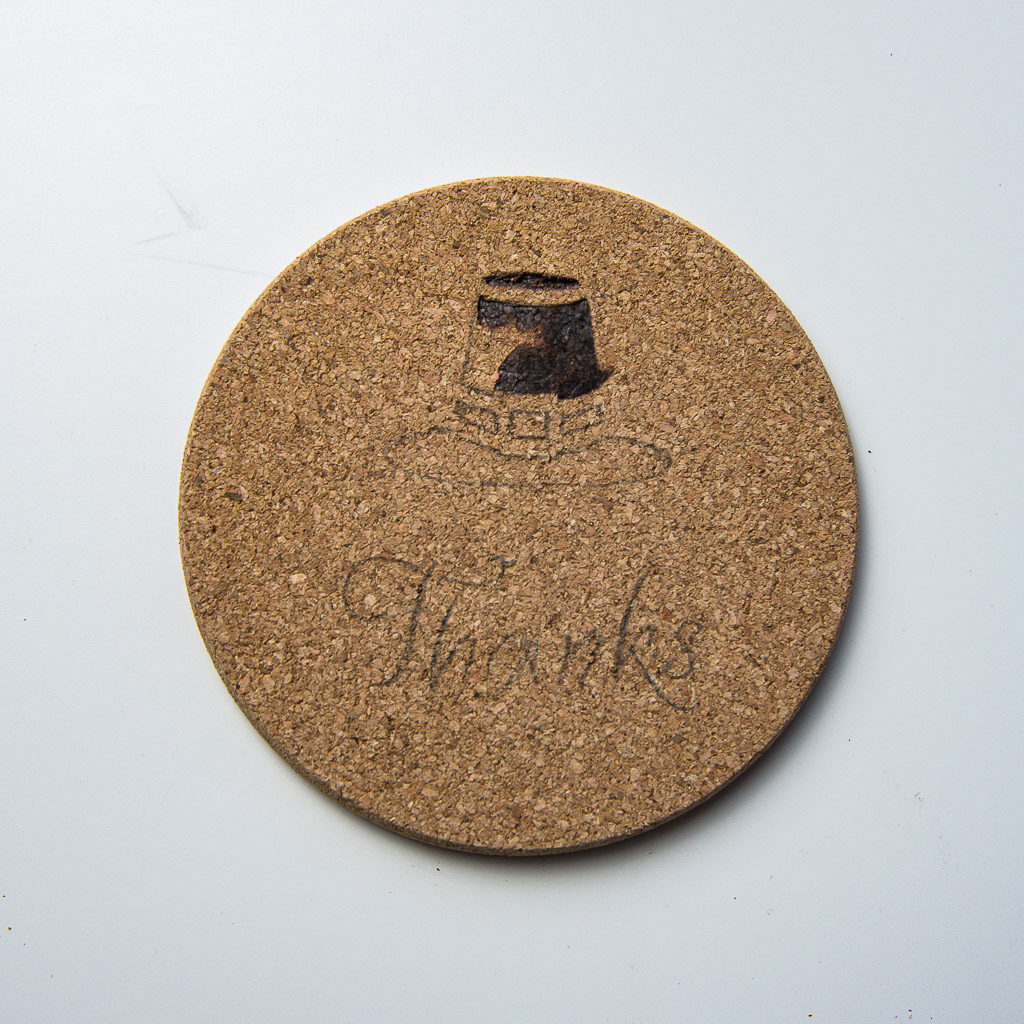
Combine multiple stencils to create new designs!

Combine multiple stencils together to create new designs on your cork trivets.

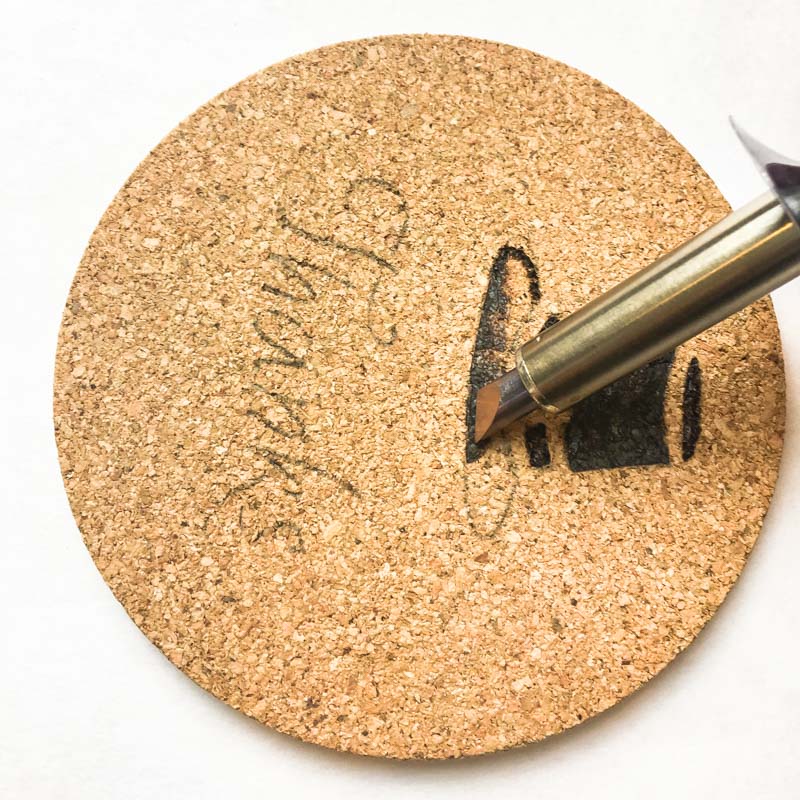
Use the flat edge of the wood burning tip to create crisp, straight lines. Drag the wood burning tool from the edge to fill in the rest.

Use the flat edge of the wood burning tip to create crisp, straight lines.

Keep the wood burning tool as vertical as possible. If the side gets too close to the cork, it will start to burn and ruin the design. Luckily, I bought some extra trivets.

Keep the tip of the wood burning tool upright, so it doesn't burn the wrong place.

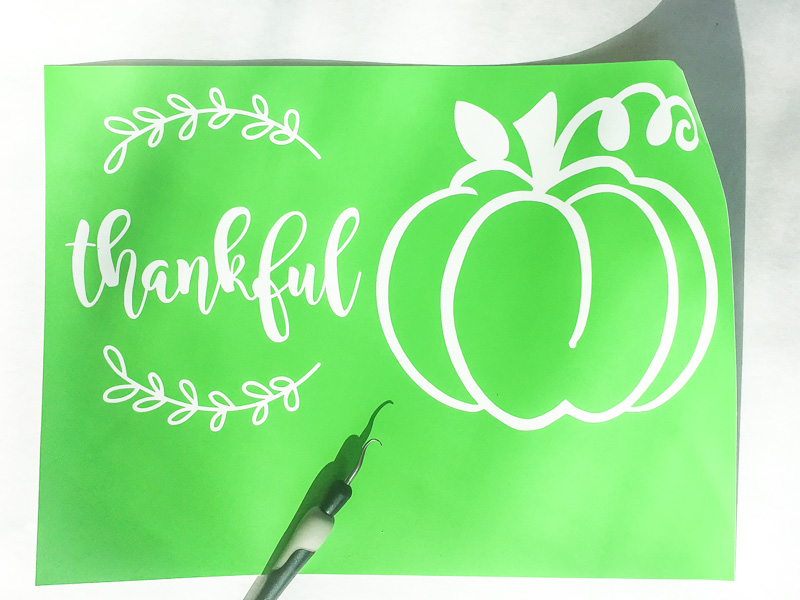
For the larger cork trivets, I cut out a few stencils with my Silhouette machine. You could easily print a design on paper and cut it out too!

Create stencils with a cutting machine or make your own out of paper.

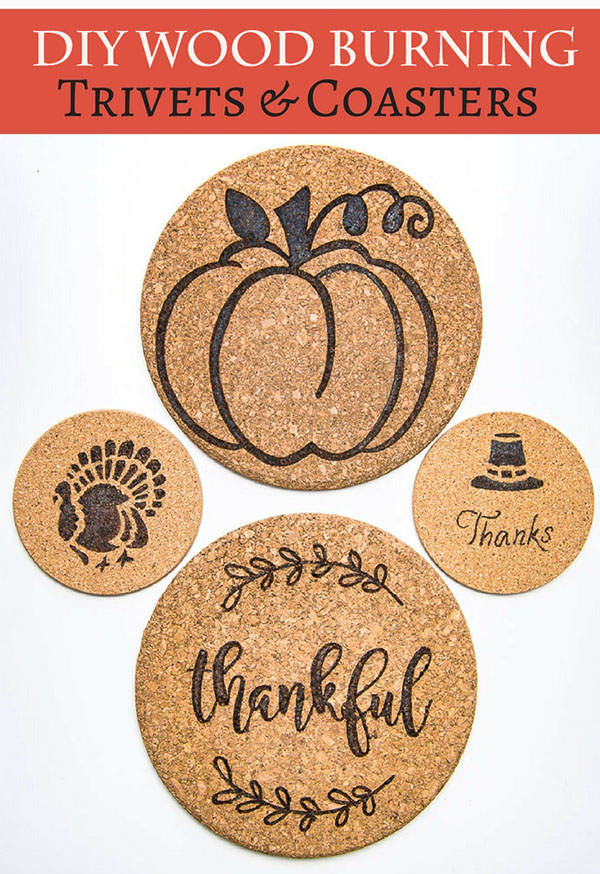
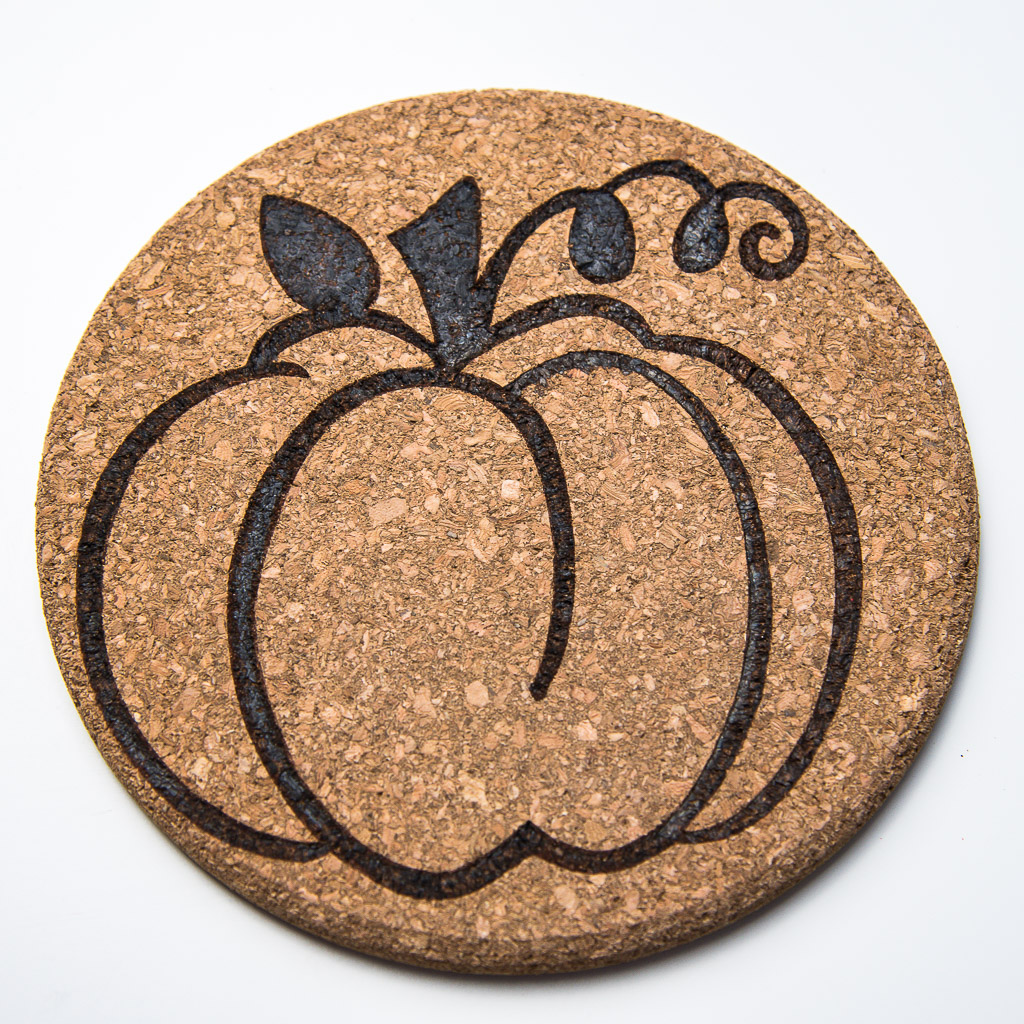
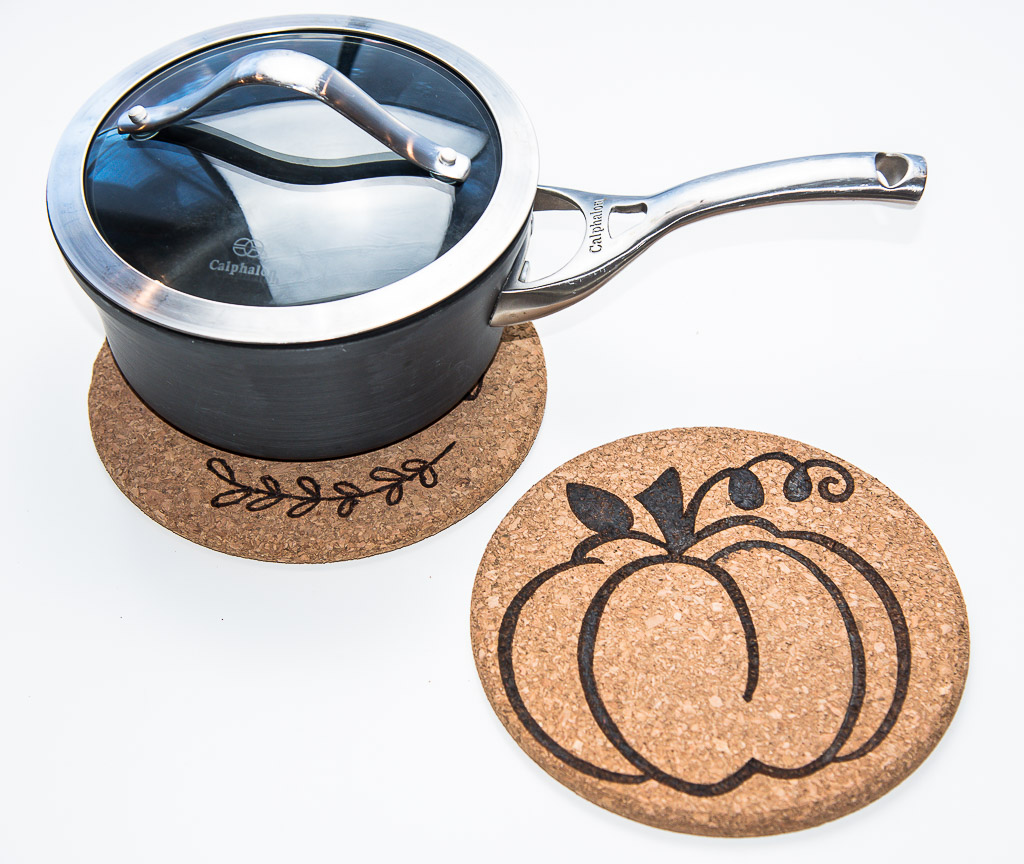
The designs really stand out on the larger cork trivets! I love how this pumpkin turned out.

This pumpkin cork trivet is perfect for both Halloween and Thanksgiving themes!

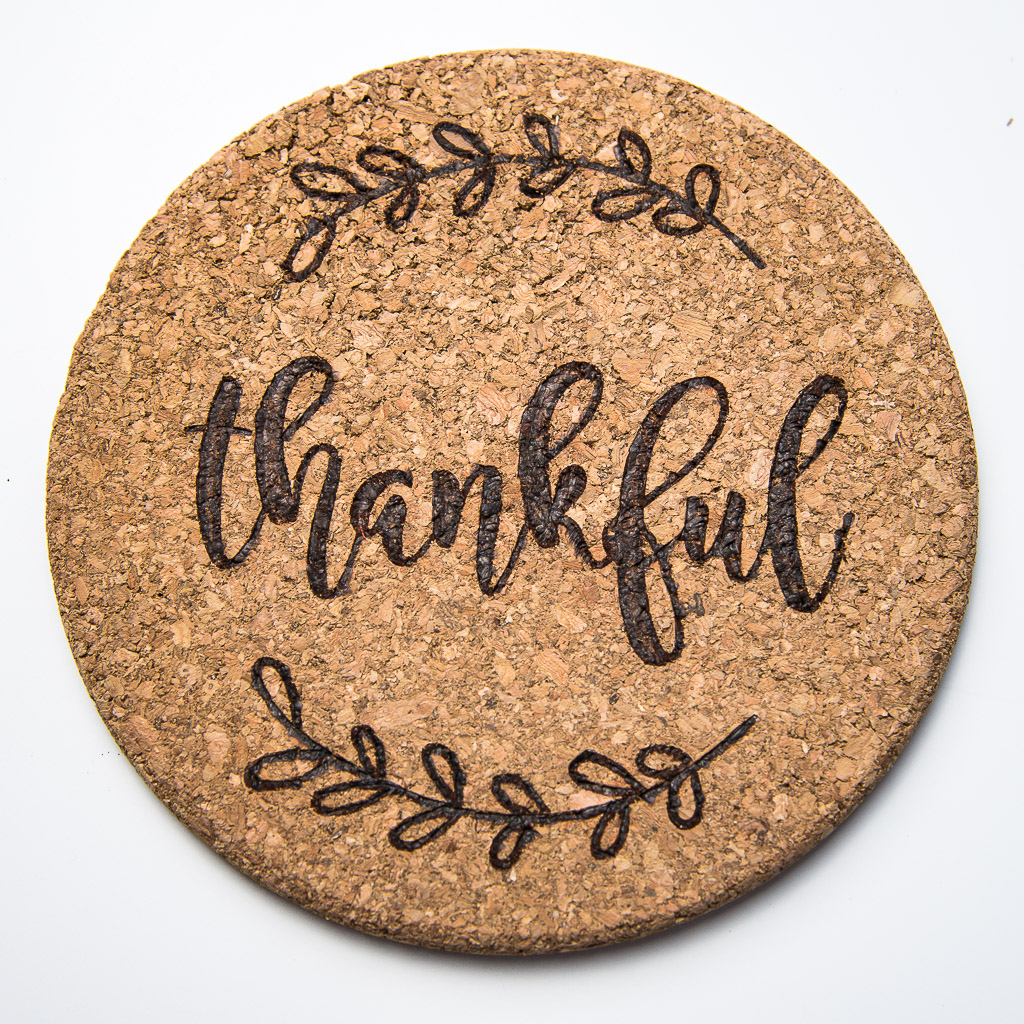
I’m especially pleased with this Thankful design. I could use it year round.

Make Thanksgiving themed cork trivets for your next family get together!

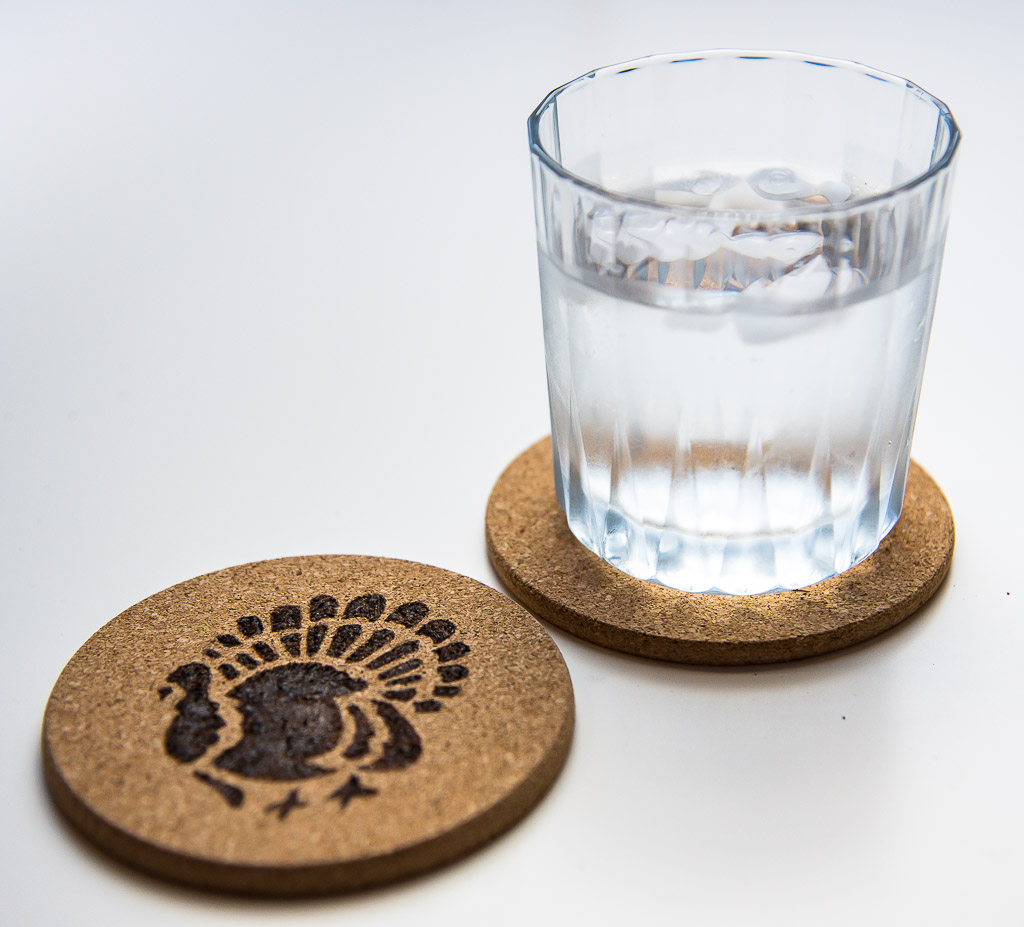
No more water rings on your coffee table this Thanksgiving. . .

These Thanksgiving coasters will keep your coffee table free of water rings!

. . . or burn marks on your dining room table!

Protect your dining table with these Thanskgiving cork trivets!

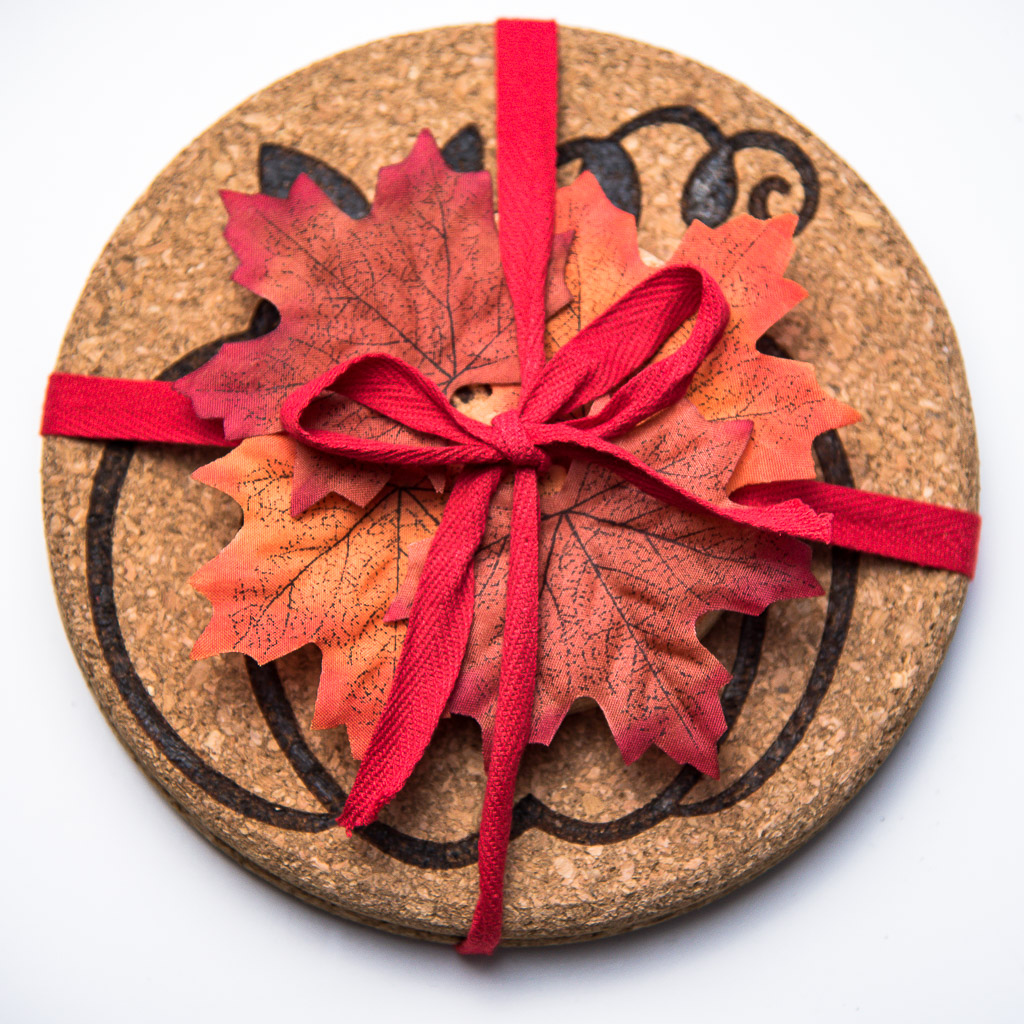
Wrap up a set to give as a hostess gift, or keep them with your Thanksgiving decor for next year!

Wrap up your Thanksgiving themed trivets and coasters as a hostess gift!

Hope you have a wonderful Thanksgiving!

~ view more of Vineta’s projects ~

Beautiful Fall Tablescapes - Decorating Your Table for Fall

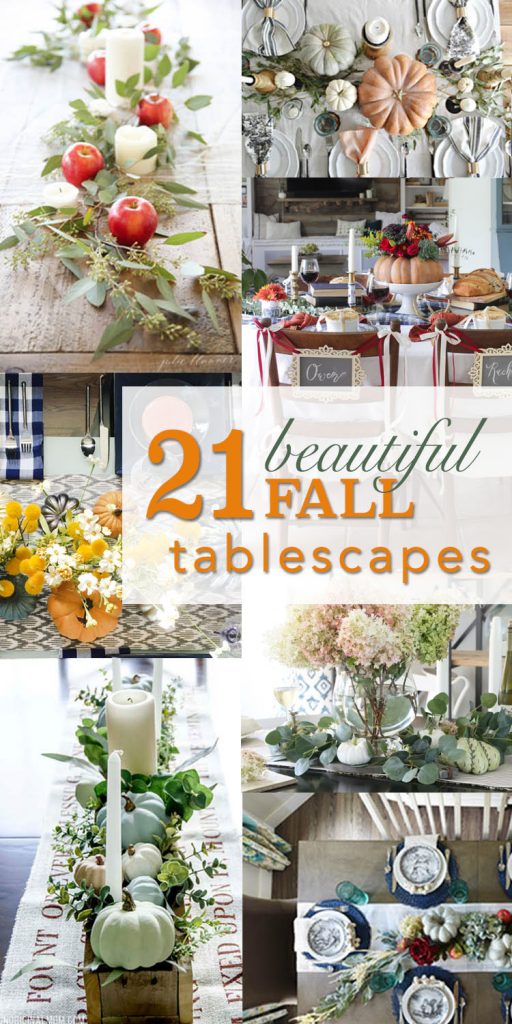
21 Beautiful Fall Tablescapes - Decorating Your Table for FallBeautiful Fall Table Decorations
Fall is approaching fast! Are you looking for some inspiration for your fall table decorations this year? This collection of beautiful fall tablescapes is full of creative ideas to motivate and inspire you to create a gorgeous fall setting in your dining room.

Inspiration:

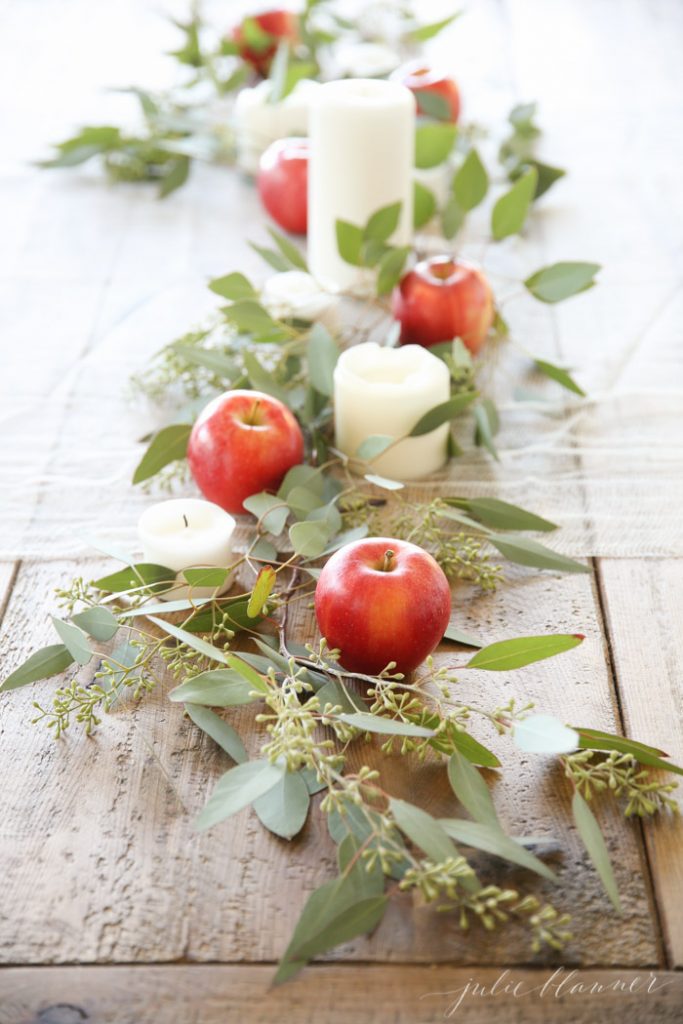
This fresh Fall Apple Tablescape by Julie Blanner is simple, inexpensive, and gorgeous! easy-centerpiece-for-beginners-julie-blanner

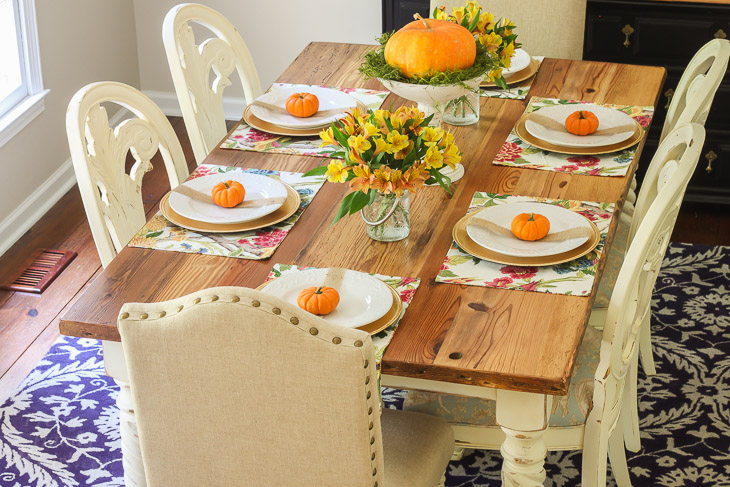
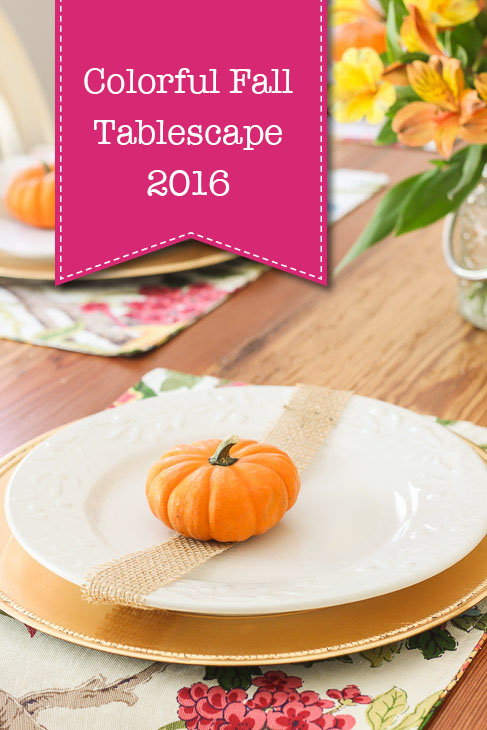
A beautiful floral and pumpkin Colorful Fall Tablescape with small little pumpkins on each plate is the perfect way to decorate your table this Autumn.fall-tablescape-orange-pumpkins-pretty-handy-girl

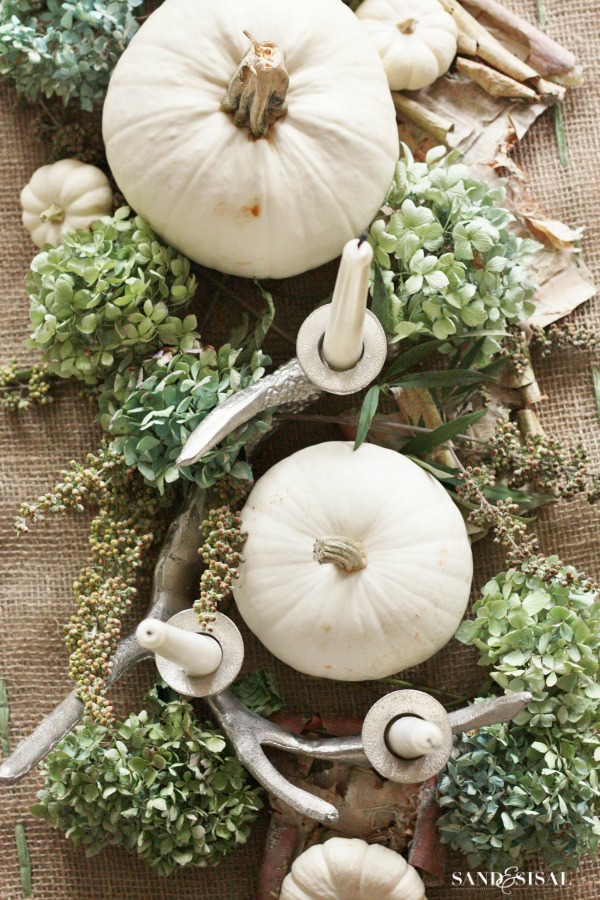
This elegant, clean and festive White Pumpkin Centerpiece by Sand & Sisal is sure to brighten up your dining room.
White-Pumpkin-Centerpiece-Sand-and-Sisal

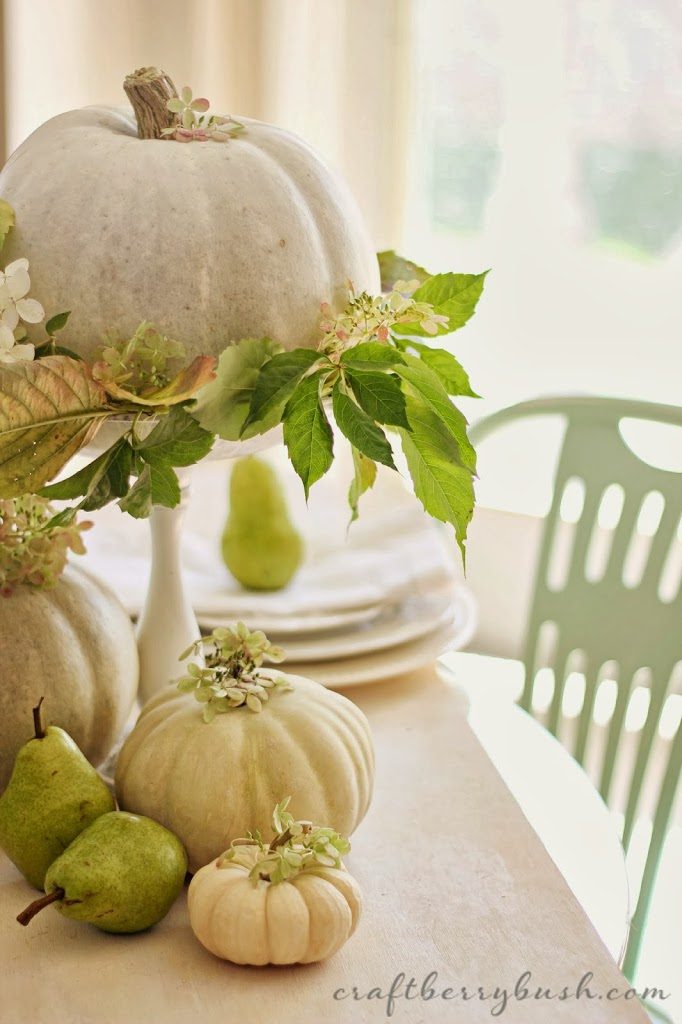
Feast your eyes on this softer Green and White Table Setting by Craftberry Bush.
neutral-fall-table-setting-craftberrybush

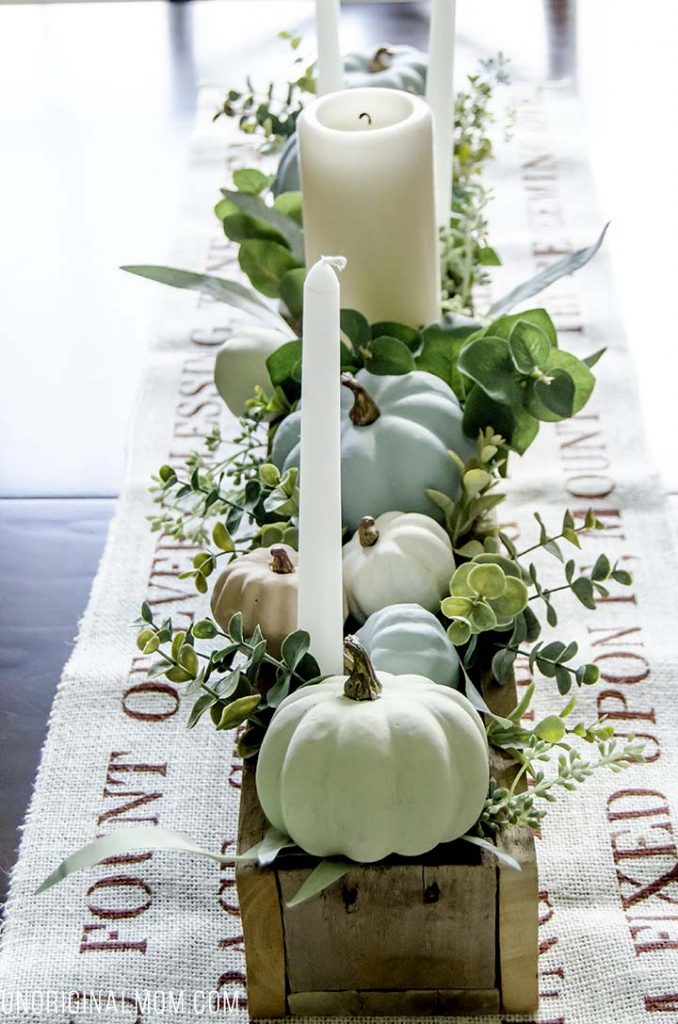
Fall Centerpieces with pastel Chalk Painted Pumpkins by Unoriginal Mom is so clever!
fall-centerpiece-with-chalk-paint-pumpkins-unoriginal-mom

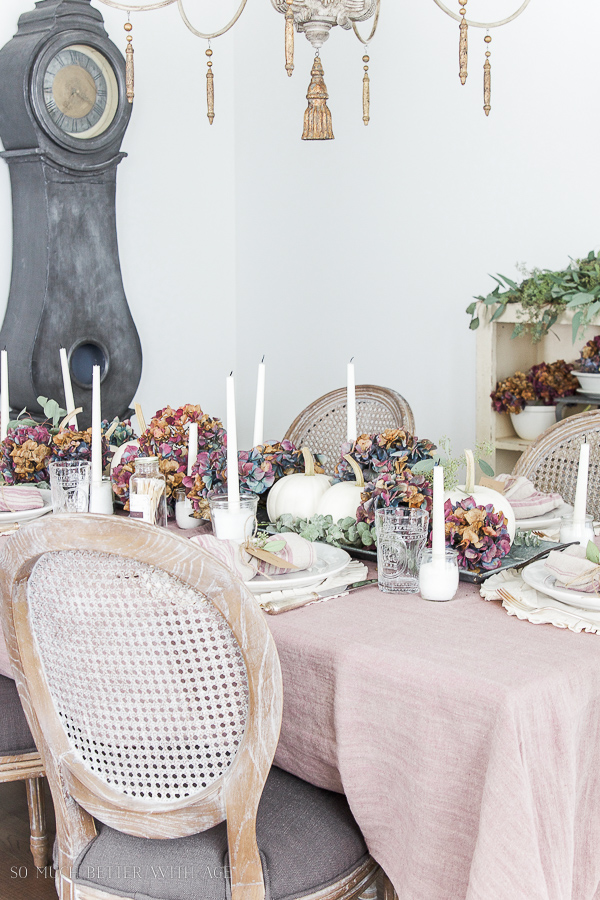
This french country inspired Fall Dining Room by So Much Better with Age is festive and elegant.
french-chandelier-mora-clock-dining-room-So-Much-Better-With-Age

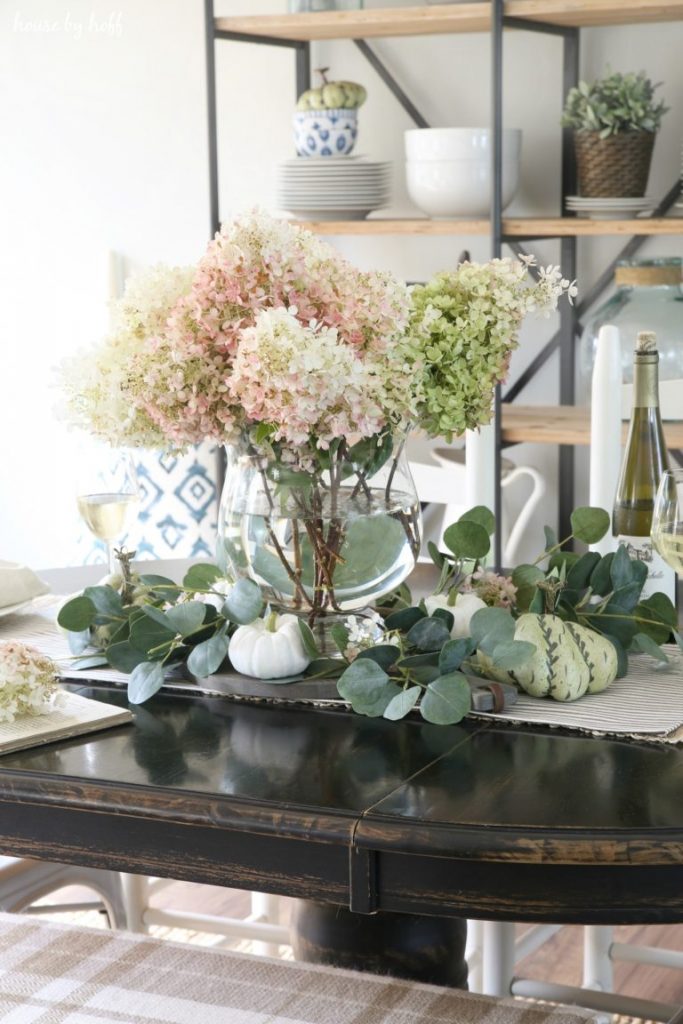
House by Hoff created this Gorgeous Fall Dining Room and Tablescape with a large glass bowl centerpiece that would look good on any table.
Early-Fall-Table-House-By-Hoff

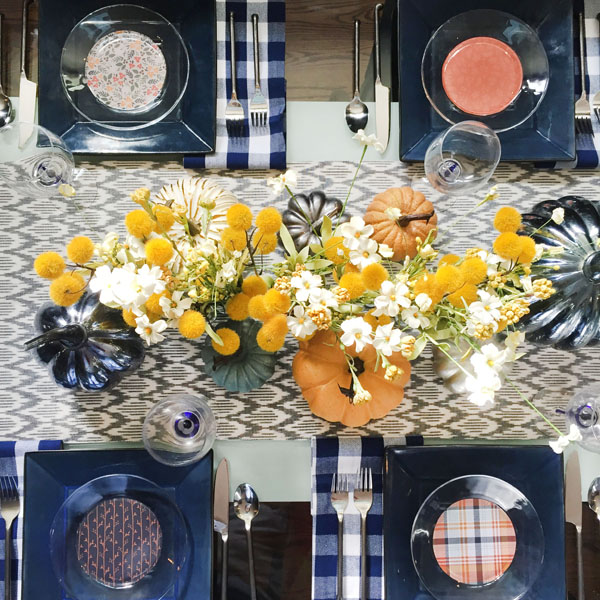
This amazing Blue and Yellow Seasonal Fall Tablescape by Blue I Style Blog emits pure happiness.
Blue i Style - ThanksgivingTableSquare

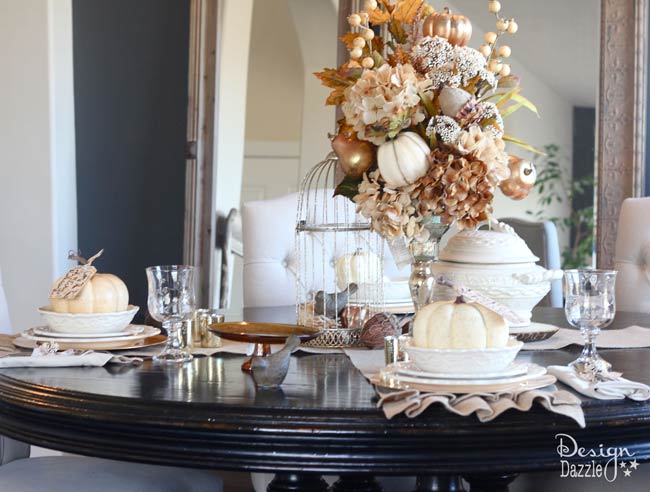
Gorgeous and tall, this Neutral Fall Tablescape by Design Dazzle has beautiful flowers. Don’t miss the clever addition of a birdcage.
Neutral-fall-tablescape-Design-Dazzle

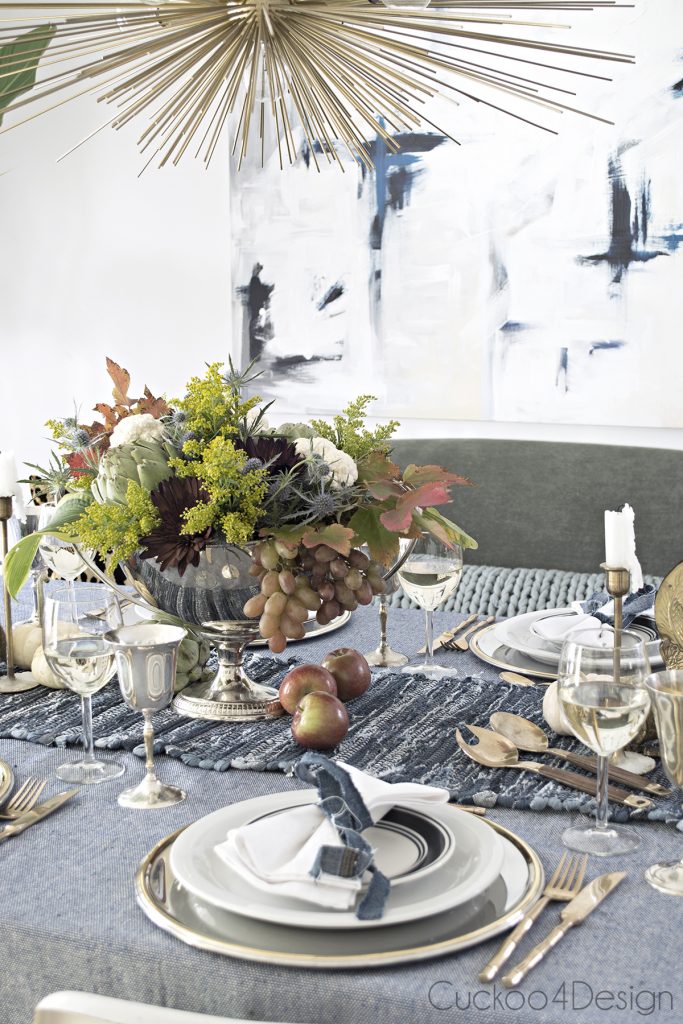
Unique, casual and elegant, this Blue Jeans Fall Tablescape by Cuckoo 4 Design is simply lovely.
Thanksgiving_or_fall_tablesetting_in_jeans_blues_Cuckoo-4-Design

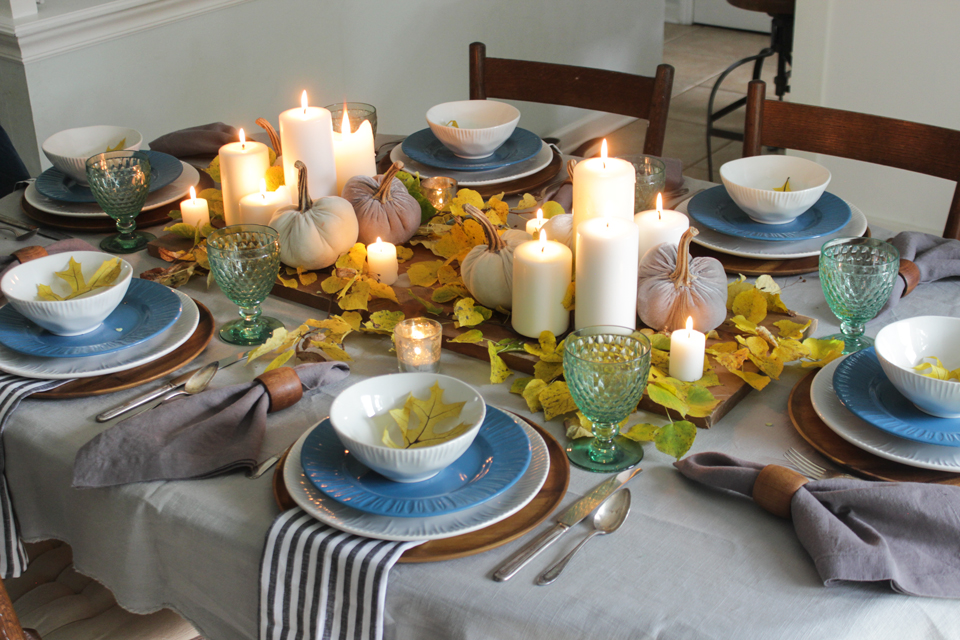
This yellow leaf and pumpkin Cozy Fall Tablescape by Shades of Blue Interiors is charming for those who want to keep things a little more casual.
Fall-cozy-tablescape-Shades-of-Blue-Interiors

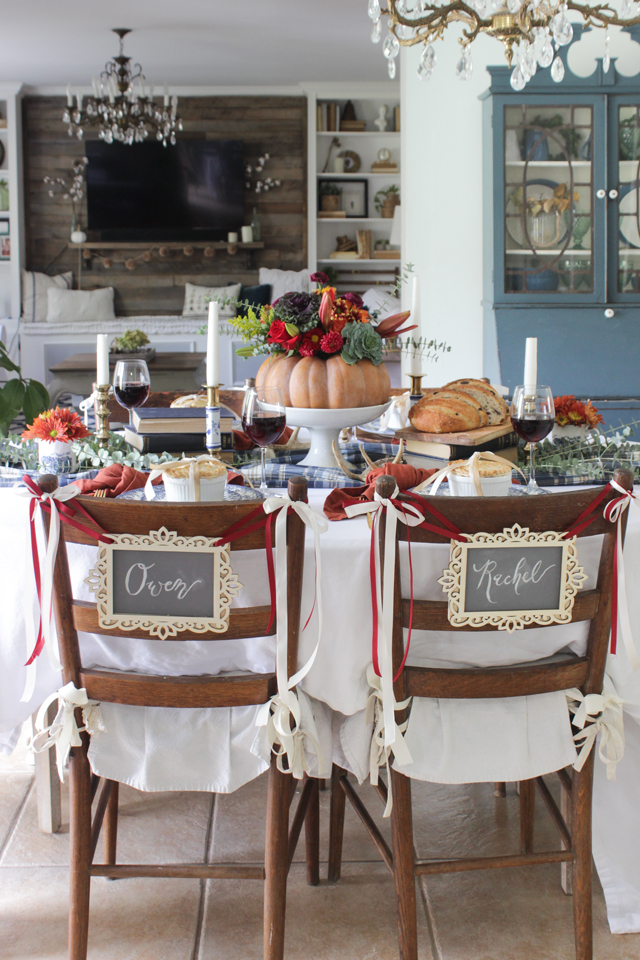
This beautiful and homey Colorful Thanksgiving Tablescape also by Shades of Blue Interiors covers the pumpkin in flowers; so pretty!
Colorful-Thanksgiving-Table-Shades-of-Blue-Interiors

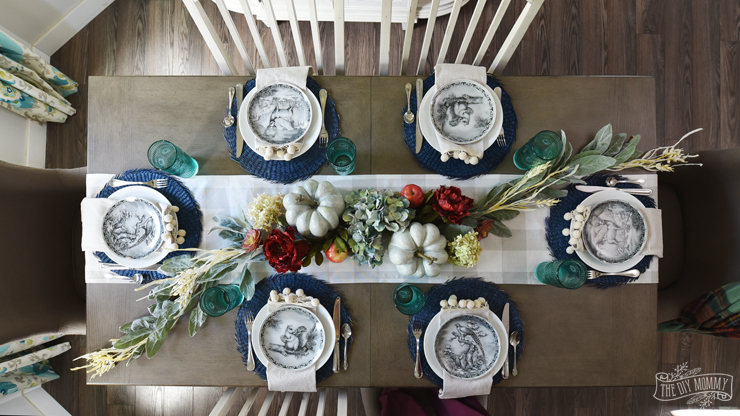
A fall tablescape created by The DIY Mommy with a Faux Floral Garland stretching across the table achieves a soothing and beautiful palette.
DIY-Faux-Floral-Fall-Garland-The-DIY-Mommy

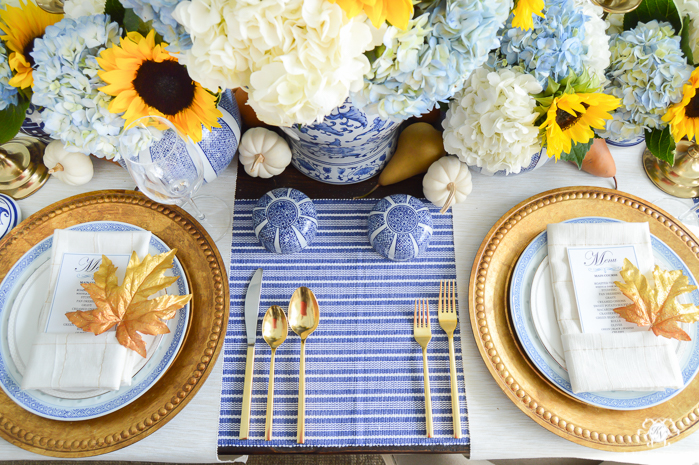
Check out this Classic Blue, Gold and White Table by Kelley Nan for a formal and stunning fall display.
Blue-and-White-Thanksgiving-Table-Idea-with-Sunflowers-and-Hydrangeas-15-Kelley-Nan

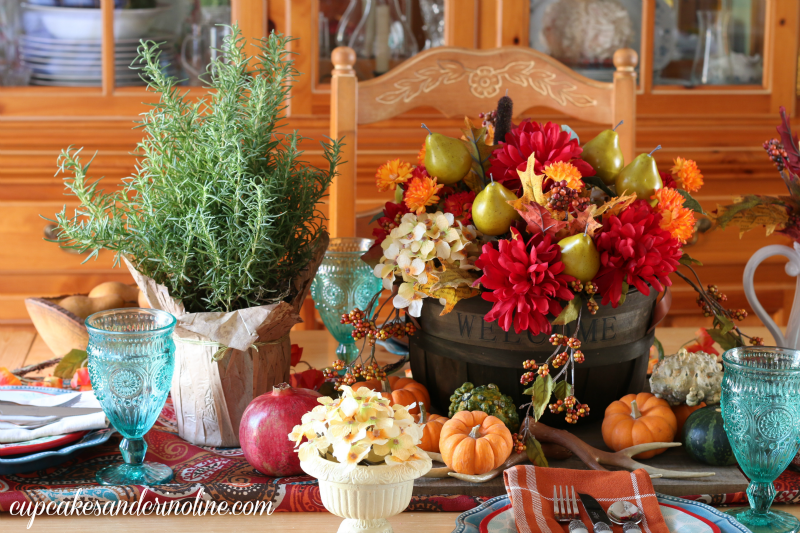
A bright, beautiful and delightfully Colorful Easy Thanksgiving Tablescape and Centerpiece by Cupcakes and Crinoline.
Thanksgiving-tablescape-and-centerpiece-cupcakesandcrinoline.com_

A Simple Thanksgiving Table by My Fabuless Life uses light colors to make any table welcoming.Easy-Inexpensive-Thanksgiving-Table-Setting-MyFabulessLife.com_

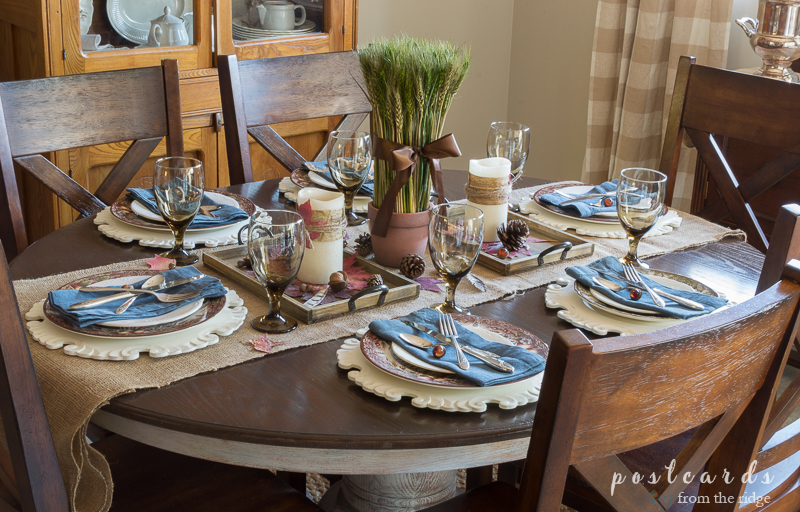
This creative and casual Natural Rustic Tablescape by Postcards from the Ridge gives a sense of warmth and comfort, just beautiful.
Natural Rustic Thanksgiving Tablescape-PostcardsFromTheRidge

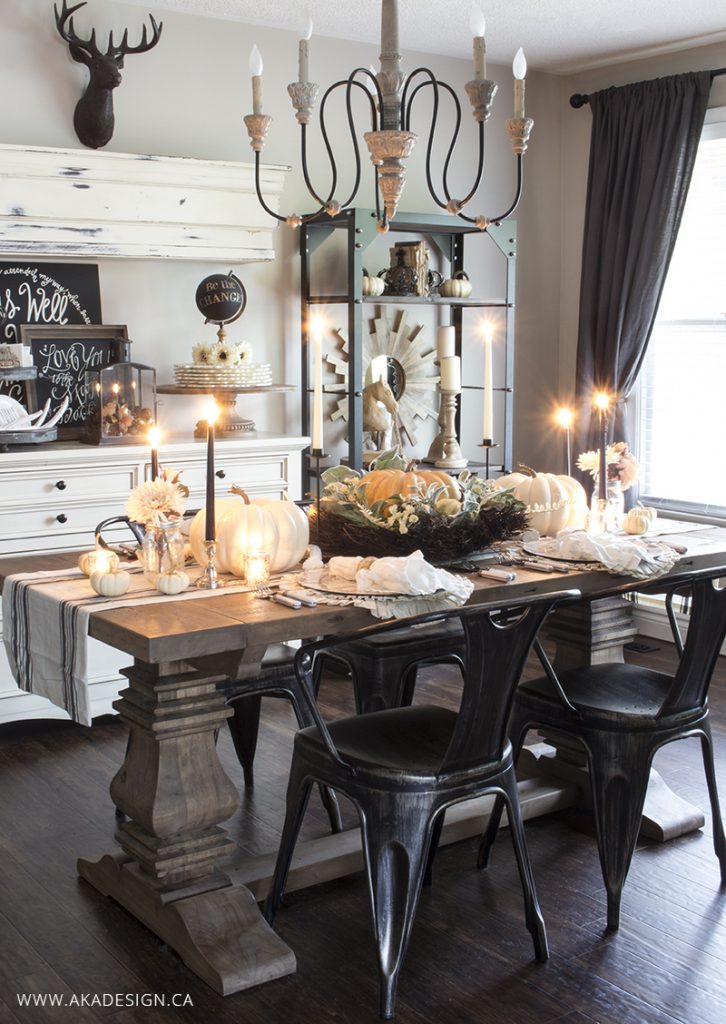
A rustic creamy and white Farmhouse and Industrial Thanksgiving Table from AKA Design has the perfect farmhouse ambience.
Industrial-Thanksgiving-Fall-Table-akadesign.ca

A Fall Tablescape using White and Wood elements by Timeless Creations brings a natural atmosphere straight to the dinner table.
White Wood Fall Tablescape TimelessCreationsMN

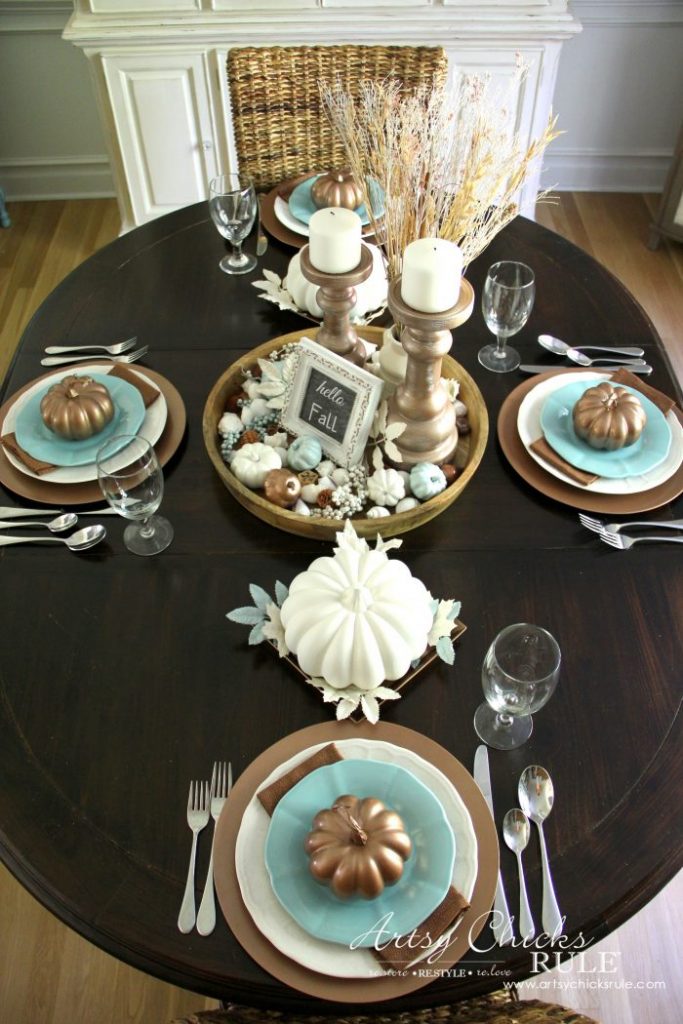
Metallic and pretty, this Coastal and Casual Fall Tablescape by Artsy Chics Rule adds a little glamour to dining.
Coastal Casual Fall Tablescape Artsy Chicks Rule

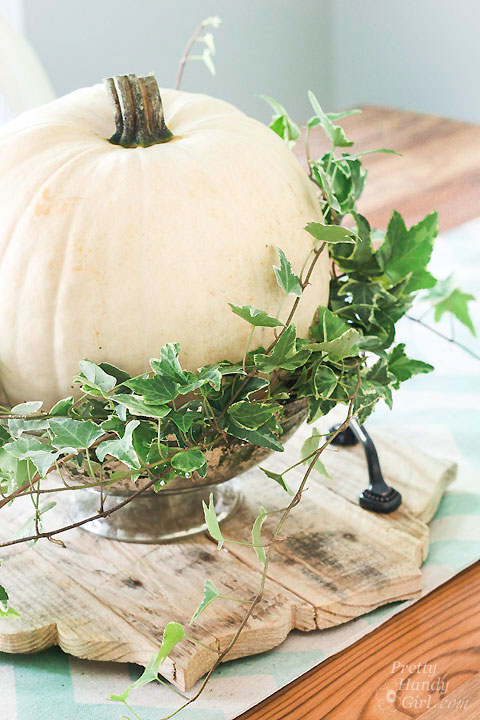
Last, but certainly not least, this White Pumpkin Fall Tablescape with the wooden tray is simple, yet rustic and pretty.
white-pumpkin-centerpiece-pretty-handy-girl

I hope you like this roundup and found some inspiration for your Fall Table Decorations this season! Please share and help inspire others.
Other posts you’ll love:

Pretty Handy Girl Fall Tablescape 2016

Holiday Tablescape Tour 2016


24 Creative Fall Wreaths | Pretty Handy Girl

24 Fabulously Creative Fall Wreaths


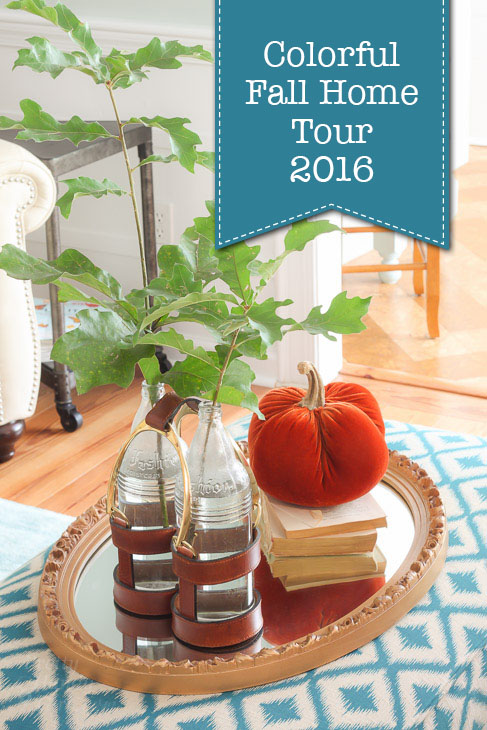
Pretty Handy Girl's Colorful Fall Home Tour

Colorful Fall Home Tour 2016: Part 1

I am thankful for a warm bed to sleep in…
…and a roof over our heads.
I am thankful for the food that we put on our table, to sustain our bodies.
I am thankful for mother nature, who reminds me that we are not alone on this planet.
I am thankful for this earth, which provides for us a home filled with beauty.
I am thankful for my family, who remind me that life is good.
And my sisters, who understand me to my core.
I am thankful for my spouse, my best friend and better half.
I am thankful for the time I’d been given…
to spend with loved ones before they left our world.
Most of all, I am thankful for my children…
who humble me and remind me what life is like through a child’s eyes.
Thanksgiving Prayer
 Iroquois Prayer, adapted 

We return thanks to our mother, the earth,
which sustains us.

We return thanks to the rivers and streams,
which supply us with water.

We return thanks to all herbs,
which furnish medicines for the cure of our diseases.

We return thanks to the moon and stars,
which have given to us their light when the sun was gone.

We return thanks to the sun,
that has looked upon the earth with a beneficent eye.

Lastly, we return thanks to the Great Spirit,
in Whom is embodied all goodness, 


and Who directs all things for the good of Her children.