Vintage Map Lampshade | Pretty Handy Girl

Vintage Map Lampshade | Pretty Handy Girl
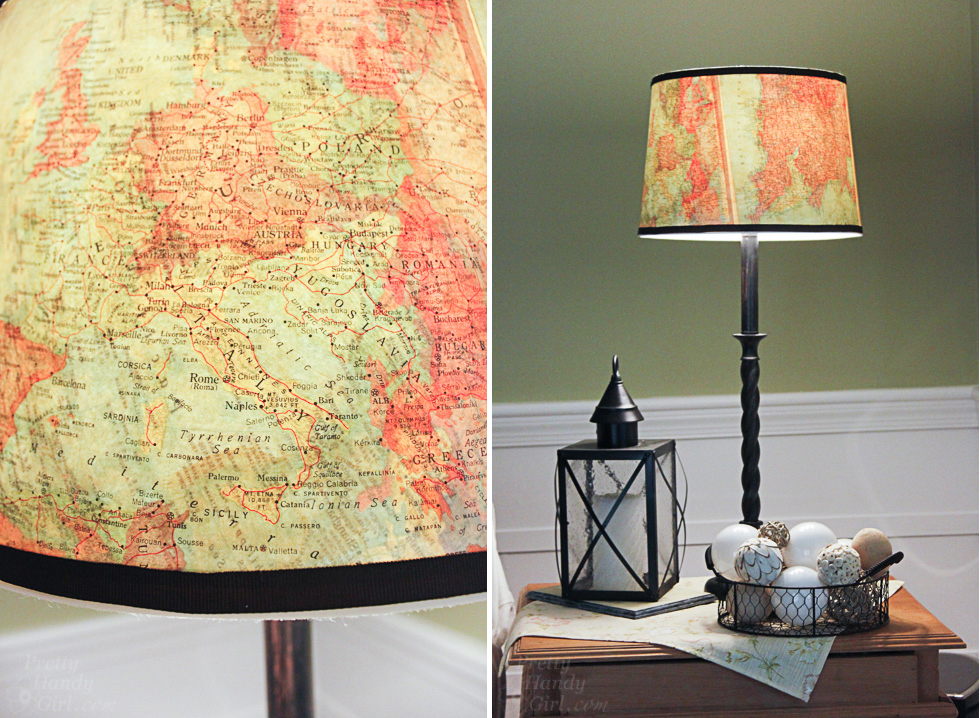
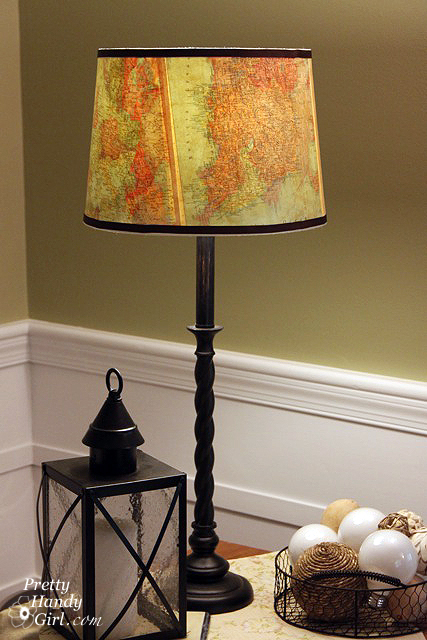
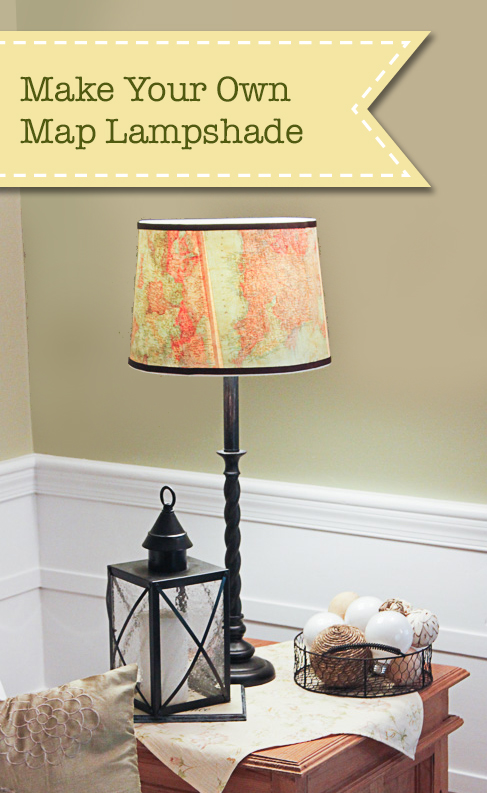
Do you want to update a plain vanilla lamp shade? Do you have a vacation you want to remember? You can do both with this vintage map lampshade!

The process to create a Vintage Map Lampshade is easy, especially if your lamp shade is close to a perfect cylinder. But, what do you do when you have a cone shaped shade? The instructions are a little more complicated, but I can show you how.

Pull up a seat and I’ll show you how to create a cool decorated lampshade. (Keep in mind you don’t have to use maps. You could use wallpaper, fabric, a poster, or anything you want!) Let’s do this.
Vintage Map Lampshade | Pretty Handy Girl

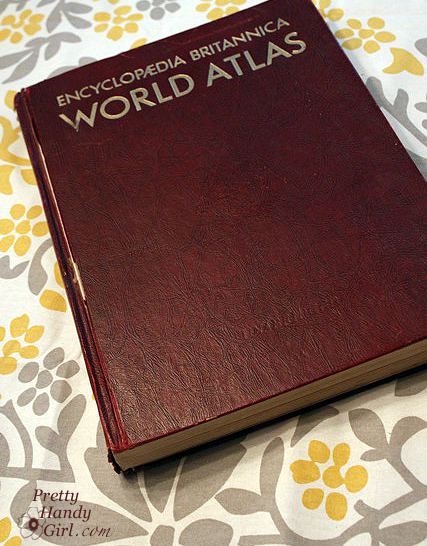
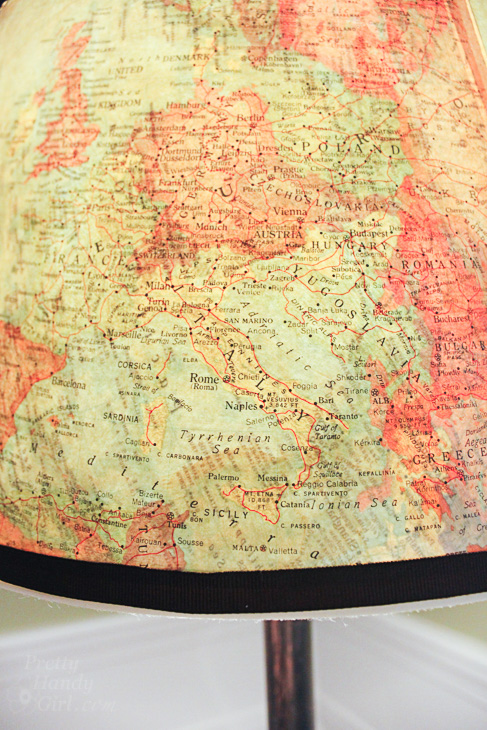
During a trip to my local thrift store, I discovered an old atlas and knew I could use it for oodles of projects. As I walked out of the store a flood of ideas came to me. One of them was to make a Vintage Map Lampshade.

Materials:

(I’ve included affiliate links for your convenience. I earn a small percentage from a purchase using these links. There is no additional cost to you. You can read more about affiliate links here.)
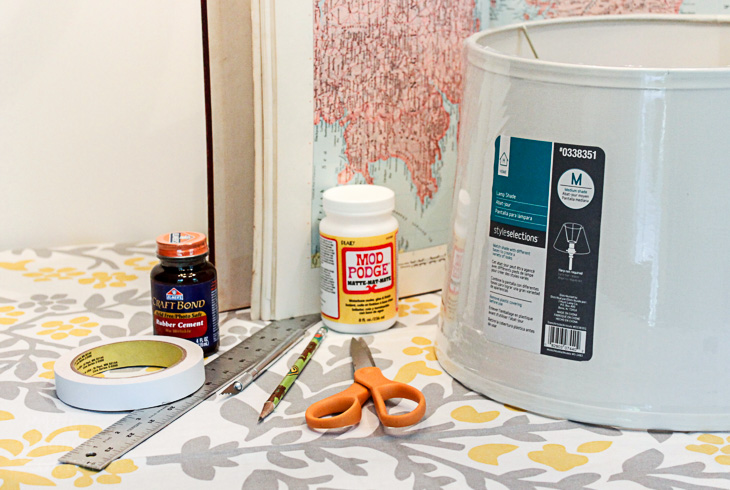
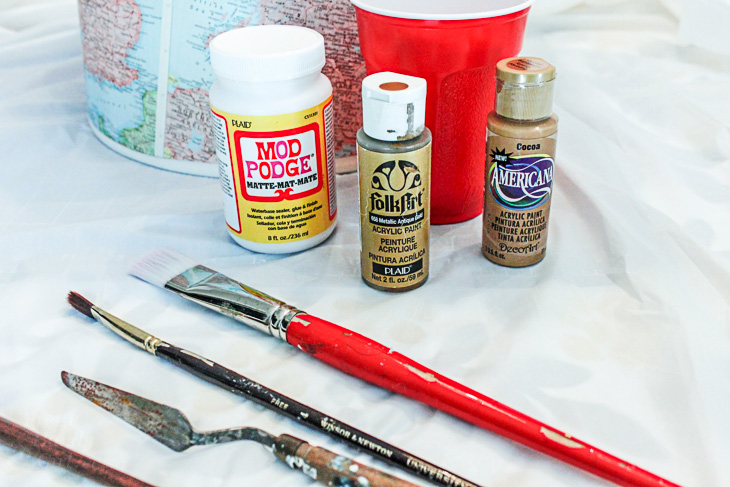
To add a vintage glaze you will also need:


Instructions:

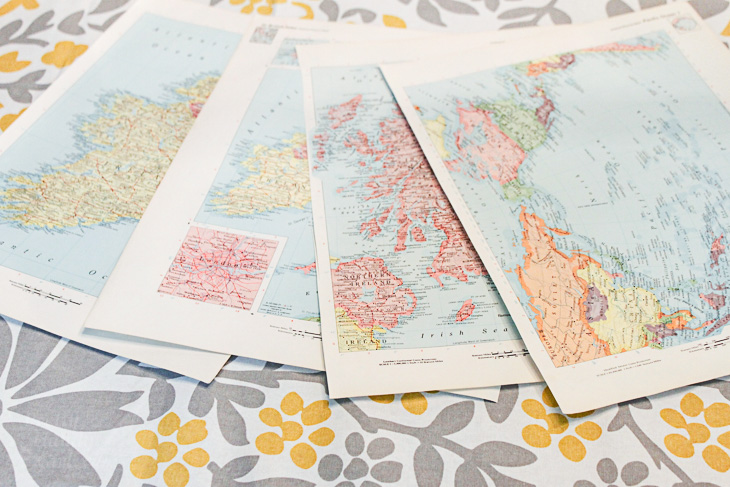
Start by selecting the maps or paper you want to use. Carefully cut them out along the spine using a fresh x-acto blade — don’t let your blade get dull. (I use a new one for each project. Your cuts are much cleaner when working with a fresh blade.)

Set your pages aside for now.
To make a template for your shade, roll out a large piece of craft paper. Lay your lampshade on the craft paper. Start at the vertical seam on the shade (to give you a visual of where to start and stop) and set your pencil along the bottom edge of the lampshade.
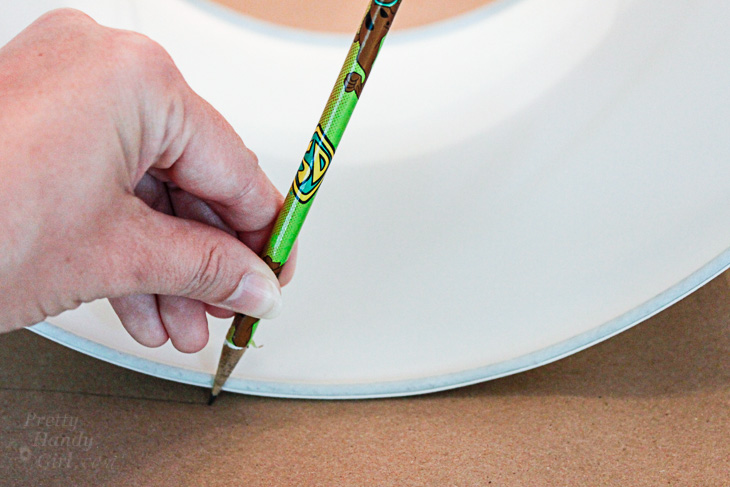
Gently roll the shade on the paper and mark along the bottom edge of the shade.
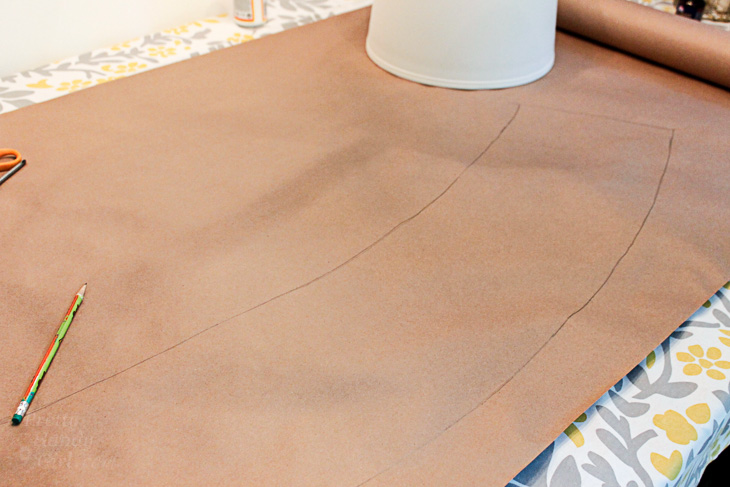
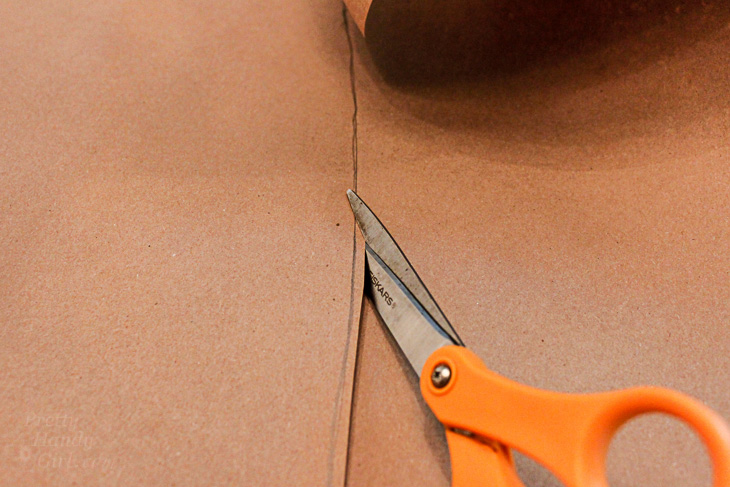
When you reach the end, reverse your shade and draw along the top edge. At the end, add an inch or two for overlap. Cut along the outlines to create your lampshade template.
Tape the template onto your lamp shade using the low tack tape. Make sure it fits snugly.
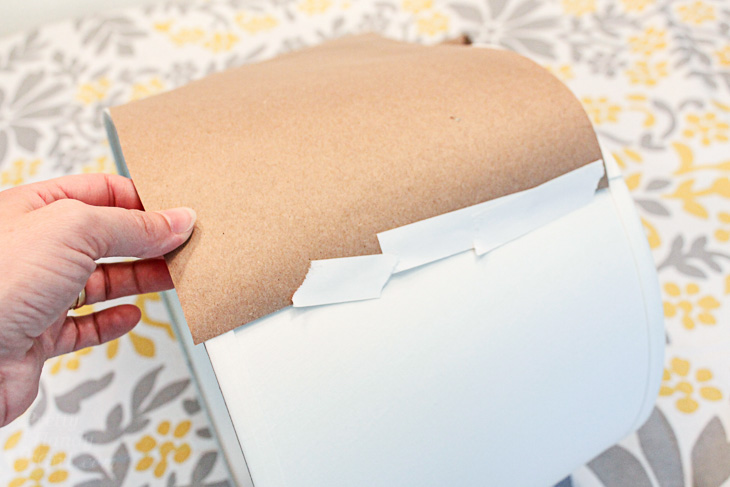
Trim any excess from the edge of your template. Should you choose, trim excess to allow room for the grosgrain ribbon.
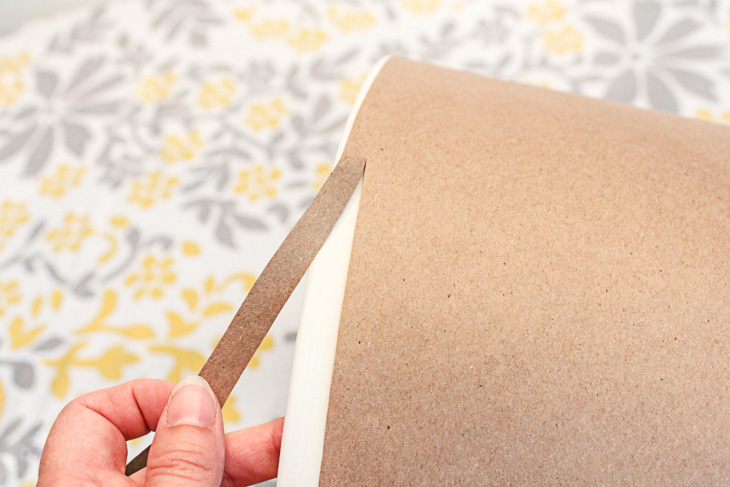
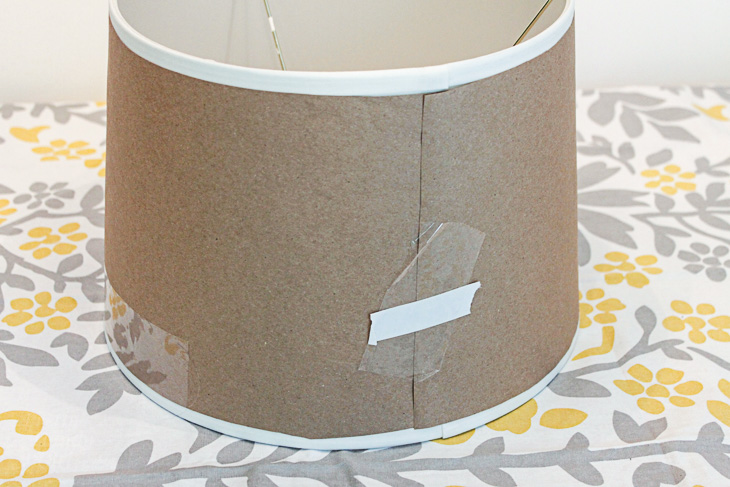
Make sure your template fits perfectly before you proceed.
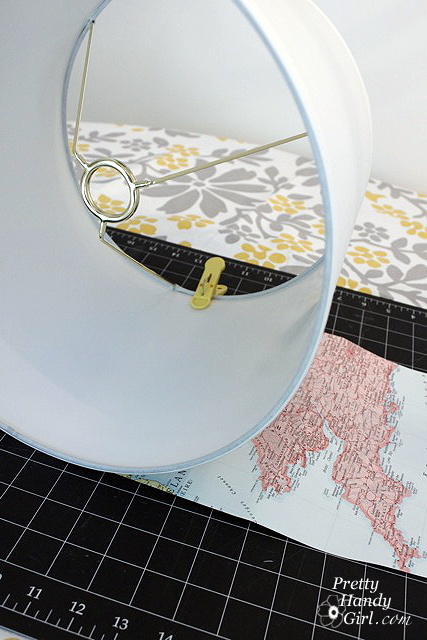
Lay out your craft paper template on top of the map pages. Make any adjustments to the page layout.
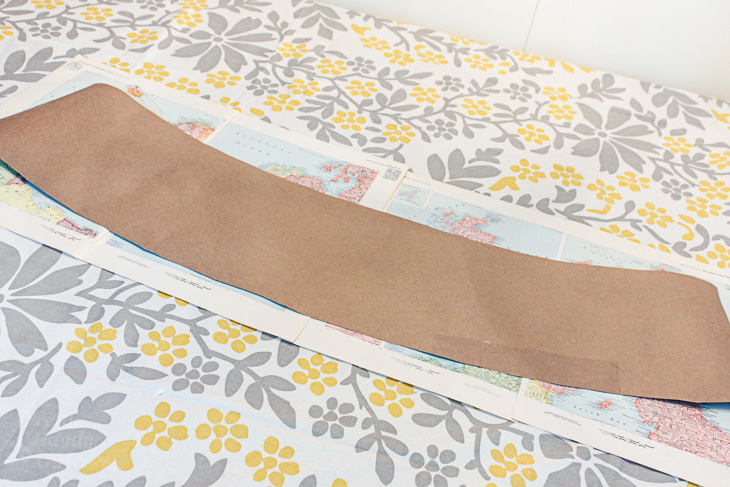
Tape your map pages together using clear packing tape on the inside only.
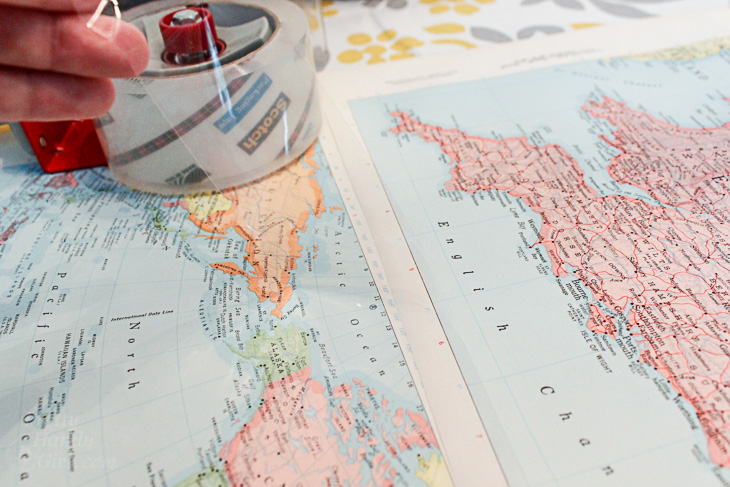
Trace the template on top of the map pages.
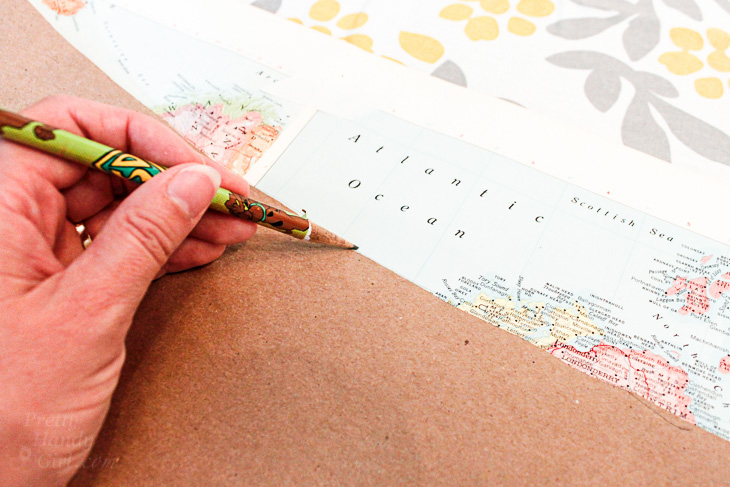
Cut out the shape along the pencil line.
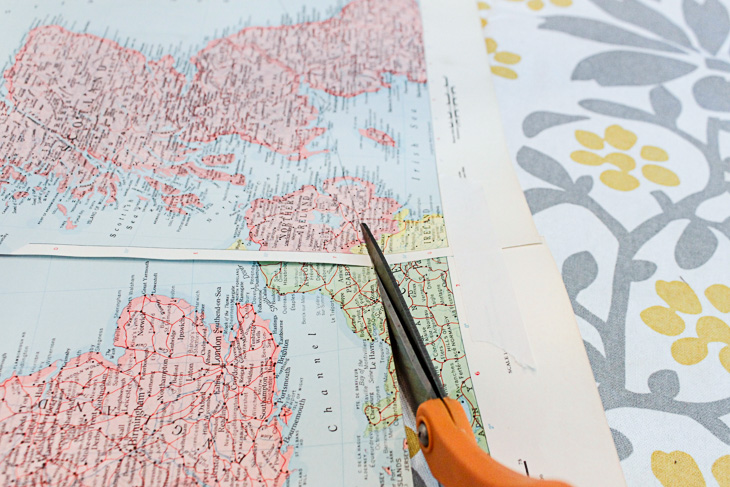
Wrap the lampshade with your cut out map pages.  Clip the edges with clothes pins.

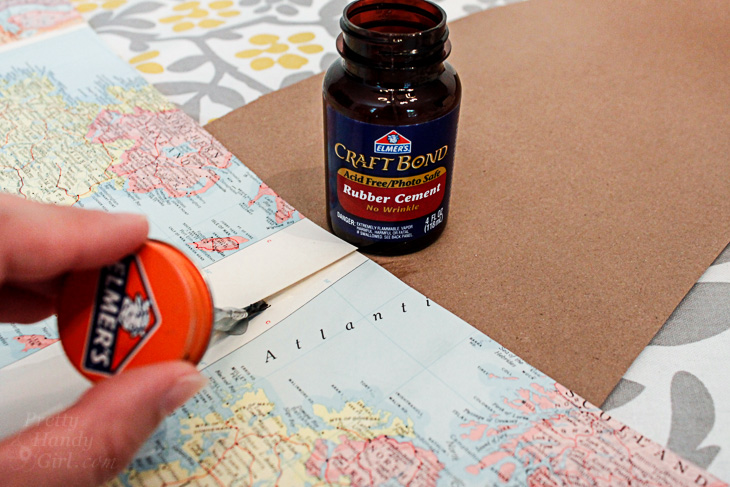
Working in small 8″ sections, brush rubber cement onto the map and the lamp shade. Wait a minute or two for the glues to dry. Then press them together. This is the best way to get maximum adhesion when using regular rubber cement. It creates a stronger bond than just one coat applied and joined while it is still wet. Alternatively you could use spray adhesive (especially if you are using fabric.)
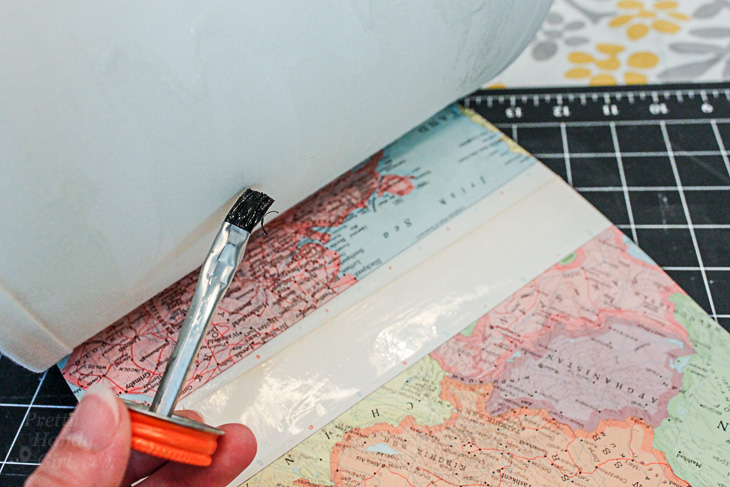
Continue by gluing another section until you reach the end. To finish the seams on the outside, brush some rubber cement under the seams where your maps overlap. Press and hold them down until the glue dries.
Add a Vintage Aged Glaze:

Time to give your maps a vintage aged look! Pour 2 parts mod podge into an empty cup. Add about 1 part cocoa paint. Mix them together. Test some of the glaze on a scrap piece of paper. If you like the glaze color, start brushing it onto the lamp shade. Be careful not to use too much of the glaze or the paper will start to wrinkle. (If it does, no worries, some of the wrinkles will come out when it dries. Any remaining wrinkles make it look old.)

Let the glaze dry.
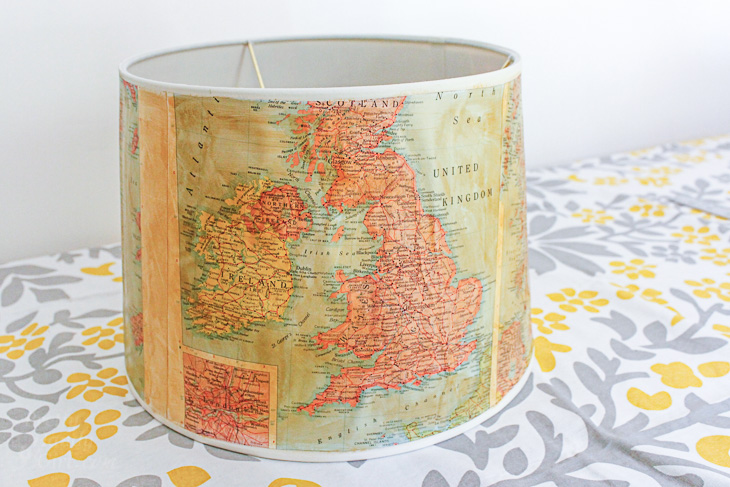
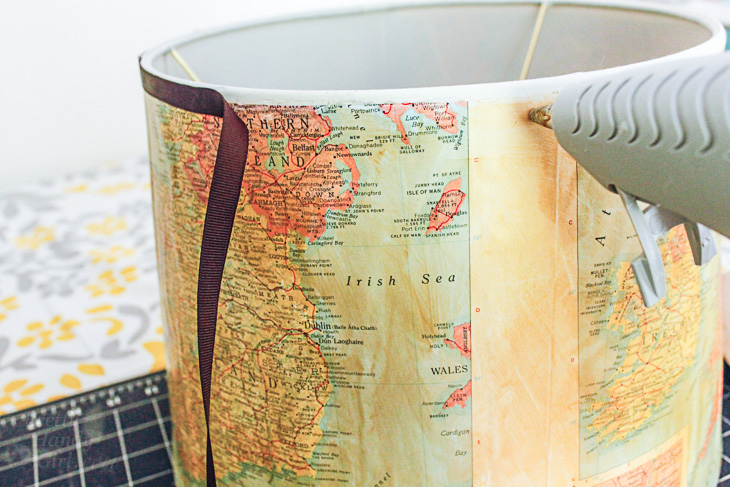
Cut two strips of grosgrain ribbon the circumference of your lamp shade plus an inch for overlap.

Hot glue the ribbon onto the top and bottom edges of your lamp shade. (Please, please, protect your fingers, read my hot glue gun safety post before working with hot glue!)

Put your lampshade on your favorite lamp.

Admire your unique lamp shade that brings back fond memories of a special trip.

If you make one of these, what map would be on your’s? Your home state? The place you were born? Where your family’s heritage resides? Or something completely different? I would love to hear your ideas.

Did you like this tutorial? Want to learn how to revamp another lamp shade with paint chips!
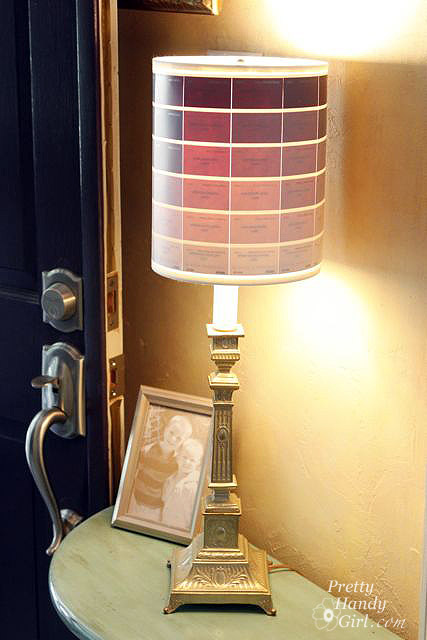
The result are a beautiful ombré lamp that is fun and colorful.


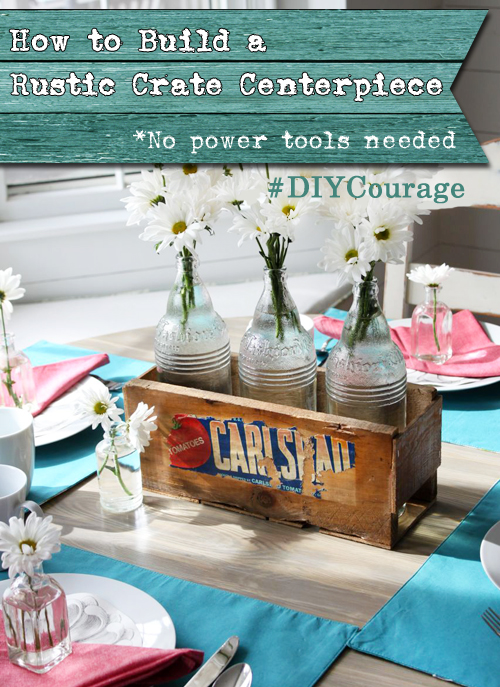
How to Build a Rustic Crate Centerpiece (No Power Tools Needed!) #DIYCourage | Pretty Handy Girl

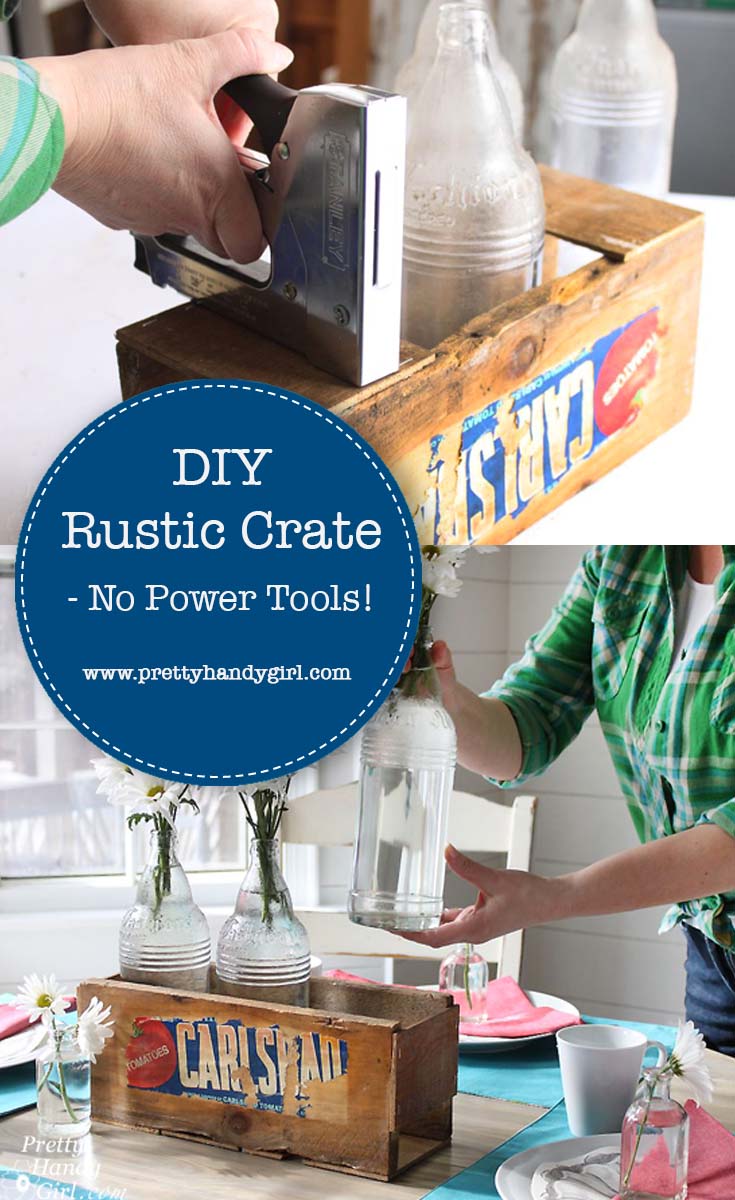
It occurred to me the other day that many woodworking projects may deter people simply because they don’t have power tools or they don’t know how to use them yet. For that reason, I created this tutorial to help you Build a Vintage Produce Crate Centerpiece using no power tools!
How to Build a Rustic Crate Centerpiece (No Power Tools Needed!) #DIYCourage | Pretty Handy Girl

Build a Vintage Produce Crate Centerpiece – No Power Tools!

Many people are turned off by DIY projects because they fear using a power tool. Although I can tell you, I know you can learn how to use power tools safely, let’s go ahead and skip them today so you can get your hands busy creating a beautiful crate. This little vintage produce crate can be used anywhere in your house on display. Use it as a centerpiece, or in the office to hold files or utensils, or fill it with flowers or small items to give as a gift.
Regardless of how you use this little vintage crate, you’re going to love making it.

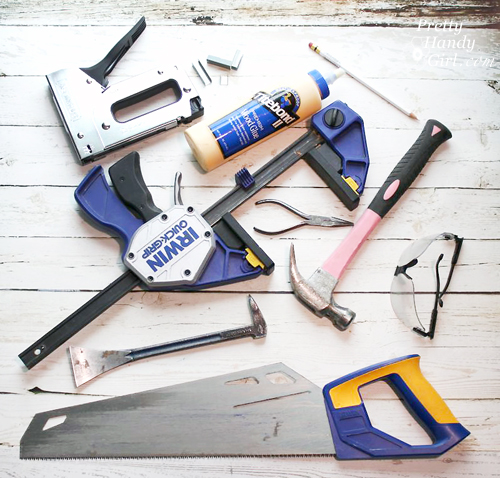
Materials:

(I’ve included affiliate links for your convenience. I earn a small percentage from a purchase using these links. There is no additional cost to you. You can read more about affiliate links here.)

How to Build a Rustic Crate Centerpiece (No Power Tools Needed!) #DIYCourage | Pretty Handy Girl

Optional: 

Instructions:

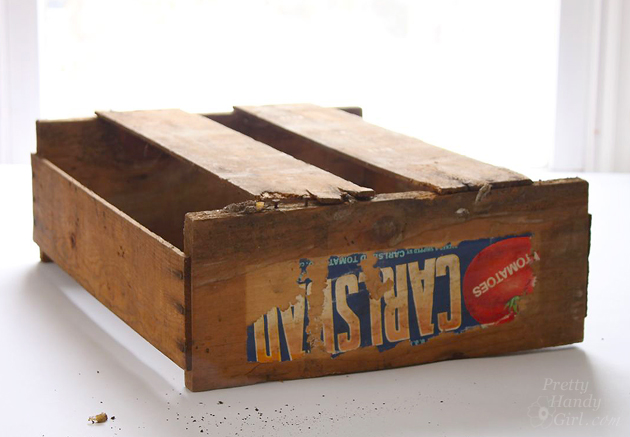
I happen to stumble across this vintage produce crate and vintage bottles that a neighbor was giving away. If you don’t have a neighbor who periodically gives away vintage produce crates, you can ask your local grocery store for produce crates you can salvage. Or you can purchase a produce crate on Amazon. Or look for thin slats at the hardware store to use for this crate. (Then you can learn how to fake the Aged Wood Look yourself.)

How to Build a Rustic Crate Centerpiece (No Power Tools Needed!) #DIYCourage | Pretty Handy Girl

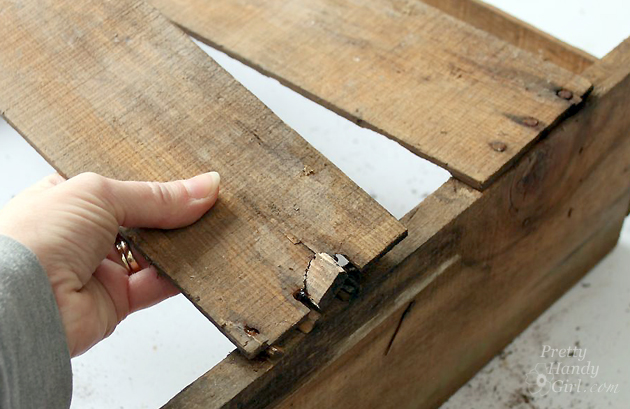
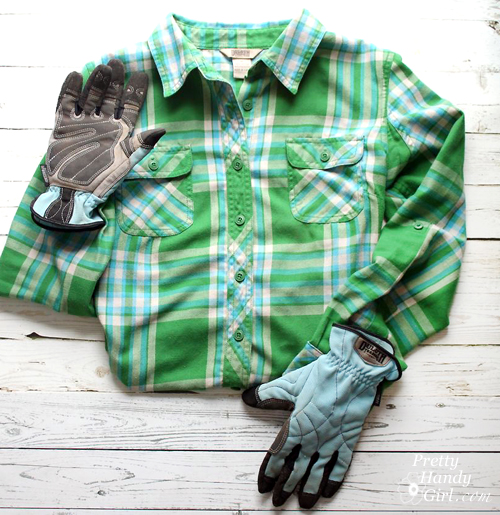
The crate I had was very rustic. So rustic, that I was able to pull the bottom slats off the crate with my bare hands. (In hindsight, I should have been wearing my gloves to avoid splinters.)

How to Build a Rustic Crate Centerpiece (No Power Tools Needed!) #DIYCourage | Pretty Handy Girl

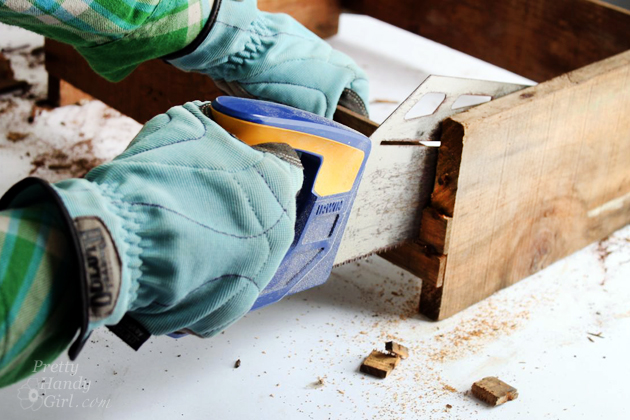
If you want to spare your hands, use a handsaw to remove the slats. Set them aside for use later.

How to Build a Rustic Crate Centerpiece (No Power Tools Needed!) #DIYCourage | Pretty Handy Girl

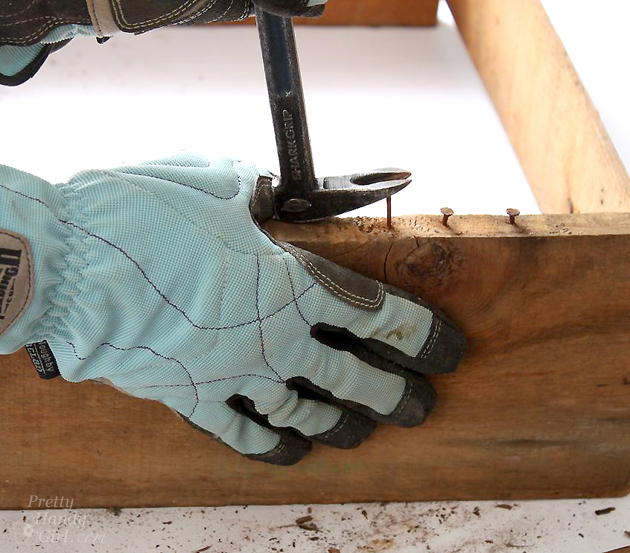
After removing the slats, pry up the nails with a prybar. Be sure to wear gloves to protect your hands. Stubborn nails can usually be wiggled out with the needle-nosed pliers.

How to Build a Rustic Crate Centerpiece (No Power Tools Needed!) #DIYCourage | Pretty Handy Girl

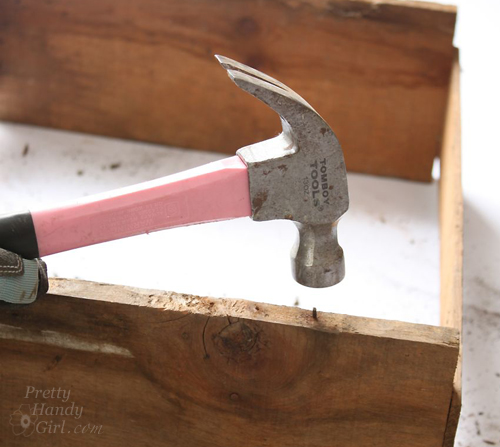
Any nails that are too rusty to remove can be hammered into the wood.

How to Build a Rustic Crate Centerpiece (No Power Tools Needed!) #DIYCourage | Pretty Handy Girl

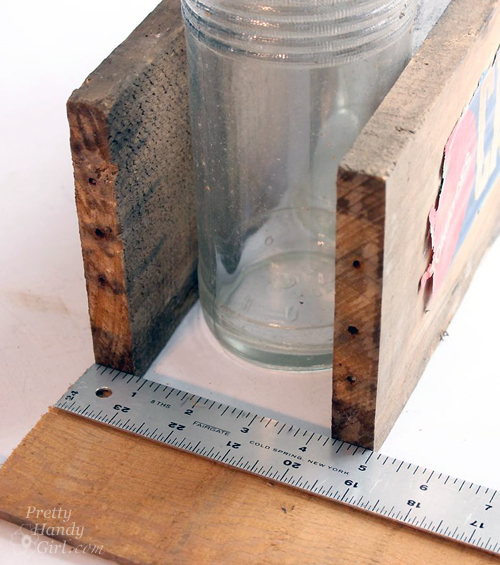
Align the front and back of the produce crate with the bottles or vases you will display in your crate. Or use 5″ as a general measurement from the outside front to outside back. Measure the distance to cut your sides, or just lay one of the slats next to the front and back and mark where to cut it with a pencil.

How to Build a Rustic Crate Centerpiece (No Power Tools Needed!) #DIYCourage | Pretty Handy Girl

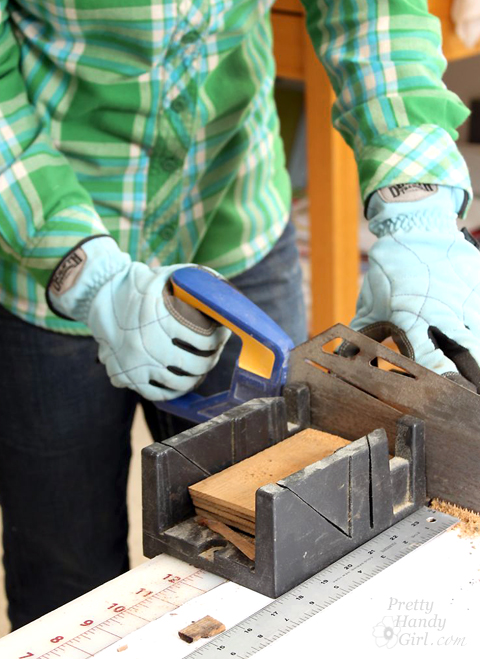
Cut down the salvaged slats to 5″ widths (or your own bottle measurement). Using a miter box will help keep your cuts square.

How to Build a Rustic Crate Centerpiece (No Power Tools Needed!) #DIYCourage | Pretty Handy Girl

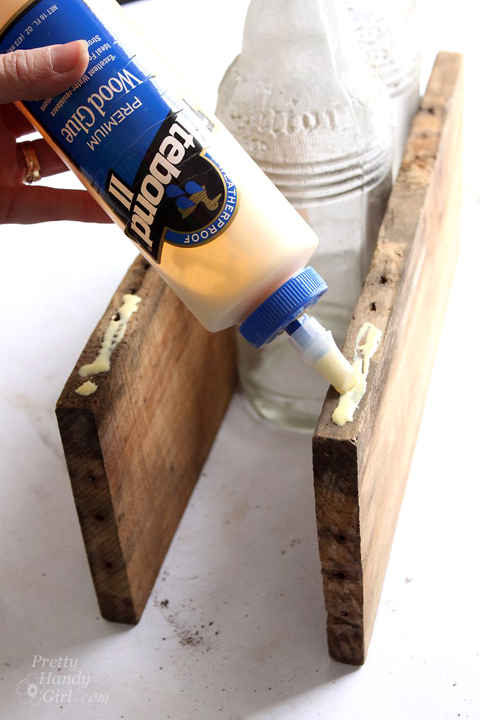
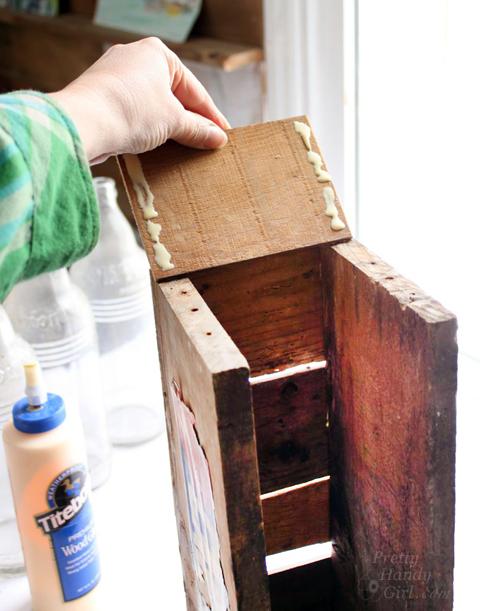
Squeeze wood glue onto the bottom of the produce crate front and back pieces.

How to Build a Rustic Crate Centerpiece (No Power Tools Needed!) #DIYCourage | Pretty Handy Girl

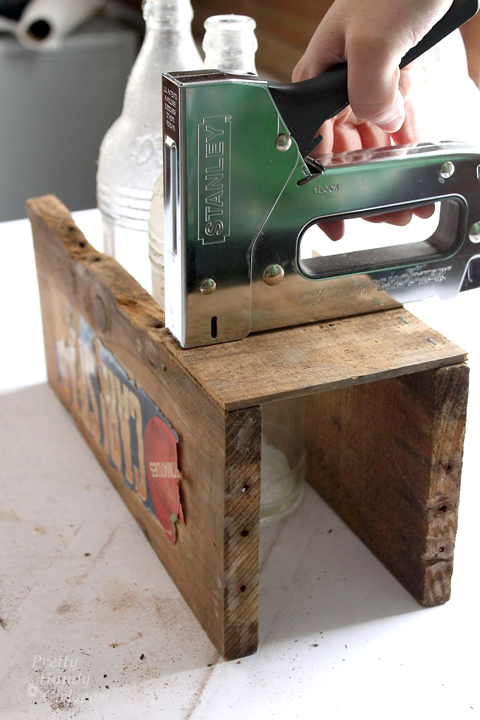
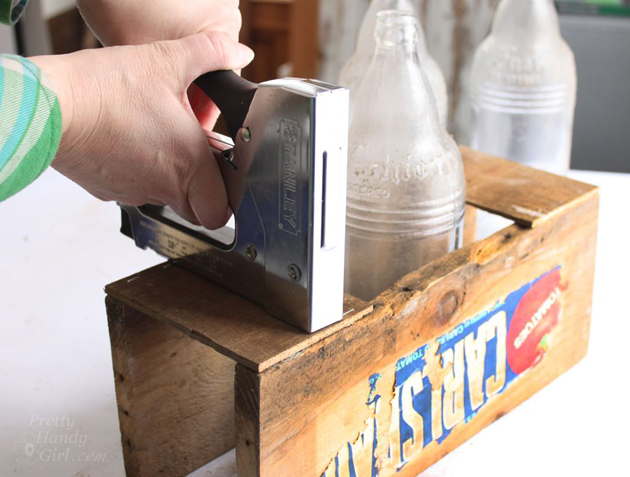
Set one of the 5″ slats into the glue and staple the slat into the crate front and back. Three staples per side should hold the slat while the glue dries. If the slat doesn’t lie flush with the crate, you might need to clamp the slat while the glue dries.

How to Build a Rustic Crate Centerpiece (No Power Tools Needed!) #DIYCourage | Pretty Handy Girl

Repeat for the opposite side by stapling the slat to the bottom. Continue working toward the center of your crate.

How to Build a Rustic Crate Centerpiece (No Power Tools Needed!) #DIYCourage | Pretty Handy Girl

Attach one slat to the sides of the crate with wood glue and staples.

How to Build a Rustic Crate Centerpiece (No Power Tools Needed!) #DIYCourage | Pretty Handy Girl

You’ll notice I left spaces between the slats for that vintage produce crate look. If you want, you can butt the slats tight up against one another. Clamp your crate as the wood glue dries.

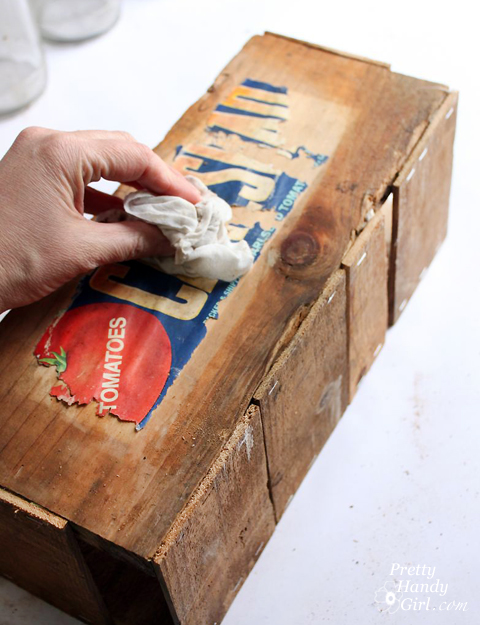
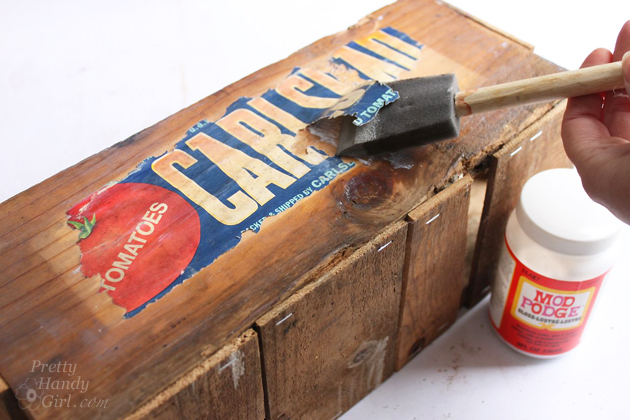
If you have a true vintage produce crate, you might need to secure what is left of the label. Gently wipe the crate and label with a damp rag.

How to Build a Rustic Crate Centerpiece (No Power Tools Needed!) #DIYCourage | Pretty Handy Girl

Apply a coating of Mod Podge to the underside of any parts of the label that are peeling up. Then apply a second coat of mod podge over the entire label to seal it to the crate.

How to Build a Rustic Crate Centerpiece (No Power Tools Needed!) #DIYCourage | Pretty Handy Girl

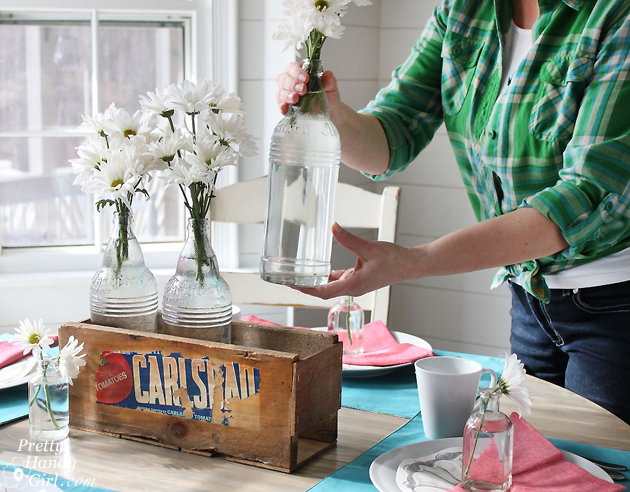
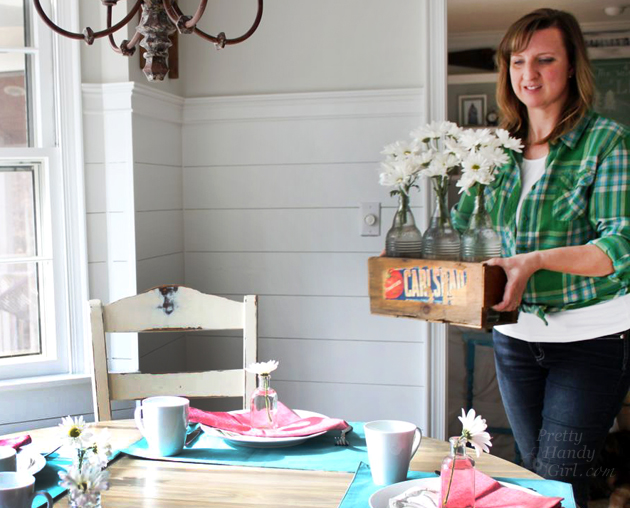
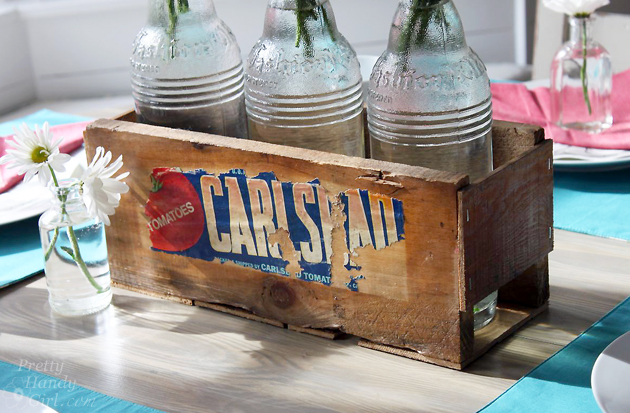
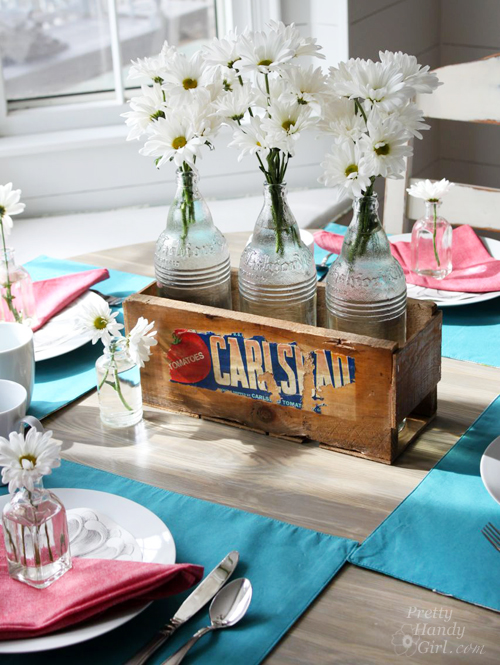
When the crate is dry, load it up with vintage bottles filled with fresh flowers.

How to Build a Rustic Crate Centerpiece (No Power Tools Needed!) #DIYCourage | Pretty Handy Girl

Place it on your table and invite a friend for lunch.

How to Build a Rustic Crate Centerpiece (No Power Tools Needed!) #DIYCourage | Pretty Handy Girl

The conversation will surely turn to your Rustic Produce Crate Centerpiece you made yourself.

How to Build a Rustic Crate Centerpiece (No Power Tools Needed!) #DIYCourage | Pretty Handy Girl

Which you can proudly say you made…by hand…without any power tools.

How to Build a Rustic Crate Centerpiece (No Power Tools Needed!) #DIYCourage | Pretty Handy Girl

Want to know where I got my shirt? The Duluth Trading Company Crosscut Performance Flannel Shirt is super comfortable. It’s like wearing your PJs all day. The flexible gussets in the back give you more freedom of movement while working. FYI, the crosscut flannel shirt is on clearance right now. If you don’t see the color you want, check back in early fall to snag your favorites (but don’t wait, they go fast.)

How to Build a Rustic Crate Centerpiece (No Power Tools Needed!) #DIYCourage | Pretty Handy Girl

PHGFancySign


Pin for later!

Build a Vintage Produce Crate Centerpiece using no power tools whatsoever! | Pretty Handy Girl #DIY #rusticcrate #DIYcrate

paper bag ornament

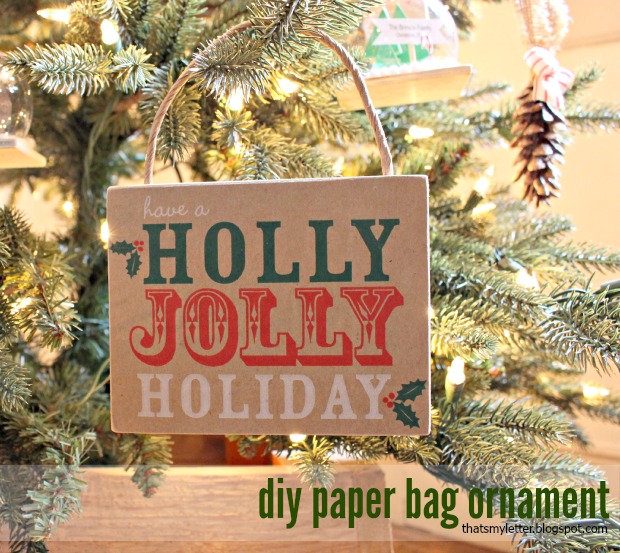
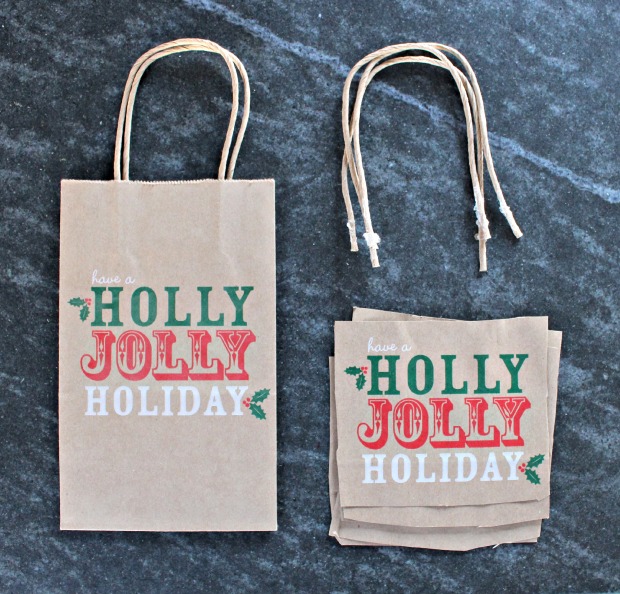
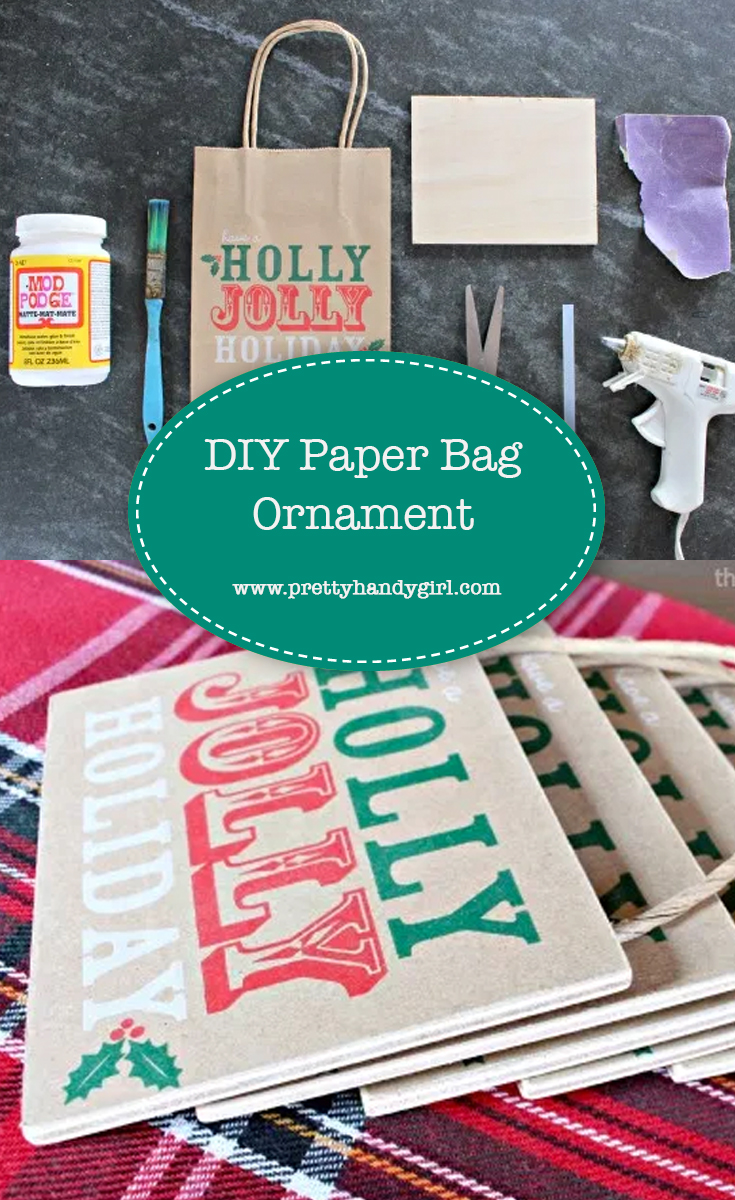
Looking for a fast and easy ornament or gift tag?  I’m Jaime from That’s My Letter here to share a diy ornament you can make from a readily available paper bag.  This project will have you looking at grocery and retail paper bags in a whole new light.

The graphics on retail paper bags make great ornaments and gift tags.  Look for fun and festive holiday graphics on paper bags everywhere you go then you can repurpose those paper bags into ornaments.

paper bag ornament 1

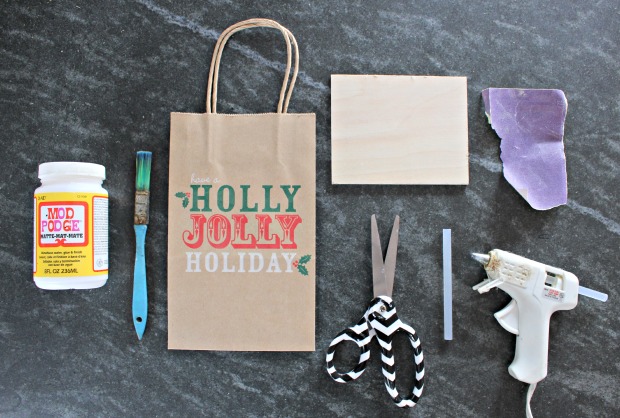
Supplies:

paper bag ornament supplies

  • paper bags (brown bags work best)
  • 1/4″ plywood cut to size to fit your graphics
  • mod podge
  • paint brush
  • scissors
  • hot glue gun & glue sticks
  • sandpaper

Instructions:

paper bag ornament step 1

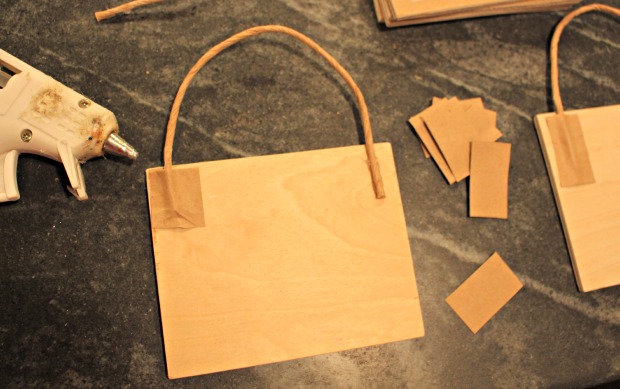
Step 1: Carefully cut out graphics from the paper bag and pry off handle pieces.  You will also need small 1/2″ x 1″ pieces of paper bag to cover the cut ends of the handle hanger.

paper bag ornament step 2

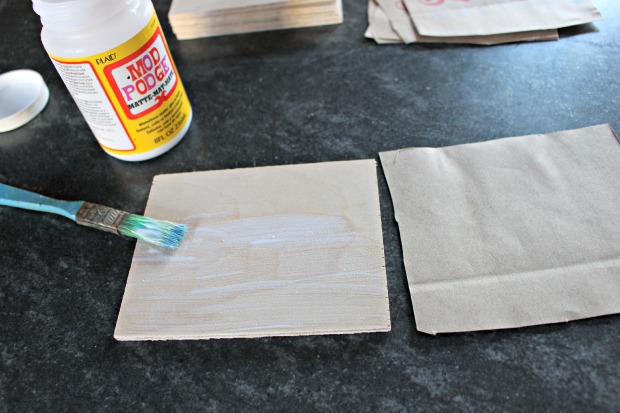
Step 2: Apply a generous layer of mod podge to plywood.

paper bag ornament step 3

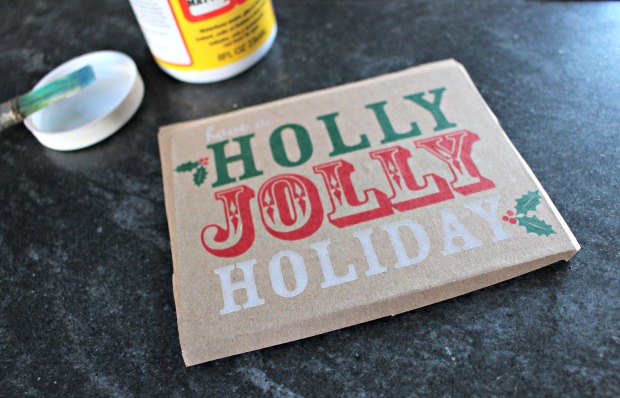
Step 3: Apply paper bag piece to wet mod podge.  Be sure to center paper onto wood then press smooth with fingers and press excess paper over edges down slightly.  Let dry and preferably stack heavy books on top to ensure good seal.

paper bag ornaments step 4

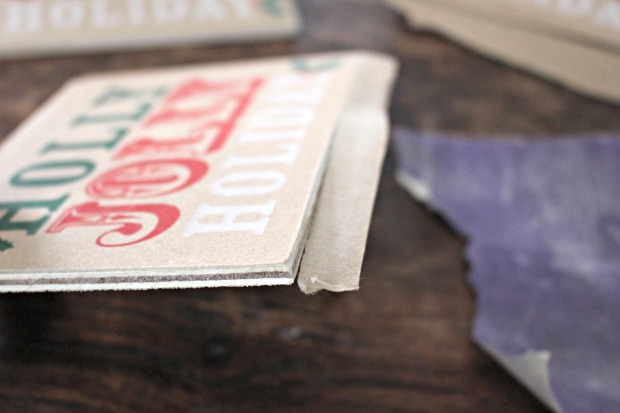
Step 4: Once completely dry use sandpaper to remove excess paper hanging over edge.  At the same time this will smooth the rough plywood edge too.

paper bag ornaments step 5

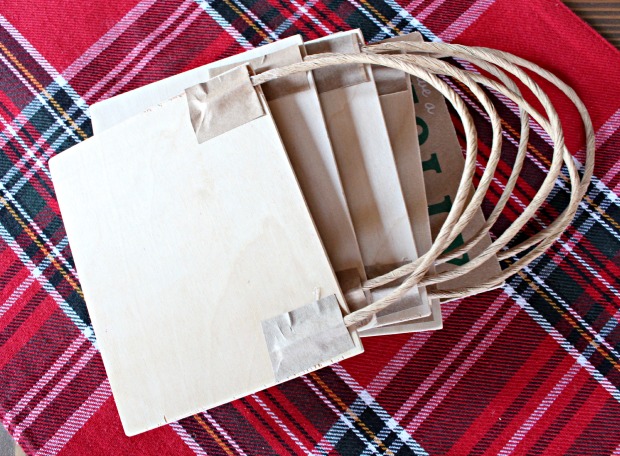
Step 5: Cut handle to desired length.  Secure to back of plywood using hot glue then cover cut end with small piece of paper bag just to keep things neat.  Repeat for other end of handle.

paper bag ornaments back

paper bag ornament 2

Repurpose paper bags into beautiful handmade ornaments or attach them to gifts as a gift tag.  This is a great craft to do with the kids. Have a holly jolly holiday!

Jaime signature


Pin for later!

DIY Paper Bag Ornament | Pretty Handy Girl

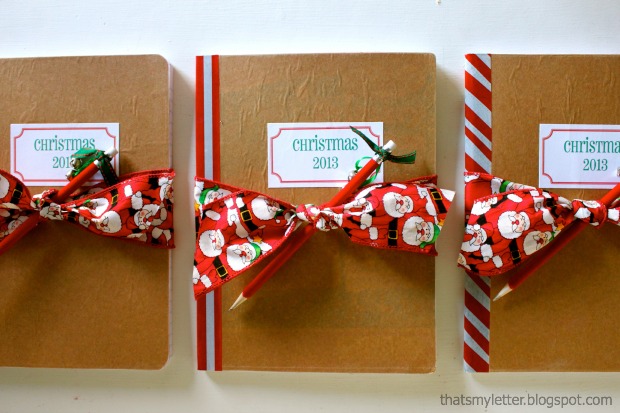
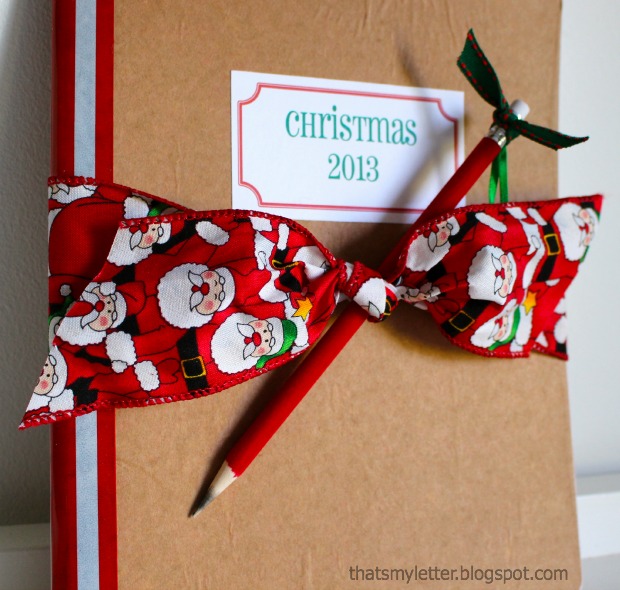
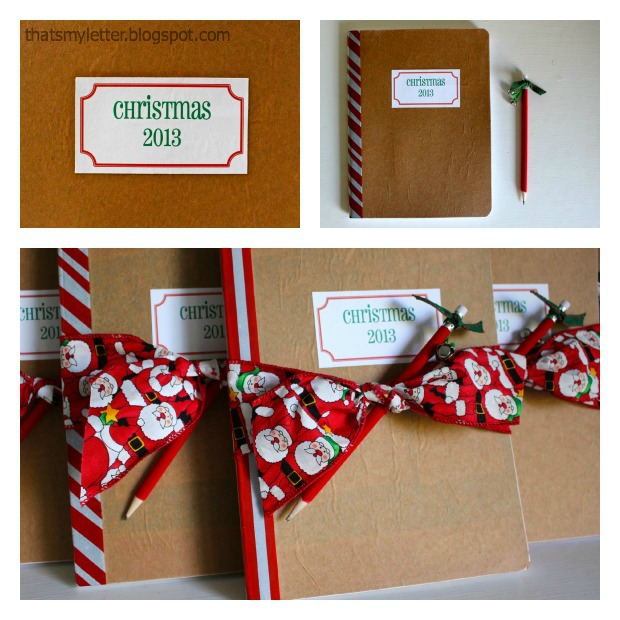
Christmas journal

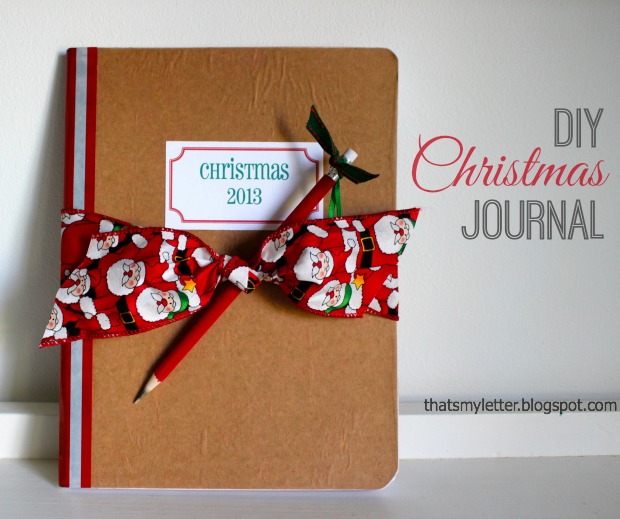
Need an easy DIY gift idea that any kid will love?  Jaime from That’s My Letter here to share DIY Christmas journals made from inexpensive kids composition books.

There’s still time to make this Christmas journal gift for all those kids on your list who love to write and draw, it makes a great small gift or a nice add on to a larger gift.

Christmas journal 1

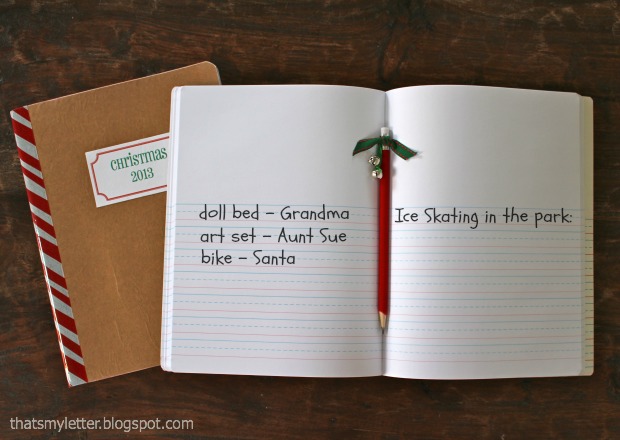
Take a peek inside and you’ll see the kids composition books are printed with lines just their size and bonus!  a place to draw pictures above the writing:

Christmas journal 3

Kids can use the journal to keep track of gifts received for thank you cards, adventures and travels during the school break, all the exciting events surrounding the holiday and on and on.

Wrap your  journal with a fun holiday pencil and printed ribbon:

Christmas journal 4

Supplies required:

Christmas journal 5

Instructions:

Step 1: Give the exterior cover (front and back) a quick sanding to rough up the ‘shiny’ surface – this will help the kraft paper adhere better. Read more

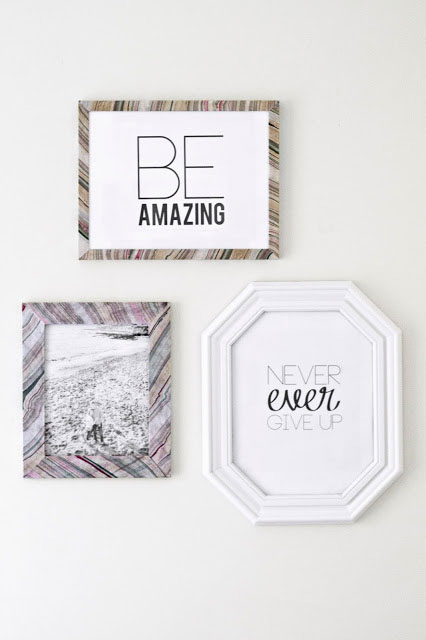
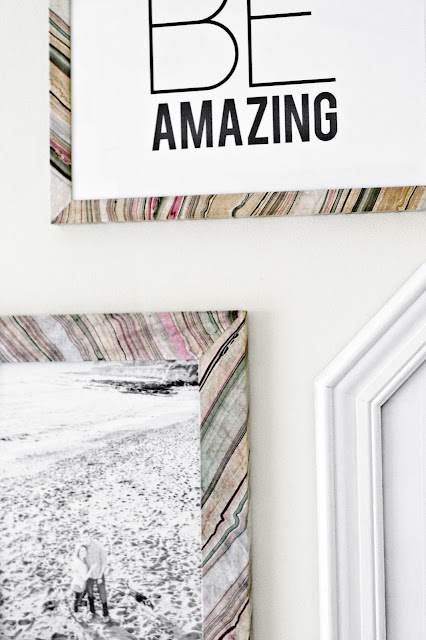
Today I am so excited to have the very talented Sarah joining us with a fabulous très frugal DIY gift idea. Sarah is the creative genius behind Sarah M. Dorsey Designs. I am in love with her design style in her home. The coolest thing about Sarah’s designs is that she achieves them on a super frugal budget. Today she’ll show us how to make marbled picture frames in no time for only a few bucks.

page_break_2

Hi PHG Friends!! This is Sarah from Sarah M. Dorsey Designs. I’m so excited and honored to be here sharing a simple DIY gift idea.

Today may be Black Friday, but instead of buying a gift, think about making a gift. Handmade gifts mean so much more (at least to me 🙂  Plus you’ll save yourself the aggravation of crowded stores. A win win!

I love the variety of marble paper – adding that to a plain picture frame truly makes them one of a kind! Here’s how I did it.

Materials:

  • 1 sheet of marble paper (available at paper source and blick art supply)
  • Mod Podge
  • Frame (recommend straight front and sides) ** Tip: check your local thrift store for frames, I was able to these for about $1 each
  • Brush
  • Cutting supplies: scissors, cutting mat, xacto knife, metal ruler

Instructions: Read more