Vintage Map Lampshade | Pretty Handy Girl

Vintage Map Lampshade | Pretty Handy Girl
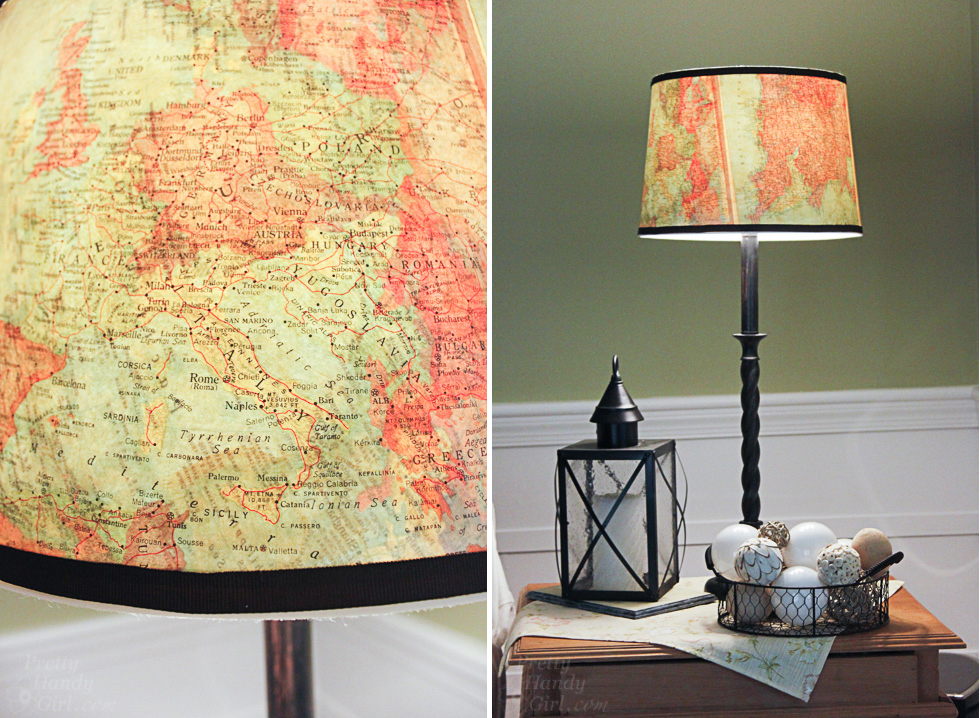
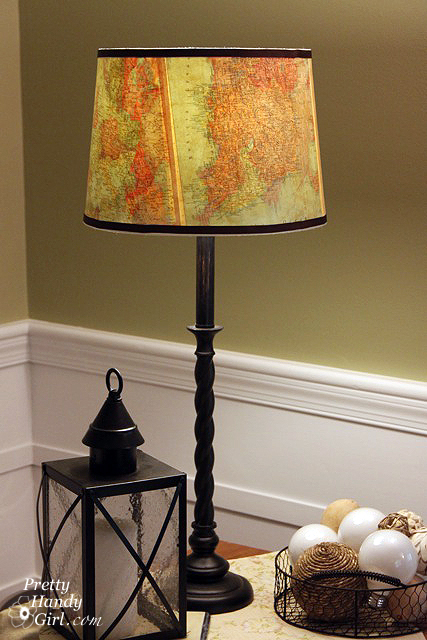
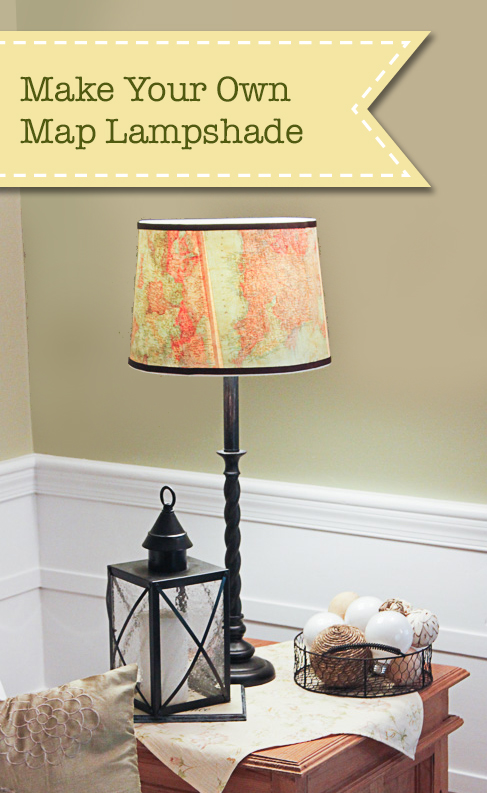
Do you want to update a plain vanilla lamp shade? Do you have a vacation you want to remember? You can do both with this vintage map lampshade!

The process to create a Vintage Map Lampshade is easy, especially if your lamp shade is close to a perfect cylinder. But, what do you do when you have a cone shaped shade? The instructions are a little more complicated, but I can show you how.

Pull up a seat and I’ll show you how to create a cool decorated lampshade. (Keep in mind you don’t have to use maps. You could use wallpaper, fabric, a poster, or anything you want!) Let’s do this.
Vintage Map Lampshade | Pretty Handy Girl

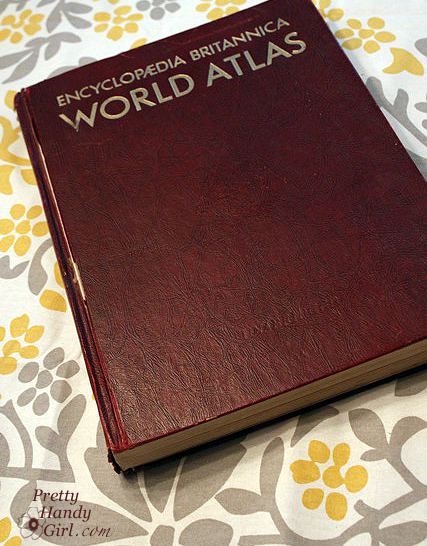
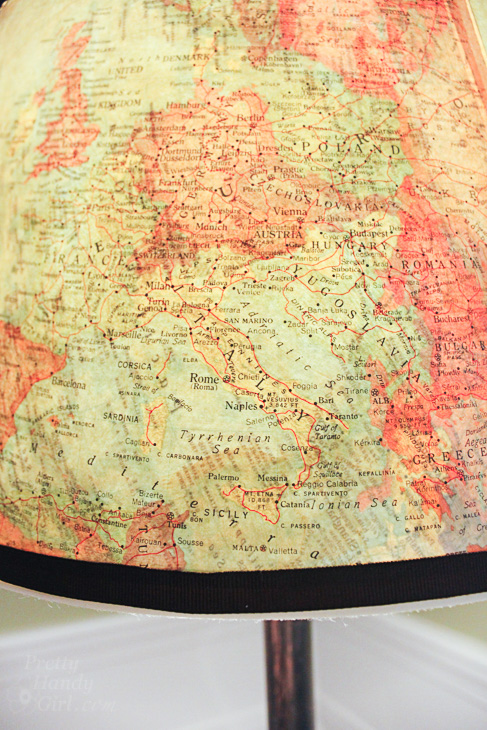
During a trip to my local thrift store, I discovered an old atlas and knew I could use it for oodles of projects. As I walked out of the store a flood of ideas came to me. One of them was to make a Vintage Map Lampshade.

Materials:

(I’ve included affiliate links for your convenience. I earn a small percentage from a purchase using these links. There is no additional cost to you. You can read more about affiliate links here.)
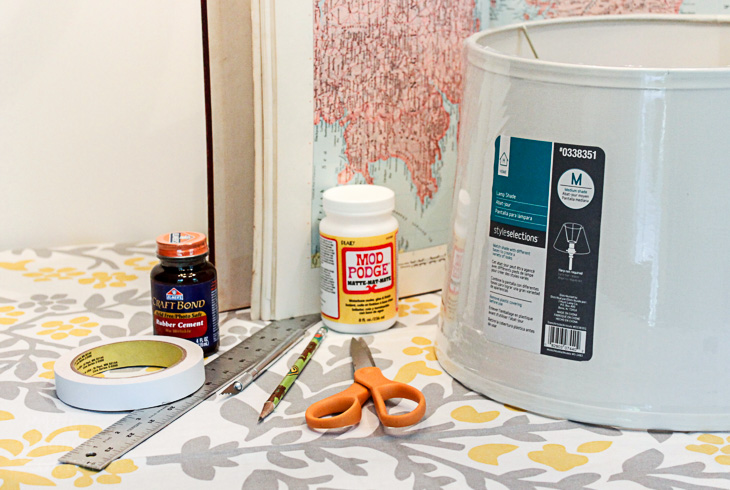
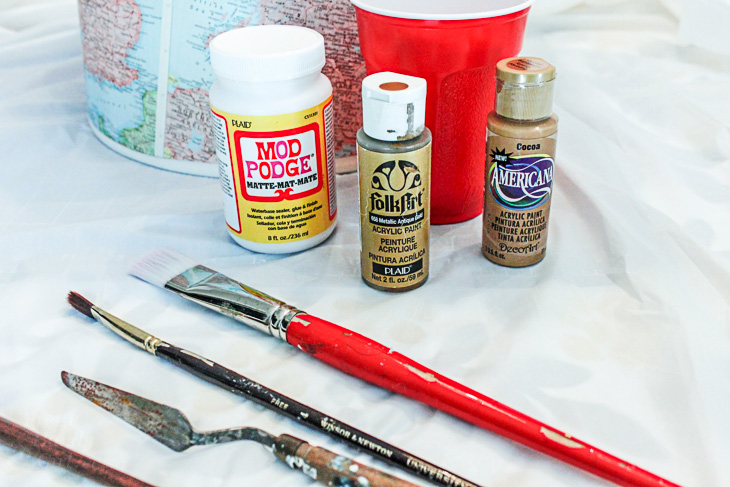
To add a vintage glaze you will also need:


Instructions:

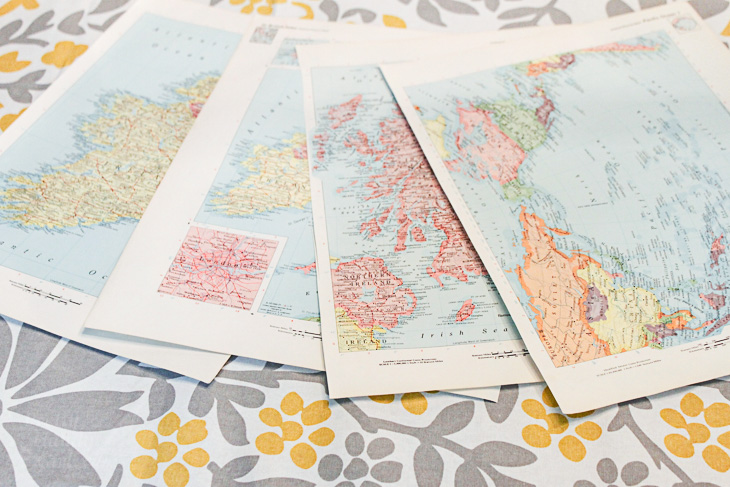
Start by selecting the maps or paper you want to use. Carefully cut them out along the spine using a fresh x-acto blade — don’t let your blade get dull. (I use a new one for each project. Your cuts are much cleaner when working with a fresh blade.)
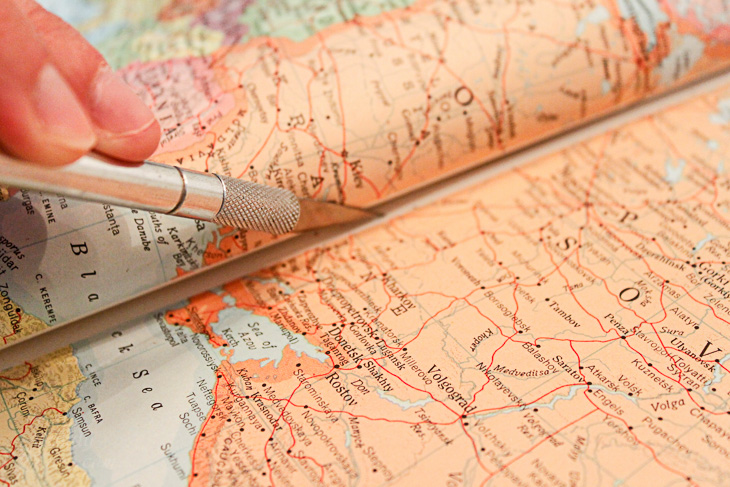
Set your pages aside for now.
To make a template for your shade, roll out a large piece of craft paper. Lay your lampshade on the craft paper. Start at the vertical seam on the shade (to give you a visual of where to start and stop) and set your pencil along the bottom edge of the lampshade.
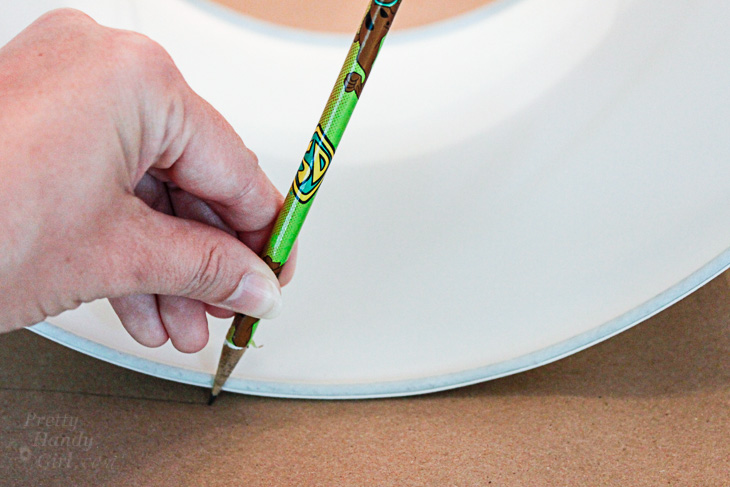
Gently roll the shade on the paper and mark along the bottom edge of the shade.
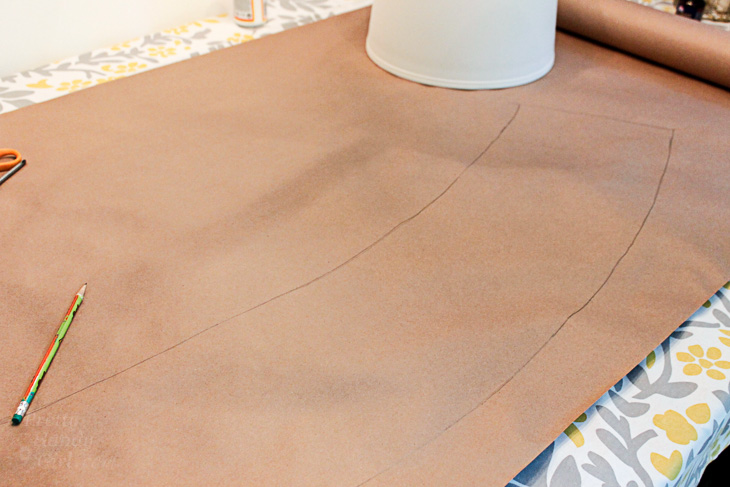
When you reach the end, reverse your shade and draw along the top edge. At the end, add an inch or two for overlap. Cut along the outlines to create your lampshade template.
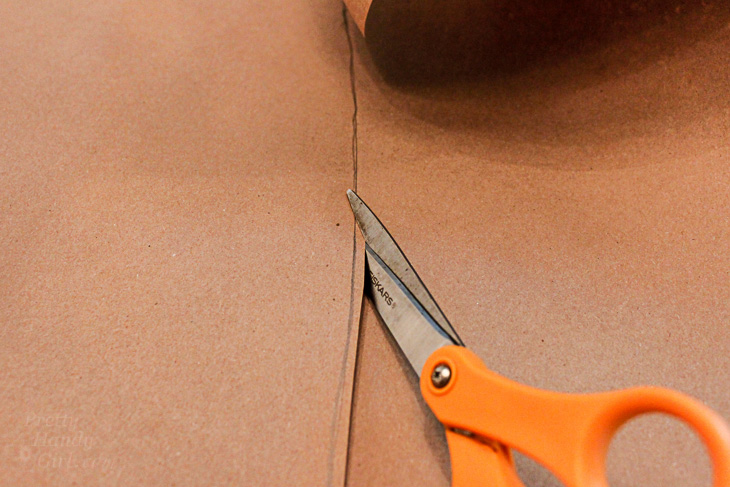
Tape the template onto your lamp shade using the low tack tape. Make sure it fits snugly.
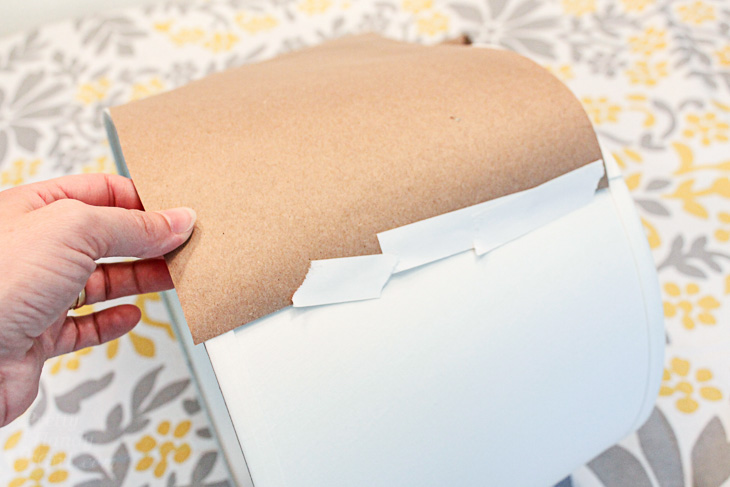
Trim any excess from the edge of your template. Should you choose, trim excess to allow room for the grosgrain ribbon.
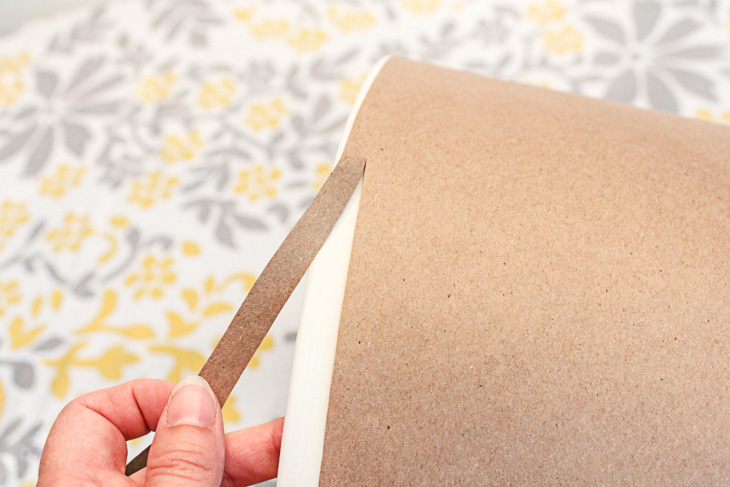
Make sure your template fits perfectly before you proceed.
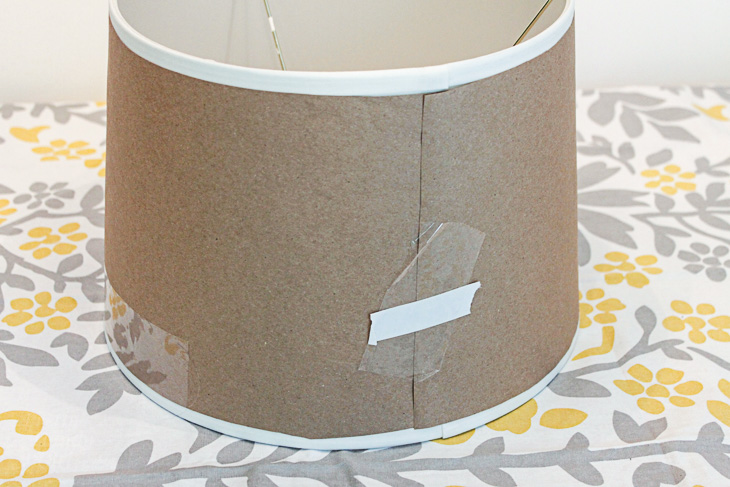
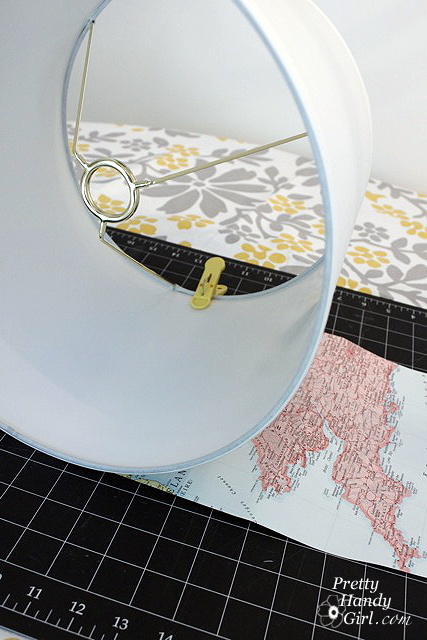
Lay out your craft paper template on top of the map pages. Make any adjustments to the page layout.
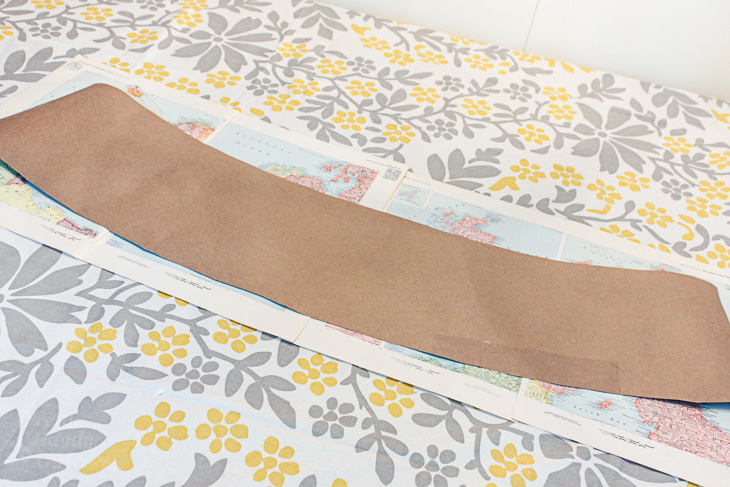
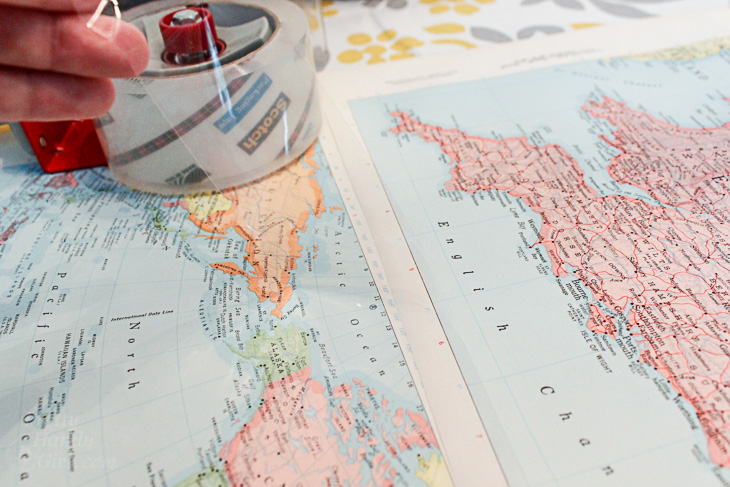
Tape your map pages together using clear packing tape on the inside only.
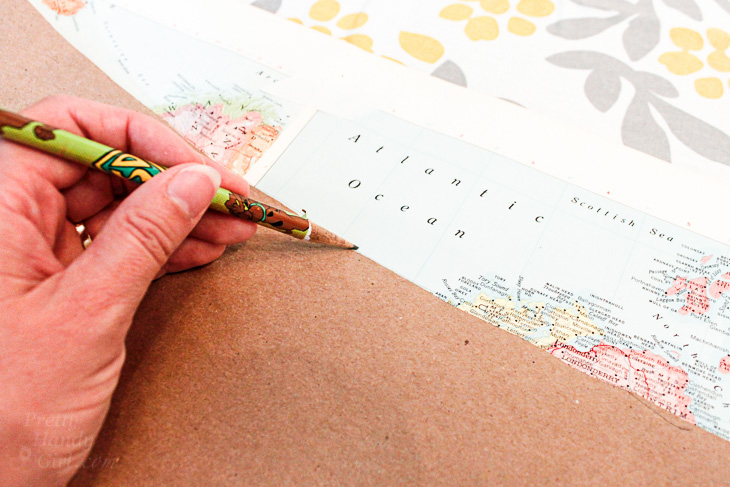
Trace the template on top of the map pages.
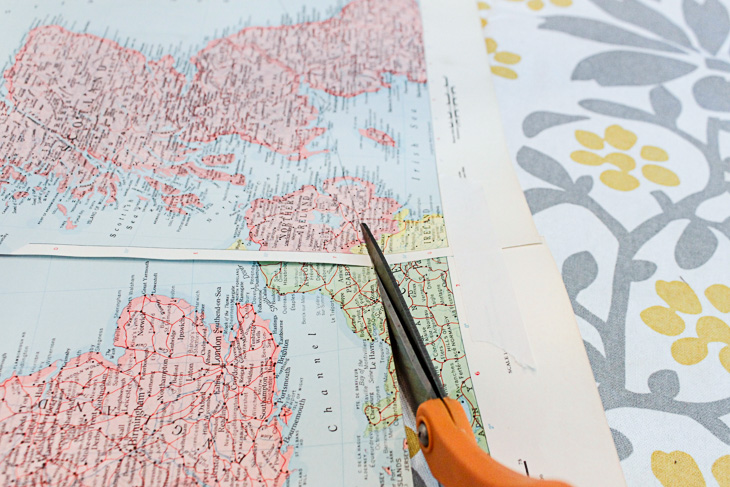
Cut out the shape along the pencil line.
Wrap the lampshade with your cut out map pages.  Clip the edges with clothes pins.

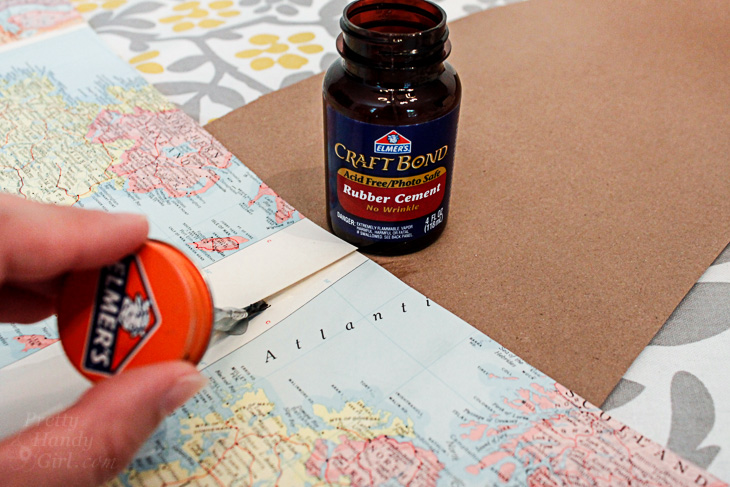
Working in small 8″ sections, brush rubber cement onto the map and the lamp shade. Wait a minute or two for the glues to dry. Then press them together. This is the best way to get maximum adhesion when using regular rubber cement. It creates a stronger bond than just one coat applied and joined while it is still wet. Alternatively you could use spray adhesive (especially if you are using fabric.)
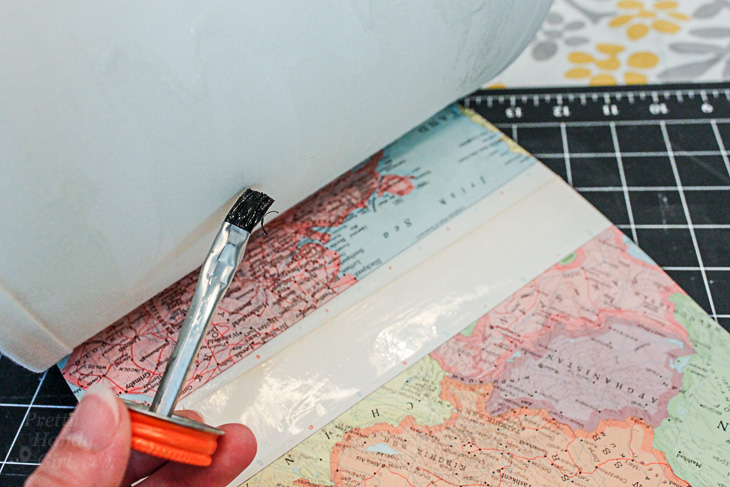
Continue by gluing another section until you reach the end. To finish the seams on the outside, brush some rubber cement under the seams where your maps overlap. Press and hold them down until the glue dries.
Add a Vintage Aged Glaze:

Time to give your maps a vintage aged look! Pour 2 parts mod podge into an empty cup. Add about 1 part cocoa paint. Mix them together. Test some of the glaze on a scrap piece of paper. If you like the glaze color, start brushing it onto the lamp shade. Be careful not to use too much of the glaze or the paper will start to wrinkle. (If it does, no worries, some of the wrinkles will come out when it dries. Any remaining wrinkles make it look old.)
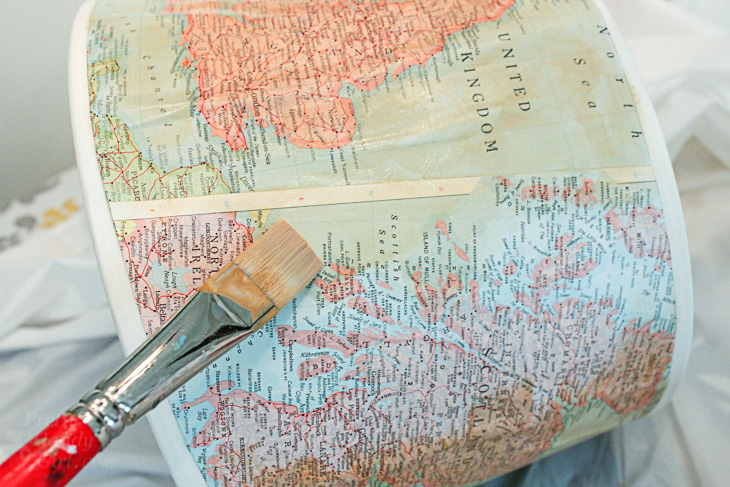
Let the glaze dry.
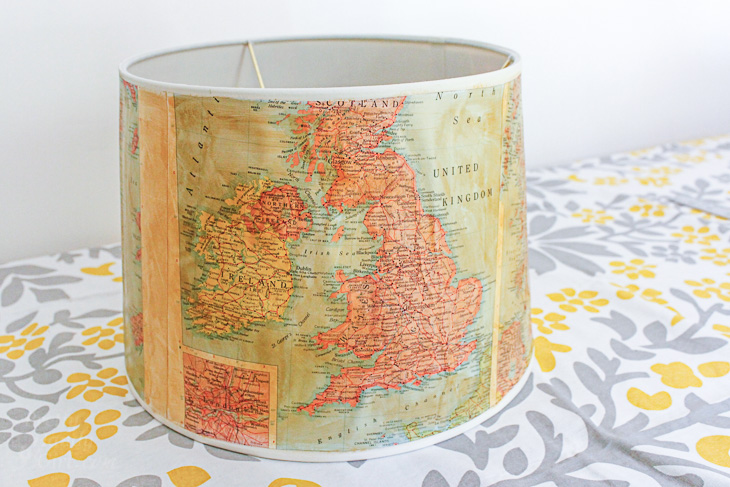
Cut two strips of grosgrain ribbon the circumference of your lamp shade plus an inch for overlap.

Hot glue the ribbon onto the top and bottom edges of your lamp shade. (Please, please, protect your fingers, read my hot glue gun safety post before working with hot glue!)
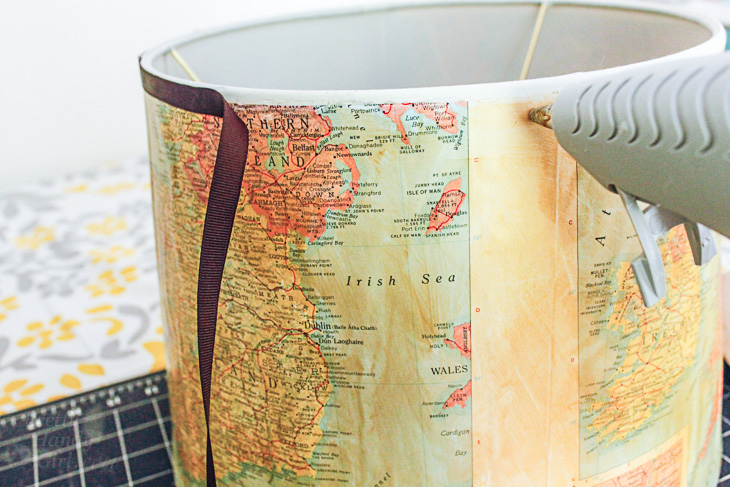
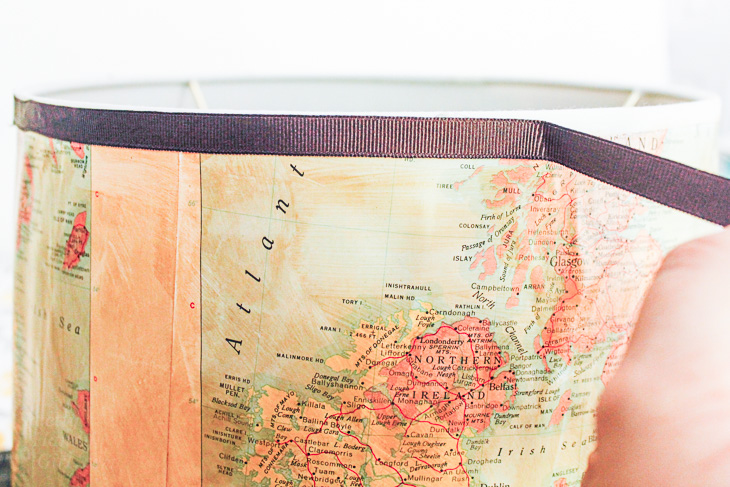
Put your lampshade on your favorite lamp.

Admire your unique lamp shade that brings back fond memories of a special trip.

If you make one of these, what map would be on your’s? Your home state? The place you were born? Where your family’s heritage resides? Or something completely different? I would love to hear your ideas.

Did you like this tutorial? Want to learn how to revamp another lamp shade with paint chips!
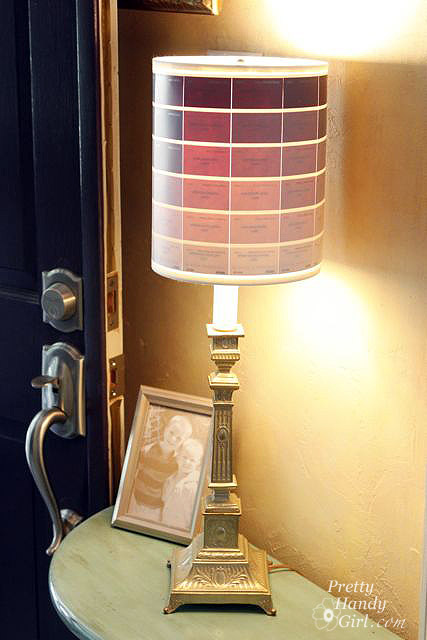
The result are a beautiful ombré lamp that is fun and colorful.


Bali Dream Deck for Thompsons Water Seal | Pretty Handy Girl

Bali Dream Deck for Thompsons Water Seal | Pretty Handy Girl

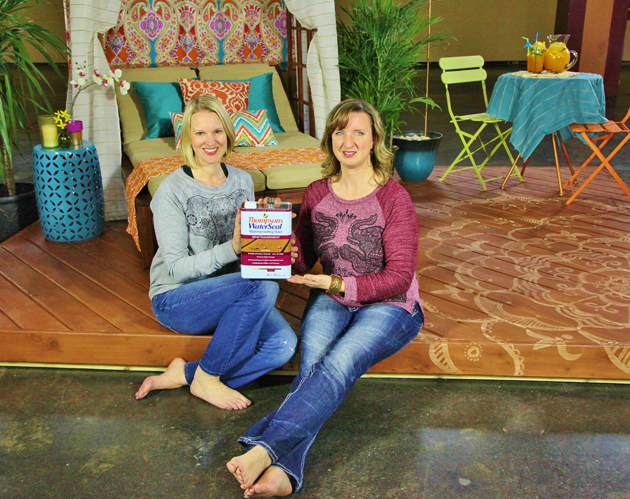
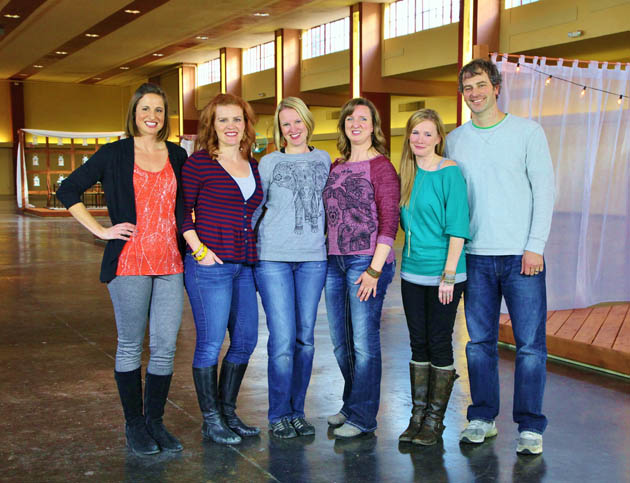
Last month while most of the US was under heavy blankets of snow and ice, I flew to Dallas. I was hoping to find warm temperatures and lots of sun. And if I couldn’t find any, I’d create my own with my sister, Caitlin’s help. Thompson’s WaterSeal asked me to design a dream deck and told me to bring an assistant. Normally I work alone, but when I need help with design and décor I know I can always count on Caitlin. Some of you may remember when Caitlin and I worked together on renovating this beach condo. Caitlin is the talented designer behind Symmetry Designs.

Bali Dream Deck for Thompsons Water Seal | Pretty Handy Girl

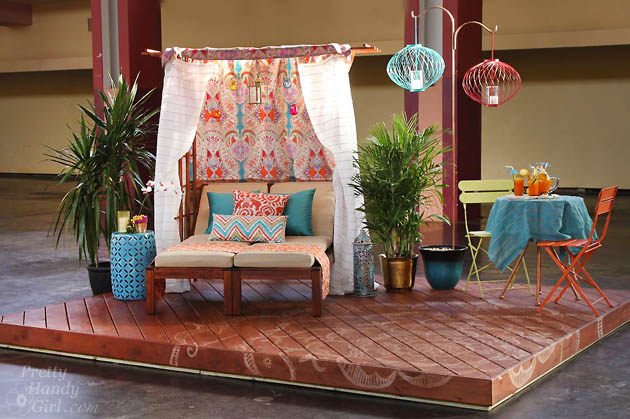
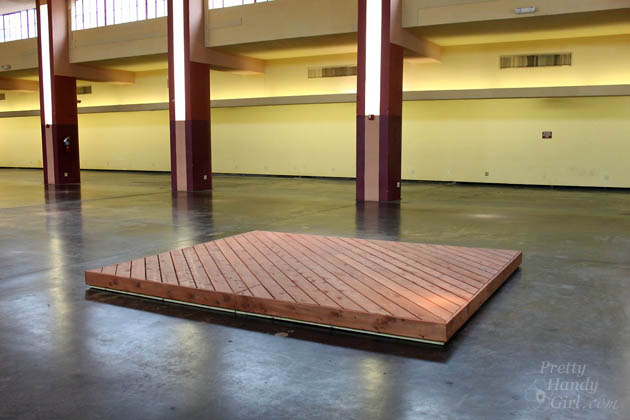
When we arrived, the weather was mild, but we were still craving some warm sunshine. We decided to create a Bali getaway destination on our Thompson’s WaterSeal Deck. We started with a clean slate deck pre-stained with Thompson’s WaterSeal Semi-Transparent Water Proofing Stain in a beautiful Acorn Brown color.

Bali Dream Deck for Thompsons Water Seal | Pretty Handy Girl

Joining us were Beckie from Infarrantly Creative with her assistant Erin and Ashley & Jamin from The Handmade Home. They also had a blank slate deck to design.

Bali Dream Deck for Thompsons Water Seal | Pretty Handy Girl

The first thing Caitlin and I did was paint a giant white mandala “tattoo” on our deckRead more

16 Activities to do with Kids While in London

Last year while Pretty Handsome Guy was in London for business, we decided this was a perfect opportunity to turn his business trip into a pleasure trip for myself and the boys. Being in London for a month was wonderful because we had time to truly experience the city. But, we also had to get the kids out each day to wear them out. We went out everyday and explored much of London’s tourist attractions and then some. On average we walked about 15,000 steps per day, so if you go, bring good walking shoes (and an umbrella or rain coat. London is known for their dreary weather.)

I’ve put together a list of sixteen of our favorite activities to do with kids while in London.

16. Glass Elevator at SouthBank Center – This new art and restaurant center has a clear elevator in the center that is sure to amuse the old and young alike. I won’t give it away, but if you are nearby, stop in and take the glass elevator from the bottom to the top floor. You might just kill half an hour riding it up and down.

15. Science Museum:

astronaut_gloves

Allow a day for the Science Museum. There was so much to see and do here and many interactive activities. If you have less than a day, go to the lab on the fourth floor where all the fun and interactive games are. There’s also a great space exhibit where your little one can put on real astronaut gloves and try to assemble a bolt. In the basement is a  younger child play area and Google exhibit.

14. Regent’s Park – A traditional English garden with beautiful flowers and an entire garden dedicated to roses. The park has two playgrounds and is home of the London Zoo. We didn’t go to the Zoo so I can’t tell you if it was good or not. If you’ve been leave a comment below.

13. Tower of London: Read more

Pretty Waterlogue April Best of Week 1

Pretty Waterlogue April Best of Week 1

I am absolutely blown away by all the Waterlogue artists that are partipating in #PrettyWaterlogueApril on Instagram. There are so many beautiful images. Some would make beautiful greeting cards or garden flags. Others need to be framed and hung up to enjoy immediately! Scroll down to see my top picks this week!

I’m still working on that amazing giveaway prize, but I can tell you so far I have some great sponsors! Check back soon to learn more. In the meantime, I thought you might get a kick out of some photos from our Spring Break trip to Beaver Creek, Co.

Pretty Handsome Guy, myself and the two Handy Boys enjoyed some fresh powder and beautiful vistas.

PrettyHandyBoy #1 and I taking a rest at the top of the mountain:

phg-handy-boy1

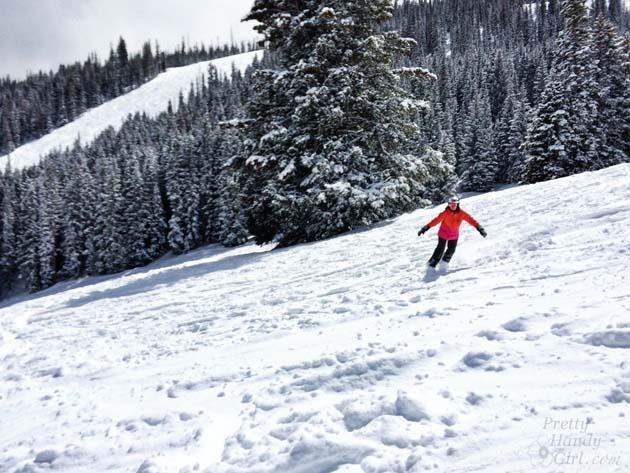
This is my favorite picture that was taken of me. I don’t think anyone could miss me in that bright coat. LOL.

#PrettyWaterlogueApril Best of Week 1 | Pretty Handy Girl

The boys truly wowed me as they carved turns down some intermediate trails at the end of the week. Considering this was their first time skiing beyond the North Carolina mountains, that’s saying a lot!

#PrettyWaterlogueApril Best of Week 1 | Pretty Handy Girl

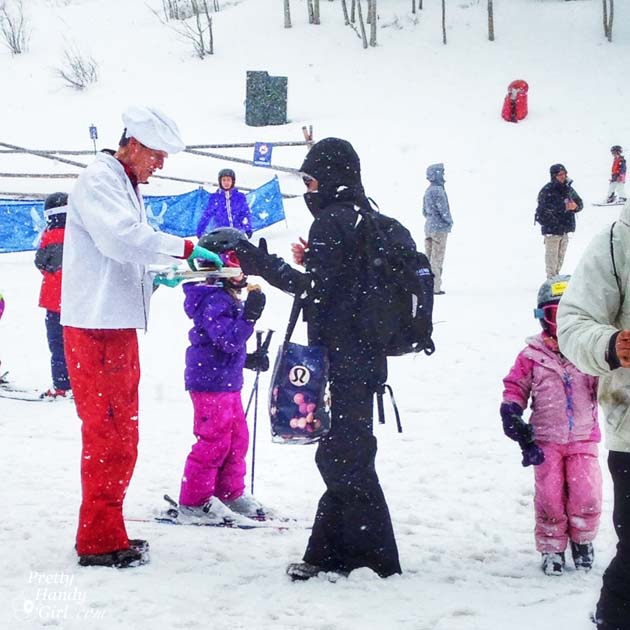
You know this chocoholic chick was on the slopes everyday at 3pm when the Cookie Ambassadors passed out fresh chocolate chip cookies!

cookie-time

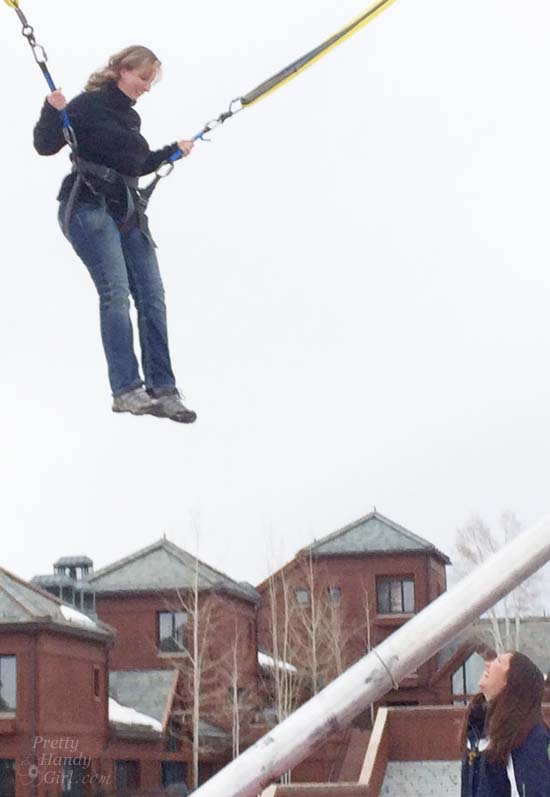
Beaver Creek also had loads of fun things for the kids to do. Pretty Handy Boy #2 was thrilled to do backflips on the bungee trampolines:

handy-boy-flying

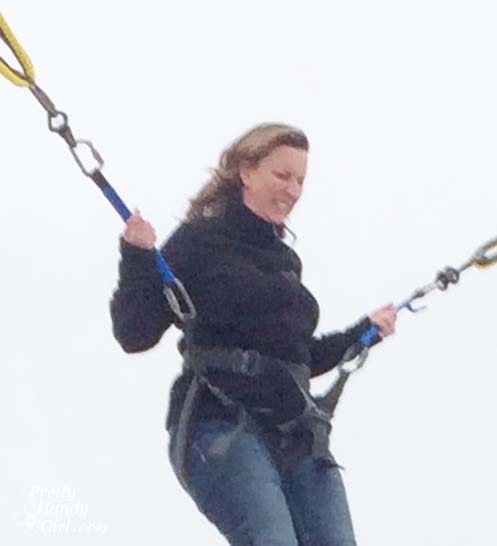
Somehow I was talked into trying it out. At first I was enjoying it…

bouncing  

…but after I was pressured into doing a backflip…I began to regret eating the cookie right before jumping.

Flying Scared

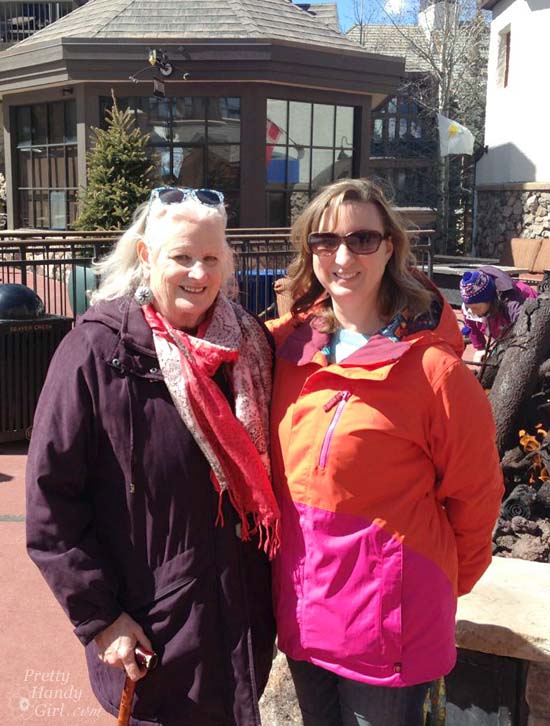
I had a chance to see my Aunt Bonnie who lives in Denver. We had fun shopping, eating and catching up.

aunt-bonnie   

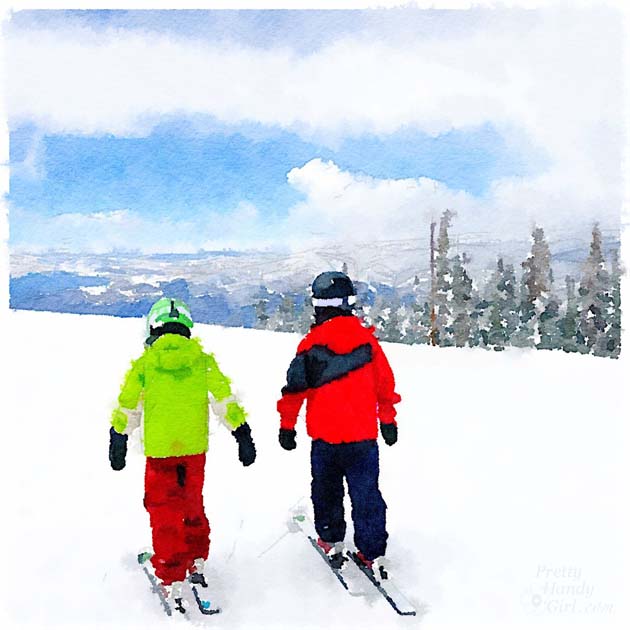
I also enjoyed snapping a few pictures of the landscape and turning them into beautiful Waterlogue paintings for the #PrettyWaterlogueApril challenge (you can see the rest of my pictures on Instagram):

#PrettyWaterlogueApril Best of Week 1 | Pretty Handy Girl

It was extremely tough choosing my favorite paintings this week. In no particular order, these were the chosen images. If you are on Instagram, be sure to click on the links to follow these talented artists: Read more

Whitecaps Tybee Island Home Tour | pretty handy girl

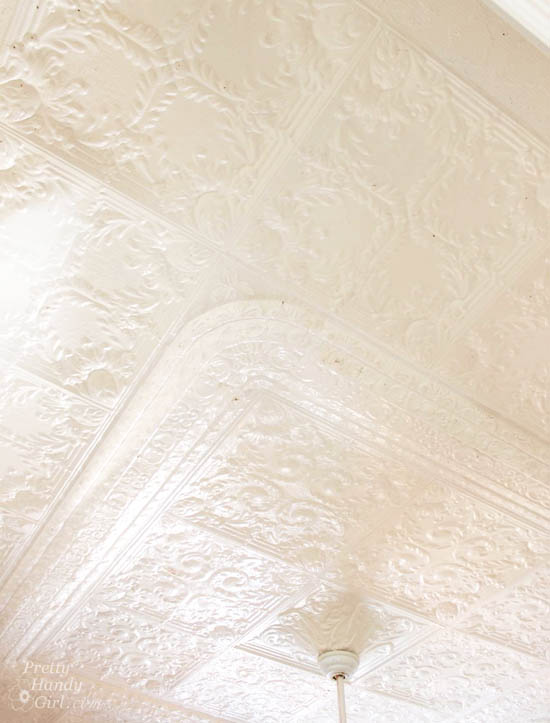
First let me say, I truly saved the best for last on this Tybee Mermaid Cottage house tour. Whitecaps is one of the old Officer’s homes and it is dripping with details. From ornate coffered ceilings to gorgeous furniture and antiques. We are excited to share this Tybee Whitecaps Tour.

White Caps Tybee Island House Tour | Pretty Handy Girl

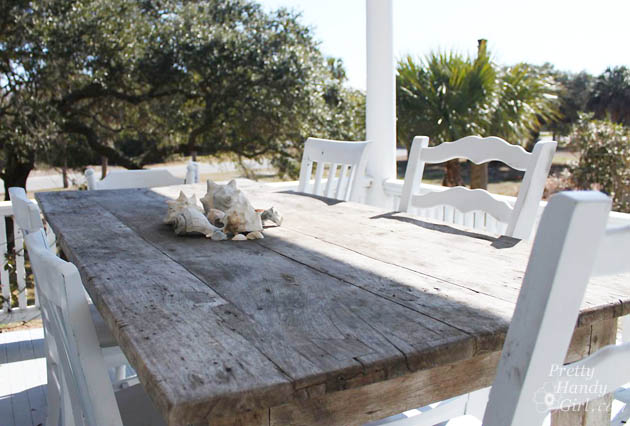
And with a front porch that looks out over the sea, you can not find a more relaxing place to sit and sip coffee.

White Caps Tybee Island House Tour | Pretty Handy Girl

The tour of Whitecaps begins…now!

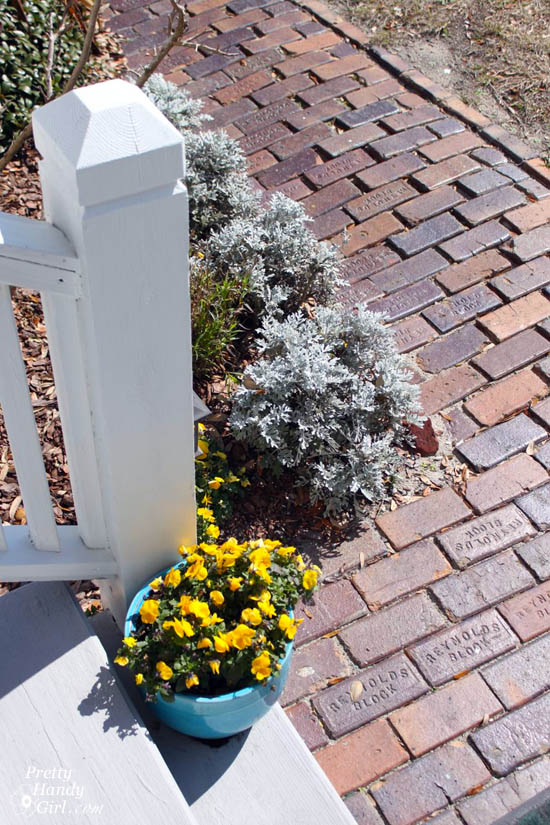
When you walk up to this beautiful house, it’s impossible to overlook the gorgeous original brick sidewalk leading to the front entrance.

White Caps Tybee Island House Tour | Pretty Handy Girl

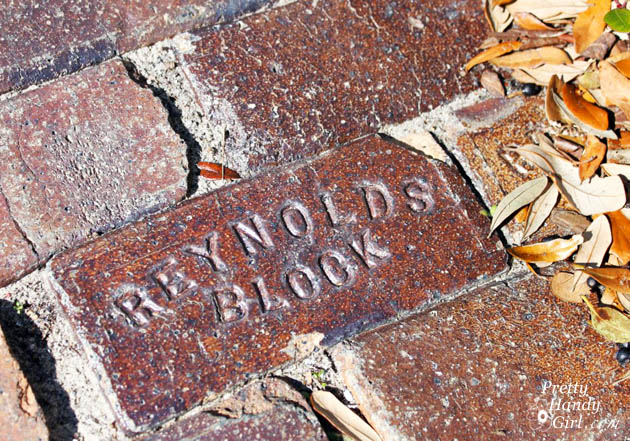
Old Reynolds Block bricks pave the path. Each brick is glazed and some are stamped. Beautiful colors make up the varied color palette. A quick internet search led me to the origin of Reynolds Block. They were made by the Tennessee Paving Brick Company of Robbins, Tennessee.

White Caps Tybee Island House Tour | Pretty Handy Girl

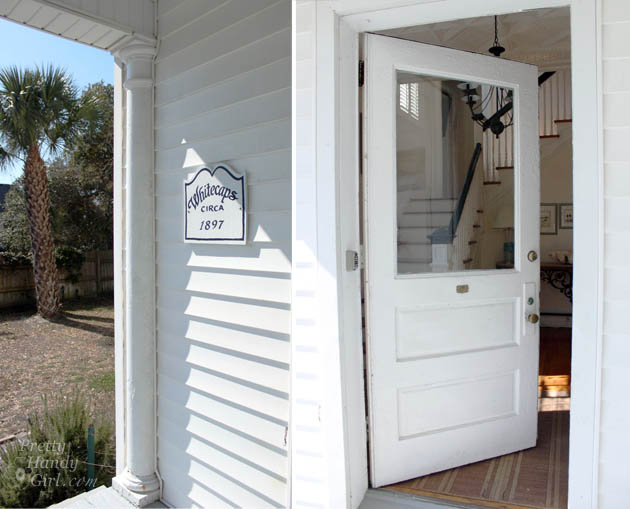
Whitecaps was built circa 1897 for the officers during the Spanish-American war.

White Caps Tybee Island House Tour | Pretty Handy Girl

It is situated on the Northern end of Tybee Island in the old Ft. Screven community.

whitecaps-map

The front door opens into the most amazing and breath taking foyer! Read more