How to Trim & Install Closet Doors {Dremel Ultra-Saw Review}
I have a friend named Holly. She and I live in the same neighborhood and we help each other out with DIY projects. Last week she asked me to help her come up with a solution to hide her dirty laundry.
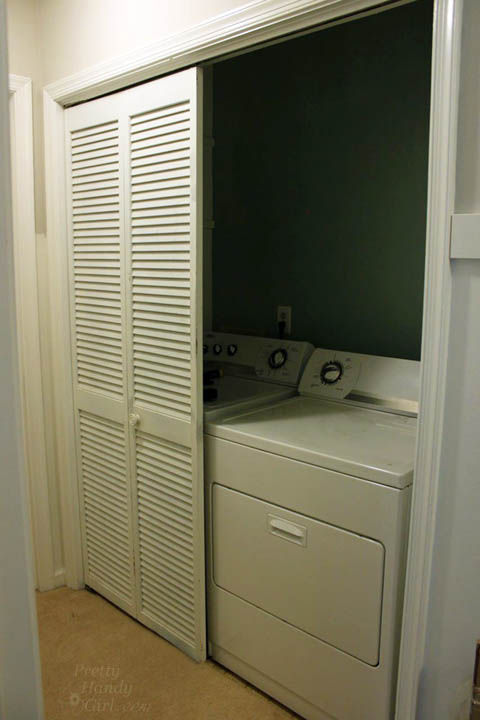
Holly and I were trying to figure out how to replace her sad laundry room door(s). The right side door had broken off and was unusable. We floated several ideas, originally thinking about creating inexpensive sliding barn doors. But, we scaled back that idea after realizing that inexpensive pipe hardware (spanning over 8 feet) was still too expensive for the budget. We began discussing buying cheap bi-fold doors and dressing them up. However, even new bi-folds aren’t super cheap. I mentioned she “might” have luck going to the Habitat ReStore to find the exact size doors. We both knew that was a slim chance. Then an idea hit me like a bi-fold door falling off its hinges! Among the multitude of things I have stored in my attic, were two sets of closet doors! One that used to be on my son’s reading nook closet. And the second set used to be on the pantry.
Would it be fitting that the only before pictures I have of the pantry doors are these gems?

The Streaker
The Goofball
You get the picture. They are ordinary bi-fold doors. After the doors were removed from our pantry I liked how open it was. Although sometimes I wonder if I am just too lazy to open and shut the doors every time I want food.
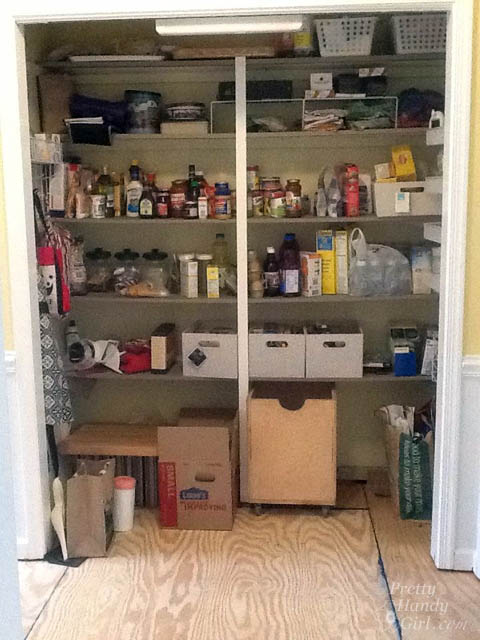
Regardless, I liked the open concept, but not necessarily our food being constantly ON DISPLAY. I have plans to add built-in cabinets and shelving to the pantry, similar to what my friends The DIY Village created, but for now we just have it open.
I ran home to dig through the attic and find the two sets of doors that might work for Holly. I held my breath (partly because the attic was stifling hot) as I measured the doors. My son’s closet doors were…too narrow. Whomp wah. The pantry doors were… a perfect width!!! But, they were 2″ too tall. No worries, I knew I could trim them down.
Here’s how to remove (and install) closet doors and cut them down to size using a Dremel Ultra-Saw:
(I’ve included affiliate links for your convenience. I earn a small percentage from a purchase using these links. There is no additional cost to you. You can read more about affiliate links here.)
Materials:
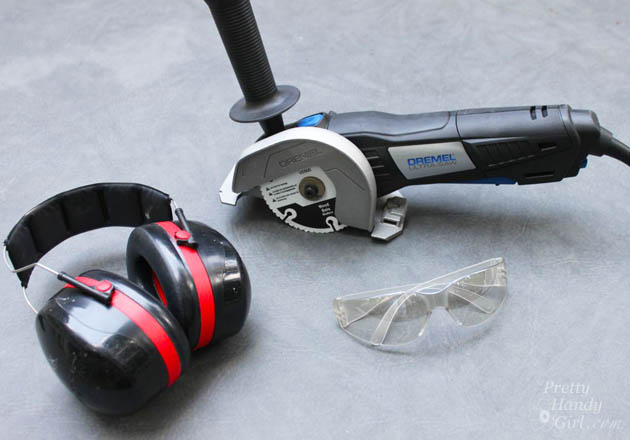
- Phillips head screwdriver
- Flat head screwdriver
- Closet doors
- Carpenter’s Square
- Pencil
- Tape measure
- Dremel Ultra-Saw
- Safety glasses
- Ear protection
- Dremel Multi-Max with sanding head
- Drill
- Drill bit the width of the door hardware
- Painter’s tape
Optional: New closet door hardware (bottom pivot, top guide, guide wheel, pivot bracket)
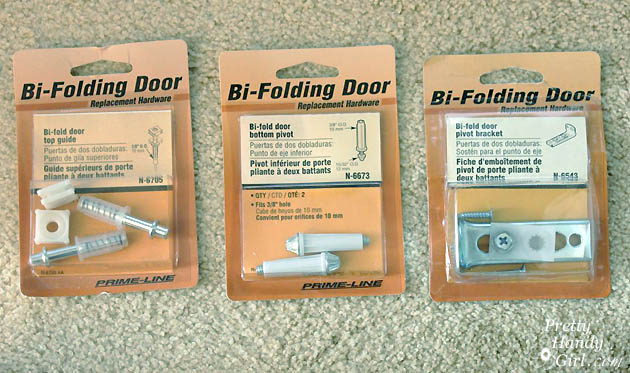
Instructions:
Measure the existing doors or the door opening. If you are measuring the opening, be sure to reduce your width measurement by 2″. And the height by 2-3″.
Remove the existing bi-fold doors by pushing down on the upper guide wheel and releasing it from the track.
Then loosen the screw in the the top pivot bracket. Slide the bracket along the track and tilt the door until you can release the door from the bracket. The top guide pin can be depressed into the door to help remove it from the bracket. Once free, simply lift the door up and out of the bottom pivot bracket.

How to Trim the New Closet Door with a Dremel Ultra-Saw:
Look at your new door, assess which end(s) you want to trim. Ideally the bottom of your door will have more length between the bottom panel and the bottom of the door than the distance between the top panel and the top of your door. It’s a visual trick, but if you look at most panel doors you will notice that there is more height at the bottom of the door than the top. Mark the amount you need to cut off the new door.
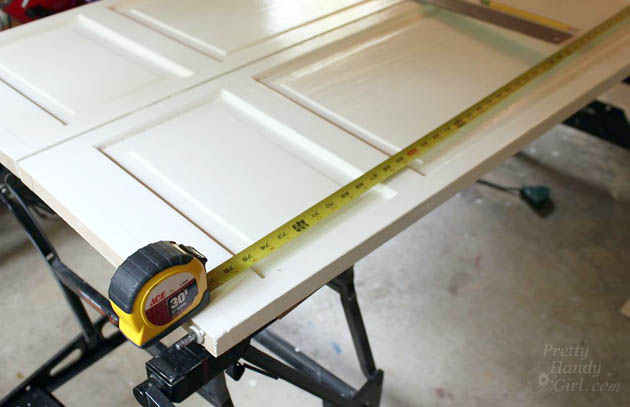
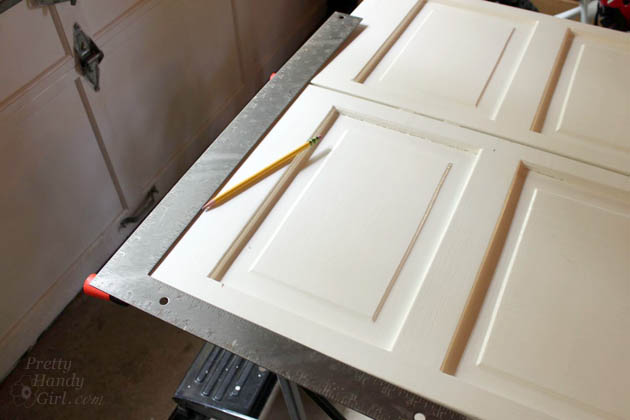
Use a carpenter’s square to draw a cut line that is square with the side of your doors.
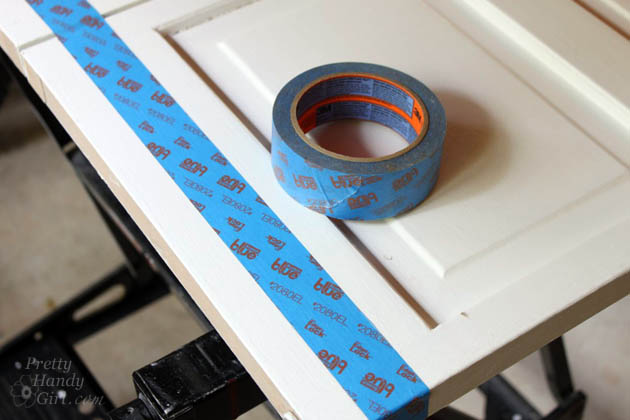
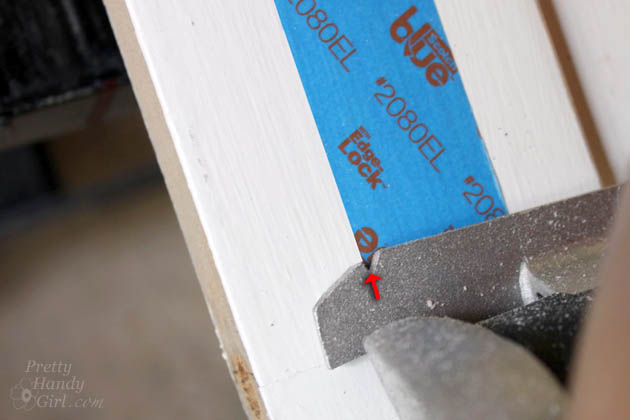
Apply painter’s tape to the door, lining the edge up along the cut line and keeping the tape on the “good” side of the cut. The tape will help prevent the door from splintering while you cut.
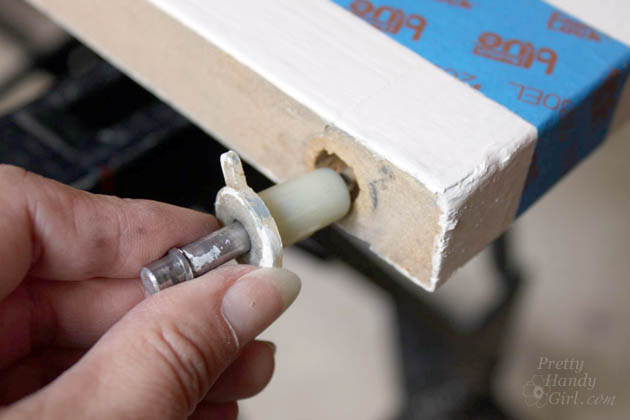
Remove any door hardware.
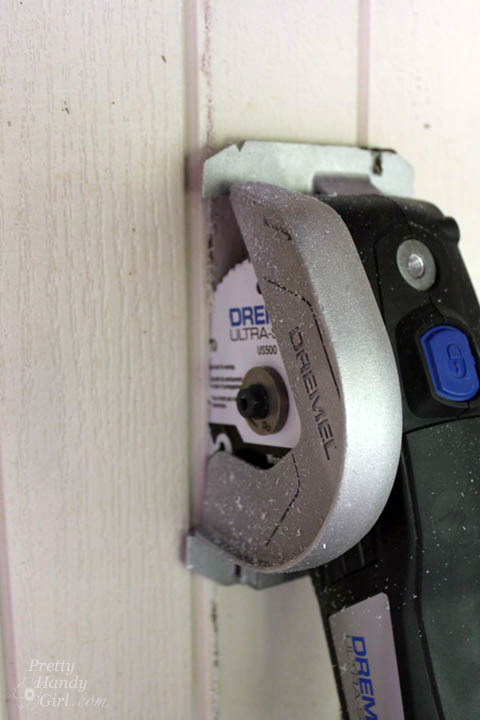
Set the depth of your Dremel Ultra-Saw. (Notice that the max depth of the Ultra-Saw is 3/4″ deep. Cutting the 1″ door will require two cuts. While this may seem a bit of an inconvenience, the convenience factor is appreciated when you can throw this little saw in your tool box and not have to haul a larger circular saw around. Plus, the Ultra-Saw is light weight and easier to control.)
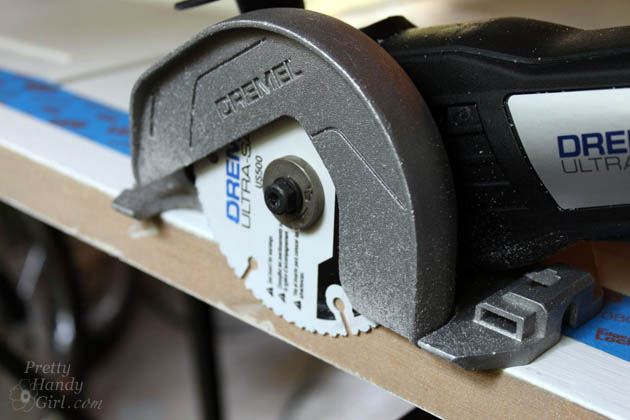
To operate the Dremel Ultra-Saw, locate the “Lock off” switch release lever on the underside of the saw. a) Flip the switch over. b) Depress the paddle switch and the saw will start. c) If you are cutting a long cut and want to keep the switch depressed, you can push the “Lock on” button located near the power cord at the back of the Ultra-Saw.
Line up the notch on the base plate with the cut line on the door. Gently push the Ultra-Saw through the door keeping the notch in line with the cut line.
When you are finished, release the paddle switch and wait for the blade to stop before setting the saw down.
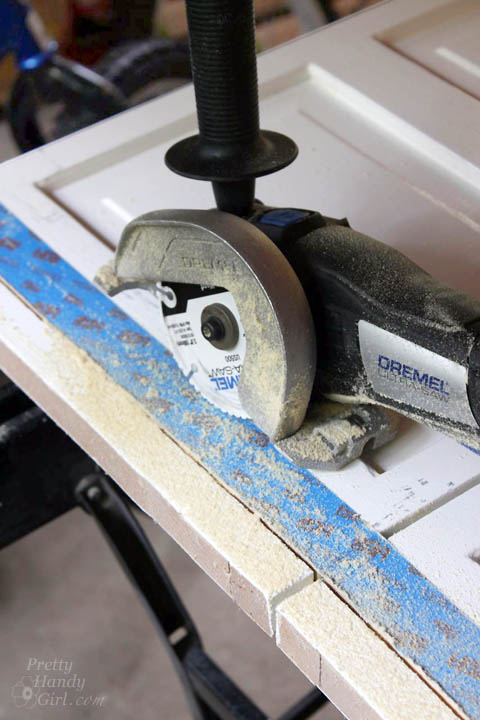
Flip your door over and repeat the above steps to cut through the rest of the door.
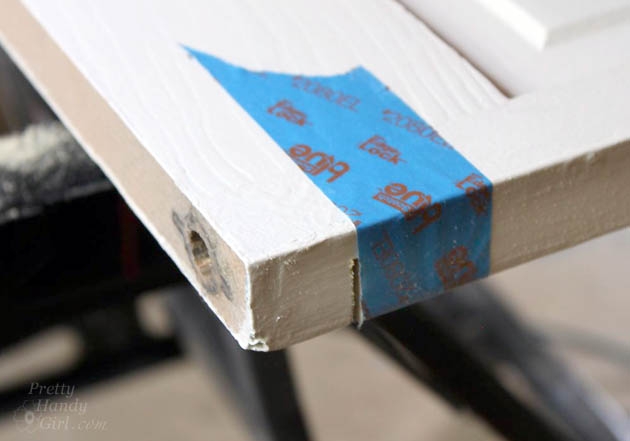
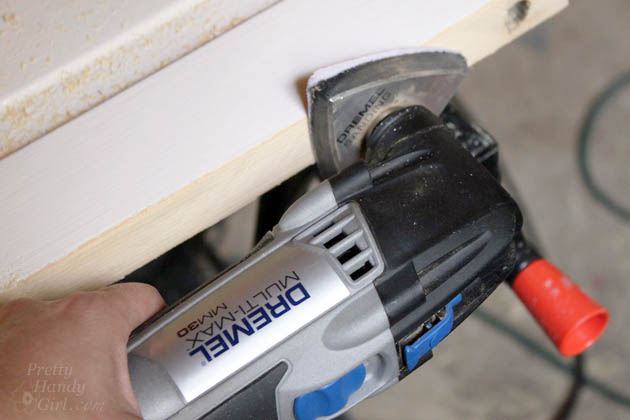
Smooth the cut edge with the Dremel Multi-Max.
To replace the bi-fold door hardware, you might need to re-drill the holes. Select a drill bit the same size as your hardware. Wrap a piece of painter’s tape around the bit at the max depth you wish to drill. Drill your new holes in the same location they were previously.
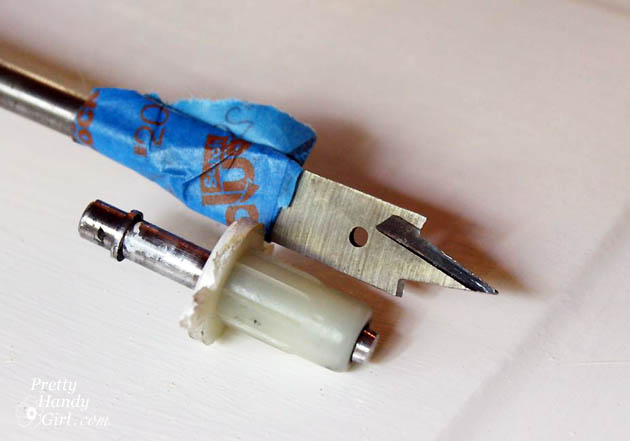
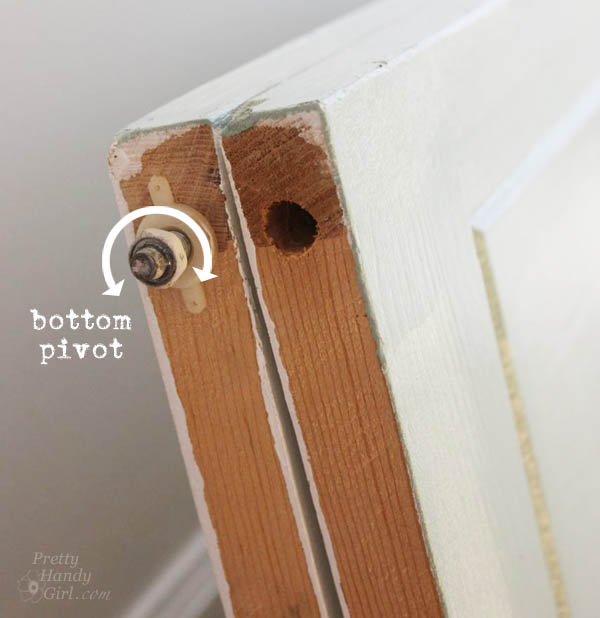
On the bottom of your door, Insert the bottom pivot into the hole on the side where the pivot bracket is.
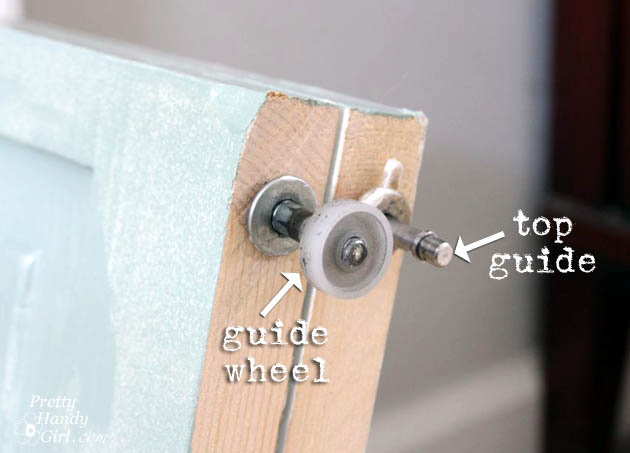
On the top of your door, insert the top guide on the same side as your bottom pivot. And insert the guide wheel on other side.
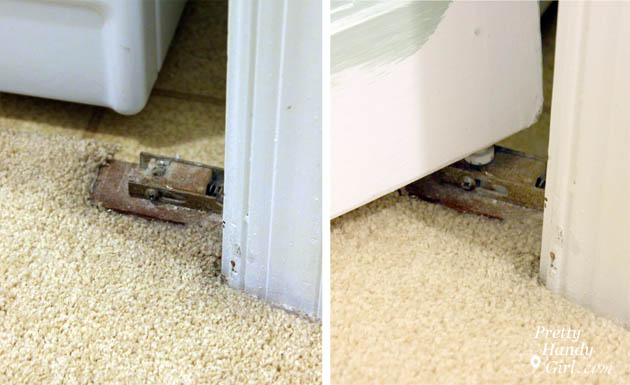
To install the door, locate the bottom pivot bracket on the floor. Gently set the bottom pivot into the hole. (Note, you may need to screw or unscrew the bottom pivot to adjust the height of your door.)
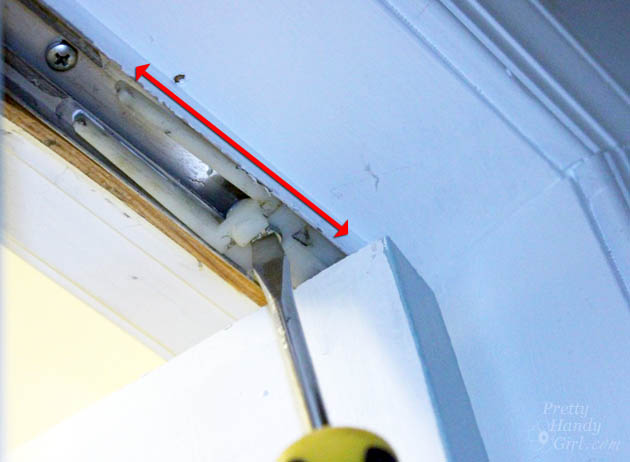
Loosen the top pivot bracket in the track and slide it over until you can insert the top pivot guide into the hole in the bracket. Adjust the bracket until the door is plump and equal distance from the door jamb at the top and bottom (you can eyeball this step.) When you have the door in the proper location, tighten the set screw.
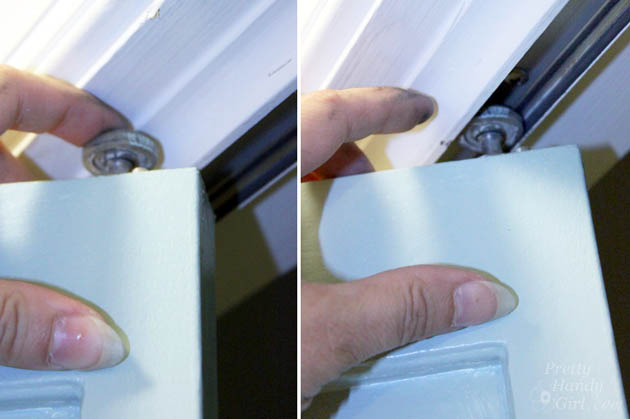
Depress the guide wheel and push it into the track. Release the wheel inside the track. Test your door by opening and closing it. Make any adjustments to the bottom pivot height or the top pivot bracket as needed.
Insert the second door the same way you installed the first bi-fold door. Check that you can close both doors and make any adjustments as needed.
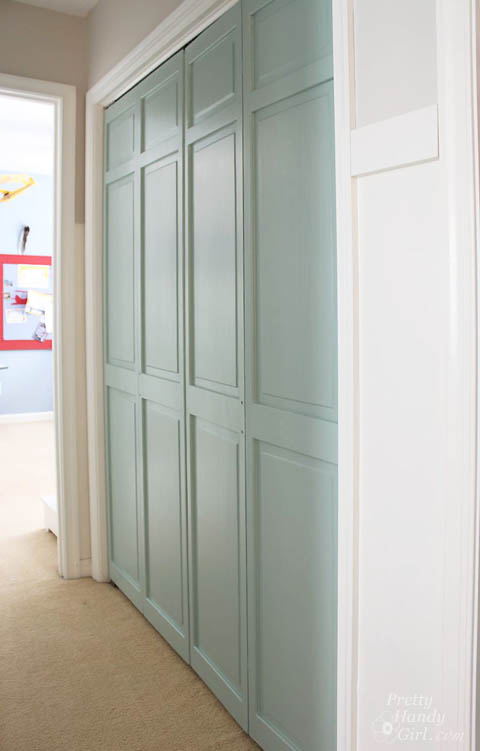
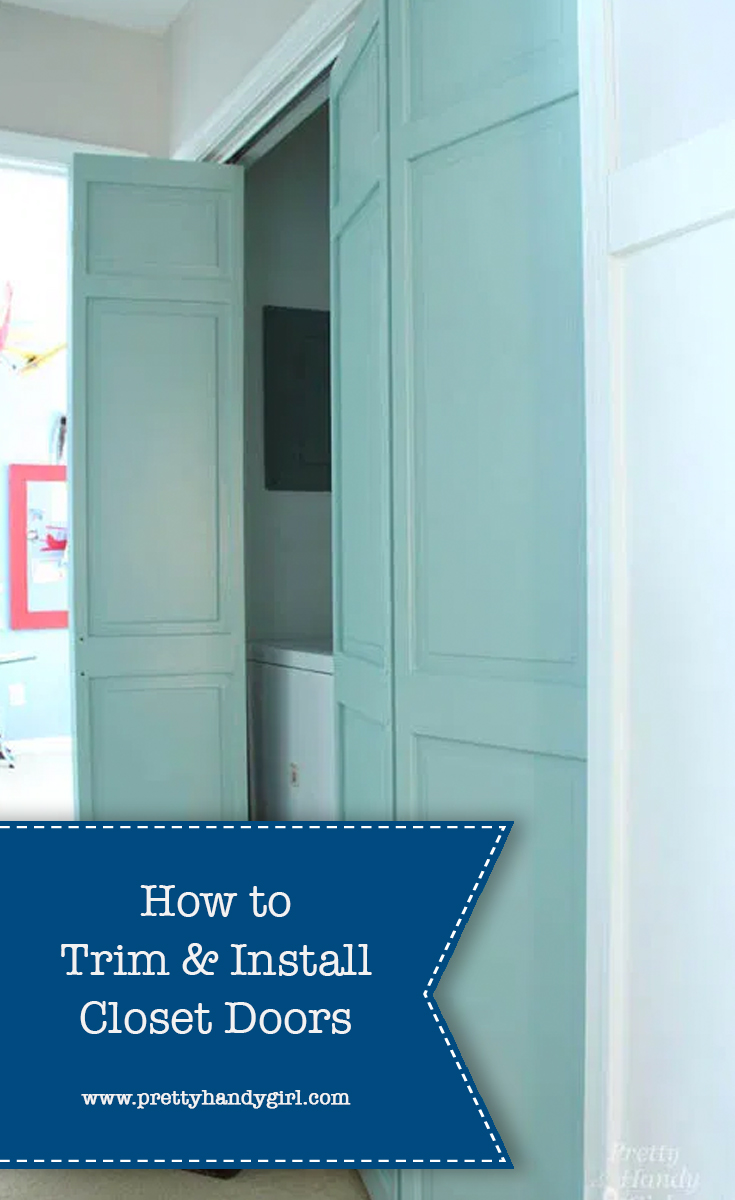
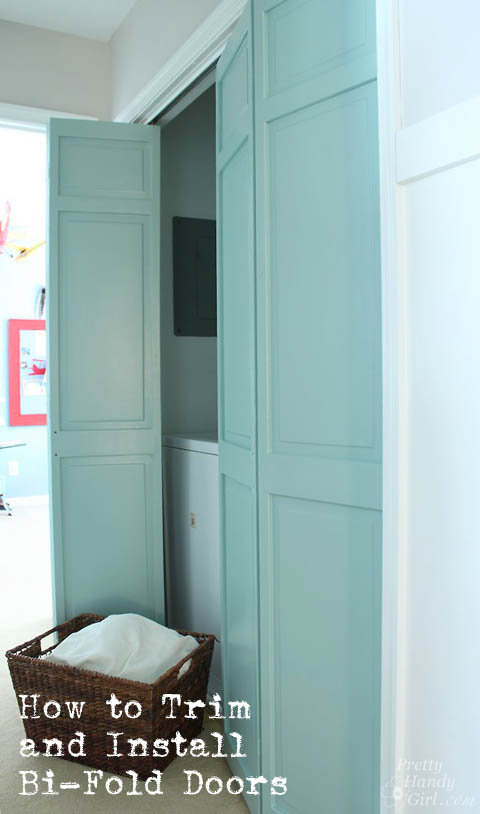
Holly likes her new doors and relishes the fact that her laundry is no longer on display 24/7.
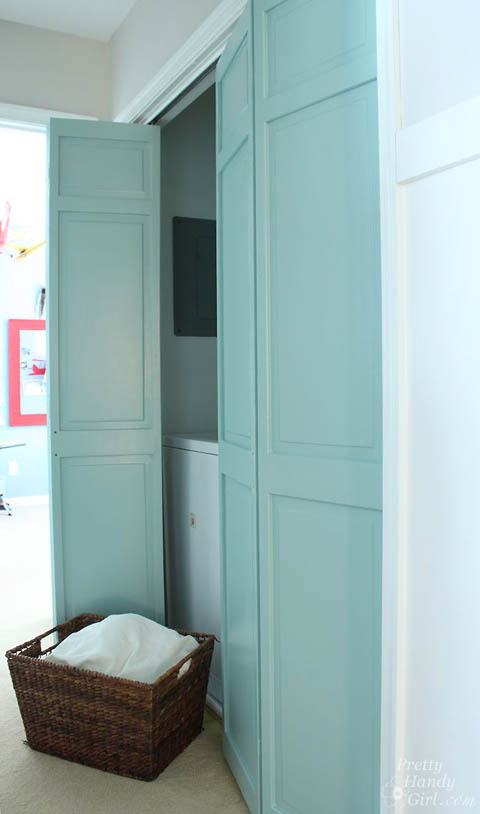
Little did I know that two years ago when we removed our pantry doors after the now famous plumbing leak, that they would find a new life as laundry closet doors in Holly’s house! Boy am I glad I don’t throw anything away!
A few notes about the Dremel Ultra-Saw:
While test driving the Ultra-Saw, I found it extremely helpful while cutting out access panels on the sides of our hot tub. We have to replace two of the tub’s pumps and we either had to remove the entire tub from its location (it is built into the deck on three sides) or I could cut access panels. Being a power tool loving chic, I chose the latter option. Using a circular saw under the deck would not have been possible. The smallness of the Ultra-Saw gave me plenty of maneuvering room and allowed me to set the saw depth just enough to cut through the fiberglass walls, but not into anything else (like a wire or pipe.)
The Dremel Ultra-Saw also comes with wheels to cut metal, a concrete surface prep wheel and a wood flush cut wheel for cutting under door casing. Additional wheels can be purchased for cutting masonry, tile and more. The Dremel Ultra-Saw cuts wood, metal, drywall, plastic, tile, masonry, fiberglass and more. This tool is also helpful for rust removal on metal; paint removal on flat surfaces; thinset removal and flooring prep. This would be the perfect tool for a newbie who is still getting used to power tools because of it’s slim design and light weight. And yet, the Dremel Ultra-Saw is also powerful enough to be a permanent fixture in any seasoned handyman’s (or handywoman’s) toolbox.
To see another creative use of the Dremel Ultra-Saw, check out Sawdust Girl’s metal fireplace screen art. You can also find more projects showcasing the Dremel Ultra-Saw on DremelWeekends.com. Finally, for more information and videos, visit the Dremel website.
Disclosure: As a brand ambassador for Dremel and a #DremelMaker, I was provided with the Dremel Ultra-Saw to use for a project and product review. I was also compensated for my time, but I was not told what to write or what project to complete. All opinions and ideas are mine. As always, I am very particular about the tools and products I chose to work with and will always let you know the details of my involvement with a brand.
Psst. It’s my birthday today! These are only a few of the goodies I want from Joss & Main:
Pin for later!





I googled into this today as I have some finicky doors in my daughter closet. Nice work!
What a difference this makes Brittany! Updated the whole look! Happy Birthday again!
I love the color that you have painted your bifold doors. I have a pair on my laundry room that needs some replacing so I really appreciate the post.
Love the new doors, your friend must be very pleased! I have many of your tutorials bookmarked, and love that you take the time to photograph and explain all the steps for those of use who are not so confident.
And Happy Birthday!
Happy Birthday! I’ve been following your blog silently for quite a while, but I couldn’t resist commenting finally since my husband and I share your birthday – yes, both of us. I first noticed in your post with your son’s locker where he had your birthday hanging up (so cute!). I’ve really enjoyed reading all your handy tips, and since we just bought a house in April, just round the corner in Raleigh, I’ve been itching to do some remodeling. Hopefully I’ll be able to share my own adventures one day. You’ve been really inspirational! Thanks!