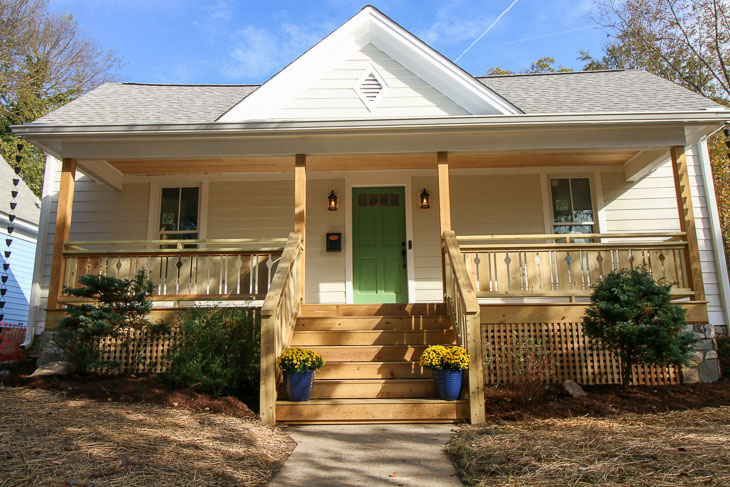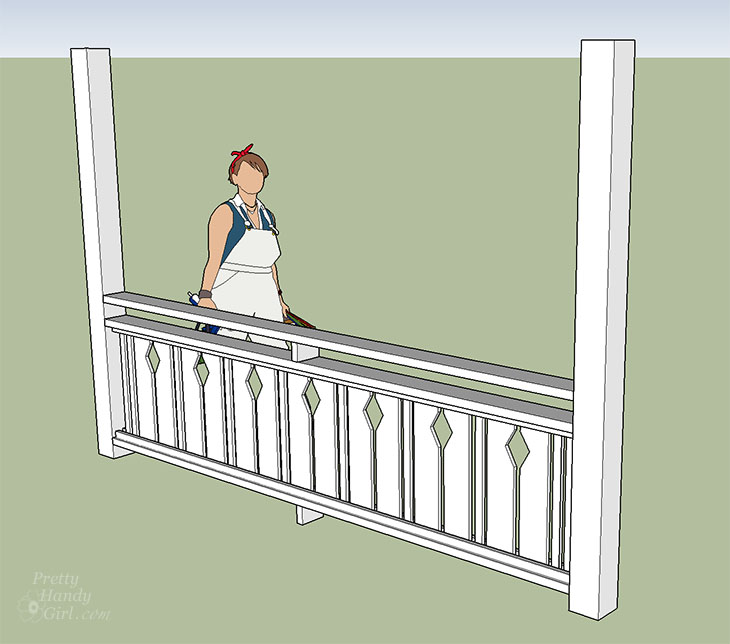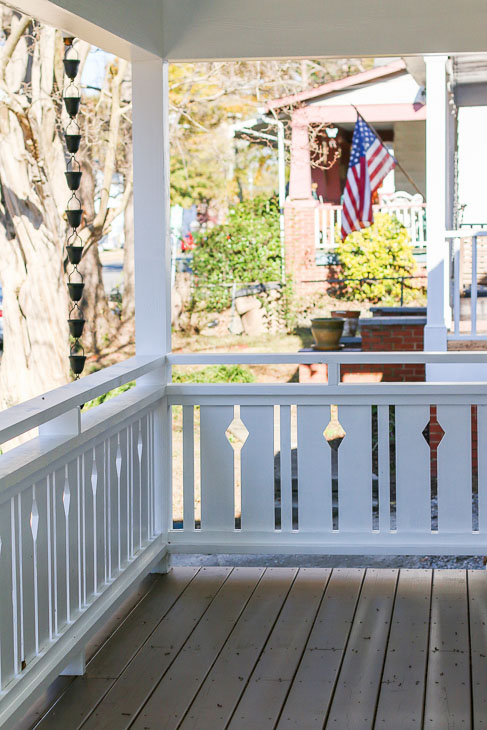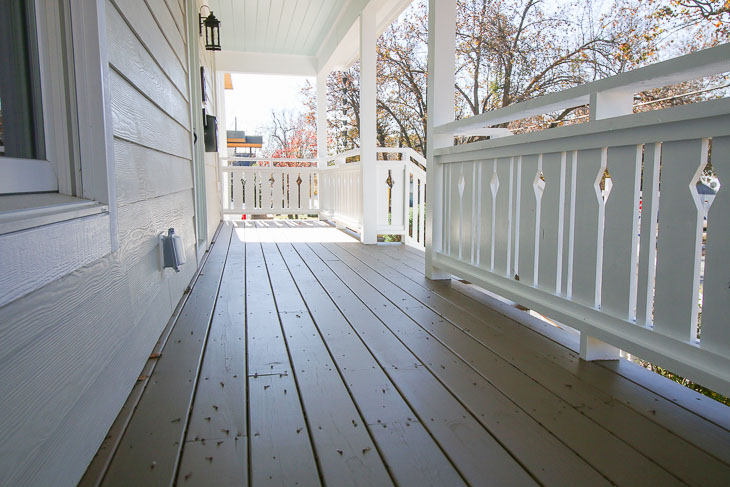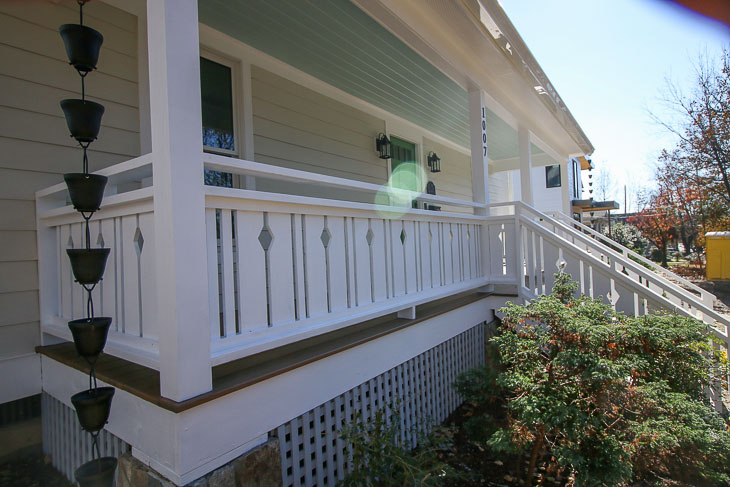
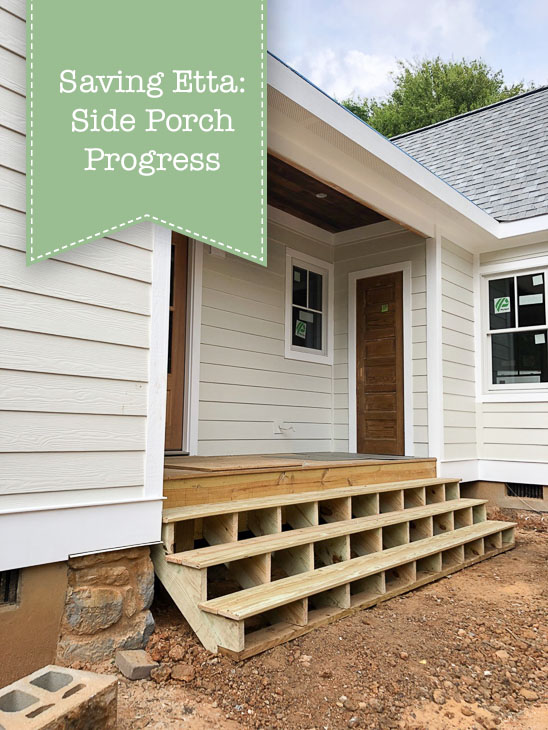
Saving Etta: Side Porch Progress

Saving Etta: Side Porch Update

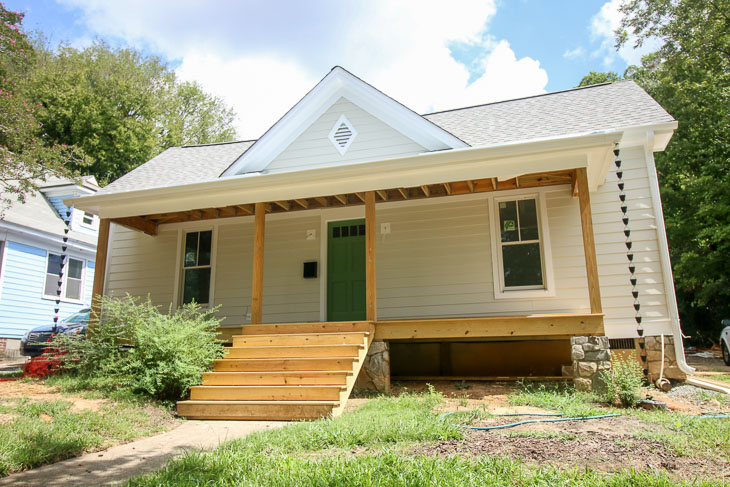
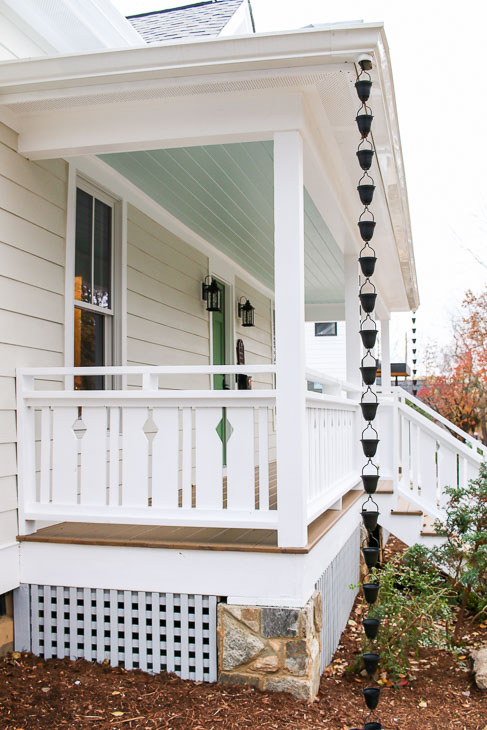
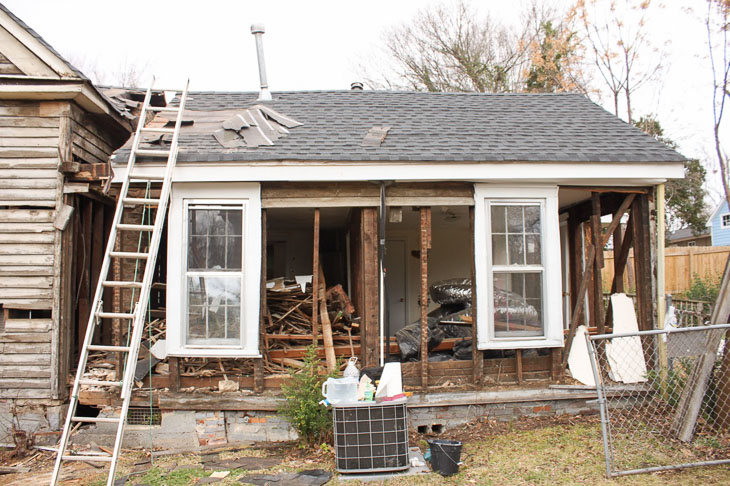
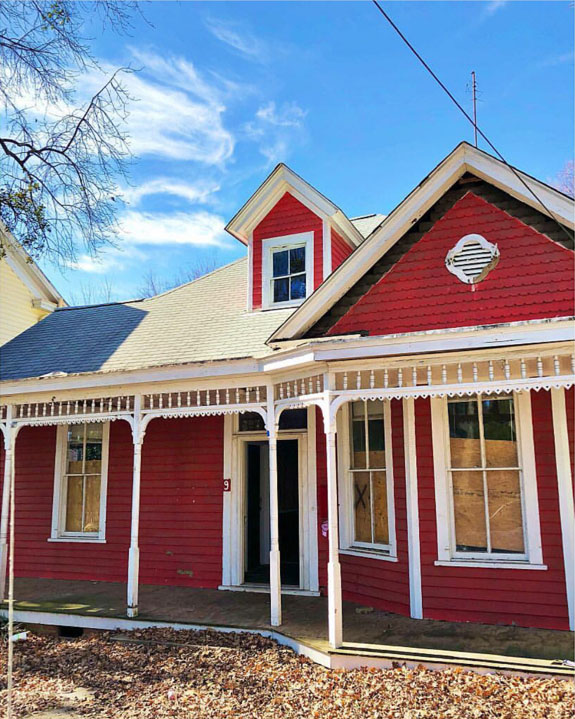
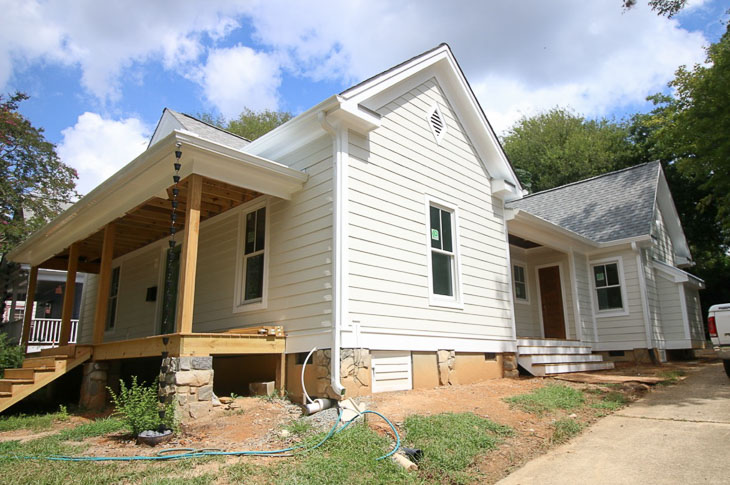
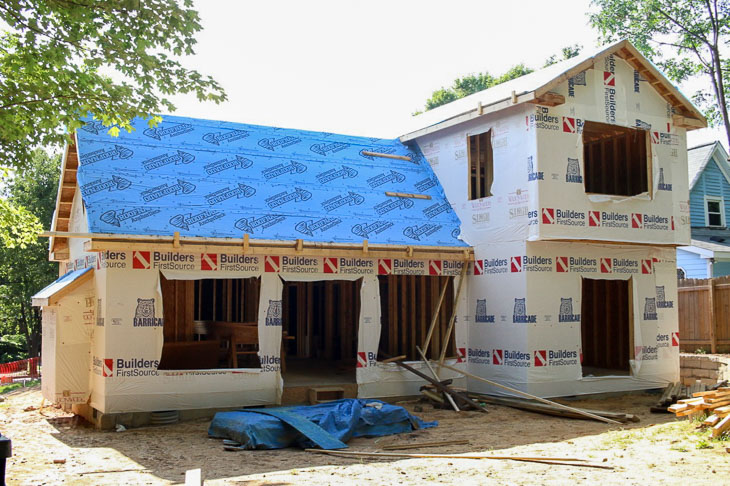
While there was a lot of progress on the exterior of the house, the side porch was built after the interior walls were framed and shortly before the exterior siding was put on. Truth be told, the side porch build started way back before the framing process. In fact, if you really want to get technical, some thought went into the side porch materials before the back of the house was removed.

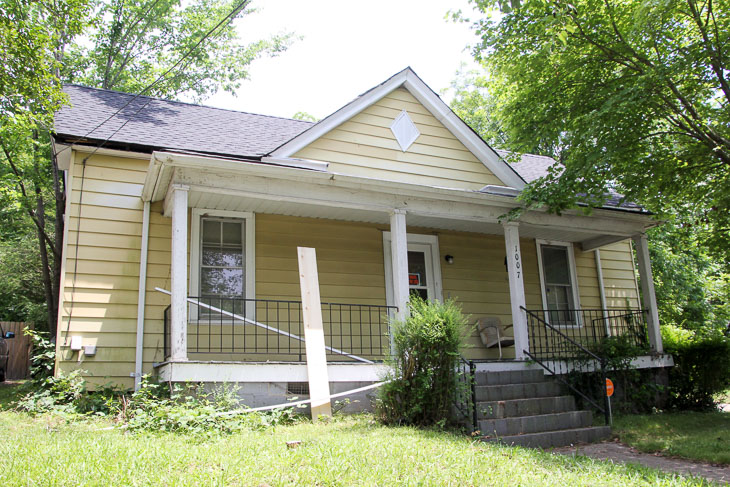
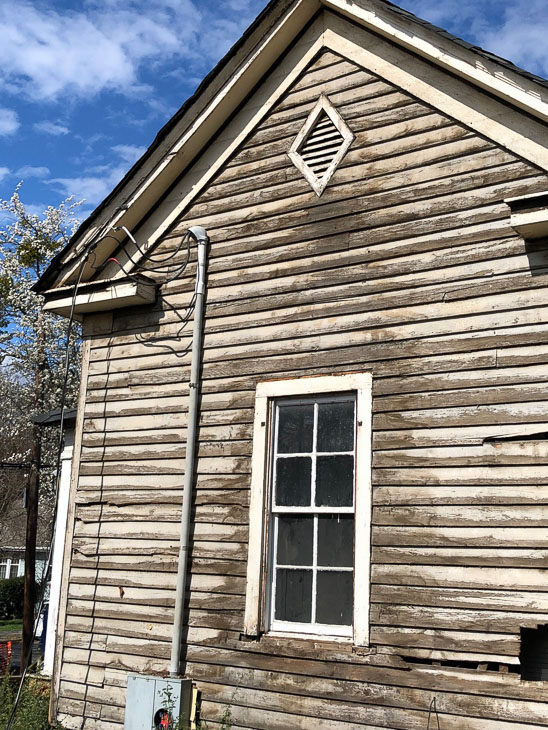
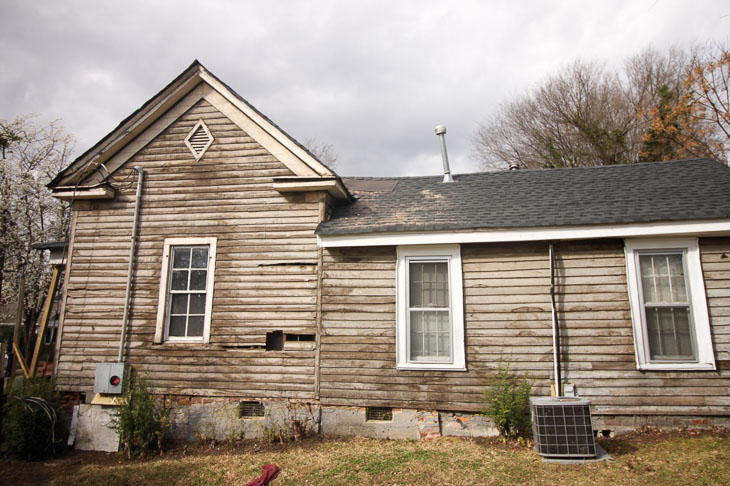
After the aluminum siding was removed, I could see the original wood siding that clad Etta’s walls. Oh how I wanted to keep the old siding, but most of the siding was filled with large holes, cracked, and brittle.

After assessing all the pieces that needed replacing, I would have needed new siding for 2/3 of the original house. Plus, the new addition siding would never match the old. It was an unfortunate decision, but I chose to remove all of it. Before the excavator arrived, I began carefully pulling the old siding off the house and saving any pieces that were in decent shape. I knew I could use them somewhere, and hoped it would be on the porch ceilings!

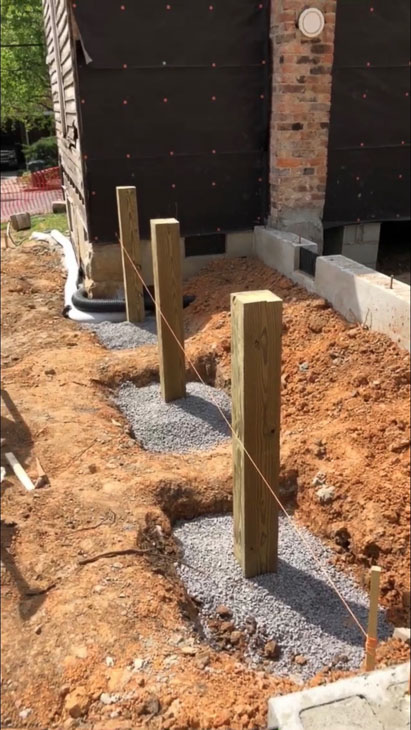
The siding (and copious amounts of bead board from the interior of the house) was safely stored away in a trailer for later use. Shortly after the demolition and foundation footers were poured, I began preparing for the side porch construction. While the concrete was still wet, I sunk anchor bolts into the fresh concrete footers under the side porch location.

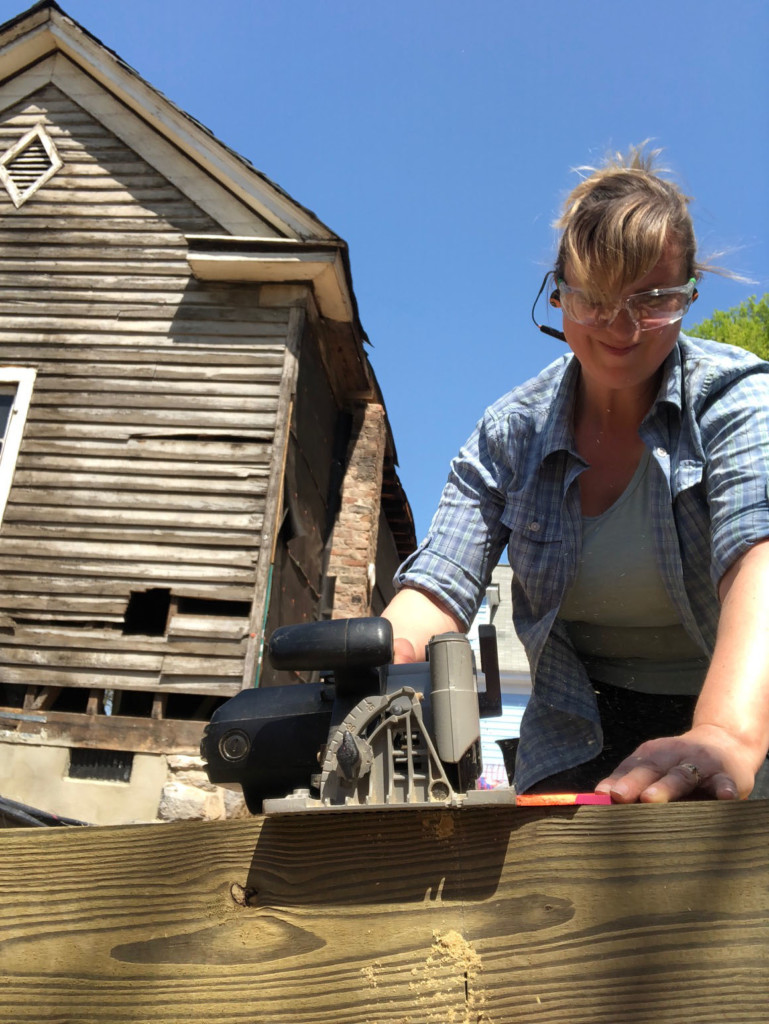
After the mason finished building the foundation, I cut three 6×6 pressure treated Southern Yellow Pine (SYP) posts and secured them to the anchors. Then I filled in around the base of the posts with drainage rock to prevent water from pooling around the posts. Although the lumber is moisture and bug resistant, I still didn’t want them sitting in direct contact with the soil or allowing water to pond around the bases. As someone who has seen the destructive capabilities of water, I’m always trying to build to prevent water from deteriorating the materials.

Speaking of being a quality builder, let’s talk about choosing materials for exterior building projects. One thing I knew early on was I wanted to retain the look and feel of this house built in 1900. Back in the day, composite decking didn’t exist. I knew I wanted to use real wood for the porches, that’s why I’m proud to introduce  Wood It’s Real as a sponsor of the Saving Etta project.

Wood It's Real Website

A few other reasons I decided to use Southern Yellow Pine for the decking:

  • Refinish: As the wood ages, it can be refinished and stained again as needed. When composite materials get scratched or faded, it cannot be sanded down.
  • Strength: Southern Yellow Pine is categorized in the soft woods category, but it actually has the strength of a hard wood. SYP is not like soft interior SPF (Spruce, Pine or Fir) framing lumber. They are two different species.
  • Temperature: One of the biggest complaints I’ve heard about composite material for decks is it gets hot! In fact, one of my carpenters told me he has tons of work at the beach replacing composite decking because it can warp from the heat of the sun.
  • Beauty: The wood grain is beautiful and takes stain nicely. Being a designer and artist, I like having hundreds of stain colors to choose from instead of a few stock colors.

Side Porch Progress:

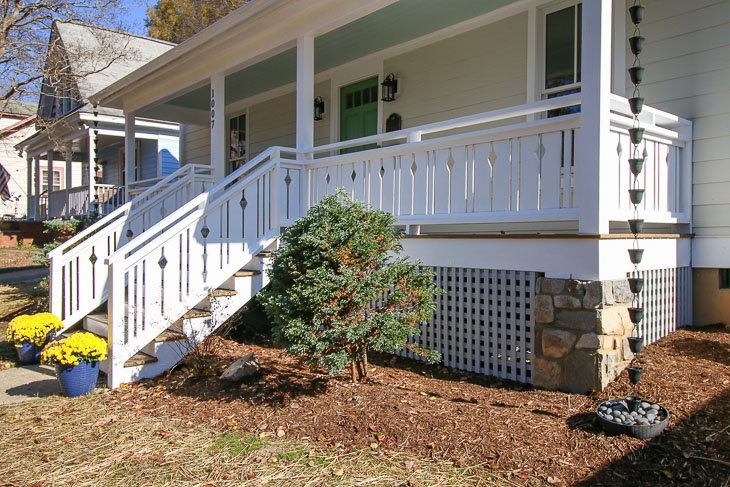
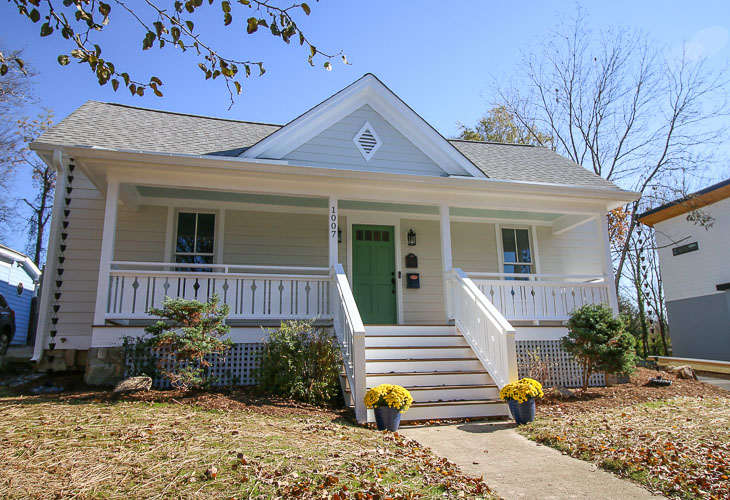
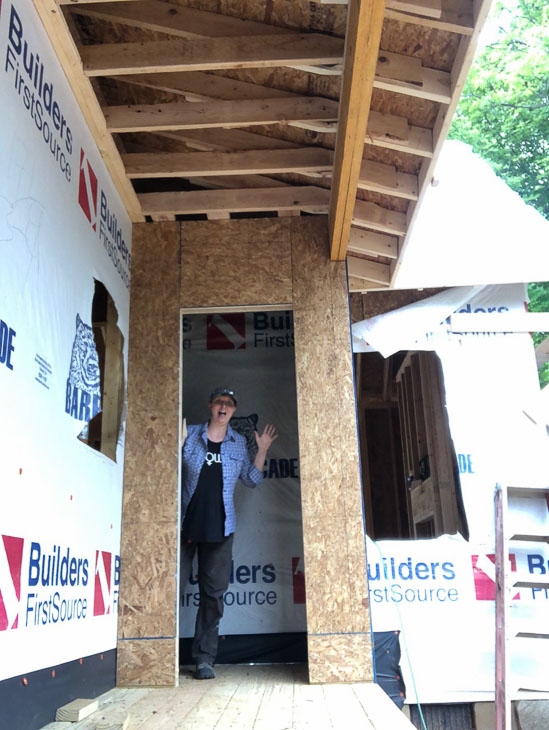
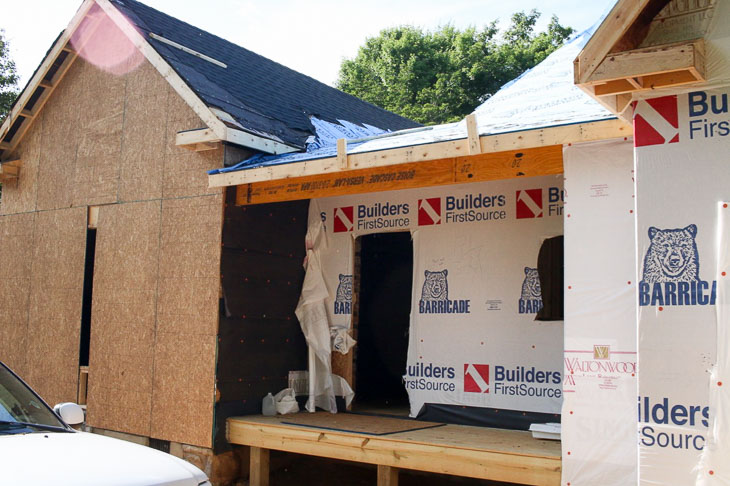
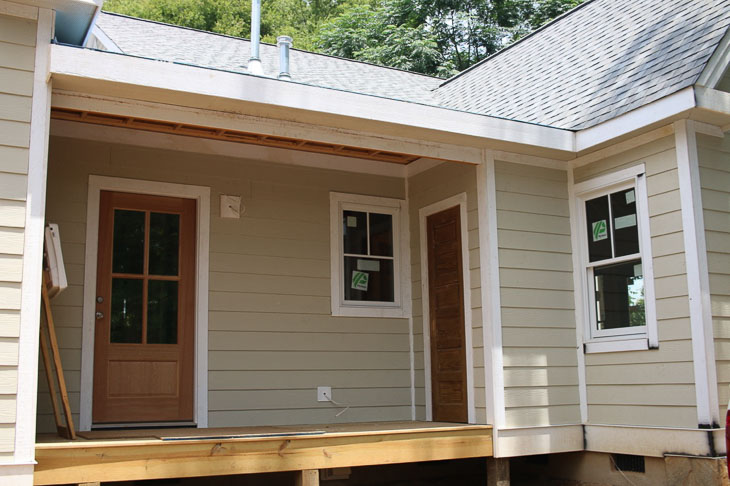
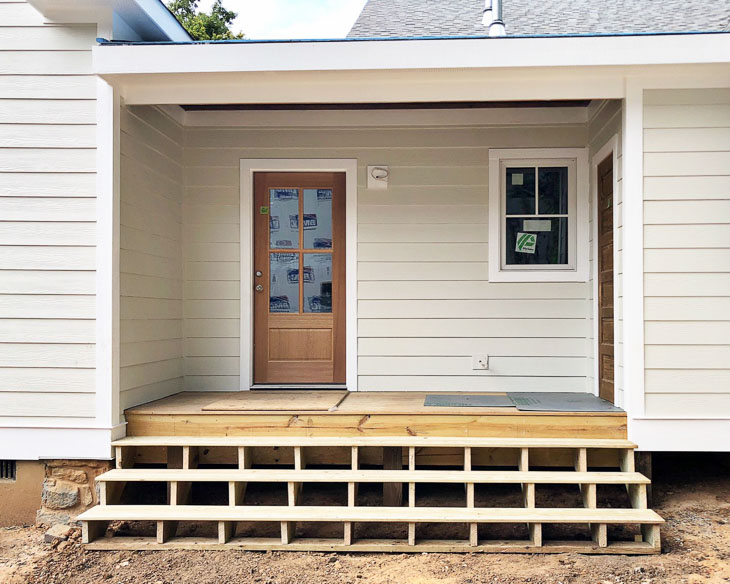
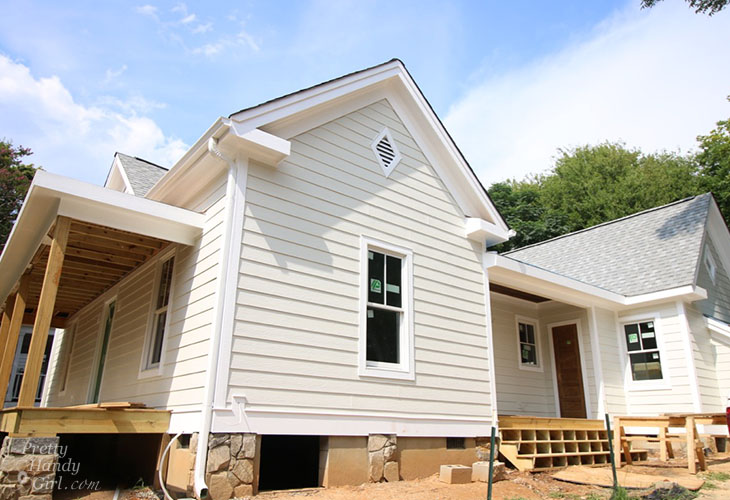
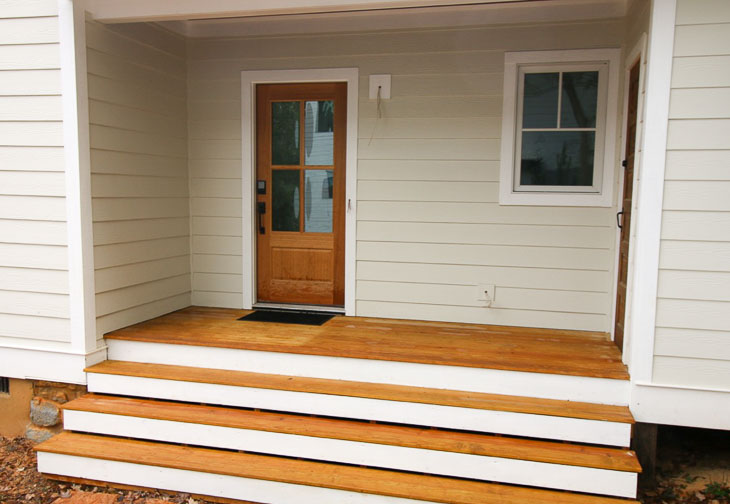
I wish I had progress shots of the side porch build— but as often happened—I left for some errands and when I got back to the house “poof” a side porch had magically appeared! As you can tell by the picture below, I was super excited to find the porch built and the little storage closet framed in.

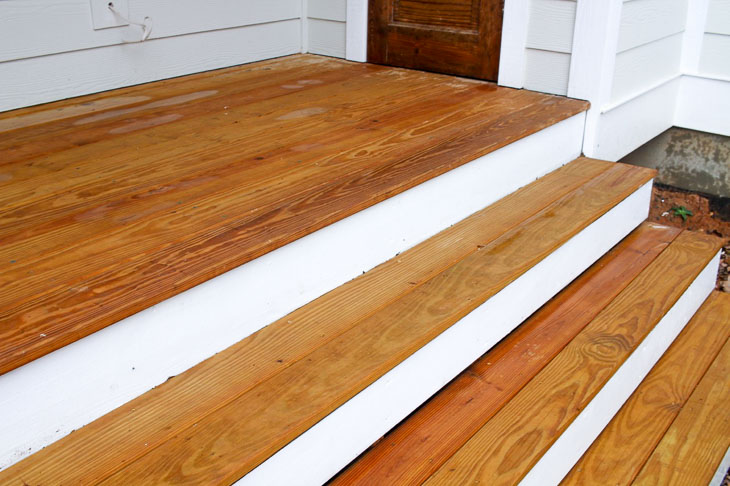
The floor boards are all pressure treated Southern Yellow Pine. To be able to stain the deck sooner, I requested kiln-dried deck boards from my lumber supplier. Regular pressure treated lumber has to dry completely before you can paint or stain it. (Otherwise, the paint might peel off as the wood dries out.)

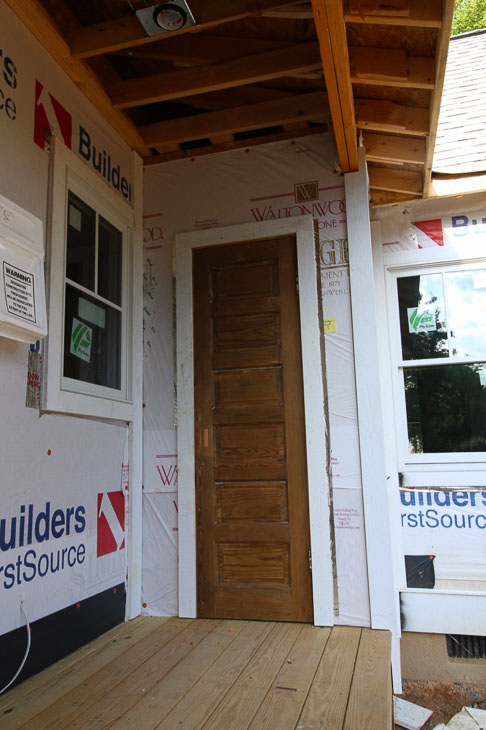
Within a few days, the framers also installed this salvaged wood door. I wish I could say it came from Etta’s interior, but it didn’t. However, the door is from the same era.

I salvaged it from one of the houses on the old frat house row near NC State. All the houses were built from 1895 – 1920. Unfortunately they were slated to be torn down to make way for apartments. Luckily one of my local followers tipped me off to this travesty. She and I worked with the demolition contractor to salvage doors and windows from the houses. Sadly about a week or two after we salvaged things from the houses they were leveled. Honestly, I can’t drive by there because I want to remember the street with all those beautiful old houses on it. (Granted, they were all in rough shape.)

Sears & Roebucks House from Raleigh, NC near NC State - Maiden Lane

Back at Etta, the side porch didn’t get steps right away, so we used a little “DIY” step stool for months.

signature

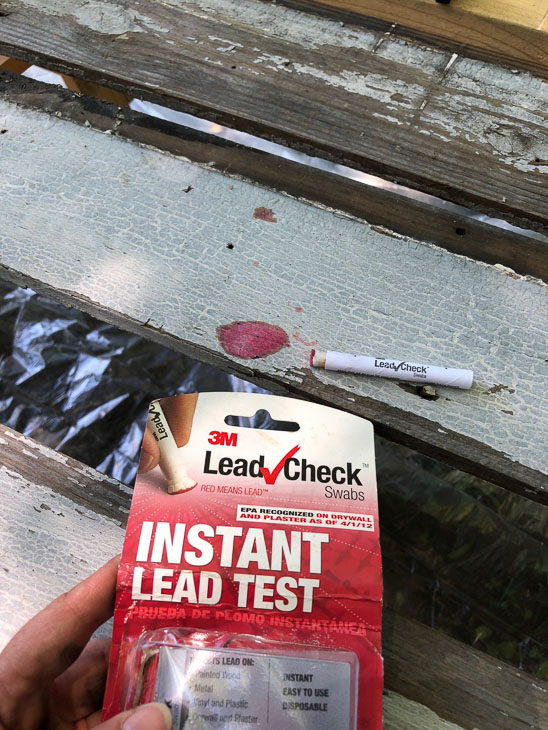
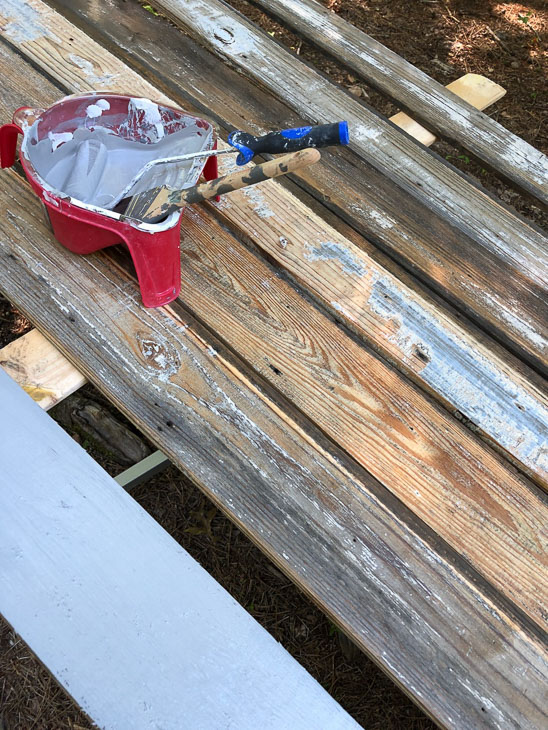
In the meantime, I went to my stash of salvaged siding and pulled out the best pieces to clad the porch ceiling. Although I knew they were likely painted with lead paint, I double checked my suspicions using a Lead Check test kit.

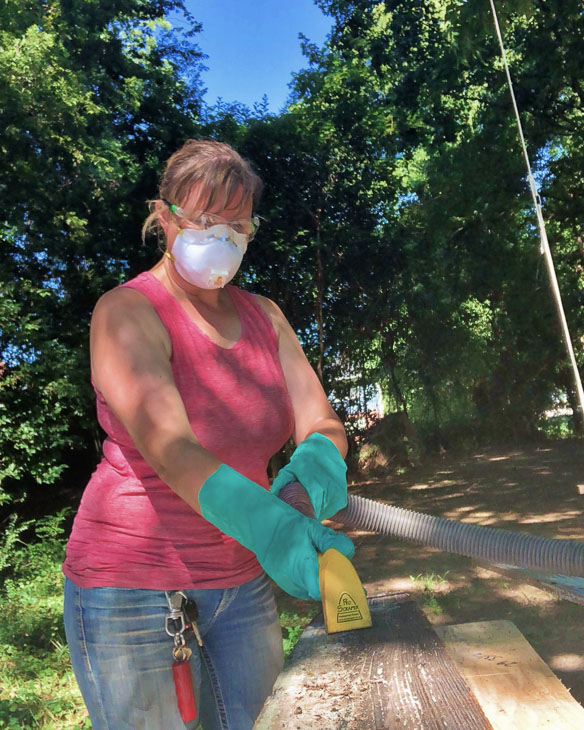
That red spot indicates the presence of lead paint. Which meant I needed to remove and seal any of the paint that was chipping off. Working outside with a mask and a tarped off area, I scraped the paint using a ProScraper hooked up to my ShopVac with a new bag and filter to capture all the dust.

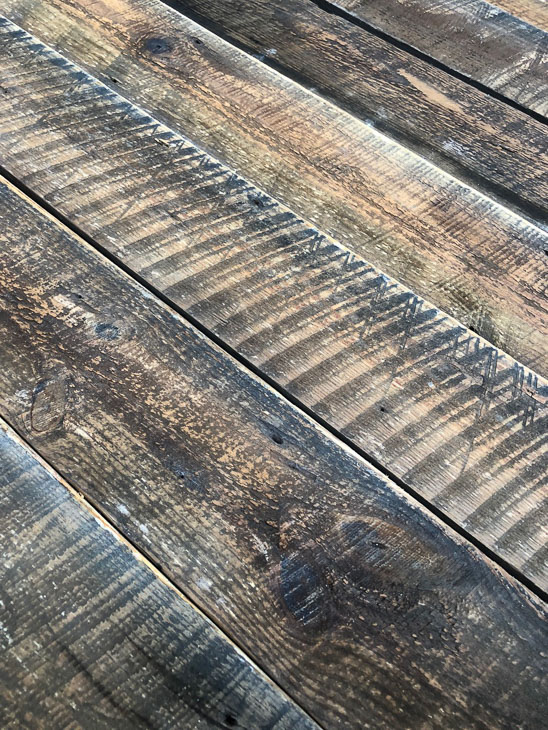
After the majority of the paint was scraped off, I carefully cleaned up the siding and rolled up the tarp to dispose in a sealed bag. Then I turned the siding over and gasped at the beautiful old saw marks and wood grain.

Even though the painted side of the siding would not be seen, I still used an encapsulating primer over the paint just in the off chance someone took them down one day.

After the primer dried, I coated the back sides with a clear deck sealer to protect the wood from the elements (even though they had more than weathered 118 years of being exposed to the elements.)

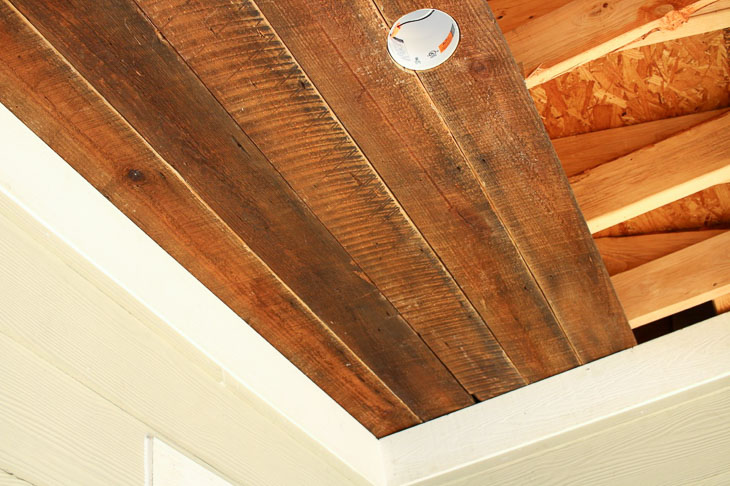
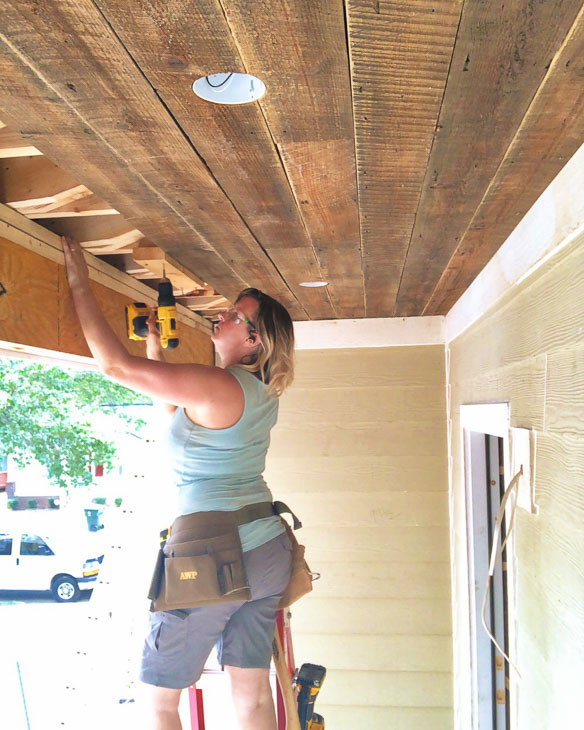
It took me two days to cut and install the siding on the side porch ceiling. It was two of the hottest days in Raleigh. And working overhead was not for the faint of heart.

But, in the end I was thrilled with the porch ceiling.

After the side porch ceiling was complete, I used brown caulk to seal any gaps between the old siding and the large nail holes to prevent bugs from getting through them. After the week of climbing ladders and that little DIY step, my gluteus muscles were incredibly sore. It was time to call my framer and schedule him to come back to build the side porch steps. By now, I was worried one of my subs (or worse yet, an inspector) would trip and fall on the little “step stool”.

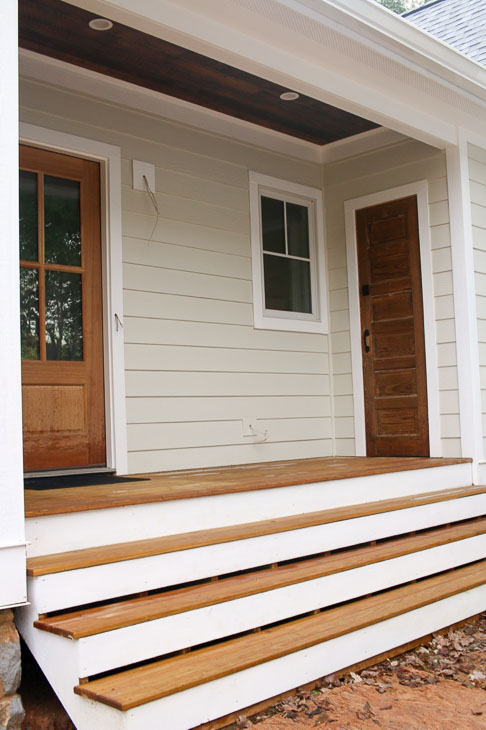
The stairs were a huge improvement. I added the risers and painted them to match the trim color.

The stair treads are also Southern Yellow Pine. Be sure to read more about why SYP is the best choice for your exterior projects at Wood It’s Real.

I hope you enjoyed this update from the Saving Etta project. Stay tuned for more updates inside the house!

Disclosure: This post is a sponsored post for Wood It’s Real. It was written as part of their sponsorship of the Saving Etta project. I was not told what to write. All words and opinions are my own. I am very particular about the brands I work with, and only partner with companies that provide quality materials and/or services.
How to Install a New Window

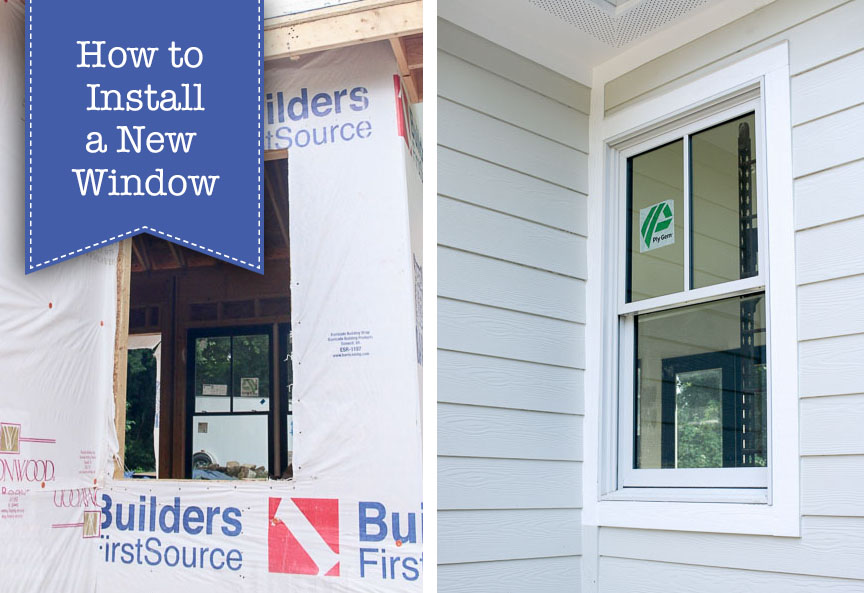
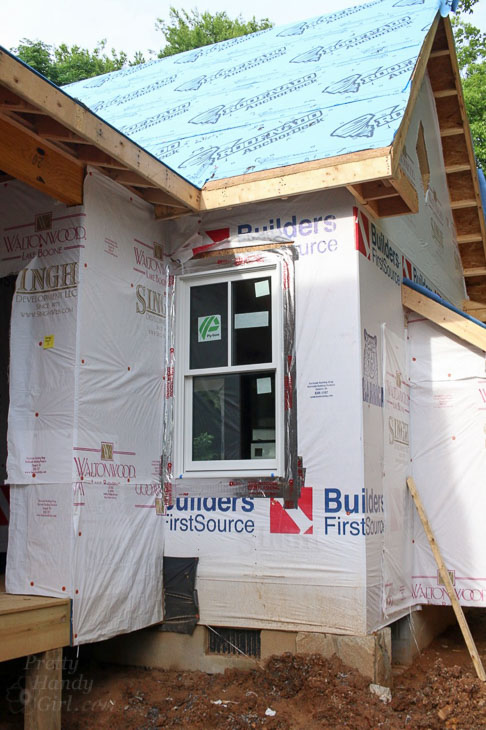
Installing new windows on your home isn’t rocket science, but it is recommended that you have some construction experience before tackling this project. If you have the skills, the install should only take an hour or less. Today I’ll show you How to Install a New Construction Window in your home.

How to Install a New Window

Installing a New Construction Ply Gem Mira Window:

If you read my article on ordering new windows, you’re probably ready to install that new window. Today I’ll take the mystique out of this process. To install new windows (as opposed to replacement windows) you need to start with the correct rough opening. Ply Gem makes it super simple to figure out the rough opening size for your new window with their downloadable window size guides(This is a sponsored post in collaboration with Ply Gem Windows.) 

After your rough openings are cut and ready, it’s time to gather a few supplies.

Materials:

(I’ve included affiliate links for your convenience. I earn a small percentage from a purchase using these links. There is no additional cost to you. You can read more about affiliate links here.)

Instructions:

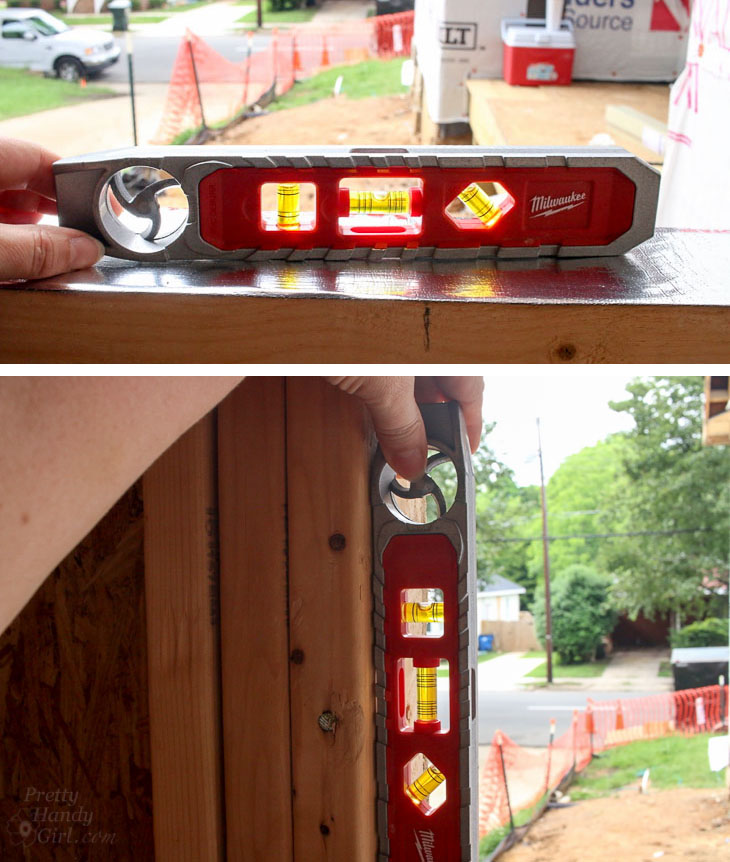
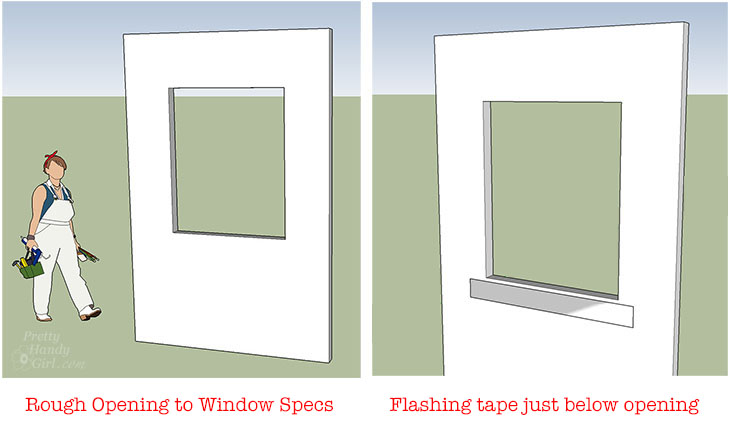
Check that the rough opening is level and plumb. If it isn’t, have some wood shims nearby to help adjust the window after it is set in the opening.

level and plumb rough opening

Cut the first piece of flashing tape slightly wider than the window width. Peel off the backing and attach it one inch below the window opening.

window rough opening

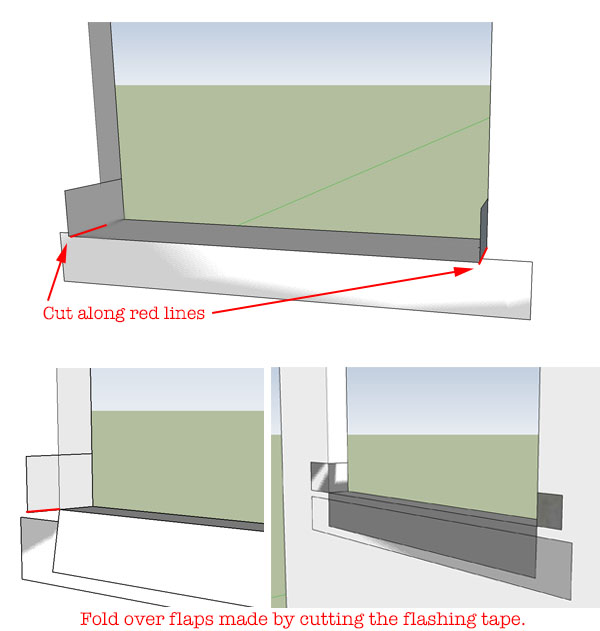
Cut a second piece of flashing tape about 8″ wider than your window opening. Center it on the sill of the window opening. Line up the inside edge of the tape along the inside of the framing (allowing the excess to hang out on the exterior side of the window (as shown below). Press the flashing tape along the sill and up the sides of the window. Cut along the corners of the excess tape. Fold the tape out and down, securing it to the outside of the house sheathing as shown below.

flashing new window for installation

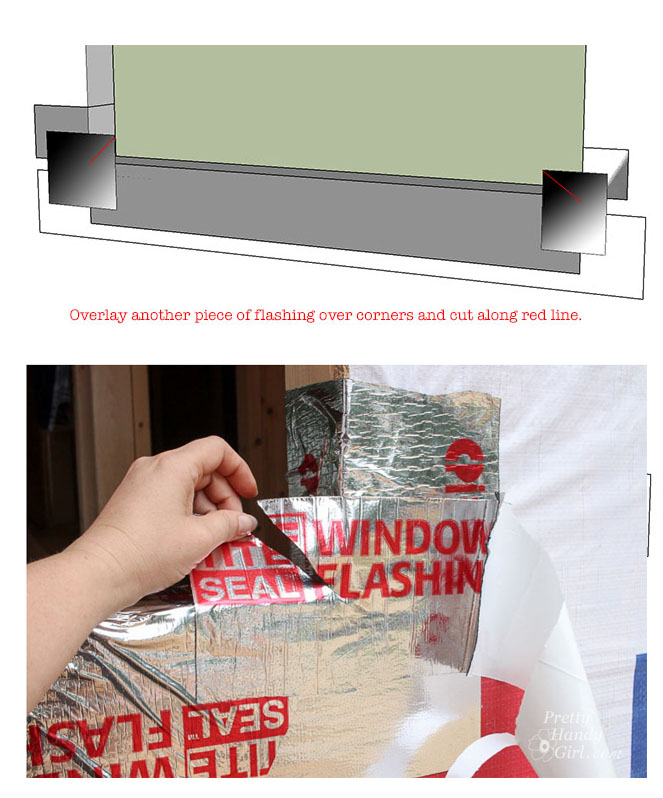
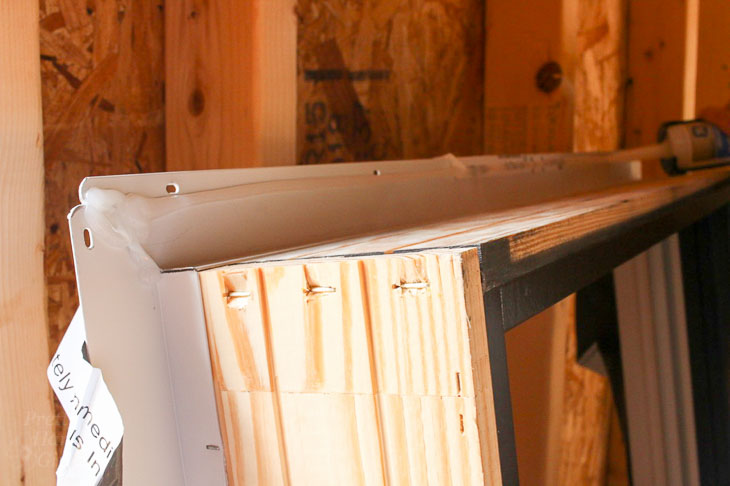
Cut two smaller pieces of flashing tape to cover the corners of the tape you secured above. Cut a slit in the tape where it overlaps the opening. Fold the flaps into the window opening and press your hand firmly on all the tape seams to secure.flashing window around bottom of rough opening Time to install the window! Run a generous bead of silicone along the inside of the nail fin frame.  Be sure to add additional silicone at the diagonal corner seams of the nail fin.

Add clear silicone caulk inside nailing flange of window.

Have an assistant help you lift the window into the rough opening from the exterior of the house. (For upper story windows, you can feed the window out from the inside of the house. Make sure one person is outside to prevent the window from falling.) Check the diagonal measurements of your window to make sure they are the same. This will indicate if your window is square or not.

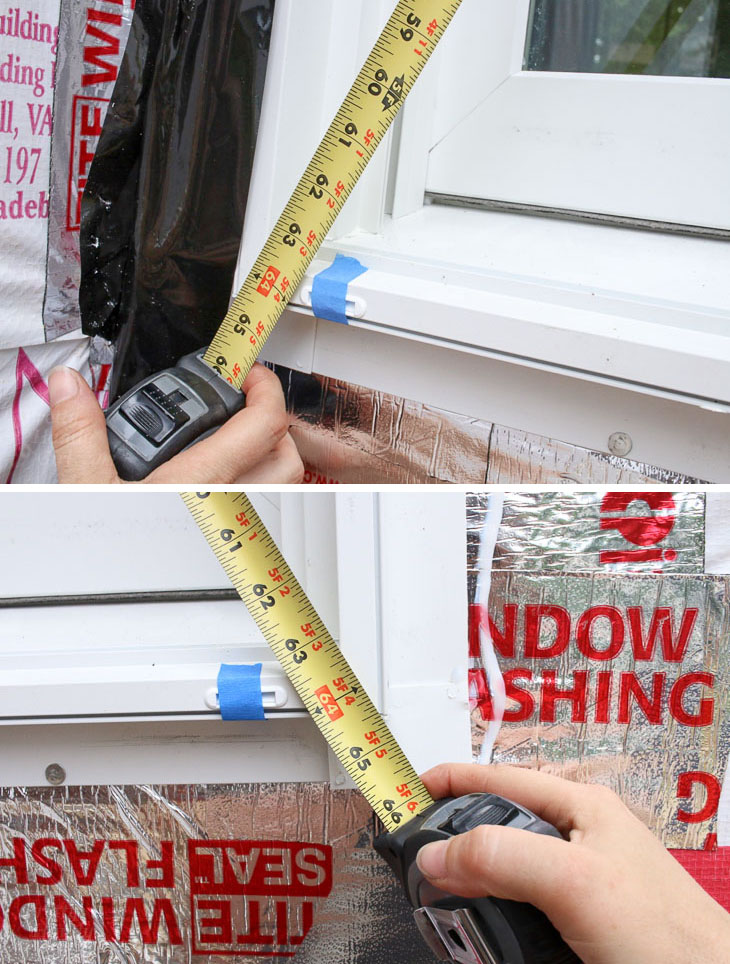
check window diagonals for plumb and level

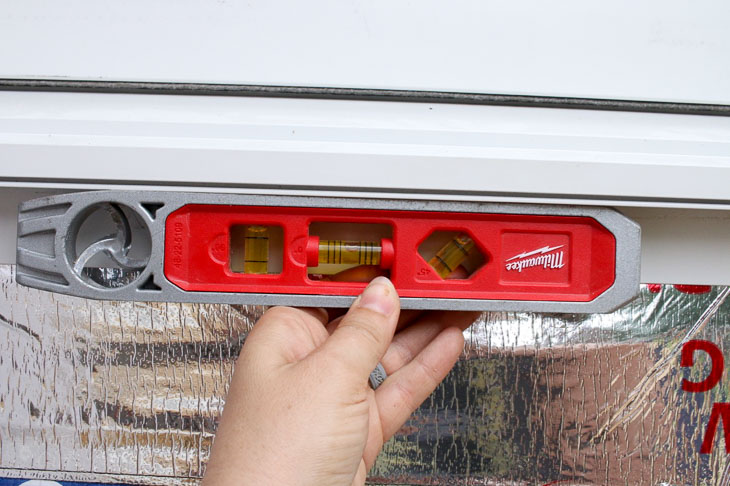
Use your level to check if the window is level and plumb in the opening. If not, make adjustments by inserting shims from the inside of the house.

measure window level during new construction installation

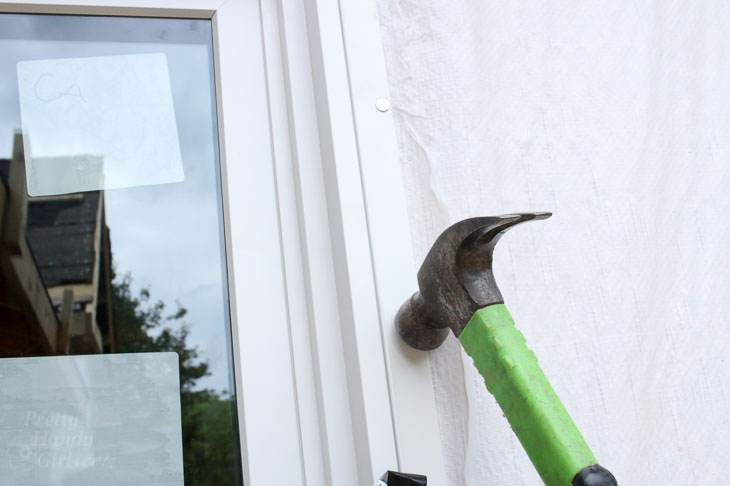
Once the window is square, level, and plumb, secure it to the house sheathing with roofing nails. (For added weather protection, the nail fin should go over the Tyvek house wrap for the sides and bottom. Along the top, lift the house wrap and nail the fin directly to the house sheathing.) The top flap of Tyvek will be secured later.

Nail roofing nails into Plygem window nailing flange window install

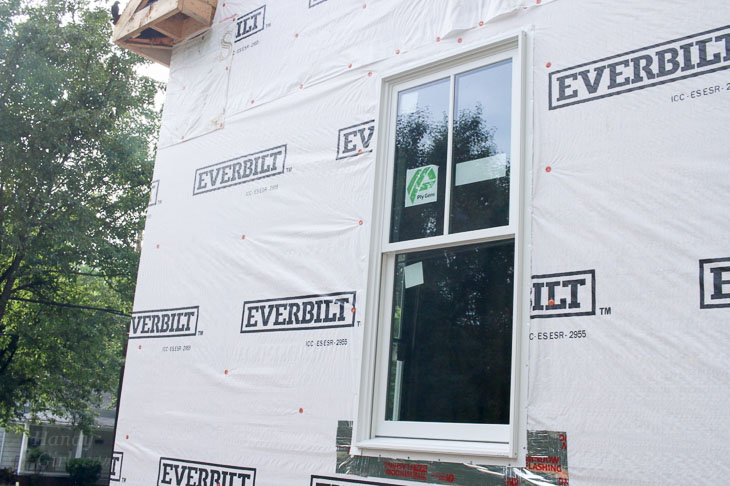
Continue adding nails to every hole in the nail fin. Your window is now securely installed. Time to add the exterior flashing.

two over one window new constructoin

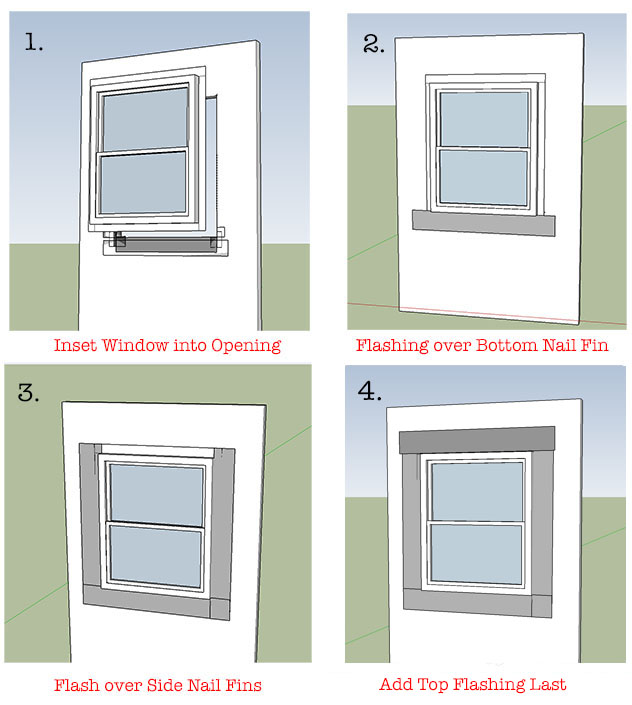
(2.) Cut another piece of flashing slightly wider than the width of the window. Remove the backing and press firmly over the bottom nail fin.

flashing new window

(3.) Cut two pieces of flashing slightly taller than the height of the window. Press the flashing tape over both sides of the nail fin (taking care to overlap it over the bottom piece of flashing.) (4.) Lift the top house wrap flap out of the way. Then add one piece of flashing on the top nail fin (again, take care to overlap the top piece over the side pieces.)

Installed window new construction two panes over one

Let the house wrap flap overlap the top piece of flashing. Secure it in place with a piece of Tyvek tape.

Flap of house wrap overlaps top of window flashing.

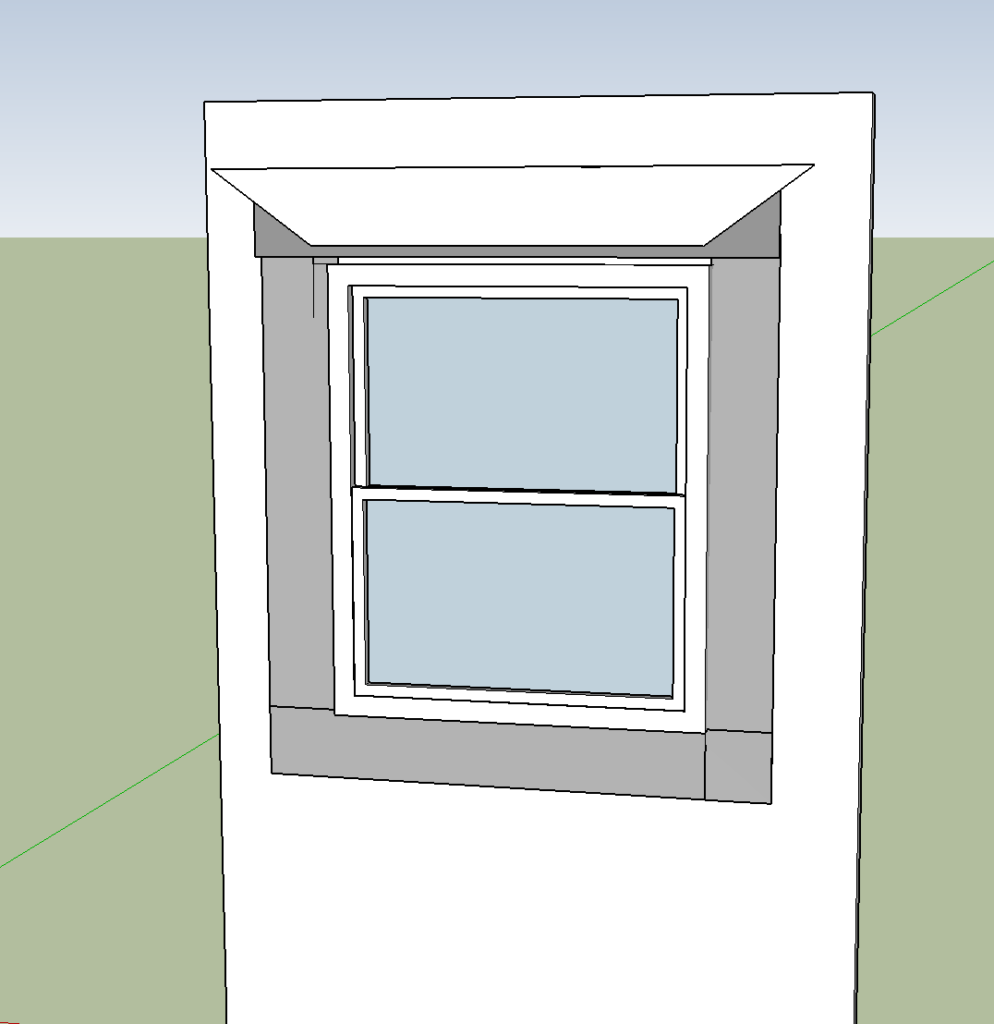
Congratulations! Your window is installed and ready for trim and siding.

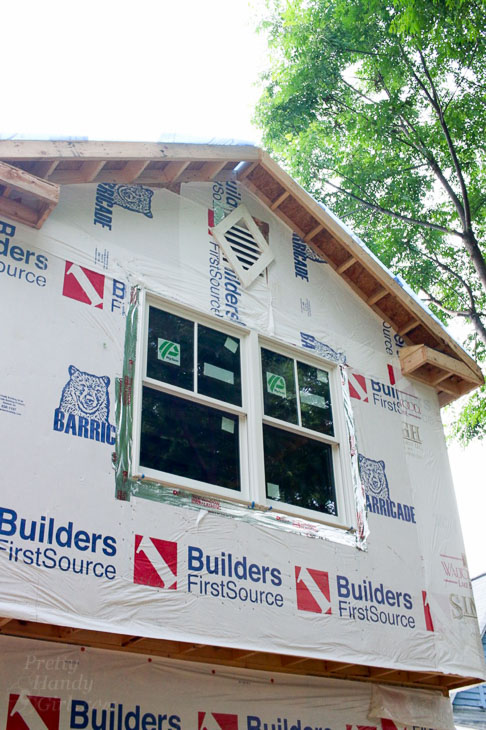
Twin Pygem windows on second story

Tell me the truth, isn’t this one of the most beautiful windows you’ve ever seen? The grilles look great on this 1900 house.

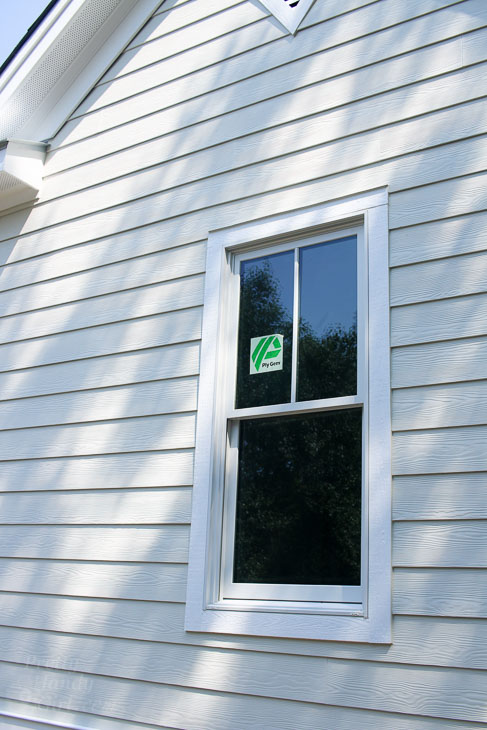
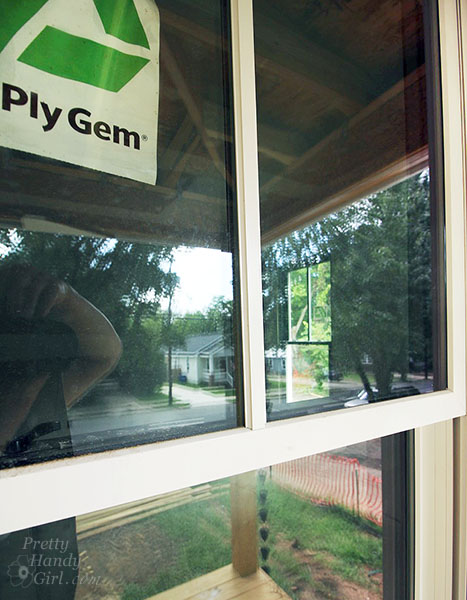
New Plygem Mira Window Installed

Even up close, they look like true divided light windows. The grilles I chose are the 7/8″ SDL style grilles available on Ply Gem’s Mira Windows.

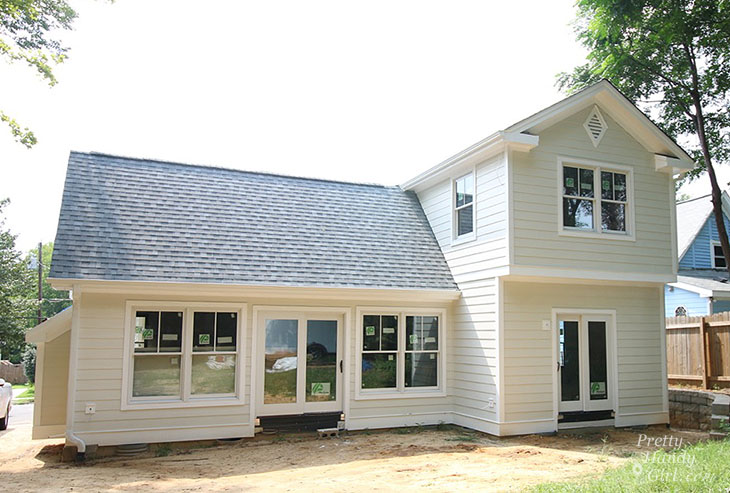
On the back of the house, I installed a bank of windows and sliding glass doors to maximize the view of the big yard. The homeowners will love all the natural light pouring in from their beautiful Plygem Mira Windows.

Plygem Mira doors and windows on cream house

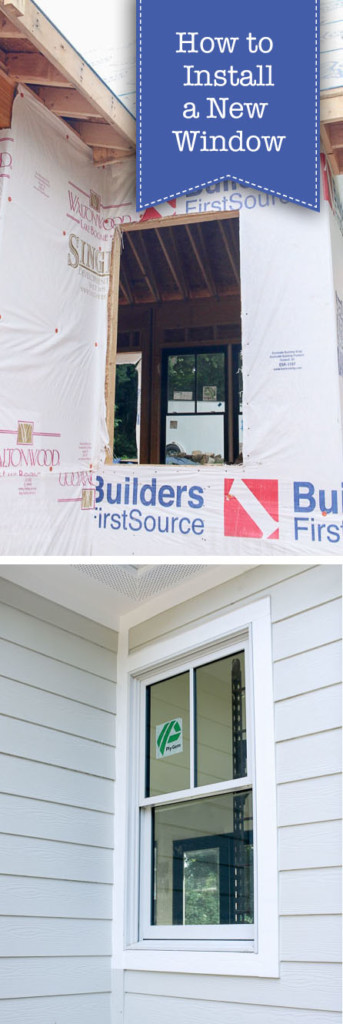
If you like this tutorial, share the knowledge with a friend by pinning this image:

How to Install a New Window

Disclosure: This post is a sponsored post for Ply Gem. It was written as part of their sponsorship of the Saving Etta project. I was not told what to write. All words and opinions are my own. I am very particular about the brands I work with, and only partner with companies that provide quality materials and/or services.
More Window Resources:

How to Add Privacy Film to Any Window

How to Install Traditional Window Trim or How to Install Decorative Window Casing

How to Clean Your Windows Like a Pro

Things to Consider When Choosing New Windows

Stop! Don’t Replace Your Windows Before Reading This

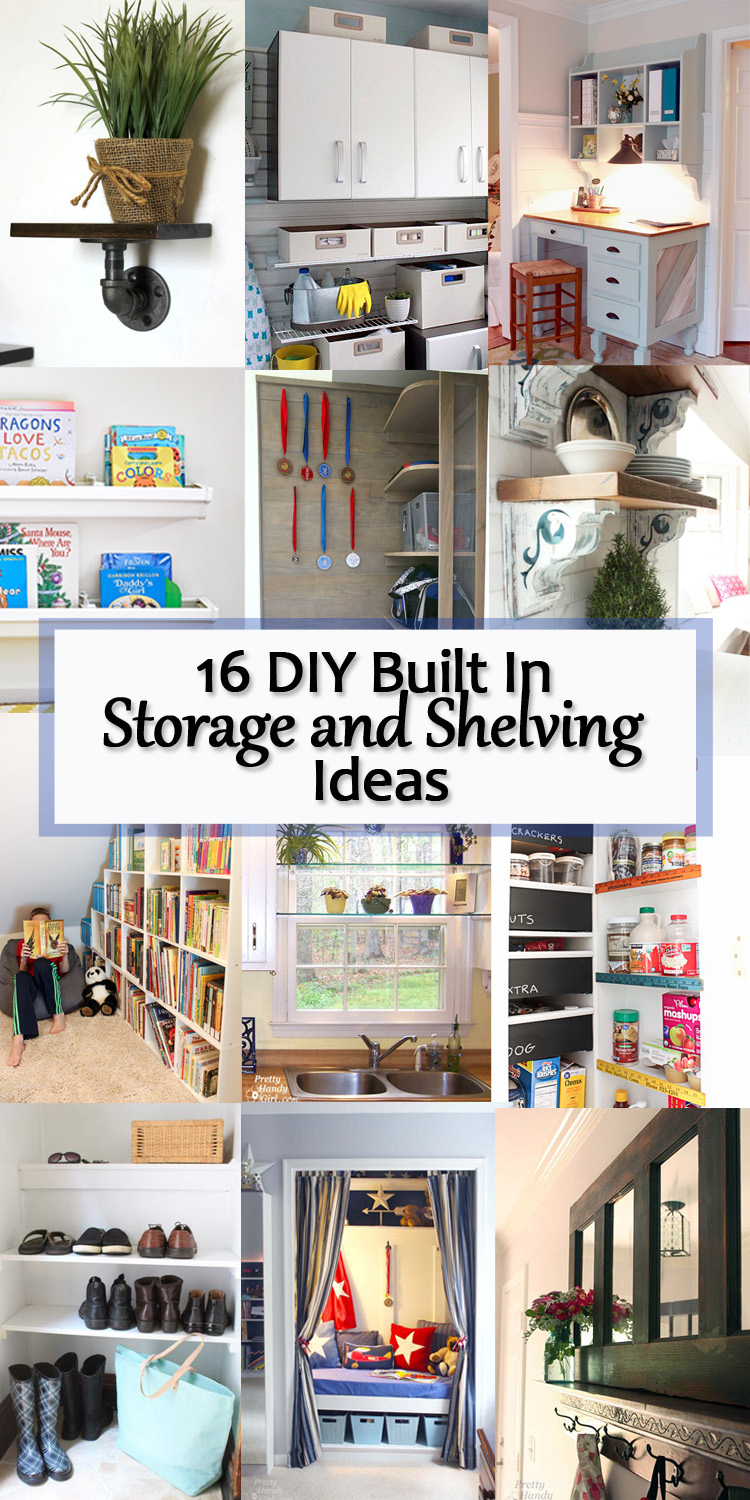
16 diy built in storage and shelving ideas social media image

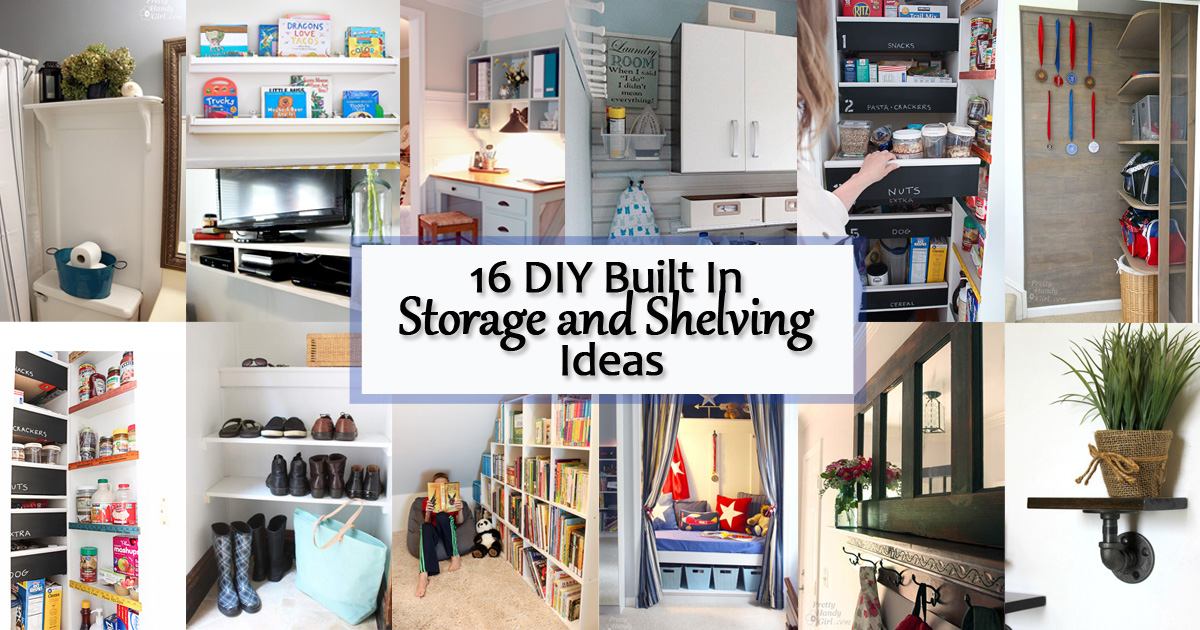
16 diy built in storage and shelving ideas pinterest imageBuilt in storage and shelves are a great way to create an attractive home that is as functional as it is beautiful. Built-ins maximize the space you can use in your home and make it easier to keep organized and clutter free. Here is a collection of 16+ DIY Built In Storage and Shelving Ideas to help you come up with ways you can upgrade your home this year with built in storage!

16 DIY Built In Storage and Shelving Ideas:

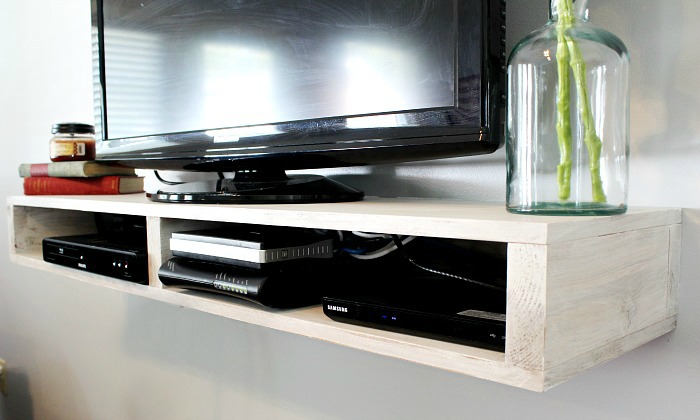
build a floating tv shelf

Learn to build this modern and sleek a floating TV shelf that doesn’t take up much space but offers great storage.

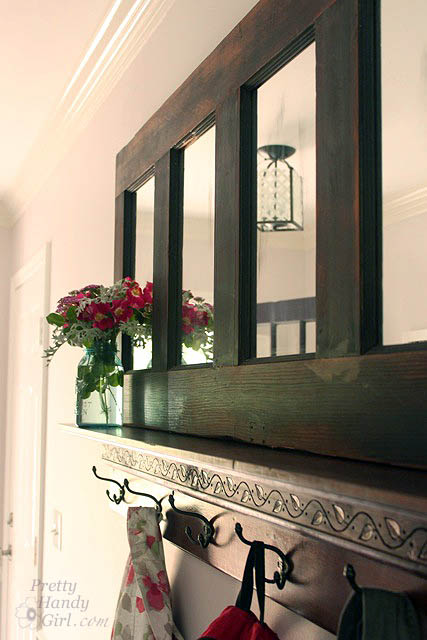
coat rack made from an old door

Add some beautiful hanging storage to your wall by building this Coat Rack made from an Old Door.

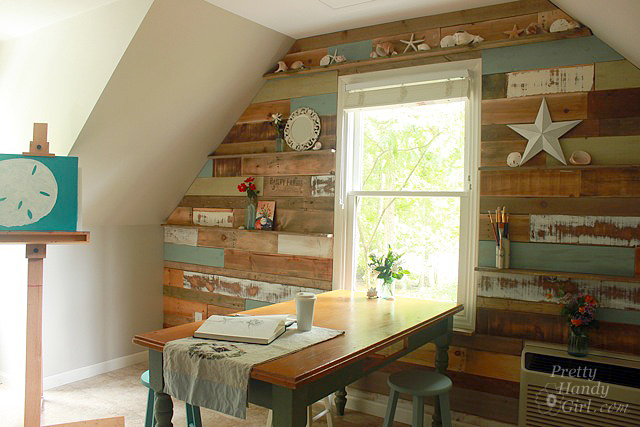
install scrap wood wall with built in ledgesAdd warmth, character and display space by building this Scrap Wood Wall with built-in ledges.

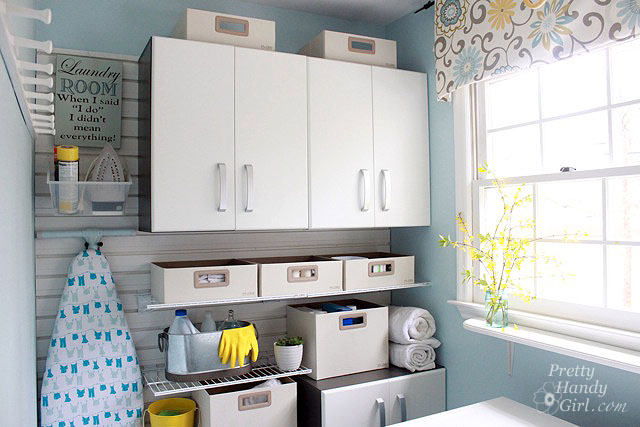
upgrade laundry room with flow wall cabinets and slat wall

Upgrade and organize your laundry or storage room with a Flow Wall cabinets and slat wall.

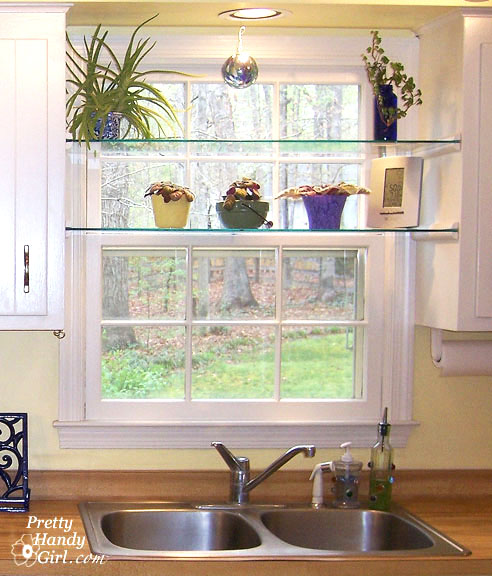
Glass Window Shelves

Add storage without sacrificing sunlight by building some Glass Window Shelves.

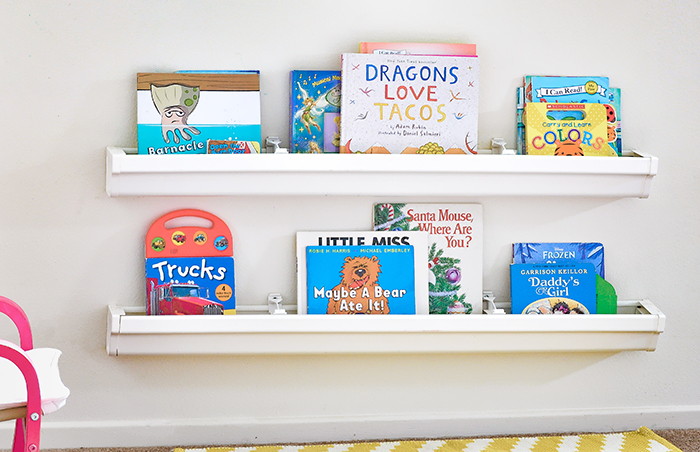
Install Rain Gutter BookshelvesOrganize kids books and keep them in view by installing these simple and functional Rain Gutter Bookshelves.

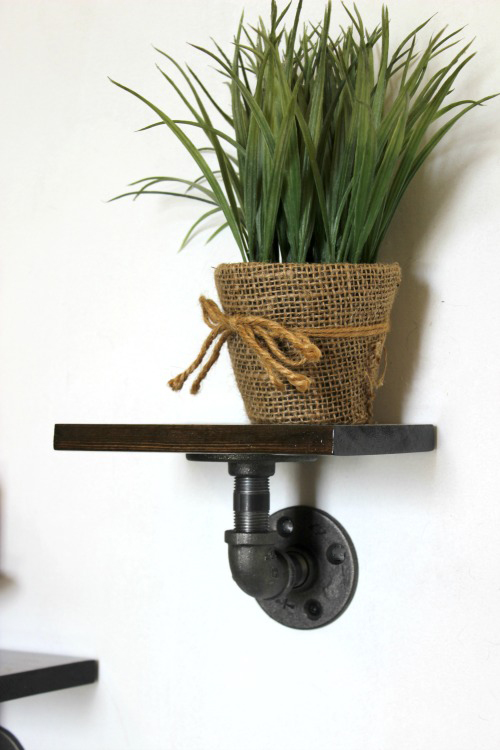
Industrial display shelves

Add some small decor features to your room by installing these Industrial Display Shelves.

Boy's Red, White & Blue Themed Room | Pretty Handy GirlRepurpose your space and turn a Spare Closet into a Reading Nook.

Build a Children's Closet Library

For a quiet kid zone, build this Children’s Closet Library to make great use of unused wall space.

Sports Gear Storage Shelf

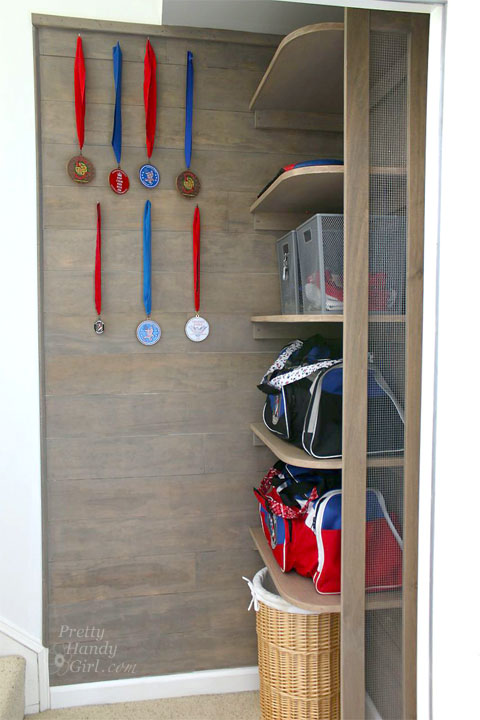
Tackle your sports equipment by building this Sports Gear Storage Shelf within a small unused space.

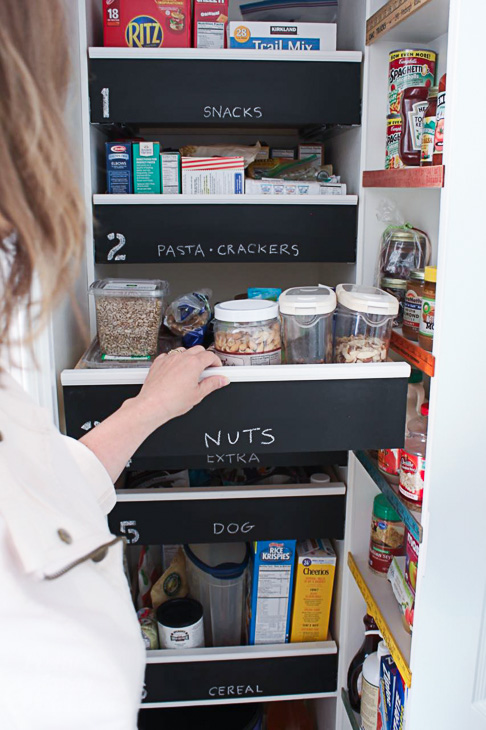
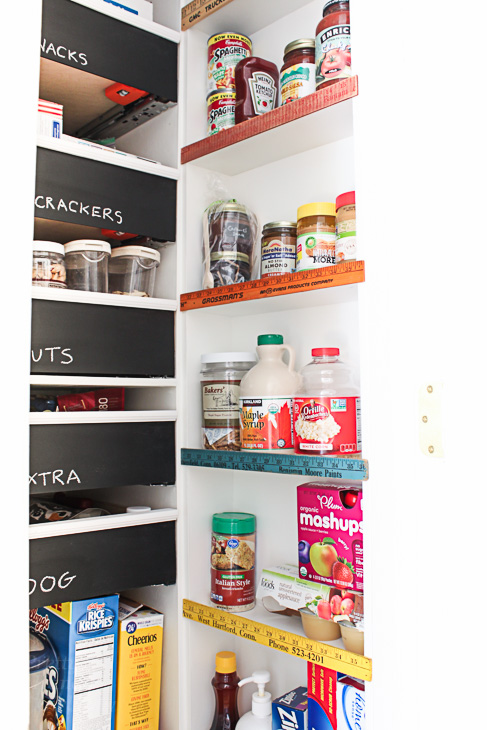
Built In Storage and Shelving IdeasBuild full Chalkboard Front Storage drawers for your pantry to organize and easily find any item you need.

built in decorative shelf

Add some simple elegance to a room by building this Built-In Decorative Shelf.

shelves using corbel brackets

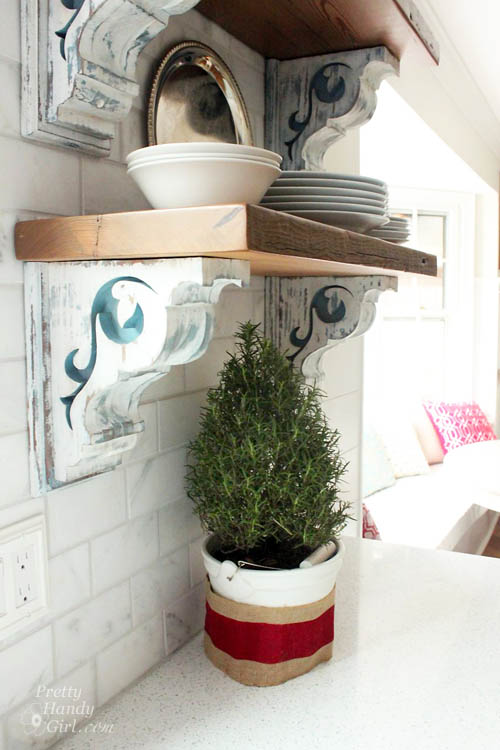
Take your decor up a notch by adding gorgeous Shelves Using Corbel Brackets for storage. Don’t let a tile wall stop you!

built in shoe shelves

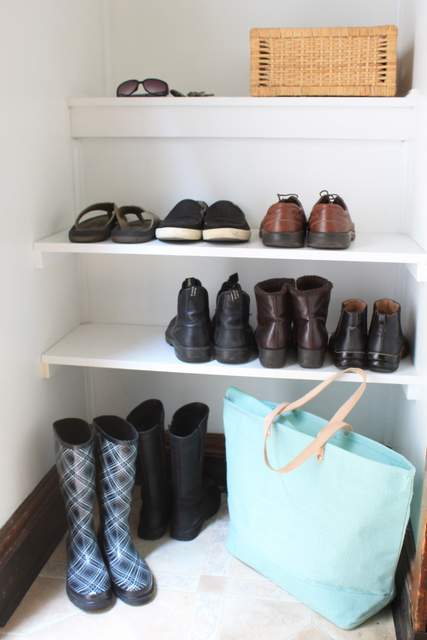
Don’t search for missing shoes any longer, organize your closets by building these DIY Built-In Shoe Shelves.

build a wall mounted hutch

Upgrade your office or kitchen storage by building a beautiful Wall-Mounted Hutch.

Thvintage ruler stops for narrow pantry shelves

Make great use of small space by building these Narrow Pantry Shelves with vintage ruler stops.

And here’s your bonus +1! Make custom storage for under your sink cabinet using scrap wood and dollar store bins!

I hope these DIY built-in storage and shelving ideas inspire you to maximize the space you have available in your home and create a more organized and clutter free space for your family to enjoy!

16 diy built in storage and shelving ideas pinterest image

Built In Storage and Shelving Ideas

Built In Storage and Shelving Ideas
Hi, I’m Sheri from Hazel + Gold Designs. Here are a few fun stats about me: I like love chocolate and peanut butter (together of course.) If you like stats, I have been crocheting for about 16 years, crafting for 20, and woodworking for about 4 years. I found a passion in making and being creative and began documenting my projects online at Hazel + Gold Designs.

When not working on projects, I enjoy spending time with my husband, four children, perfect dog, and ornery cat. You can find me on Facebook, Pinterest, Instagram and Twitter.

Read all of Sheri’s tutorials.

Built In Storage and Shelving Ideas

~Find more of Sheri’s projects here ~

50 plus pallet wood projects you can make Pinterest Image

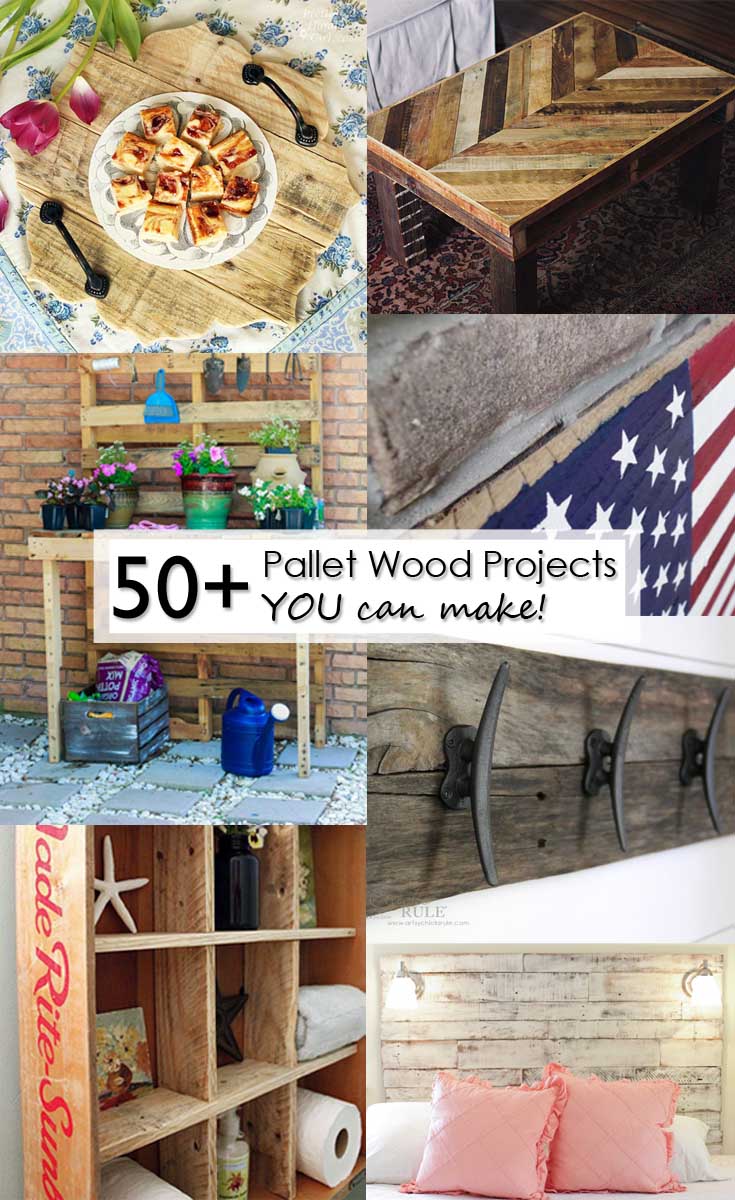
50 plus pallet wood projects you can make Pinterest Image50+ Pallet Wood Projects You Can Make!

Do you have a spare pallet lying around from that last large shipment? Or maybe you know somewhere to get free or inexpensive pallets? If you do, here are more than 50 Pallet Wood Projects that you can make with your own two hands!

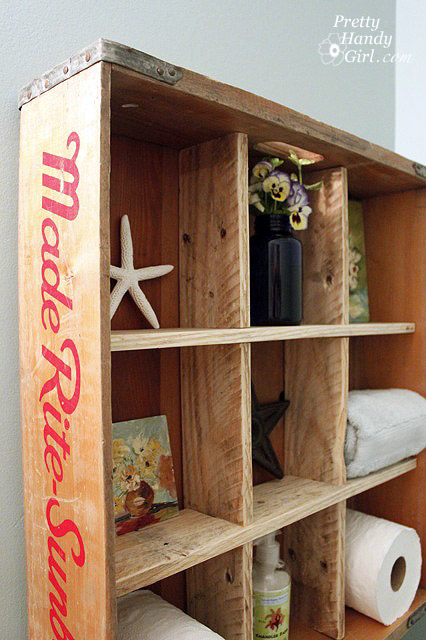
Bread Crate Cubby Display Shelves

Create Bread Crate Cubby Display Shelves for any room in the house.

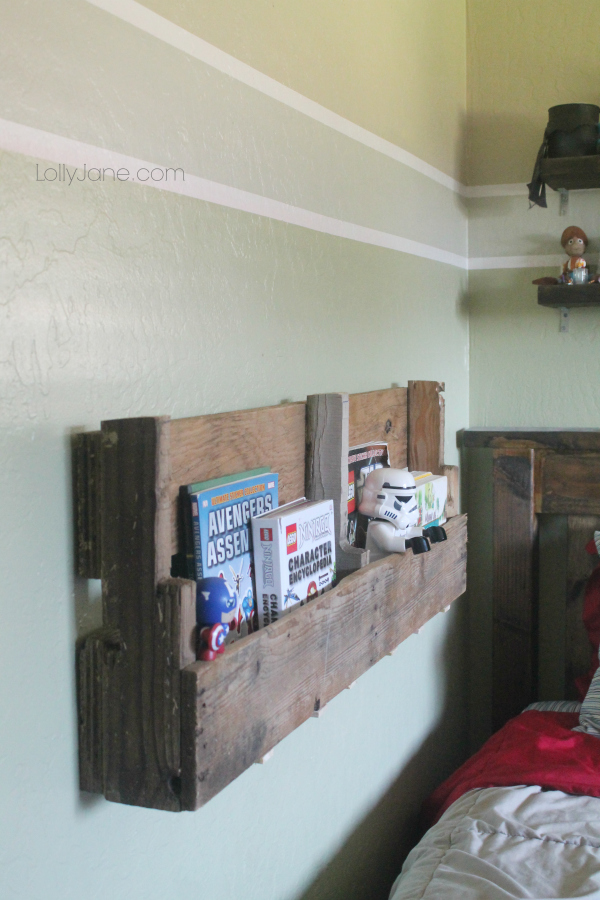
DIY Pallet Bookshelf by LollyJane

Make a DIY Pallet Bookshelf for your kids’ bedroom or an office.

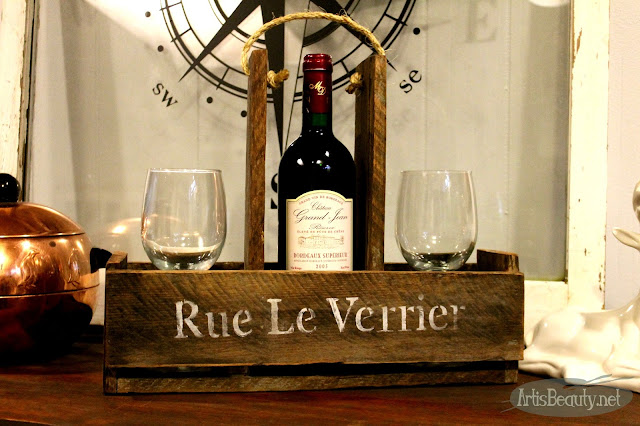
DIY Wine Glass Carrier by Art is Beauty

Make this gorgeous rustic DIY Wine Glass Carrier to use when serving your guest a glass.

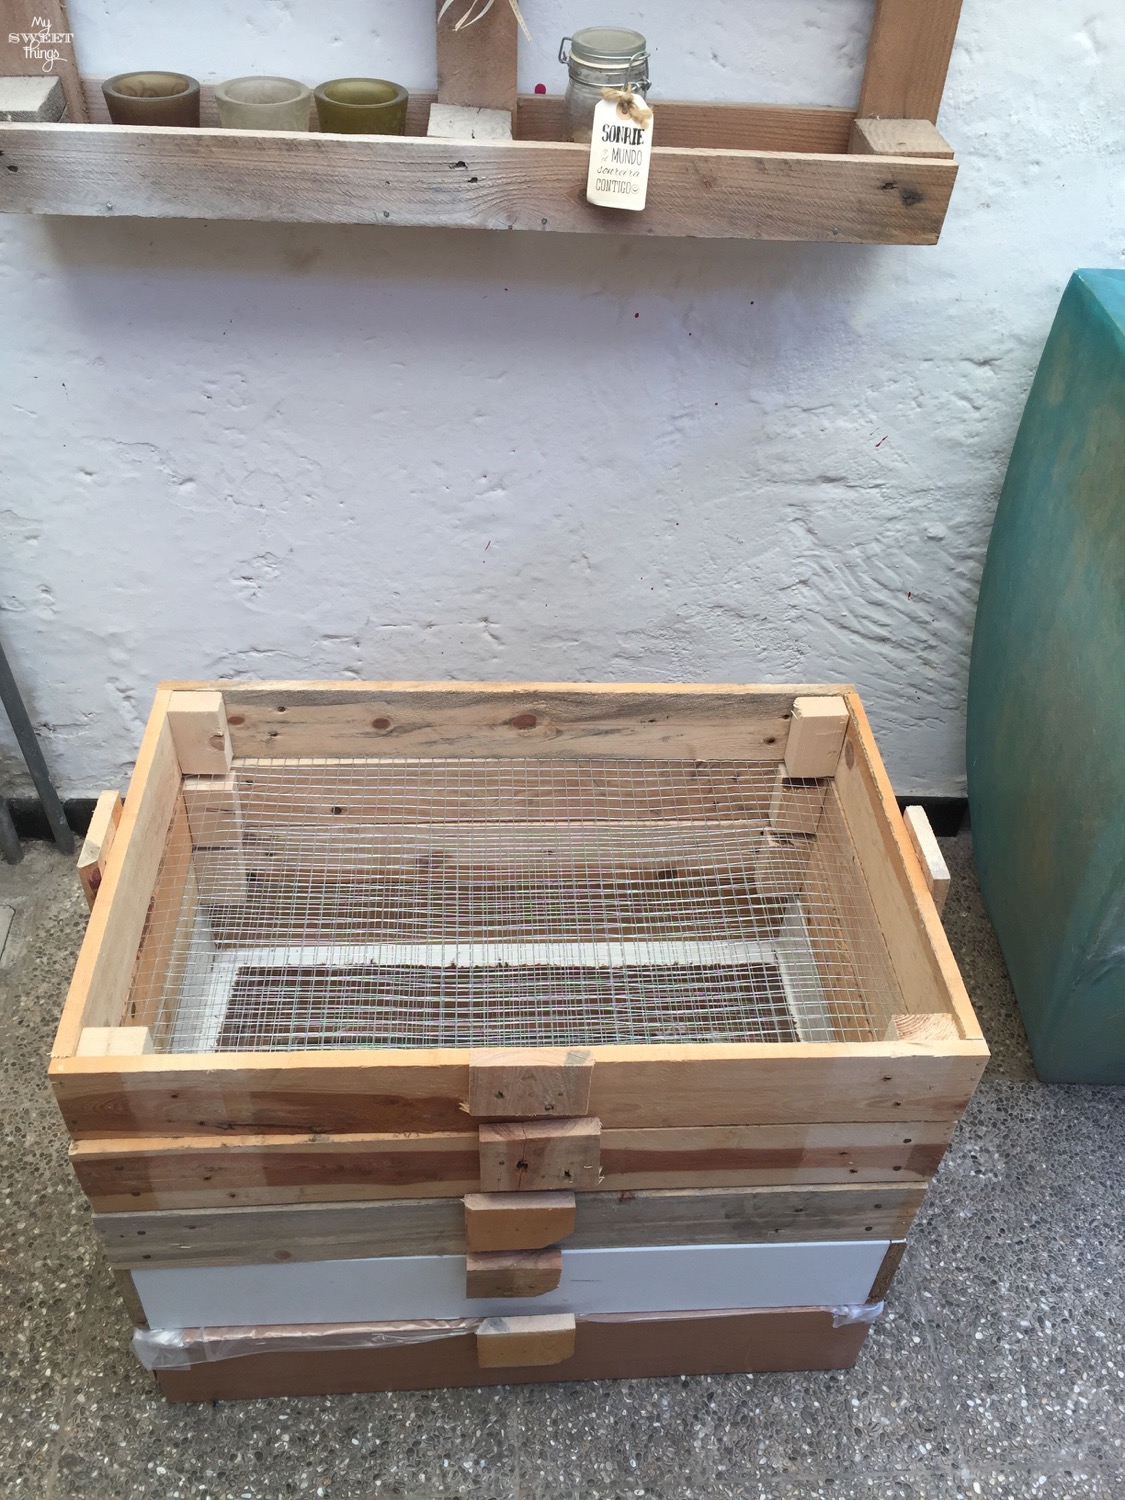
DIY Worm Compost Bin by SweethingsHave you ever tried composting? This DIY Worm Compost Bin For Vermicomposting is an awesome idea.

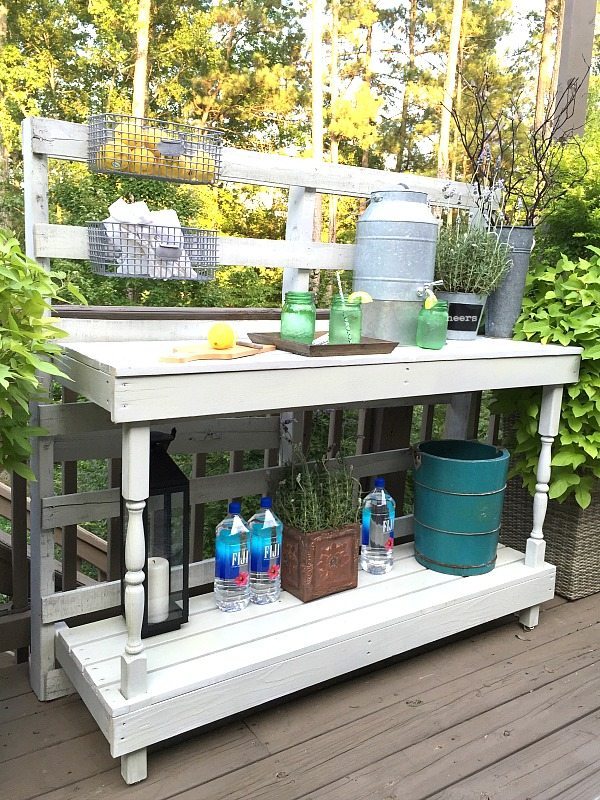
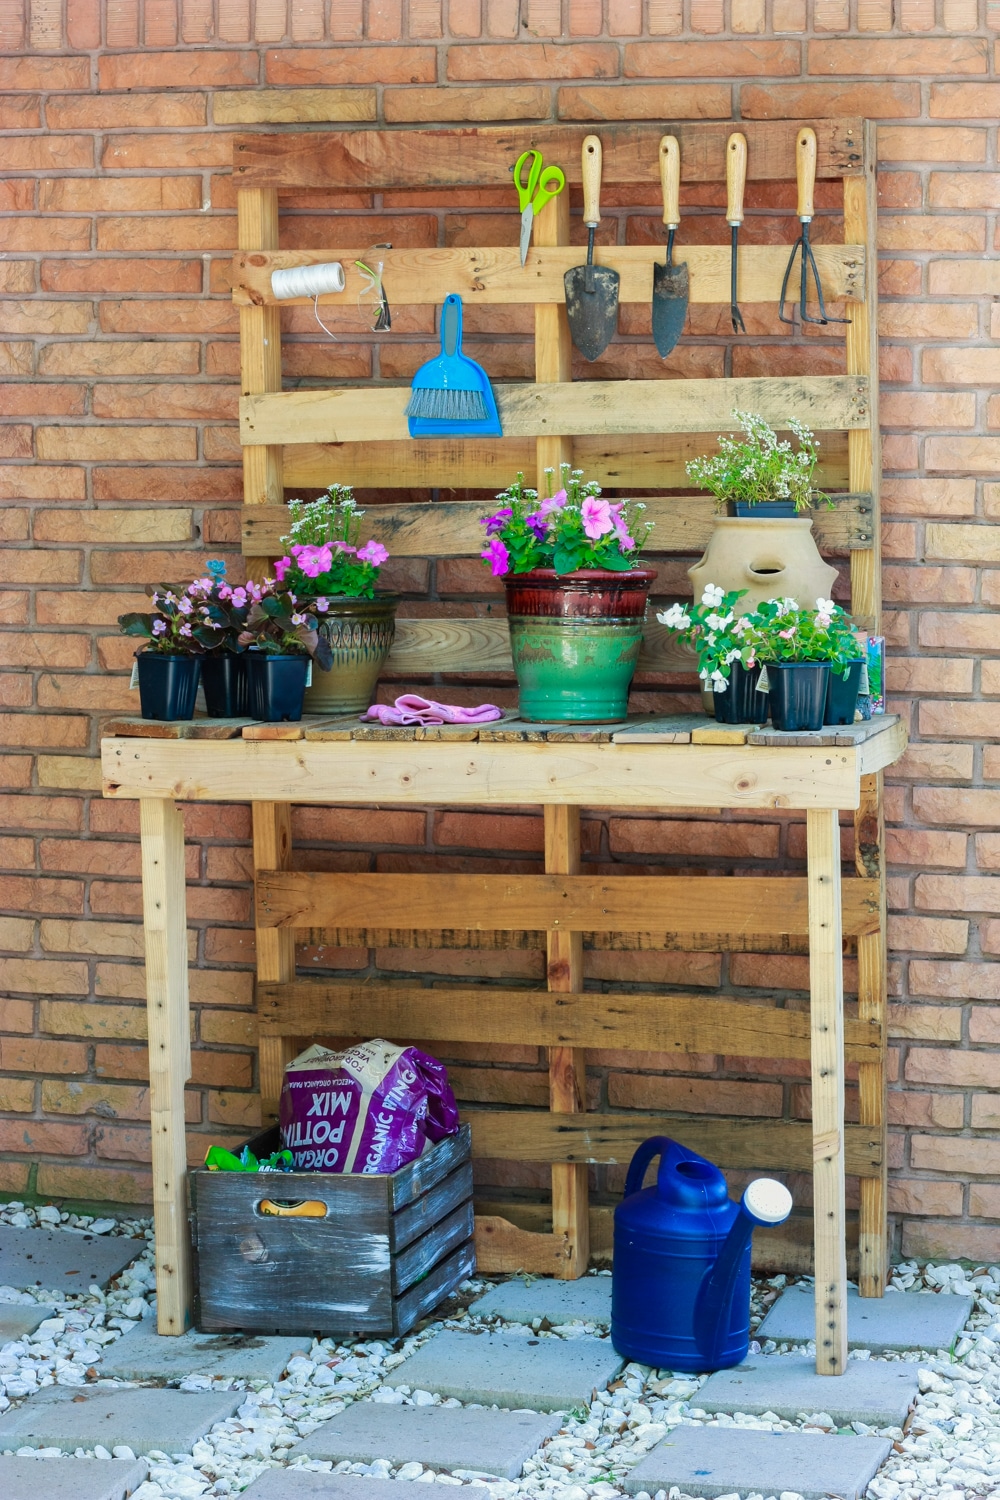
Pallet Potting Table by Refresh RestyleBuild this Pallet Potting Table to help you complete your gardening goals this year.

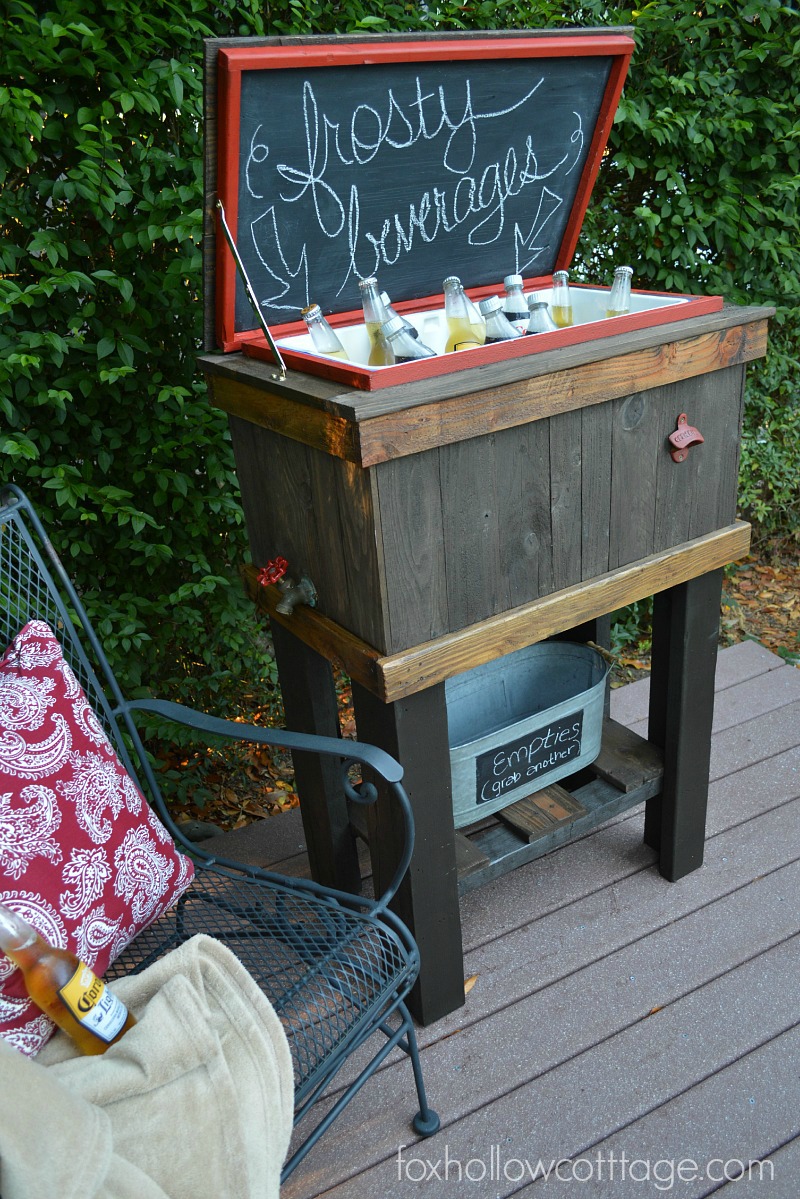
How to Build a Wood Deck Cooler by Fox Hollow CottageMake a Wood Deck Cooler before your next outdoor party.

EASY DIY Pallet couch/daybed

Keep your pallets mostly intact and make this Super Easy Pallet Couch for some cozy outdoor lounging.

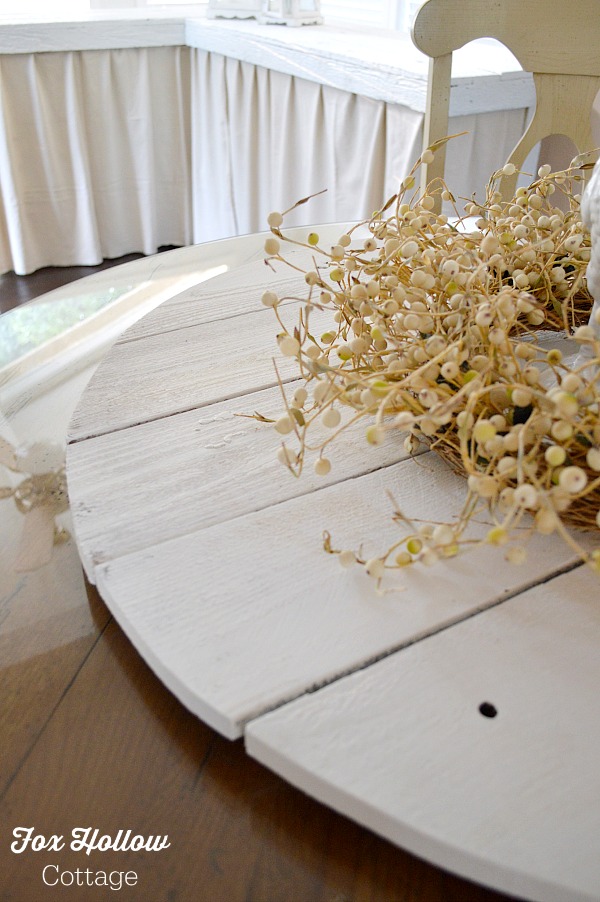
How to Make a Pallet into a Round Circle Shape by Fox Hollow CottageLearn how to Make Pallet Wood Into A Round Circle Shape that can be used to decorate any room.

scrap wood HOME shelves

Build this clever DIY Pallet Shelf to help turn your house into a HOME.

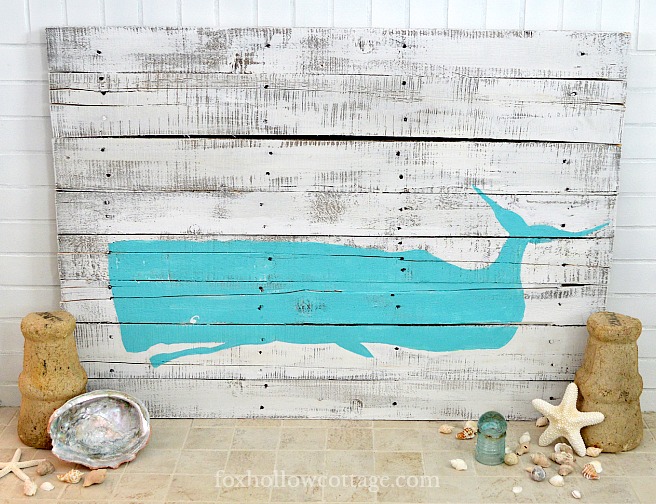
Coastal Whale Palette Art by Fox Hollow CottageCreate this DIY Whale Silhouette Coastal Pallet Art if you love bringing the feel of the beach into your home.

Before December arrives make this festive Scrap Wood Christmas Tree.
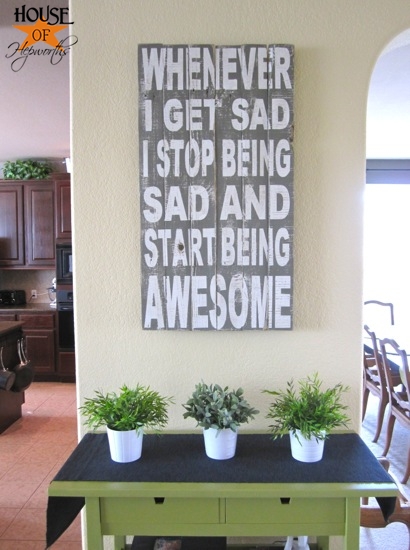
Start Being Awesome Typography Art by House of HepworthsCreate a “Start Being Awesome” Typography Art for your home as a motivating reminder to all.

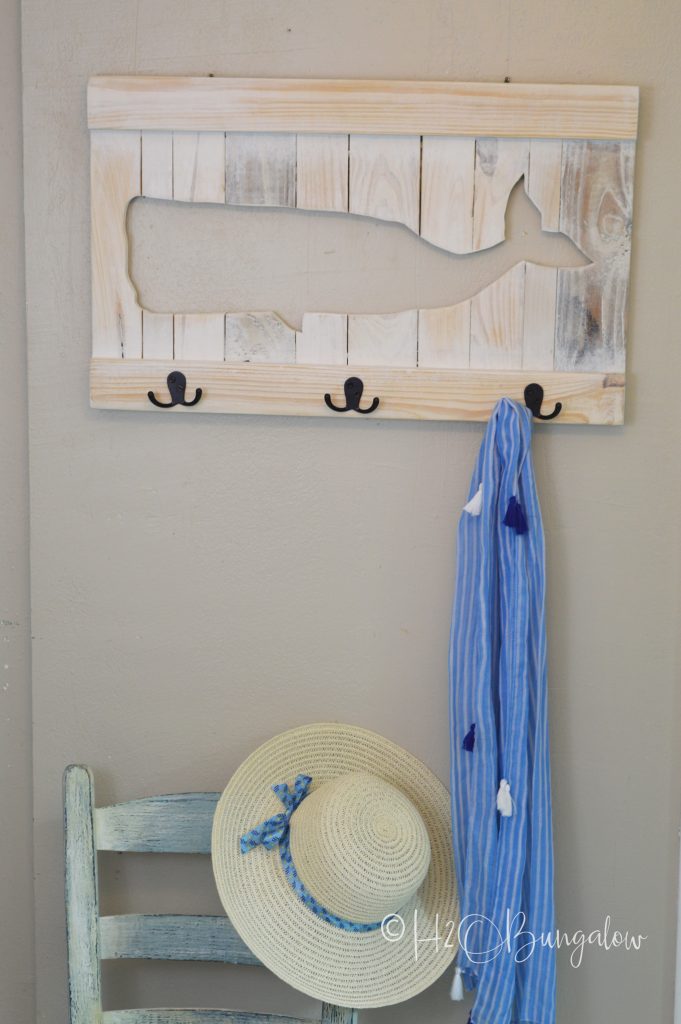
DIY Coastal Whale Coat RackThis DIY Coastal Whale Coat Rack would be perfect for a beach home.

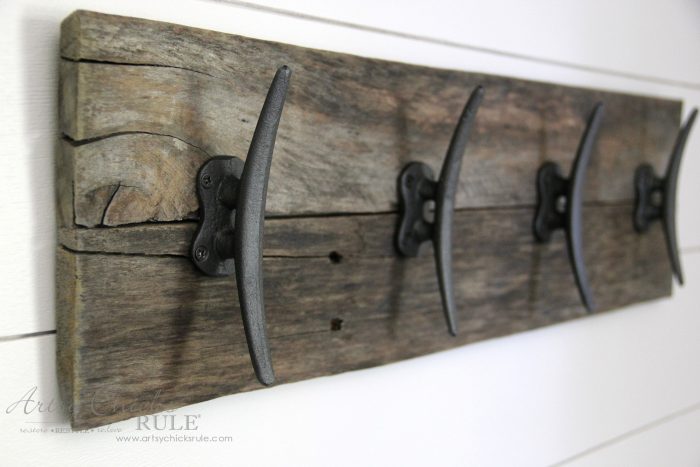
DIY Nautical Pallet Wood Coat Rack by Artsy Chicks RuleAn alternative option for a beach-themed home would be this gorgeous DIY Nautical Pallet Wood Coat Rack.
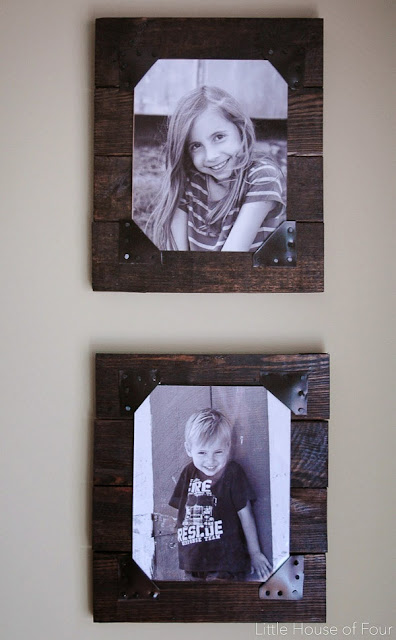
DIY Rustic Pallet Frames by Little House of FourDisplay your favorite photos with these beautiful DIY Rustic Pallet Frames.

Rustic Wooden Advent Calendar made from Pallets by Hazel + Gold Designs

Another holiday project, this Customizable Rustic Wooden Advent Calendar is a great way to countdown in December.

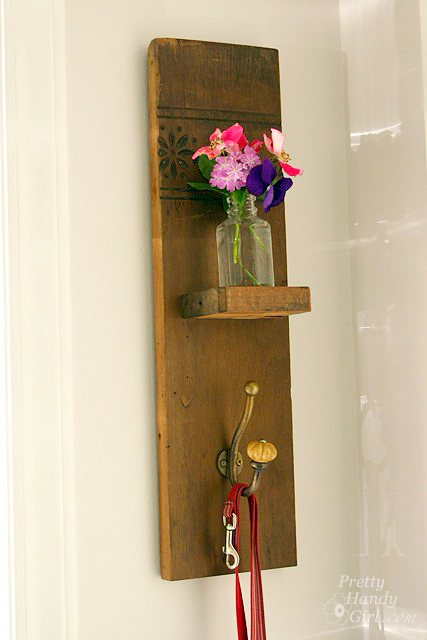
Reclaimed Wood Wall Hook Vase by Pretty Handy GirlBuild this Reclaimed Wood Wall Hook & Vase to add some functional beauty near your door.

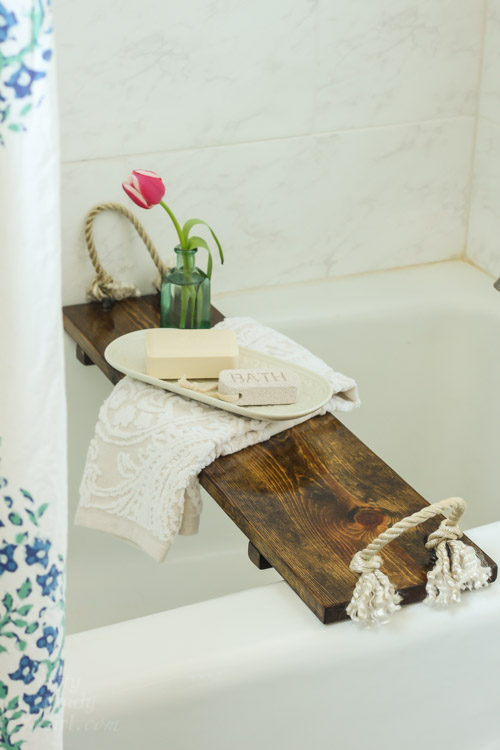
Rustic Wood Bathtub Tray by Pretty Handy GirlA Rustic Wood Bathtub Tray would be the perfect luxurious addition to your bathroom.

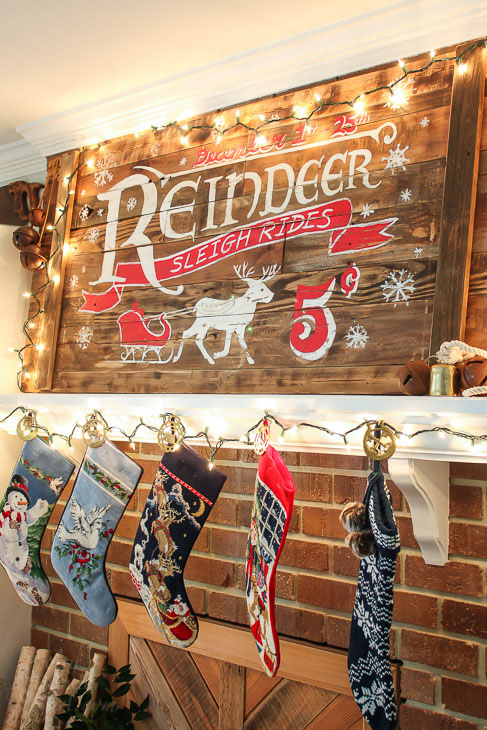
How to Make a Vintage Rustic Sleigh Ride Sign by Pretty Handy GirlDecorate your holiday mantle with a DIY Vintage Rustic Sleigh Ride Sign.

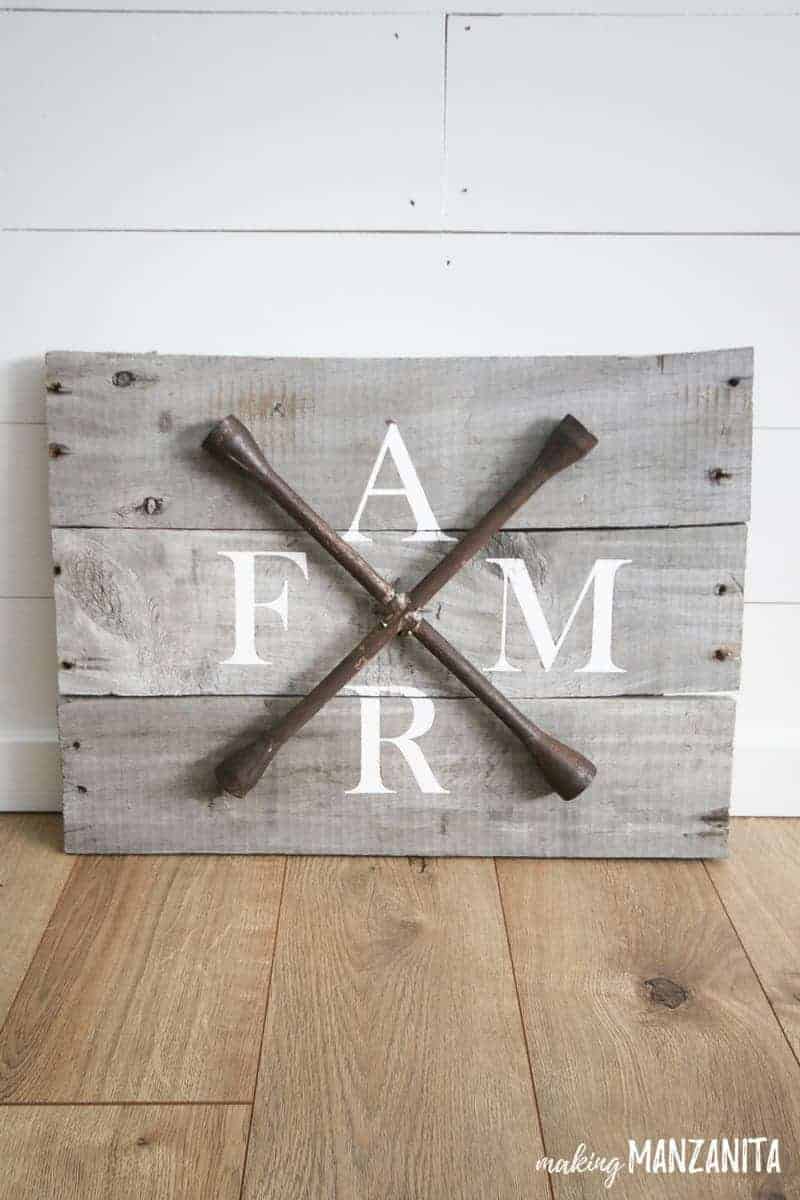
DIY Farmhouse Sign by Making ManzanitaDIY Farmhouse Sign With Pallet Wood And Repurposed Lug Wrench

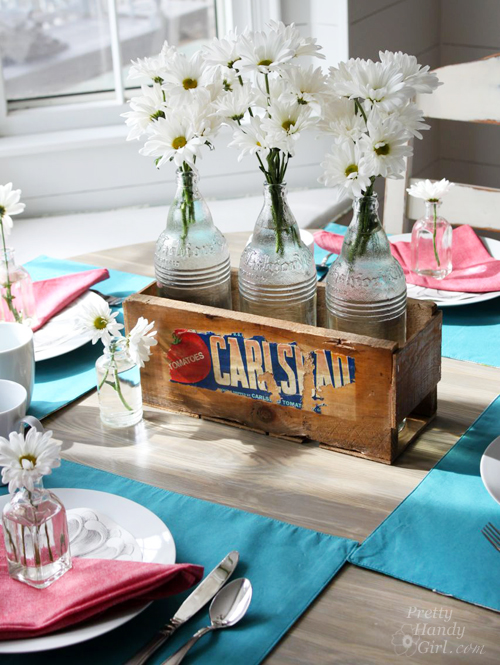
Build a Vintage Produce Crate Centerpiece without Power Tools by Pretty Handy GirlLearn how to Build A Vintage Produce Crate Centerpiece full of rustic beauty for your tablescape.

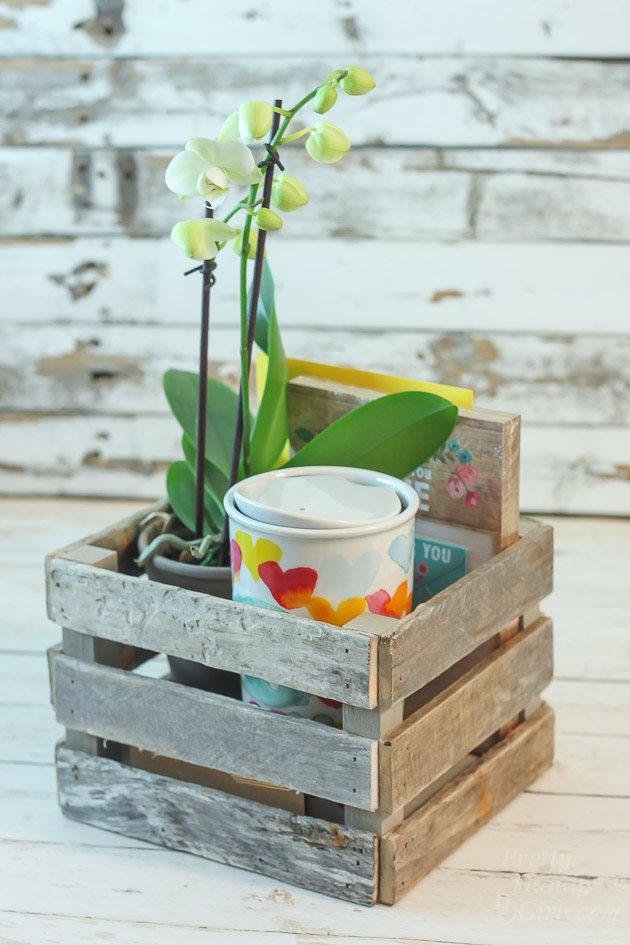
How to Make a Driftwood Gift Crate by Pretty Handy GirlMake A Driftwood Gift Crate to take your next gift to a whole new level.

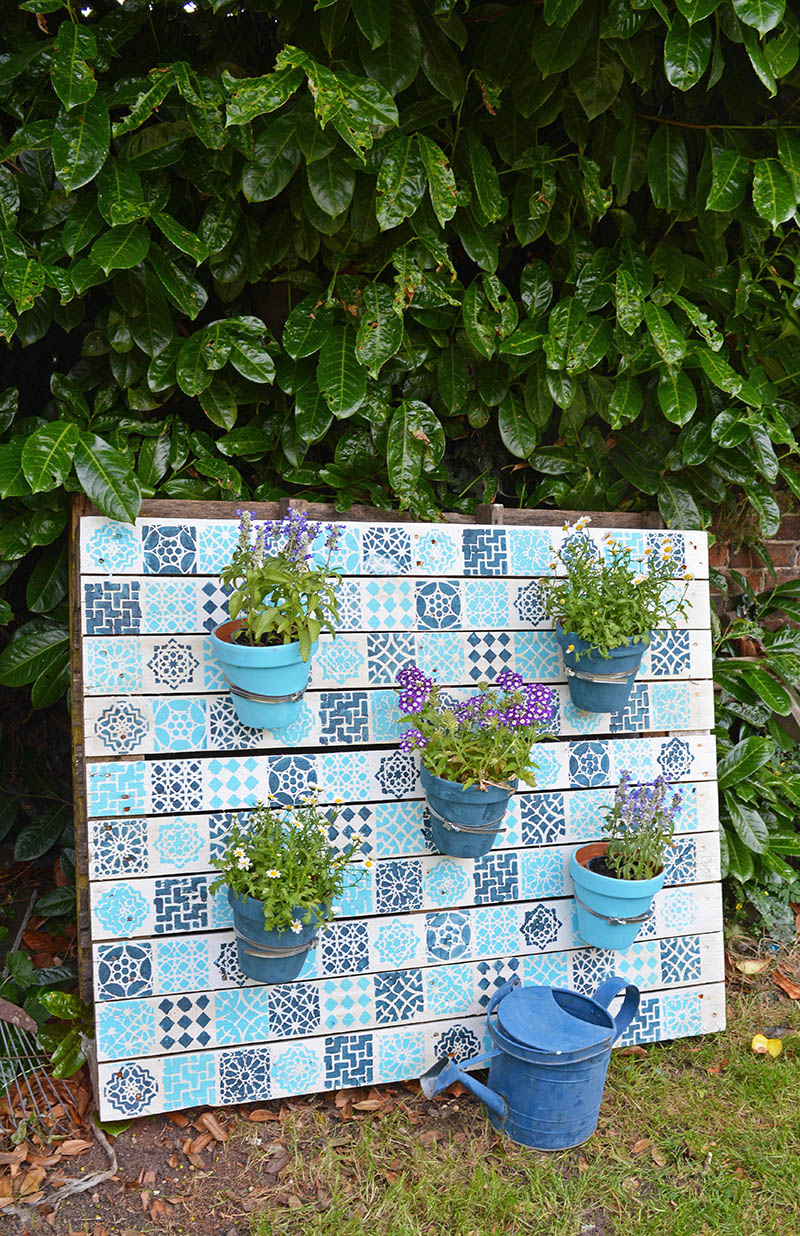
Painted Wood Pallet Garden by Pillar Box BlueHow To Make A Beautiful Painted Wood Pallet Planter for your yard or porch.

Install Pallet Bookshelves by Where the Smiles Have BeenHow To Make And Install Pallet Bookshelves With Knobs to organize your kids’ books and toys.

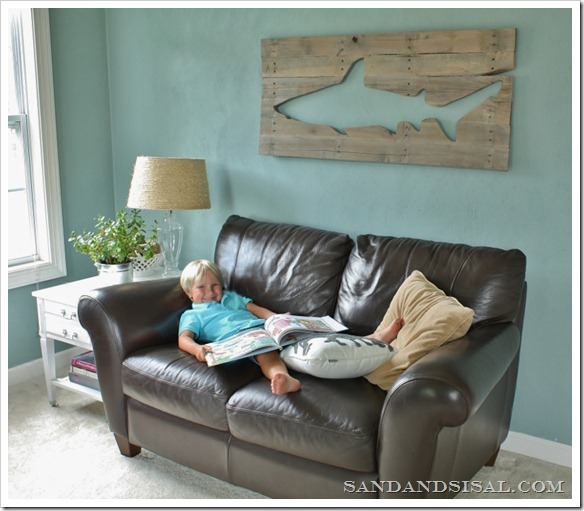
Pallet Art Shark by Sand and SisalAdd some edgy Shark Pallet Art to your wall.

Printed Map Pallet FrameMake A Stunning Printed Map Picture Frame to display your ever-changing family photos.

DIY Potting Bench by Amber OliverCreate an amazing DIY Potting Bench like this to work at every year when springtime arrives.

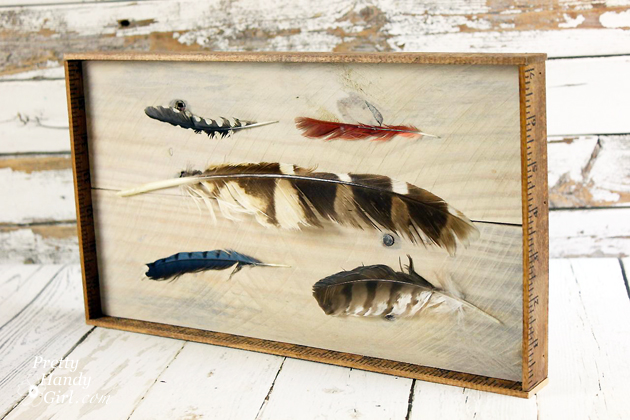
diy-vintage-ruler-tray-on-ottoman

Trays are perfect for corralling clutter. This DIY Rustic Ruler Tray would look perfect in a home office or kids’ room.

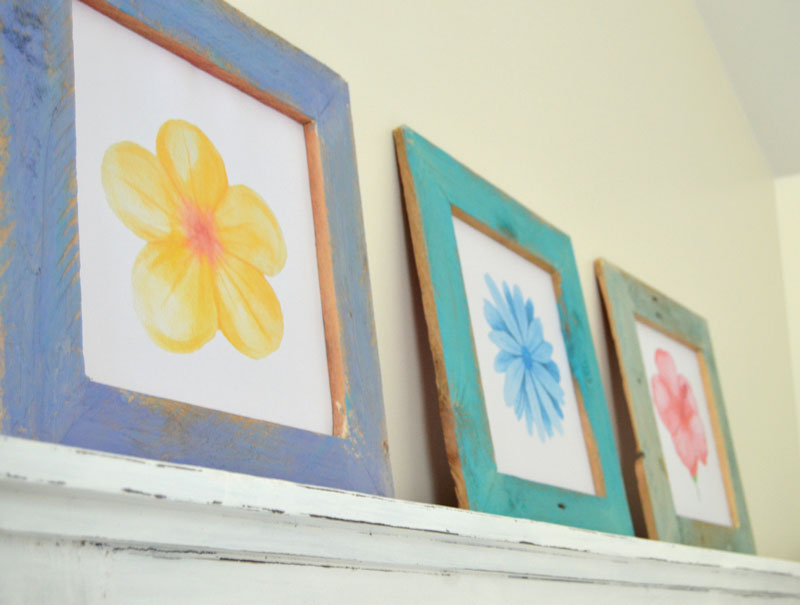
How to Make Farmhouse Style Pallet Wood Frames by Create and BabbleHow To Make Farmhouse Style Pallet Wood Frames for a rustic and colorful touch to your decor.

DIY Outdoor Couch Pallet Project by Amber OliverAdd some comfort to your patio with this modern style DIY Outdoor Couch.

Flower Planter Box from Pallets by A Turtle's Life for MeMake a huge statement on your front porch with these Flower Planters using Free Pallets.

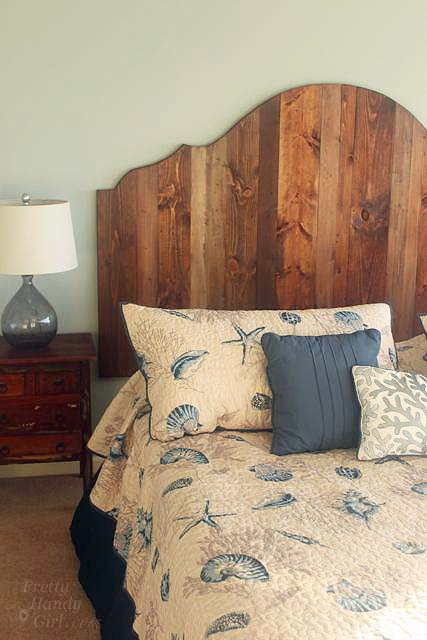
Create Rustic Wood King Headboard by Pretty Handy GirlUse a few pallets to Create A Rustic Wood King Headboard for your bedroom.

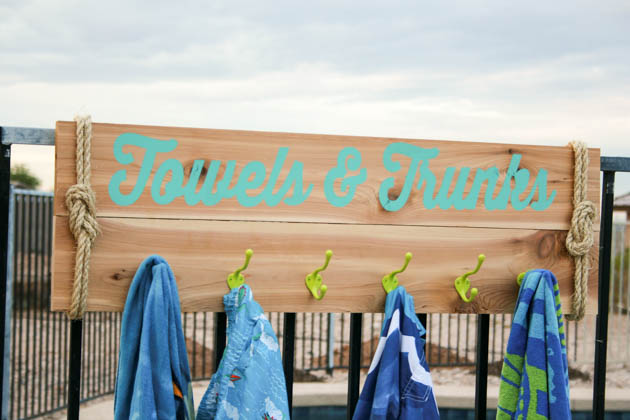
DIY Nautical Towel Rack by Pretty Handy GirlIf you have a pool, make this DIY Nautical Towel Rack to keep things organized poolside.

DIY Feather Art by Pretty Handy GirlCreate some rustic and beautiful DIY Feather Art. 

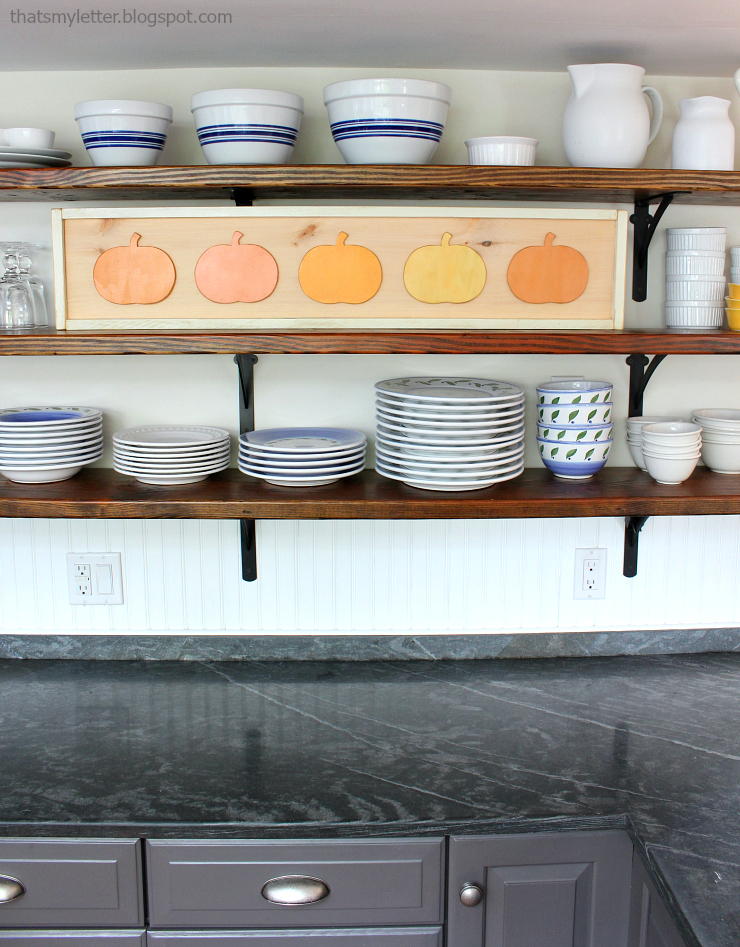
DIY Framed Pumpkins by Pretty Handy Girl

Make these DIY Framed Pumpkins, perfect for Halloween and Thanksgiving!

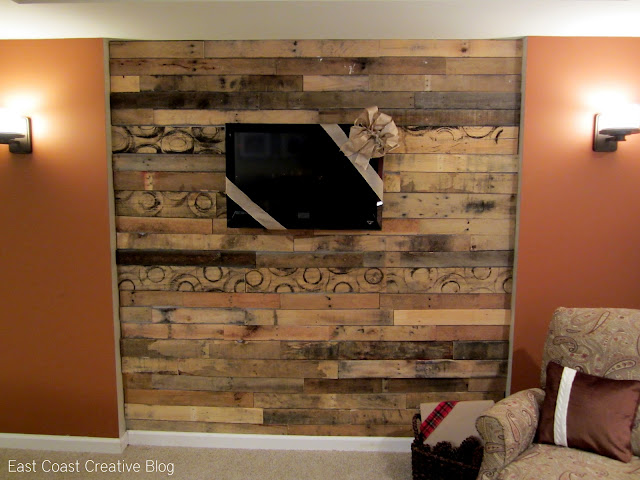
How to Install a Scrap Wood Wall by Pretty Handy GirlLearn How To Install A Scrap Wood Wall to create a gorgeous accent wall in your home.

pallet love - pallet wood ideasHere are a bunch of DIY Pallet Projects By East Coast Creative.

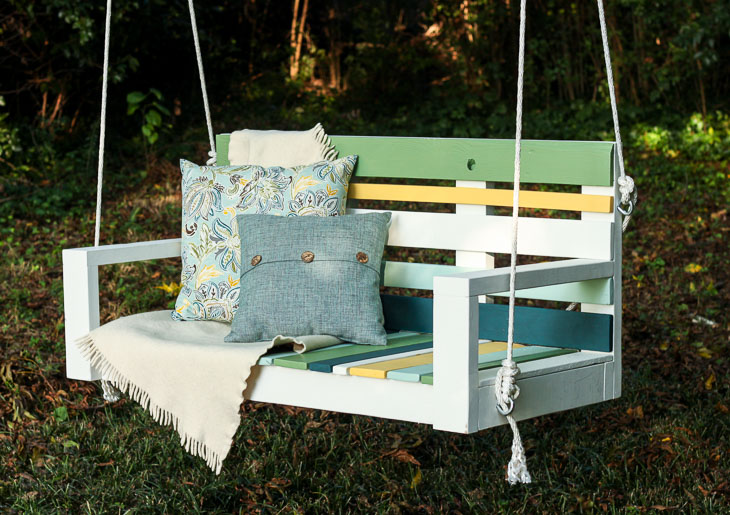
Building Porch Swing with Pallet Wood by Pretty Handy GirlCreate a DIY Porch Swing Using Pallet Wood for your outdoor oasis.

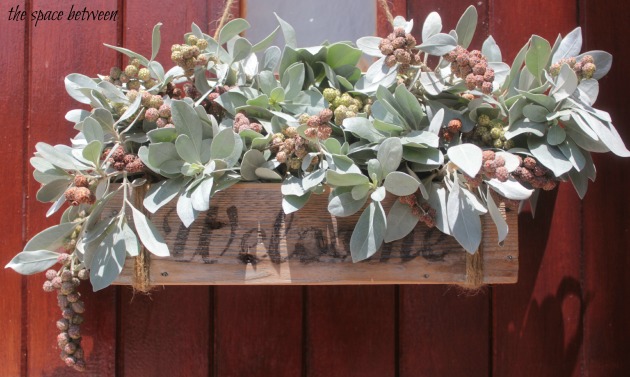
DIY Pallet Slat Bin by Pretty Handy GirlCreate a DIY Pallet Slat Bin to hang on your door or use as a centerpiece.

rustic pallet serving tray by pretty handy girlCreate this gorgeous Rustic Pallet Serving Tray for your next brunch or party.

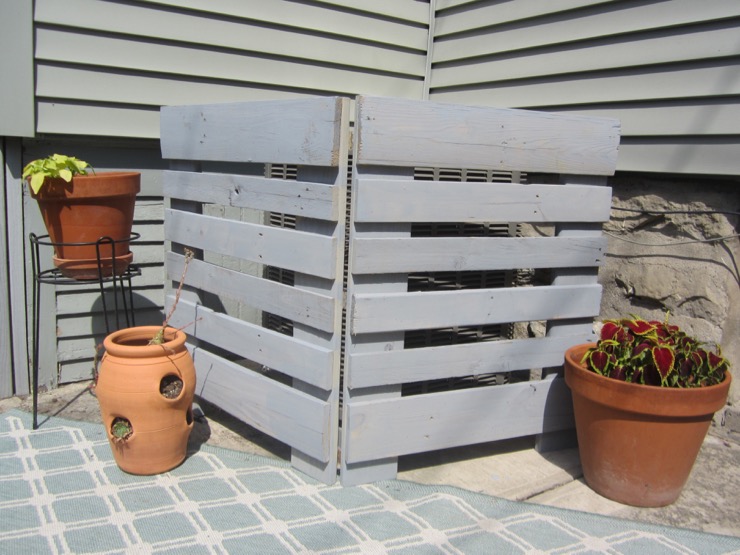
Make an Air Conditioner Screen with Pallets by Pretty Handy GirlMake An Air Conditioner Screen From Pallets to hide that ugly beast of an appliance.

DIY Pallet Plaques by Oh My CreativeThese cute DIY Pallet Plaques are perfect for displaying photos.

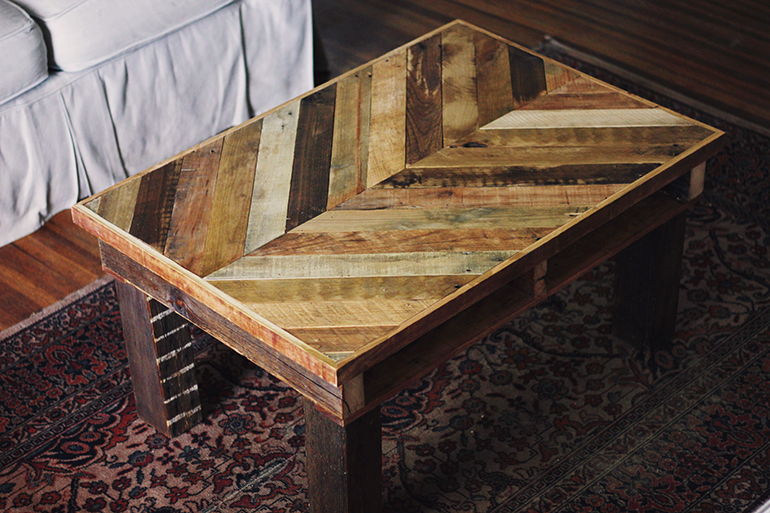
DIY Pallet Coffee Table by The Merry ThoughtBuild this stunning and rustic DIY Pallet Coffee Table for your living room.

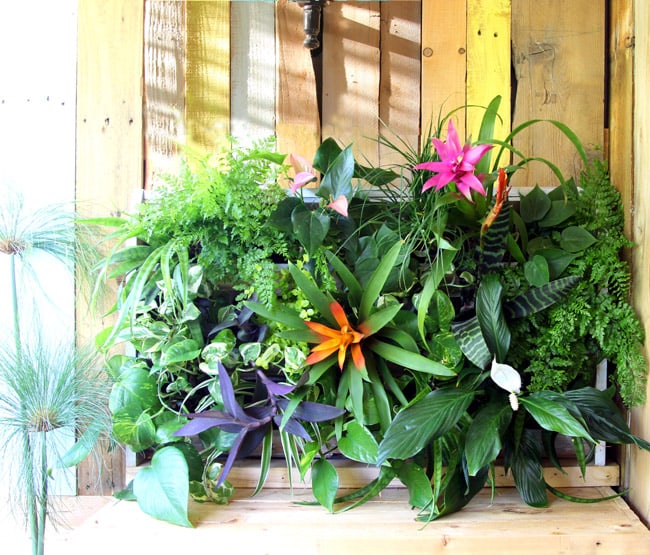
Tropical Pallet Living Wall by A Piece of RainbowLove vertical planters? Make this DIY Tropical Pallet Living Wall.

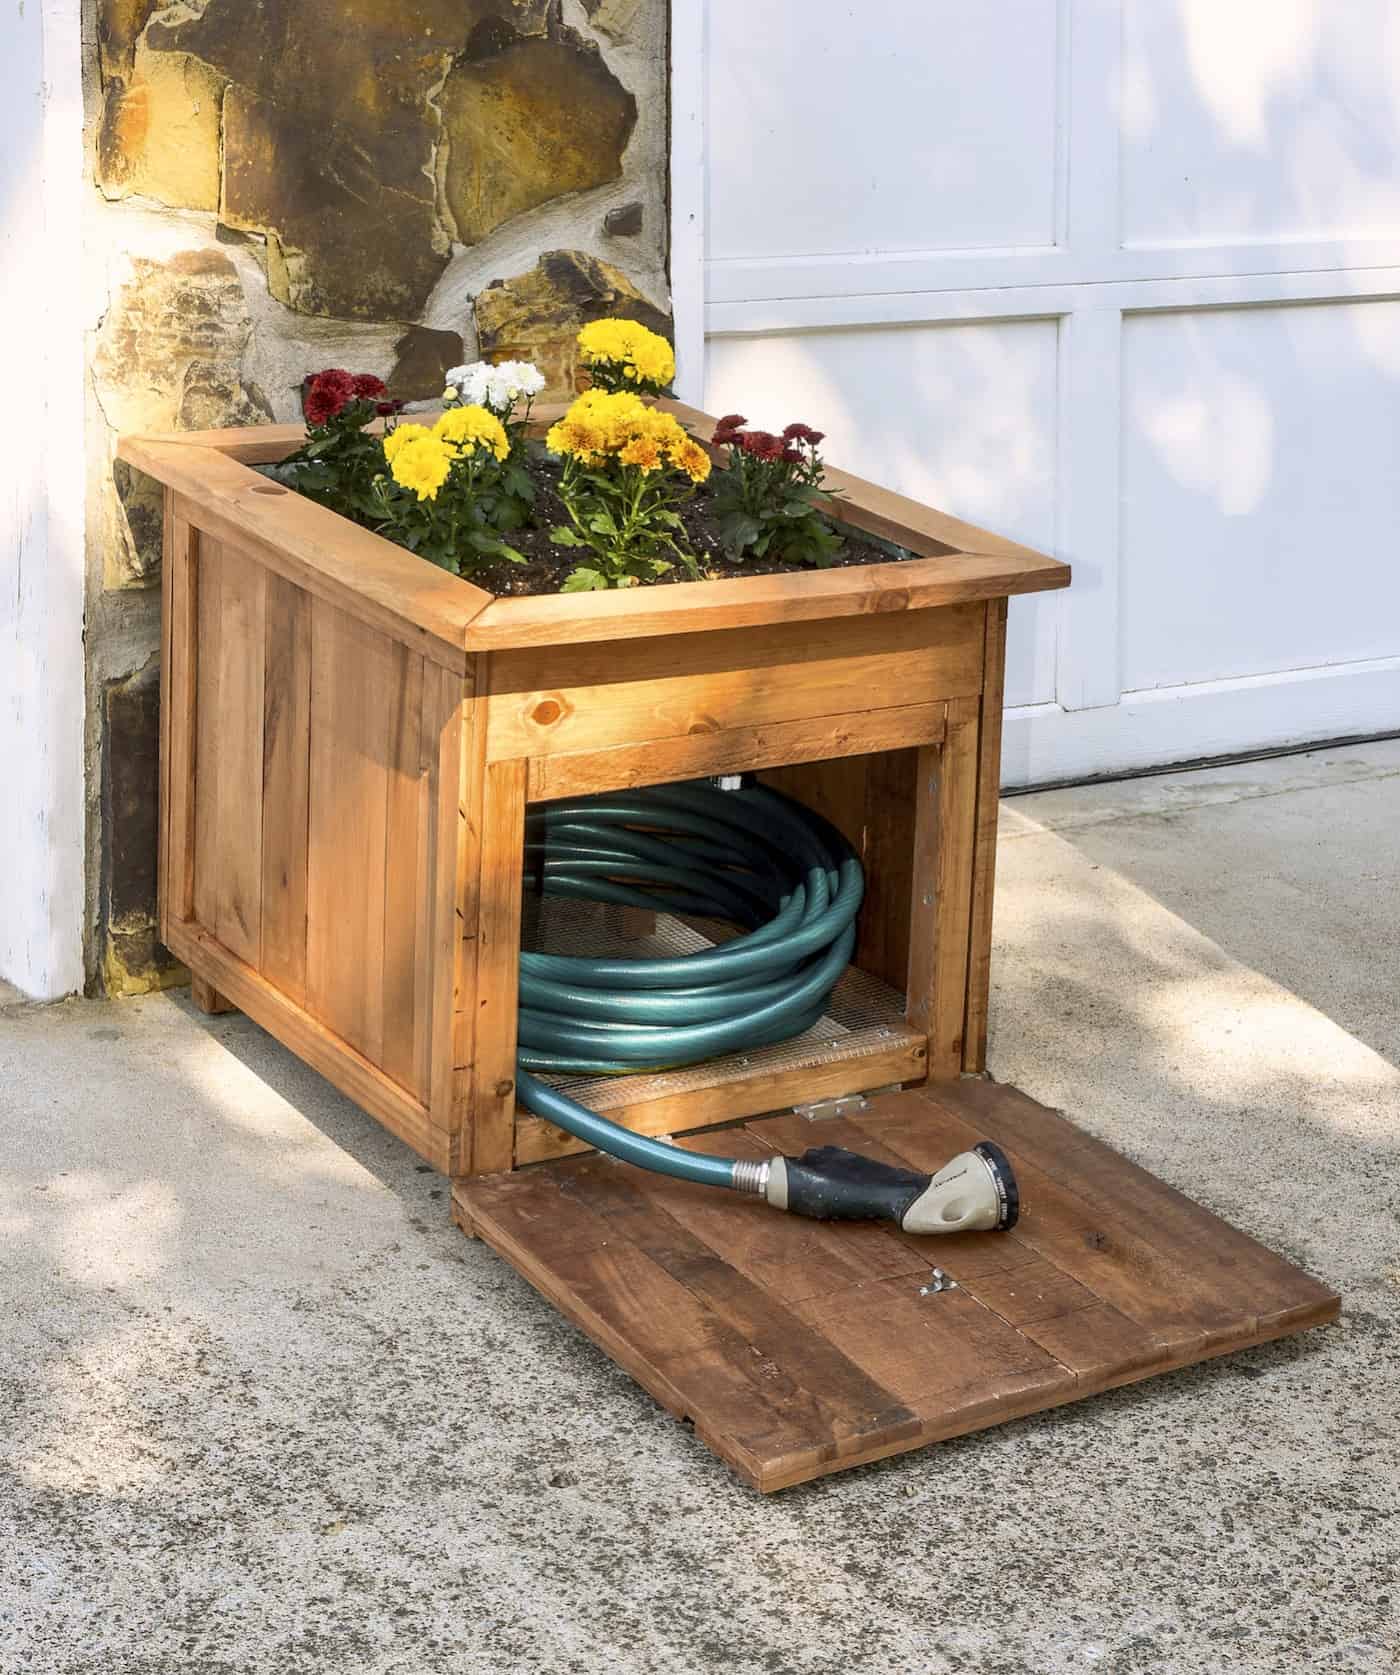
DIY Pallet Wood Hose Holder with Planter by DIY CandyBuild some beautiful storage with this DIY Pallet Wood Hose Holder With Planter.

DIY Distressed Headboard

How To Make A DIY Distressed Headboard for a beautiful rustic addition to your bedroom.

Super Easy Pallet Sofa Table by Twelve on MainMake A Super Easy Pallet Table for a huge conversation piece in your living space.

Pallet Wood Wall Hooks by Love and RenovationsThis DIY Kids Wall Hooks From Pallet Wood would be great, much-needed storage for any kids room!

DIY Rustic Pallet Wood Flag

Show your patriotism this July by making a DIY Rustic Pallet Wood Flag.

Now that you’ve been inspired, here’s how to harvest that pallet wood:

How to Salvage Wood From Pallets How To Salvage Wood From Shipping Pallets.

I hope you got some great inspiration from all of these pallet wood creations. Re-using pallet wood is a great way to save money and get a unique rustic feature for your home that you built yourself! Which is your favorite? I’d love to hear in the comments. Thank you for reading and feel free to share this post! Pin this image so you can refer back to this post!

50 plus pallet wood projects you can make Pinterest Image

Liked this collection of ideas? If so, you’ll love this round up of Scrap Wood Projects:

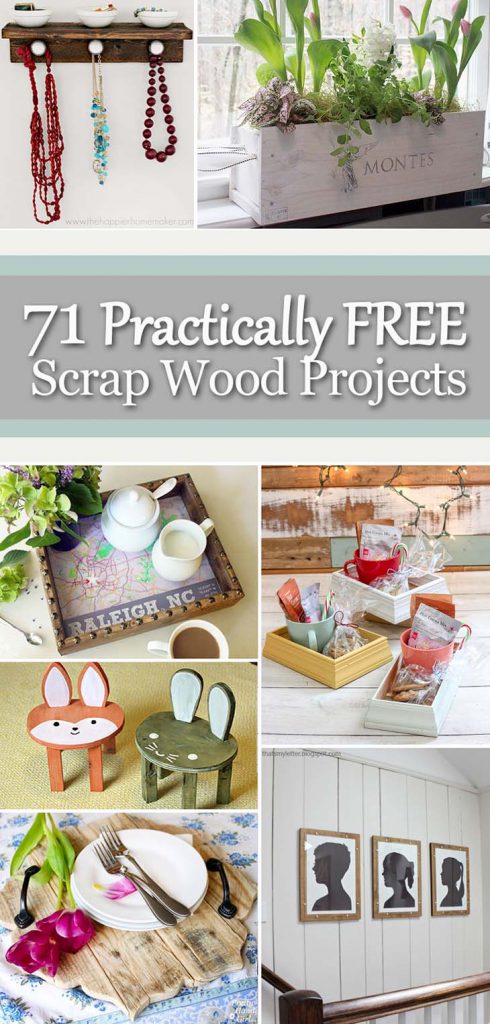
71 Practically FREE Scrap Wood Projects

Build Your Own Coat Rack

Build Your Own Coat Rack

Build Your Own Coat Rack

Hi I’m Toni from Girl, Just DIY and I’m happy to be here with you today as a guest blogger for Pretty Handy Girl. Today I’m going to share with you how to build your own coat rack. I’ve been saving the old wood shelves from our kitchen remodel for just the right project. When inspiration struck, I decided to make a coat rack!

To prep the shelves, I ripped down the wider boards using my table saw. I know not everyone has a table saw, so feel free to use 1×8 boards to make your coat rack. My finished coat rack is 30″ wide. The back board is 7 ½” tall and the shelf is 6 ½” deep. The following instructions are based on using 1×8 boards (which actually measure 3/4″ x 7 ¼”).

Materials:

  • 1 – 1×8 board 5.5′ Long
  • 8 – #8 Wood Screws 1-1/4″ long
  • 2 – #6 Wood Screws 1″ long
  • 2 – #10 Wood Screws 3″ long
  • Wood Stain
  • Wood Glue
  • Miter Saw or Table Saw
  • Jigsaw
  • Sandpaper
  • Palm Sander
  • 2 – 12″-18″ Clamps
  • Level

Instructions:

Step 1: Start by cutting two sections of the 1×8 into 30″ lengths. You can make your shelf any length you desire but a 30″ shelf looks well proportioned with 3 hooks.

Step 2: To make the braces for the ends of your wood shelf, cut two smaller sections from the 1×8 at 3″ wide each. On one section draw a design you like similar to below.

Step 3: Using your Jigsaw carefully cut out the brace. If you’ve never used a jigsaw before I suggest you practice on some scrap wood to get comfortable or follow Brittany’s tutorial for using a jigsaw.

Tip: The faster your run the blade the easier it is to cut and maneuver.

Step 4: With the first brace cut out, use it as a pattern and trace onto the other 3″ piece of 1×8. Cut out the second brace. Clamp the two braces together to sand even.

Step 5: Sand all sides of your boards and the braces. Gently sand the edges to remove the sharp edges from the saws.

Step 6: Set the back of your coat rack on a flat surface and stand the shelf at a 90 degree. Apply a bead of wood glue to the shelf where it meets the back. Line up the ends and clamp as the glue cures.

Step 7: To attach the shelf to the back of the coat rack make four evenly-spaced marks 3/8″ from the bottom edge of the shelf and pre-drill the holes to a depth of 1″ (use painter’s tape to mark the depth on the drill bit). Be sure to pick a drill bit that’s smaller than the threads of the screw. After the holes are pre-drilled, insert the 1 ¼” screws and wipe away any excess glue with a damp rag (this is especially important if you are staining).

Step 8: When installing the braces, choose the inset you prefer (I set mine in 3/4″ from the edge).

Step 9: Clamp the skinnier section to the back and pre-drill and screw 1-1/4″ screw through the top. Next clamp the fatter section to the shelf and pre-drill and insert two screws into the brace through the back board.

NOTE: Use a 1 ¼” screw on the fatter section and a 1″ screw into the skinnier section of the brace.

Step 10: Fill the holes on top of the shelf with wood putty. Let dry completely and sand smooth. Don’t overfill too much as wood putty doesn’t shrink like spackle. It dries very hard and will take more effort to sand smooth.

Step 11: Wipe the entire coat rack with a tack cloth or a lightly damp rag before painting or staining. If staining, apply stain according to can directions with either a foam brush or rag.

Step 12: Let sit for 5-15 minutes for desired richness then wipe excess stain with an old rag. Be sure to wipe completely from the joints and watch for drips.

Step 13: Evenly space the hooks using tape or a narrow scrap to align evenly to the bottom of the coat rack. Mark/indent through each screw hole before inserting the screws that came with the hooks.

Step 14: To hang your coat rack pre-drill two holes for #10 3″ Wood Screws 16″ apart just below the underside of the shelf. Evenly space the two holes between the braces. Find the wall studs using a stud finder and mark the center point on a piece of painter’s tape applied to the wall. Line up the pre-drilled holes with the marked studs and use a level before screwing in the first of the two screws. Once you get your first screw into the stud you can adjust level before screwing in the second.

That’s it. You’ve just built a beautiful new coat rack.

Thanks again to Brittany for this opportunity to share my coat rack project with you. I hope you’re inspired to make this coat rack for yourself!

Toni

Toni - Small Home Soul

Hi, I’m Toni and I’m the creator behind Girl, Just DIY a DIY blog where I share cool and colorful projects to inspire you. I’m a former IT Manager, but a long time DIYer. I was inspired to DIY by watching my mom take care of all our household repairs, while my dad worked to support their 9 kids (I’m the youngest). I love to create and share tutorials that inspire and give women confidence to dive into the world of DIY (you got this!) I love helping women curate a home they love by creating and building items for their homes they can afford and be proud of.
A few of my favorite projects I’ve shared on my blog are a 2×4 Patio Side Table which was the first piece of furniture I ever built by myself. They look great and I still smile every time I see them. The L-Shaped Desk we just built for my Office Makeover is a recent favorite since our only other bedroom has to serve multi-purposes. And, the Dollar Store Backslash I installed in my master bathroom. There are so many more projects that I love and am proud of. I hope you’ll spend a few minutes checking out my blog.

You can connect with me online at Pinterest, Facebook, Instagram, Twitter.

If you liked this post, you’ll love these:

personalized-wall-shelf-1

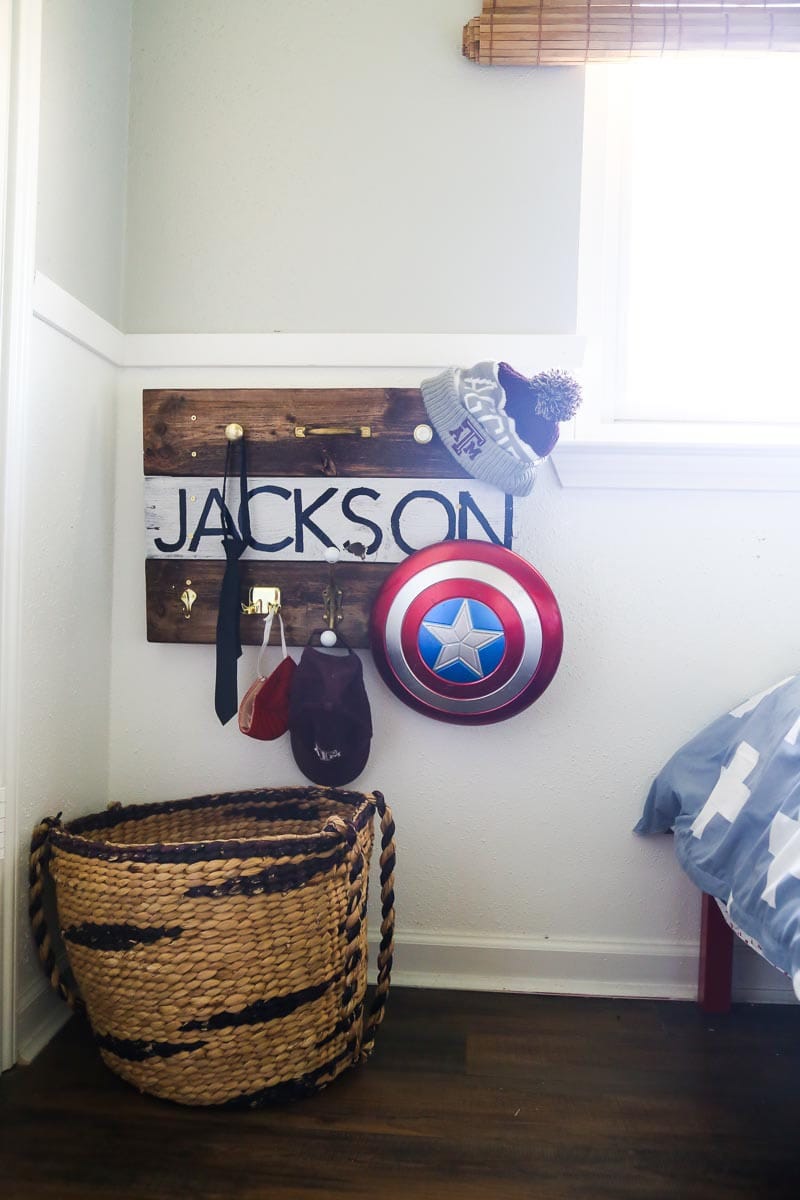
Personalized Coat Rack


Seaside Theme Bathroom Refresh #LowesCreator | Pretty Handy Girl

How to Build a Built-In Decorative Shelf