DIY Pallet Slat Bin
A DIY Pallet Slat Bin makes a hanging display box or centerpiece. Today on the Rockstar DIY stage is Karah, with the tutorial to make this beautiful pallet bin.
If you haven’t met Karah yet, I know you’ll be fast friends. Karah blogs at the space between.

Both Karah & I love serious DIY. We both grew up in houses that were always at one stage or another of completion, which has probably heightened our ability to deal with all of the house projects we seem to always be tackling. Karah is kicking off our Rockstar DIY Series straight from the beautiful beaches of Aruba (lucky duck!) Take it away Karah!
Hey everyone! I’m Karah and I blog at thespacebetweenblog.net. If you’ve been a Pretty Handy Girl reader for a while you might remember me as the one who PHG was separated from in childhood.

If we haven’t met before, hey there! Nice to e-meet you. And no, I don’t always wear matching shirts with my friends. Only when we know there are cameras close. 😉
By way of introduction, my blog is about DIY and home improvement with a focus on all things repurposed, re-invented or upcycled. The blog is also a journey through our evolving life that brings us all over as we follow my husband’s career. Which right now finds us living in Aruba (I know!), so I am also all about the super simple projects that don’t pull me away from the beach, or just staring at the view, for too long. 😉

So here is an easy upcycling idea using only one pallet slat that makes a great project that you could hang on your front door, or use as part of a table arrangement or centerpiece.
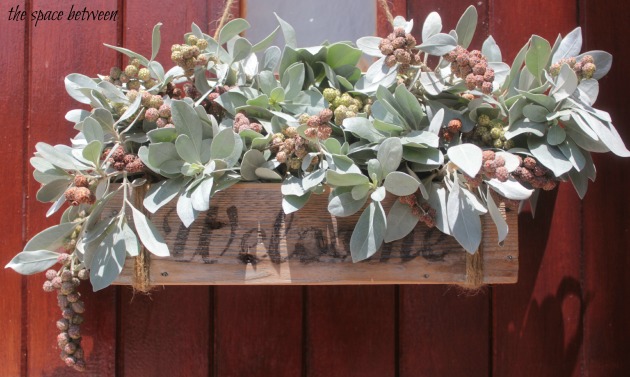
Project: DIY Pallet Slat Bin
Materials:
- 1 pallet slat
- handful of small finish nails
- jute twine (optional)
- 150 grit sandpaper
Tools:
- pry bar
- hammer
- tape measure
- saw
I didn’t even use any power tools to make this but you could speed up the already quick process by using a nail gun (like this one) or a miter saw (like this). (affiliate links)
Instructions:
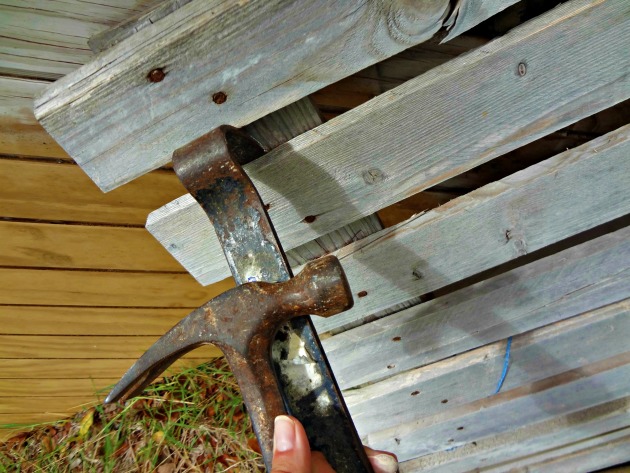
Step 1: If you’re not lucky enough to happen to have just a single pallet slat on hand use the hammer and pry bar to remove one pallet slat from a pallet.
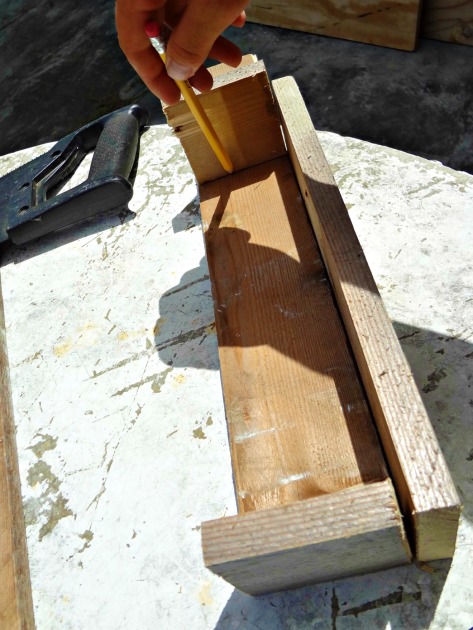
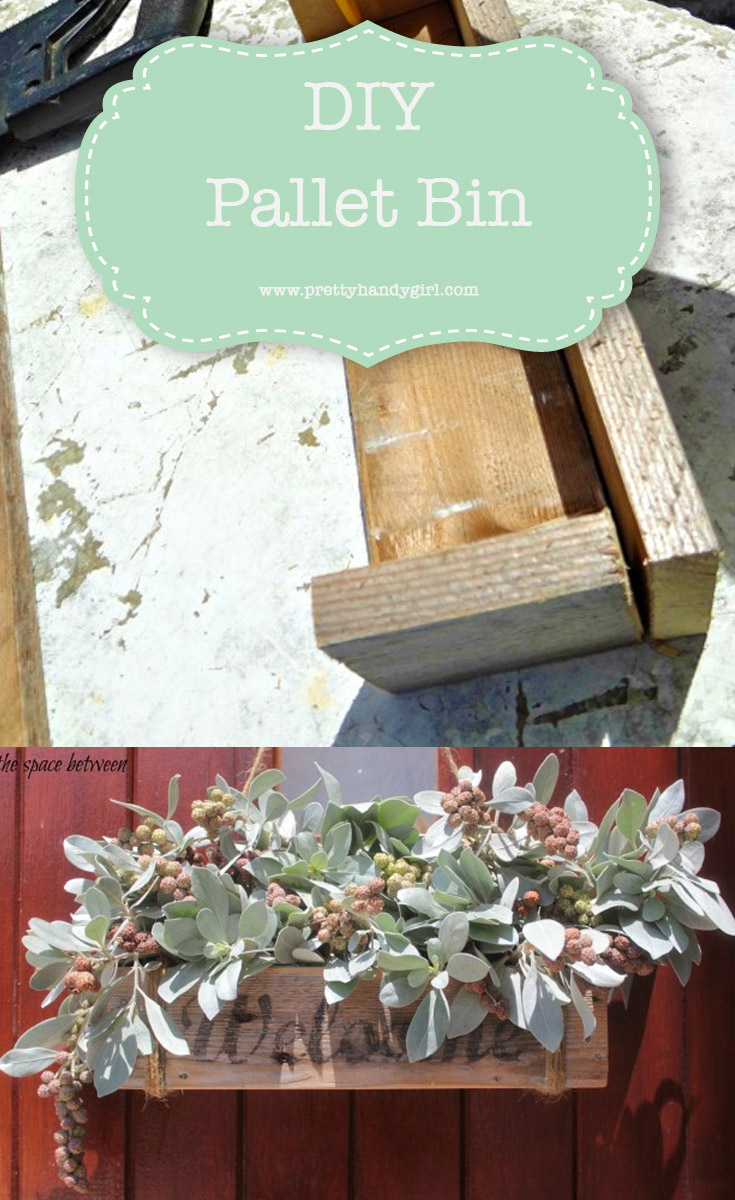
Step 2: Use your saw to cut two pieces 12 inches long (for the front and back) and two pieces 3 inches long (for each end), then put them together like this to mark where to cut the piece for the bottom.
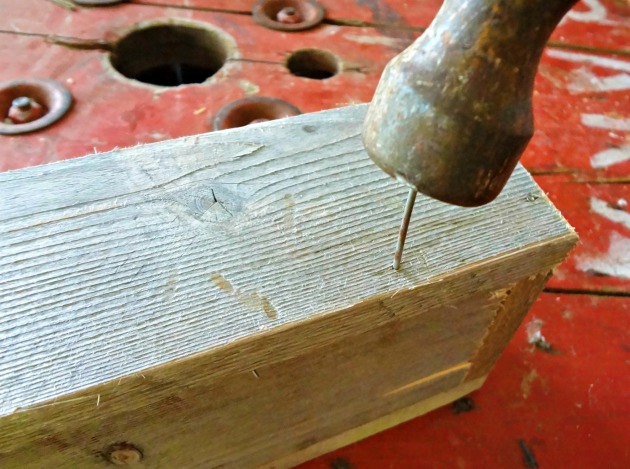
Step 3: Use the hammer and nails, rusty finish nails optional, to put it all together.
Step 4: Use the sandpaper to sand away any splinters and to give the corners a rounded edge if desired.
Step 5: Wrap jute twine around the ends leaving a length of string to hang if desired.
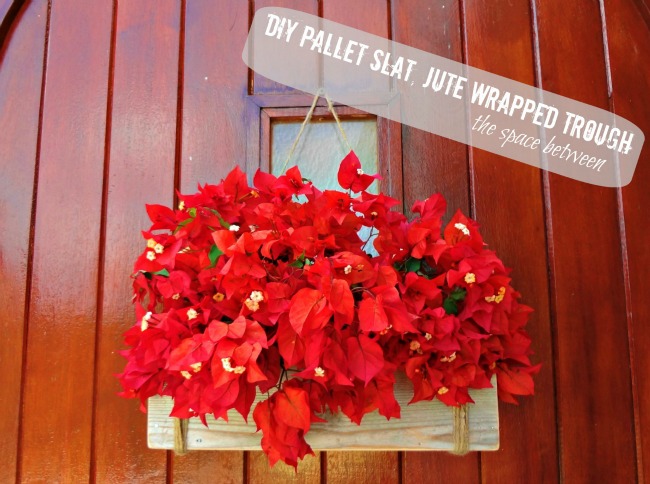
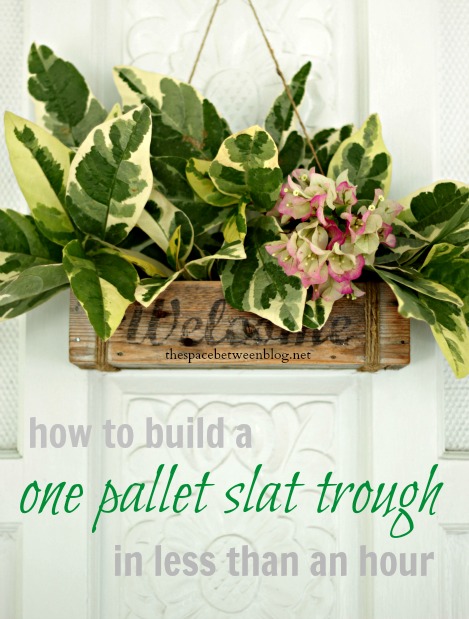
Option additional step: Since I ended up hanging ours on our front door I did use this image transfer technique to add the word Welcome.
And I have fun switching up the flowers every season. My trick for keep the flowers alive for a little bit is to put a few plastic cups in the trough and arrange the flowers in the cups. Now if only I could remember to actually keep the cups filled with water. **sigh**

Thanks so much for checking out this simple project of mine. If you like DIYing, renovating or just staring at ocean views you might enjoy keeping up with my antics on Instagram. When I’m not exploring the island of Aruba you can find me tearing up our kitchen in preparation for our full kitchen renovation.
Did you like this easy project using pallet wood? If so, you’ll love my book, DIY Wood Pallet Projects! (affiliate link)
Thanks so much to Brittany for letting me crash her pad, er blog, today. Cheers!
Stay tuned for more of the Rockstar DIY series!
Here is a list of the project performances so far:
Pin for later!



Brittany
This is a fantastic use for my mountain of pallets. A perfect spring time tutorial (Down Under that is).
<3
Pia
I love it, super cute! And I’m totally jealous of those beach views – wow!!
Thank you so much for letting me be a part of your great series. I can’t wait to see the rest of the tour!!