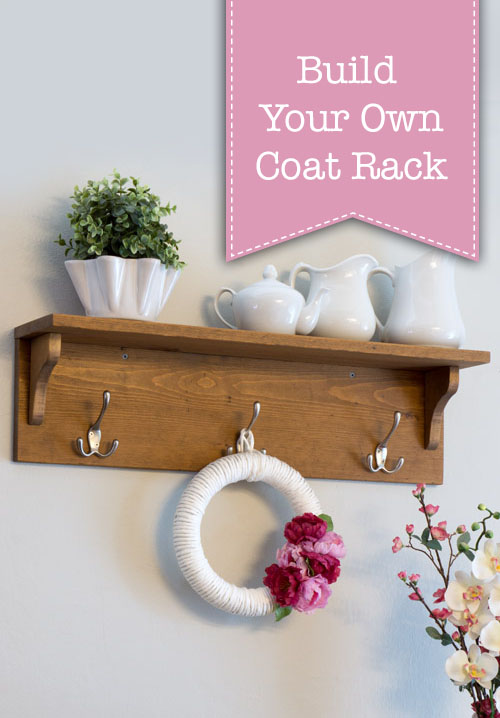
Build Your Own Coat Rack
Build Your Own Coat Rack
Hi I’m Toni from Girl, Just DIY and I’m happy to be here with you today as a guest blogger for Pretty Handy Girl. Today I’m going to share with you how to build your own coat rack. I’ve been saving the old wood shelves from our kitchen remodel for just the right project. When inspiration struck, I decided to make a coat rack!
To prep the shelves, I ripped down the wider boards using my table saw. I know not everyone has a table saw, so feel free to use 1×8 boards to make your coat rack. My finished coat rack is 30″ wide. The back board is 7 ½” tall and the shelf is 6 ½” deep. The following instructions are based on using 1×8 boards (which actually measure 3/4″ x 7 ¼”).
Materials:
- 1 – 1×8 board 5.5′ Long
- 8 – #8 Wood Screws 1-1/4″ long
- 2 – #6 Wood Screws 1″ long
- 2 – #10 Wood Screws 3″ long
- Wood Stain
- Wood Glue
- Miter Saw or Table Saw
- Jigsaw
- Sandpaper
- Palm Sander
- 2 – 12″-18″ Clamps
- Level
Instructions:
Step 1: Start by cutting two sections of the 1×8 into 30″ lengths. You can make your shelf any length you desire but a 30″ shelf looks well proportioned with 3 hooks.
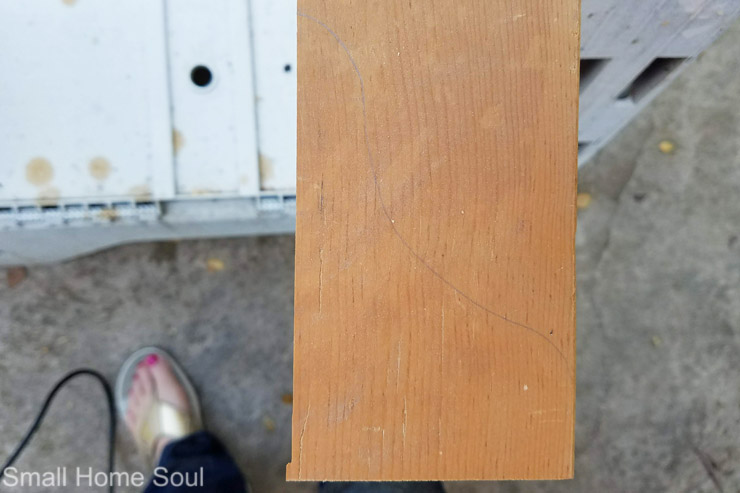
Step 2: To make the braces for the ends of your wood shelf, cut two smaller sections from the 1×8 at 3″ wide each. On one section draw a design you like similar to below.
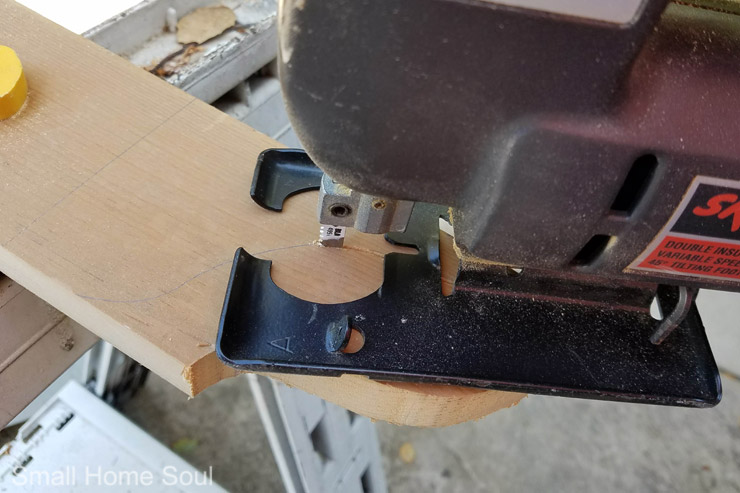
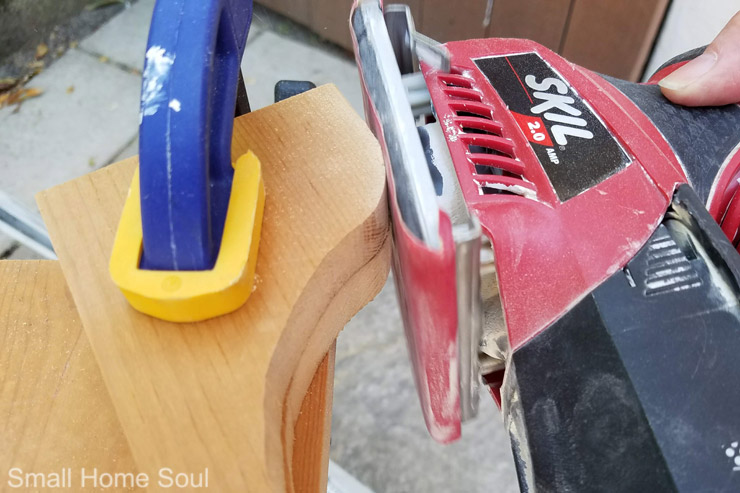
Step 3: Using your Jigsaw carefully cut out the brace. If you’ve never used a jigsaw before I suggest you practice on some scrap wood to get comfortable or follow Brittany’s tutorial for using a jigsaw.
Tip: The faster your run the blade the easier it is to cut and maneuver.
Step 4: With the first brace cut out, use it as a pattern and trace onto the other 3″ piece of 1×8. Cut out the second brace. Clamp the two braces together to sand even.
Step 5: Sand all sides of your boards and the braces. Gently sand the edges to remove the sharp edges from the saws.
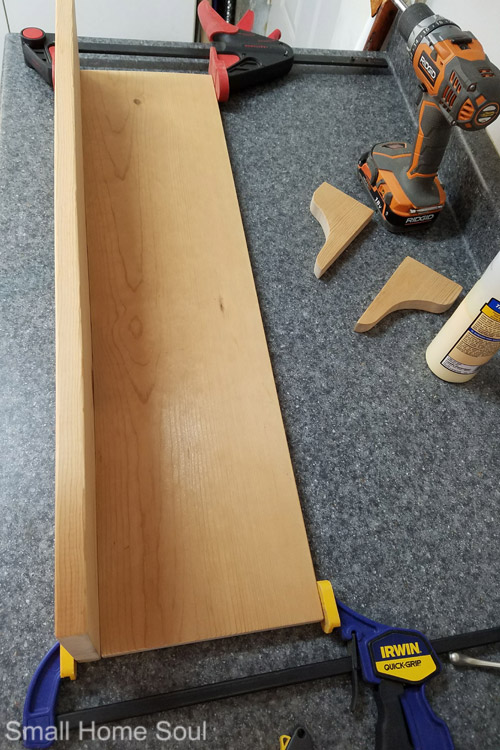
Step 6: Set the back of your coat rack on a flat surface and stand the shelf at a 90 degree. Apply a bead of wood glue to the shelf where it meets the back. Line up the ends and clamp as the glue cures.
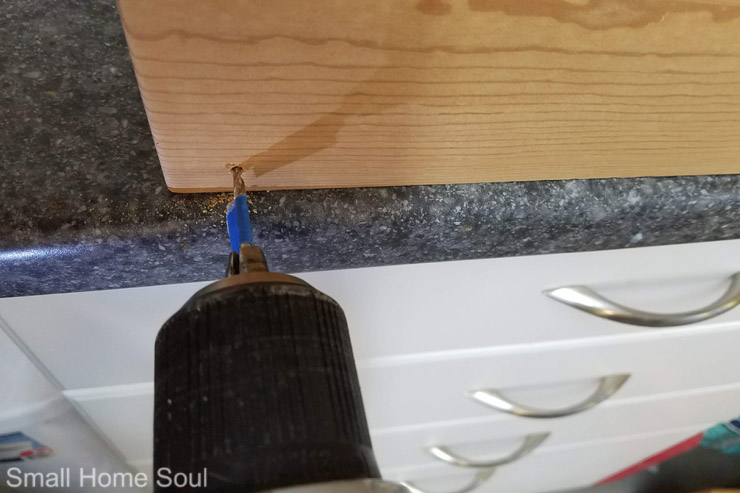
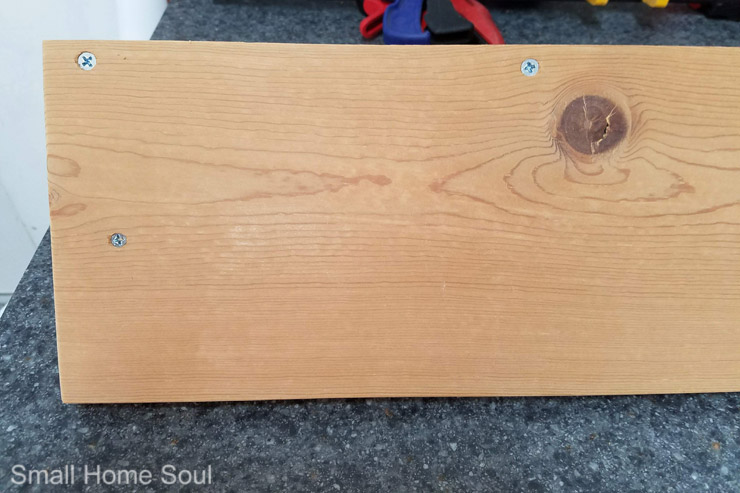
Step 7: To attach the shelf to the back of the coat rack make four evenly-spaced marks 3/8″ from the bottom edge of the shelf and pre-drill the holes to a depth of 1″ (use painter’s tape to mark the depth on the drill bit). Be sure to pick a drill bit that’s smaller than the threads of the screw. After the holes are pre-drilled, insert the 1 ¼” screws and wipe away any excess glue with a damp rag (this is especially important if you are staining).
Step 8: When installing the braces, choose the inset you prefer (I set mine in 3/4″ from the edge).
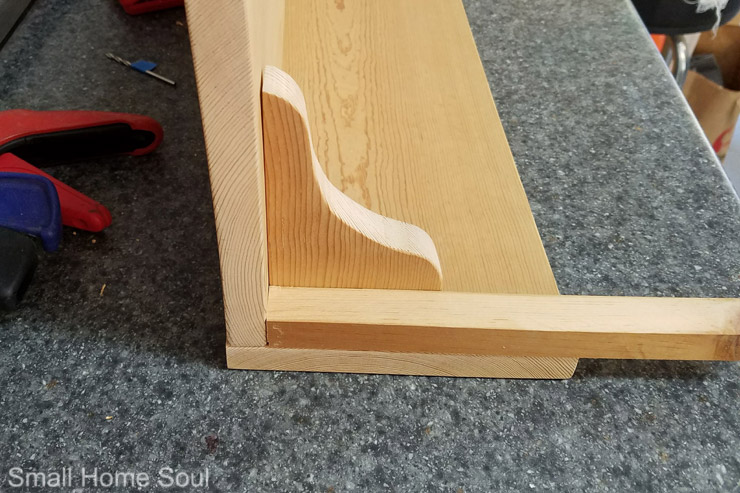
Step 9: Clamp the skinnier section to the back and pre-drill and screw 1-1/4″ screw through the top. Next clamp the fatter section to the shelf and pre-drill and insert two screws into the brace through the back board.
NOTE: Use a 1 ¼” screw on the fatter section and a 1″ screw into the skinnier section of the brace.
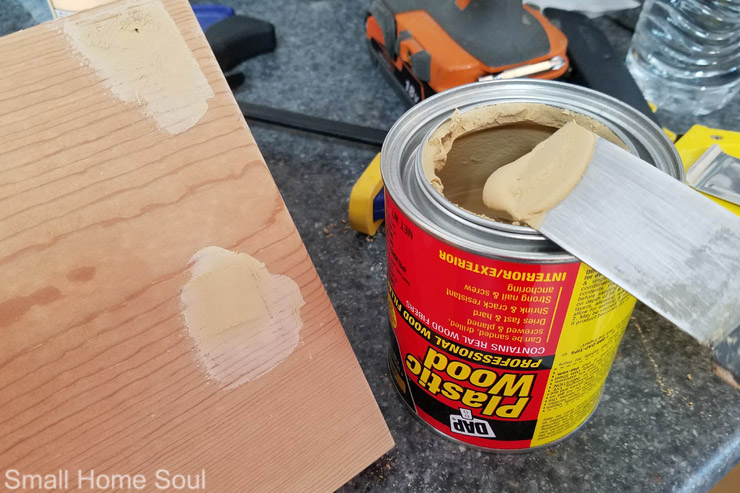
Step 10: Fill the holes on top of the shelf with wood putty. Let dry completely and sand smooth. Don’t overfill too much as wood putty doesn’t shrink like spackle. It dries very hard and will take more effort to sand smooth.
Step 11: Wipe the entire coat rack with a tack cloth or a lightly damp rag before painting or staining. If staining, apply stain according to can directions with either a foam brush or rag.
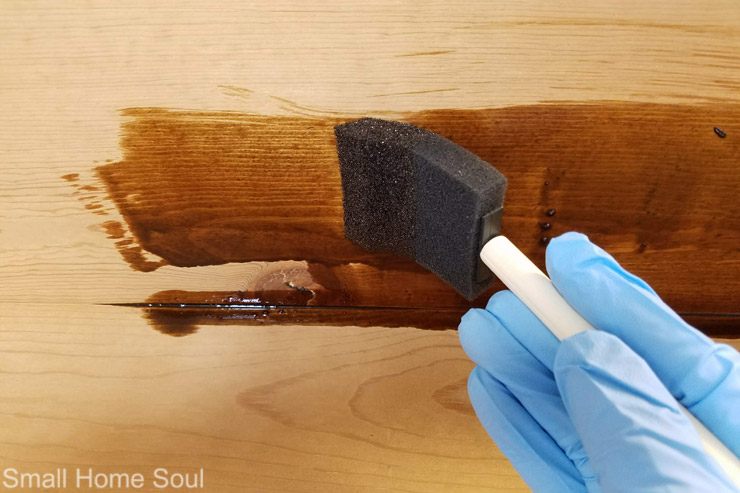
Step 12: Let sit for 5-15 minutes for desired richness then wipe excess stain with an old rag. Be sure to wipe completely from the joints and watch for drips.

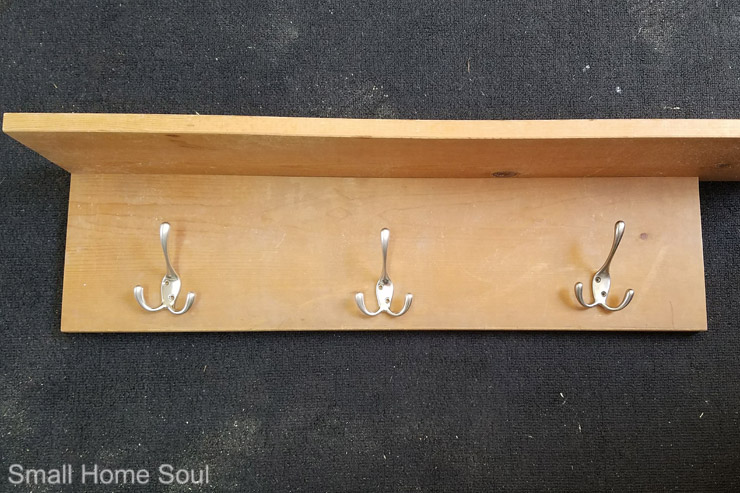
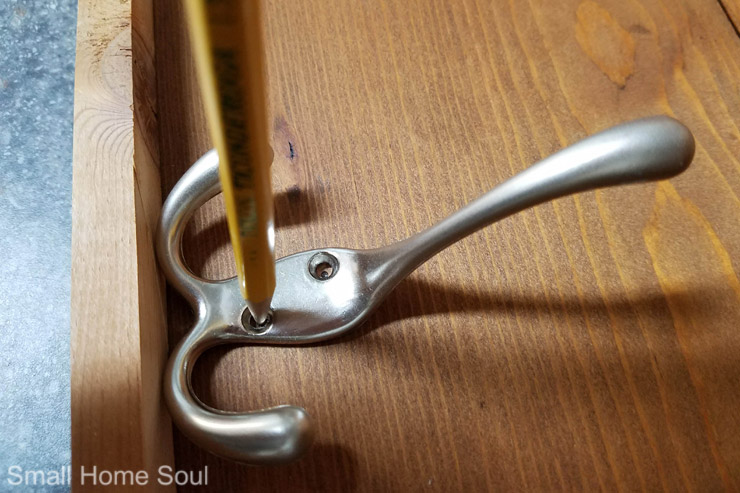
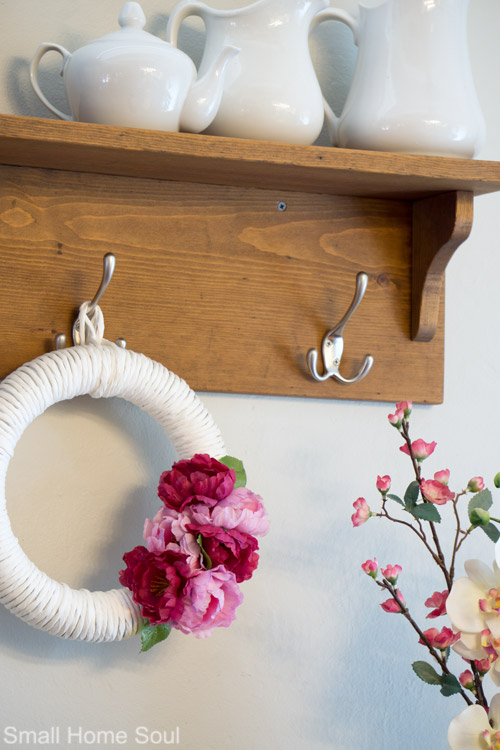
Step 13: Evenly space the hooks using tape or a narrow scrap to align evenly to the bottom of the coat rack. Mark/indent through each screw hole before inserting the screws that came with the hooks.
Step 14: To hang your coat rack pre-drill two holes for #10 3″ Wood Screws 16″ apart just below the underside of the shelf. Evenly space the two holes between the braces. Find the wall studs using a stud finder and mark the center point on a piece of painter’s tape applied to the wall. Line up the pre-drilled holes with the marked studs and use a level before screwing in the first of the two screws. Once you get your first screw into the stud you can adjust level before screwing in the second.
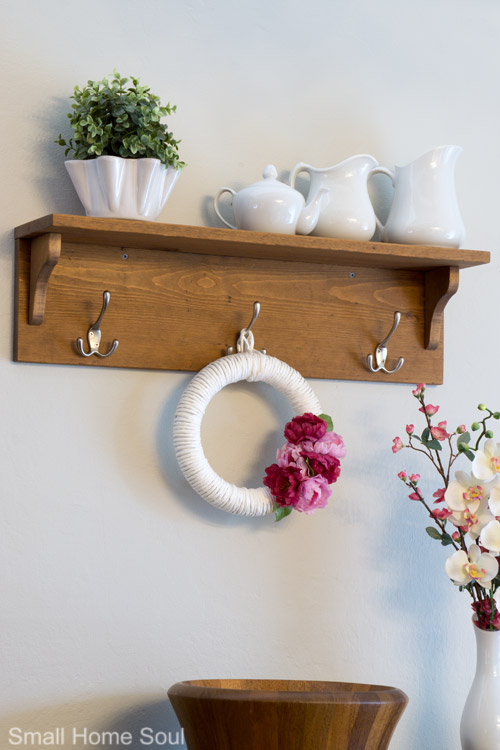
That’s it. You’ve just built a beautiful new coat rack.
Thanks again to Brittany for this opportunity to share my coat rack project with you. I hope you’re inspired to make this coat rack for yourself!
Toni

Hi, I’m Toni and I’m the creator behind Girl, Just DIY a DIY blog where I share cool and colorful projects to inspire you. I’m a former IT Manager, but a long time DIYer. I was inspired to DIY by watching my mom take care of all our household repairs, while my dad worked to support their 9 kids (I’m the youngest). I love to create and share tutorials that inspire and give women confidence to dive into the world of DIY (you got this!) I love helping women curate a home they love by creating and building items for their homes they can afford and be proud of.
A few of my favorite projects I’ve shared on my blog are a 2×4 Patio Side Table which was the first piece of furniture I ever built by myself. They look great and I still smile every time I see them. The L-Shaped Desk we just built for my Office Makeover is a recent favorite since our only other bedroom has to serve multi-purposes. And, the Dollar Store Backslash I installed in my master bathroom. There are so many more projects that I love and am proud of. I hope you’ll spend a few minutes checking out my blog.
You can connect with me online at Pinterest, Facebook, Instagram, Twitter.
If you liked this post, you’ll love these:

Wow this Coat Rack is so beautiful and how you explain this its amazing and all the picture helps me very well to create this Coat Rack.Thanks for sharing this great post i love it.
Hi Evie, I’m so glad you love the coat rack! Are you thinking of building one for yourself?