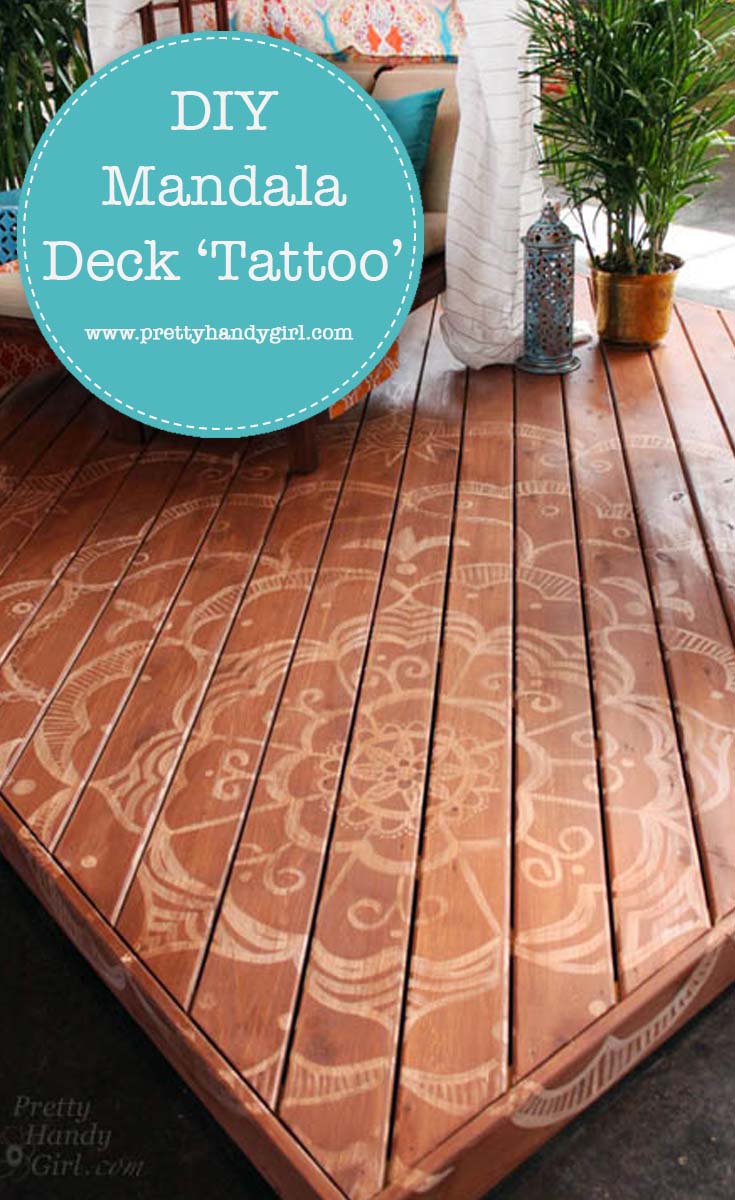
How to Paint a Giant Mandala Deck Tattoo
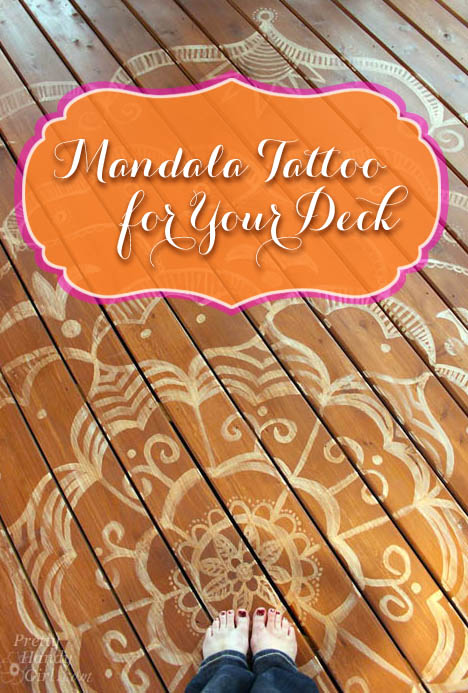
As promised, I’m back today to show you how to paint a giant mandala tattoo on your deck. Painting a design on your deck can turn an ordinary deck into a beautiful retreat. Add a few colorful accessories and you’ll have a backyard Bali getaway! Creating the mandala is a lot easier than it looks. Ready to get started?
Materials:
- Thompson’s Water Seal Semi-Transparent Deck Stain – Acorn Brown
- Chalk
- Tape measure
- Circle object to trace (dinner plate, paint can, etc.)
- Push pin
- String
- Damp rag
- White Farmhouse Paint (Or other chalky paint)
- Sander
- Small and medium round paint brushes
- Deck Stain Pad
Instructions:
Pre-stained your deck with one coat of Thompson’s Waterseal Semi-transparent stain. (I used Acorn Brown.) Allow the stain to dry.

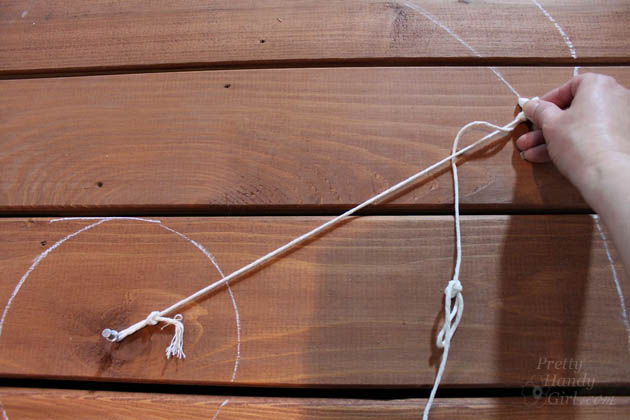
Choose the location for the center of your design. Trace around a small circular object or use the tack and string to trace a small circle.
Place the thumbtack in the center of the small circle and draw circles radiating out from the center. Try to add more distance from the previous circle as you go outward. (i.e. 3″ from the center, 6″ from the inner circle, 10″ from the 2nd circle.)
Divide your inner circle into eight sections and make a chalk tick marks.
Align the tape measure with two opposing tick marks on the inner circle. Extend the tape out to the outer most ring. Make tick marks on each of the outer circles where the tape measure intersects with the circles.
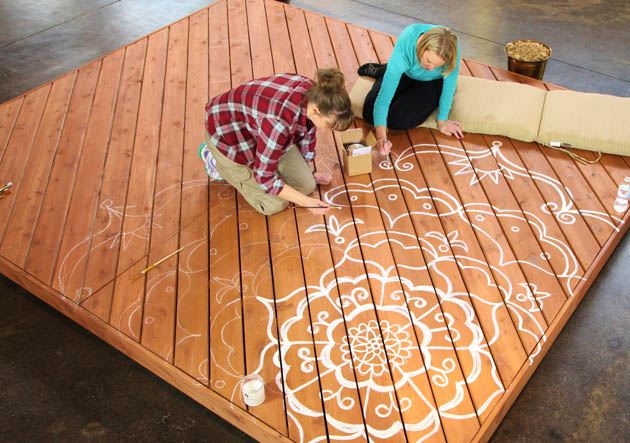
Time to start doodling! Fill in each section with doodles. Petals, humps, curlicues and circles are all you need to draw.
On the wider sections, think about drawing zigzags, humps, “v”s, or bracket “{ }” shapes. Easy!
Remember, it doesn’t have to be perfect. In fact, the imperfections make it look hand drawn and therefore more beautiful in my opinion.
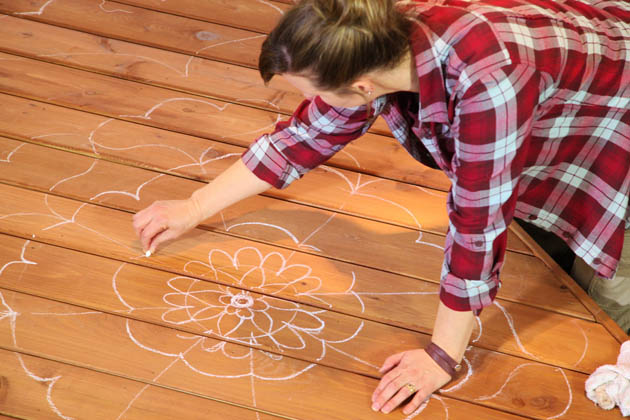
photo courtesy of Jeff Wilson
Continue drawing around the circle sections until you have outlined most of your mandala shape. Use a damp rag to erase some of the circle outlines that you don’t want in your design.
Stand back and assess your design. Add anything else you want now.
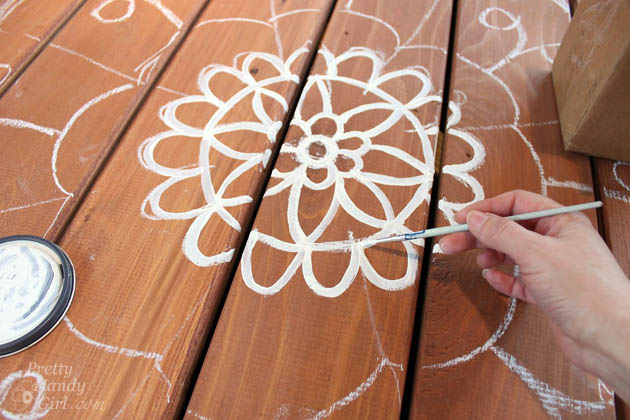
Open up the white paint and begin painting on top of your chalk design.
Continue painting, and painting, and painting. It helps to have a friend (or sister) to help you work from the inside out.
photo courtesy of Jeff Wilson
The painting process took us one to two hours. Honestly, it was meditative and I lost track of time.

When the paint has dried, erase any chalk lines with the damp rag.
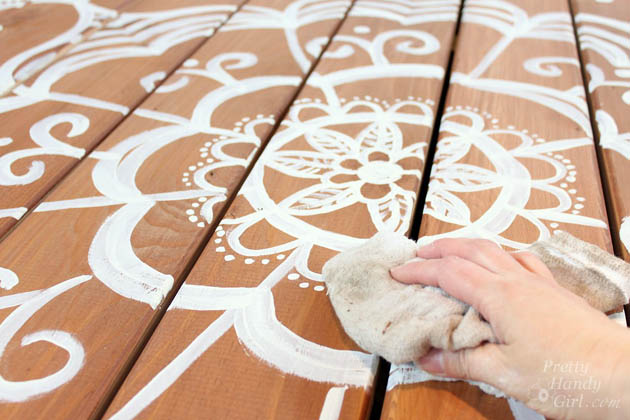
To create a more rustic look, sand your design, leaving some wood showing through the paint.
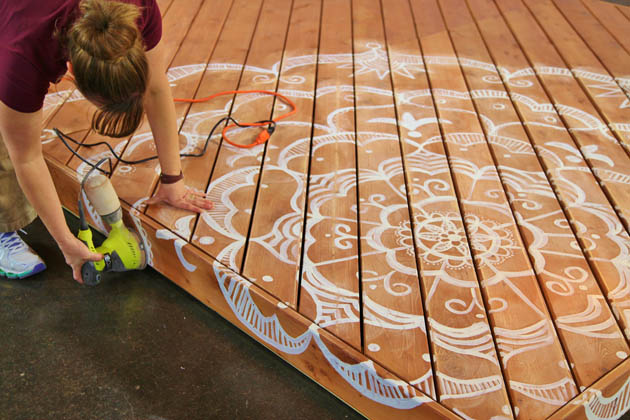
photo courtesy of Jeff Wilson
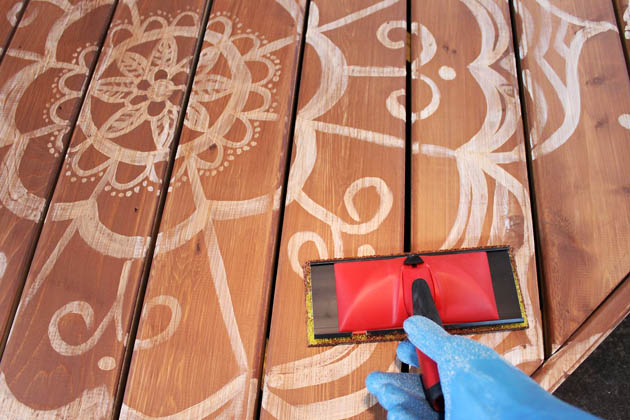
Clean off all sanding debris from the deck. Pour the Thompson’s WaterSeal semi-transparent stain into a paint tray. Apply to the deck using the stain applicator. Apply with smooth strokes along the length of the deck boards (with the grain) and keep working into a wet edge.

photo courtesy of Jeff Wilson
Continue applying stain until the deck is completely coated.
The semi-transparent stain tones down the white paint and leaves a beautiful rustic tattoo effect.
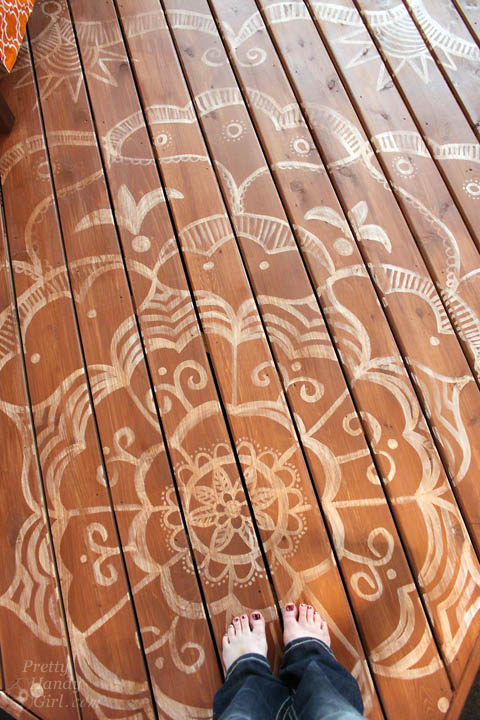
Be sure to allow your deck to completely dry (and cure) for at least 24 hours before putting furniture on the deck.
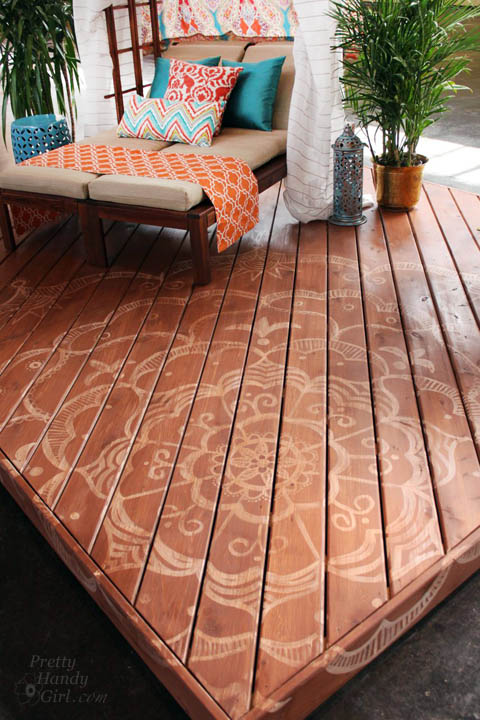
Enjoy your newly decorated deck!
![]()
Pin for later!


we just drained our deck with Cabot gold. I think it may be too thick to apply over the design to seal it. Should I just use a clear and thinner sealer
Sorry for the spelling errors! iPad is acting crazy!
Pam, create a test on a scrap and see if you like the look before doing the whole deck.
Can this be done on treated lumber?
Absolutely.If it’s still damp or newly treated, I’d let it dry for at least 6 months first.
Adding the paint then sanding it doesn’t make sense, can you explain how this works?
Jori, I sanded it down because we wanted it to look aged and like it has been there for 100 years.
This is SOOO cool!! I don’t think I’d let anyone on our deck!! lol
Thanks Cheryl. Hey, that’s why I distressed it ;-).
That is seriously awesome!!! LOVE it!
Great job girls! I’ve been taking Zentangle classes and this would be a great way to showcase my favorite patterns! Thanks for being so thorough with your steps. As always, love your projects!
This is just the coolest ever Brittany & kudos to your sister as well. I bet you wanted to take this baby home with you after you were done. Thanks for the tutorial.
Inspiring! I think this is just magical! Thanks for showing us how to do it! I’m definitely going to follow your instructions and have one in our yard! Thanks so much! Excellent job!
Beautiful floor. You are a very talented person. Your sister too.
In Poland, there is a small village – Zalipie, where houses are painted by women each year. You can see my pictures from there.
Greetings from Poland.
This is an absolutely GORGEOUS diy! I love mandala and often use henna for temporary tattoos and as hair dye, so it would be awesome for my porch to reflect that part of my life. Thanks so much for sharing!